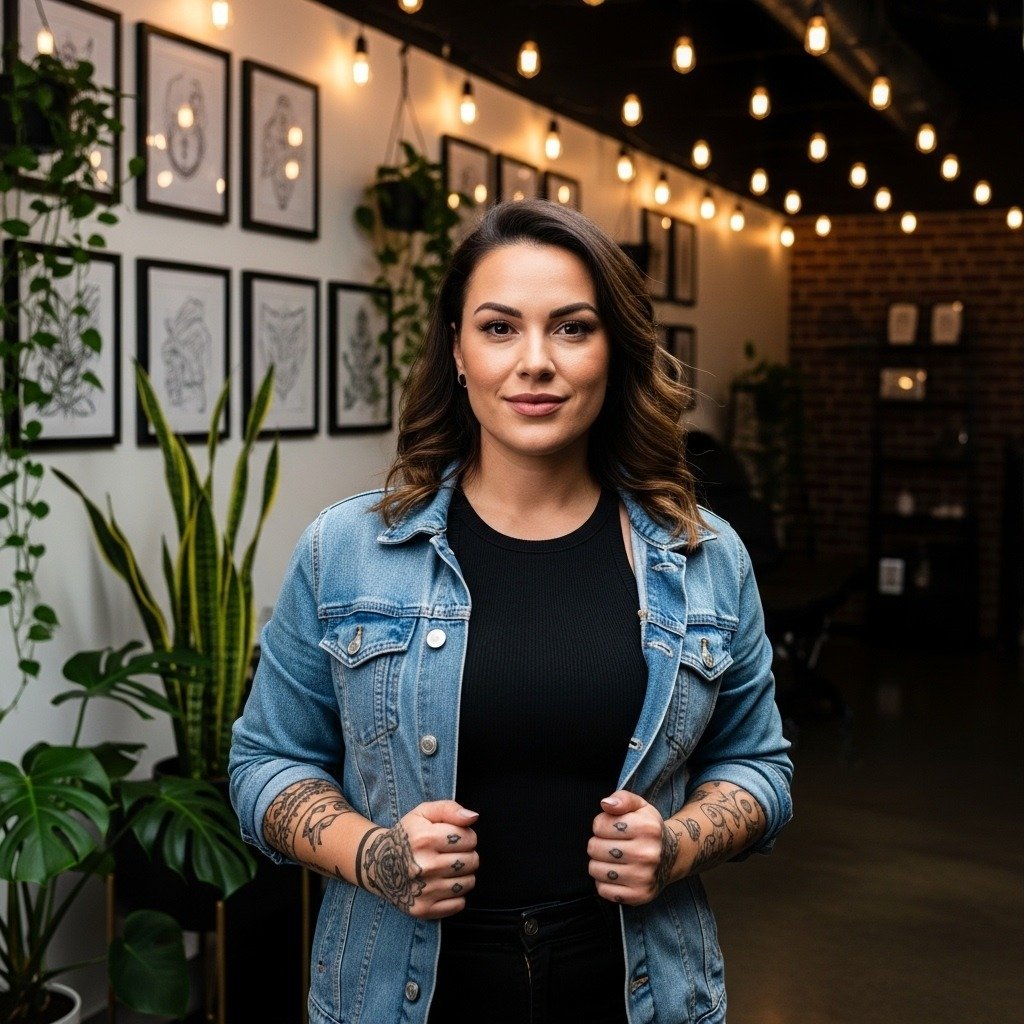
Small landscape tattoos that pair a cresting wave with a solitary peak look simple online but age very differently on skin. Thin single-needle lines can vanish into texture if placed where skin stretches, and overly detailed micro-realism can blur after heavy sun exposure. Pick a style that matches the canvas you actually have and plan spacing up front so the ocean motion and mountain silhouette remain readable for years.
1. Fine-Line Circular Landscape on the Inner Wrist
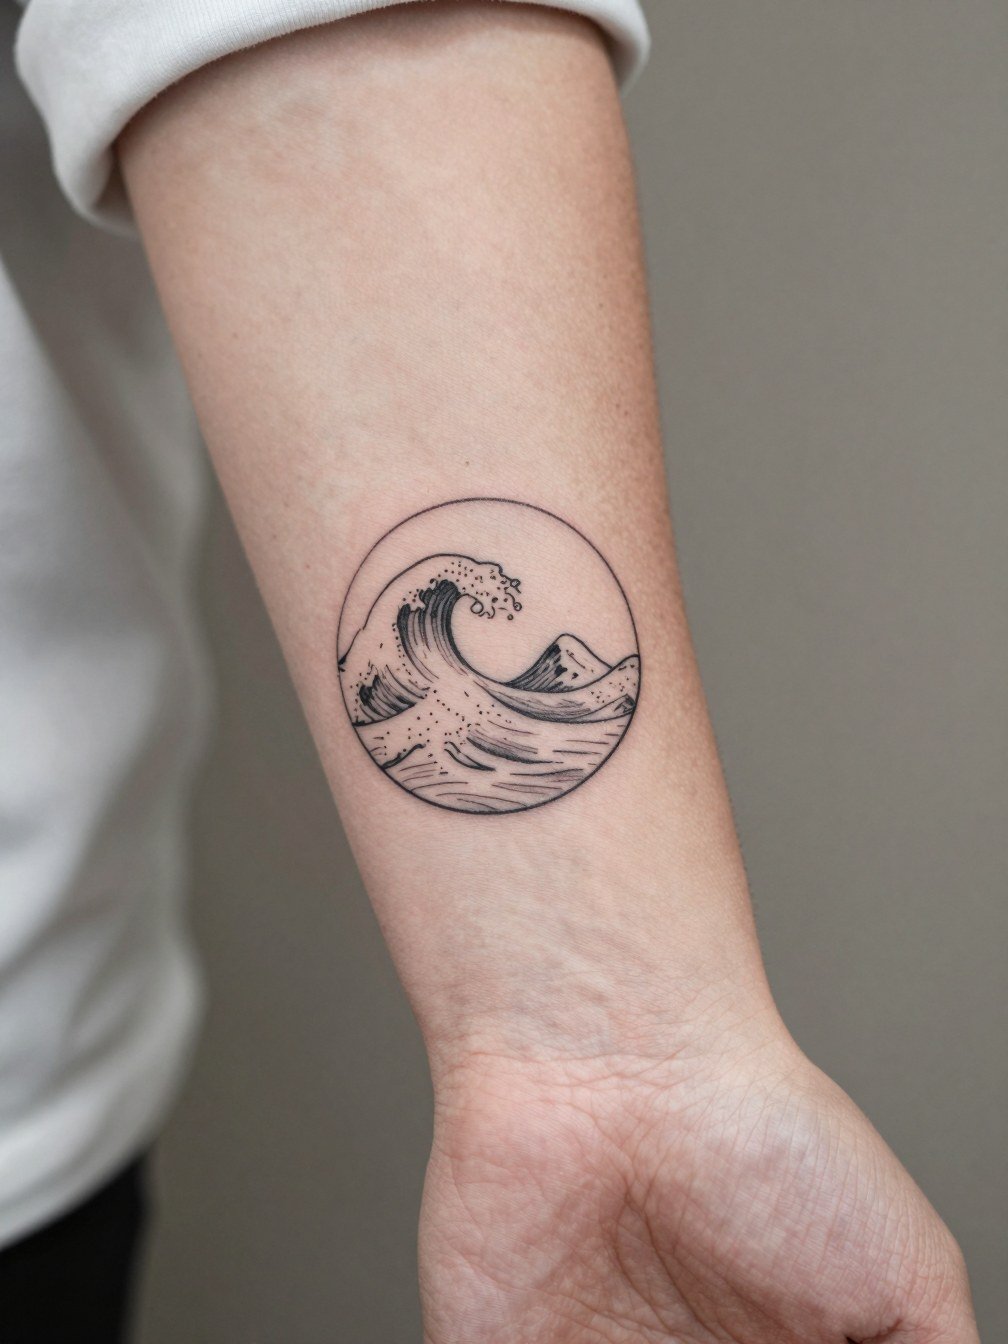
A tiny circular composition on the inner wrist reads like jewelry and suits people who want a discreet landscape. Recommend this over a micro-realistic scene when the wrist is the only canvas available, because single-needle rings can fade into blurs if the composition is too dense. Tell your artist you want the negative space inside the circle preserved and line weight bumped slightly from reference so the outer ring still reads at year two. Common mistake is compressing details into a small ring. Expect a short session under an hour and a touch-up within 12 to 24 months for fine-line clarity.
2. Minimal Mountain Range Across the Collarbone (Show-Off Pairing)
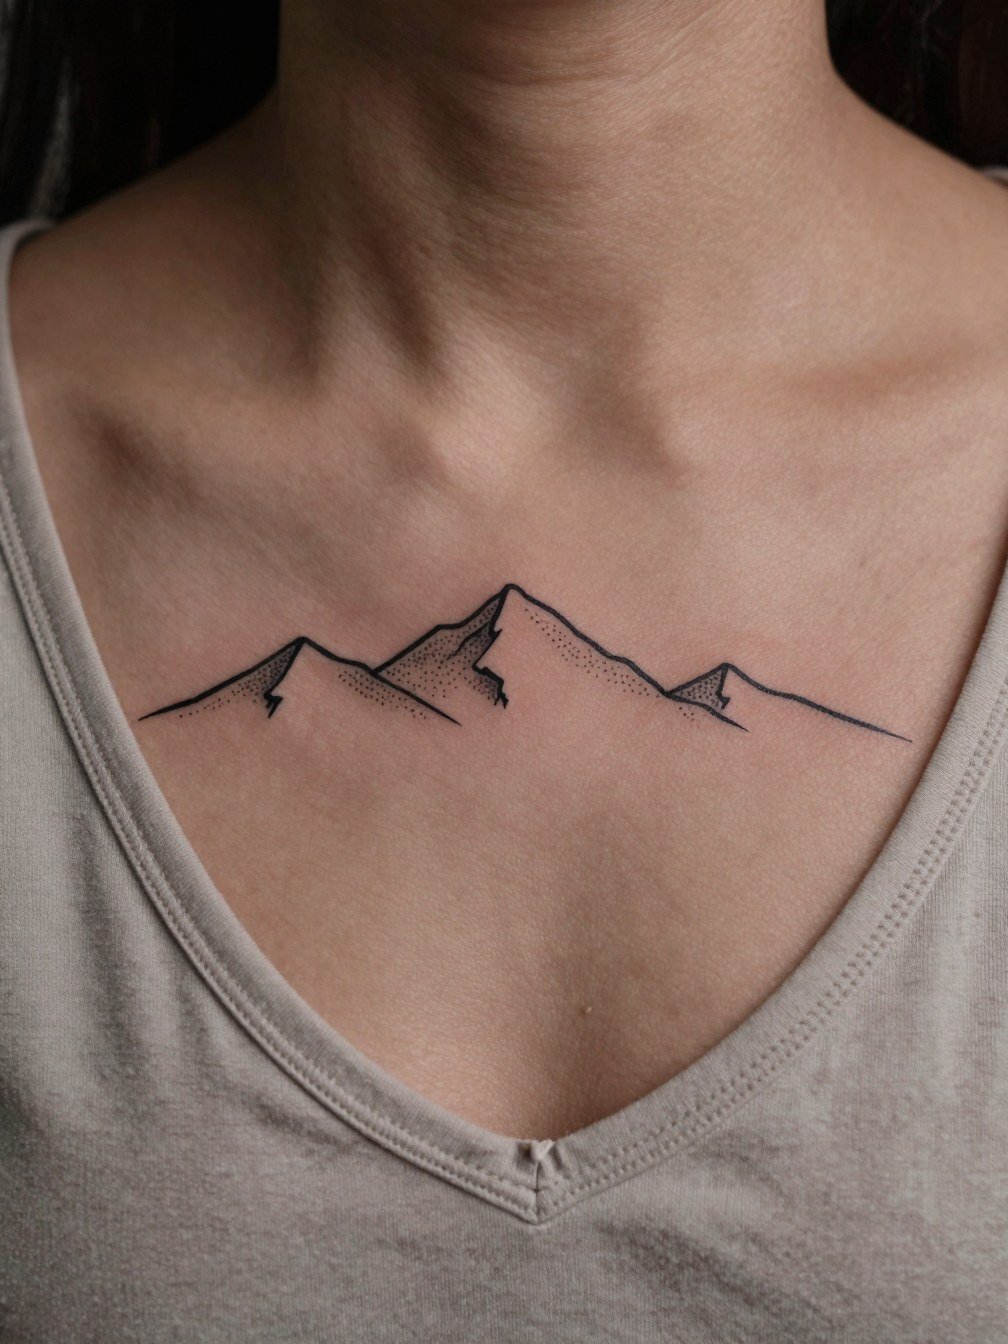
A horizontal mountain range that follows the collarbone reads like a jewelry line and works well for anyone who wants visible yet elegant ink. When you plan this, request slightly thicker contour lines so the peaks do not feather with seasonal sun exposure. This placement is flattering with open-neck tops and dresses, so show-off pairing works: try an open-front linen shirt to frame the collarbone at events. Expect a one- to two-hour session, moderate discomfort where the skin is thin, and a likely touch-up at the 18-month mark if you spend lots of time outdoors.
3. Tiny Wave Crest Behind the Ear
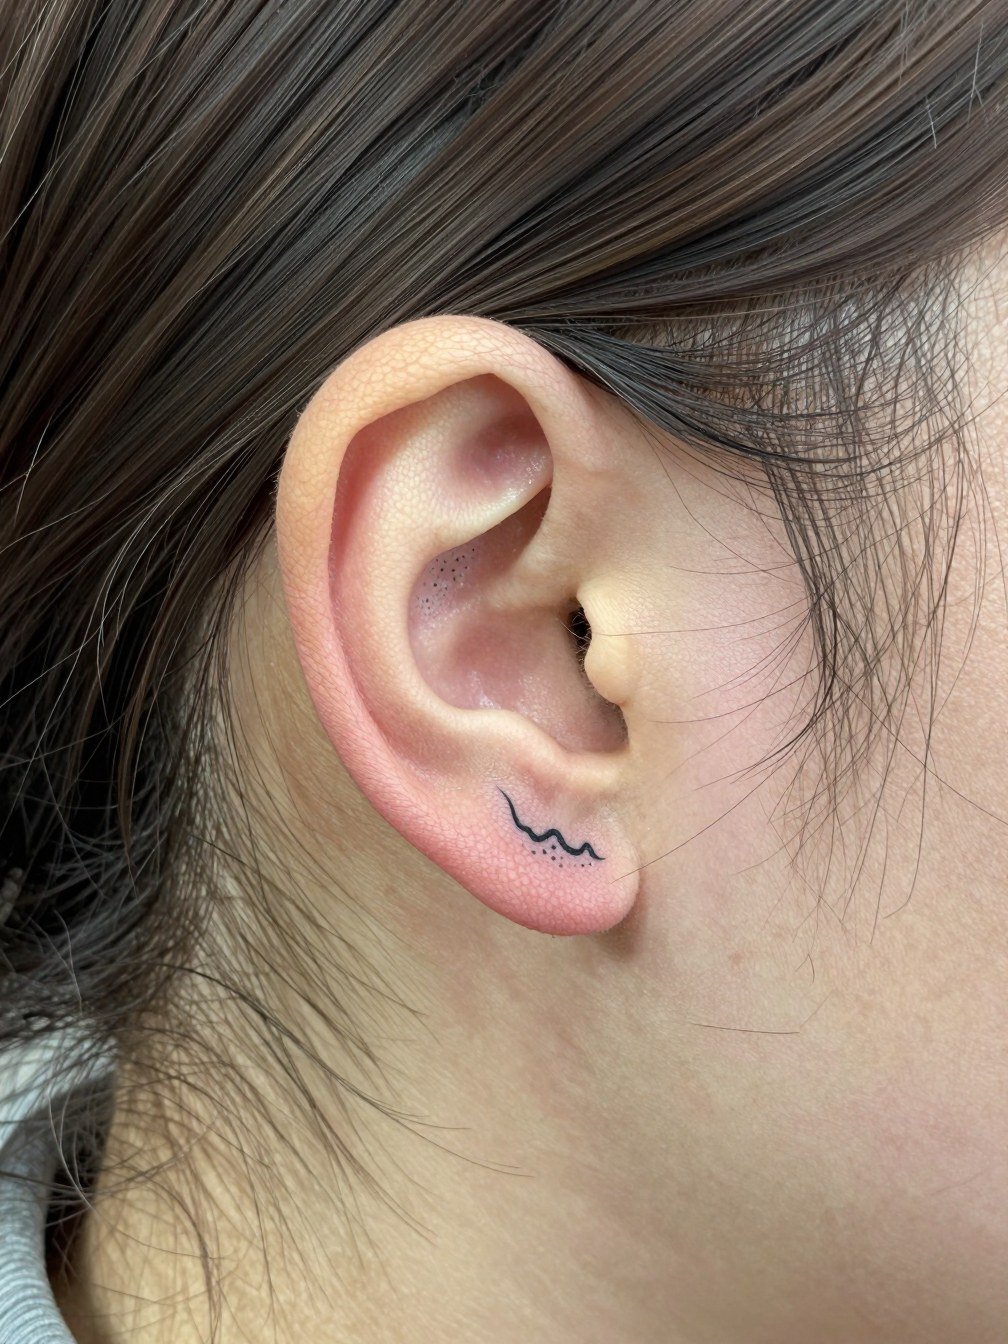
A behind-the-ear wave is a discreet nod to ocean life and suits someone who wants occasional visibility. The small size saves session time, but the area sees friction from hair and earrings so plan for a slightly heavier line weight than the reference. Tell the artist you want solid outline depth and ask how much they plan to darken the perimeter for lasting contrast. The session is fast and the pain is low to moderate. Common mistake is asking for extremely fine curls there; they soften into specks over time and can need touch-ups sooner than wrist pieces.
4. Stacked Wave and Peak on the Outer Forearm (Casual Styling)
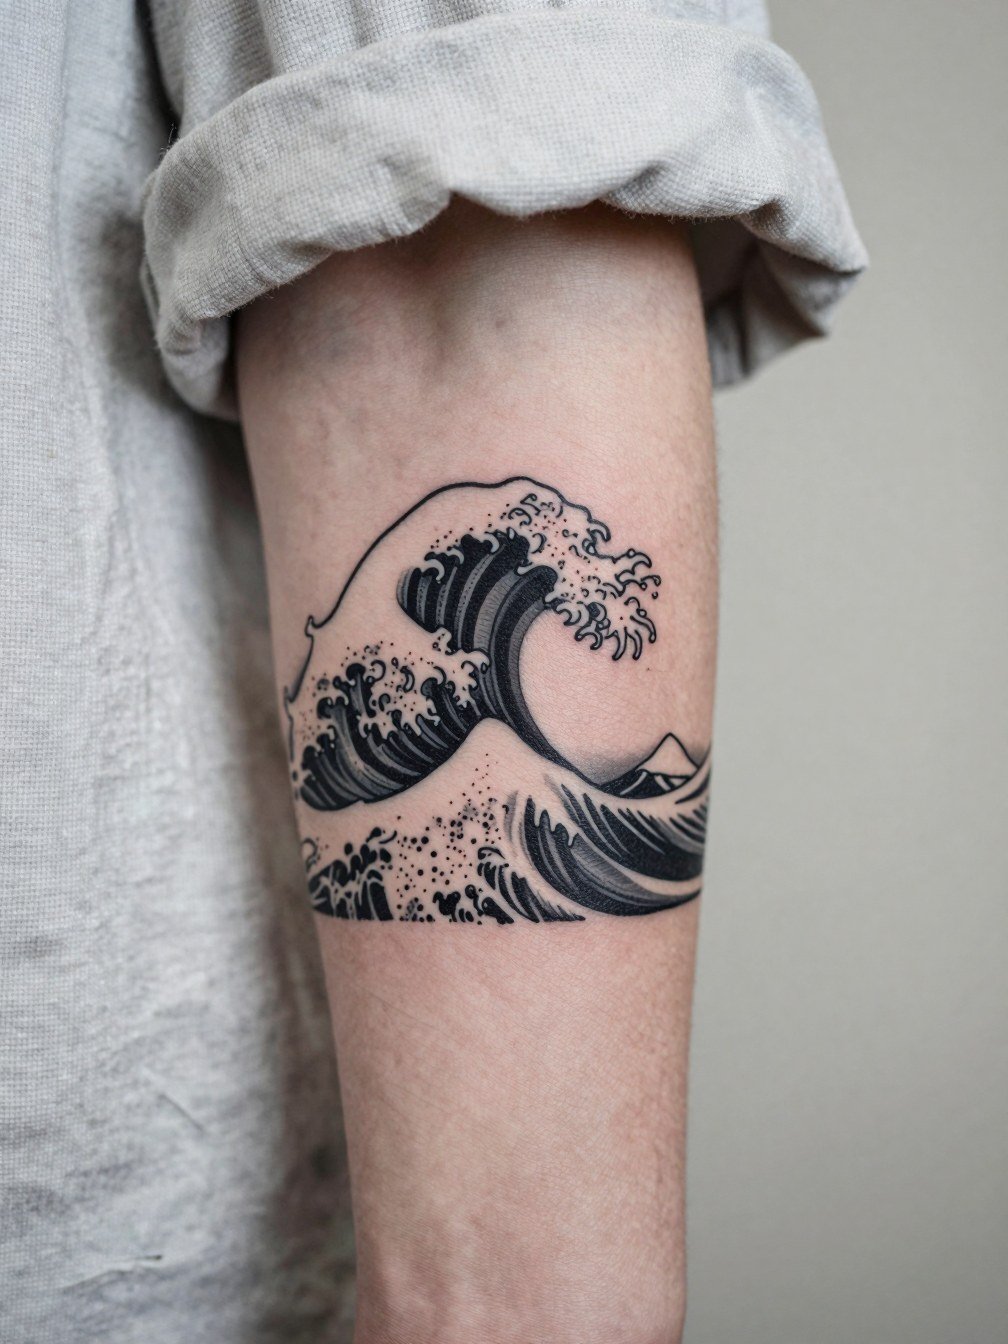
A stacked wave-over-peak fits the outer forearm where there is room to breathe, making it a good alternative to cramped wrist scenes. Recommend this layout when you want a small sleeve anchor because the flat plane of the outer forearm preserves contrast. During consultation, bring two scale references so the artist can show how the composition reads at three inches versus five inches. For show-off styling, pair it with rolled short sleeves to frame the piece at casual events. Expect moderate session time, lower blowout risk on this flesh, and a touch-up maybe two years out if you swim frequently.
5. Sunrise Over Peaks on the Upper Thigh
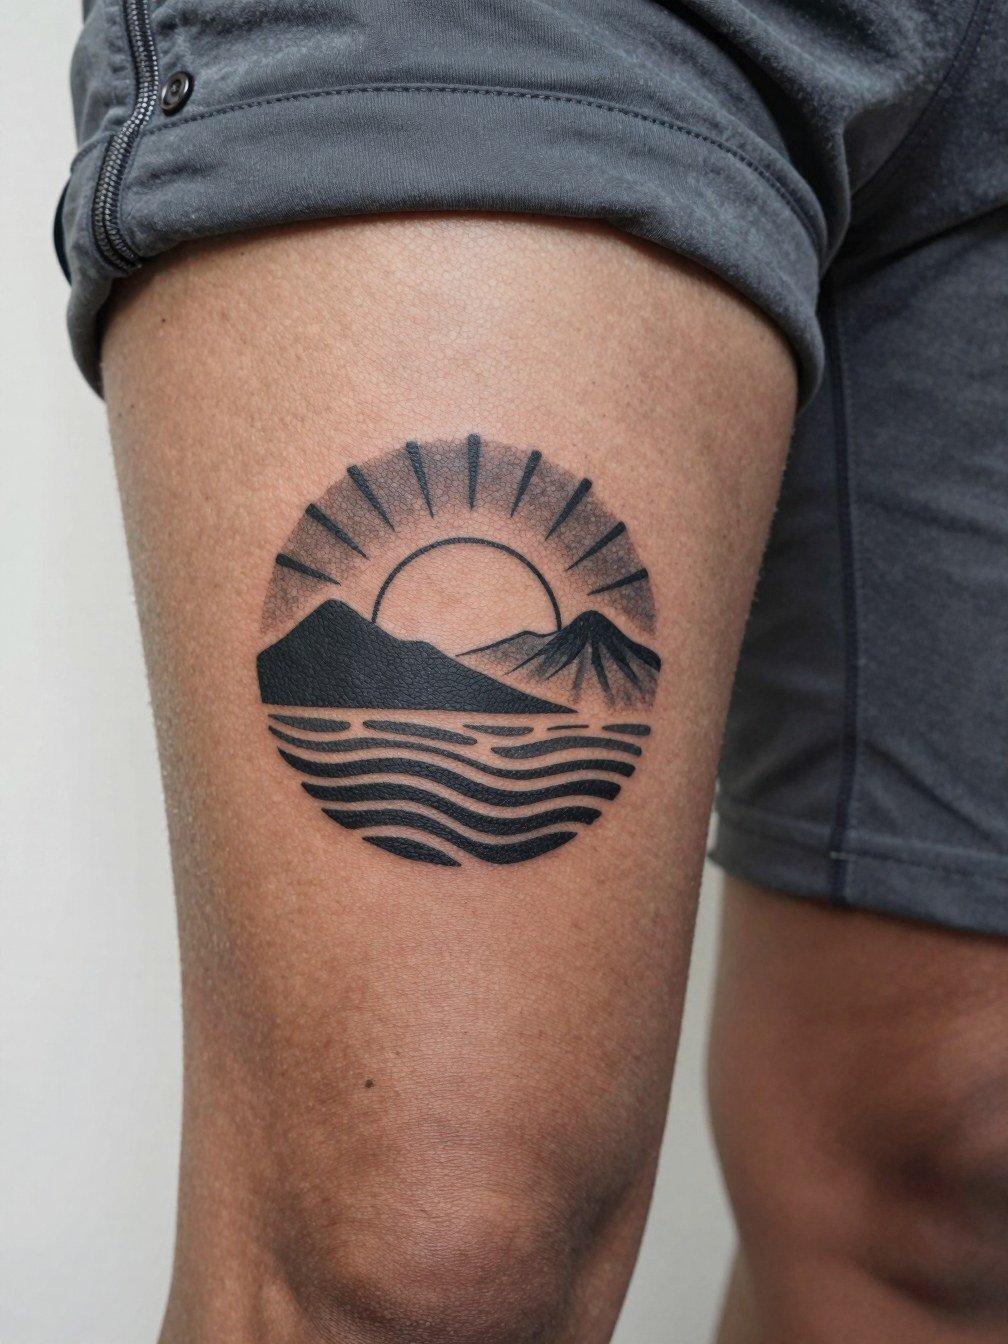
The upper thigh offers a forgiving canvas for a slightly larger landscape, and a sunrise motif benefits from the vertical space. Recommend this over a tiny wrist version if you like seasonal cover and plan for occasional reveal. Discuss how the sun rays will age if you want soft stipple versus solid lines; stipple gives texture but can lose pop without contrast. Session feel is moderate with occasional nub sensitivity. For the appointment, wear loose shorts you can move aside without pressure; a pair of lightweight drawstring shorts makes access easier. Expect a touch-up at one to two years for the stippled fills.
6. Negative-Space Wave and Peak on the Ribcage
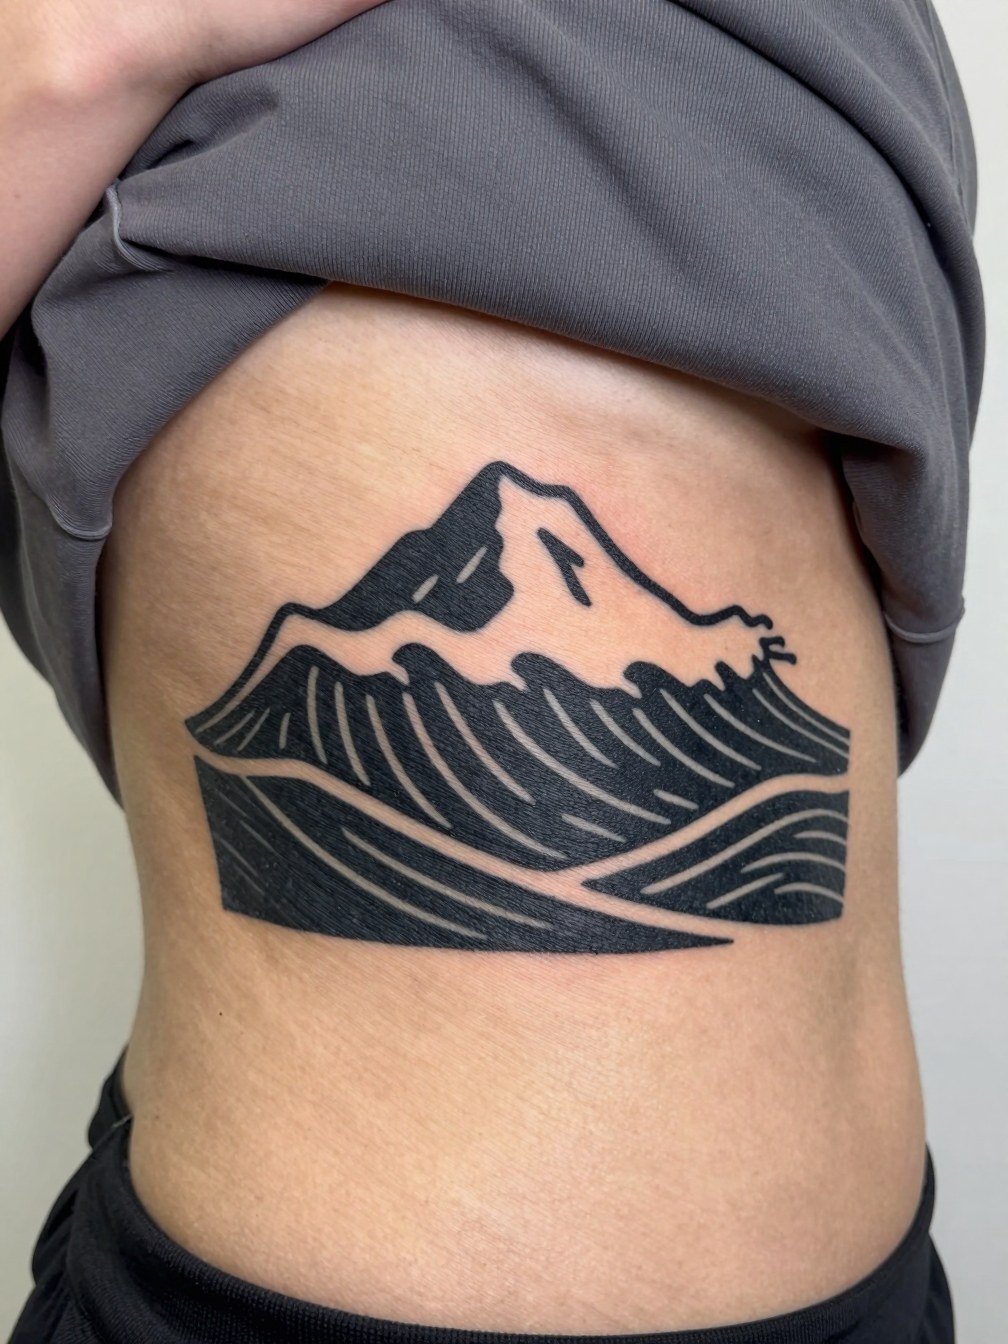
Ribcage landscapes can be dramatic when done with bold fills rather than fragile fine line. Artists split into two camps about fine line on ribs. One camp argues fine single-needle work blurs quickly because the skin stretches and linework softens within two years. The other camp says slightly wider spacing and controlled needle depth let fine line settle well even on the ribs. Name the camp you prefer by asking for either solid fills with negative-space peaks or a fine-line sketch doubled with a slightly bolder outline. Pain here is higher and sessions are slower, so plan breaks and a realistic touch-up window.
Session Day Picks
The wrist, collarbone, and ribcage pieces above all demand small comforts and good prep. These five items smooth the session and the first few healing days.
-
Stencil transfer paper kit. Helps you preview placement precisely on small areas like the inner wrist and collarbone so the composition reads as intended.
-
Topical numbing cream. Applied as directed before a ribcage or inner-thigh session reduces the initial sting and helps you sit through longer fills.
-
Thin protective film roll. Useful for ankle and finger pieces that face constant friction from socks and sleeves during the first week.
-
Fragrance-free gentle body wash. Keeps the healing area clean without stripping the delicate ink in fine-line work.
-
Aquaphor healing ointment. A mainstream option for short-term moisture control in the first four days of healing, especially helpful on areas with dense black fills.
7. Tiny Mountain Peak on the Side of the Finger
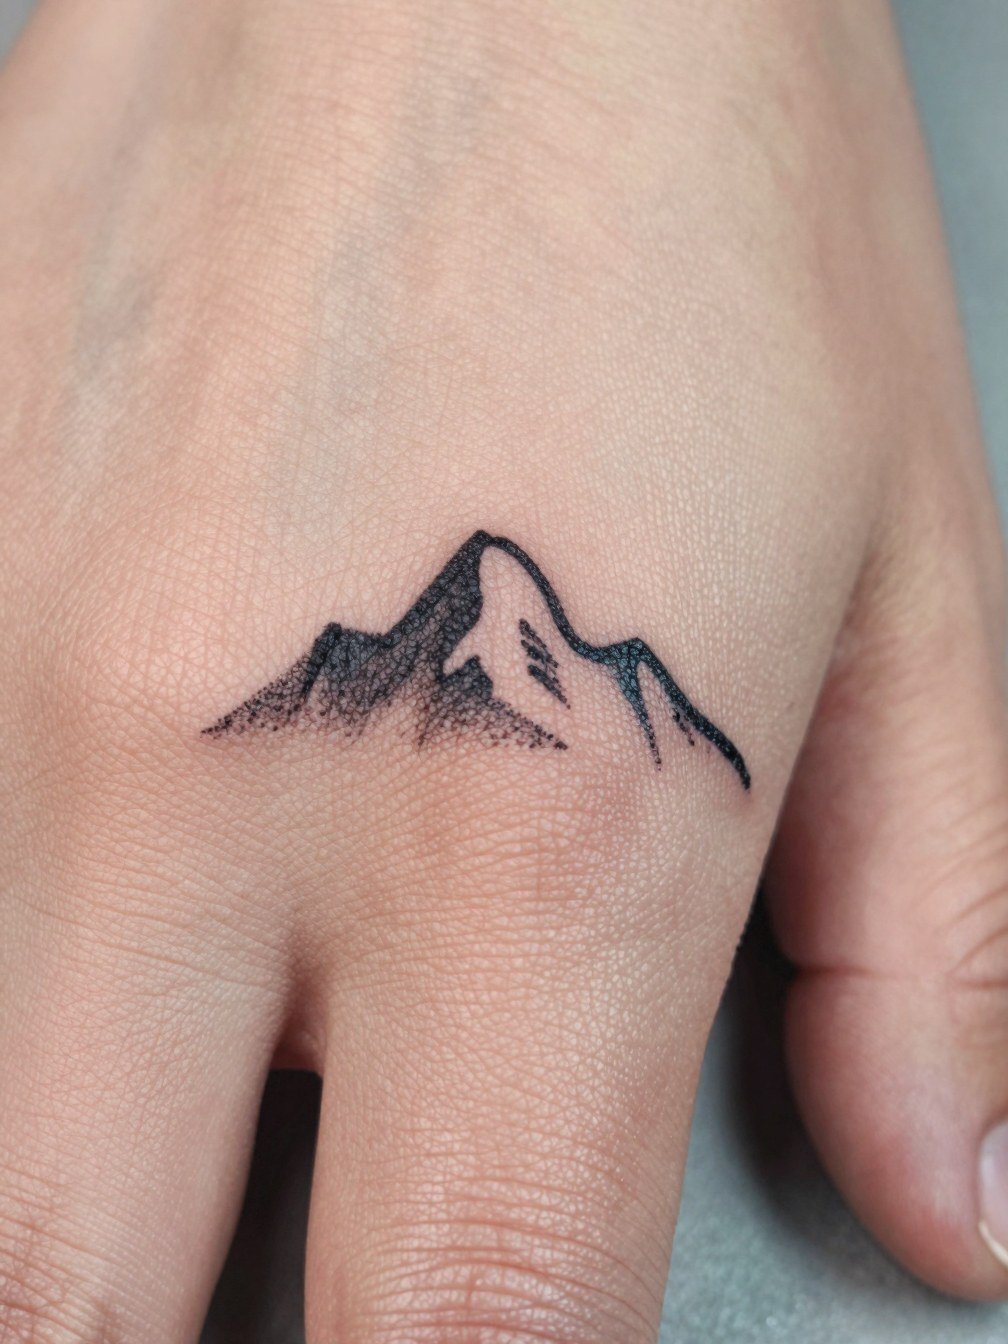
Fingers are notorious for fading and patchy loss, so recommend stark bold silhouettes rather than tenuous detail for a mountain on the finger. During the consult, request outline depth and ask about layered sessions because dyes sit in thin skin differently than on the forearm. Expect a shorter initial session but frequent touch-ups, sometimes annually, due to constant washing and surface abrasion. A common mistake is insisting on tiny internal shading; that disappears first. The pain is brief but sharp. For the appointment, avoid jewelry on that finger to keep the artist's access unobstructed.
8. Japanese-Inspired Wave with Minimal Peaks (Streetwear Pairing)
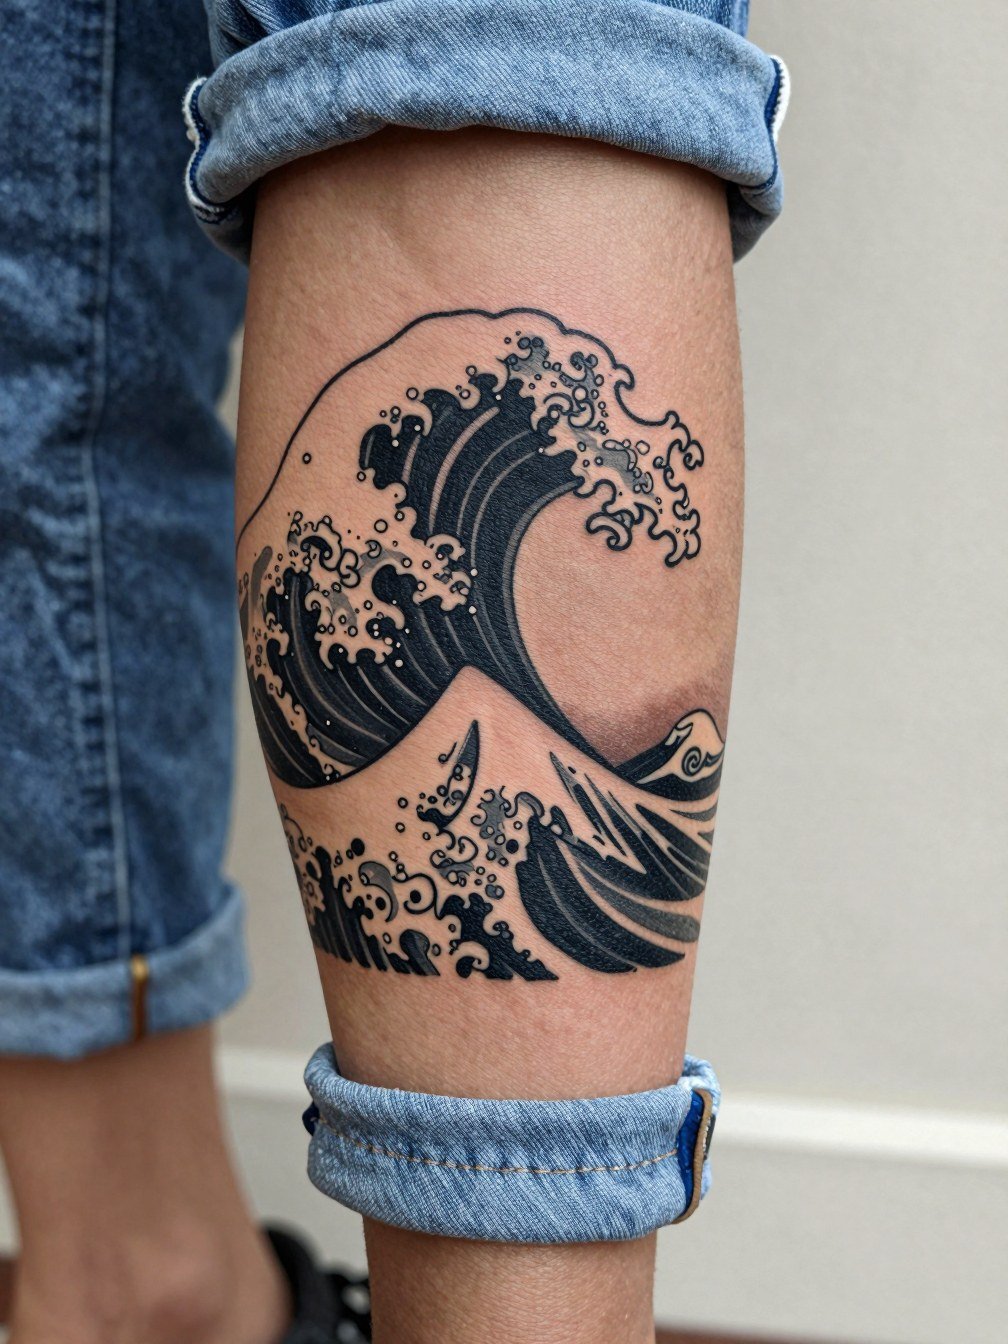
A stylized wave borrowing traditional Japanese shapes pairs well with a small peak for someone who likes graphic streetwear. If you favor longevity, choose strong black fills over delicate wavelet curls. Discuss with the artist how much foam detail to keep and whether to favor negative space for contrast. For show-off styling, this placement looks sharp with rolled denim cuffs that reveal the calf when you walk. Expect two to three hours for a medium-sized calf piece and a likely touch-up at two years if you cycle outdoors frequently.
9. Thin Line Alpine Band Around the Bicep
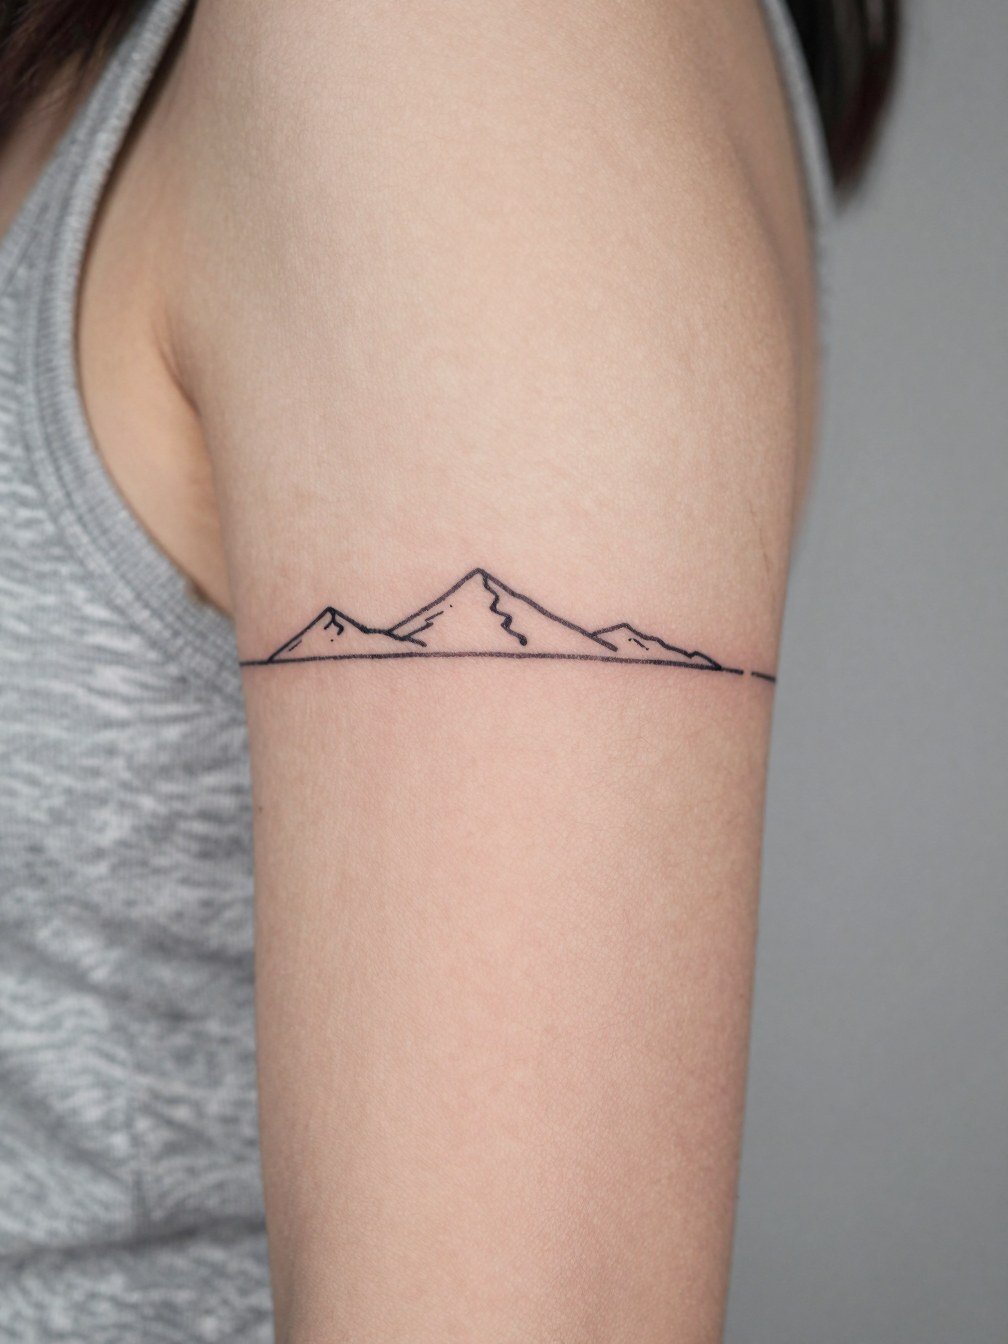
A bicep band gives a wraparound feel and works best in a slightly larger circumference to avoid detail merging. This is a good choice if you want semi-hidden ink that shows when you flex or roll sleeves. Make sure to tell the artist you want clean spacing between repeated peaks and wave marks so the pattern does not blur at two years. Session is low to moderate pain and usually under two hours. The biggest mistake is requesting too many tiny peaks in a narrow band; they need room or they become a dark smudge.
10. Geometric Wave and Mountain Badge on the Upper Back
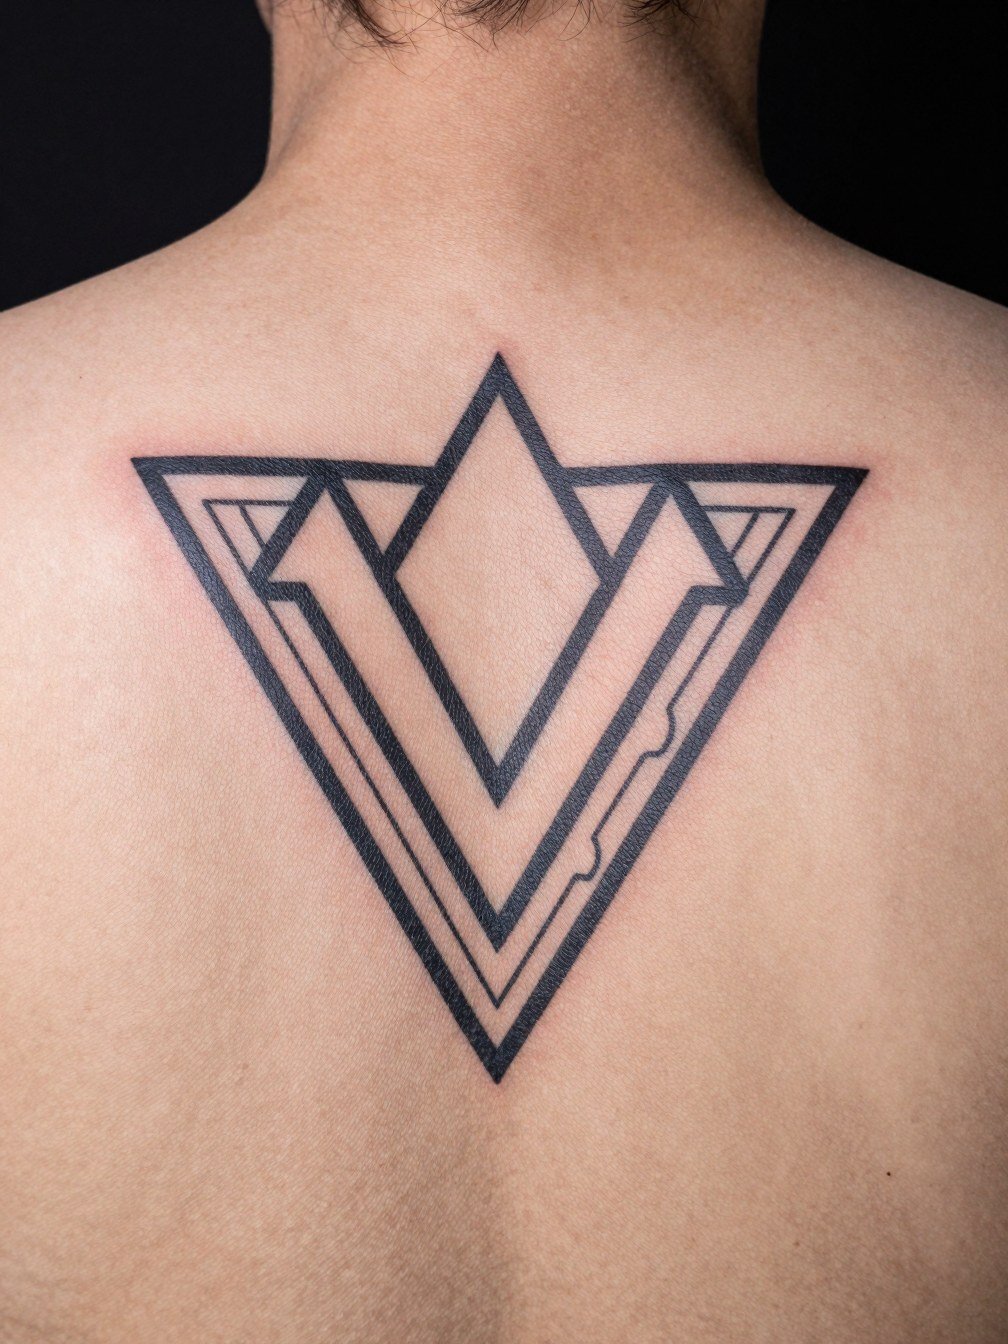
A centered geometric badge ages well because the upper back receives less daily abrasion and sun than forearms. Prefer geometric simplification over micro shading to keep shapes readable at five years. During pre-session planning, check how the badge aligns with the spine and shoulder blades so the symmetry reads when you move. Pain is moderate and sessions can be longer for precise geometry. A common error is off-center stencils, so confirm the spine-reference point before ink. This piece pairs quietly with open-back dresses and tops.
11. Watercolor Wave Framing a Minimal Peak (Editorial Layering)
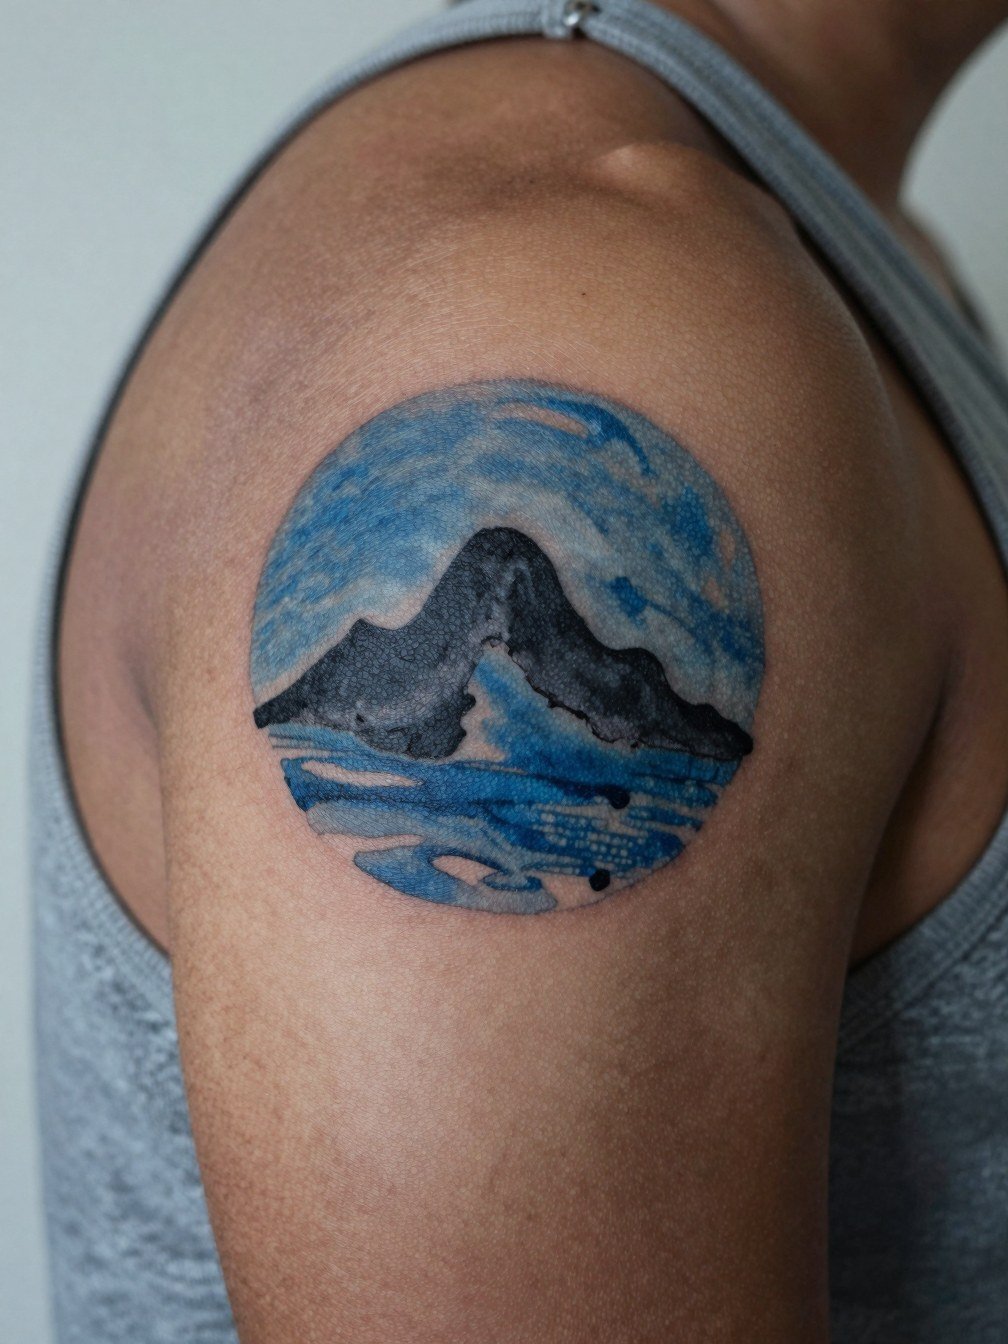
Watercolor effects bring movement but tend to fade faster than solid black. For someone wanting color drama, layer saturated black outlines with softer washes rather than relying on pure diffusion. Ask the artist how they control saturation near the edge of the wash so color loss creates intentional texture instead of a muddy halo. This placement is great for layering under short-sleeve tops. Expect longer sessions and plan for a color boost at two to three years, especially on sun-exposed shoulders.
12. Micro-Realism Wave Crest on the Ankle
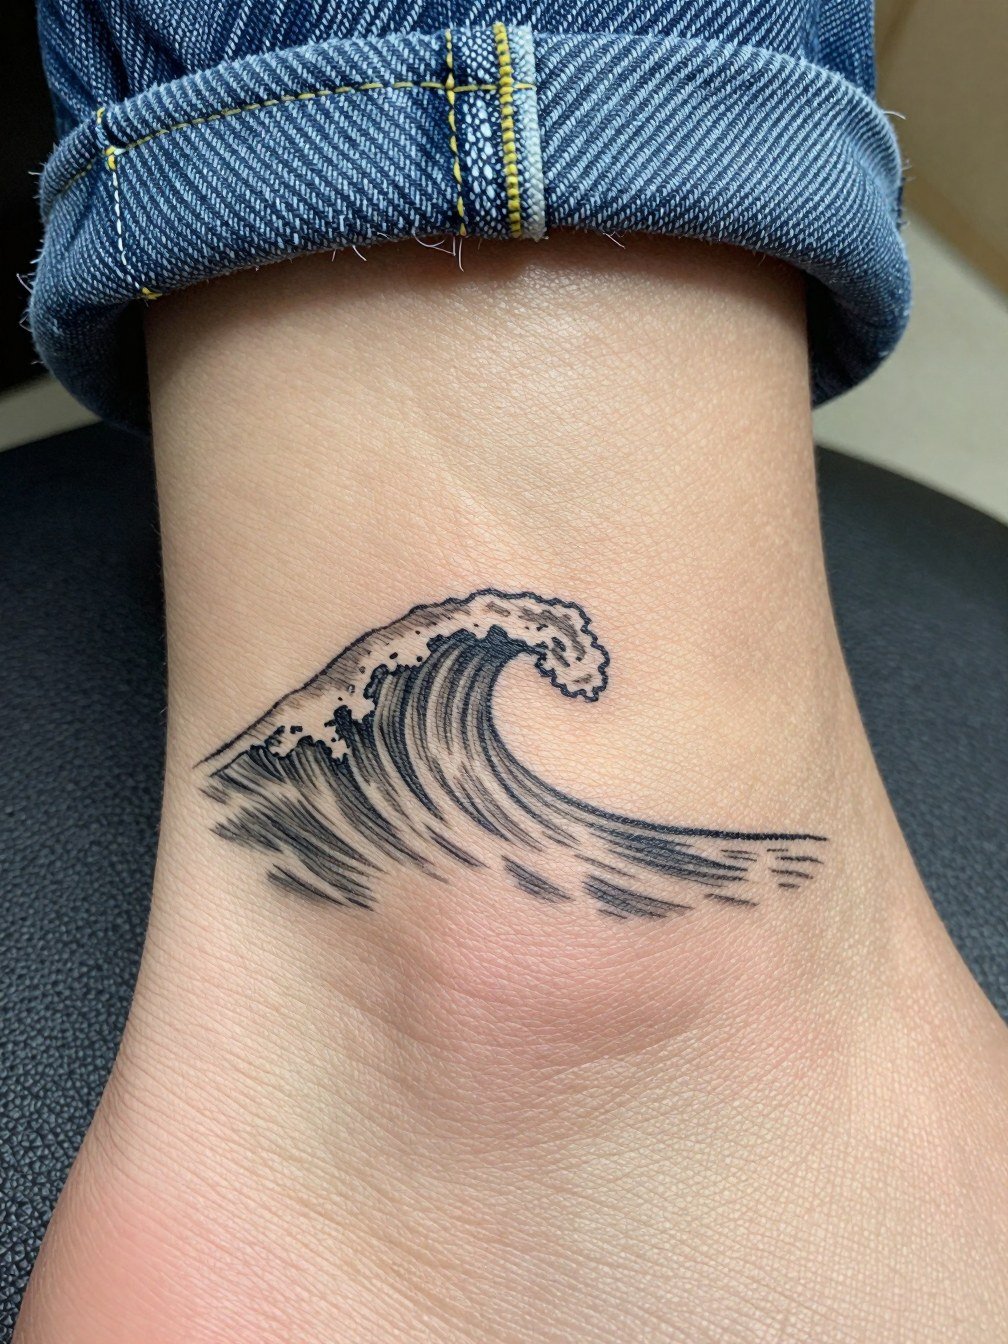
An ankle micro-realism wave can look striking but sits in an area with heavy friction from socks and footwear. Recommend simplified contours instead when you prioritize longevity. During consultation, specify which elements must remain crisp and which can be suggestive shading, because tiny foam textures are often the first to thin out. The session is short but expect earlier touch-ups, sometimes within a year. Wear shoes with no back strap the day after your session to minimize rubbing while the skin seals.
13. Single-Line Horizon Across the Sternum (Session Wear Note)
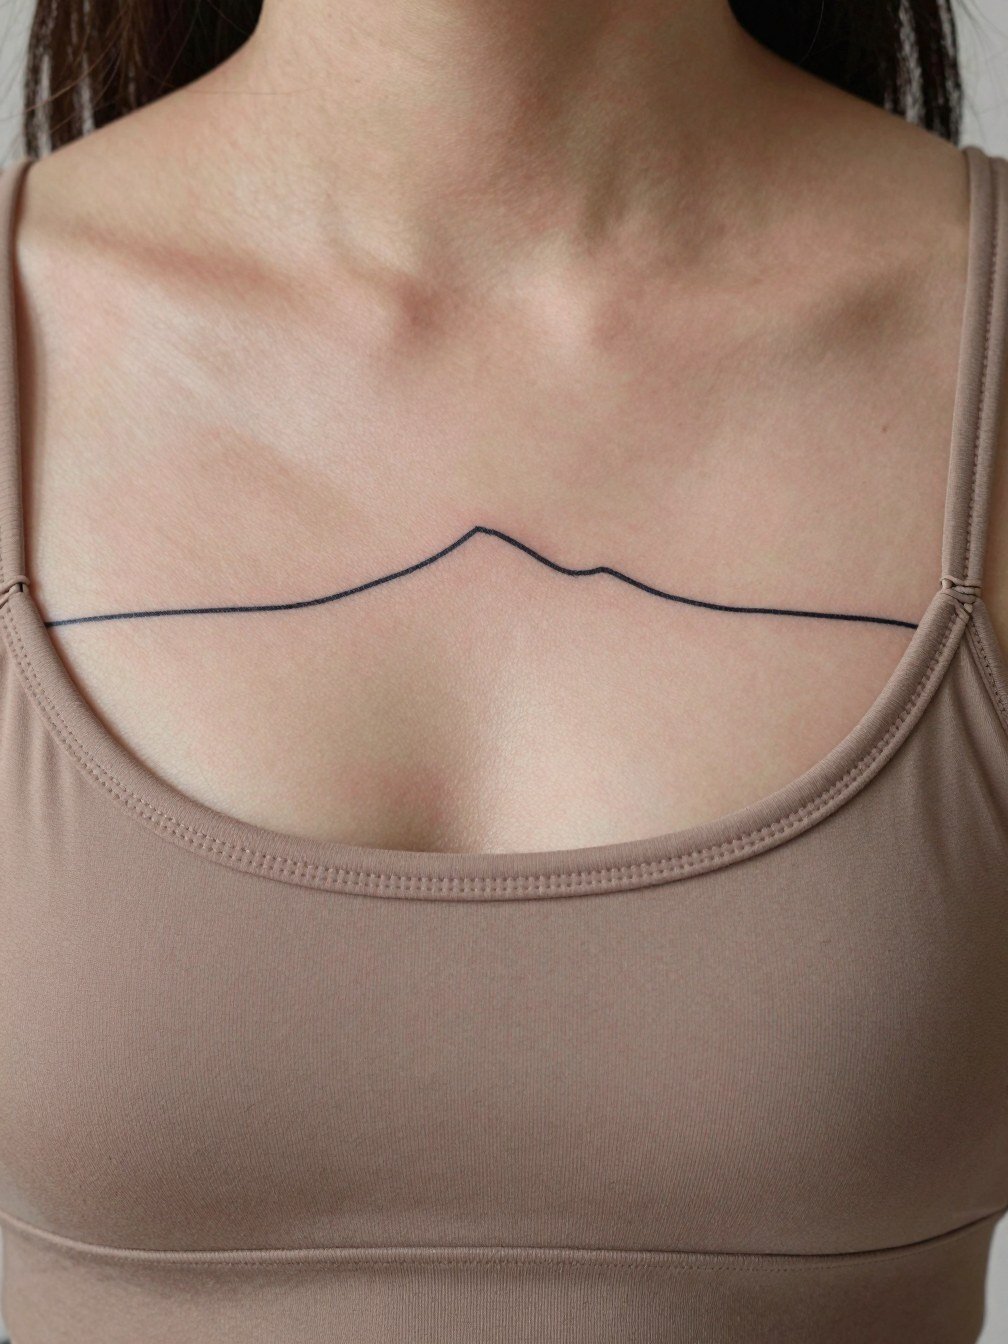
Sternum placements read boldly when spaced correctly, but the skin there moves with breathing so single-line thin work can blur. One camp of artists avoids ultra-thin single lines on the sternum citing tissue movement. Another group says with slightly thicker line weight and a central spacer the design will stay readable. Discuss line depth and breathing breaks with your artist and plan a slightly heavier stroke than a wrist single-needle. For the session wear, a fitted sports bra that the artist can lower slightly without fabric tension makes access easy.
14. Blackwork Wave Sleeve Accent on the Inner Arm
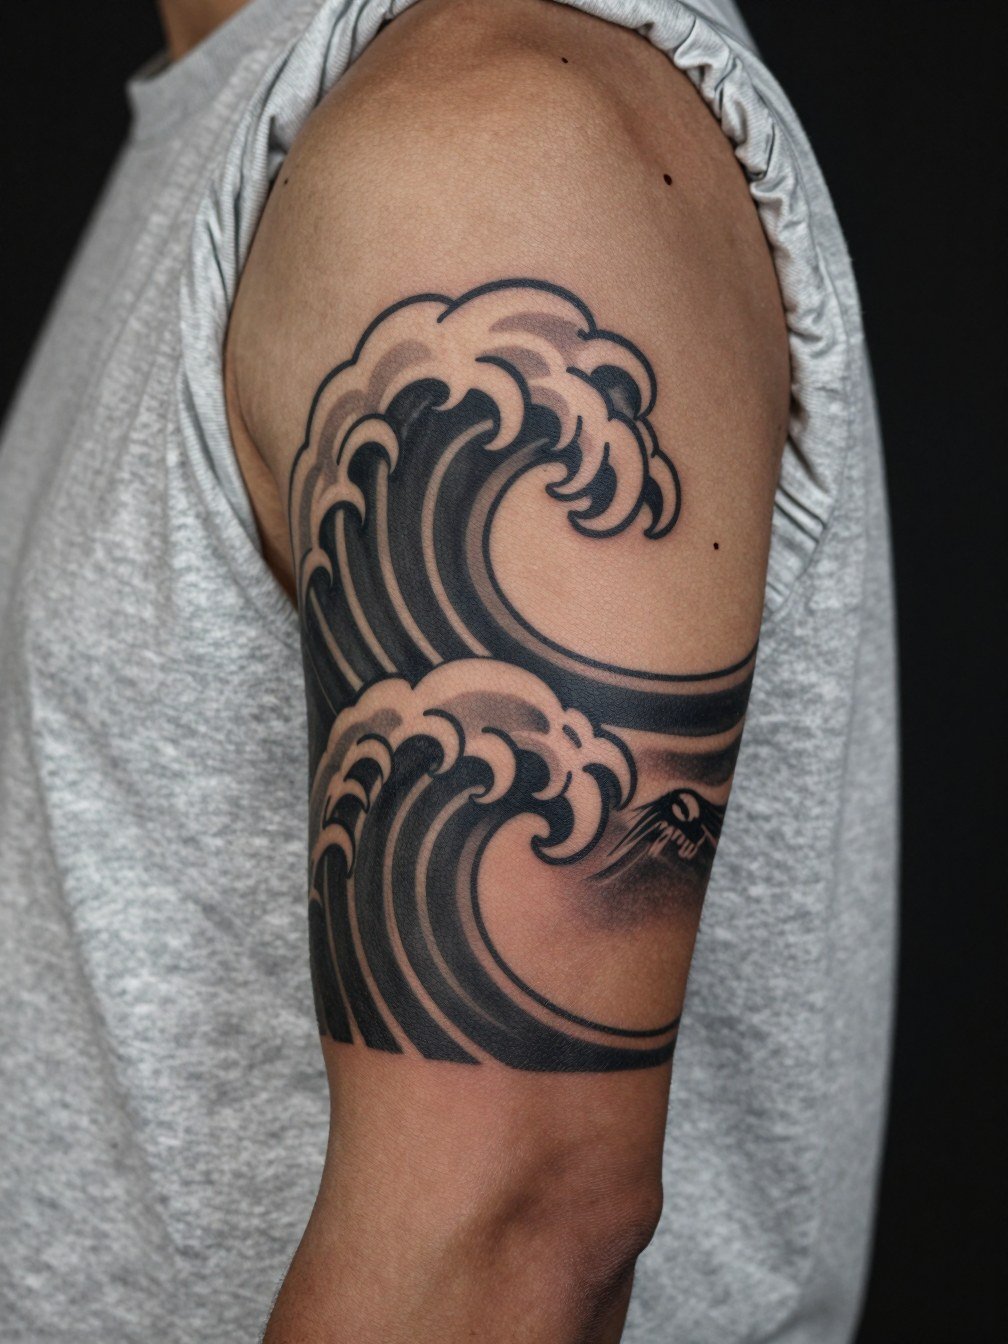
A blackwork panel on the inner arm holds detail because the dense saturation resists early fading. This placement has more stretch than the outer arm, so plan large blocks of contrast instead of tight stipple. During the consult, request spotting of where shadows fall when your arm is relaxed to avoid distortion. Pain here ranges from moderate to high depending on proximity to the nerve channel. Touch-ups for blackwork tend to be less frequent than for fine-line pieces.
15. Finger-Wrap Wave Band with Tiny Peak Accent (Accessory Pairing)
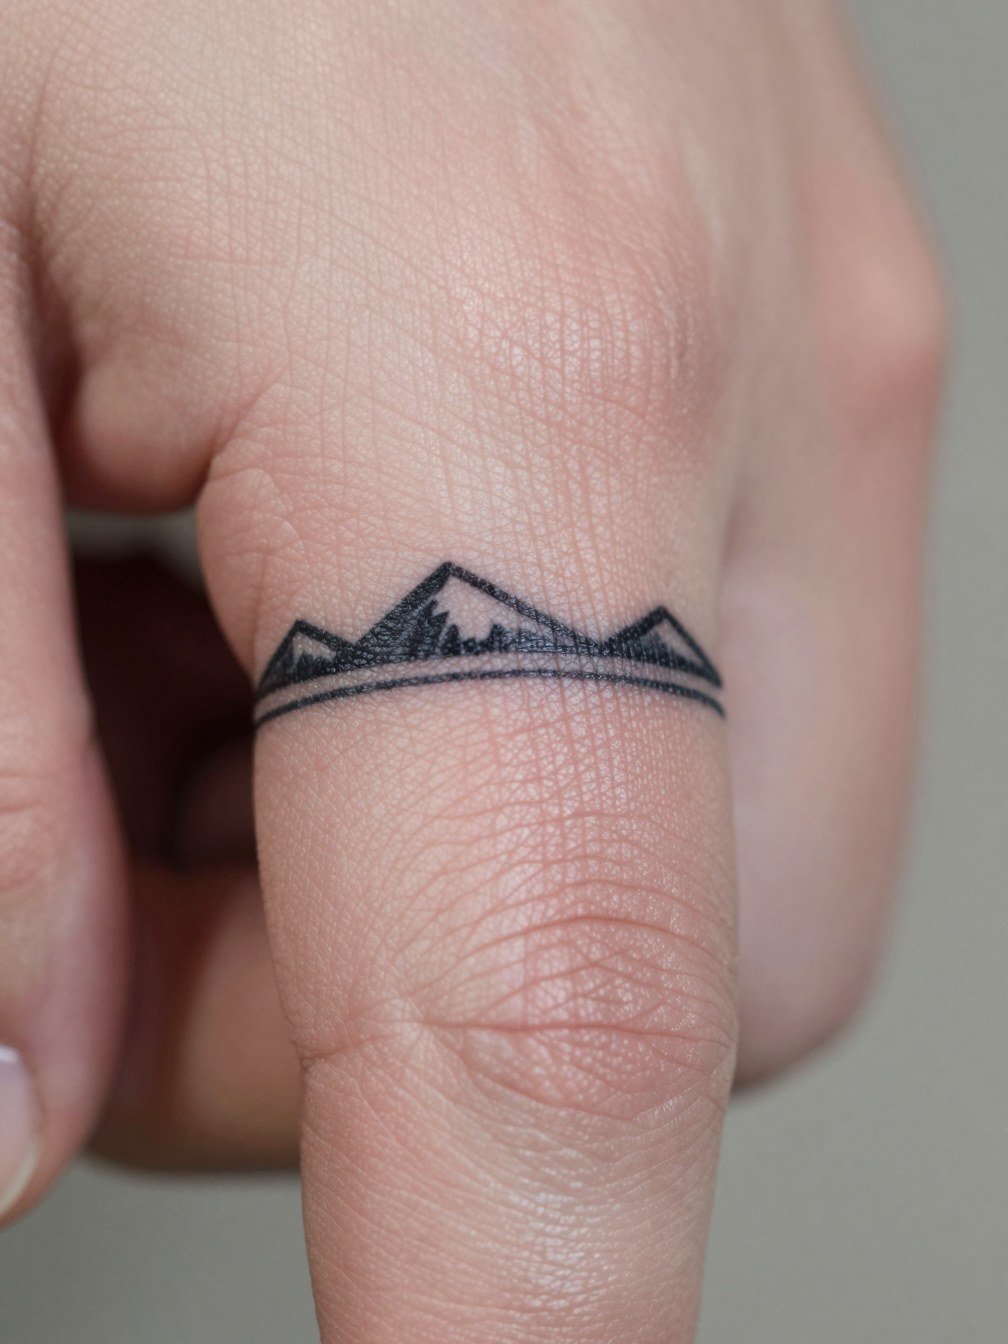
Finger-wrap bands are visible and interact with rings and daily abrasion, so pick clean geometry over fine texture. If you wear rings often, plan placement relative to where the ring sits so the line does not sit under metal. For showing the piece off, a slim minimal band ring complements the negative-space peak without covering it. Expect frequent touch-ups and be ready for potential fading with heavy hand use.
16. Mountain Silhouette Across the Shoulder Blade
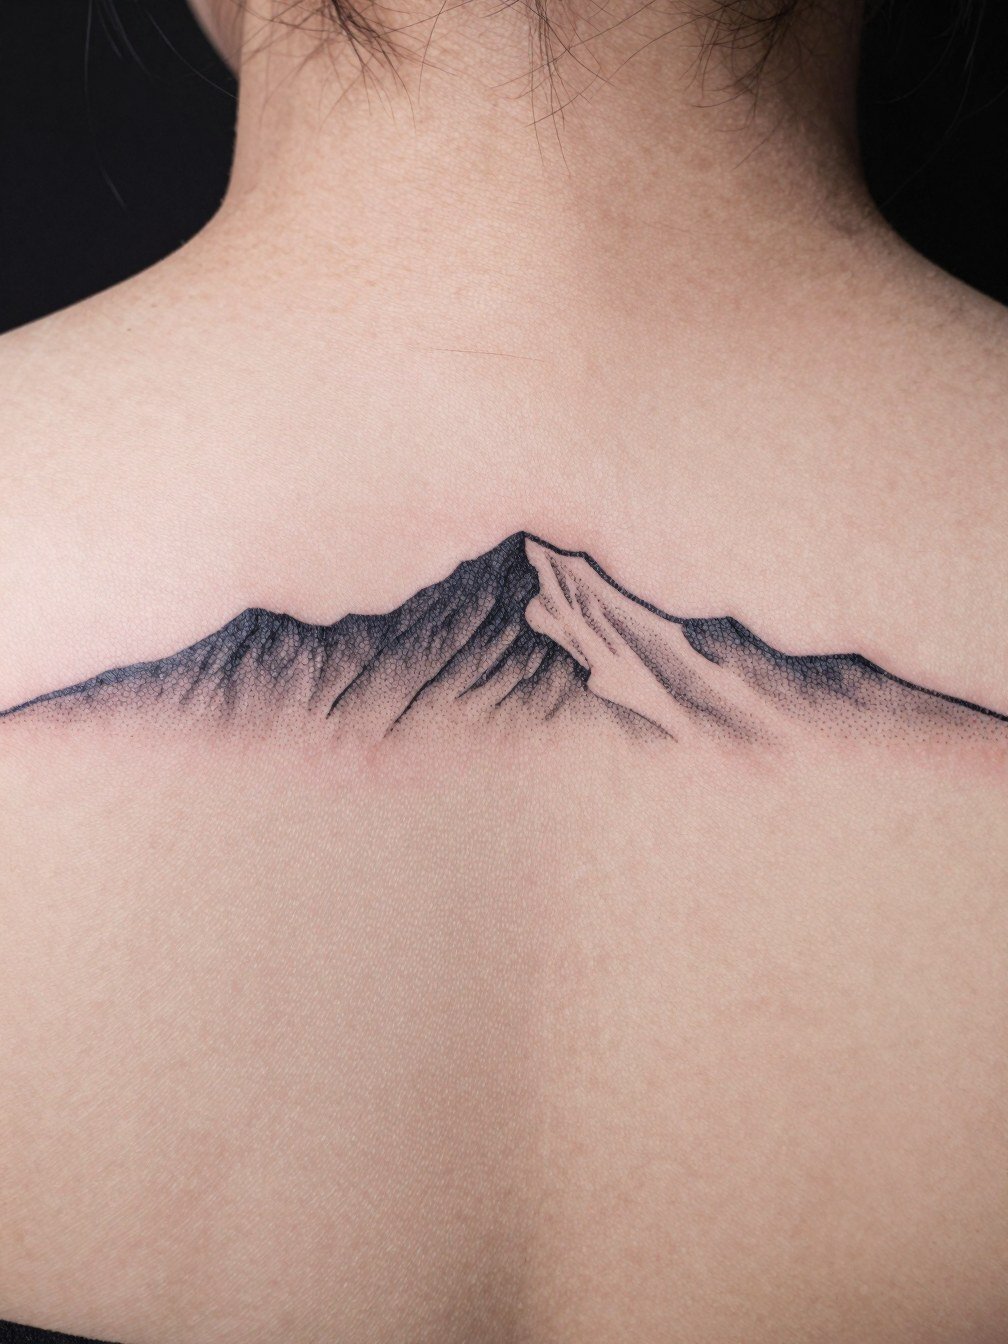
Across the shoulder blade you can craft longer horizon lines that age gracefully because the area is stable and often covered. Choose simple silhouettes with strategic stipple for depth rather than dense micro shading. Discuss how the piece will move with shoulder rotation and ask for mock-ups in motion so the artist can adjust for muscle flex. Sessions can be moderate in length if the piece spans widely. The common mistake is over-detailing at small scale; keep the negative space intentional.
17. Minimal Crest Over the Collarbone with Necklace Pairing
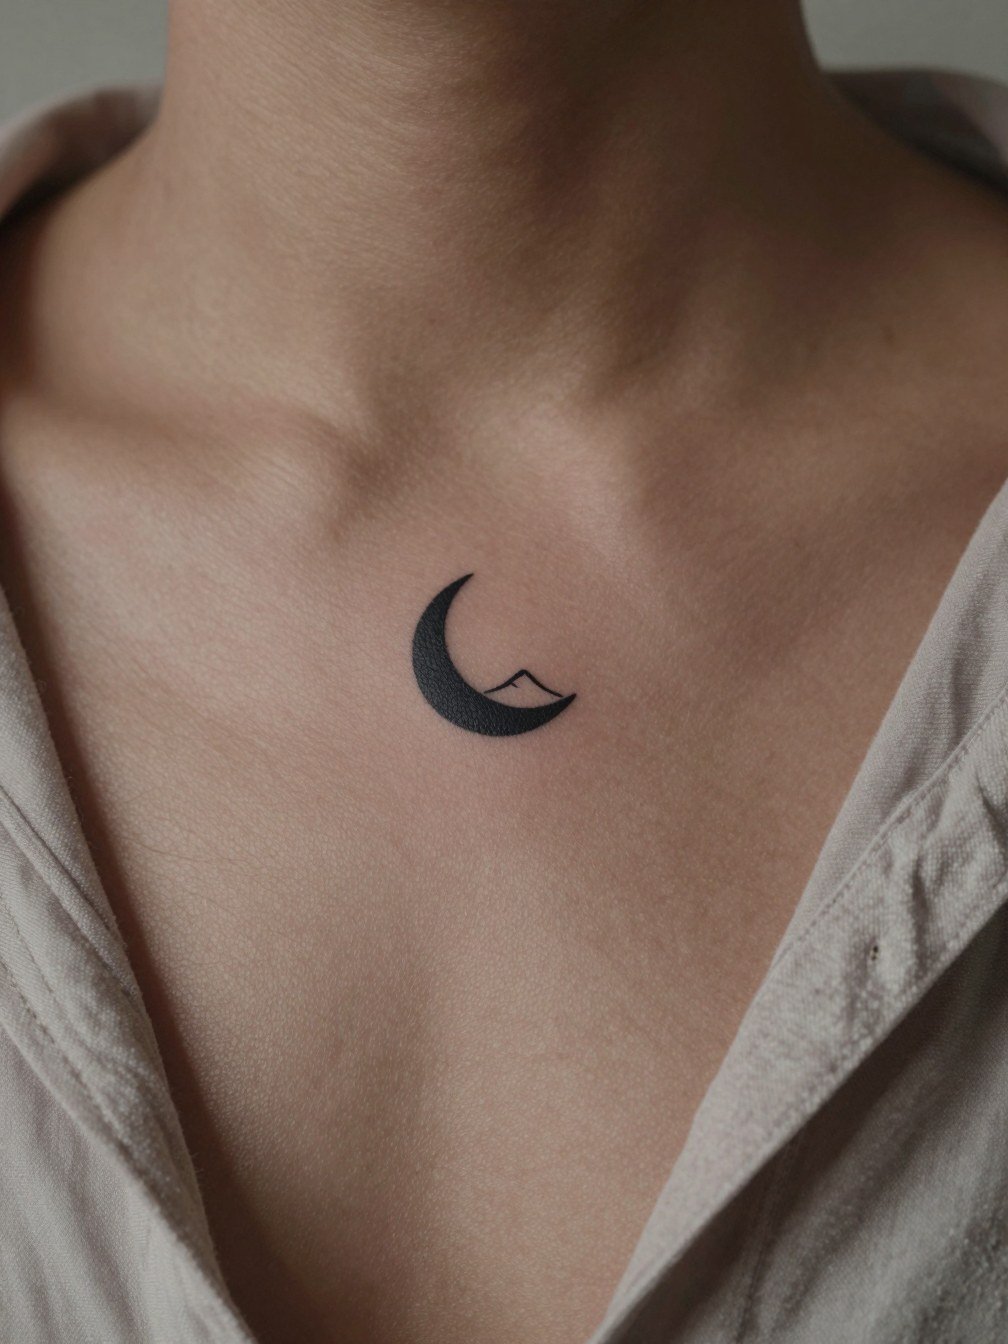
A tiny crest over the collarbone looks intentional with jewelry and is an easy way to tie ink into daily outfits. Tell your artist if you usually wear a necklace so the placement avoids chain interference and visibility. For evening looks, a delicate pendant sits well with the crest; try a fine chain necklace that follows the collarbone. The session is short and the pain is low due to the thin skin, but thin lines require a slightly bolder start to avoid early feathering.
18. Overlapping Peaks and Tides on the Thigh Side
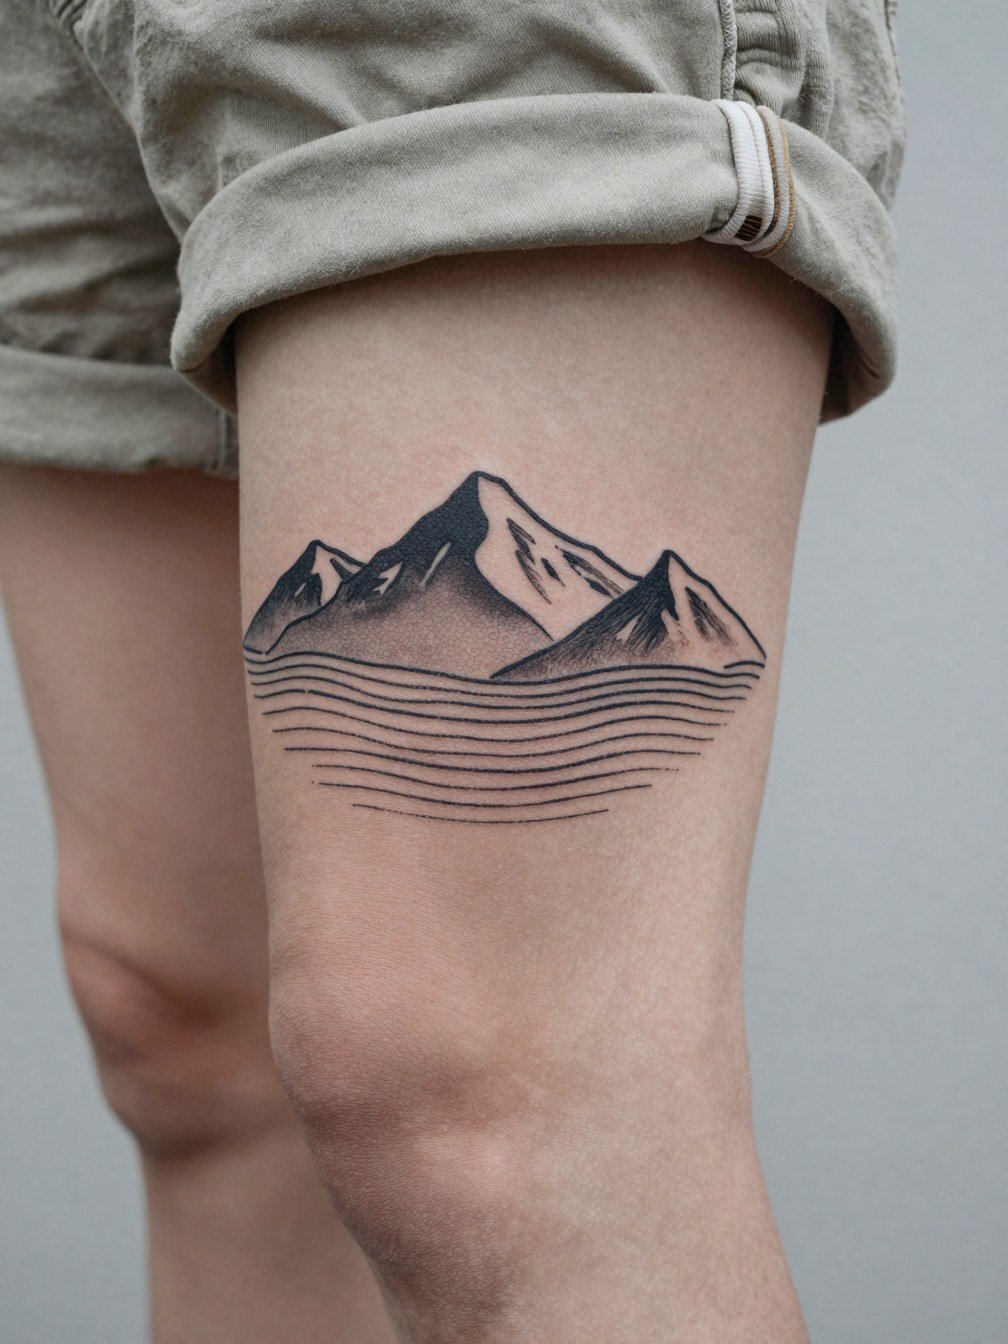
The lateral thigh gives room for layered scenes that can be personal and larger without daily exposure. For longevity, scale the peaks so each layer has clear separation. In the consult, discuss how the design will sit when you wear shorts versus swimsuits. Sessions are comfortable for most people and allow for larger needles and deeper saturation. A frequent error is compressing too many layers into a small vertical slice; keep breadth to maintain clarity over time.
19. Tiny Line Wave with Coordinate Peak on the Ankle (Casual Shoe Tip)
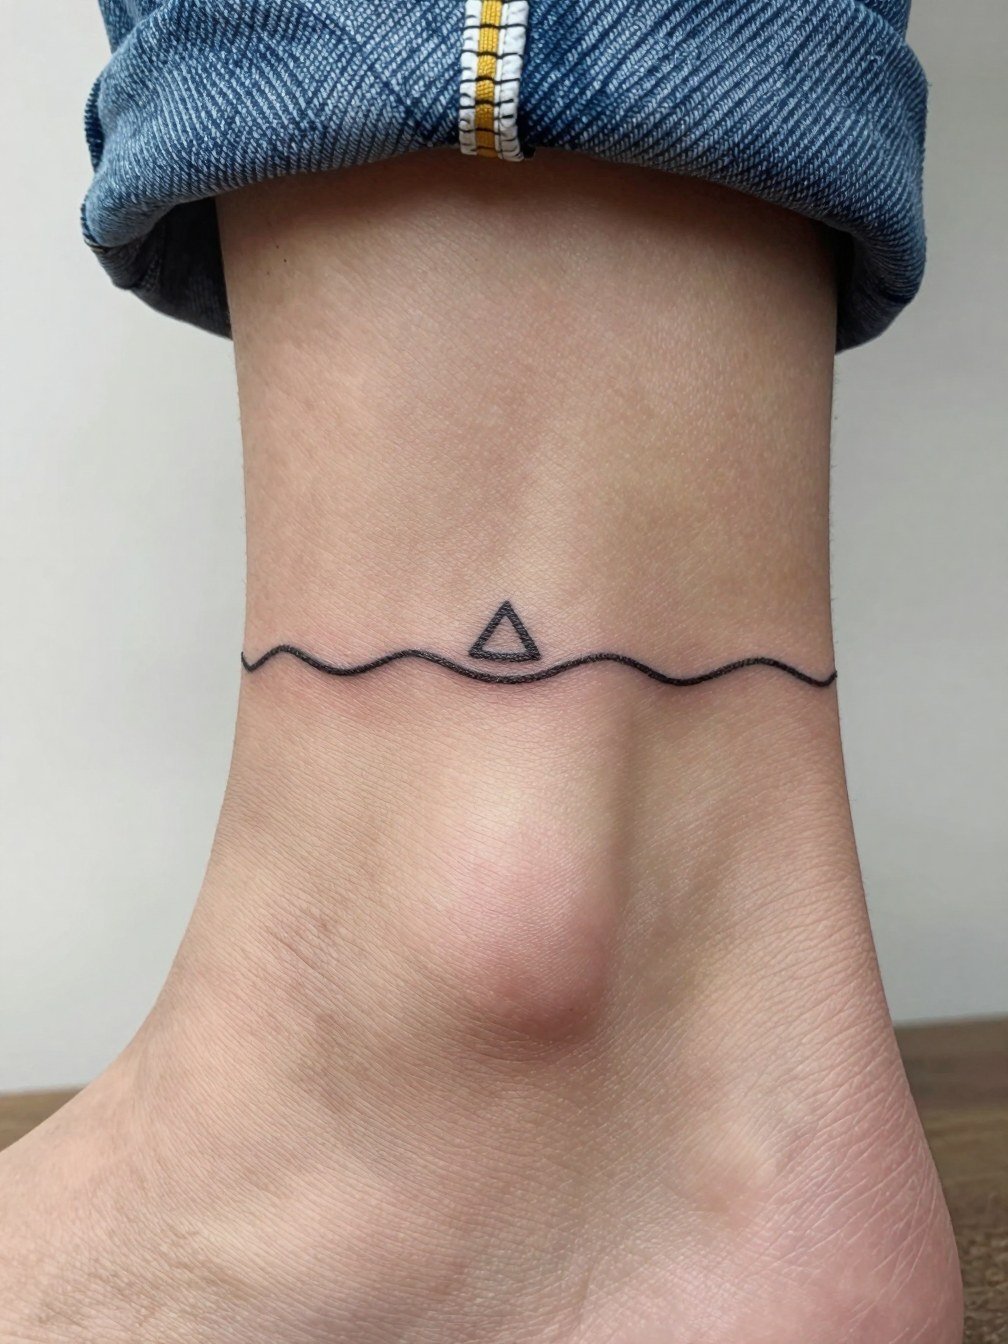
An ankle coordinate-style pairing is subtle and travel-friendly. Because ankles endure shoe friction, prefer a simple line and tiny peak rather than internal shading. For session-day comfort, wear shoes without a heel strap the day after your appointment to avoid constant rubbing while the area seals. A common mistake is adding tiny numerals or ornate script there; they often blur. Expect a small, fast session and occasional touch-ups.
20. Circular Badged Landscape on the Sternum Edge (Delicate Session Prep)
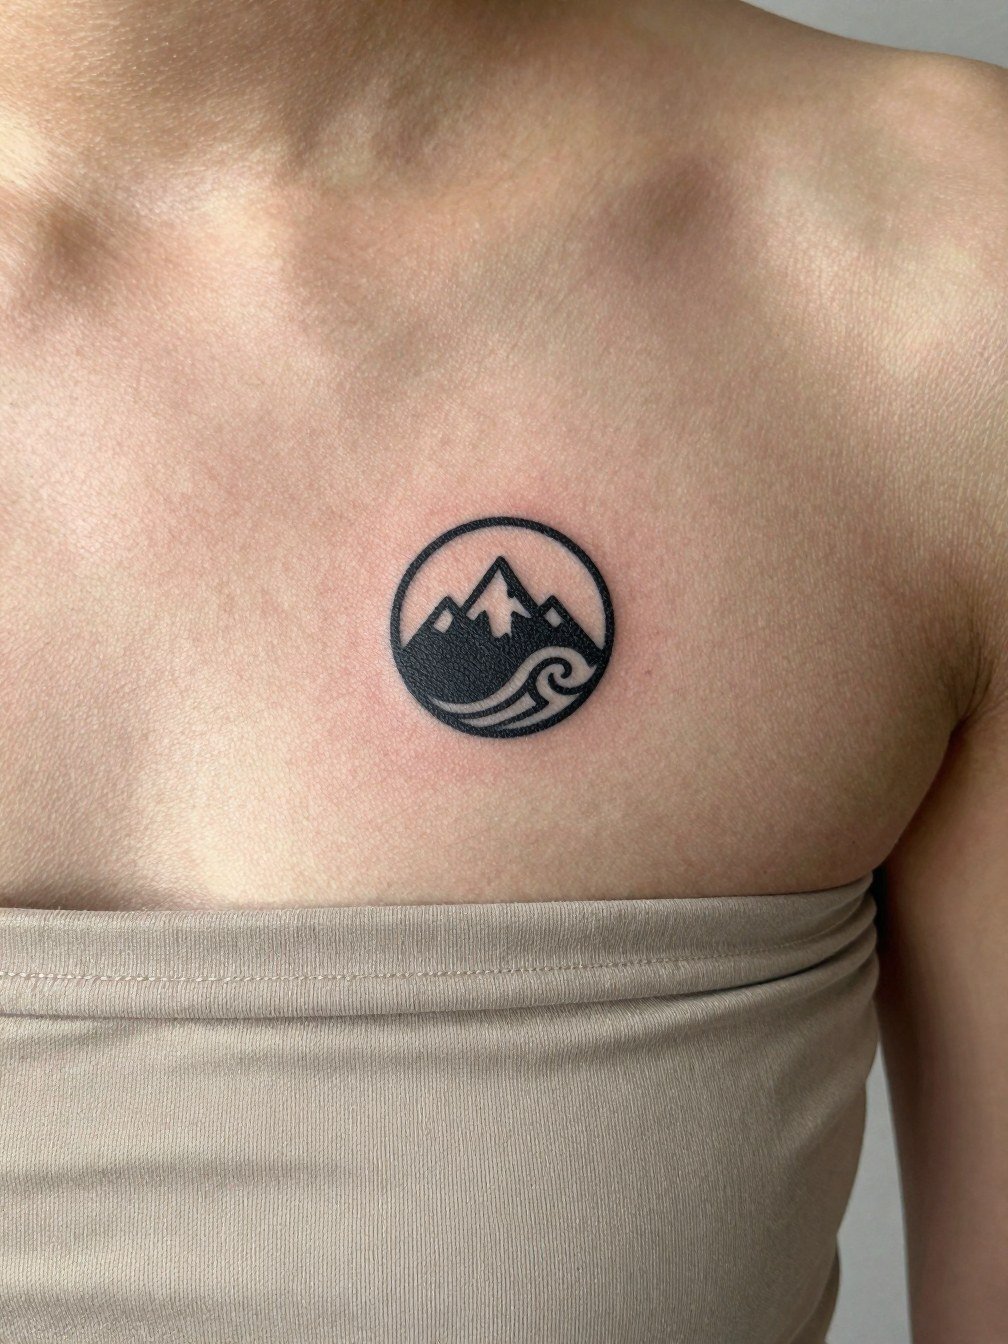
A badge near the sternum edge reads like a pendant and requires sensitive session handling due to nearby bone and thin tissue. Artists argue two views on this area: one camp avoids ultra-fine single-needle elements because tissue movement and pressure make the lines blur. The other camp uses slightly heavier line weights and careful depth control to keep fine work intact. For this placement, plan for short bursts and a comfortable top you can lower slightly without bunching. Expect longer healing and a probable touch-up after the first year.
21. Dual Horizon Wrist Wrap with Tiny Peak Accent (Final Reveal Styling)
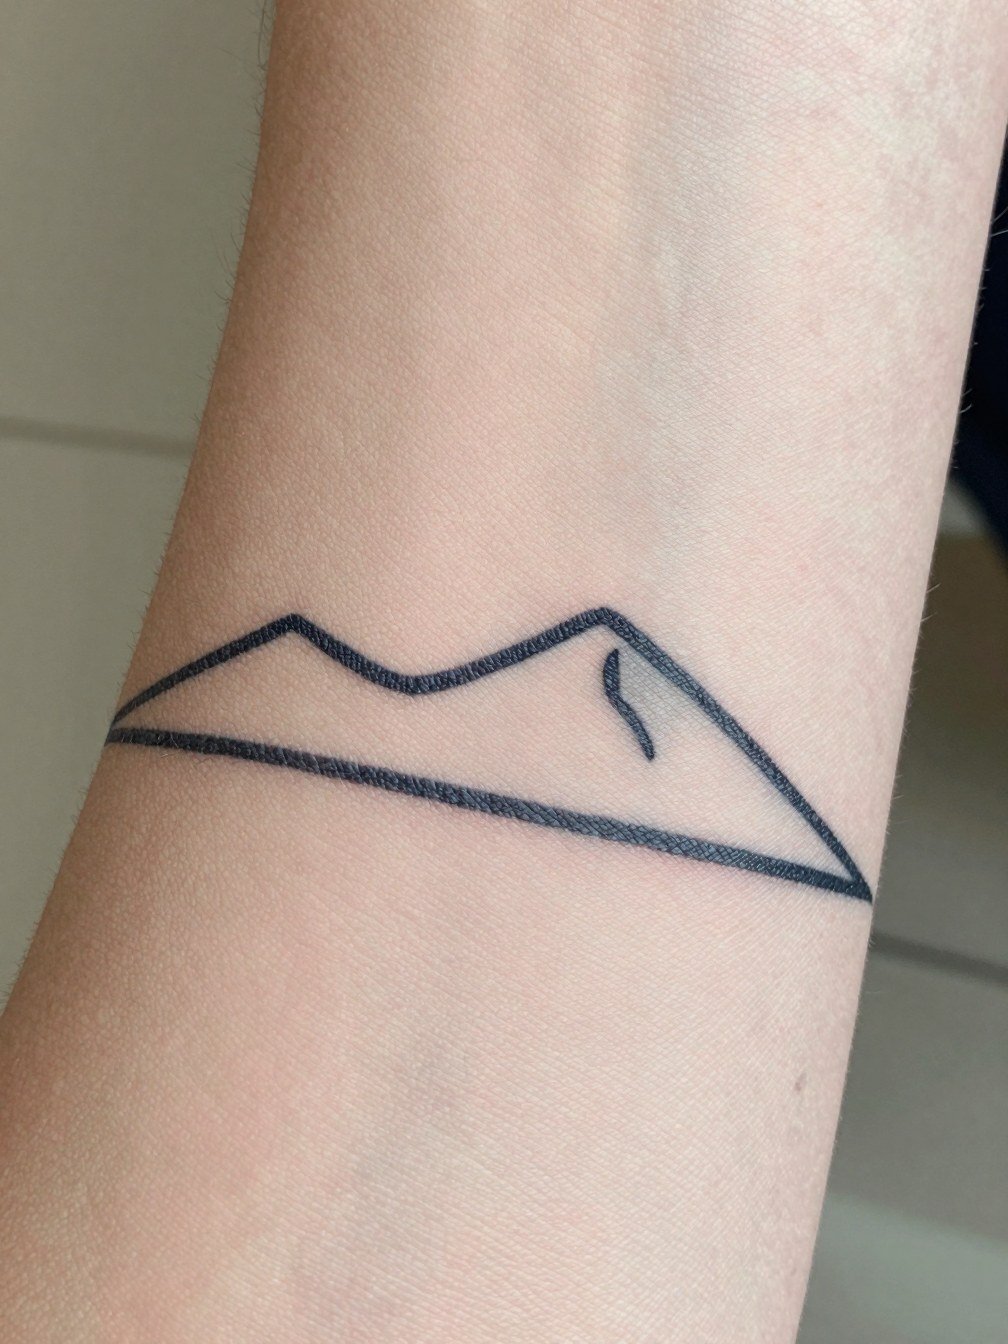
Two narrow horizon bands on the wrist offer a layered look that pairs well with bracelets and watches if you like wrist stacking. Request slightly heavier outer rings so they do not vanish under repetitive hand movement. For styling, a slim leather strap watch or thin cuff frames the bands without obscuring the peaks; try a minimal leather cuff for evenings. Expect a short session and a touch-up window of about 12 to 18 months depending on hand use.
Frequently Asked Questions
Q: How do I find healed examples of wave and mountain work in my area without naming artists?
A: Search social platforms using combined hashtags and location filters to surface healed shots, for example try variations like #waveandmountaintattoo, #minimallandscapetattoos plus your city name. Use portfolio sites and forum threads that let you filter by healed images and skin tone to judge longevity. Local shop websites and their Instagram highlights often include healed photos labeled by placement.
Q: How should I prepare clothing for a sternum or ribcage session?
A: Wear a fitted sports bra, bandeau, or cropped top that the artist can lower or shift without creating pressure on the area. Clothing should be in normal worn position, not being pulled during the session, so a fitted sports bra is a practical choice. Bring a loose cover-up for after the session to keep friction low during travel.
Q: Which styles age best if I spend a lot of time in the sun?
A: Bold blackwork and simplified silhouettes generally outlast delicate stipple and micro-realism when exposed frequently to sunlight. If you prefer color or watercolor washes, plan for periodic color boosts and aggressive sun protection. For visible placements, ask for stronger outlines and preserved negative space to retain contrast over time.
Q: Are there placements I should avoid with single-needle fine lines?
A: Single-needle fine lines struggle on high-stretch or high-friction zones like the ribcage, fingers, and sides of the hands. One group of artists will recommend avoiding ultra-fine work in those areas because the lines can blur. Another group will accept the work if you agree to slightly heavier spacing and planned touch-ups. Decide based on how often you want maintenance.
Q: How long before a small wrist or inner-forearm landscape needs a touch-up?
A: For wrist and inner-forearm landscapes expect a touch-up window commonly around 12 to 24 months if the piece is fine-line. Heavier outlines and black fills push that window longer. Plan a realistic follow-up based on your lifestyle and sun exposure, and schedule a quick check in the first 12 months to assess fading.