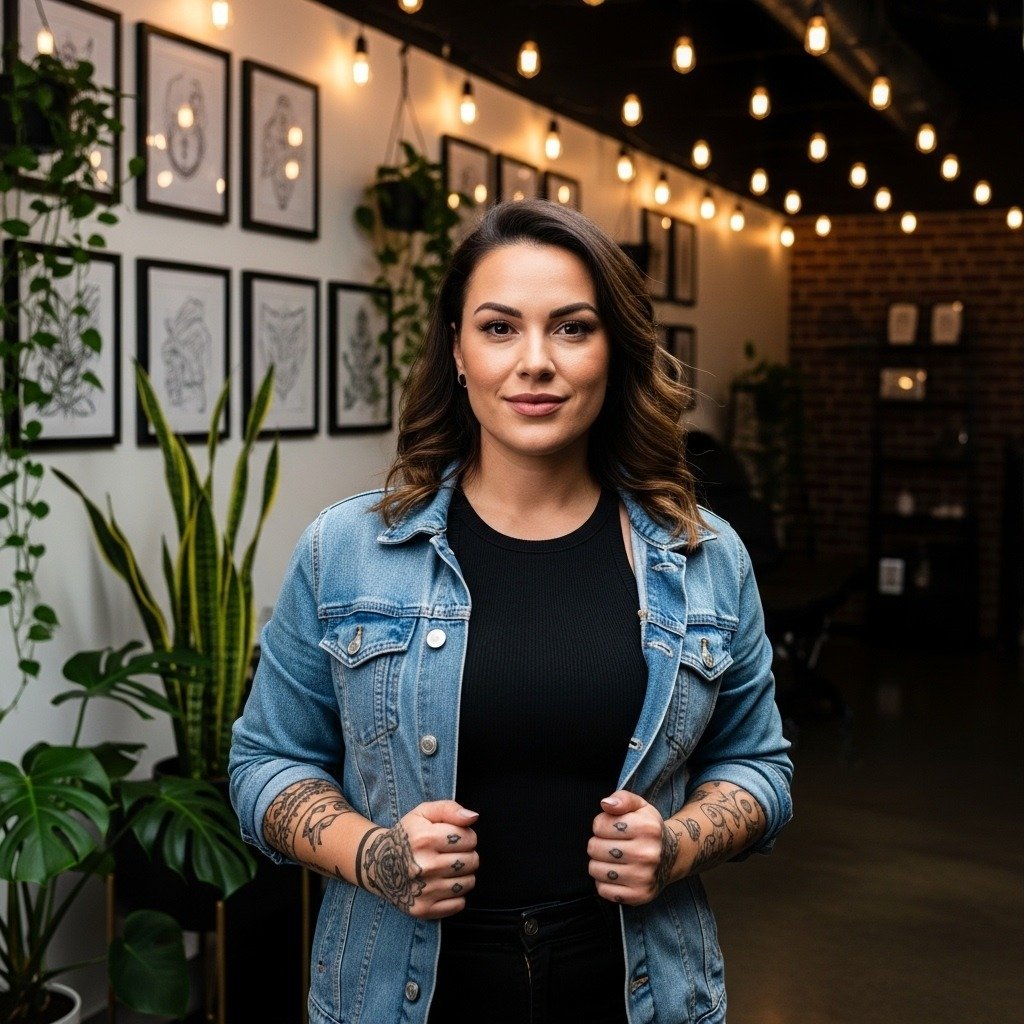
A tiny wave on the wrist can read like a quiet habit you notice every morning, or a visual bookmark of a place or chapter. Pick single-line restraint if you want something private that tucks under bracelets. Choose more layered or slightly heavier linework if you want the motif to stay crisp through sleep, sleeves, and seasons. Below the first idea is a healed photo so you can see how scale and spacing actually read on skin.
1. Single-line inner wrist wave
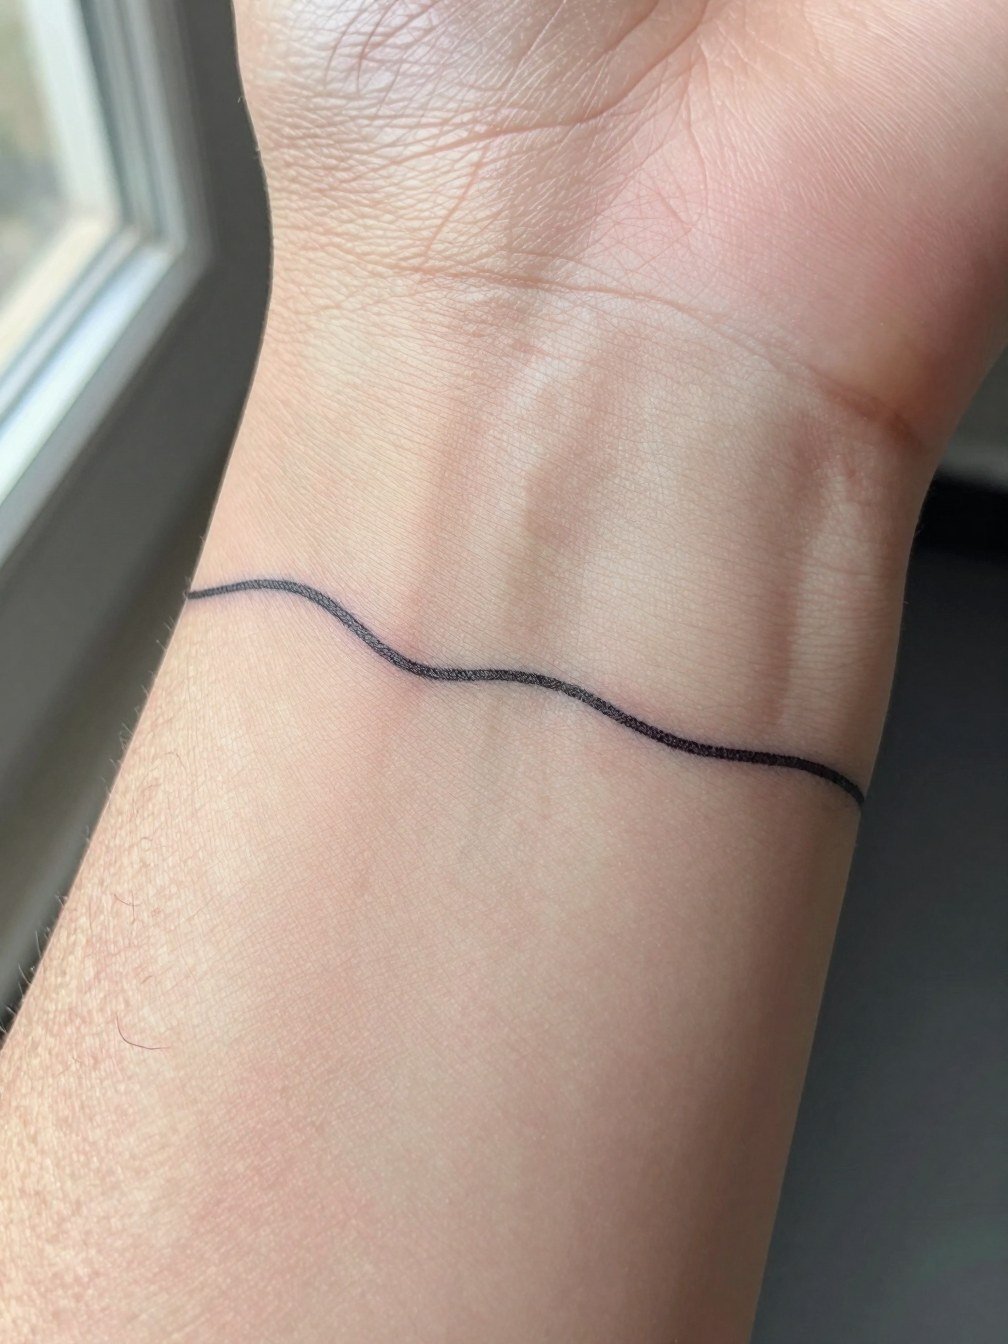
A single continuous line on the inner wrist reads as a quiet personal mark that you can show or cover with a watch. Fine-line fans value that whisper of motion. Some artists argue fine line is the best choice because it stays subtle and fits the narrow wrist. Other artists argue for a hair thicker line because the wrist moves and ultra-thin lines can blur faster. If longevity matters, ask for slightly heavier linework and a single clean contour so the crest does not turn into a smudge over several years. Expect a quick session under thirty minutes and light soreness when you sleep on that side. For the session wear a short sleeve ribbed tee so the artist can access the inner wrist easily.
2. Red accent wrist wave
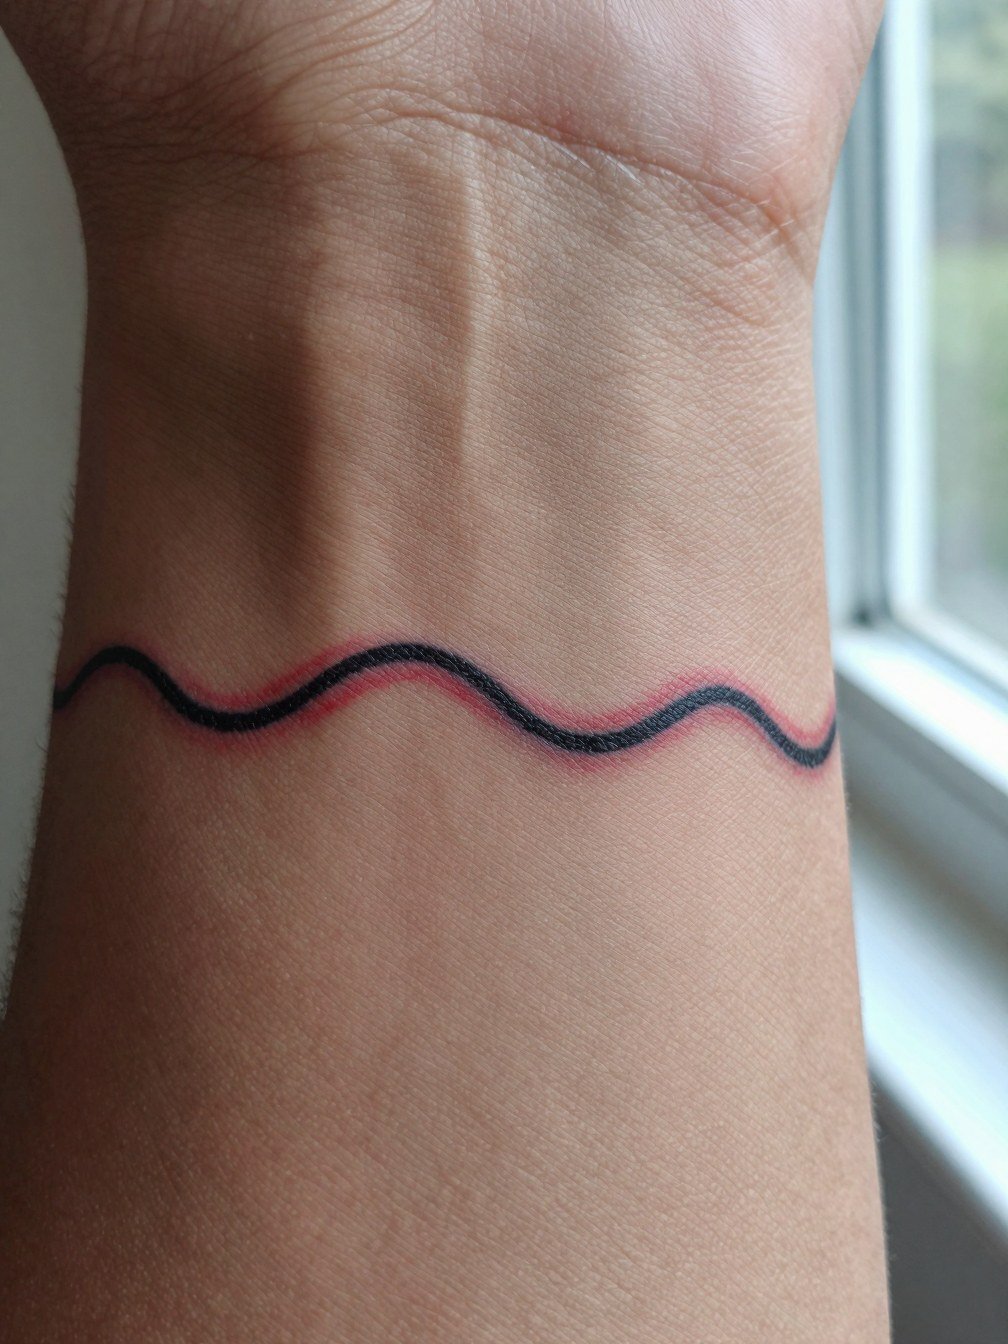
A touch of red gives a tiny wrist wave personality without adding size. One camp prefers black because it reads longer and requires fewer touch-ups. The other camp loves red for the warmth and the quiet pop it delivers on small pieces. If you pick red, expect slightly more frequent touch-ups and bring healed reference photos so the artist can gauge contrast on your skin tone. Common mistakes are requesting a red line at the same fineness as black references and then noticing faster fade. Session time is short and the wrist feels more tender than the forearm. For showing this off, a narrow bangle on the opposite wrist keeps the focus on the wave, try a thin bangle bracelet.
3. Tiny wave band around the wrist
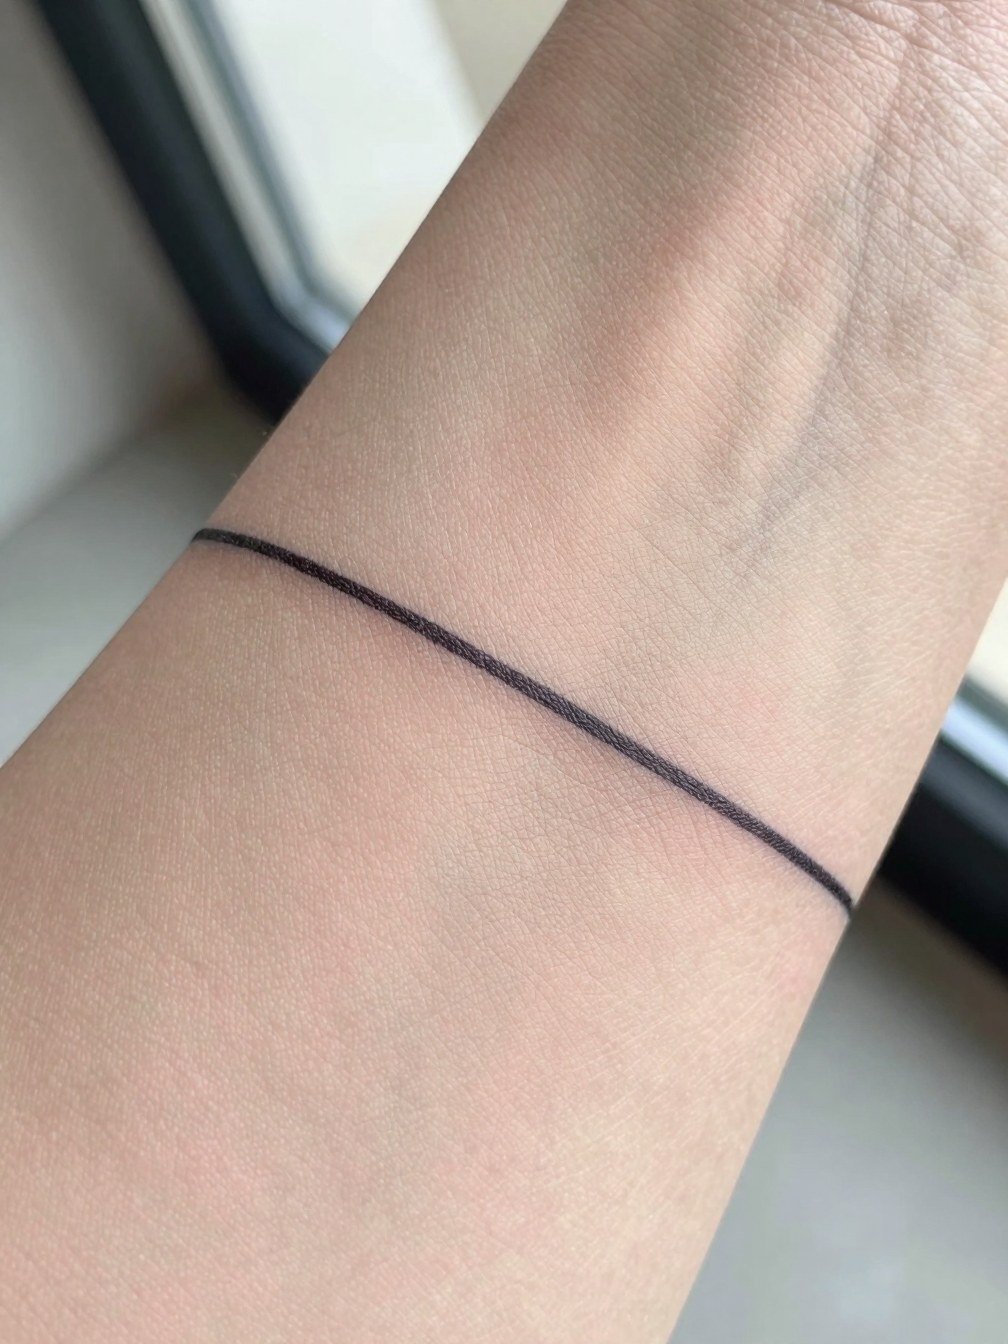
A wrapped micro band reads like jewelry and stays readable from multiple angles without being loud. Recommend slightly bolder single-line work rather than single-needle filigree so the band keeps its shape after a year. A common mistake is packing the band with tiny interior details that the wrist cannot hold. This placement has moderate blowout risk if the line sits too shallowly, so insist on depth and even spacing. Plan the session wearing a short sleeve ribbed tee or tank so the artist can roll and stencil precisely. Healed look at six months is crisp contour; by two to five years it may need a touch-up if the line thins.
4. Cresting line on the back of the arm
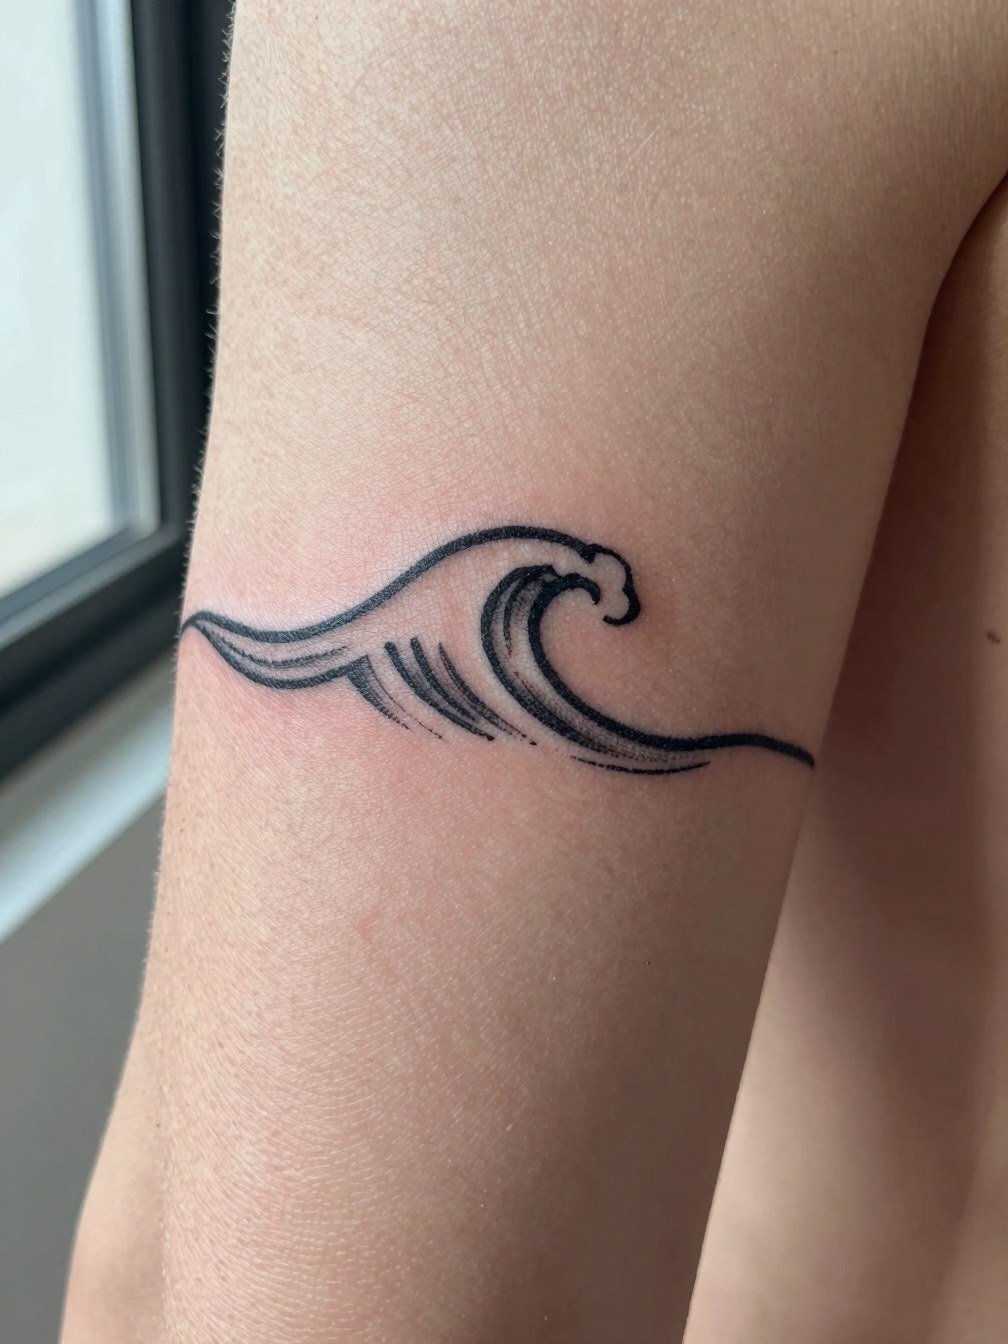
Putting a cresting line on the back of the arm keeps the minimalist feel while adding motion that reads when your arm moves. If you want the wave to age cleanly, keep the crest open rather than packed with tiny interior strokes. A common mistake is compressing multiple small swirls into a narrow area which softens into a blotch over time. The session usually runs 20 to 40 minutes and the back of the arm tolerates the needle well. For showing it off, roll up sleeves on a linen button down shirt so the arm looks natural and the tattoo gets visibility without competing with heavy patterns.
5. Geometric wave on the wrist
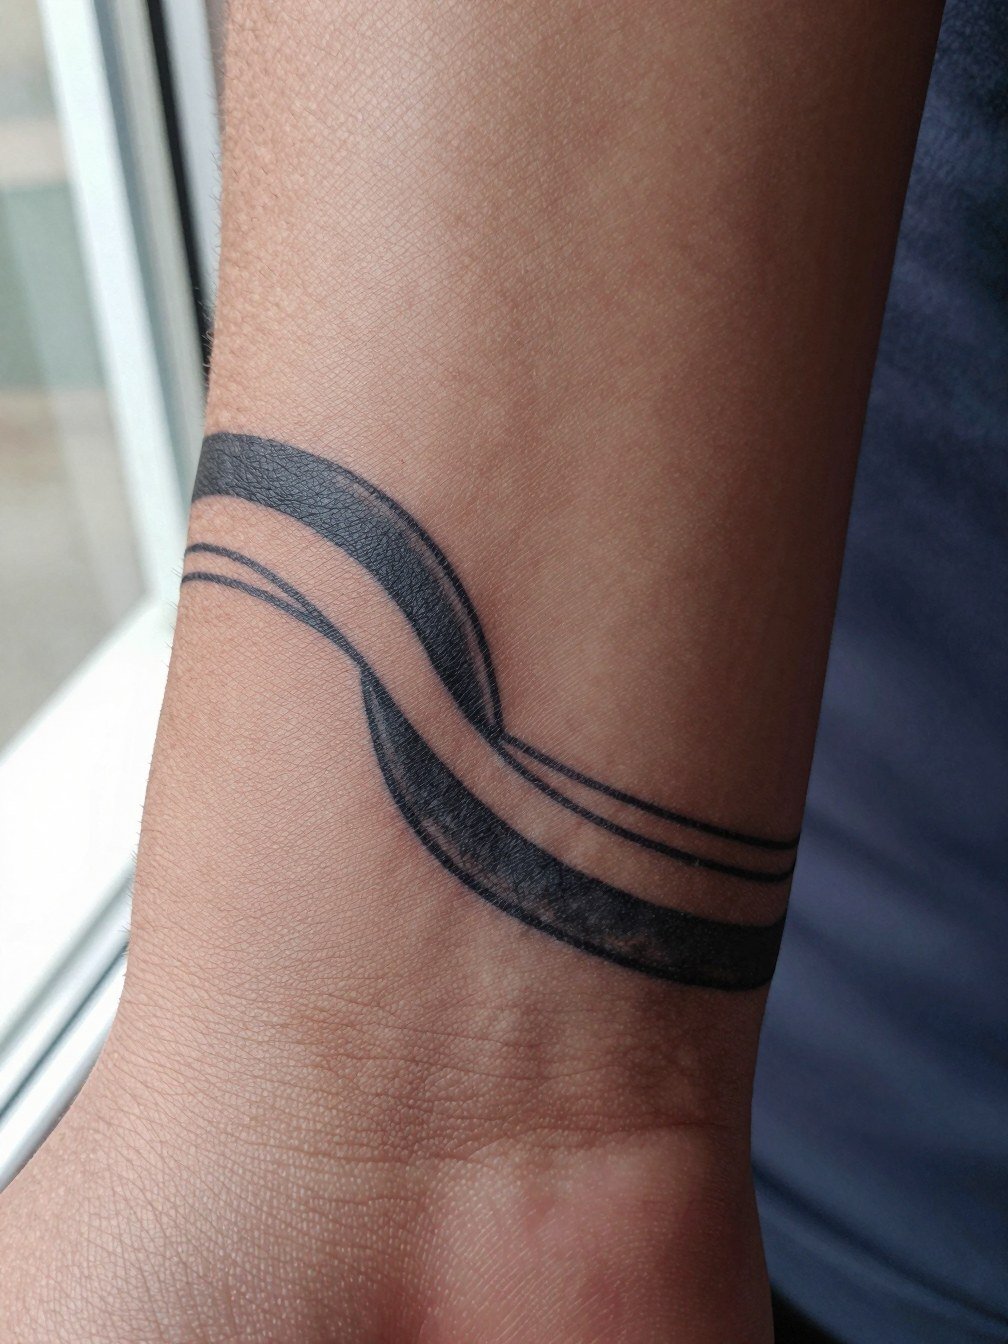
Geometric shapes add a modern edge to the wave theme and help the design read at small scale. The biggest mistake is shrinking the geometry so the negative space disappears in a year. Ask for generous spacing between arcs and for the artist to mock up the design at the exact wrist width so you can visualize scale. Expect a 30- to 45-minute session and some soreness where the skin is thin. For outfits, cropped sleeves or bracelet-free wrists show the geometry best, try pairing with a cropped sleeve tee when you want it visible.
6. Wave with tiny moon or sun detail
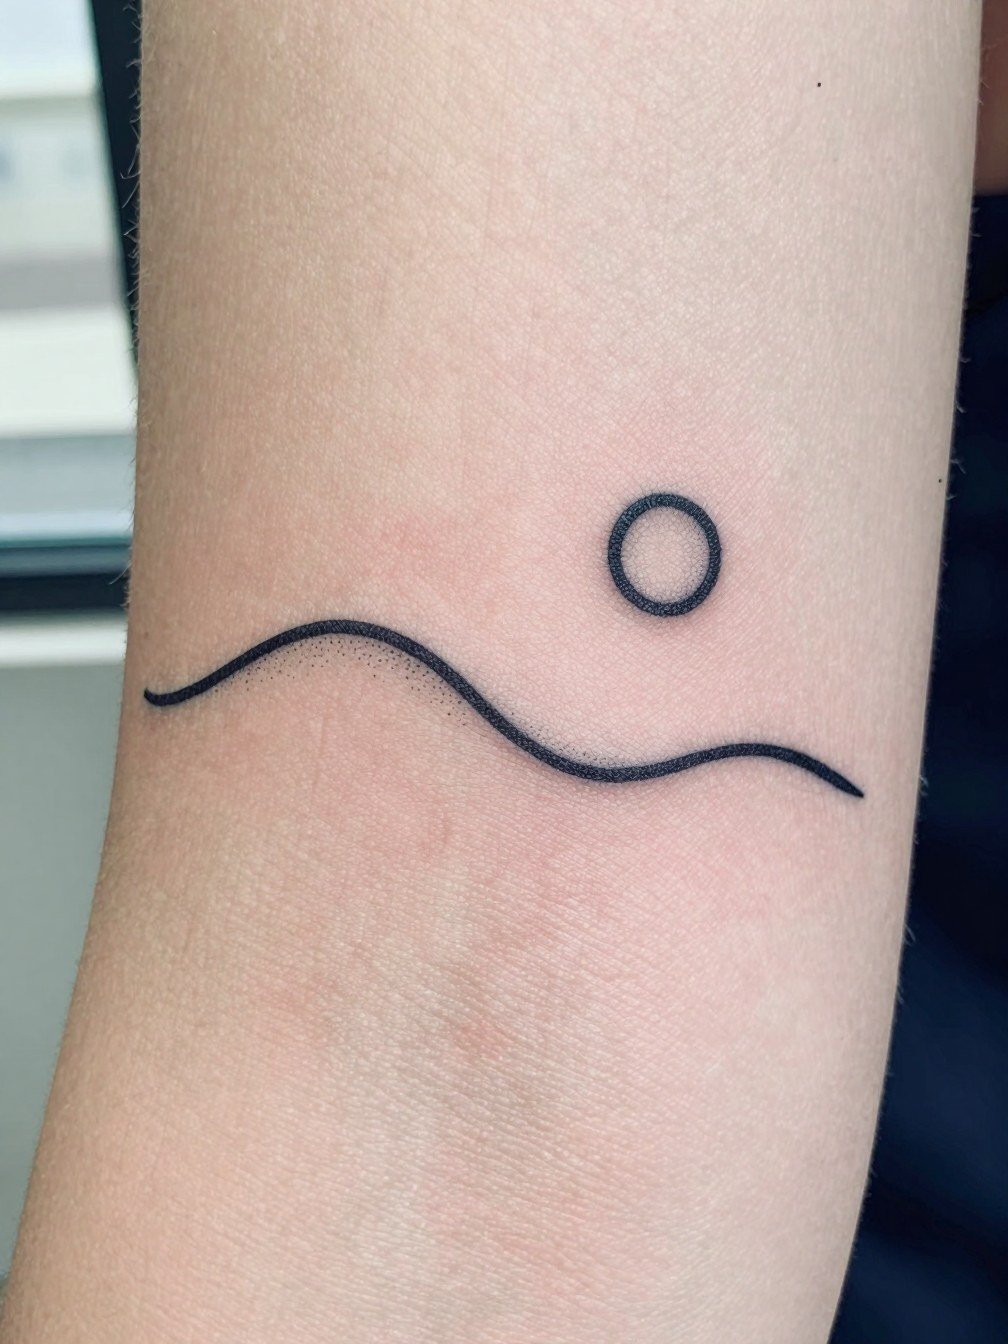
Pairing a small celestial symbol personalizes the wave without cluttering the wrist. People who like symbolic anchors choose a tiny sun or moon to mark a day or mood. A common aging issue is placing the symbol too close to the wave, which merges as the tattoo softens; leave deliberate spacing. Discuss exact diameter of the circle during the consultation so it does not become a dot blob at year two. The session is short and the wrist recovers quickly if you avoid friction from watches. For evenings out, a layered fine chain that sits below the collarbone keeps attention off the wrist, but for daytime try a thin bangle bracelet on the opposite wrist to complement the piece.
Heal Smart
The small wrist pieces above face friction from watches and sleeves, so a few targeted products smooth the first week and protect fine line detail.
-
Second-skin dressing alternatives. These non-mainstream film dressings reduce friction on the wrist and keep lint and sweat away while the ink settles.
-
Unscented pump-style healing lotion. A pump avoids contamination from fingers and provides light moisture for tiny lines without clogging pores.
-
Thin fragrance-free moisturizer. Lightweight hydration helps prevent scabbing that can pull at single-needle work.
-
Medical-grade silicone sheet patches. These are lesser-known for tattoos but can smooth raised scabs and reduce tensile stress on healing linework.
-
Second-skin bandage product. A mainstream film bandage keeps the wrist protected during the busiest first 48 hours so the linework does not rub on clothing.
7. Tiny wave with a date marker
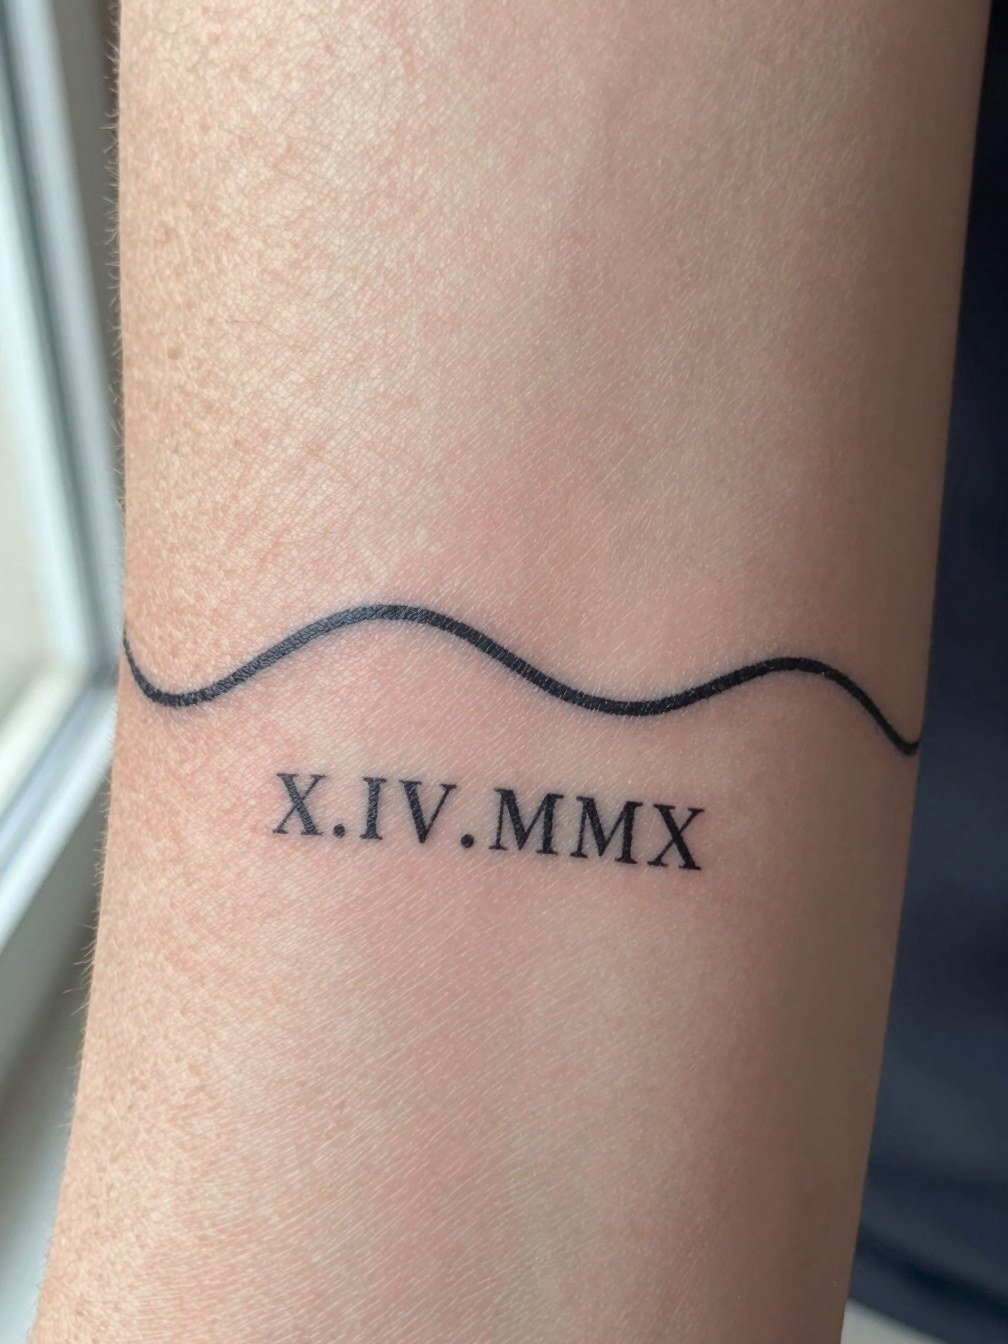
Embedding a date anchors the wave to a place or chapter without adding bulk. One mistake is picking an ornate numeral style that loses legibility at small scale. Ask the artist to show the numerals in the exact final scale and to try a slightly bolder stroke for the digits compared with the wave. Over time the numerals may need a touch-up before the wave does. The session is short and feels like a faint stinging on the wrist. For appointment wear, a tank top or short sleeve ribbed tee makes access easy and keeps the area from being irritated by fabric during stencil placement.
8. Minimalist ankle wave
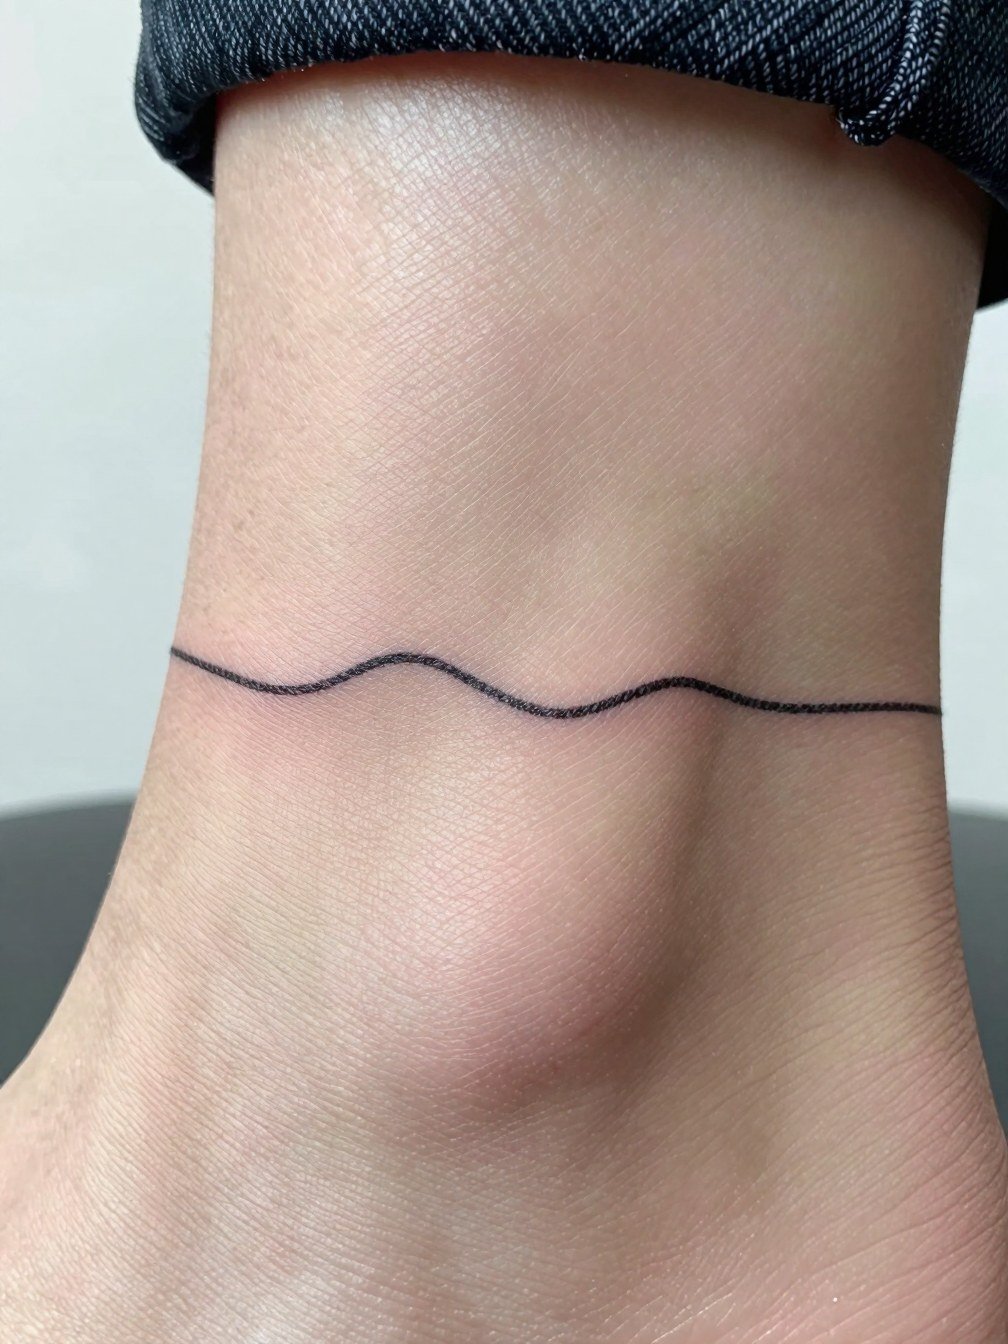
An ankle wave is subtle and perfect if you want a quiet ocean reference that appears with sandals and cropped trousers. The ankle faces friction from socks and shoes, so keep the design simple and avoid heavy stipple that can trap debris during healing. A common error is placing the wave too close to the bone where movement and rubbing accelerate fading. Sessions are brief but the ankle can be more tender than the wrist. For showing it off, cropped trousers or low-profile sandals work best, try a cropped linen pant for warm-weather outfits.
9. Layered ocean flow on the forearm
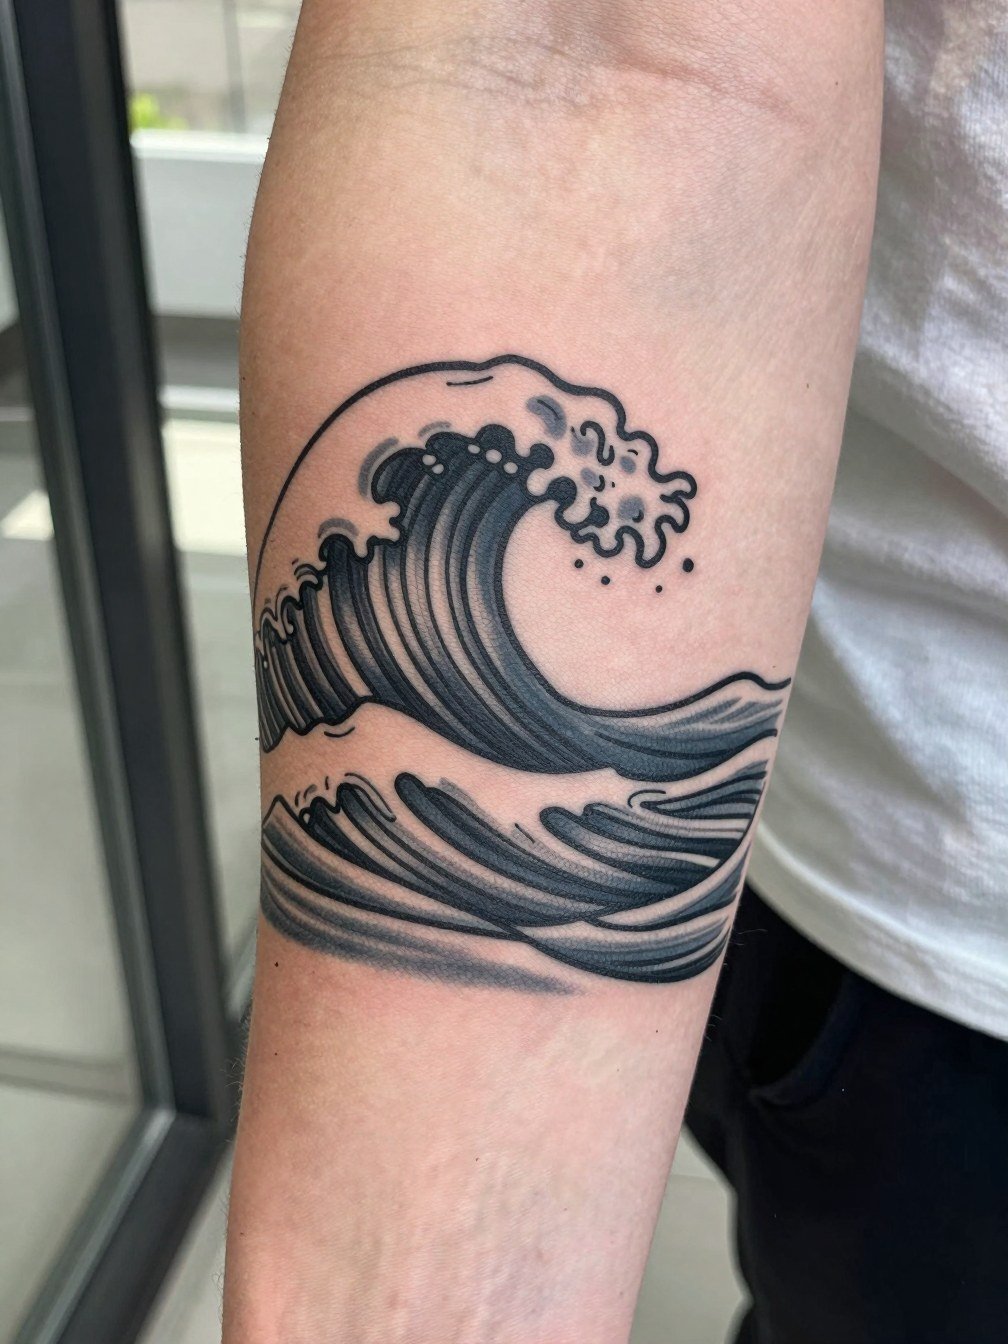
A layered forearm piece gives the wave room to breathe and tells more of a visual story than a single crest. For longevity, avoid tiny texturing inside each layer; instead use broader stipple or soft gray washes that age predictably. The forearm shows work well from distance and the session may run from one to three hours depending on detail. Common mistakes include trying to compress a sleeve-style composition into a tiny forearm spot. For the session, wear a rolled sleeve shirt that stays out of the way and feels comfortable for a longer appointment.
10. Japanese-style wave starting at the wrist
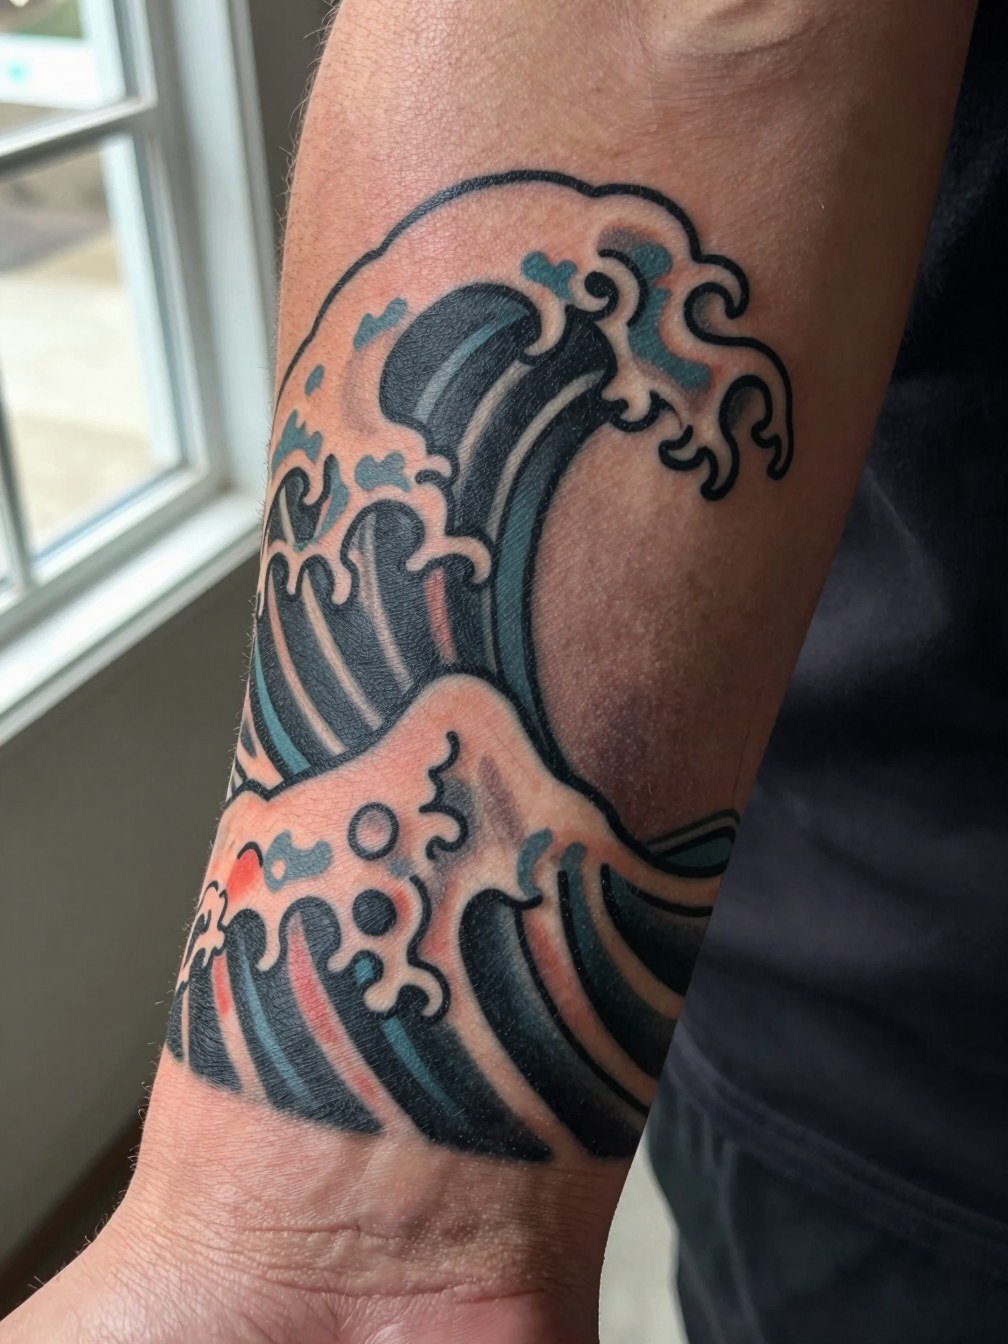
When a wave becomes a longer narrative, Japanese-style forms let you expand from wrist to half sleeve with strong contrast and color. These compositions usually take multiple sessions and higher commitment. A common mistake is starting the piece too small near the wrist and expecting the detail to hold as the design grows. Expect each session to last multiple hours and plan rest days. For larger visible work, a relaxed denim jacket or sleeveless top keeps the forearm framed without covering the scene.
11. Watercolor wash wave for the forearm
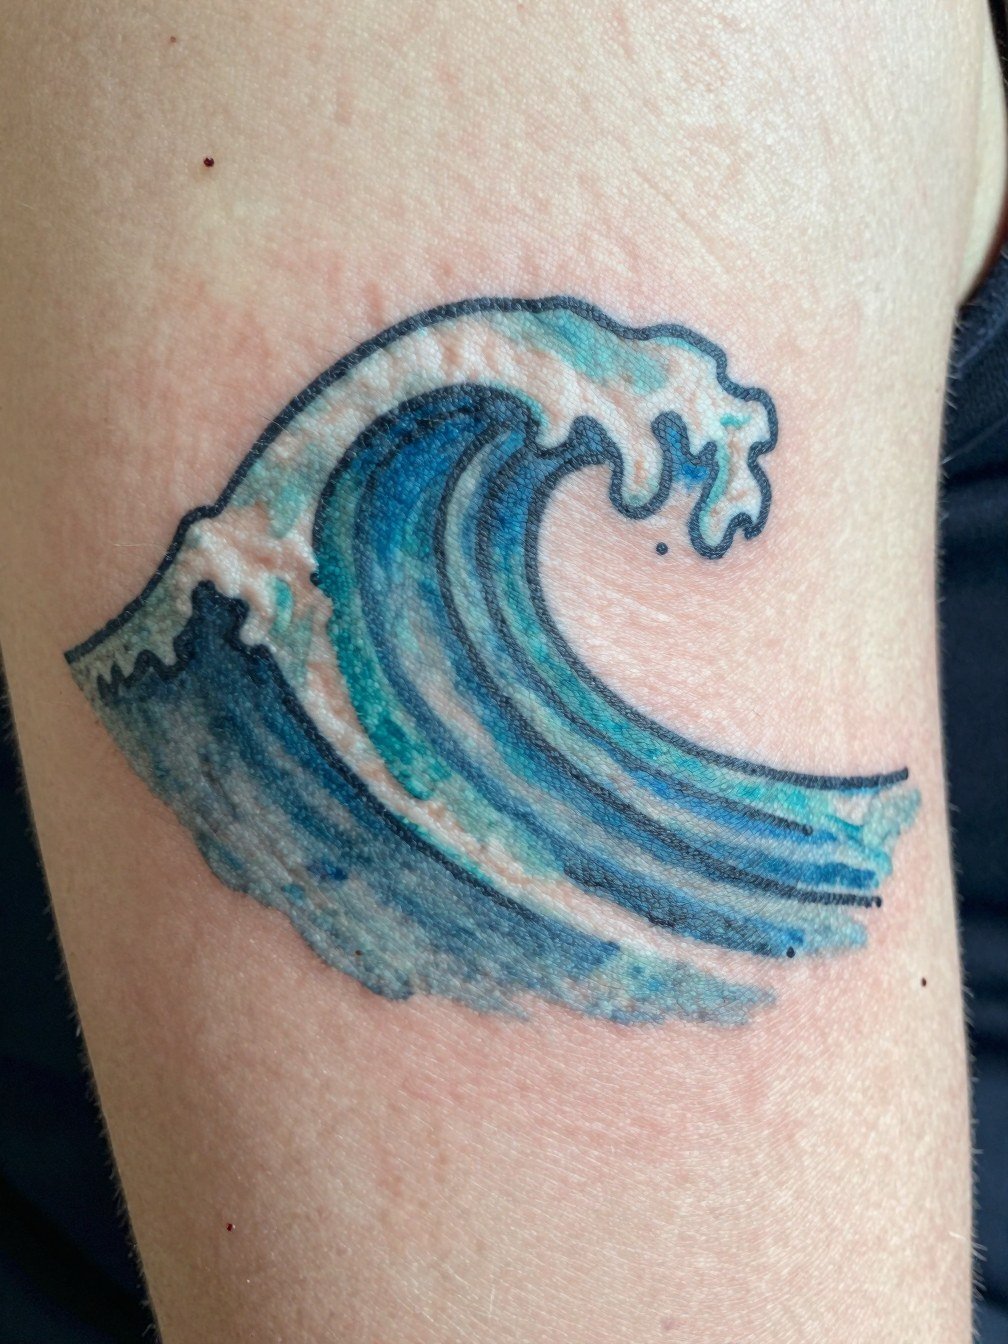
Watercolor waves feel painterly but require honest talk about longevity because color fades faster than black. The common mistake is assuming watercolor will hold without touch-ups. If you want a softer look, combine a faint black contour with muted washes so shape remains as color softens. Sessions for watercolor pieces can run several hours and the artist may recommend staged color passes. For daily wear, a sleeveless basic tee keeps the piece visible while you monitor healing.
12. Calf wave with vertical flow
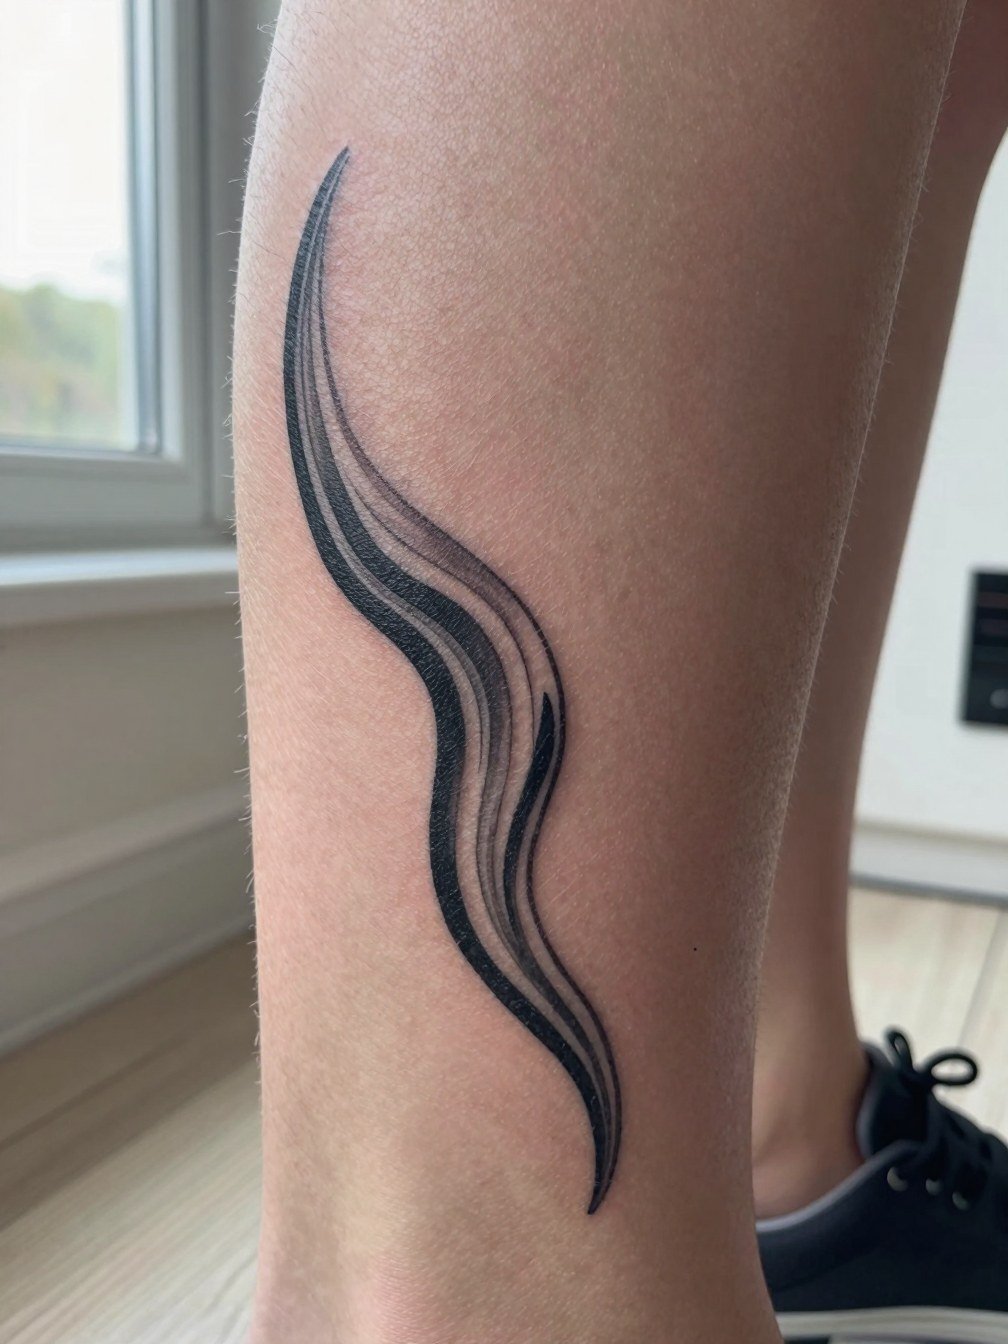
The calf gives vertical space for a longer, more dynamic wave. It tolerates heavier saturation so illustrative shading looks good long term. A typical mistake is using too fine detail for the calf's textured skin which can obscure micro-work. The session is more comfortable than the ankle but may require standing breaks. For showing this placement, cropped straight jeans or midi skirts reveal the lower leg elegantly; try cropped straight jeans so the design reads without crowding.
13. Outer forearm "ocean person" wave
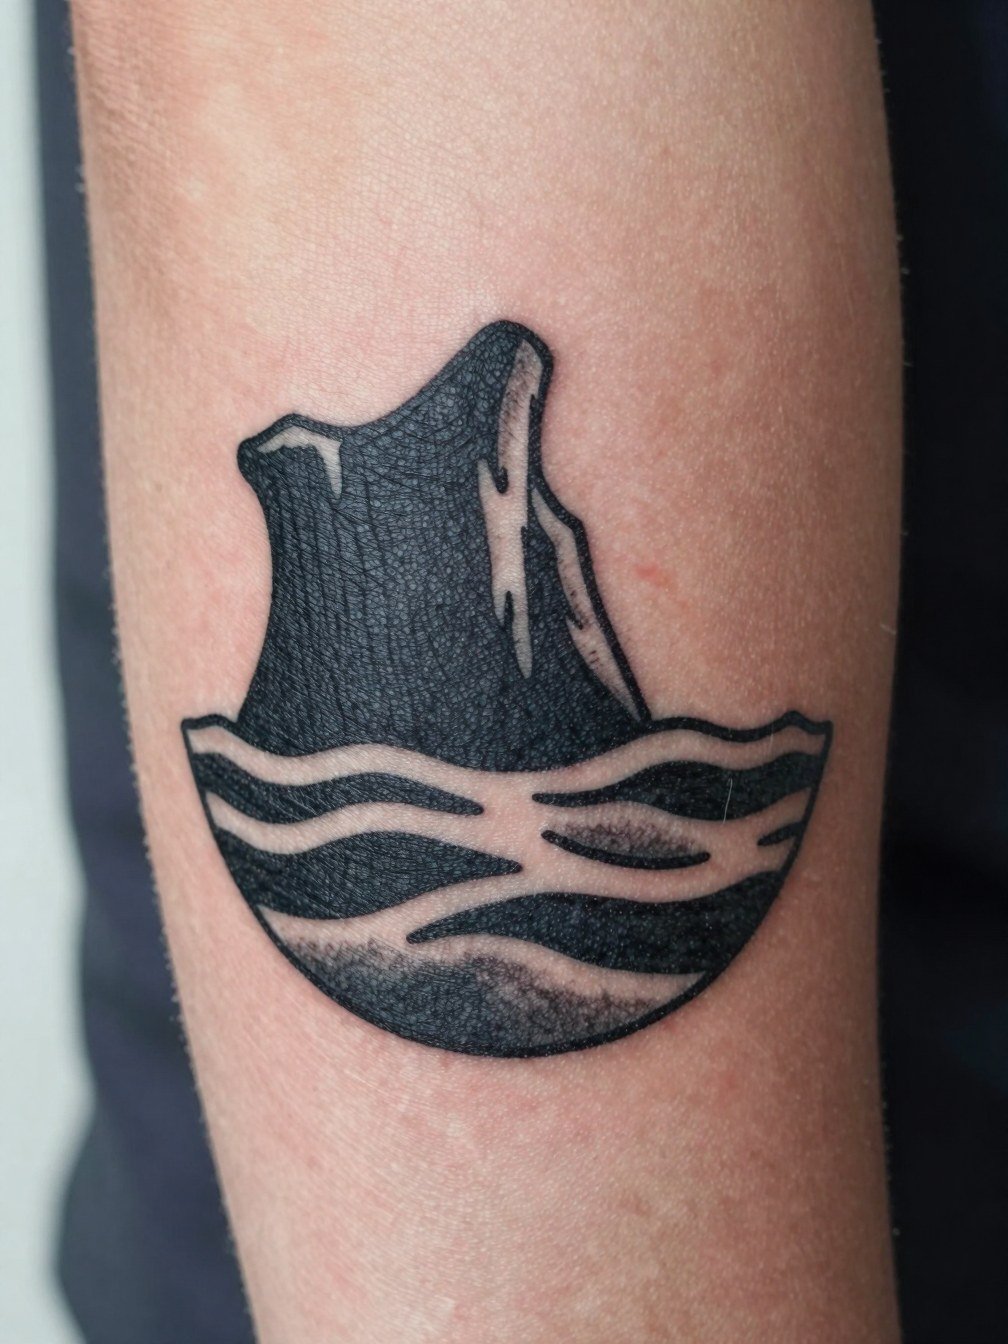
If you identify with ocean culture and want the tattoo to read from a distance, the outer forearm gives the wave room to breathe. Avoid packing in tiny details; let the silhouette and negative space do the work. Artists sometimes debate fine line versus bolder line on forearm pieces; the safer route for durability is slightly stronger linework. The session can be one long pass or two shorter sittings. Showing it off pairs well with rolled-up linen shirts, try a linen button down shirt for a relaxed look.
14. Hand-side micro wave
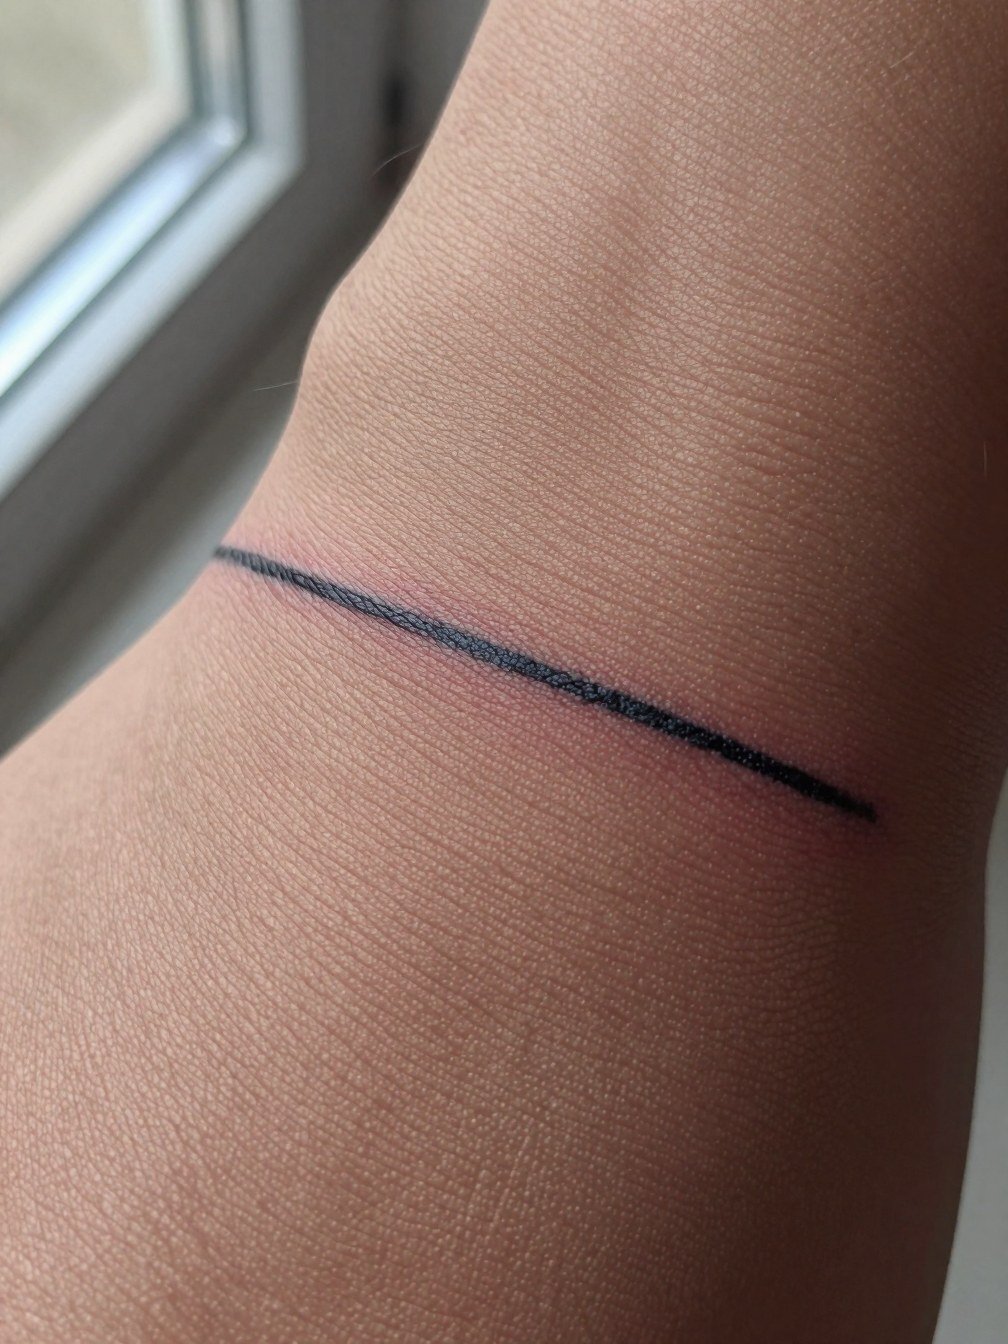
Side-of-hand pieces have high visibility but a high wear rate due to washing and motion. If you want this placement, keep the design bold enough to survive frequent abrasion. The common mistake is asking for micro single-needle detail in an area that sees constant hand use. Expect faster fade and a possible touch-up within a year. For the session, avoid rings on that hand to keep the stencil and healing free from snagging.
15. Collarbone wave with open-neck styling
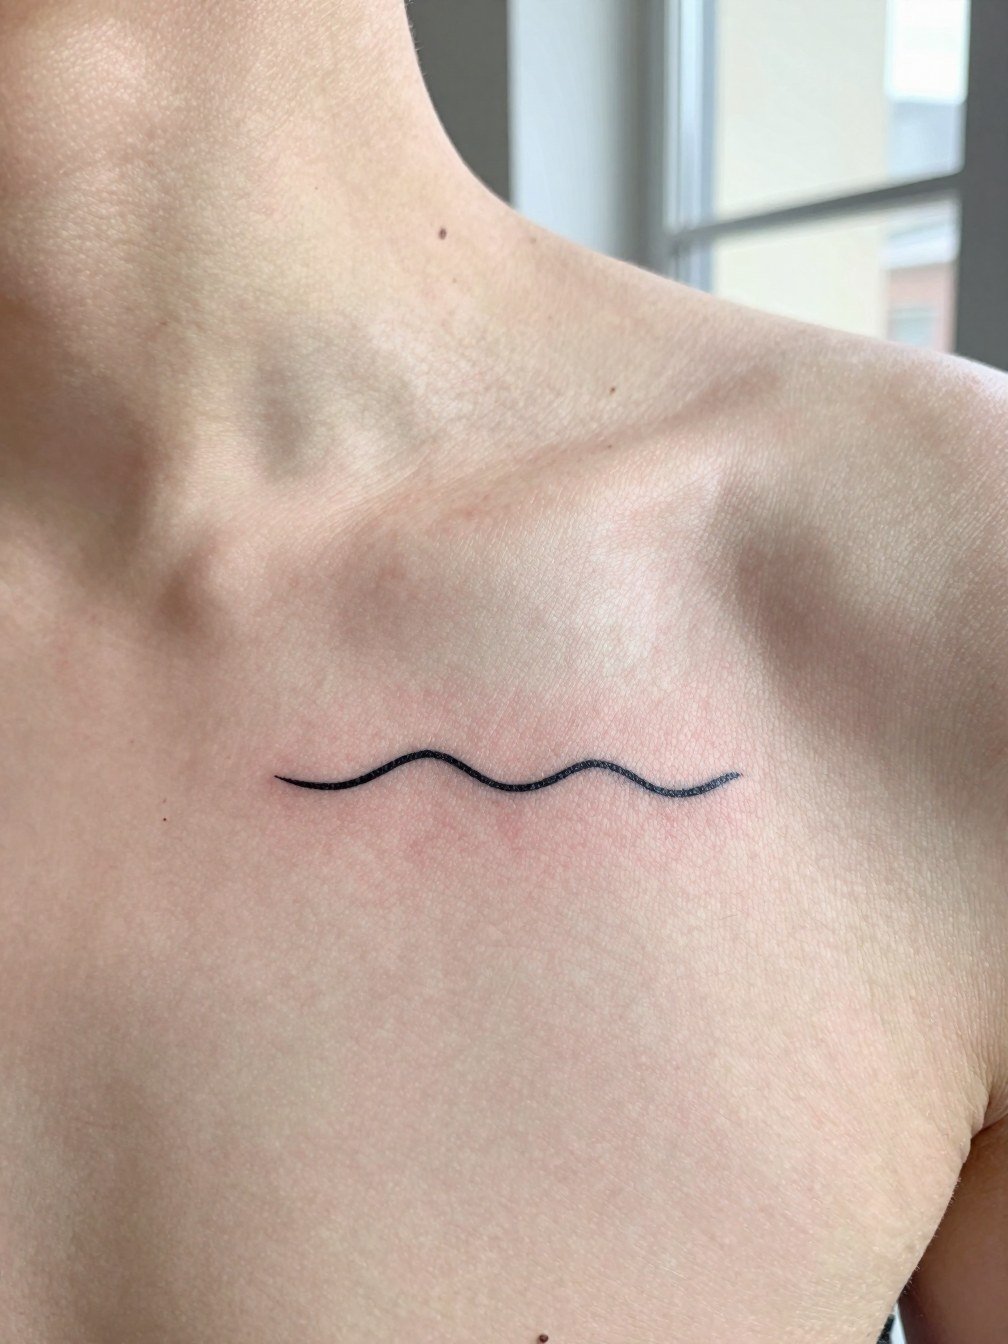
A collarbone wave reads as a subtle accent when paired with off-shoulder tops or layered necklaces. The collarbone area can be prone to slight movement and friction from straps, so favor slightly stronger contour strokes. A common mistake is placing the design too close to the collarbone ridge where the skin is uneven. Session discomfort is moderate and you will want to avoid tight straps while it heals. For showcasing the piece, an off shoulder top frames the tattoo while keeping the neckline clean.
16. Side of the wrist wave band
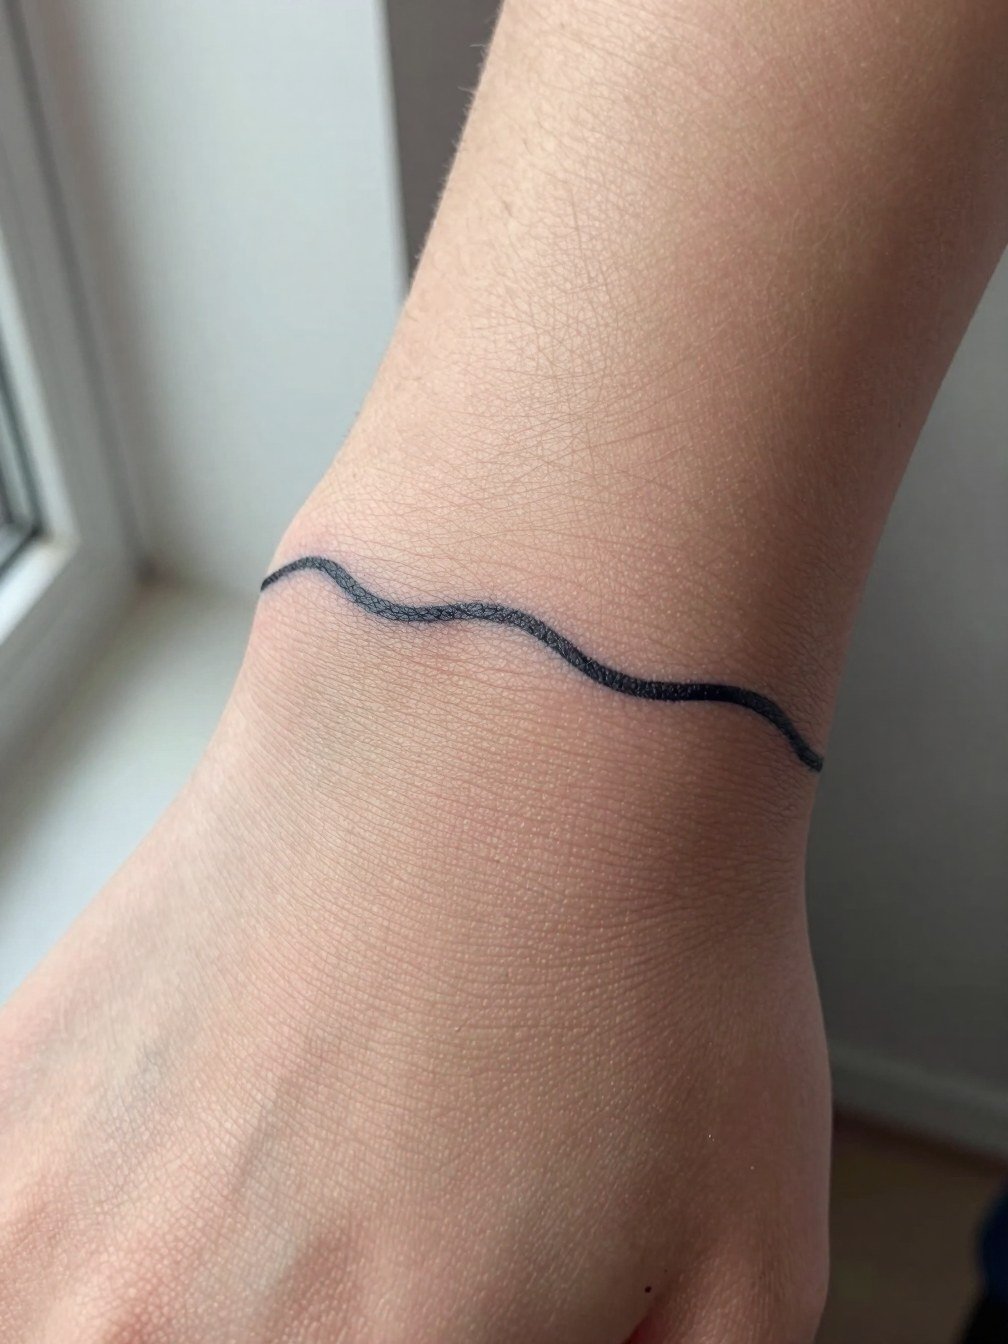
A lateral wrist band sits where cuff friction from long sleeves can be an issue, so avoid elaborate interior shading. The mistake is packing text or dots into the curve where motion will distort the composition. Session time is short and the area is easy to protect with clothing in the first week. For appointments, wear a loose cuffed shirt so the artist can access the side without struggling.
17. Crest plus tiny boat silhouette on forearm
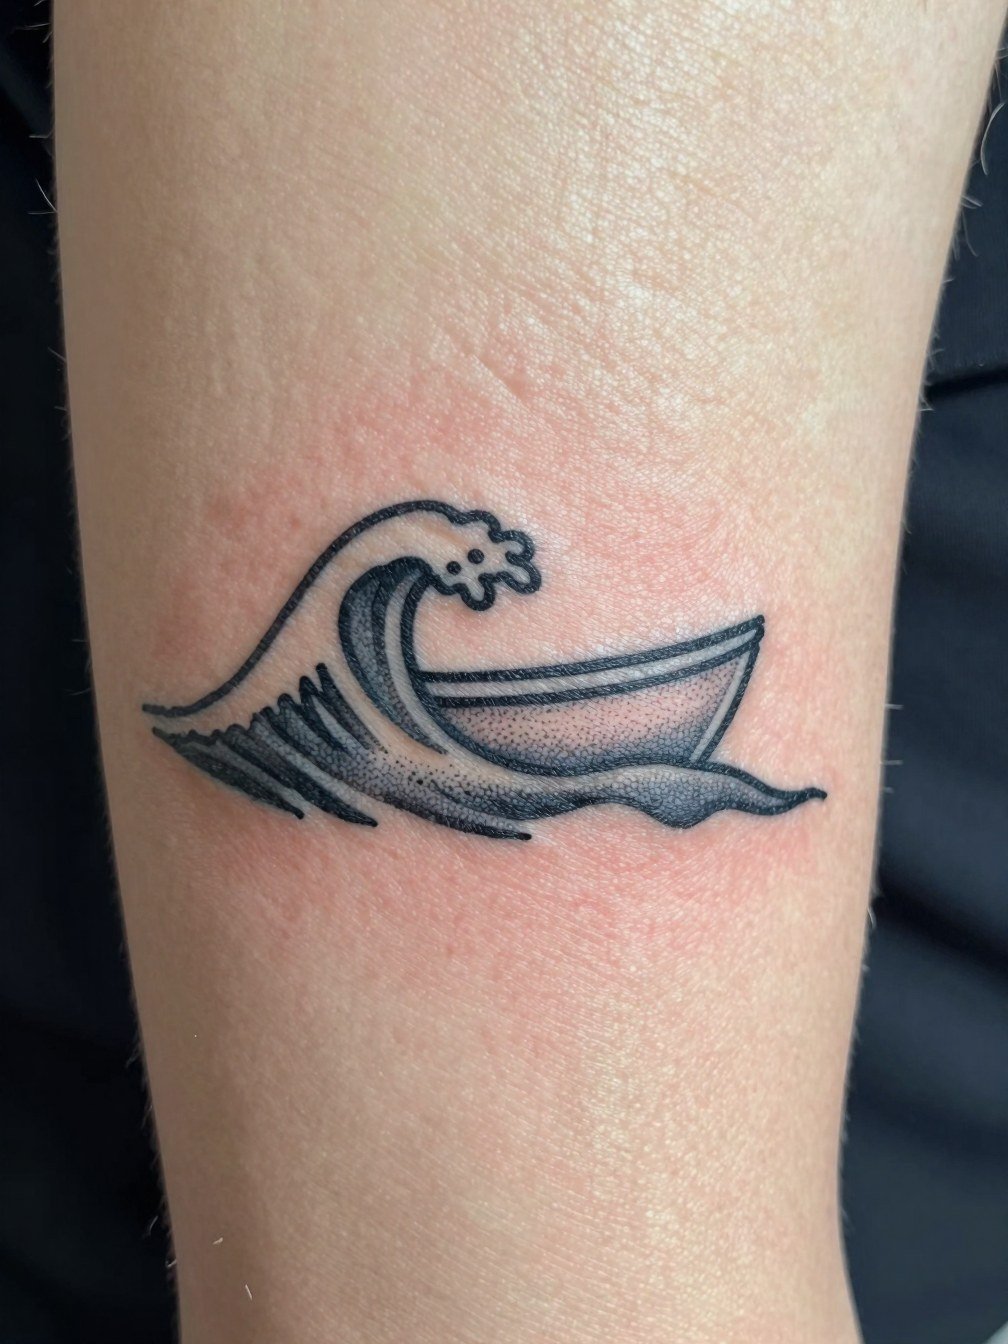
Adding a micro boat anchors the wave to a travel story or memory. A common error is drawing the boat too small relative to the crest so it disappears as the piece ages. Push for slightly larger silhouette scale and a simple hull shape rather than intricate rigging. Sessions are comfortable on the forearm and heal predictably. For casual showing, roll sleeves or wear a sleeveless basic tee so the scene reads without competition.
18. Wave on the calf with color banding
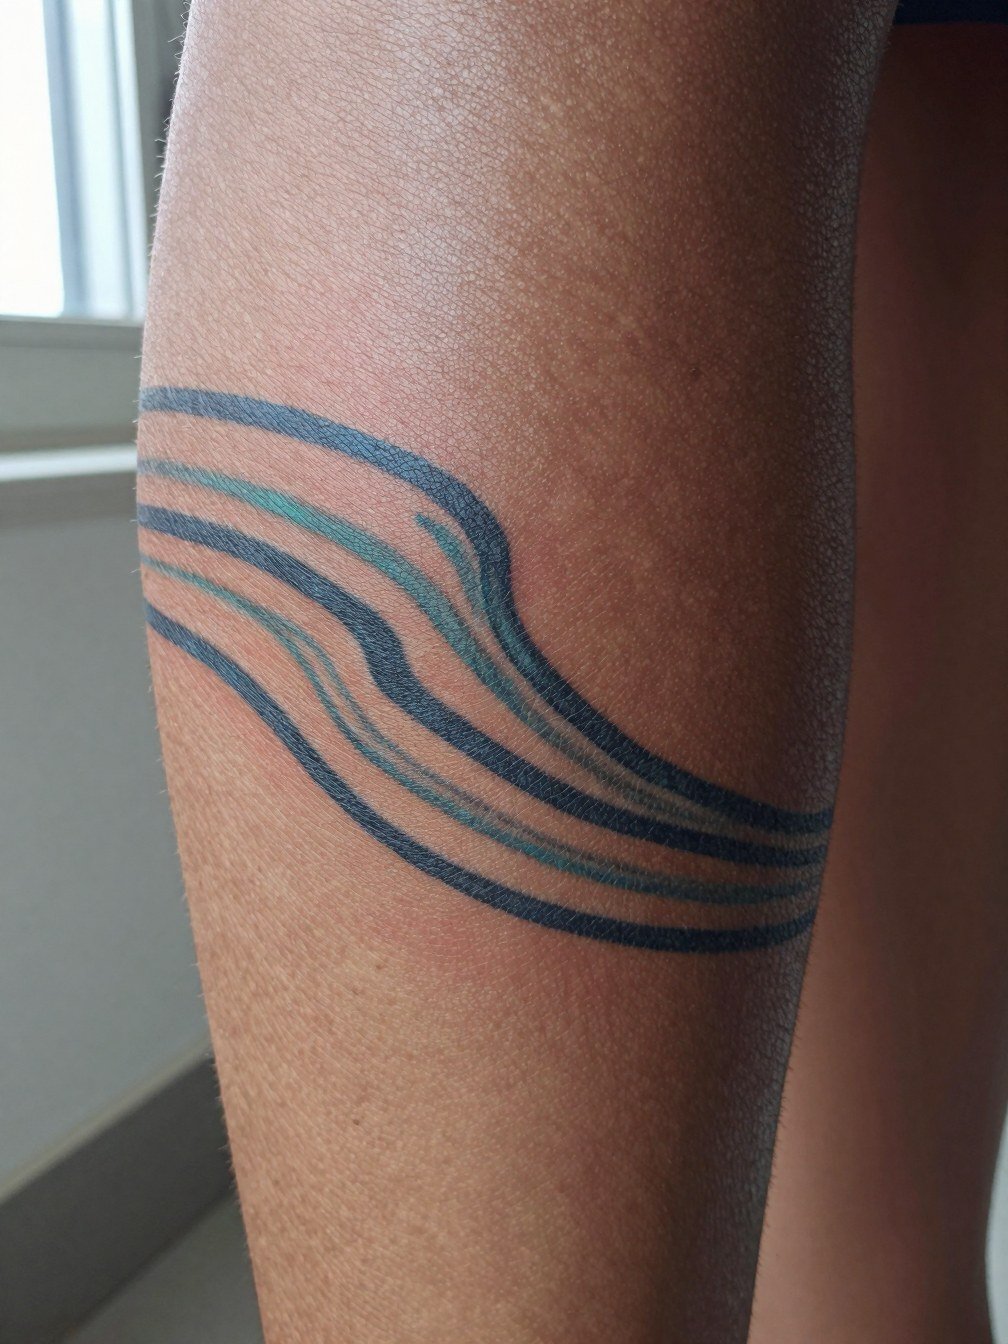
Color banding creates motion and depth but plan for eventual softening. If you prioritize long-term clarity, use color as accents within strong black contours. The calf allows more saturation and typically needs fewer touch-ups than extremities like hands or feet. A common mistake is choosing neon or ultra-pastel bands that vanish faster. For outfits, cropped straight jeans or mid-length shorts keep the lower leg visible without crowding the design.
19. Micro wave behind the ear
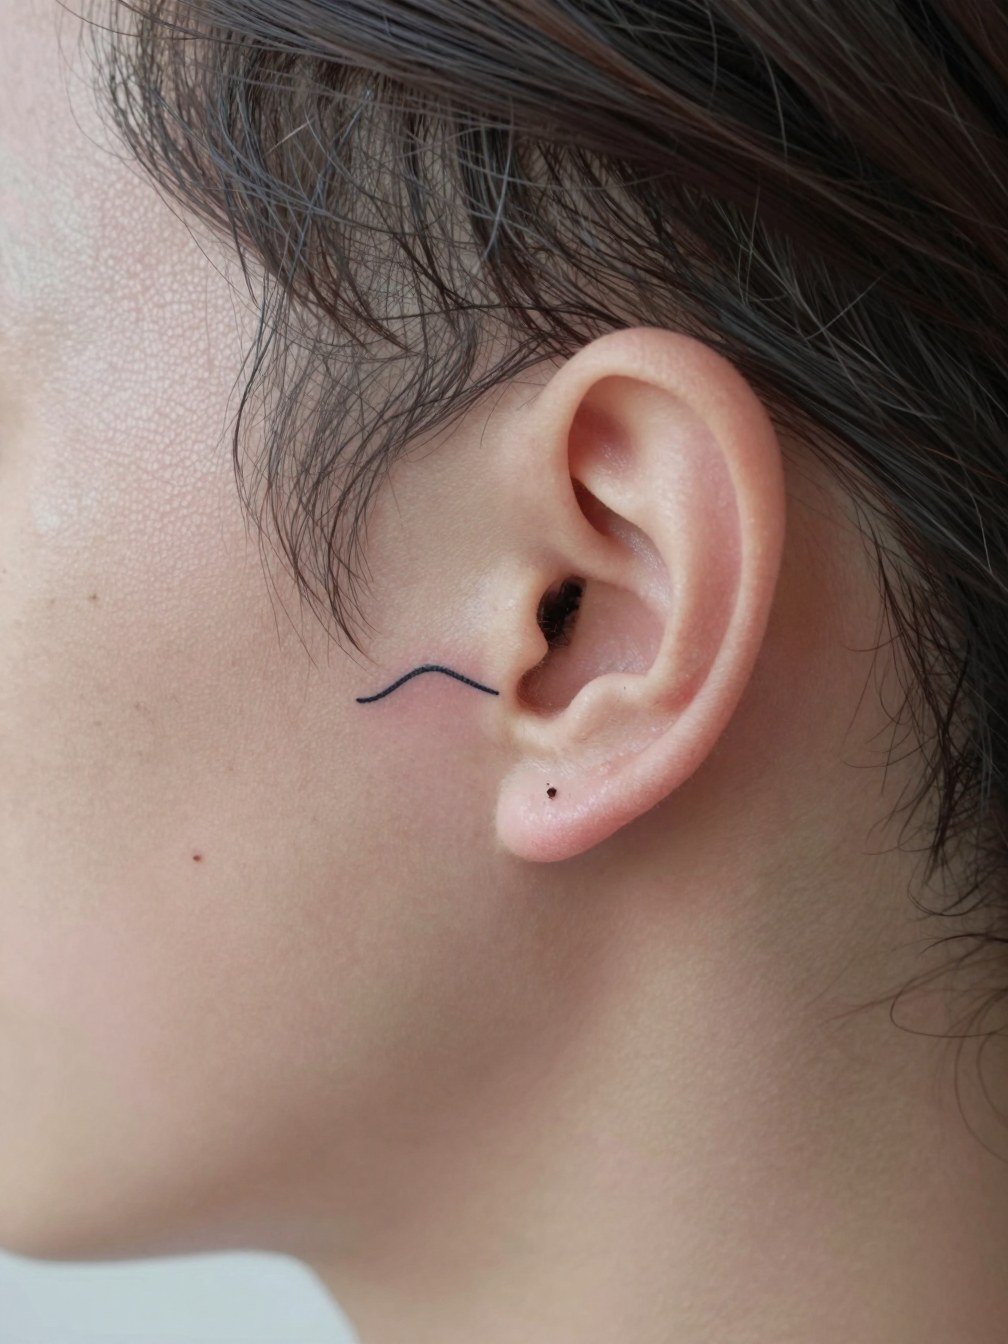
Behind-the-ear pieces are intimate and easy to hide with hair but need crisp work because the canvas is small. The mistake is adding too much ornament in a tiny area. Expect more frequent touch-ups if the area is exposed to sun or hair products. For the session, tie hair up with a clip so the artist can stencil without interference and plan to wear a top without a high collar.
20. Waterline wave on the ribcage
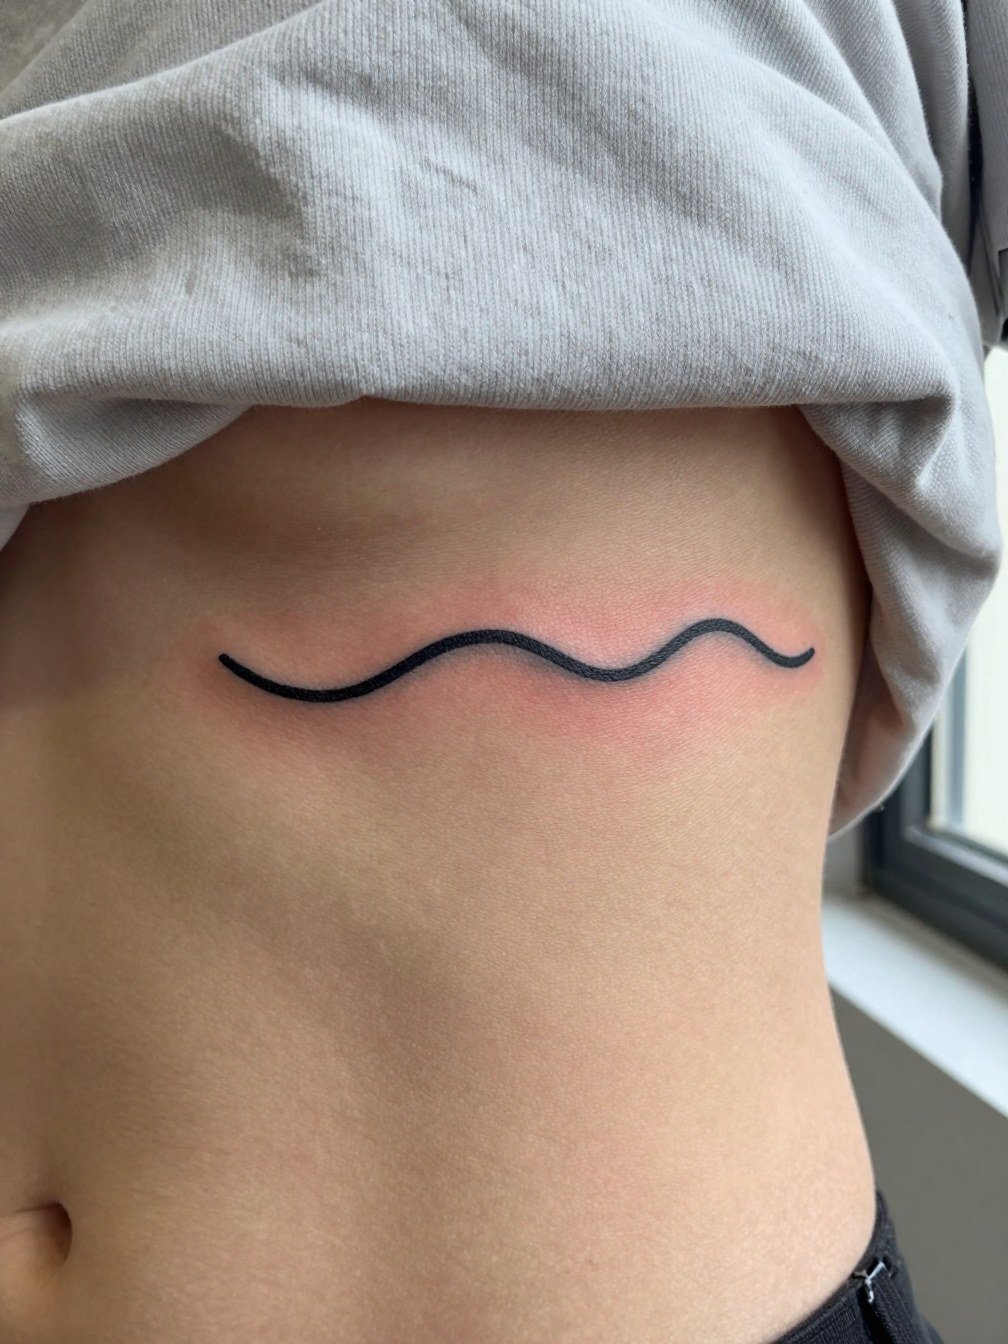
Ribcage placements hurt more and stretch with breathing, so technique and spacing matter. One camp says fine line here blurs quickly due to skin movement. Another camp says with controlled needle depth and slightly wider spacing fine line can hold up well. If you choose ribs, plan for a slightly bolder contour than a single-needle sample and expect a longer session that may require breaks. Wear a strapless or off-shoulder top for the appointment so the artist can work without fabric interfering.
21. Small geometric crest on the wrist
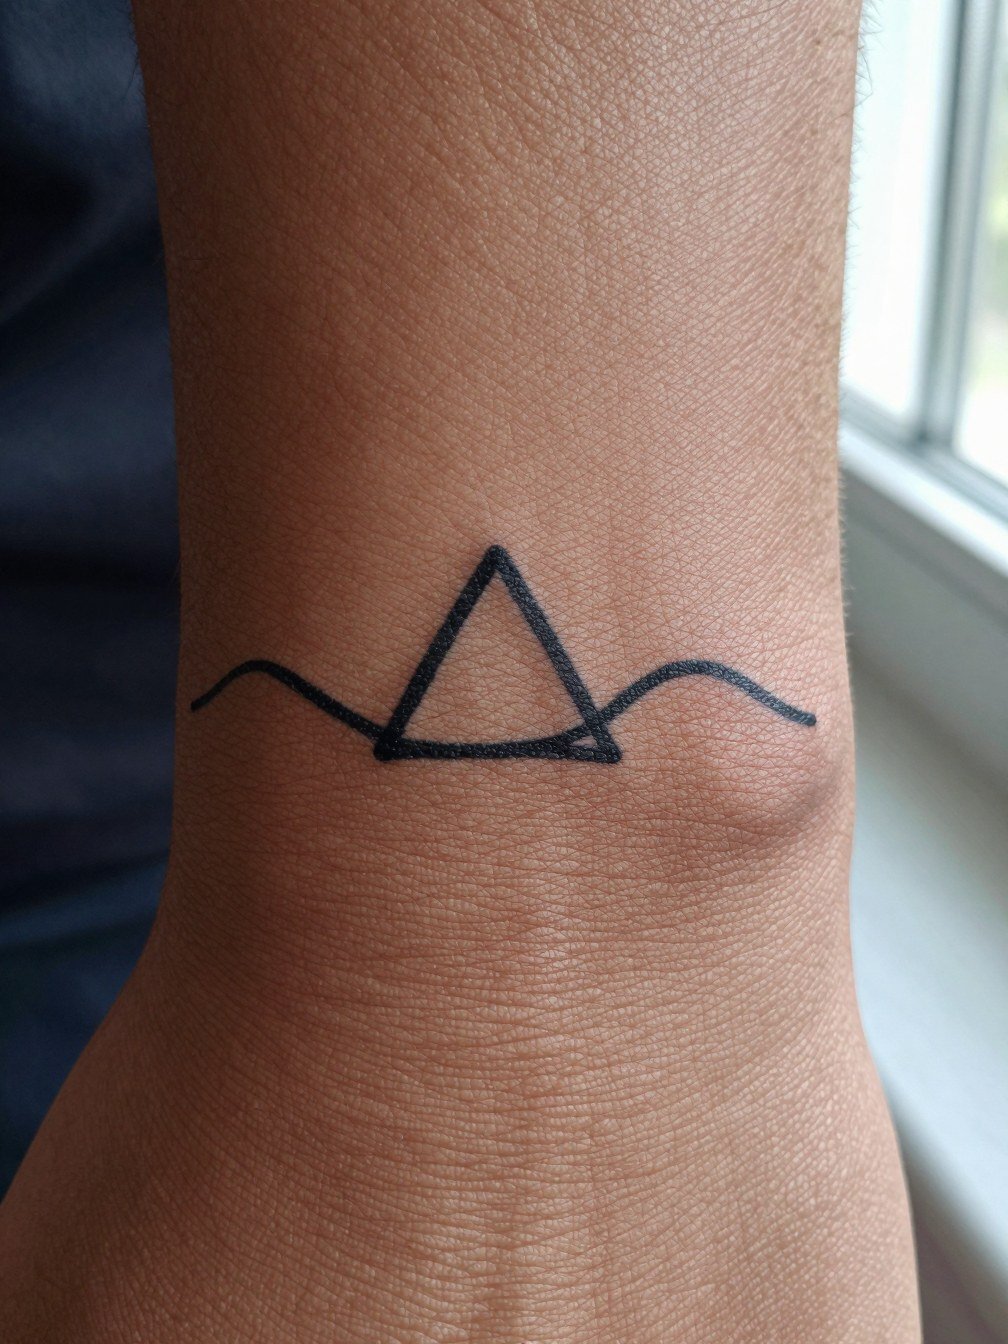
A compact geometric crest gives modern shape and improved longevity because the forms hold as ink settles. The usual error is reducing the triangle so much that the negative space disappears. Ask to see the design in the exact final scale and request a slightly heavier outline for the triangle to preserve definition. The wrist session is brief and the area may feel sore for a few days. For outfits, minimal rings and a clean manicure help the small wrist piece stay the focal point, try minimal ring set when you want a low-key complement.
Frequently Asked Questions
Q: How do shop minimums affect the cost of a tiny wrist wave?
A: In my experience many studios use a minimum that covers the first hour of labor, so a minute tattoo can still meet that baseline. That means tiny wrist work often lands inside the shop minimum rather than a pay-by-size estimate. If budget matters, ask the shop whether they can do a single-line version with a simple stencil to reduce time, and be prepared to accept a clean, no-frills aesthetic.
Q: Will a fine-line wrist wave blur quickly on darker skin tones?
A: Fine line can be visible on darker skin tones but contrast matters more than color alone. A slightly stronger contour or a black outline with subtle negative space will keep a tiny wave readable longer. Bring healed references of similar line weight on your skin tone so the artist can adjust saturation and spacing before inking.
Q: How should I search for artists or healed examples for a wave tattoo?
A: Search Instagram and TikTok with hashtags like #wavetattoo, #wristtattoo, #finelinetattoo and add your city to the query to find local portfolios. Reddit threads in r/tattoos and r/tattooadvice are useful for healed photos and session notes. Use directory keywords such as "fine line wave" or "minimal wave tattoo" and filter portfolios for healed shots rather than just fresh work.
Q: What should I wear to my appointment for a wrist or forearm wave?
A: Wear clothing that gives the artist clear access without tugging on the area. For wrist work a short sleeve or tank top is ideal, and for forearm pieces a rolled sleeve shirt keeps fabric out of the way. Avoid tight jewelry and bring loose-fitting sleeves you can push up comfortably.
Q: How do fine line and red ink compare for long-term upkeep?
A: Black tends to hold contrast longer while red can fade into a muted tone over time and may need touch-ups sooner. If you want red for personality, plan for a maintainable refresh every few years and request slightly stronger saturation initially so the pigment has more staying power.
Q: What is the typical touch-up timeline for a tiny wrist wave?
A: For clean single-line black pieces a touch-up is often optional for the first two to five years. High-friction spots like the side of the hand or wrist under watch straps may need a touch-up sooner. If the design includes color or micro details, budget for a touch-up at around year one to maintain crispness.