
Tiny, perfectly placed marks on fingers look effortless the day you leave the shop. The reality is different. Finger skin moves, washes constantly, and the smallest single-needle script that looks delicate at day one often softens into a blur by year two. Pick designs that give the ink room, plan for touch-ups, and choose placements that match how you use your hands to keep the piece readable for years.
1. Tiny Geometric Dot Chain on Side of Index Finger
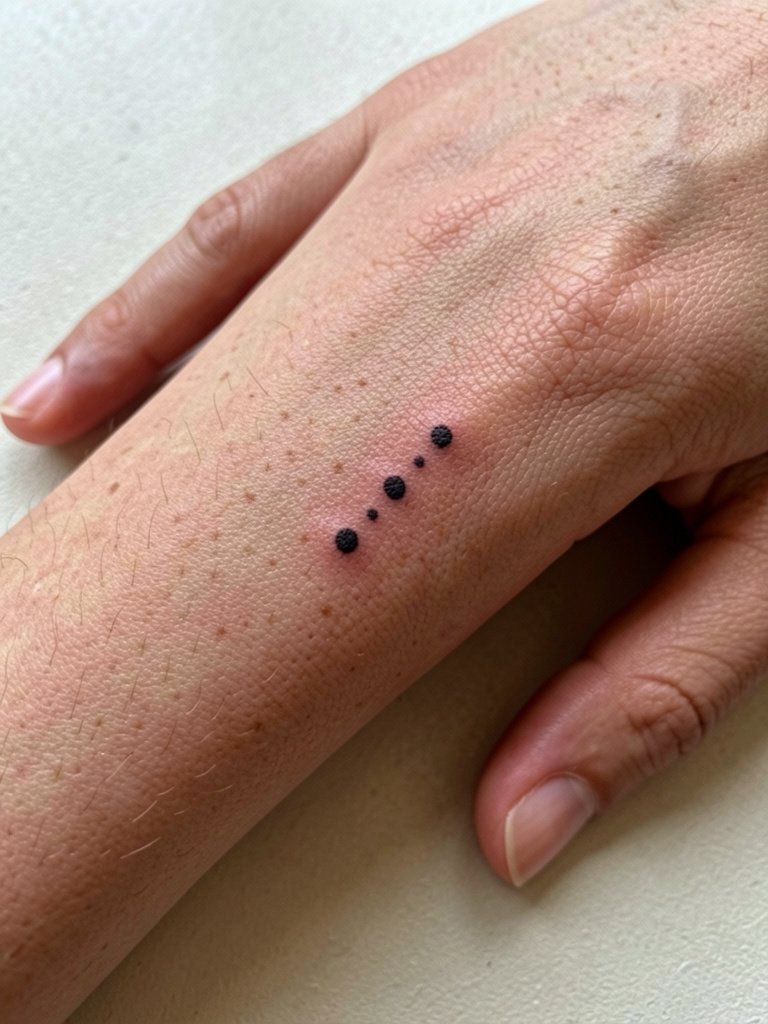
Finger-side dots work when they are bold enough to survive knuckle movement and frequent washing. Recommend the dots be slightly larger than the reference so the spacing between them remains clear at year two. Expect a sharp look at six months and subtle softening by two years, with touch-up commonly needed around year three. This placement is a one-session quick piece and a single-digit pain on the usual scale. For showing it off, pair with stackable midi rings that sit above the knuckle so the tattoo reads beneath jewelry.
2. Tiny Script Word Along the Side of the Ring Finger
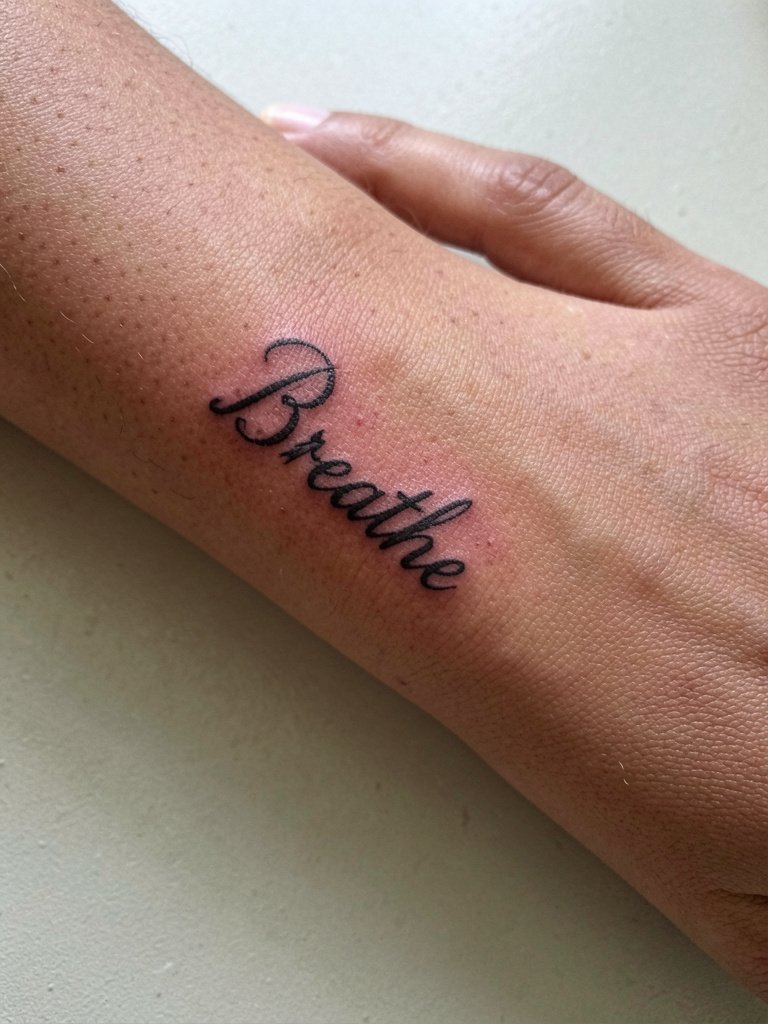
Script on the thin edge of a finger is readable at first but tends to blur unless the lettering is given extra weight. Specify line weight about 10 to 20 percent thicker than your favorite reference. Linework will look crisp at six months, read softer at two years, and probably need a touch-up by year three if you want it to remain legible. Bring two reference photos at different scales so the artist can show how the word reads at three millimeters versus five millimeters. Pain is brief and sharp. For evenings out, this placement pairs nicely with a delicate chain bracelet that draws the eye to your hands.
3. Micro-Flower on the Finger Pad Near the Nail
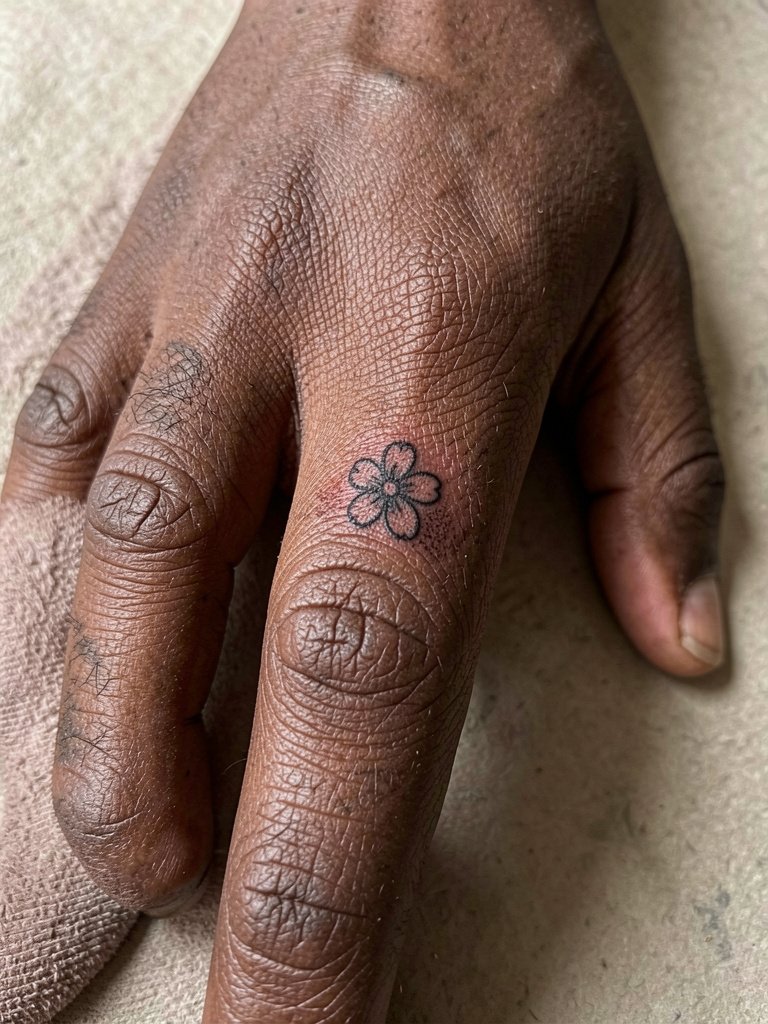
A micro-flower at the fingertip is visually sweet and can last if placed slightly farther from the nail edge. The common mistake is asking for the flower right on the nail edge where regrowth and filing make crisp edges impossible. Expect fast sessions and pronounced sensitivity near the nail. Discuss nail-adjacent placement precisely so the artist can avoid the zone that blurs first. Blowout risk is higher on the fingertip because skin is thin and moves constantly. Touch-ups are normal at year one or two to reclaim petal edges.
4. Knuckle Symbol Trio with Bold Outlines
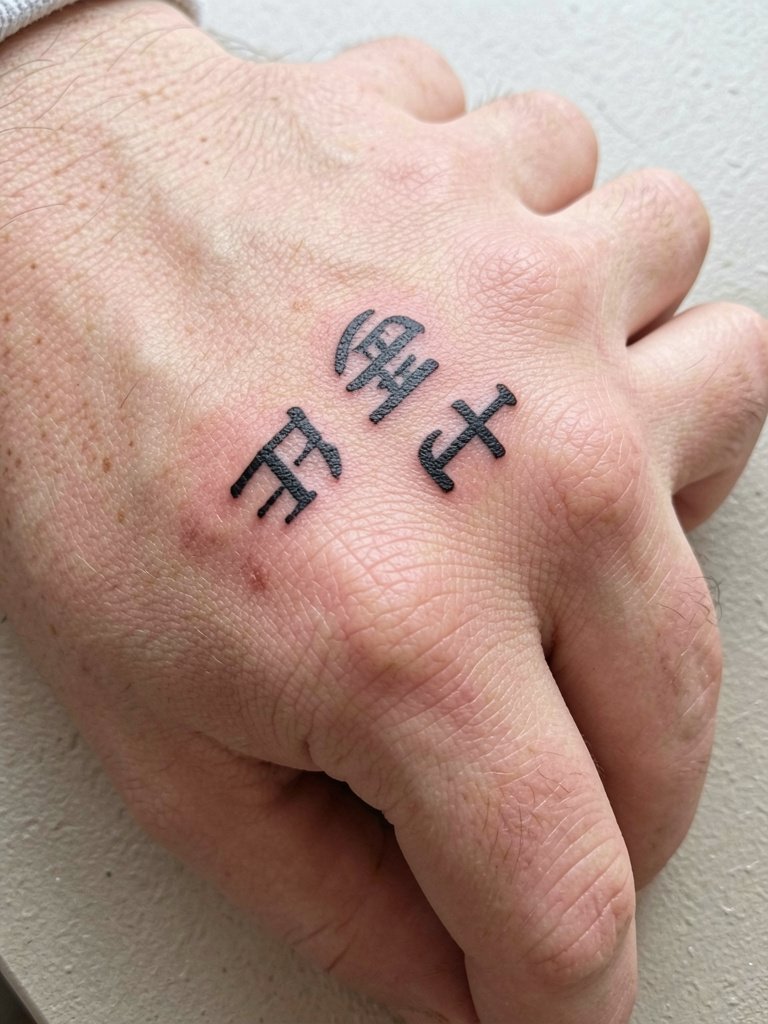
Knuckle work benefits from bold outlines because the knuckle skin stretches and compresses. The design that ages best uses flat black fills and simple shapes. Session time is short but expect higher pain over bone. A common error is requesting intricate shading across the knuckle. Discuss edge thickness and keep negative space between symbols for longevity. Healed at six months it will still read clean, at two years it softens but the silhouette holds. Wear short-sleeve shirts that let the hand be visible and pair with vintage leather cuffs when you want an edgier look.
5. Minimal Crescent Moon on the Side of the Pinky
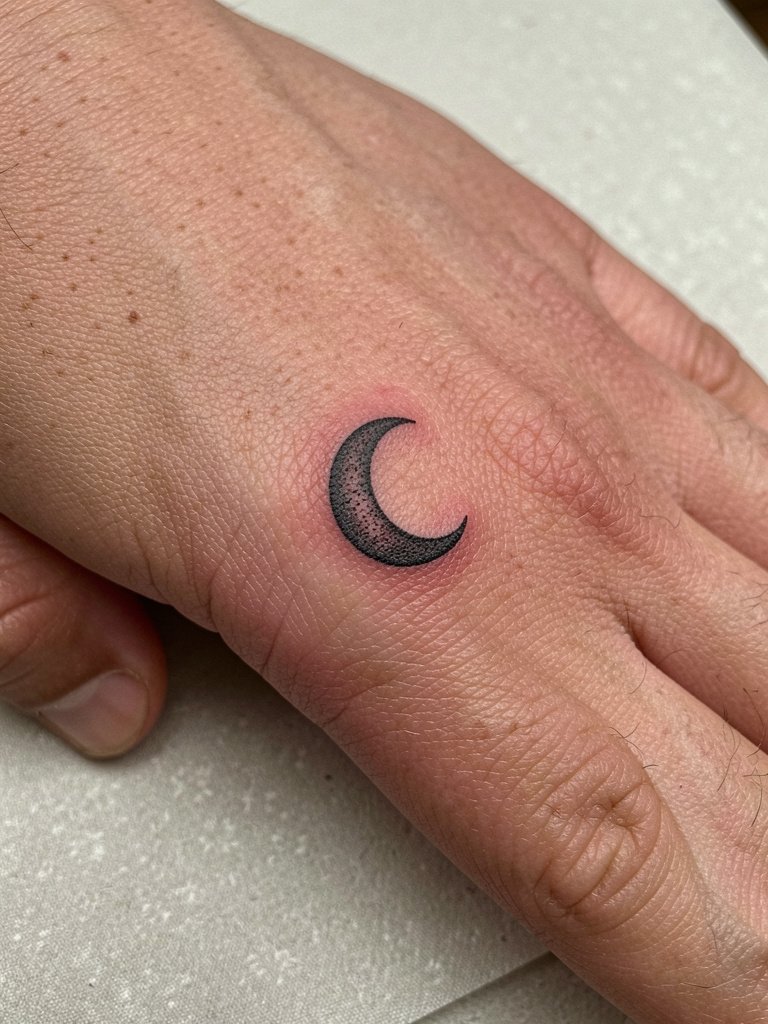
The pinky is a high-wear micro canvas, so the moon should be slightly larger than you expect. The worst version is a whisper-thin crescent that becomes a smudge in months. Recommend subtle stipple inside the curve and a bit more negative space to slow merging. Pain is mild and session time is very short. Because the pinky is often hidden by rings, show-off styling pairs well with open-back midi dresses and minimal rings that let the crescent peek through. Plan for a touch-up at the one- to two-year mark for best longevity.
6. Dotwork Mandala Finger Tip Accent
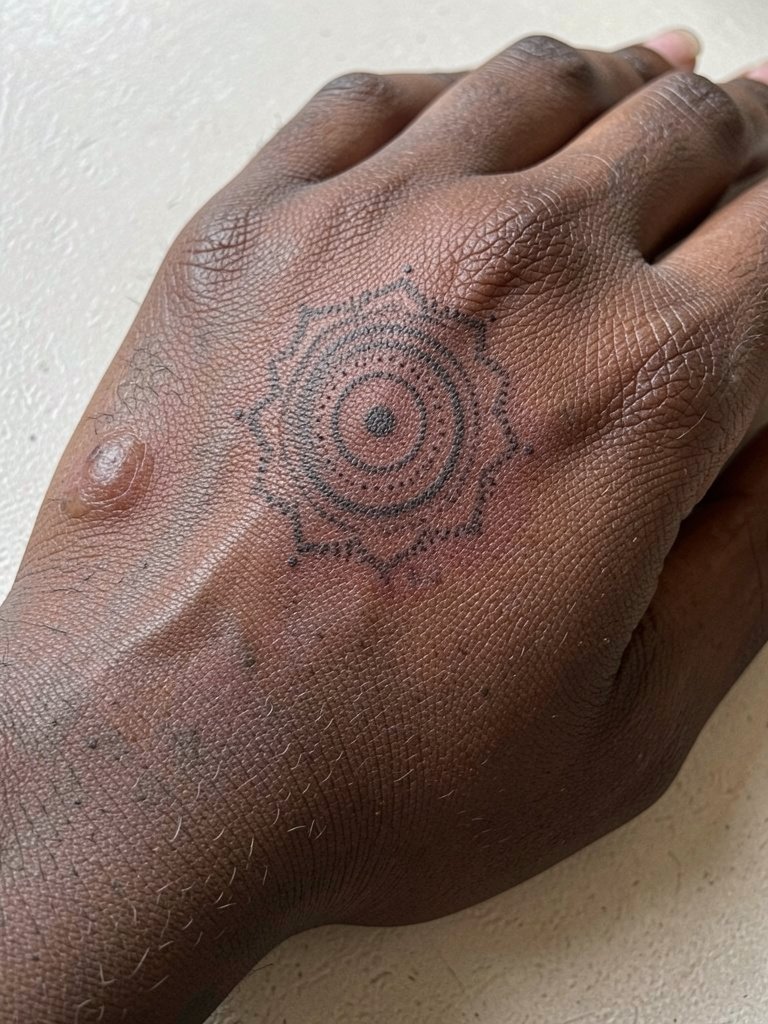
Dotwork at the fingertip can read beautifully when the dots are placed with breathing room. The mistake is packing stippling too tight in a tiny area. Discuss dot spacing and reference healed dotwork photos so the artist can scale the pattern appropriately. Initial healing shows crisp dots, by year two some dots may soften and blend, and a touch-up session will restore clarity. Expect sharper discomfort on the pad because of thin skin. For the appointment wear a sleeve that can be rolled without pressure on your hand.
Pre-Session Essentials
These finger pieces are small but demanding because hands get wet and rubbed. A few practical items smooth the session and the first week of healing for the designs above.
-
Stencil transfer paper kit. Lets you preview exact placement on the finger skin and test how the design will line up with knuckles and nail beds from ideas 1 to 6.
-
Professional topical numbing cream. Applied 45 minutes before eases sensitivity on the fingertip and around knuckles without altering linework.
-
Thin protective film roll. Wraps small finger pieces during the first 24 hours to reduce friction from washing and typing.
-
Fragrance-free gentle body wash. Cleanses healing fingers without irritating the linework during showers.
-
Aquaphor healing ointment. Thin application in the first few days keeps fine line work moist without clogging, which helps tiny blackwork hold.
7. Tiny Anchor on the Side of the Thumb
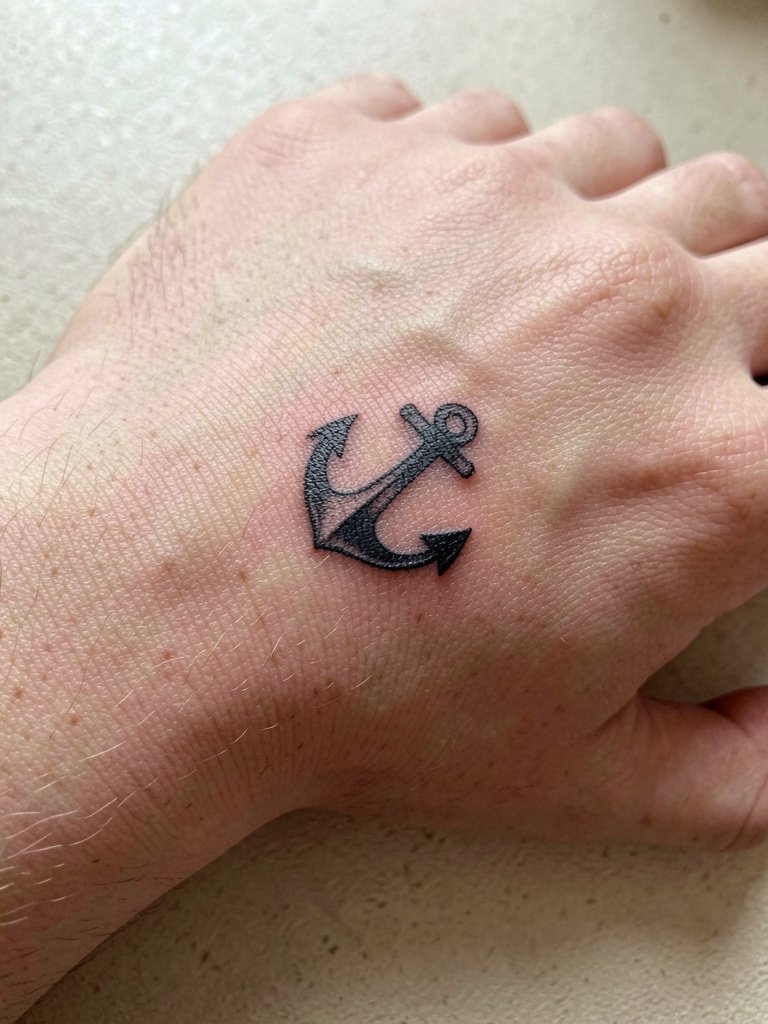
Thumb placement gets a lot of wear from grip and phone use, so choose a simplified silhouette that reads without tiny interior detail. A common mistake is adding internal shading that disappears within months. Discuss silhouette clarity and edge thickness so the anchor holds. Expect moderate pain around the thumb base and a short session. At six months it looks sharp, at two years expect softer edges and possibly the need for a small touch-up. For session comfort wear a short-sleeve shirt that allows the artist unobstructed access to the thumb.
8. Tiny Arrow Along the Finger Bone
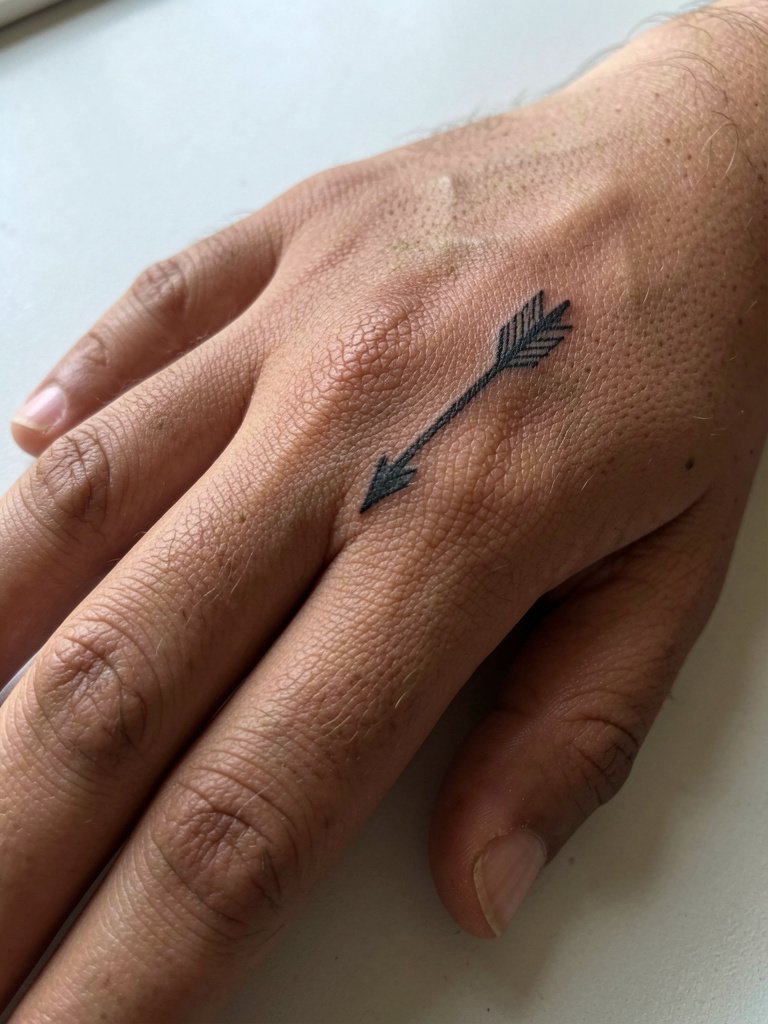
Long, thin linework that runs along the finger needs a hair more weight than similar forearm arrows. The error is matching the same single-needle width used on flat skin. Ask for slightly heavier shaft thickness and a compact arrowhead so movement does not blur the silhouette. You will feel a pinching discomfort along the bone and the session is quick. Healed at six months it looks crisp, at two years the line softens and may need a touch-up for a sharp look. For a casual outfit pair with a slim watch band that frames the wrist and brings attention to finger details.
9. Coordinated Matching Symbols Across Two Fingers
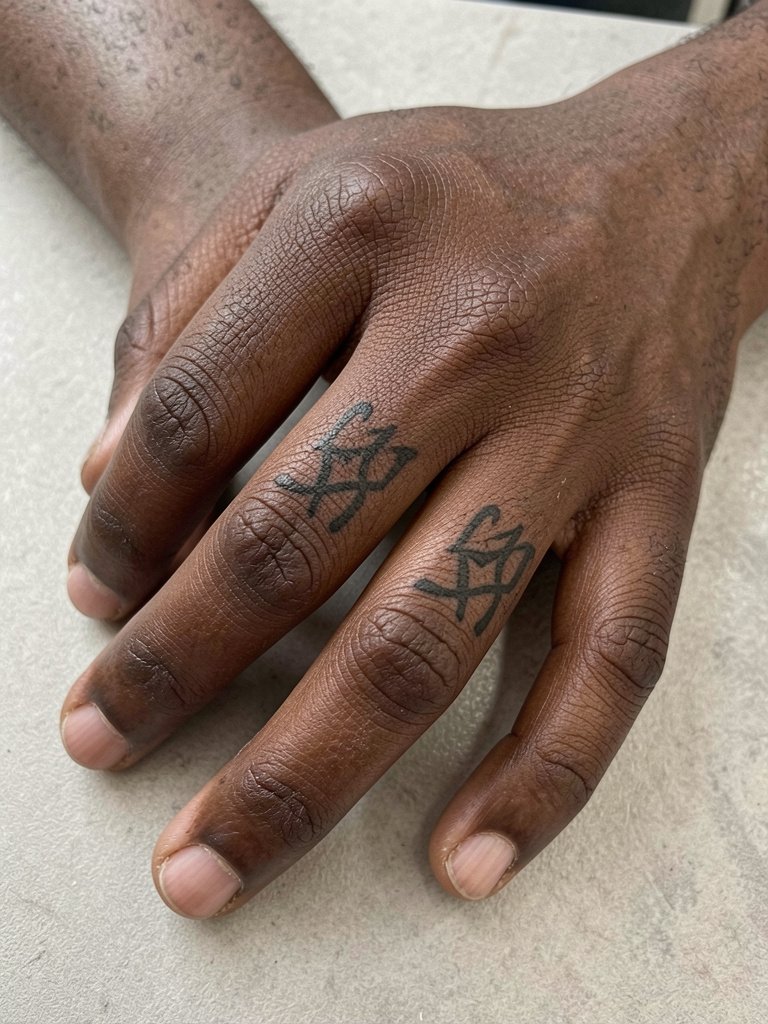
Matching symbols are great if you think about how rings and daily hand use will interact with the pair. The mistake is making each symbol too intricate for the small area. Discuss symmetry and how the spacing reads when you clench or splay your fingers. Expect the pair to start sharp and then blur subtly over two years. A planned touch-up after the first year keeps them looking intentional. For outfits that highlight the matching feel, combine with thin open rings placed between the tattoos rather than over them to avoid rubbing.
10. Micro-Realism Tiny Eye on the Side of the Finger
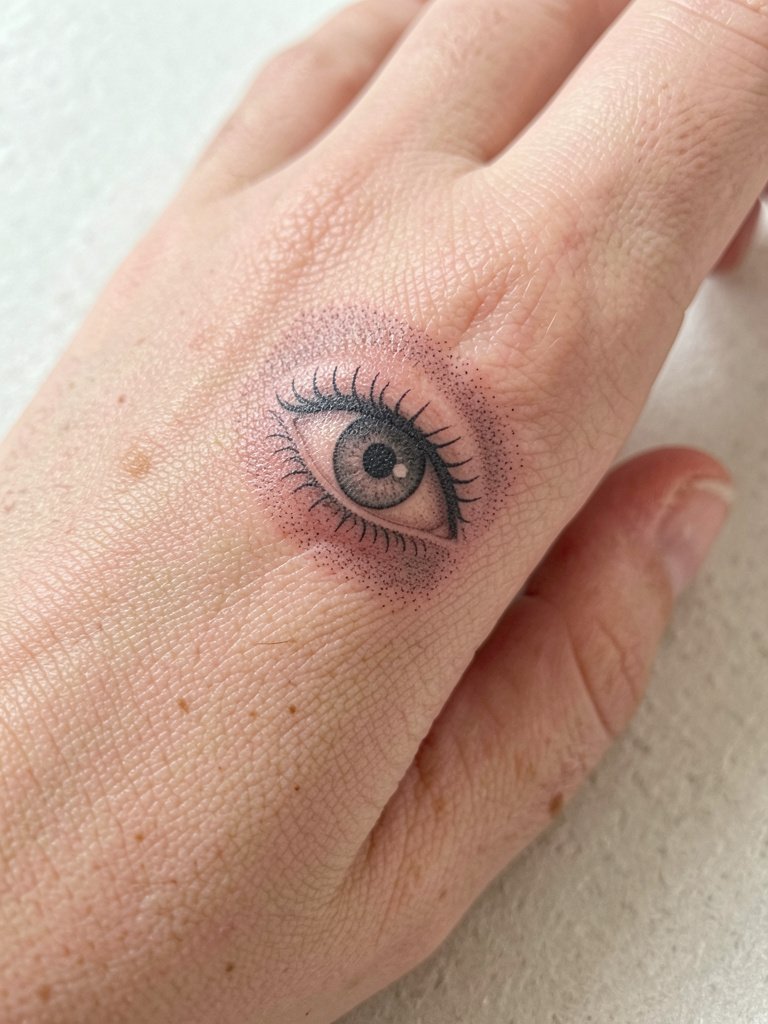
Micro-realism on a finger demands a little extra scale so the tiny lashes do not melt into a smudge. The common error is insisting on photographic detail at a micro scale. Instead, ask for simplified pupil contrast and a suggestion of lashes rather than full photorealism. Session feels quick with sharp spots of sensitivity. Plan for a touch-up at year one to tighten the pupil if it softens. For showing it off, short manicures with a muted polish let the tiny eye read clearly.
11. Bold Black Ring Tattoo Around the Finger Base
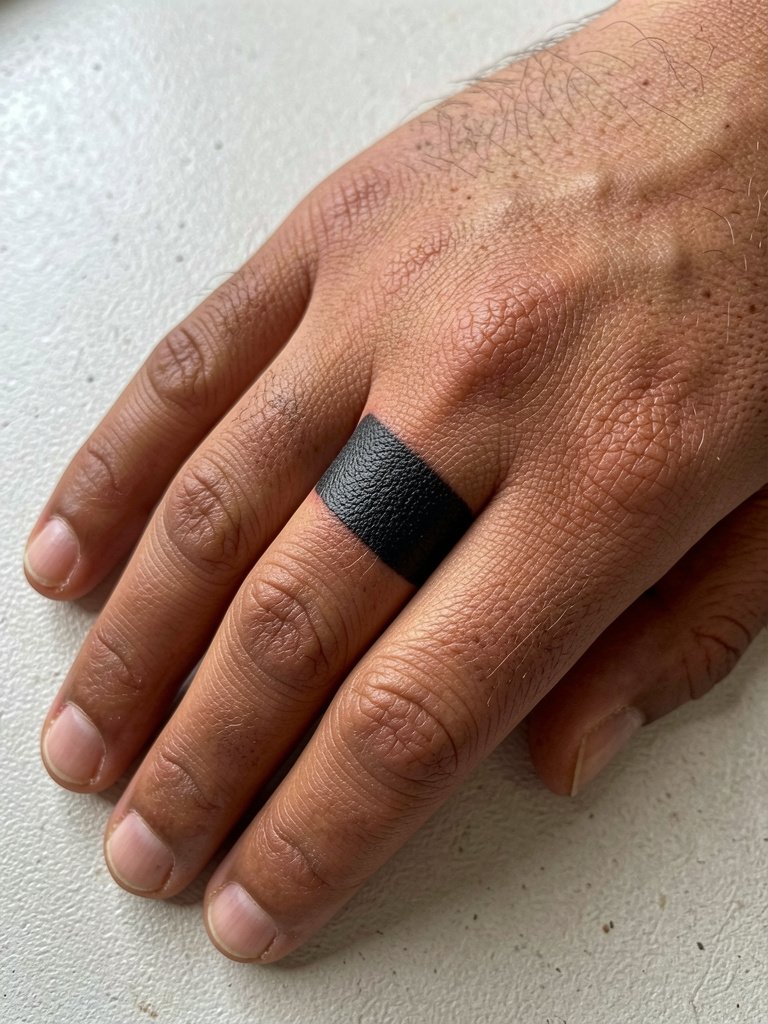
A bold band survives washing and friction better than ultra-thin rings. The decision point is whether you want a full saturated band or a negative-space ring. Discuss exact width and where it sits relative to the knuckle so swelling and ring wear do not distort the band. Pain is moderate because the band sits close to bone. Healed, saturated black holds for years and may only need touch-up every three to five years. Pair with a slim metal stacking ring above the band for contrast.
12. Tiny Constellation on the Side of the Finger
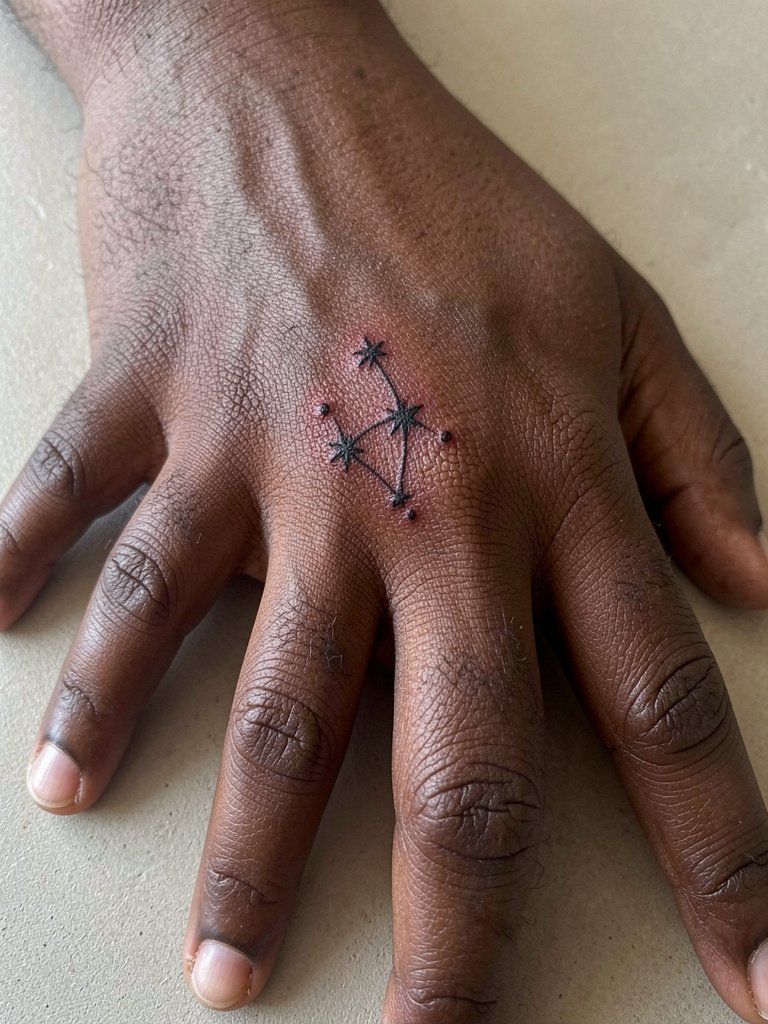
Tiny constellations look delicate until the lines break down from motion and soap. The better approach is slightly bolder connector lines and stars sized to keep negative space between them. Discuss the constellation scale and the exact angle the stars sit on your finger so the design reads straight when your fingers are relaxed. The piece needs a small touch-up by year two to refresh connectors. For styling, cropped sleeves or buttoned shirts let your hands be visible without competing with heavy bracelets.
13. Small Arrowhead at the Knuckle Edge
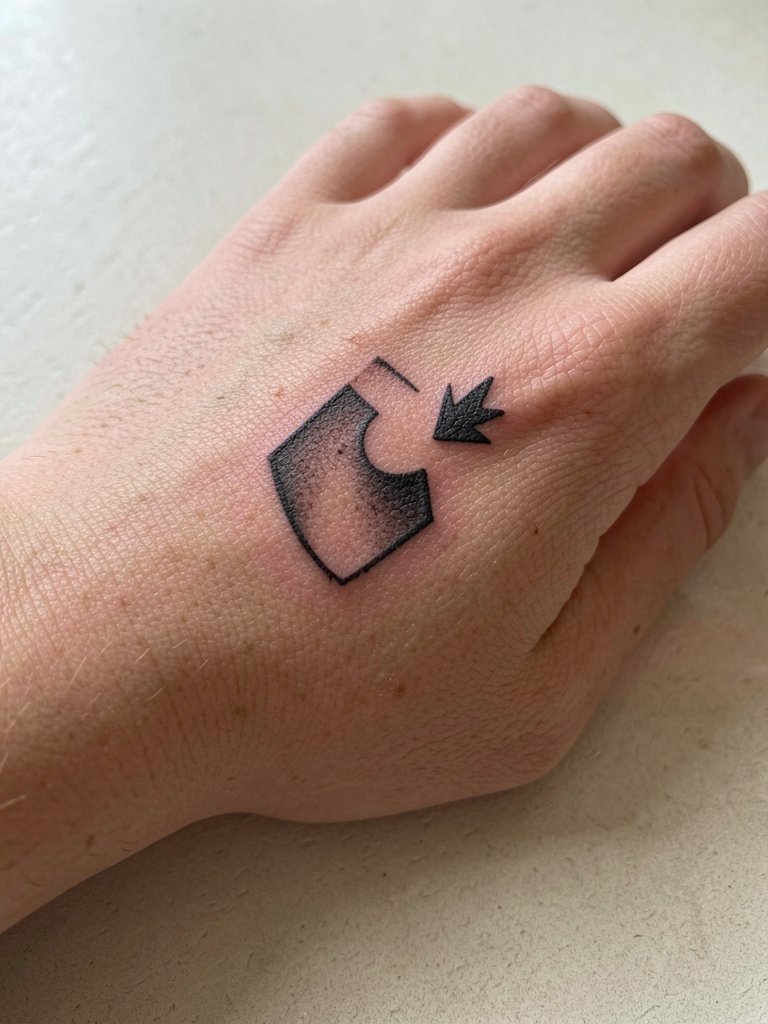
Placing a small arrowhead by the knuckle gives directional impact without stretching across flex lines. The common error is having the point too fine. Ask for a compact head shape with clear negative space so the silhouette remains after stretching. You will notice more pain where the knuckle meets the finger. Expect a quick session and a likely touch-up within two years if you want the point to stay crisp. Pair with short sleeves that keep wrists visible for balanced hand styling.
14. Tiny Musical Note Between Two Fingers
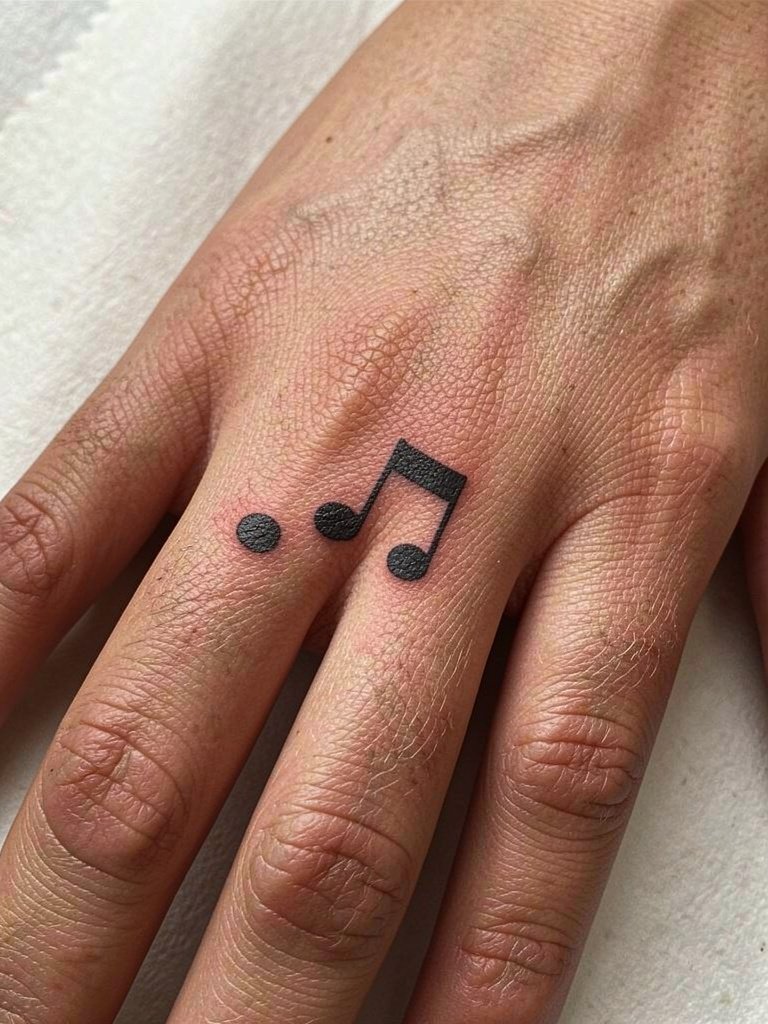
Interdigital placements are intimate and see a lot of friction. The mistake is asking for a delicate stem that disappears with washing. Request a compact note with a slightly thicker stem and a small amount of negative space around the head so it does not merge. Sessions here can be more uncomfortable and may require brief breaks. Plan for a touch-up after the initial healing period. For evenings out, thin statement rings on the neighboring fingers showcase the little note without rubbing it.
15. Tiny Chevron on the Tip of the Finger
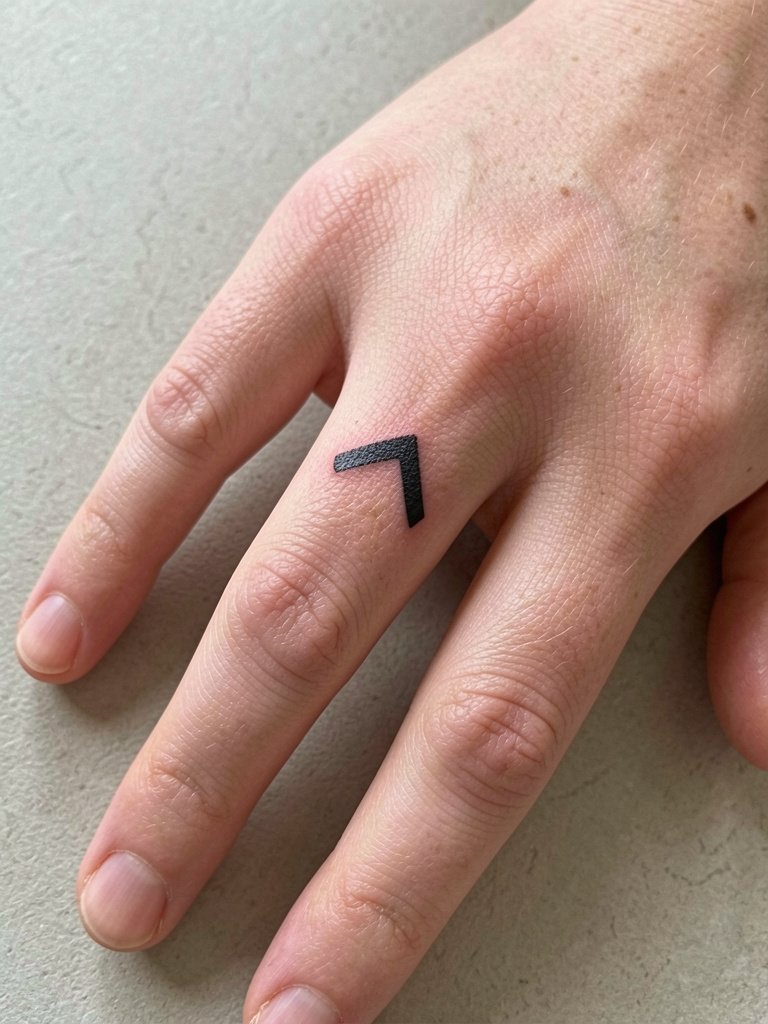
Chevron tips look graphic and modern but need enough ink volume to handle constant contact. A common mistake is placing the chevron exactly on the very center of the pad where touch erases detail fastest. Move it a few millimeters back on the dorsal tip and agree on line thickness that accounts for touch-up. Expect a short but sharp session and routine touch-ups over the years. For a clean look, keep nails groomed and consider a neutral polish to frame the tiny geometric mark.
Frequently Asked Questions
Q: How long do finger tattoos typically stay readable before needing a touch-up?
A: In my experience small finger pieces often need a light touch-up within one to three years to keep lines crisp. Designs with bolder silhouettes and slightly heavier line weight usually stretch out more gracefully and can go longer between touch-ups.
Q: Are fine-line scripts on fingers a bad idea?
A: Fine-line finger scripts split opinion. One camp says ultra-fine single-needle scripts on fingers blur within months because the skin is thin and moves constantly. The other camp argues that with slightly wider spacing and controlled depth you can get a tidy result that still looks delicate. If you want a script, request mockups at the exact size and a slightly heavier line weight than your screenshot.
Q: What should I wear to the appointment for a knuckle or finger tattoo?
A: Wear loose sleeves that roll up easily so the artist can work without fabric tugging at your hand. For thumb or knuckle work a short-sleeve tee or sleeveless top keeps access clean. Bring a simple bandage glove or plan to use the studio’s protective film in the first 24 hours.
Q: How can I find healed examples and artist portfolios without naming specific artists?
A: Search platform tags and phrases that match your interest, for example try hashtags like #MicroFingerInk, #KnuckleTattooHealed, and #MinimalFingerTattoo on Instagram and TikTok. Use location filters to narrow to nearby studios and check community forums for healed photo threads to see pieces on multiple skin tones.
Q: Are there cultural or professional issues to consider with finger tattoos?
A: Yes. Some symbols have cultural or religious meaning. If a design comes from a tradition, research its origin, and mention that context during your consultation. Also consider workplace visibility. Fingers are highly visible, so plan placement and size with long-term career visibility in mind.
Q: Do finger tattoos hurt more than forearm tattoos and how long does a session take?
A: Finger tattoos feel sharper because the skin is thinner and closer to bone, so expect short, focused discomfort. Most micro finger pieces take 10 to 40 minutes depending on detail. Larger knuckle sets may need multiple short passes or a follow-up touch-up session.
