
Someone I know spent months saving photos only to learn the hard way that a style that looks great fresh can ghost or bleed after a year. I have seen fine line ferns fade, dark-skin greens wash out in phone photos, and small forearm pieces suddenly cost triple what people expected. Read on for 15 dark Mother Nature tattoo ideas that balance trend and healed reality, plus the prep you need to keep them working for years.
1. Watercolor Mother Portrait on Upper Arm
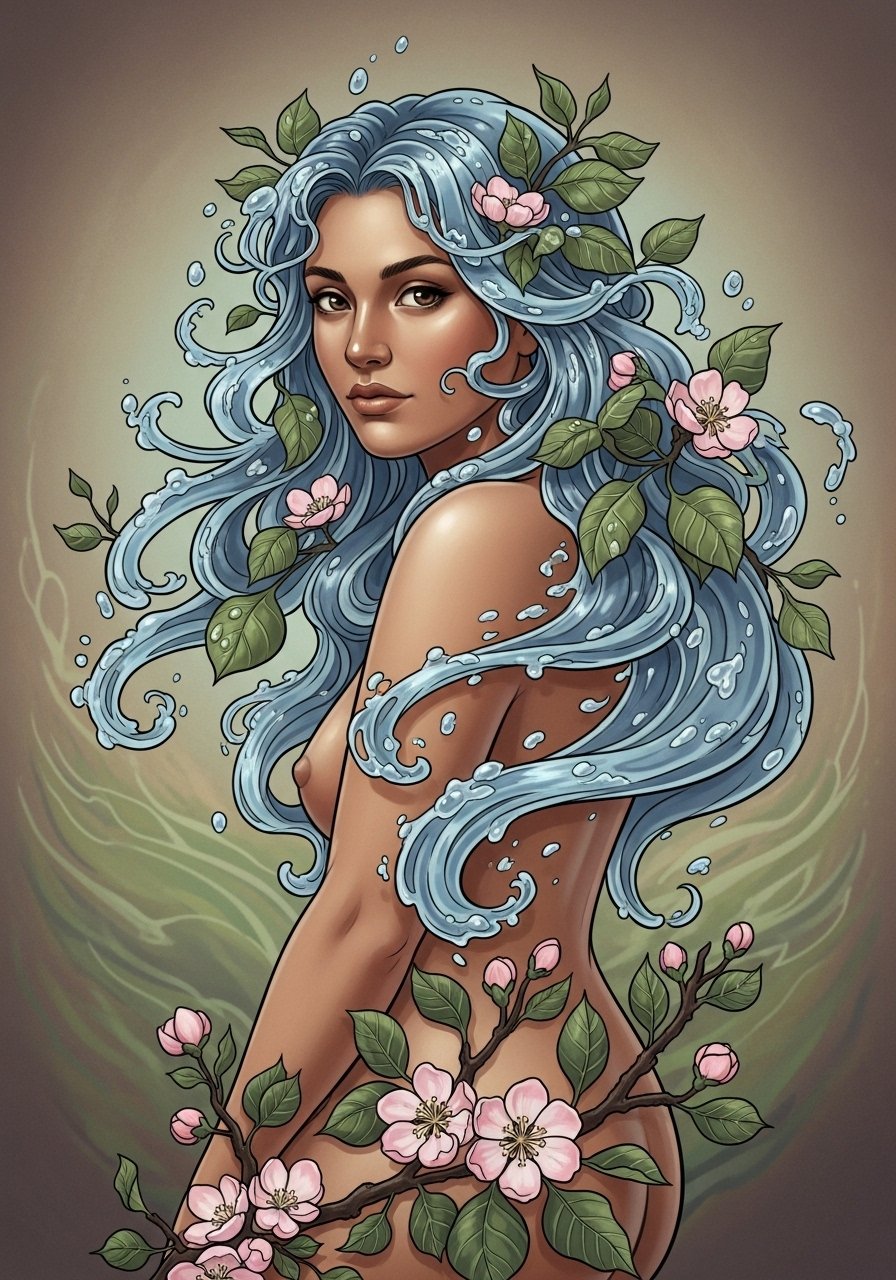
Someone I know first saw this as a back piece and wanted the same energy on their upper arm. The watercolor approach reads ethereal fresh, but light washes and feathered edges are what fade fastest in sun. Ask your artist for a stronger outline or a neo-trad underlayer so color has something to hold onto. Session time is often one to two hours for a medium piece and pain is low on the outer arm. At six months the color should still be visible, at two years expect softening and possible patchiness without touch-ups. The common mistake is asking for ultra-diffuse washes with no linework underneath.
2. Blackwork Mountain and Sunset Across the Back
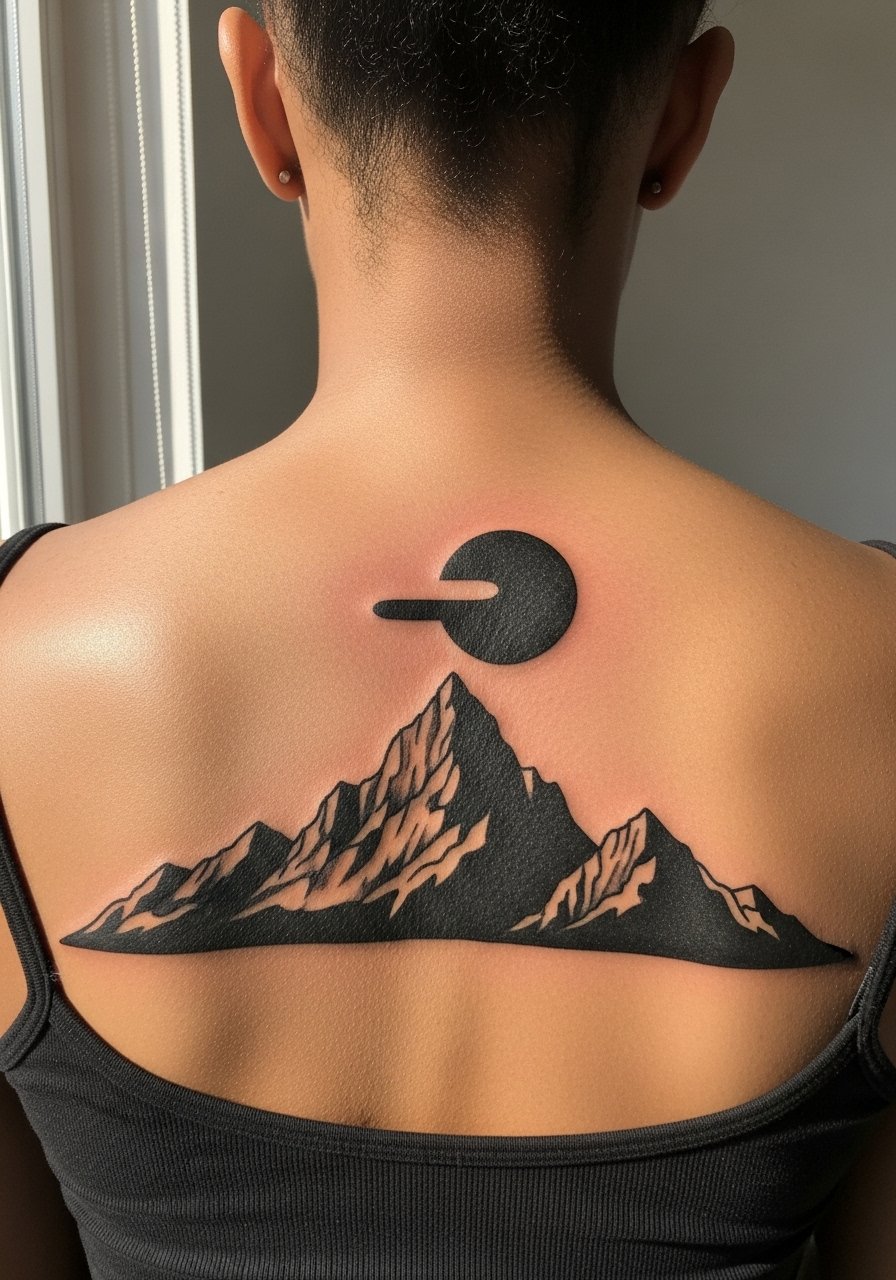
Fair warning: full-back blackwork is a multi-session commitment and a high-contrast choice if longevity matters. I have seen the same motif survive swimming and outdoor weekends better than watercolor landscapes. Tell your artist you want saturated black with bold linework and negative-space highlights to preserve contrast over time. Sessions often run long and the pain varies across the back. This style ages well because heavy saturation resists the ghosting that fine line pieces get. A common error is trying to cram tiny details into a huge black field. For back placement you can build layers over visits so plan touch-ups into the timeline.
3. Neo-Traditional Gaia Sleeve Start on Thigh
When you sit down with an artist for a patchwork sleeve start, bring seasonal elements already decided for future addition. Thigh flesh gives color room and stretches with body changes, but gains or losses can warp long vertical branches. Expect moderate pain and multiple sessions. Neo-traditional saturation holds up better than thin watercolor, so if you want color longevity choose bold fills and clear shading. The mistake is starting with tiny, highly detailed sections that cannot be matched in future sessions. Ask the artist how they plan to scale each element so the patchwork reads cohesive as you add to it.
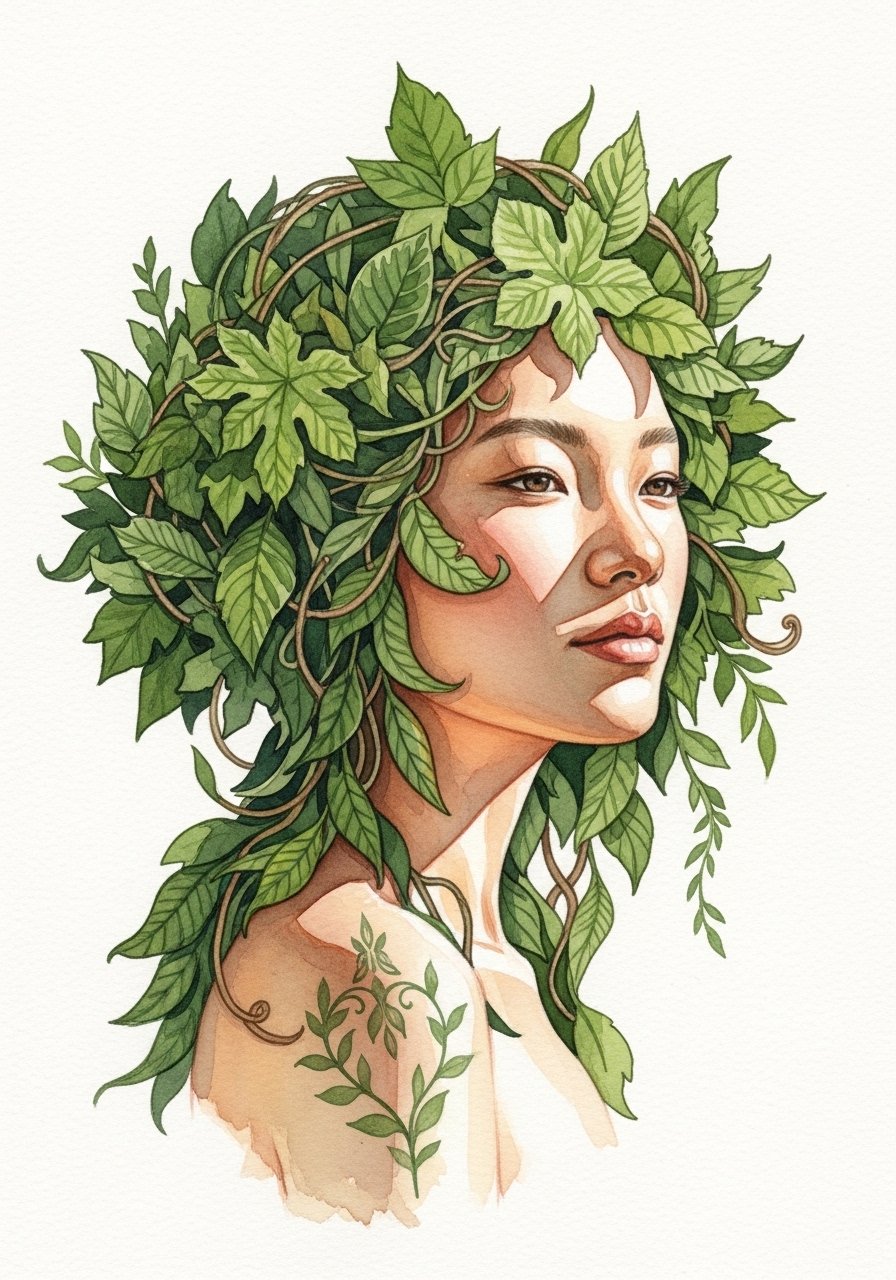
4. Fine Line Gaia Figure with Forearm Foliage
Most fine line fans expect delicacy, but forearm skin can play tricks and ghost lines into gray after a year. If you want the minimalist look without rapid fade, request slightly heavier linework and ask for healed examples on similar skin. A typical session runs under two hours and pain is low. At six months a careful fine line piece often looks crisp, at two years it may soften and need a touch-up. The controversy here is loud in forums. One camp accepts touch-ups as part of the trade-off for subtlety. The other camp says heavier lines win for longevity. Get the artist's stance before booking.
5. Realism Earth Mother Thigh Portrait
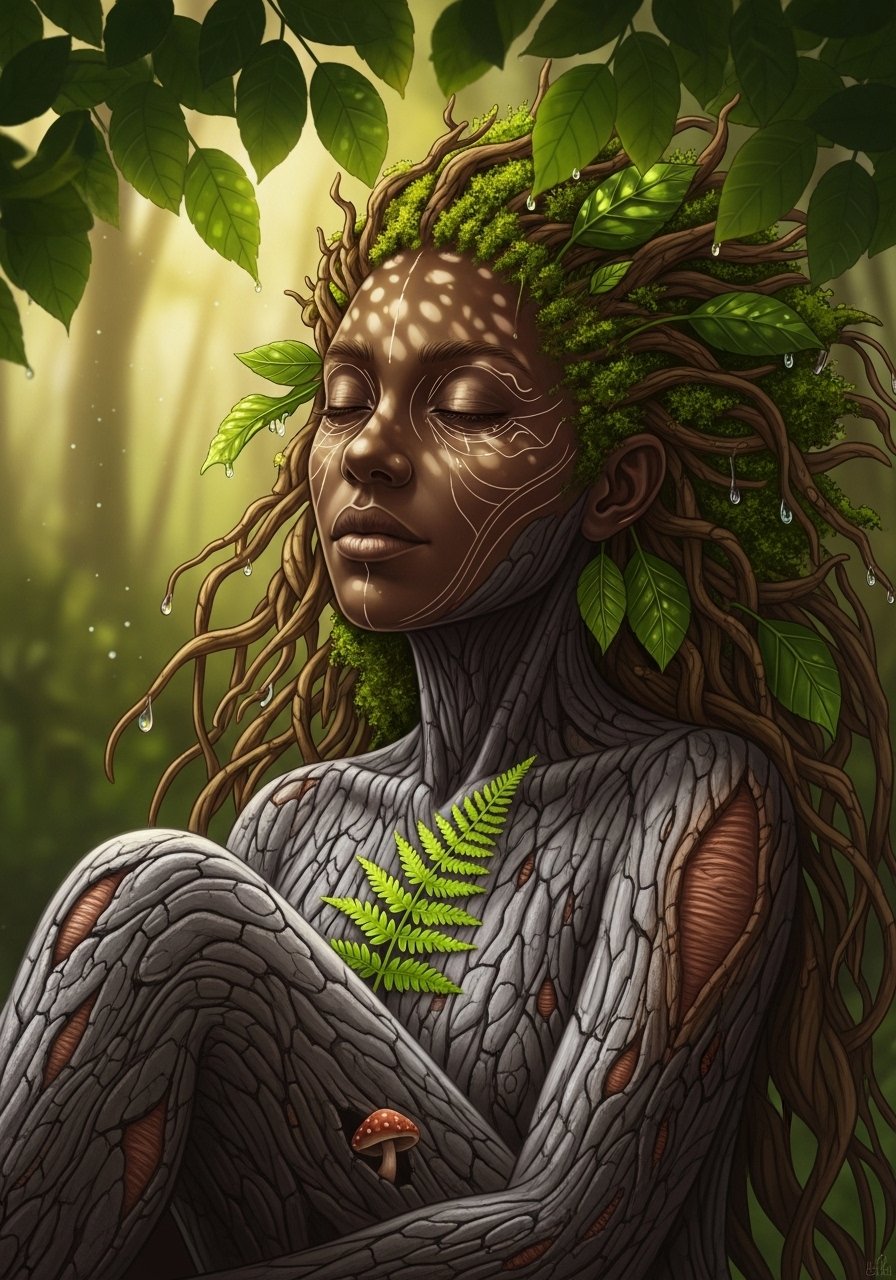
There is something about micro-realism on the thigh that reads detailed even at a distance because the skin gives the ink room. This placement tolerates larger compositions and can hide in gallery-style clothing when needed. Sessions for a medium thigh portrait usually span two to four hours and the pain level is moderate. Ask for contrast points in the design so shadows and highlights still read in photos of darker skin. A common mistake is clipping too many tiny highlights that fade into a muddy gray. Plan a touch-up at the one-year mark to keep texture crisp.
6. Ornamental Mandala with Floral Chest Piece
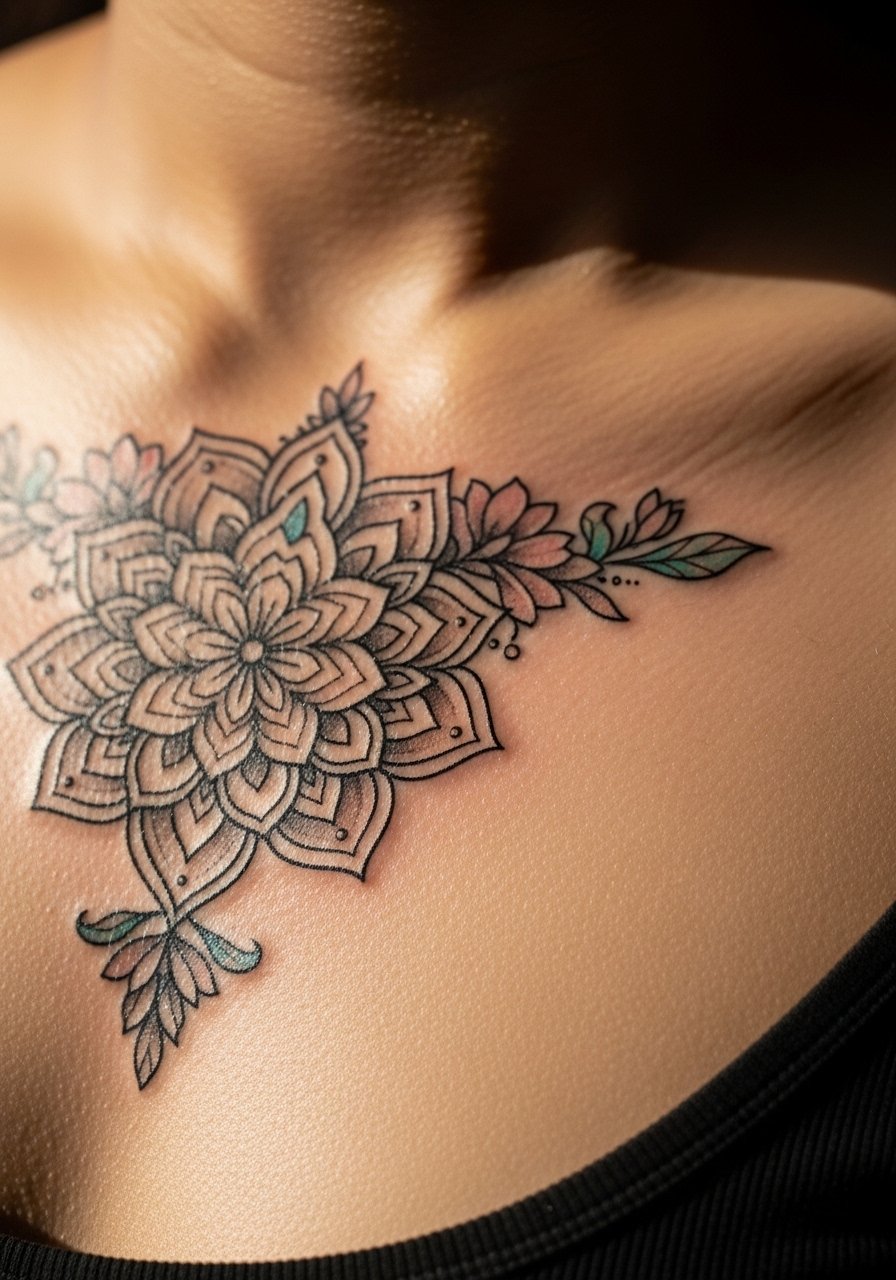
When you request a mandala on the chest, tell your artist whether you want symmetry that aligns with the sternum or a slightly offset design to accommodate natural curves. Chest placement can feel sharp in pain because the area sits over bone. The ornamental approach benefits from dot work and stipple shading for longevity. Because mandalas trace to sacred artistic traditions, some people opt for variation rather than direct cultural replication. The most common error is asking for extremely fine radial lines too close together. Leave space and plan a touch-up after the initial healing to restore lost contrast.
7. Traditional American Mother Earth on Forearm
There is a durability to classic Americana linework that makes it a sensible choice for forearms. Bold outlines and solid color blocks survive daily wear and outdoor exposure better than soft washes. A single session under a few hours will deliver a clear, readable piece. Tell your artist you want saturation over subtle blends if you swim or spend time in the sun. The frequent mistake is scaling a traditional motif too small on the forearm. Give the flash space to read and avoid overcomplicated background fills that age unevenly.
8. Illustrative Forest and Wildlife Upper Back Panel
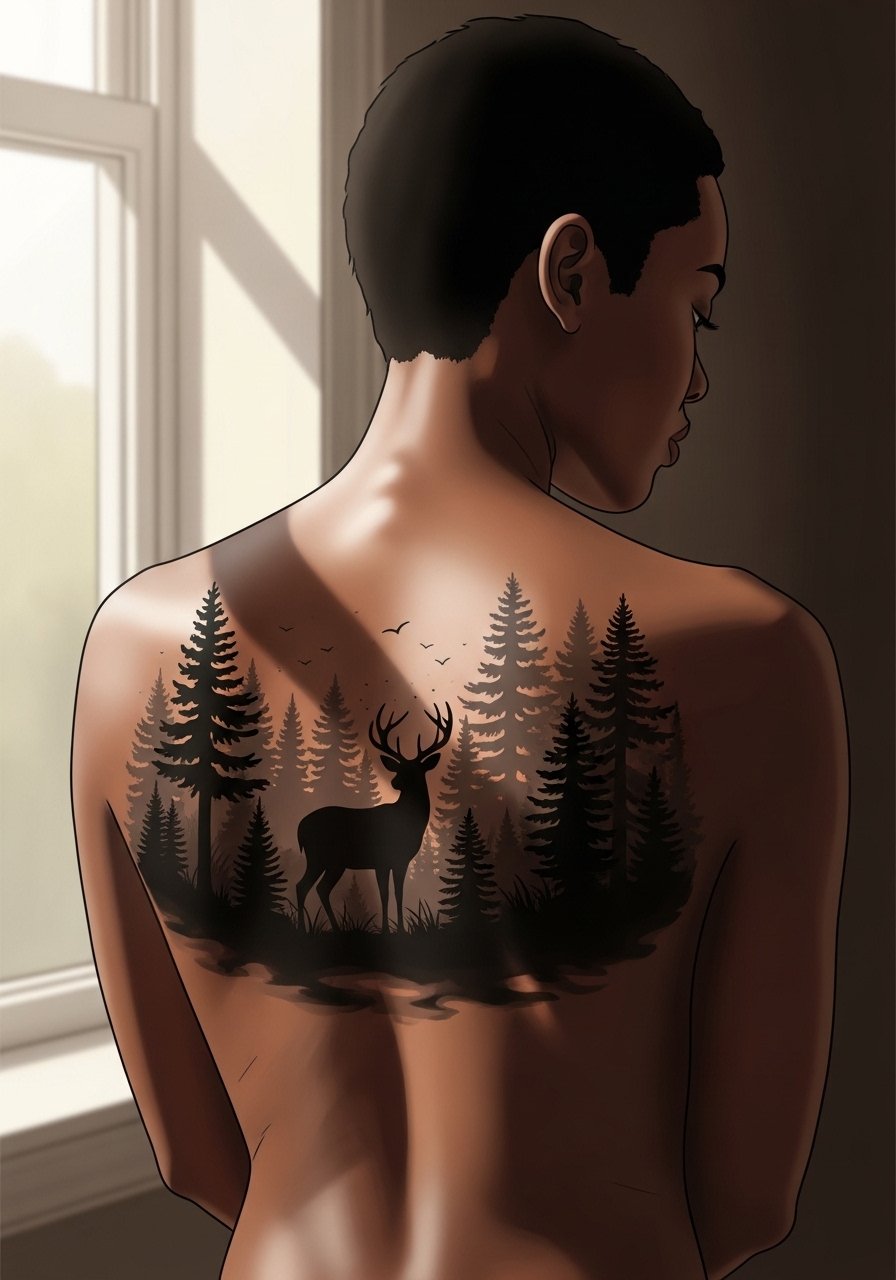
There's visual impact when a back panel layers foreground wildlife over receding tree lines. Upper back skin handles large compositions and lets an artist paint depth with shading. Sessions stretch across multiple visits and the pain is manageable. For dark skin tones emphasize strong midtones and highlights so color photography keeps detail. A common mistake is asking for too many tiny branches in initial sessions which disappear into texture over time. Schedule staged sessions and plan which seasonal elements you want added later so the panel grows intentionally.
9. Minimalist Leaf Crown on Wrist
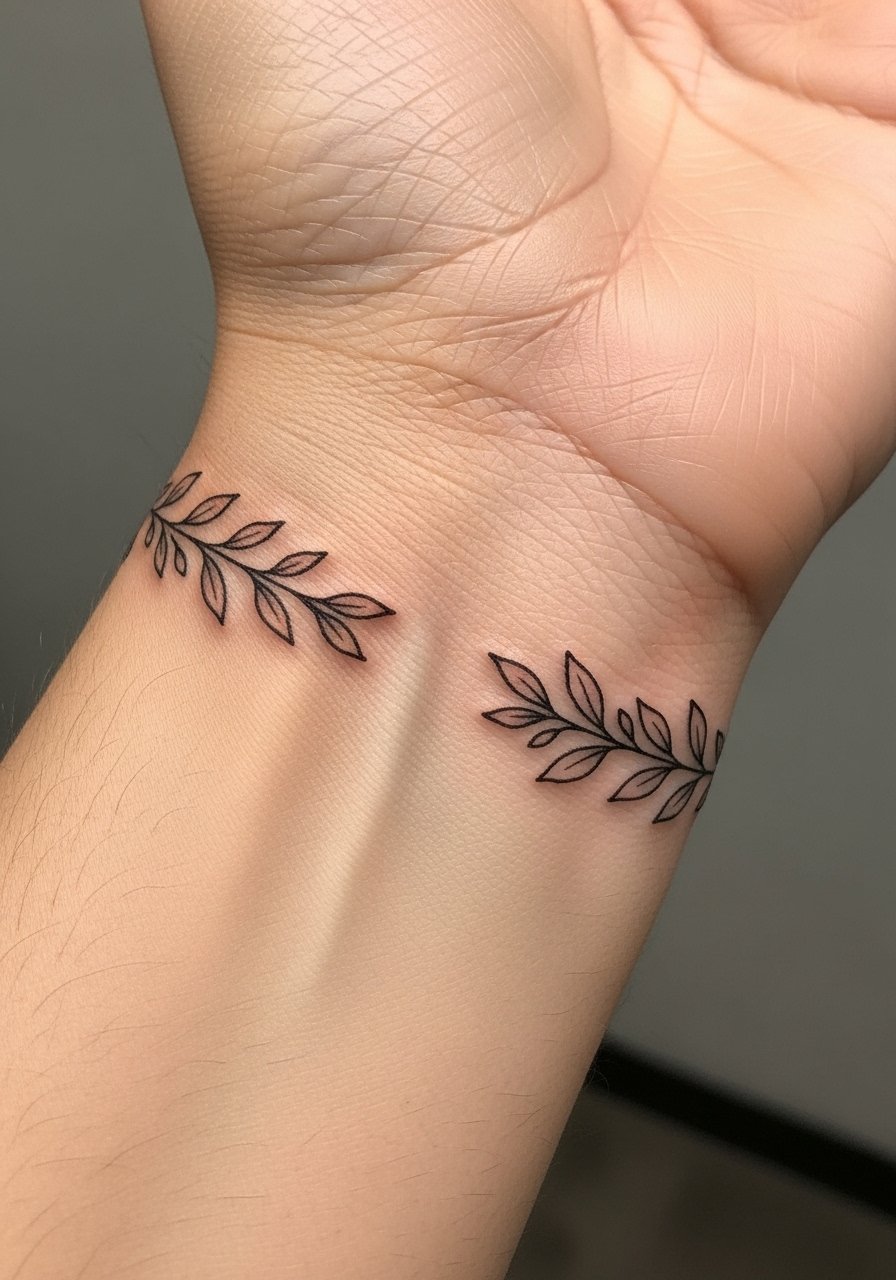
The wrist is popular for first-timers because it shows but is small and discrete. Pain can be higher because of thin skin over bone. For longevity choose slightly thicker linework than the photo references you save, and request high-contrast leaves rather than faint stems. A tiny crown looks crisp at six months, but without touch-ups it may blur by year two. A common mistake is asking for a chain of ultra-fine dots that merge into a gray band. If you need a quieter result, consider placement on the inner forearm instead.
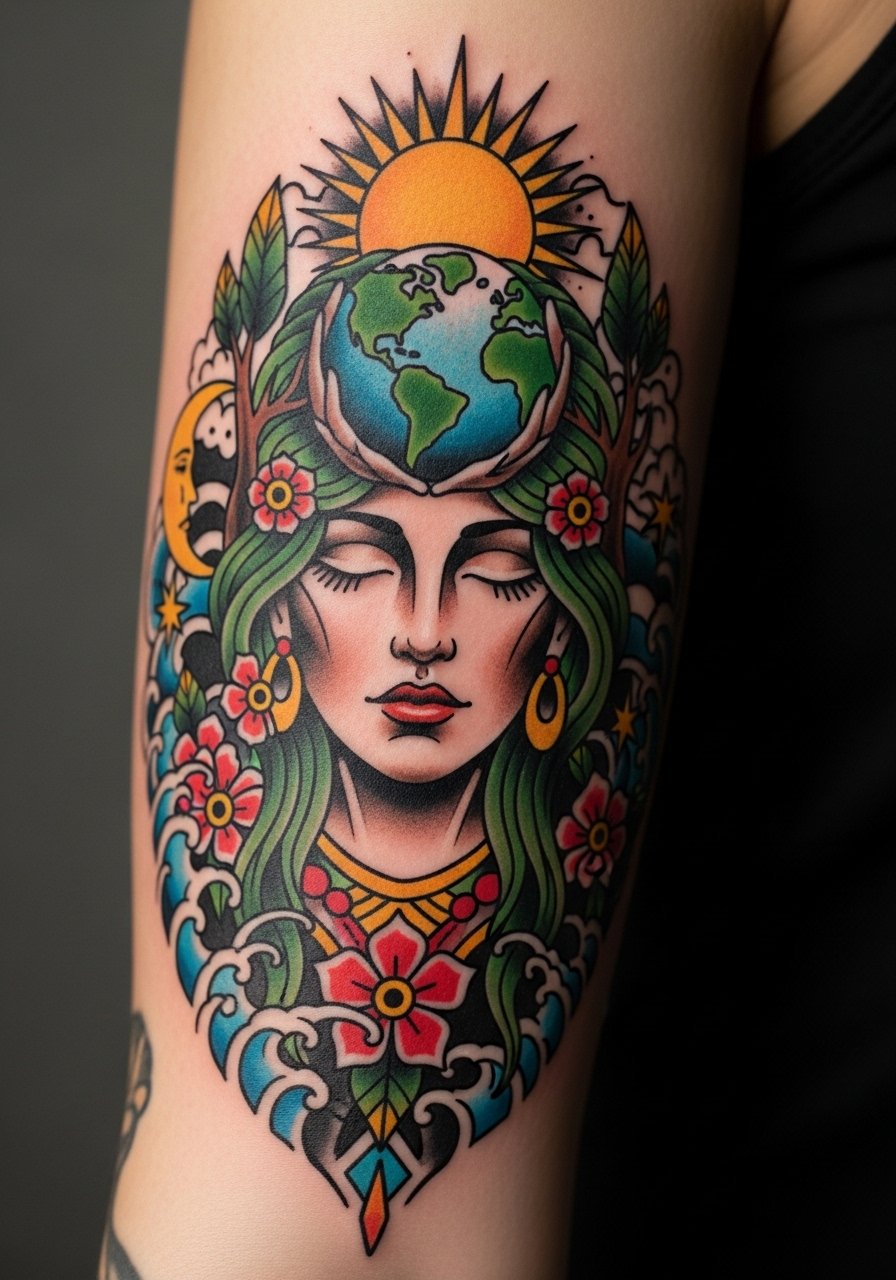
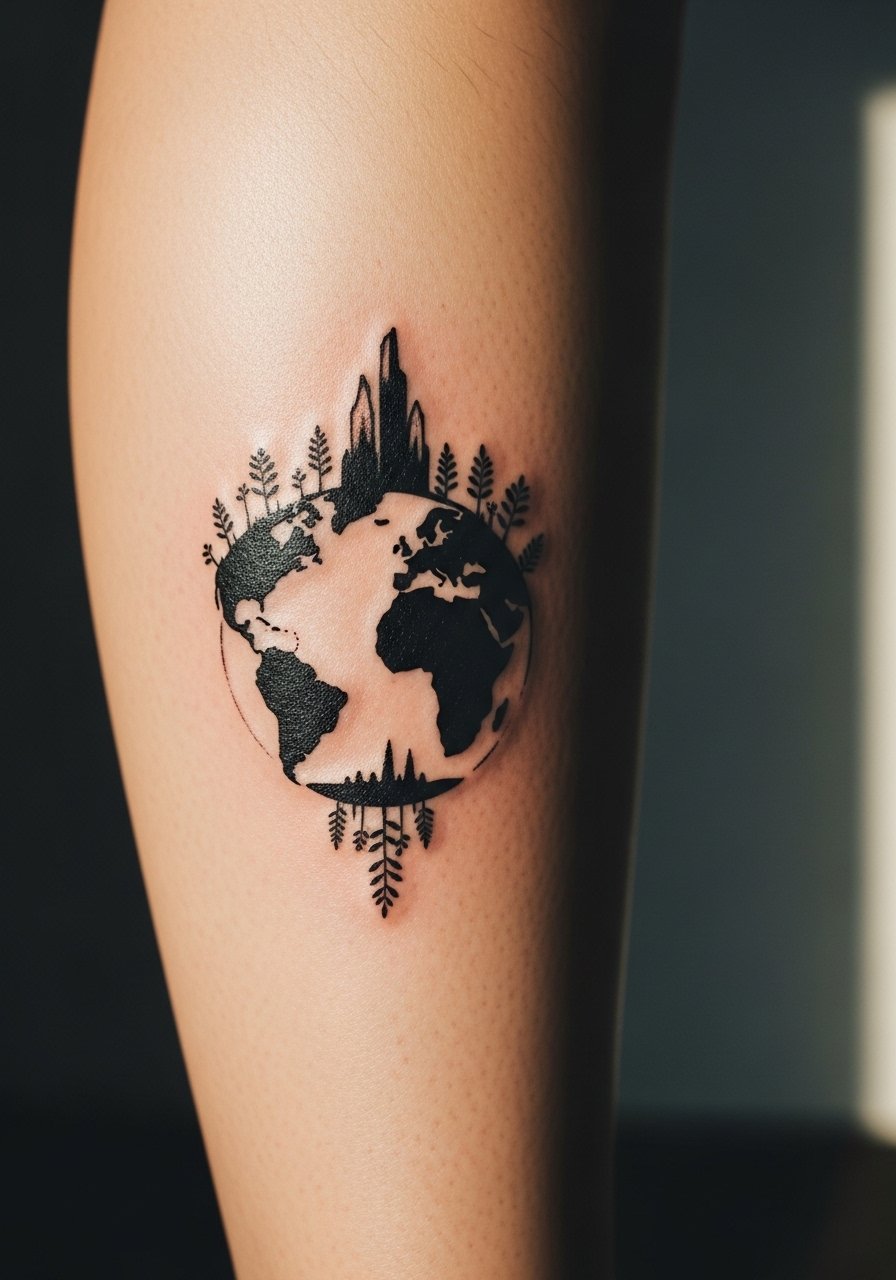
10. Geometric Earth Mandala on Shoulder
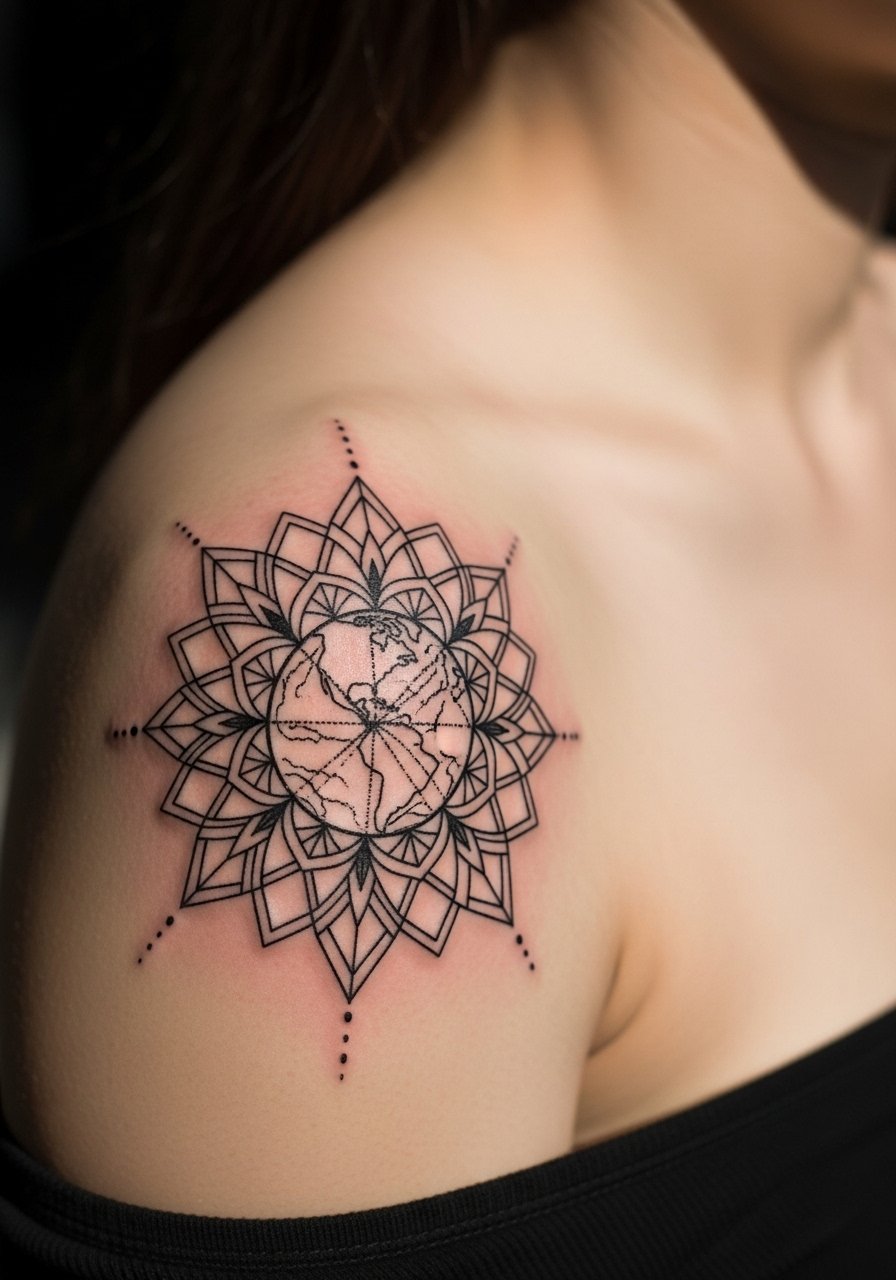
The biggest mistake with geometric mandalas is going too small. Shoulder skin gives the design room to breathe and prevents lines from crowding as they age. Pain is low and sessions are medium length. Ask your artist for spacing that anticipates a future sleeve or shoulder panel. At six months the geometry should remain crisp, at two years thin lines can wiggle if too close. If you plan to expand later, tell the artist about the patchwork concept so new elements align with existing node points.
11. Botanical Fern Unfurling on Ribcage
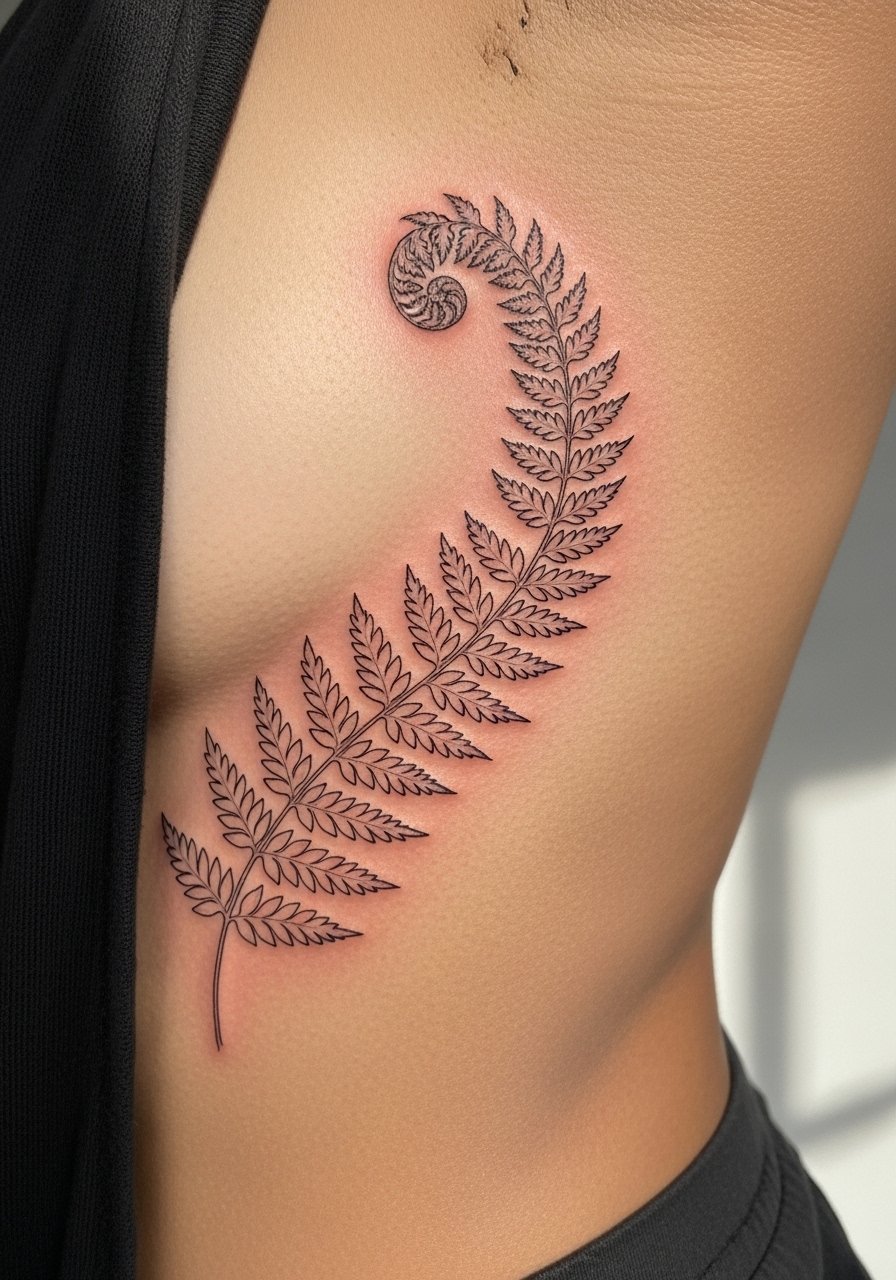
Fair warning, the ribcage ranks high on the pain scale, but the vertical flow of a fern there complements the torso. Fine line works aesthetically, yet that same skin movement can cause ghosting. If you insist on delicate leaves, ask the artist to space lines for future touch-ups. Sessions are short but intense. A common regret is starting with single-needle hairlines too close together. Sensitive placement note: ribcage pieces often need an artist experienced with high-pain areas and layered healing strategies.
12. Patchwork Elemental Thigh Sleeve Start
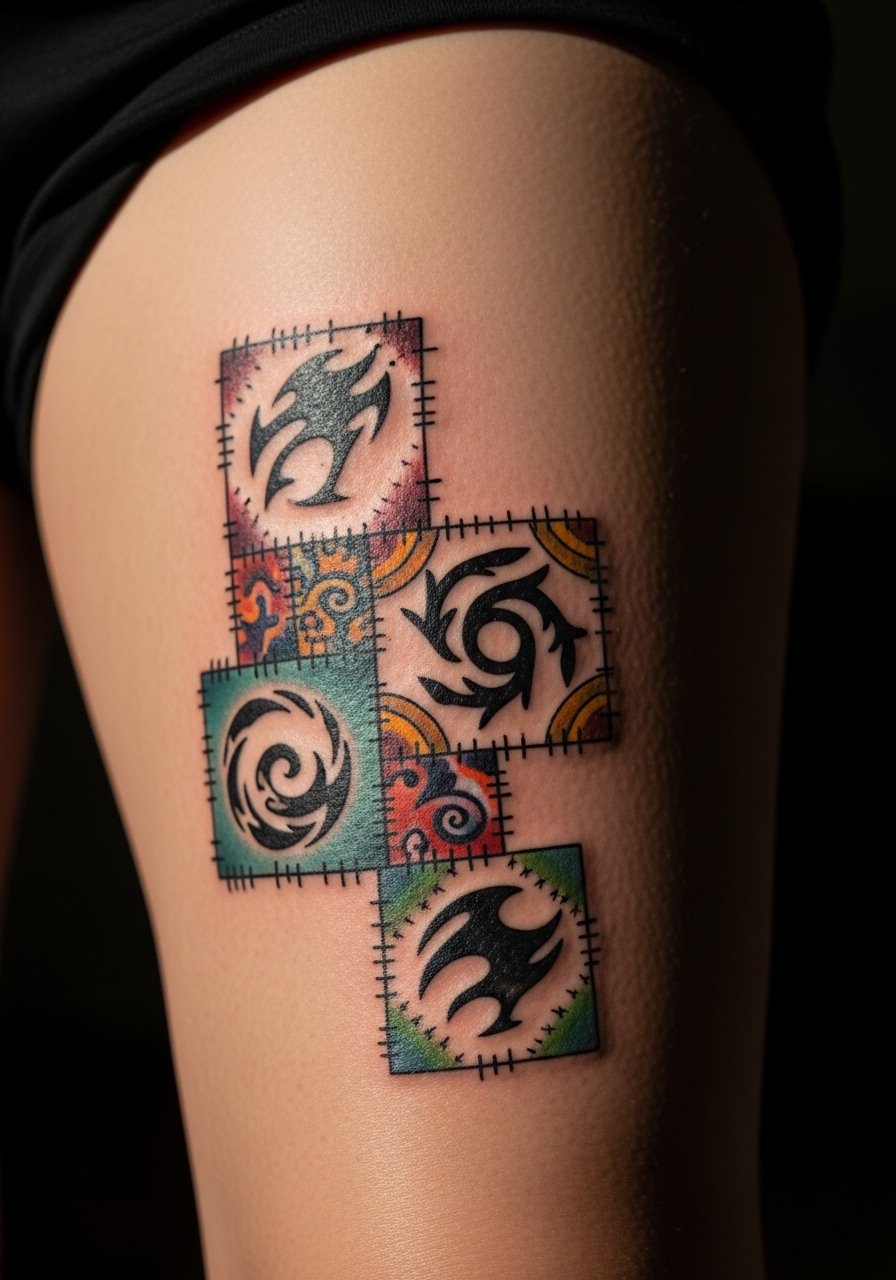
When collectors build a thigh sleeve over time, each section should be legible on its own. Start with a bold anchor piece so future additions feel intentional. Thigh skin absorbs saturation well but is subject to stretching from weight changes. Sessions are modular and you can plan one to three-hour slots. The error I see most is mixing detailed micro-realism next to broad neo-traditional blocks without transition elements. Discuss scaling and negative space in your consult so the patchwork reads coherent over two or more years.
13. Reverse Negative-Space Earth Silhouette on Calf
Visual impact leads this concept because the silhouette reads bold while internal linework is delicate. Calf placement tolerates vertical designs and is visible in shorts. Pain is moderate and sessions are one to two hours. This version avoids the watercolor trap by relying on negative space rather than fragile pigments. A common mistake is asking for tiny, low-contrast interior details that vanish after healing. Ask for stronger internal contouring and plan a touch-up timeline for any faint highlights.
14. Hybrid Naive Lines with Bold Whimsy on Calf
When someone wants earthy whimsy without looking precious, the hybrid naive style uses bold naive lines and chunky fills that age into character. Calf flesh is forgiving and lets naive strokes read as intentional rather than amateur. Session pain is low and sessions are flexible. The common mistake is requesting a delicate, childlike line weight that fades into fuzz. Pick a confident line thickness and tell the artist you want the naive look with saturation that survives yearly wear.
15. Geometric Forearm Cluster That Scales Into a Sleeve
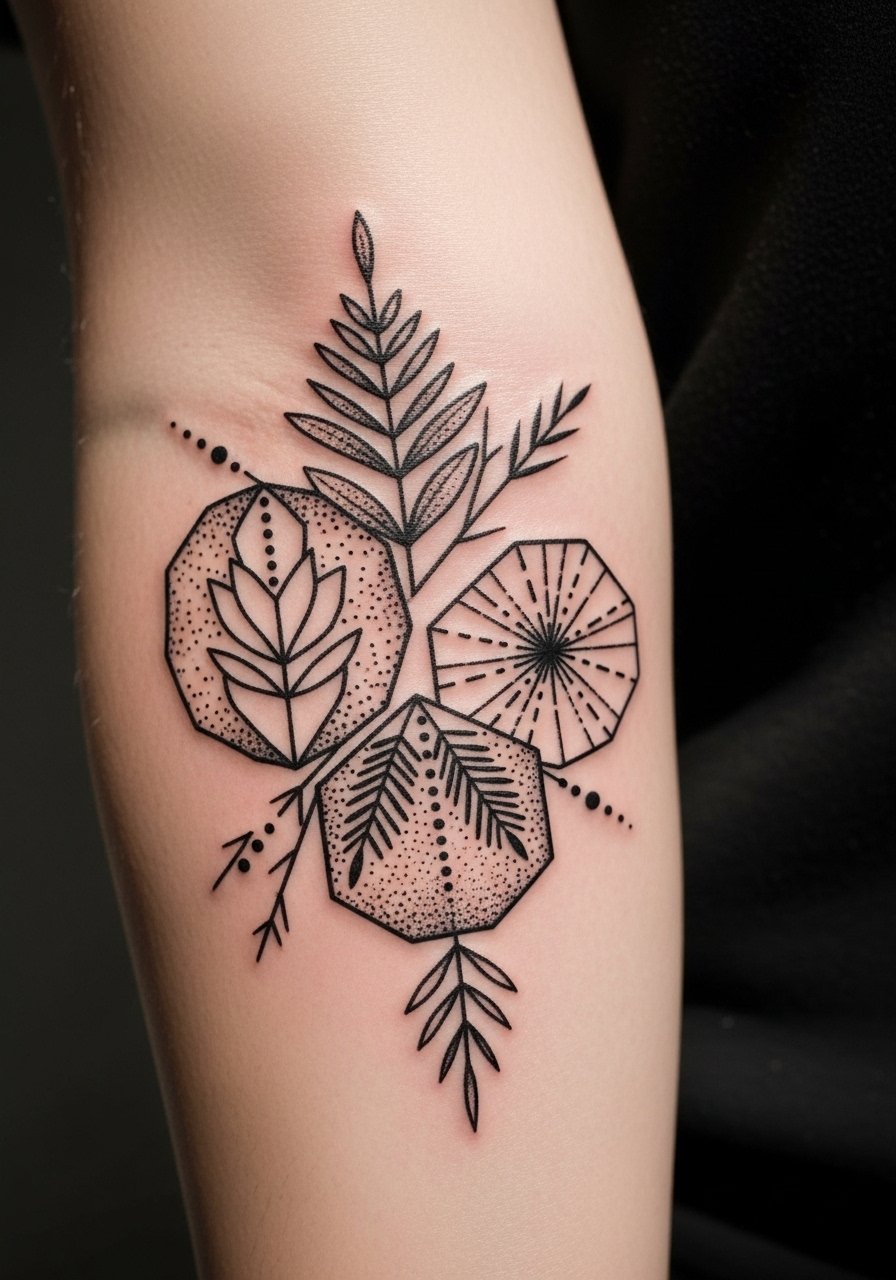
The consultation lead is key here. Tell your artist whether this cluster must align with a future sleeve so axis points match. Forearm geometry looks modern and can hold up if lines are given breathing room. Pain is manageable and sessions run one to two hours. At six months a well-spaced cluster reads clean, at two years thin lines can show softening. Avoid the error of cramming too many narrow elements into a small forearm area. Plan negative space intentionally for expansion.
Tattoo Prep and Aftercare Essentials

For these 15 styles the difference between a healed tattoo that looks intentional and one that looks washed out often comes down to the first two weeks of care and realistic touch-up planning. Below are practical items that people in forums and artists I spoke with recommend for nature-themed work, especially greens and soft washes. The list focuses on lesser-known options first and stays light on one common mainstream choice for context. Use the items for pre-appointment prep, immediate healing, and long-term maintenance.
Indie tea tree balm, lightweight formula noted for quick absorption and less pore clogging. Use sparingly after the initial scab phase to reduce trapped oils. Good for oily skin that reacts to heavy ointments.
H2Ocean saline spray for tattoo aftercare and humid climates. Mist for gentle cleansing when sweat or saltwater exposure is a concern.
Japanese rice bran salve for antioxidant support and color retention. Apply lightly during the settling phase to protect greens and blues.
Soy butter vegan balm alternative to heavier petroleum mixes. Good for people wanting plant-based, quick-absorbing moisture.
Lightweight fragrance-free balm for daily moisturizing after day three. Keeps the skin supple without over-oiling.
Medical-grade second skin bandage, single-use sterile sheets for the first 48-72 hours. Useful when shops or artists recommend occlusive early protection.
Fragrance-free gentle foaming cleanser for daily washing during initial healing. Use lukewarm water and pat dry to avoid over-scrubbing.
SPF 50 mineral sunscreen for tattooed areas after healing. Protects greens and blues from UV fade during outdoor seasons.
Every tattoo is different. Always follow your artist's specific aftercare instructions. Consult a dermatologist if you have skin concerns or unusual healing issues.
Frequently Asked Questions
Q: Will fine line botanical work blur into a sleeve if I add more pieces later?
A: It depends on spacing and original line weight. If the fine line piece has small gaps between elements and you add adjacent work with heavier saturation, the contrast can help the fine lines remain legible. Tell your artist you plan an eventual sleeve and ask them to show healed examples of similar builds before booking.
Q: Do watercolor-style tattoos need different aftercare than blackwork landscapes?
A: Yes, watercolor washes are more vulnerable to early sun and excessive moisture during healing. I have seen people protect watercolor with brief occlusion and then gentle moisturizing. Blackwork benefits from solid saturation and less worry about patchy fades, but both need SPF after healing. Try the H2Ocean spray for humid climates and a light balm for dry phases.
Q: For dark skin, what keeps green foliage from washing out in photos?
A: Strong midtones and clear contrast points help. Ask for slightly bolder outlines or darker underlayers and request healed photos from the artist on similar skin tones. Planning highlights as narrow bright points rather than broad pale washes keeps green visible in pictures.
Q: Is Saniderm recommended for these Mother Nature pieces or is dry healing better?
A: Artists split into two camps. One camp uses occlusive films to reduce scabbing and keep the area clean. The other camp prefers letting a natural barrier form to settle ink. My take is that short-term use of an occlusive can help in messy areas, but follow your artist's method because application timing and removal matter.
Q: How soon should I plan a touch-up for a watercolor portrait versus a blackwork mountain?
A: Expect watercolor to need touch at around 6 to 12 months depending on exposure and skin type. Blackwork often holds longer and may not need touch-ups until year two or later. Build touch-ups into your budget and schedule so the healed result stays intentional.
Q: What are red flags to watch for when booking an artist for a large nature piece?
A: Avoid artists who cannot show healed photos of similar work or who refuse deposits with a clear refund policy. If they cannot explain how they plan to scale the design for your body, that is a warning. Use hashtags, directories, and local guest-spot listings to find healed portfolios before committing.
