
Choosing the right tattoo size sounds simple… until you’re staring at your arm, unsure if 2 inches will look cute or microscopic. Tattoo regret often comes from sizing mistakes—not the design itself—so getting this part right matters.
Before we dive in, set the visual mood:
Sizing a tattoo correctly is all about balancing detail, placement, pain, and how your body moves. This guide breaks down everything you need to choose a size you’ll love forever.
Why Tattoo Size Matters More Than You Think
Tattoo size affects:
- How much detail the artist can include
- Whether lines blur or hold up after healing
- How a design fits your anatomy
- Pain level, session length, and long-term fading
Tiny tattoos (<2″) are beginner-friendly, but they can’t hold micro-details. Larger pieces (6″+) allow shading and realism but require more time, planning, and placement strategy.
1. Match the Size to the Detail Level
Rule #1: The more detail you want, the bigger the tattoo needs to be.
A tiny tattoo is perfect for:
- Icons
- Symbols
- Words
- Minimalist line art
But not ideal for:
- Portraits
- Animals with fur detail
- Wings, feathers, scales
- Landscapes
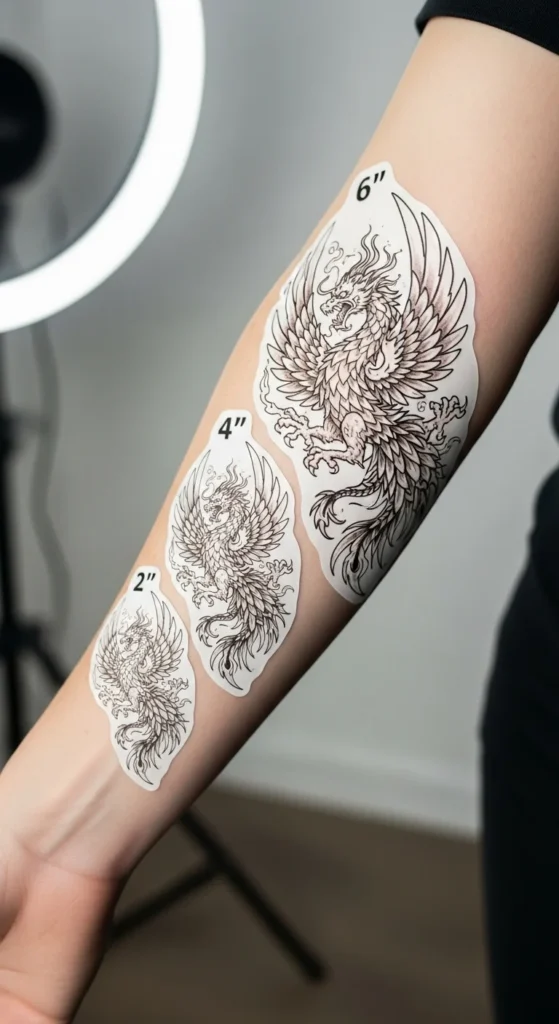
Quick detail thresholds:
- 1–2 inches: Simple symbols, tiny florals, initials
- 3–4 inches: Medium designs with light shading
- 5–7 inches: Realism, animals, intricate mandalas
- 8+ inches: Portraits, sleeves, full-back concepts
2. Choose Size Based on Body Placement
Placement dictates the maximum size your tattoo can look good at. If the area is too tight, the design can warp, stretch, or feel cramped.
Placement size cheat sheet:
- Forearm: 4–6 inches is the sweet spot
- Upper arm: Up to 6×6 works well
- Wrist/ankle: 1–2 inches
- Back: 10–20 inches (best for statement pieces)
- Thigh: 6–10 inches comfortably
- Ribs: Large designs possible but high pain
- Hands/feet: Smaller is better (high fade zones)
Larger designs naturally follow muscle curves, so your artist may adjust proportions slightly—trust them.
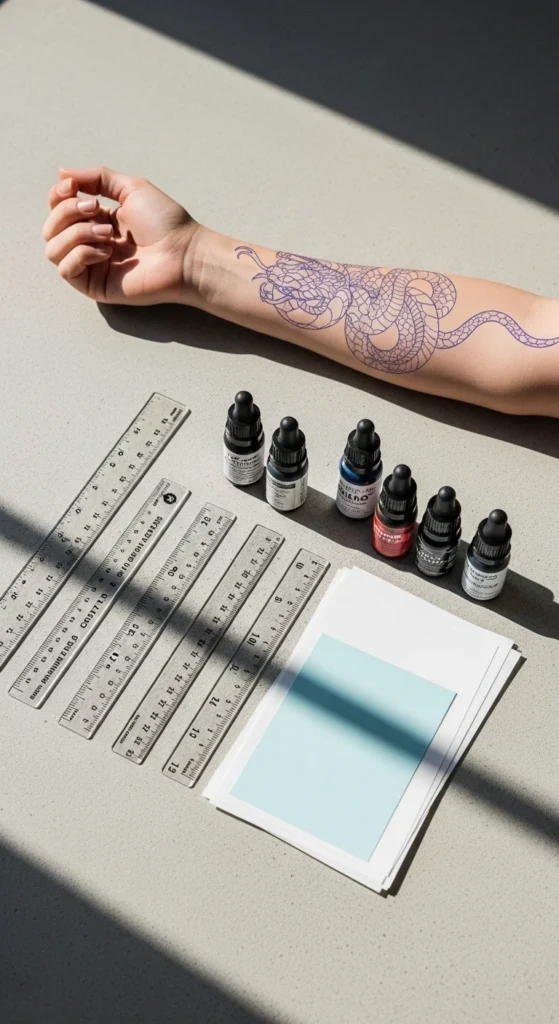
3. Measure Using a Ruler + the 0.5-Inch Buffer Trick
This method prevents tattoos from looking “too small once healed.”
How to measure correctly:
- Grab a ruler or measuring tape.
- Measure the exact width and height you think you want.
- Add a 0.5-inch buffer to account for:
- Skin swelling
- Natural healing contraction
- Maintaining proportions
- Skin swelling
If you’re between sizes, always go slightly bigger—tiny designs often blur over time.
Pro Tip: Take photos of your measurement from different angles. Your tattoo sits in 3D space, not flat like your phone screen.
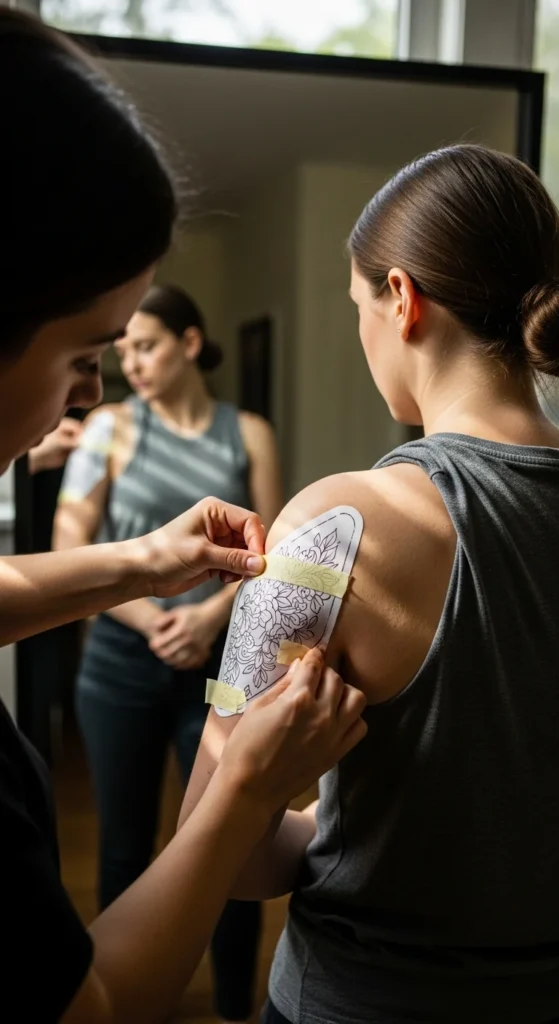
4. Use Stencils or Temporary Tattoos to Test the Size
This is the most regret-proof method out there.
You can:
- Print the tattoo outline at multiple sizes
- Cut it out
- Tape it on the exact spot
- Check it in the mirror, in photos, and while moving
Move your arm, flex your bicep—anything that mimics real life. If the tattoo warps in a way you hate… you just saved yourself a lifetime of regret.
5. Test With Temporary Tattoos or Henna (Underrated Hack)
If you really want to be sure, try a 1–3 day temporary tattoo or a henna version of your design.
This helps you preview:
- Visibility in real life
- Size comfort
- How it looks with clothes
- Whether it fits your aesthetic
It’s one of the cheapest ways to avoid placement and size mistakes.
6. Consider Pain Level vs. Size
Bigger tattoos = more time under the needle.
Pain scale by area (general rule):
- Low (2–3/10): Outer upper arm, forearm, thigh
- Medium (5–6/10): Shoulder, calf
- High (7–9/10): Ribs, spine, ankle, wrist
- Extreme (9–10/10): Groin, armpit, sternum
If you want a large tattoo, placing it on a fleshy area like the thigh or upper arm makes the process easier.
7. Think About Longevity and Fading
Some areas fade faster:
- Hands
- Fingers
- Feet
- Ankles
- Ribs (friction from clothes)
If you’re tattooing a high-friction spot, smaller is better to maintain clarity over time.
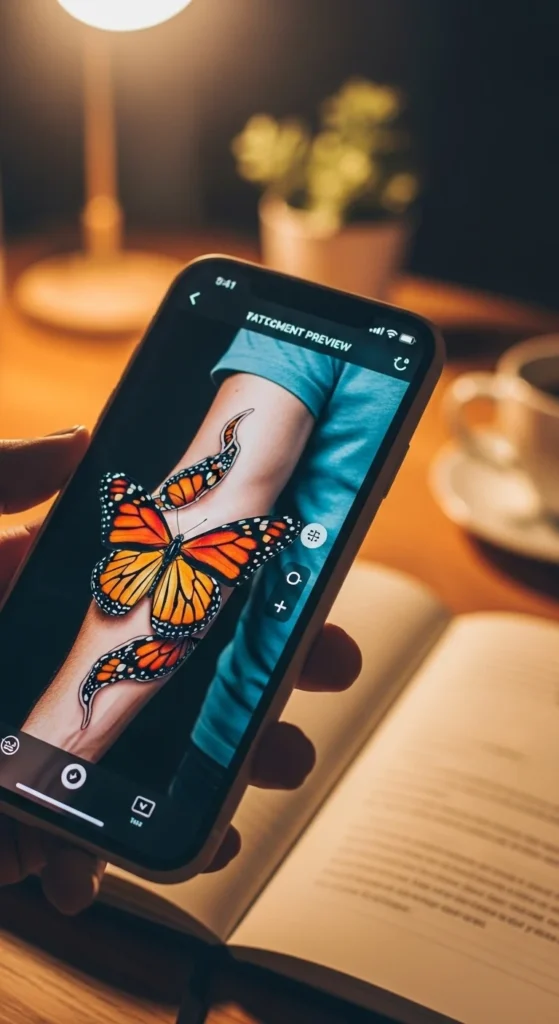
8. Use Digital AI Tools to Preview Size
Modern sizing tools like Tattooify or InkGen let you:
- Upload your design
- Scale it instantly
- Preview it on a body model
- Download the stencil at exact dimensions
This is perfect if you’re indecisive between 2″, 3″, and 4″.
9. Talk to Your Tattoo Artist Early
Artists know exactly what size supports:
- Clean line work
- Proper shading
- Smooth curves
- Healing longevity
A quick consultation saves time and prevents you from obsessing over a size that won’t work in real life.
Final Tips for Perfect Tattoo Sizing
- When in doubt: go slightly bigger
- Always test size with a stencil
- Match detail to size
- Choose placement before choosing dimensions
- Check the design while moving or flexing
Conclusion: Size Your Tattoo Like a Pro
Sizing a tattoo is a mix of art, anatomy, and practicality. When you measure correctly, test with stencils, and consult your artist, you’ll get a tattoo that looks amazing today—and still looks amazing in ten years.
Save this guide for your next tattoo appointment!
