
St Patrick’s Day tattoos offer so many fun possibilities, but choosing where to place them can make all the difference. Whether you prefer something tiny and discreet or bold and visible, the right placement helps your ink feel intentional and personal. This list explores clever spots you can adapt for small symbols, detailed designs, or matching pieces. Each idea keeps comfort, style, and everyday practicality in mind so you can plan a tattoo that feels good long after the holiday passes.
1. Inner Wrist Charm
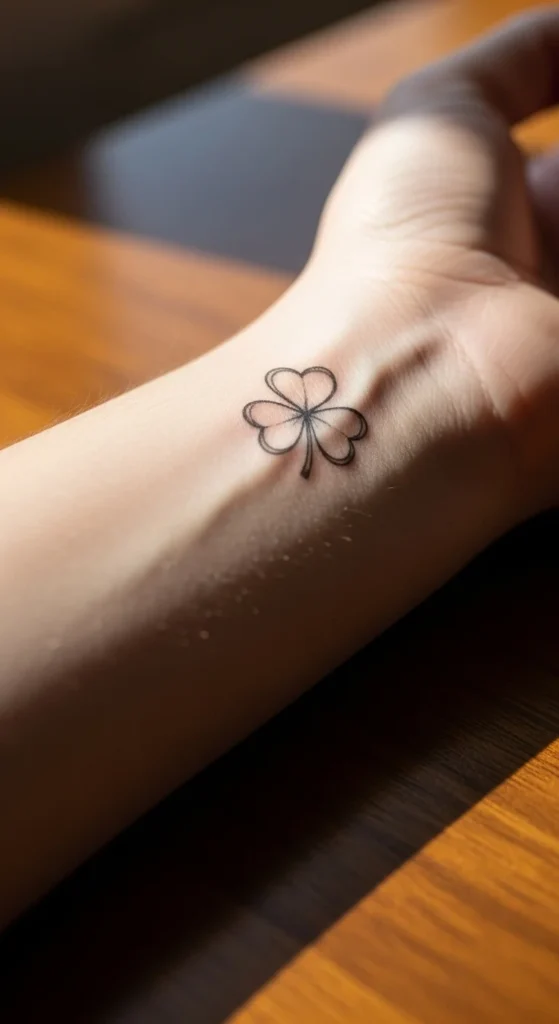
A small symbol on the inner wrist works well if you want something visible yet soft. It’s a great pick for minimalist clover outlines, tiny hats, or small Celtic-inspired shapes. You can test size with a pen sketch first to see how it looks with your everyday accessories. Bracelets can frame the ink nicely without hiding it. Keep the design simple because this area is compact. If you’re on a budget, choose clean linework to shorten tattoo time. A friend can help you practice placement by drawing different shapes so you can compare before committing.
2. Side of Finger Mini Motif
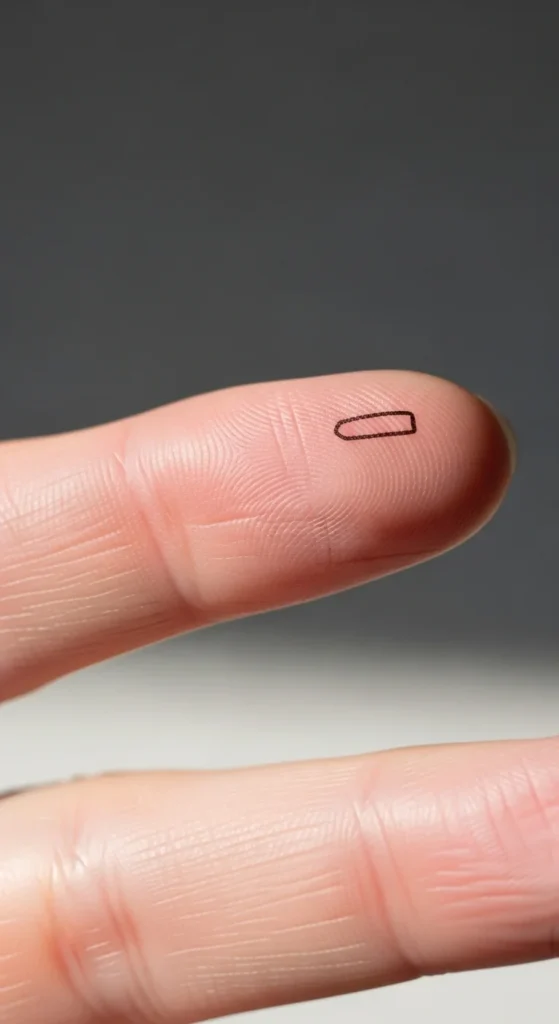
Side-finger tattoos make cute accents for St Patrick’s Day icons. Think tiny shamrocks, miniature Celtic knots, or a small rainbow arc. These stay subtle and feel personal because the area is only visible from certain angles. Since this area is narrow, stick to simple lines. You can test how it will look by drawing your idea with a thin-tipped marker. If you want to save money, pick a micro design that takes very little studio time. A good tip is to moisturize regularly afterward to help the ink stay crisp.
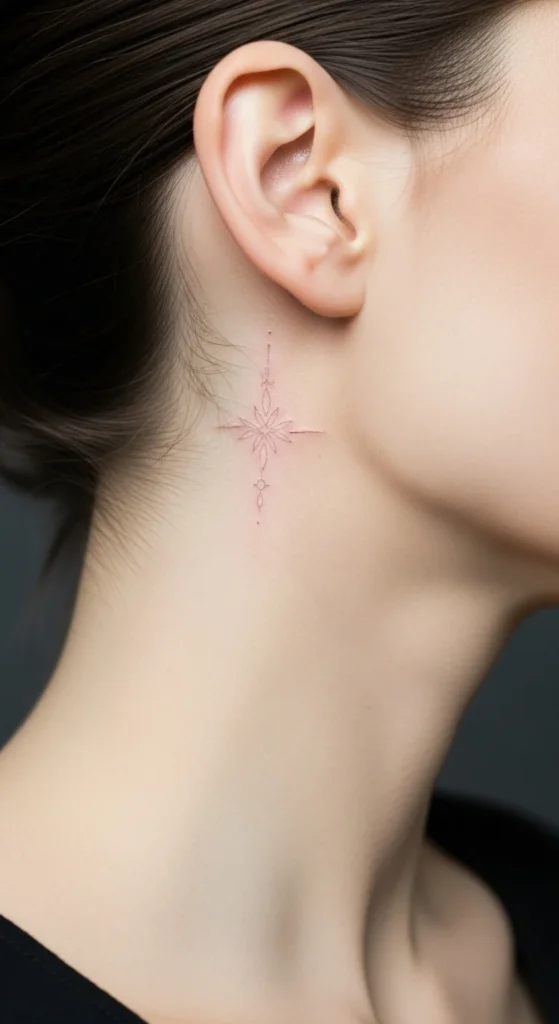
3. Behind the Ear Accent
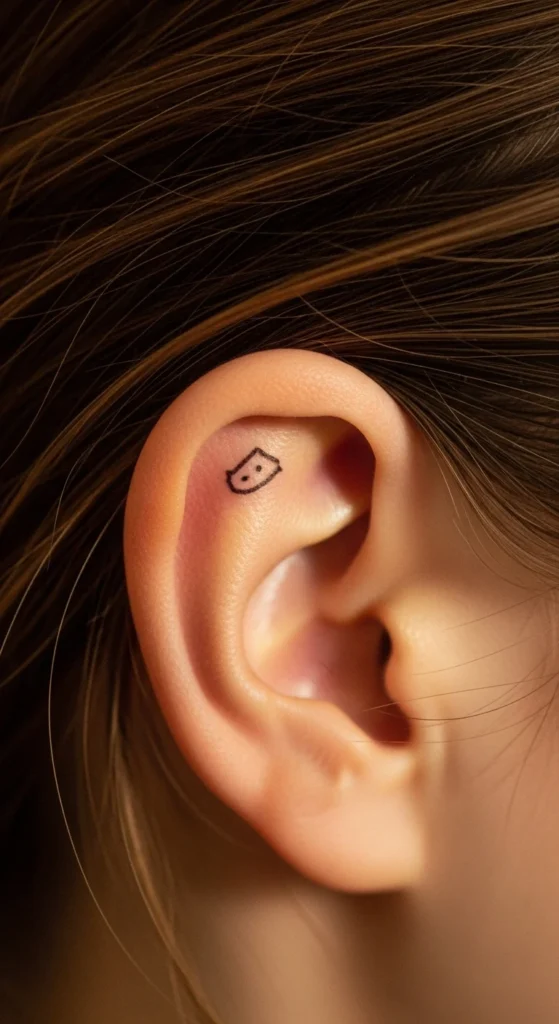
A tiny Irish-inspired tattoo behind the ear sits quietly unless your hair is up. It’s a great spot if you want something meaningful but low-key. People often choose clover silhouettes or small line-art symbols here. Try placing a sticker or temporary tattoo first to test how the shape works with your hairstyle. This area stays protected from sun exposure, which helps the ink look better over time. If you’re watching costs, go for a minimalist design that uses few lines. Ask a friend to take photos from different angles so you can see how it fits.
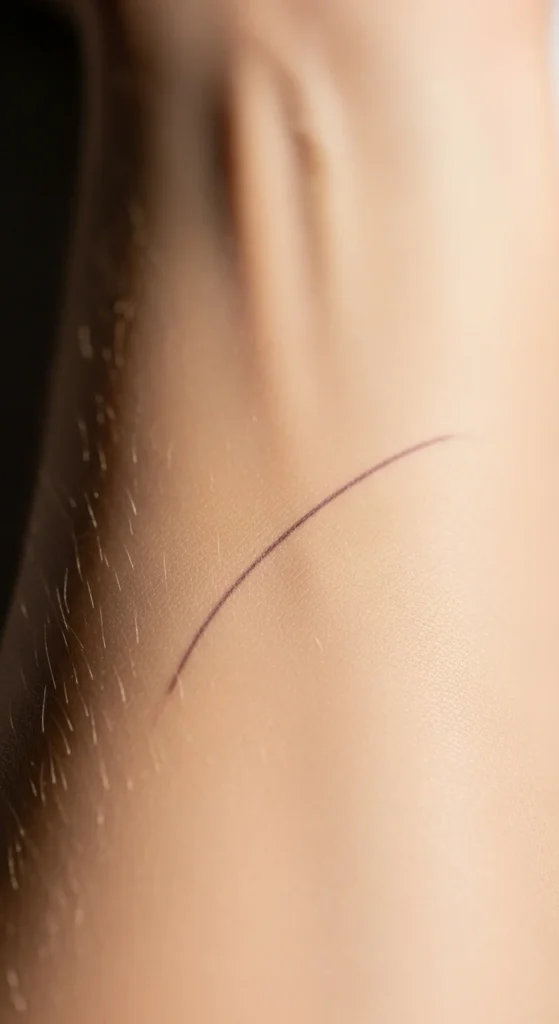
4. Collarbone Highlight
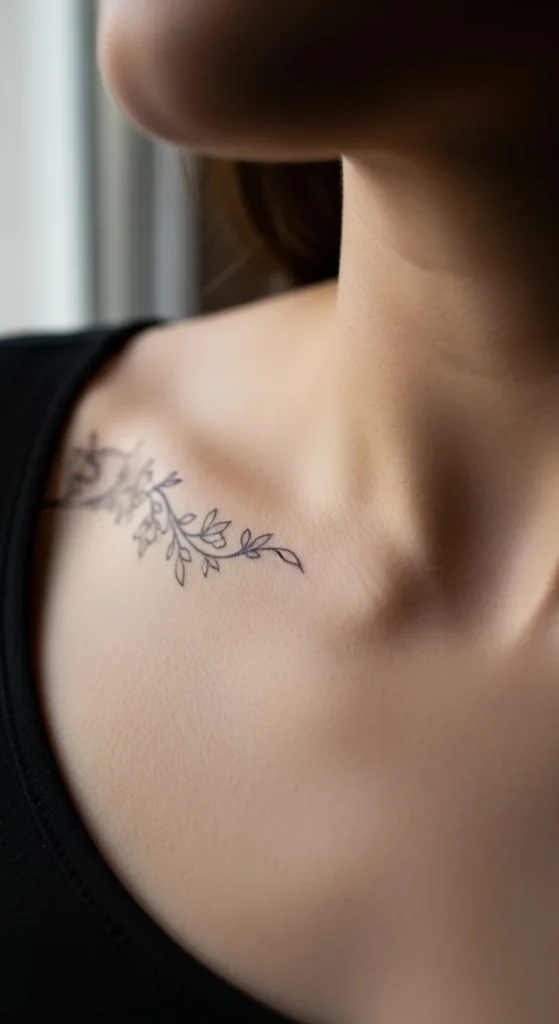
A collarbone tattoo can add a delicate touch to your look. St Patrick’s Day elements like small clovers or Celtic lines sit beautifully along its natural curve. Keep it slim for a clean finish. Before booking an appointment, draw the shape with eyeliner to preview how it frames your neckline. This area is great for pairing with off-shoulder tops. If you want to keep costs lower, choose a single-line design. Take time to measure spacing so the tattoo sits evenly on the bone and doesn’t tilt during movement.
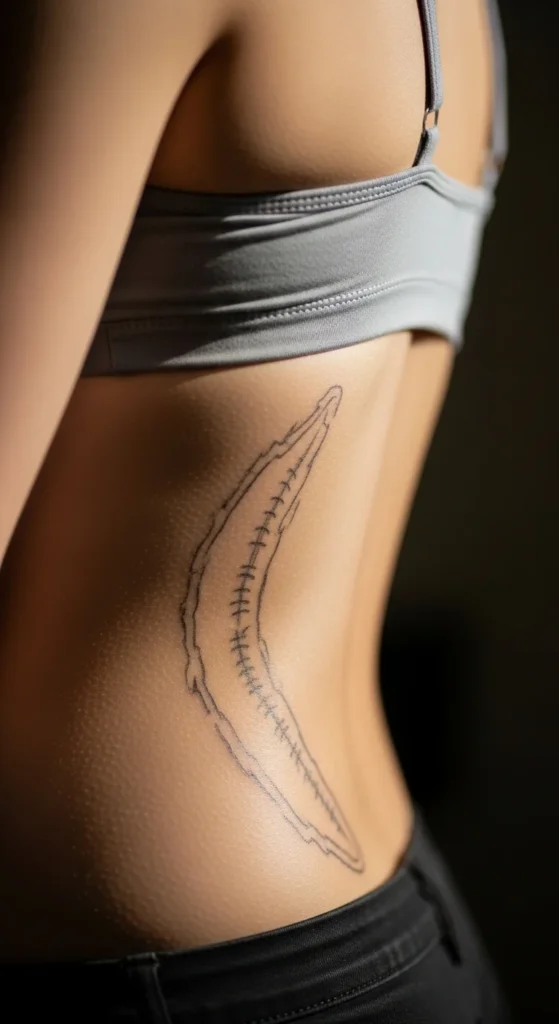
5. Side Rib Curve

Side rib tattoos feel elegant and personal, especially for meaningful Irish symbols. The long vertical space works well for stacked icons, slender Celtic lines, or small script paired with a holiday-inspired shape. Use washable markers to play with length before choosing your final layout. If you want something affordable, keep the linework simple. Remember that this spot moves with breathing, so angle matters. Ask a friend to trace different sizes so you can find the one that feels balanced without overwhelming the area.
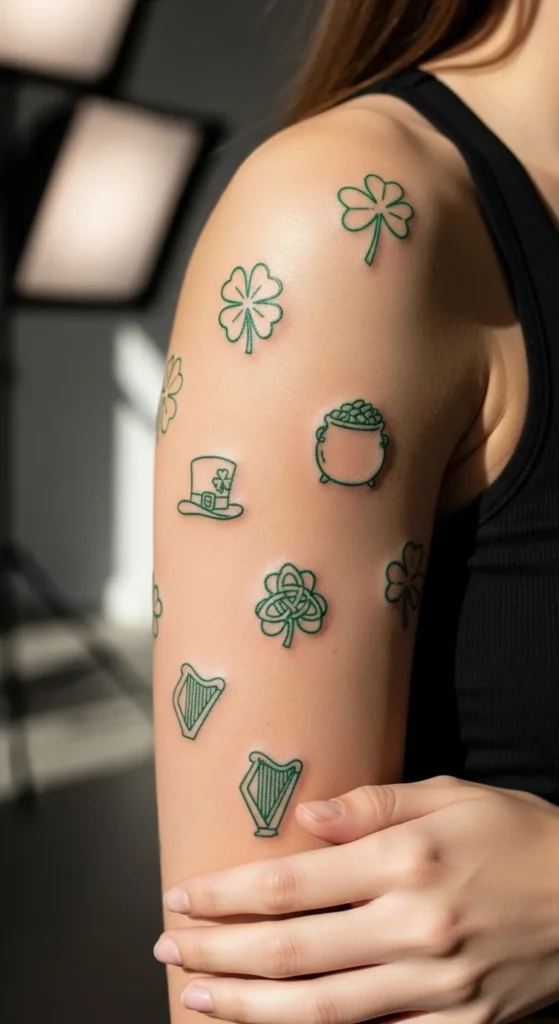
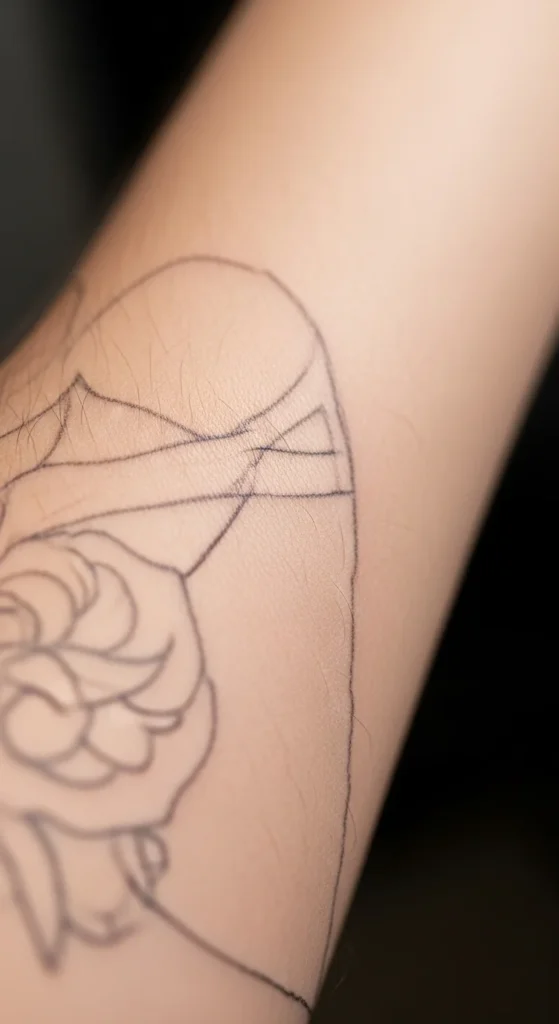
6. Upper Arm Placement
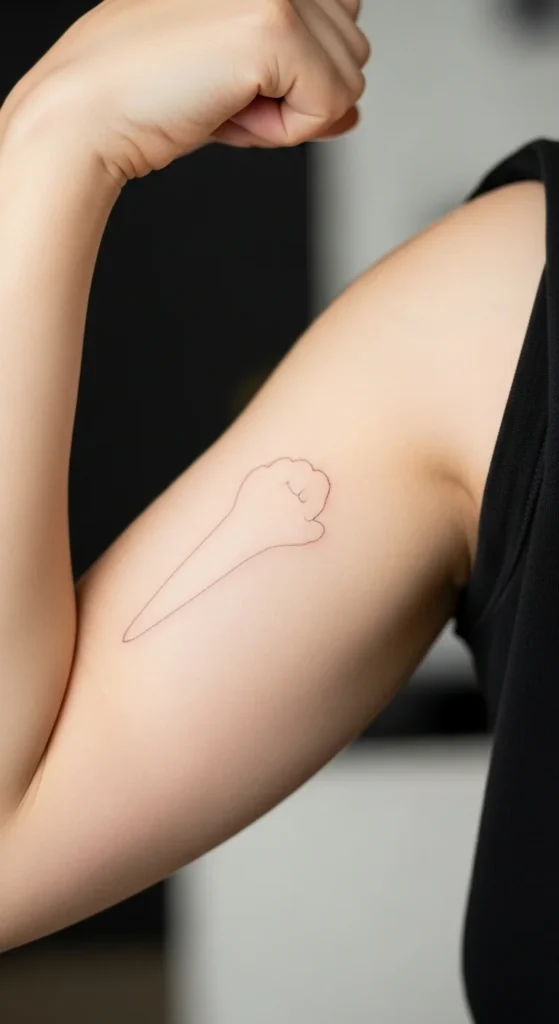
The upper arm gives you more room to explore creative St Patrick’s Day imagery. You can place a larger clover cluster, a Celtic-style compass, or a small rainbow scene. This space works well for both color and black ink. If you want something quick and inexpensive, choose a mid-size stencil with clean lines. Before finalizing the placement, tape printed shapes to your arm and move around to see how they sit from different angles. The upper arm stays comfortable during the tattoo process and offers good visibility.
7. Shoulder Cap Spot
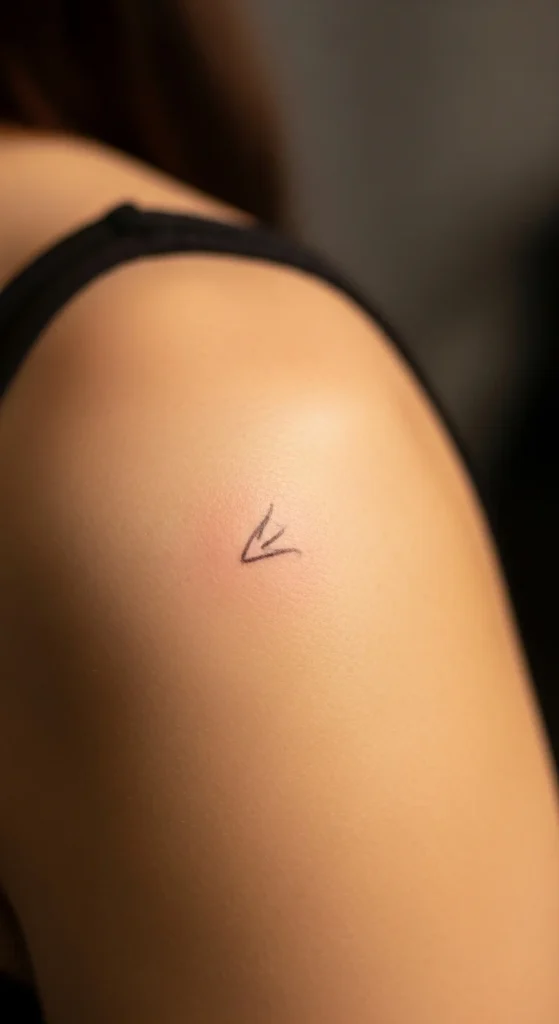
The rounded shape of the shoulder cap pairs nicely with circular symbols like Celtic knots or shamrock medallions. This spot can be shown or hidden depending on clothing choices. If you’re unsure about size, outline a circle on paper and tape it on your shoulder to test proportions. Keep the design balanced so it doesn’t wrap too far over the edge unless you want a bolder look. For a budget-friendly option, choose monochrome ink. Simple shading can add depth without adding too much time in the chair.
8. Back of Shoulder Detail
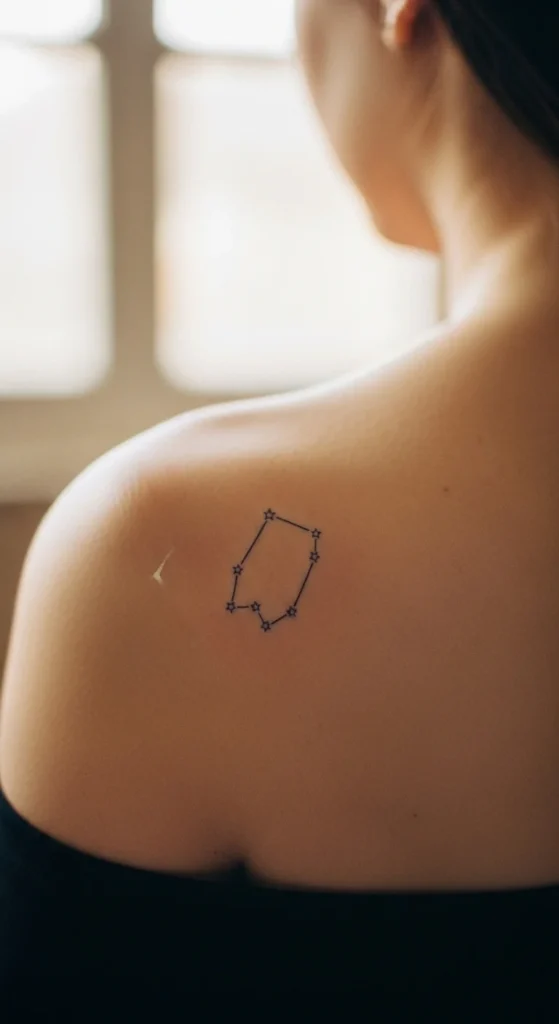
This area is great for small Irish symbols you want visible when wearing tank tops or dresses. Try a single shamrock, a small Celtic swirl, or a minimal rainbow line. Keep the design lightweight for a clean finish. Test layout by snapping a photo of your back with a drawn outline. If you need something quick, stick to thin linework. You can ask your artist to keep the shape slightly curved so it flows with the natural slope of the shoulder.
9. Inner Forearm Path
The inner forearm is ideal for symbols that tell a small story. Think of a clover cluster, a Celtic arrow, or a tiny charm line. This area gives good visibility, so choose something you’ll enjoy seeing often. If you’re mindful of cost, pick a small symbol or simple outline. You can preview the layout by placing temporary tattoos along your arm to compare spacing. This spot works well whether you want a horizontal or vertical design.
10. Outer Forearm Strip
The outer forearm is a favorite for medium-size designs. You can use a bold shamrock, a Celtic charm, or a narrow scene inspired by St Patrick’s Day. This area allows color if you want something cheerful. To keep things affordable, choose a design that uses minimal shading. You can test angles by rotating your arm in front of a mirror while holding a paper cutout. This helps you see how the tattoo will appear when your arm naturally hangs by your side.
11. Hip Curve Accent
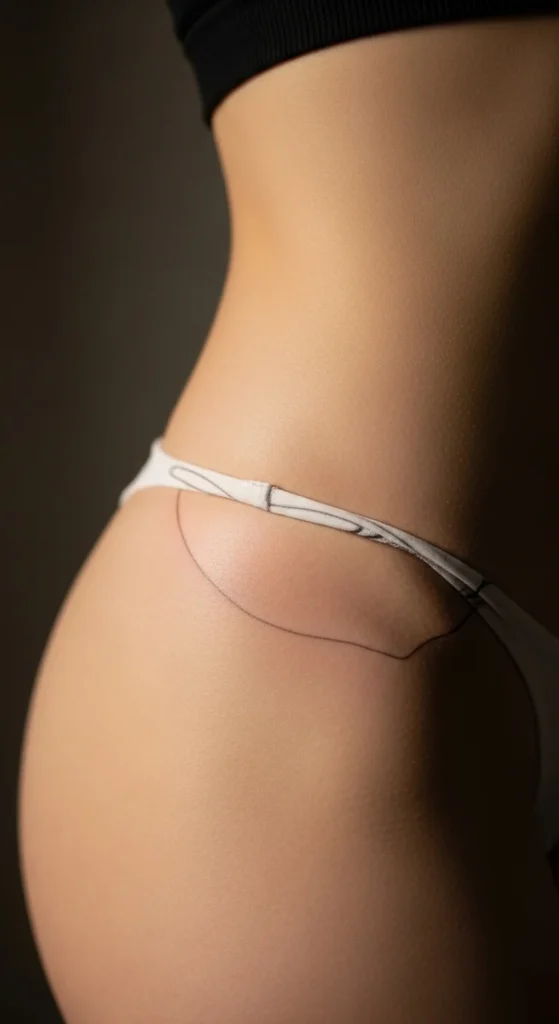
Hip tattoos feel personal and playful. You can place a small rainbow, a clover trio, or a compact Celtic line along the curve. Use eyeliner to draw the shape and adjust until it matches your preference. Choose a small design if you want to keep the appointment short and cost-friendly. This spot allows you to keep the tattoo hidden when needed. If you want a flattering layout, follow the natural slope of your hip so the design sits smoothly.
12. Ankle Crest
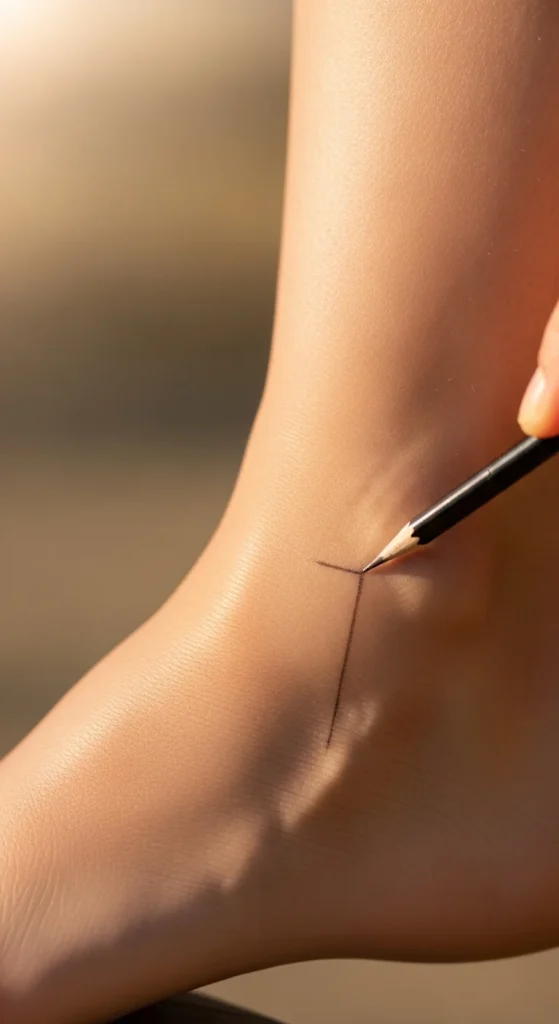
Ankle tattoos work beautifully for tiny St Patrick’s Day icons. The narrow space suits shamrock outlines, narrow Celtic lines, or mini charms. Keep the design compact and crisp. You can test the shape by cutting out a tiny paper stencil, taping it on, and walking around to see how it shifts with movement. A simple design keeps costs low. Choose artwork that won’t wrap too far around the bone unless you prefer a wrap-around effect.
13. Side of Neck Placement
If you like something visible and stylish, the side of the neck offers a bold choice. Small shamrocks, subtle Celtic lines, or a tiny charm stamp work well here. To preview the look, apply a temporary tattoo and take pictures from different angles. Keep the design minimal for comfort and a shorter appointment. Clothing collars interact with this area, so consider height when choosing the exact location. A slim vertical symbol often looks clean and balanced.
14. Upper Back Center
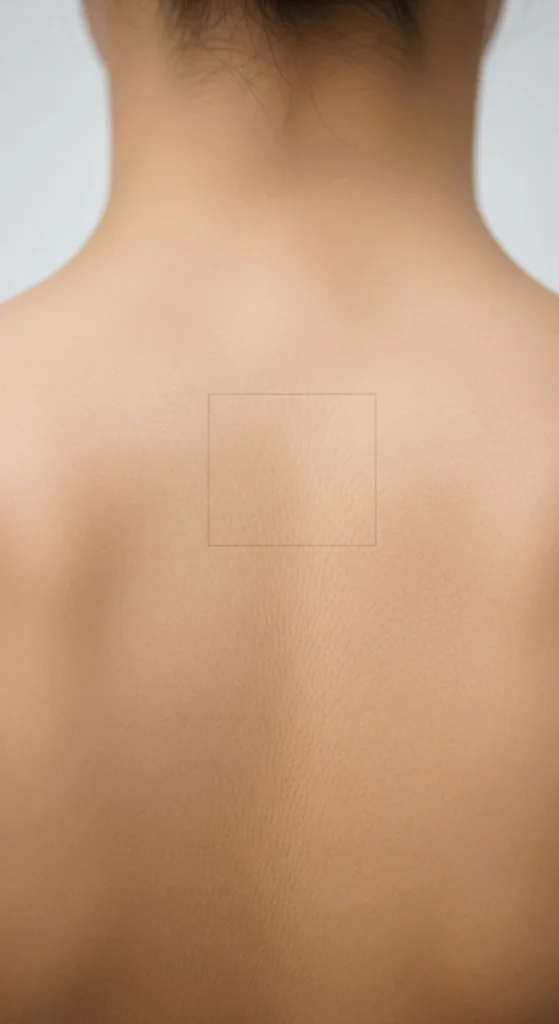
The upper back gives you space without feeling overwhelming. You can place a medium-size clover grouping or a simple Celtic-inspired shape. If you want something affordable, keep the design to clean lines. Use printed test shapes to compare width before picking the final size. This area stays hidden by most clothing, making it a great pick if you want something personal. Ask a friend to trace different angles to see which layout looks most natural across your shoulder blades.
15. Spine Line
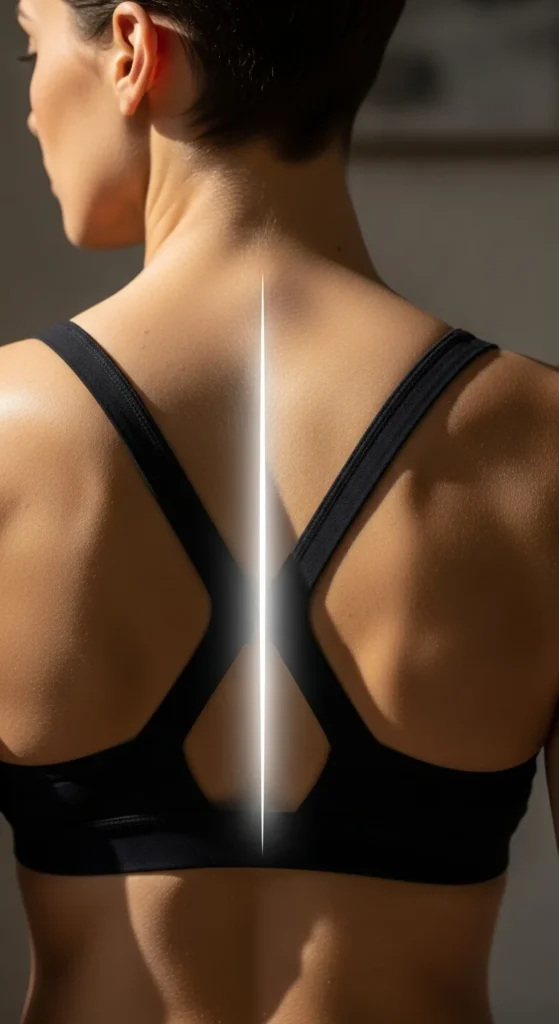
A vertical spine tattoo adds a graceful touch. Try stacking tiny shamrocks, placing a Celtic line, or adding a simple charm trail. Keep each element small for a neat effect. You can plan spacing by using sticker dots lined up along the spine. If you want to keep the appointment affordable, choose fewer symbols. This style works well for people who enjoy a centered, balanced look. The finished piece sits hidden most of the time, making it feel meaningful and intentional.
16. Mid-Back Side
This area allows for quiet placement that shows only when you choose. A small Celtic knot or modest shamrock can sit gently along the side curve. Try adjusting placement using makeup pencil lines to find the right height. Aim for something simple if you want a budget-friendly design. Movement in this area can shift the shape slightly, so test your design while bending and twisting. Keep it light and clean for everyday comfort.
17. Top of Foot
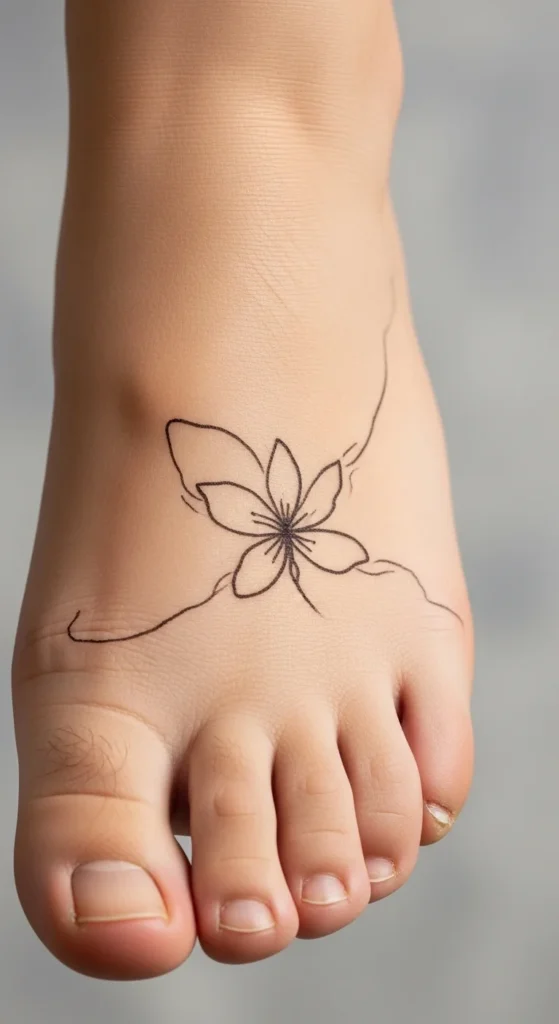
The top of the foot is perfect for tiny, delicate symbols. You might choose a single shamrock or a compact Celtic element. Use a temporary tattoo to test how it looks with shoes or sandals. Keep the design thin to reduce the time needed at the studio. Because this area is flat, simple shapes show clearly. Consider placing the design slightly off-center for a stylish touch. If you’re on a budget, pick a micro-outline for a quick session.
18. Lower Leg Side
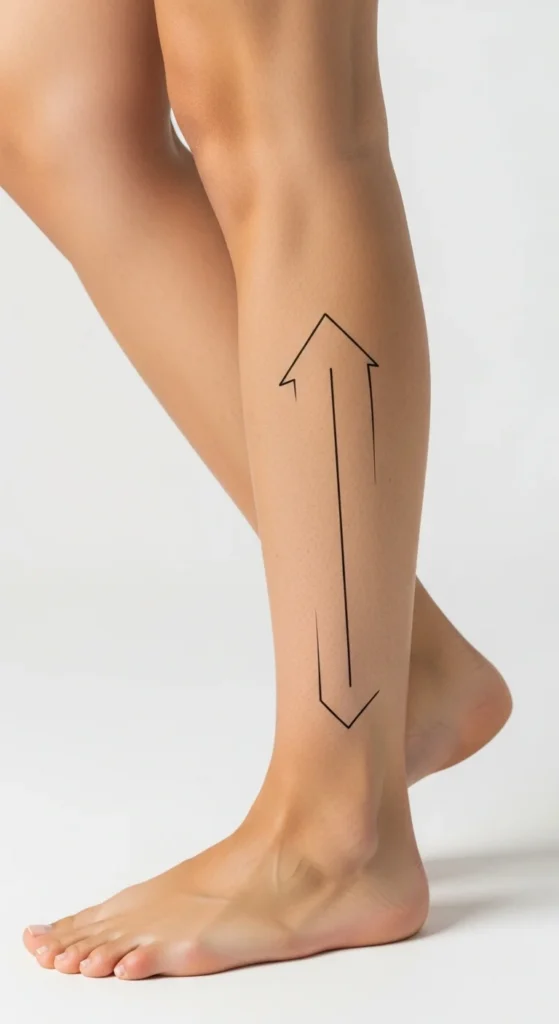
The side of the lower leg works well for medium-height designs. A slim Celtic line or stacked shamrocks fits nicely here. You can test the angle by drawing the design on clear tape and pressing it onto your skin. Stick with clean lines if you want to keep costs low. This placement offers good visibility, especially when wearing shorts or skirts. Adjust size carefully so the design doesn’t overpower the leg.
19. Thigh Front
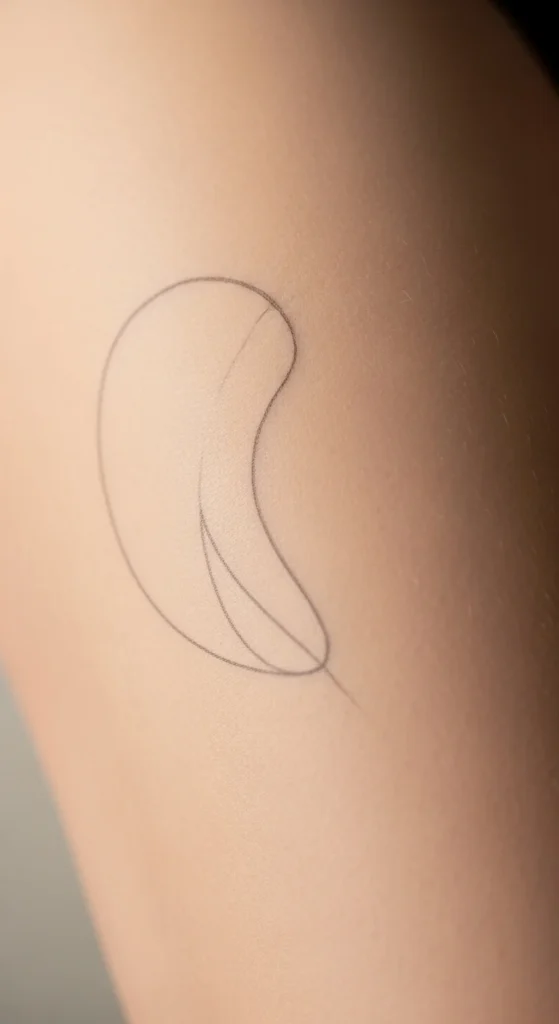
The front thigh gives plenty of room for larger St Patrick’s Day symbols. Try a minimalist clover cluster or a simple Celtic panel. If you want a budget-friendly layout, choose a line-based style. Preview placement by taping a paper sketch to your thigh and sitting down to see how it shifts. This spot stays hidden in most outfits but can be shown when you want. Keep the artwork lightweight for easier long-term care.
20. Thigh Side
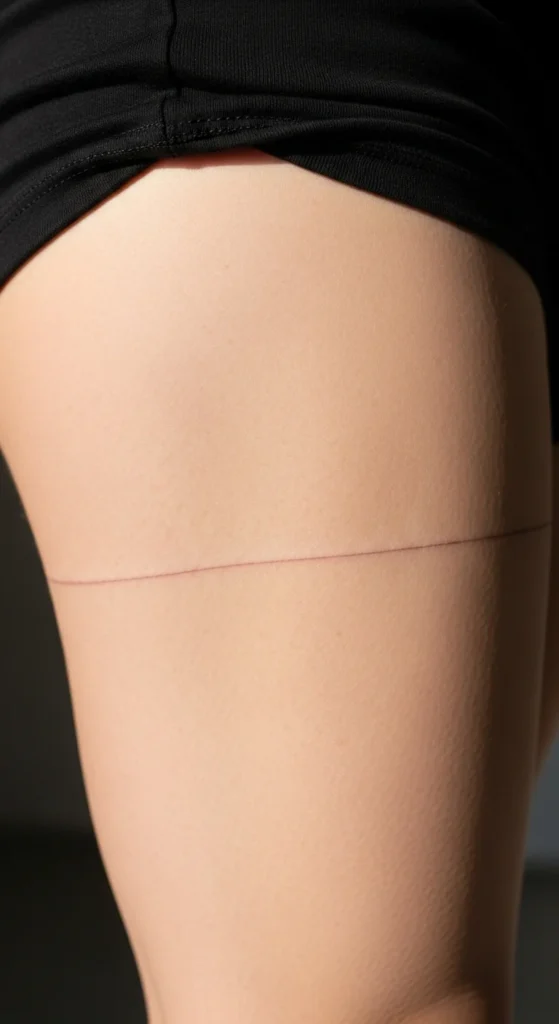
The side of the thigh is ideal for medium or vertical designs. You can stack small Irish symbols or keep it to one clean shape. Since this is a larger canvas, scale matters, so try sketching different sizes before choosing. If you want to keep cost manageable, avoid intricate shading. This area stays comfortable during the session. A design placed here can follow the natural curve of the leg for a smooth and flattering look.
21. Back of Neck
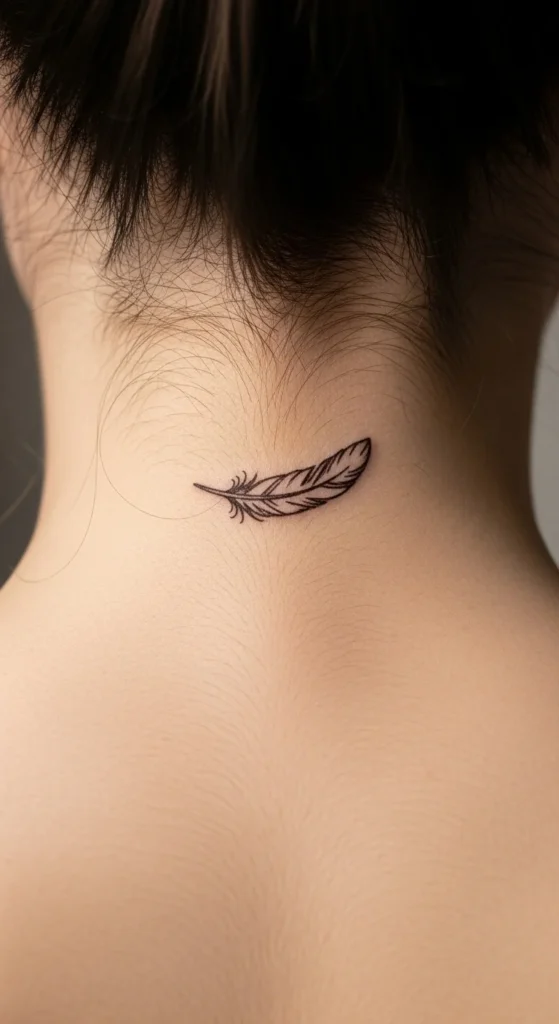
The back of the neck is great for small yet visible symbols. A clover, a tiny Celtic loop, or even a mini charm can sit right under the hairline. You can hide or show it depending on hairstyle. Test the look by placing a temporary tattoo and checking how it appears with different tops. Choose a minimal outline for a quick appointment. This area works well for people who want something simple with a clean finish.
22. Lower Back Corner

Placing a small design on the lower back corner offers a discreet and cute option. You can pick a tiny shamrock, a small charm, or a short Celtic strand. Test layout by drawing it slightly angled to match your body line. Keep your artwork compact if you want a shorter appointment. This area stays covered most of the time, so your tattoo will feel personal. If you want a neat effect, place it close to one hip side.
23. Underboob Curve
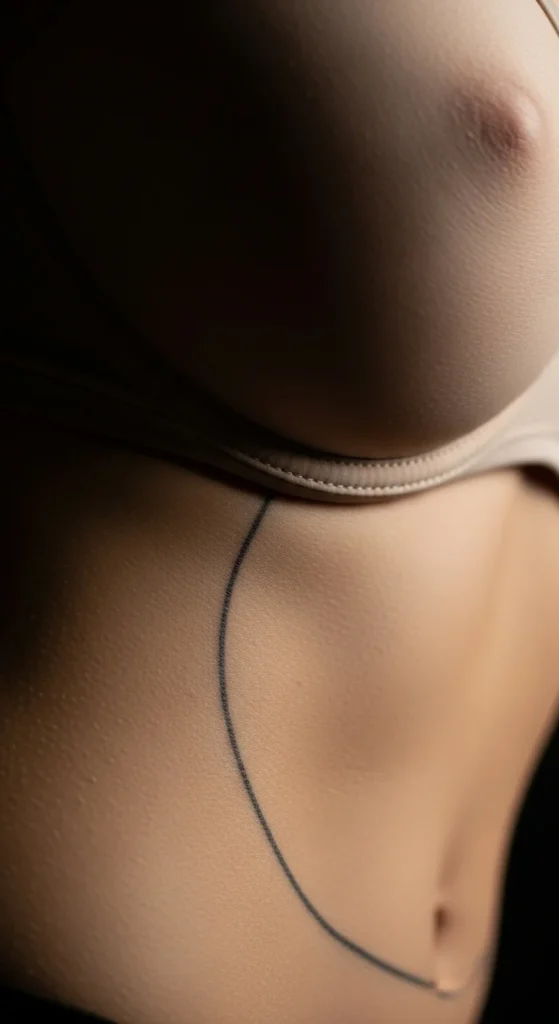
This placement creates a soft and personal accent. A curved clover trio or a gentle Celtic line fits well along the natural arc of the chest. Before booking, draw the shape with a washable marker to find the right curve. This area works best with small or medium pieces that match your body’s natural shape. Choose simple lines if you’re keeping your budget low. The placement stays private, making it a good pick for meaningful St Patrick’s Day symbolism.
Conclusion
Choosing a tattoo placement inspired by St Patrick’s Day can be just as exciting as picking the design itself. The right spot highlights your style, fits your comfort level, and keeps the artwork feeling personal. Test designs with temporary tattoos, simple sketches, or cutouts to see what feels natural. Whether you enjoy something tiny or prefer a bit more space, these ideas help you plan thoughtfully and confidently. Enjoy exploring your options and creating a piece you’ll love year-round.
