
A quick stencil shift on the inner forearm saved a session once. The client sat up, the artist peeled the stencil, and they adjusted the scale by an inch so the leaves would not compress toward the wrist over time. Small placement and spacing decisions like that make forearm pieces readable at year five instead of a soft blur. Below the surface there are designs that age well and ones that do not, and the first section shows a forearm-friendly approach.
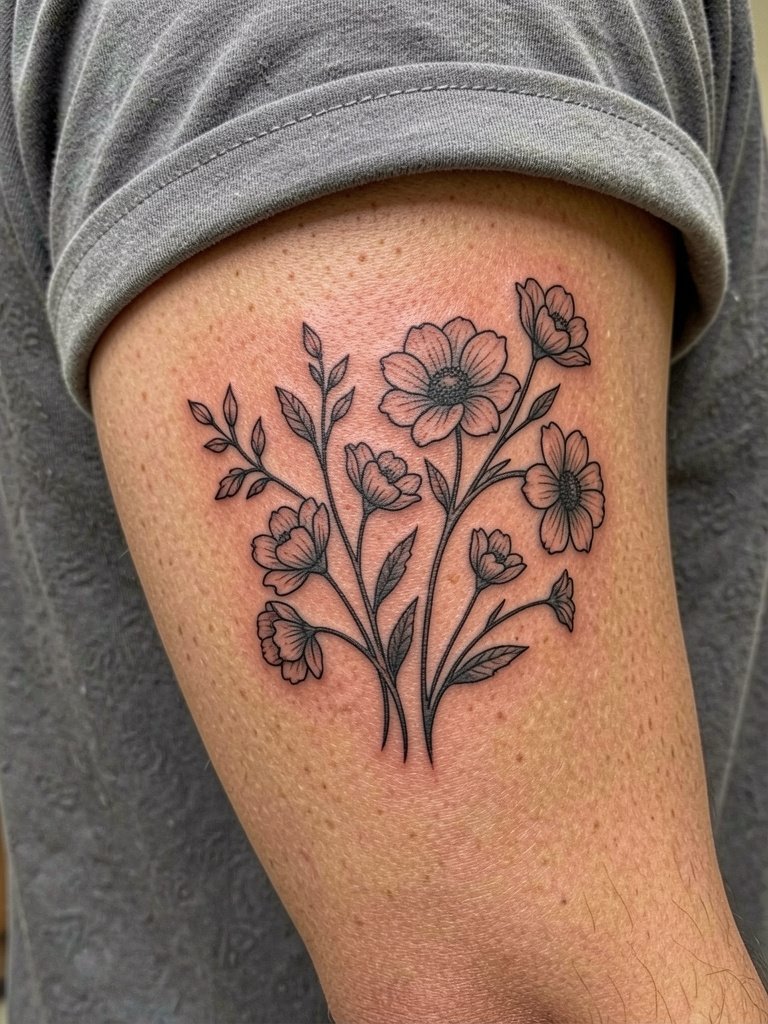
1. Fine Line Botanical Sprig on Inner Forearm

Fine line botanicals read delicate and wearable on an inner forearm when scaled to three to four inches. Recommend a hair-heavier single-needle weight than your Pinterest ref so the veins of the leaves stay legible at year three. Expect moderate pain, one to two hours depending on size. A common mistake is asking for ultra-fine leaf veins at two inches, which the inner forearm will soften into a smudge over time. For the session wear a soft sleeveless tank so the artist has full access and the fabric does not press on fresh ink.
2. Minimal Script Band Around Forearm
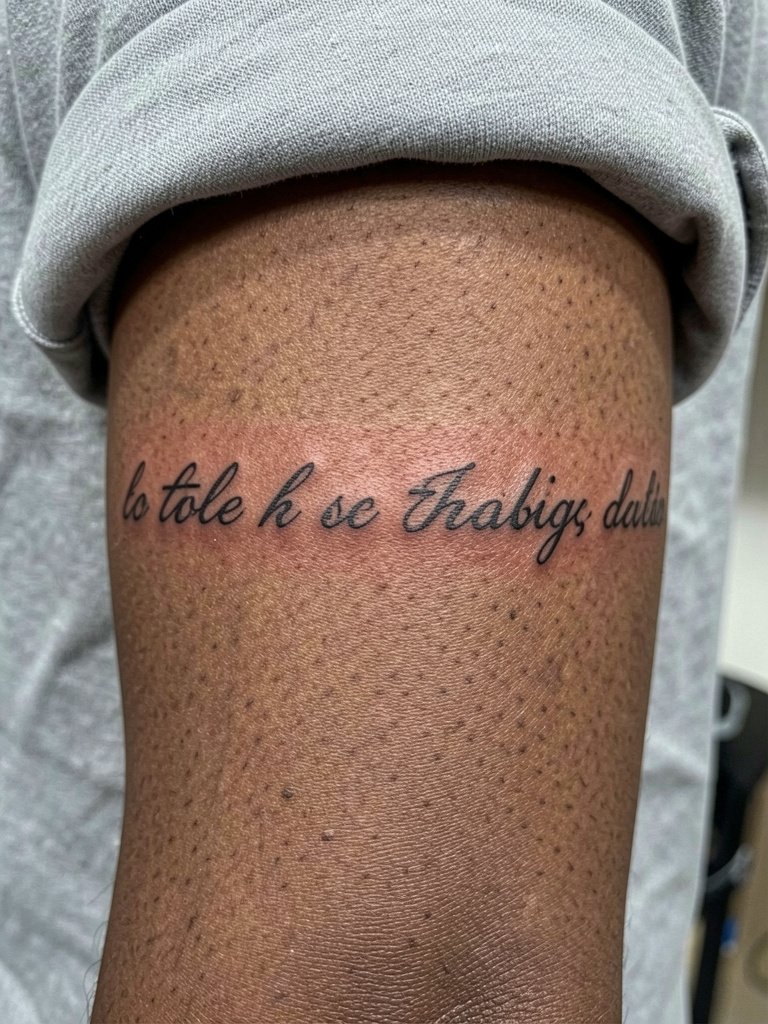
A script band on the forearm makes a subtle bracelet without jewelry. Plan for one pass under two hours unless you want ornate flourishes. Line spacing matters more than flourishes for longevity, so ask for slightly increased letter spacing rather than thinner script. Expect the first six months to show crisp edges, and by year two very light feathering where the skin moves most. For showing it off, a rolled-cuff linen shirt frames the band while keeping the forearm accessible for touch-up consultations.
3. Micro-Realism Eye on Outer Forearm

Micro-realism looks striking on the flatter outer forearm surface where the skin moves less dramatically than the inner side. Ask for a printed scale mock-up at the consultation so you can see how tiny details sit at three inches versus five inches. The session is meticulous and can run two to four hours depending on shading. A mistake is insisting on hyper-tiny highlights that merge into grey in a year. When you want to show this piece, a fitted boyfriend blazer with sleeves pushed up offers contrast between structured fabric and soft shading.
4. Geometric Mandala Strip Toward Wrist

Geometric mandala strips use stipple shading that holds up well when spaced correctly. I suggest slightly larger dot gradients and thicker outer stroke so the pattern keeps its radial definition over time. Pain is moderate at the lower inner forearm, and sessions typically run one to three hours. A frequent mistake is packing the detail too small near the wrist crease, which blends as the wrist flexes. For evenings out, pair this with a cropped long-sleeve blouse that naturally exposes the lower forearm without tugging at the skin.
5. Single-Needle Portrait Sliver
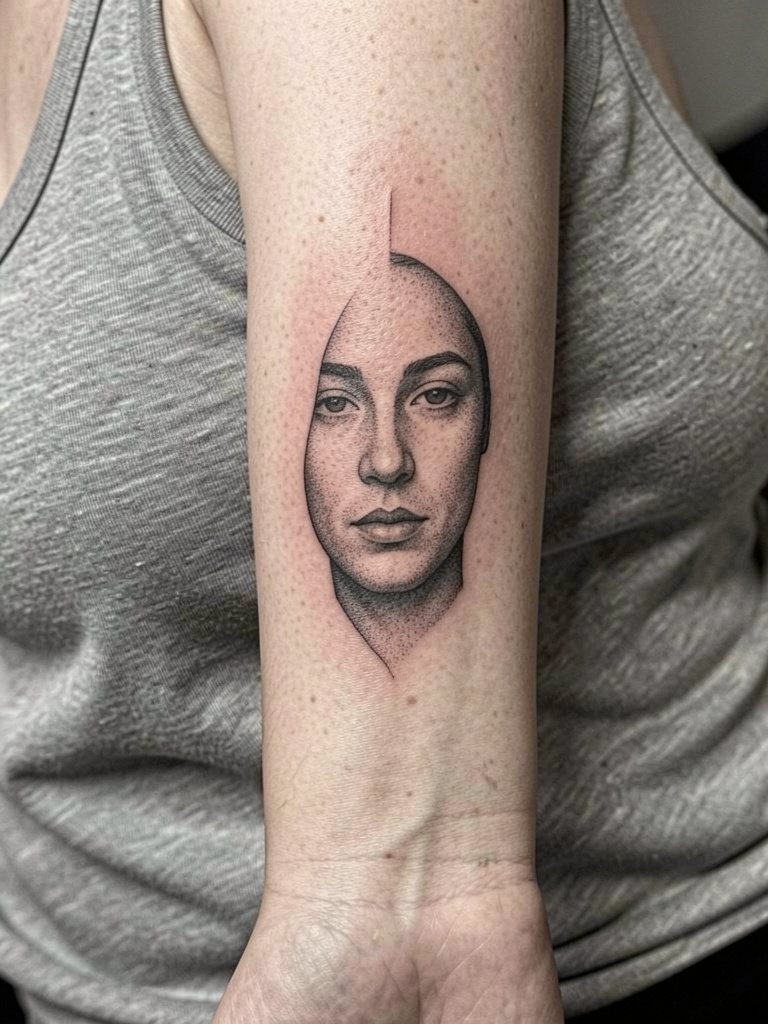
A portrait sliver is intimate and reads like a private bookmark on the arm. It demands single-needle precision, so plan for a one-to-three-hour session and expect touch-up at year two for the finer shading. Avoid asking for extremely high-contrast black in tiny areas, because dense black next to fine stipple ages unevenly. During the appointment wear a button-front shirt so you can roll sleeves up without stretching the skin over the forearm. This placement suits someone who wants an artful, low-profile portrait rather than a bold face-piece.
6. Neo-Traditional Rose Along Radius
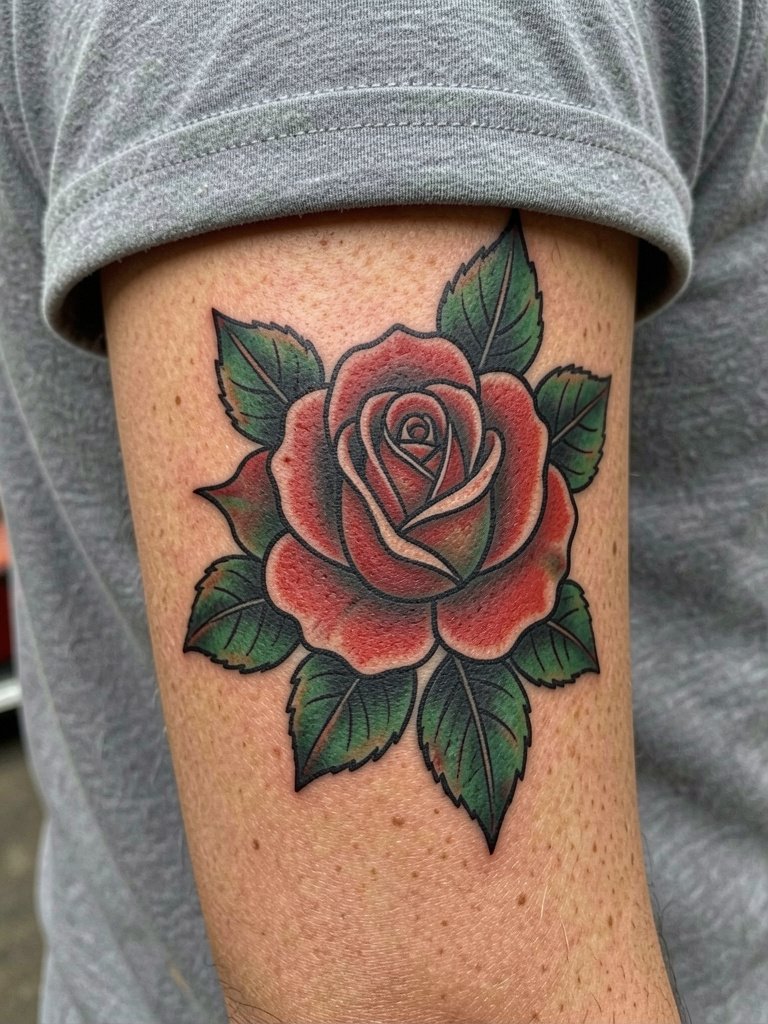
Neo-traditional roses read well on the forearm because the bold outlines resist early softening. If you want longevity, ask for fully saturated color with a modest highlight rather than delicate watercolor fills. Sessions are typically two to three hours for a medium rose. A common mistake is requesting tiny petals with subtle color blends that wash out by year three. For styling, a short-sleeve knit top shows the flower while keeping the rest of the arm covered for contrast.
Session Day Picks
This short kit helps with the access and sensitivity points most forearm pieces share, especially the inner surface and wrist-area details in ideas above.
-
Stencil transfer paper kit. Lets you preview exact line placement on the forearm skin before the first pass, which is useful for script bands and botanical stems.
-
Topical numbing cream. Applied per the product instructions eases wrist and inner-forearm sensitivity without smearing the stencil when handled correctly.
-
Thin protective film roll. Keeps the lower forearm and wrist area protected from friction during the initial healing window, especially on designs near the wrist.
-
Fragrance-free gentle body wash. Cleanses the forearm without irritating linework during the first week of healing.
-
Aquaphor Healing Ointment. A familiar option for early-stage hydration that most artists recommend in a thin layer for tight linework pieces.
7. Blackwork Band With Negative Space
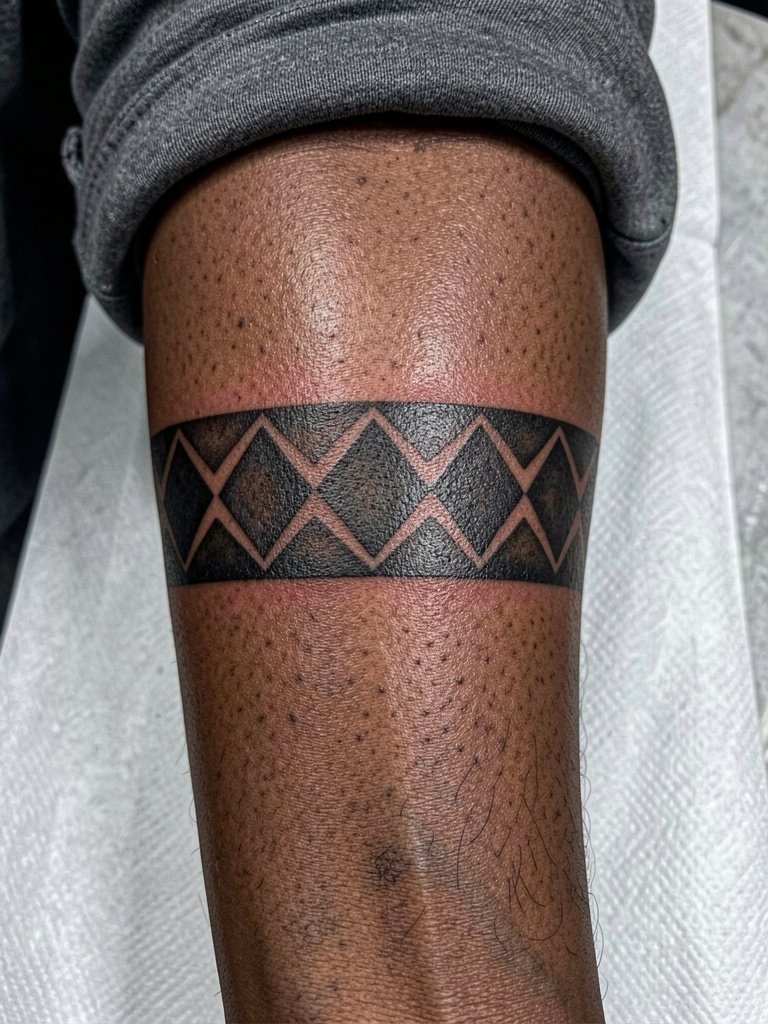
Blackwork bands make a strong graphic statement and age cleanly if the fills are saturated and edges clear. The session feels like steady machine work and usually finishes within one to two hours. A mistake is underfilling the black so patches appear within a year. For outfit pairing, this piece stands out with a cropped leather jacket that keeps the arm visible while maintaining an edge.
8. Color Watercolor Wave Accent

Watercolor washes are beautiful on the forearm but come with color longevity trade-offs. One camp argues color washes fade unevenly on forearm skin and need more frequent touch-ups. The other camp says careful saturation and a subtle black anchor let watercolor stay soft and readable for years. Expect lower long-term saturation than black-only work, and plan on a touch-up at two to five years depending on sun exposure. For a casual daytime look try a linen sundress that exposes the forearm without heavy sun exposure.
9. Chain Link Minimalist Wrap
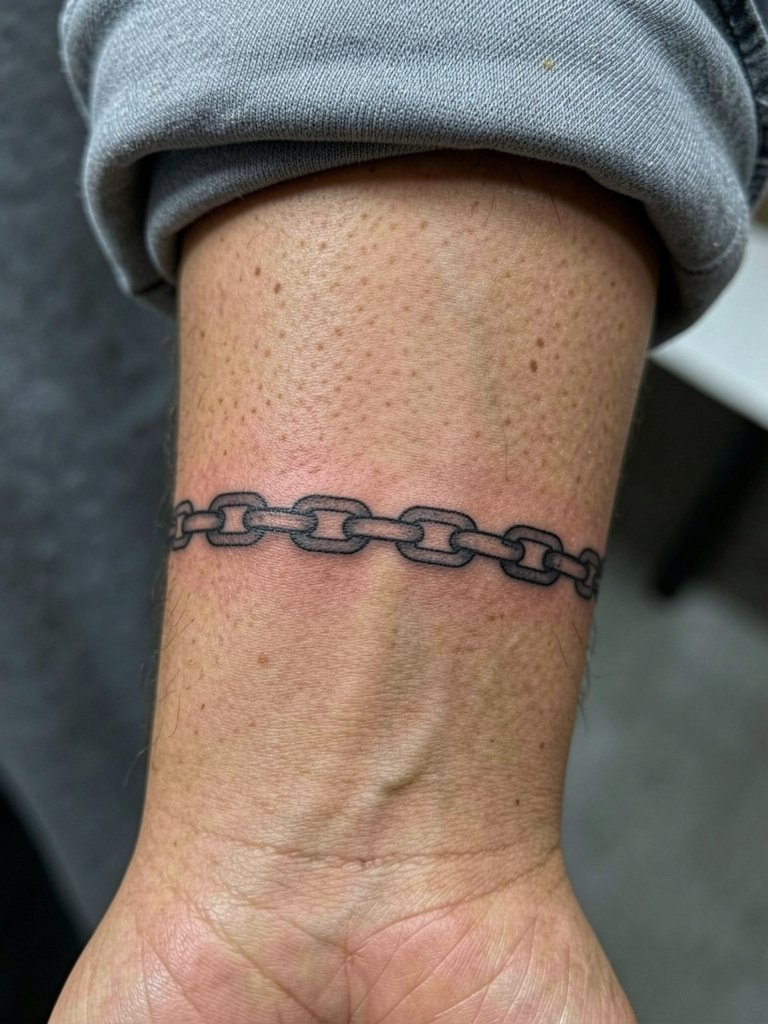
Chain link wraps read like subtle jewelry and are durable when links have modest thickness. Discuss exact link width with the artist and ask for a paper mock-up wrapped around your wrist to check scale. The session is quick, often under an hour for a small repeat pattern. Avoid tiny open connectors that look delicate at first and blur into a gray band after repeated washing. To style this, a delicate cuff bracelet layered over the area enhances the jewelry feel without covering the ink.
10. Tiny Constellation Cluster
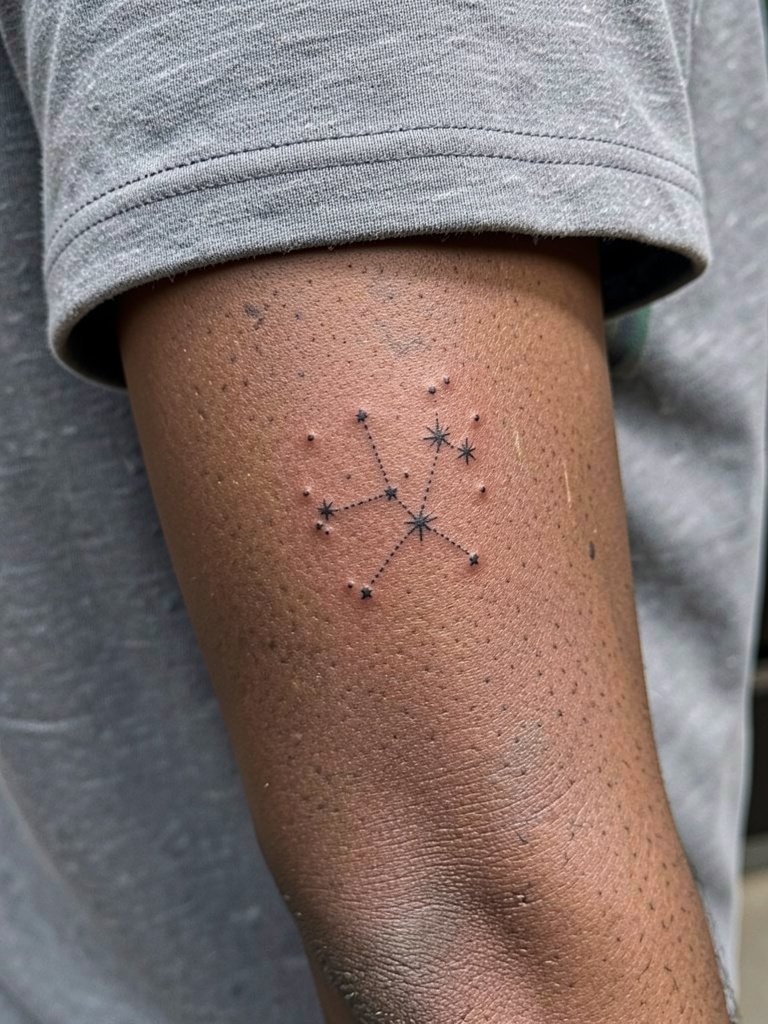
Small constellation clusters are delicate and require spacing to avoid merging. I recommend slightly larger star dots and increased spacing if you want a five-year crisp look. The session is low-pain and quick, but remember the wrist area moves a lot so expect subtle softening. A common error is requesting stars too close together in a small area. For night events, a sheer cuff sleeve shows the cluster while adding texture.
11. Scripted Coordinate Line
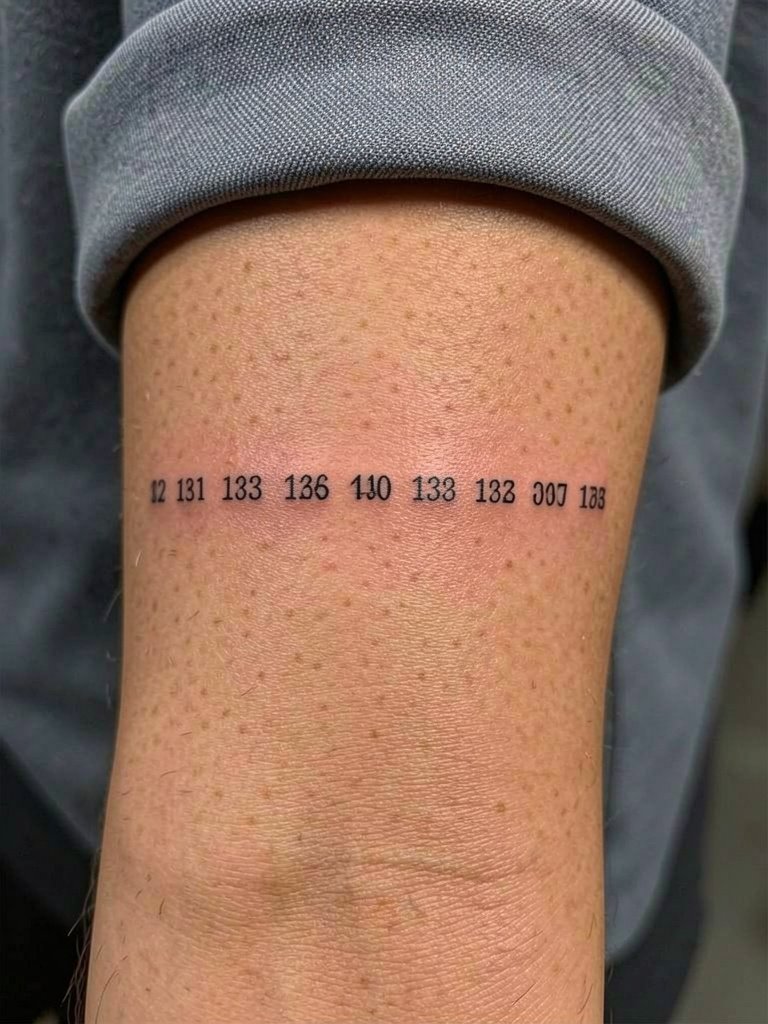
Numeric coordinates require exact lettering to read correctly in photos. Ask the artist to stencil the exact text and check spacing at the chair, since even small kerning changes alter legibility. Expect a short session and low pain. The typical mistake is squeezing coordinates into too small a line, which becomes unreadable by year two. For daytime styling, a rolled-up chambray shirt keeps the forearm visible while providing casual contrast.
12. Matchstick Tiny Dagger Near Wrist
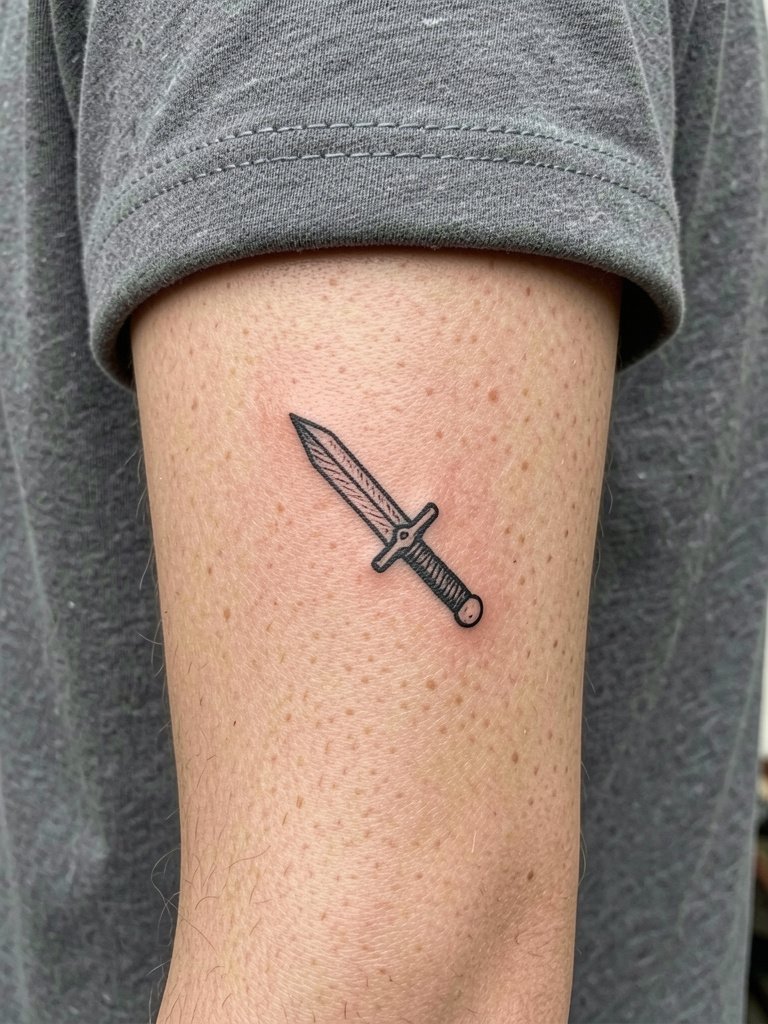
Small dagger and matchstick motifs look crisp if the blade outline is slightly thicker than you might like. The wrist eats micro detail, so ask for a slightly bolder outline to maintain form after a year. Sessions are brief, under an hour, and the pain is moderate because of bone proximity. A mistake is placing the point exactly on the wrist crease, which flexes and blurs. For a night out, a stack of slim bracelets complements the tiny dagger without obscuring it.
13. Botanical Sleeve Start With Negative Space

Starting a botanical sleeve on the forearm benefits from intentional negative space to aid future expansion. Request a stenciled wrap-around mock-up that shows how adjacent pieces will breathe. Sessions can vary widely, plan for multiple appointments. A common error is rushing and filling every centimeter at the first visit, which restricts future flow. Wear a flowy button-down shirt to the appointment so the artist can roll a sleeve without creasing the skin.
14. Single Bold Word Near Elbow
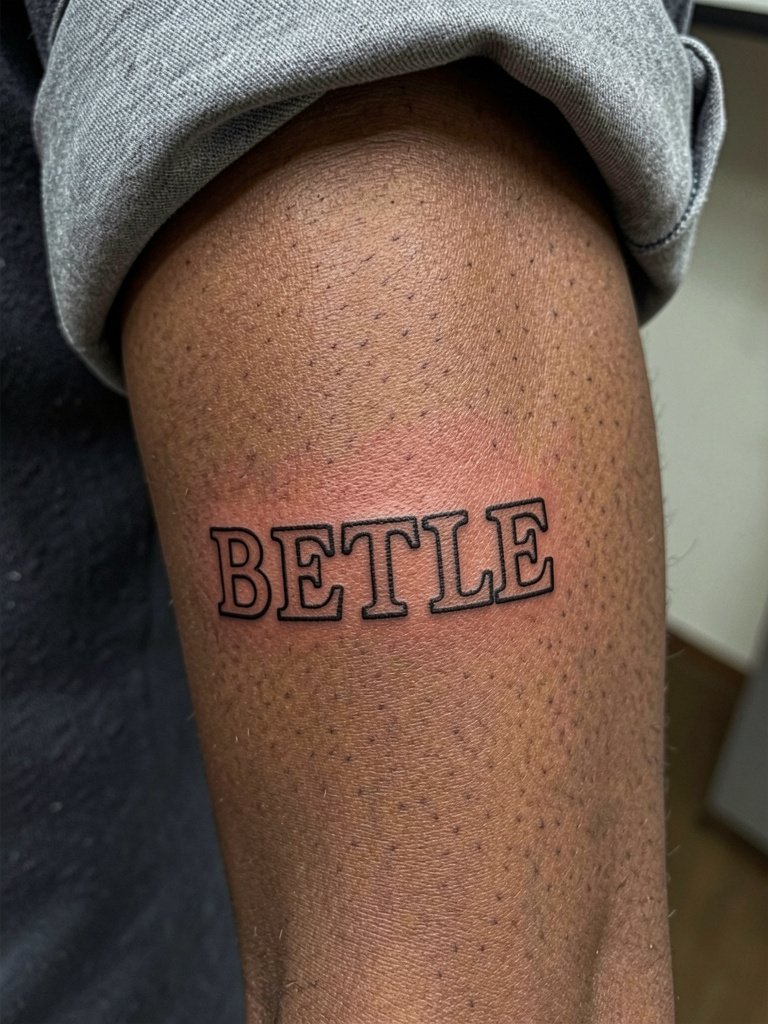
A single bold word near the elbow holds up if the letters are spaced and thick enough to handle stretching. Ask to see a cutout mock-up at the elbow bend so you can check how letters deform with movement. Expect moderate discomfort because the area is close to the joint and sessions can be under two hours. A mistake is choosing a delicate font for a high-movement zone. For everyday wear, pull sleeves to the forearm and pair with a structured cuff watch that balances the word's weight.
15. Dotwork Floral Band
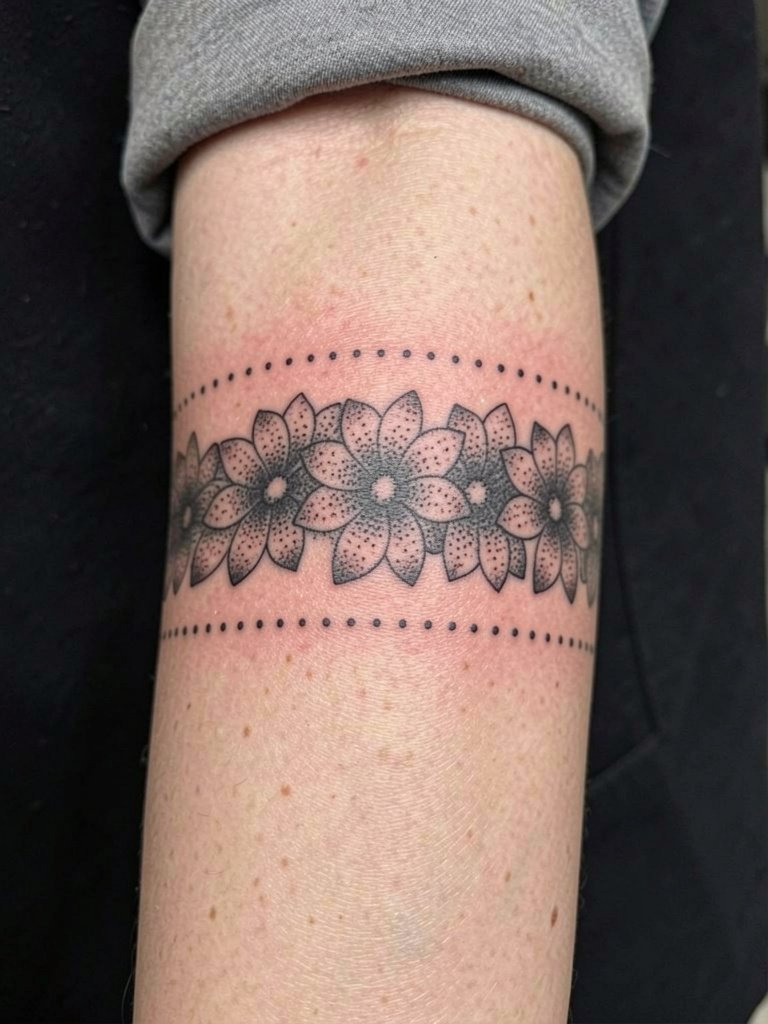
Dotwork bands need generous negative zones so stippling keeps depth. I advise slightly larger petal fields and denser outer dots to prevent the band from looking muddy after a couple of years. The session is methodical and can last two to three hours. A common misstep is compressing too many tiny dots into a narrow band. For spring looks try a rolled-sleeve chambray jacket that frames the stippling without rubbing the healed ink.
16. Minimal Anchor on Outer Radial Forearm
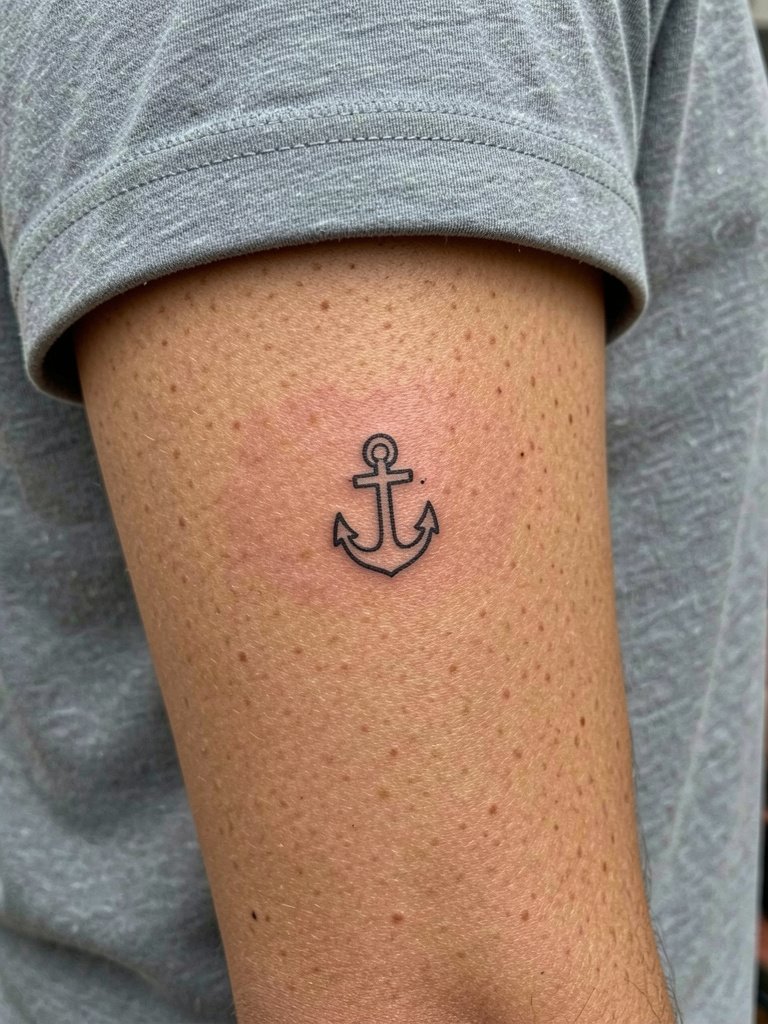
Small nautical icons sit well on the outer forearm where they do not cross high-motion creases. Ask for slightly reinforced outline thickness because tiny icons lose contrast in the first years. Sessions are brief and low to moderate on pain. Avoid asking for micro hollow areas inside the anchor that the skin will fill in. The anchor pairs simply with a nautical stripe tee that evokes the motif without covering the arm.
17. Tiny Camera Line Art

Line-art cameras make compact, modern small tattoos on the forearm. Request a slightly bolder lens circle and minimal internal detail to avoid early filling. The session is quick and mildly uncomfortable on the inner surface. Many people ask for extra tiny dots inside the camera which blur; avoid that. For casual shoots try a light utility jacket with rolled sleeves so the forearm reads against a textured backdrop.
18. Half-Sleeve Nautical Map Fragment
Map fragments transition well into half-sleeves when designed with future flow in mind. Ask for open margins on the edges so the artist can add waves or flora later. Sessions can be long, broken into multiple appointments. A common mistake is over-detailing coastlines that turn into a gray mass later. To show off the piece, wear a rolled-up denim shirt that contrasts with the map shading.
19. Small Floral Wrist Anchor
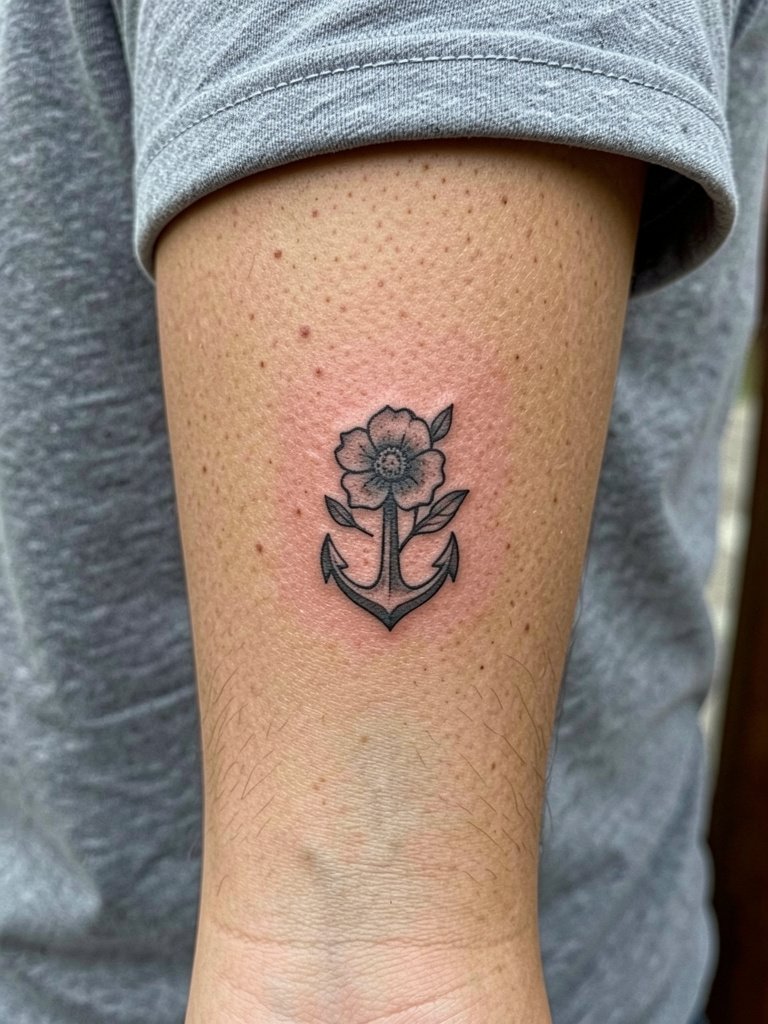
Wrist-adjacent florals should avoid the crease to prevent deformation. Choose a bloom with clean contours and ask the artist to place it an inch above the wrist crease for better longevity. Sessions are short and discomfort is higher near the wrist. A mistake is centering the design on the crease itself. For daily wear try stacking with a slim watchband that complements rather than covers the bloom.
20. Broken Line Minimal Wave
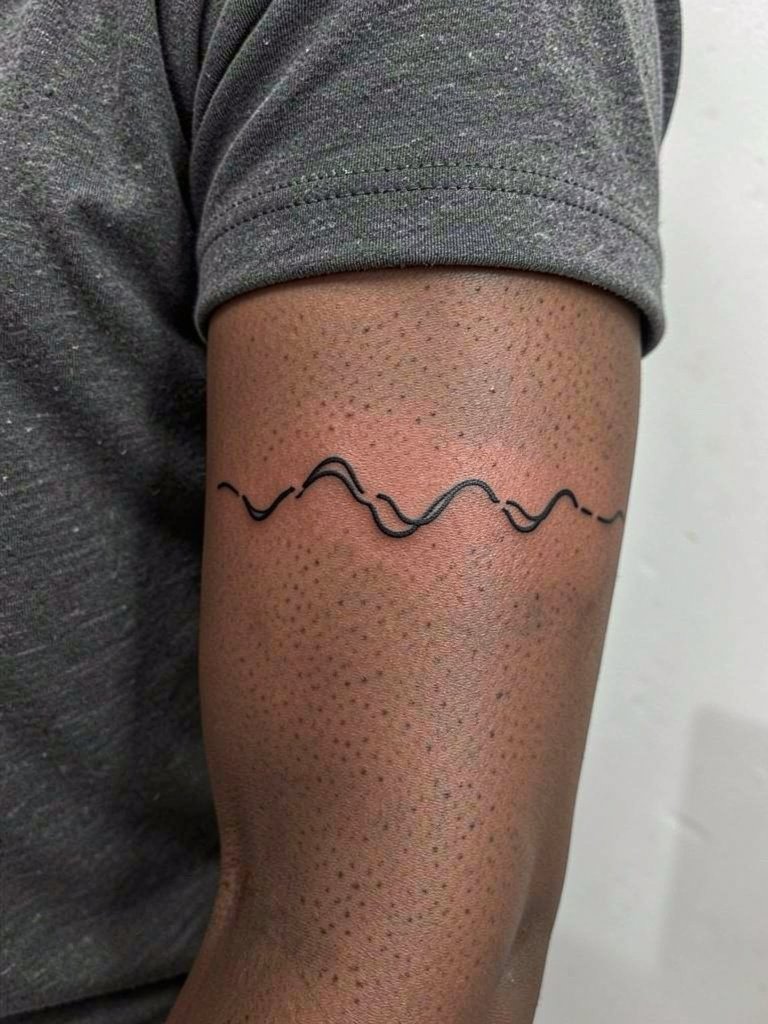
Broken-line motifs rely on negative space to create motion, so ensure gaps are generous enough to remain visible as the skin shifts. Ask the artist to show how the line looks when you bend your wrist and when you extend it. Expect a quick session and light pain. The usual error is making gaps too narrow which then read as a faint line. Pair the piece with a rolled-cuff sweater for a cozy look that exposes the forearm.
21. Subtle Arrow Running Along Forearm
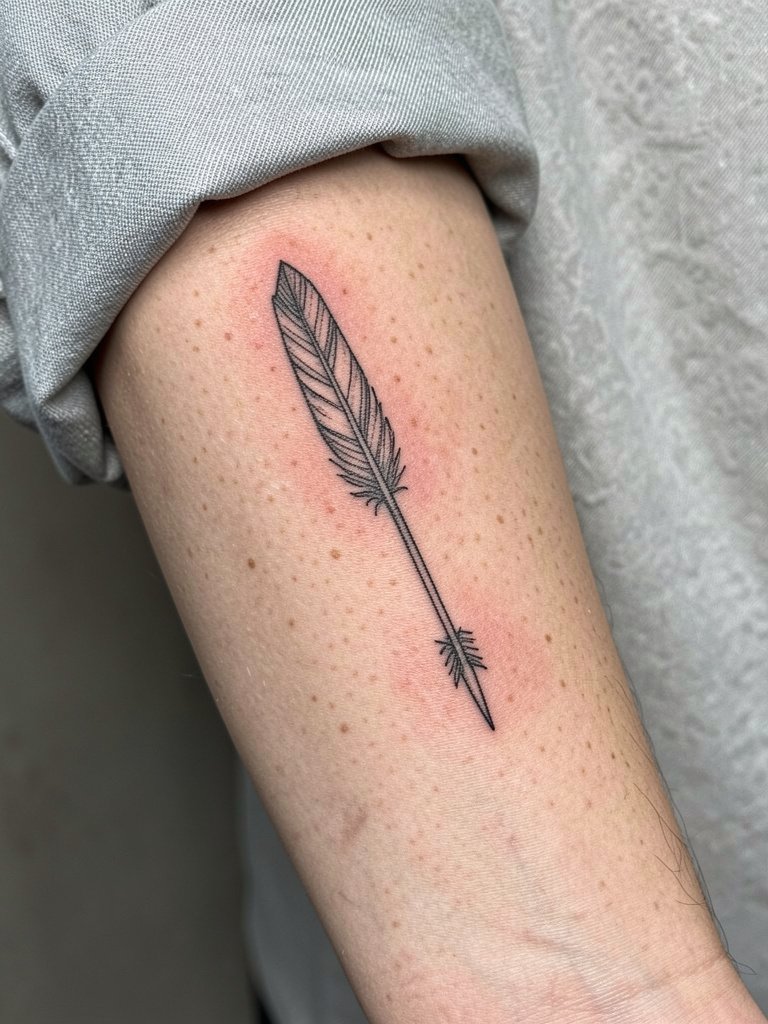
Arrows work with the natural lines of the forearm and age clean when the shaft has consistent thickness. Request a slightly thicker shaft than your initial sketch so the shaft does not break up with movement. Sessions are brief and the placement is low on the pain scale. A common mistake is tiny feathering on the fletching that vanishes over time. For daytime layering, try a longline cardigan that allows the arrow to peek through.
22. Floral Line Collage Near Inner Elbow
Floral clusters by the inner elbow need offset placement to avoid flex-induced distortion. Ask for a stencil preview across the bend so you can check how petals fall when you flex. Sessions can be slightly uncomfortable because the area folds, and the design is best tackled in one or two shorter passes. People sometimes place heavy shading in the crease which flattens out; avoid dense fills there. For showcase moments, a short-sleeve wrap top highlights the inner elbow without constant rubbing.
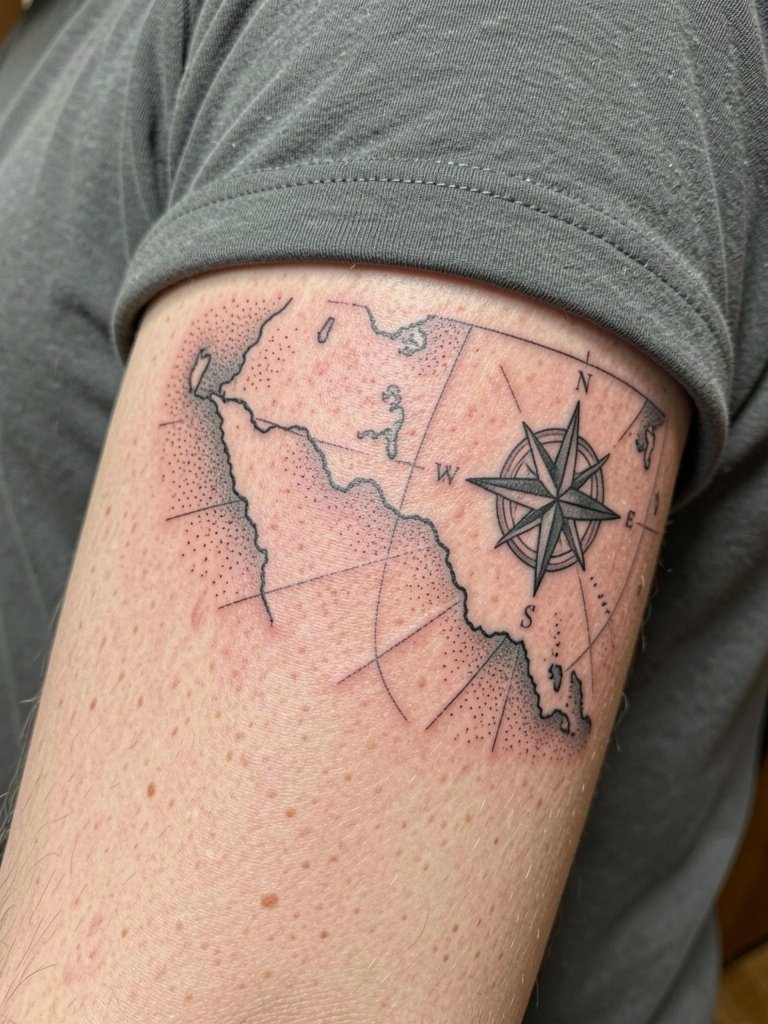
23. Fine Line Compass on Proximal Forearm
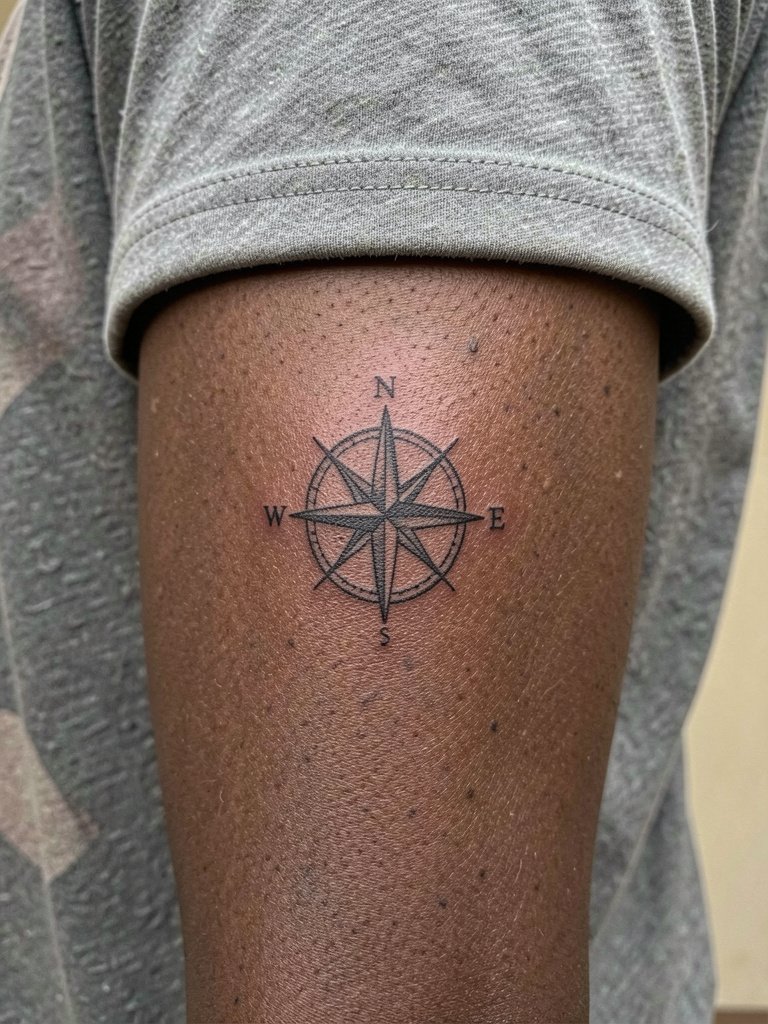
Compasses read crisp on the flatter area of the proximal forearm when radial spacing is generous. Ask for slightly thicker primary markers and reduced internal micro detail so the compass remains legible at year five. Expect one to two hours and mild pain near the elbow. A mistake is including tiny tick marks that blur into noise. Pair with a three-quarter sleeve blazer for a polished look that frames the compass.
Frequently Asked Questions
Q: How does forearm skin affect fine line versus bold work?
A: Forearm skin moves and sees sun and friction, so fine line needs slightly heavier line weight and spacing to last. One group of artists says ultra-thin single-needle on forearms blurs quickly, especially near joints. Another group argues that with precise depth and slightly bigger spacing single-needle can hold up, and they point to healed photos to demonstrate. Expect touch-up timelines sooner for very fine detail than for bold work.
Q: What should I wear to the appointment for an inner forearm piece?
A: Wear a sleeveless or button-front top so the artist can access the inner forearm without skin stretching. A soft sleeveless tank or a button-front shirt that can be rolled up is ideal. Comfortable clothing reduces fidgeting and keeps the area relaxed.
Q: How often do forearm color tattoos need touch-ups?
A: Color on forearms can fade faster than saturated black because of sun exposure and washing. Many people see a noticeable change by year two to five depending on lifestyle and sun protection habits. Plan a realistic touch-up at year two to refresh tones, and protect the area from sun to extend vibrancy.
Q: Where can I find healed forearm portfolios and idea discovery without naming artists directly?
A: Search social platforms for hashtags and keywords that match the style you want, for example hashtag searches on Instagram and TikTok with terms like #forearmtattoo, #finelinetattoo, or #blackworkforearm. Narrow by adding "healed" or "healedphoto" to find aged shots. Reddit tattoo threads and portfolio sites can also point to healed examples in different skin tones.
Q: Is there a big controversy about watercolor on forearms?
A: Yes, color washes split opinion. One camp says watercolor fades and looks patchy on forearm skin over time and prefers saturated anchors. The other camp maintains that careful saturation with black anchors yields long-lasting soft color and will show healed examples. Choose the side that matches your tolerance for touch-ups and your sun exposure habits.
