
A small constellation that really lasts often wins over the tiniest single-needle star someone posts on a feed. Smaller work can look invisible at first and then soften into a ghost line within two years unless spacing and touch-up plans are built in. Read on for 17 UV-ready designs, practical session-day clothing picks, and the exact consultation notes I would bring to the chair.
1. Clear UV Minimalist Constellations on Inner Forearm
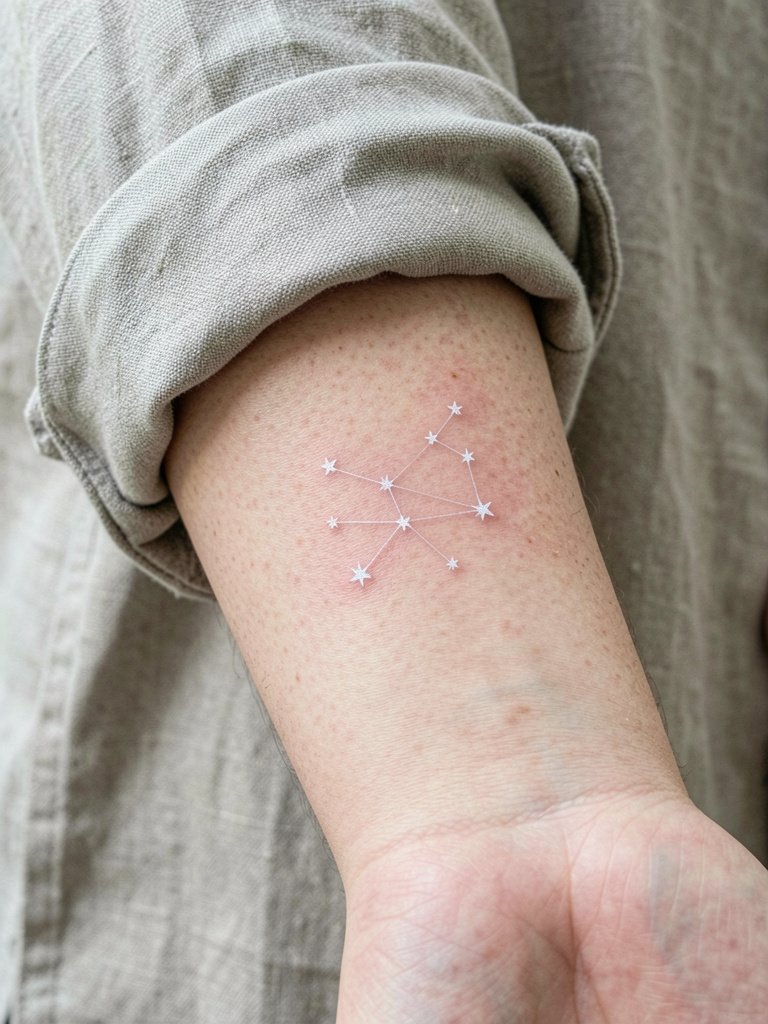
Tiny clusters read delicate at first and often last best when given breathing room between stars. For the inner forearm I recommend slightly wider spacing than your reference so the single-needle points do not merge by year two. Linework here will feel like a gentle vibration rather than deep thudding, and a 30 to 45 minute session usually covers a small cluster. For showing it off, pair with rolled cuff linen shirts in neutral tones so the skin and linework read clean. Common mistake is pushing dots too dense, which makes the design ghost into a blur after healing.
2. UV "X-Ray" Skeletal Pattern on Upper Back
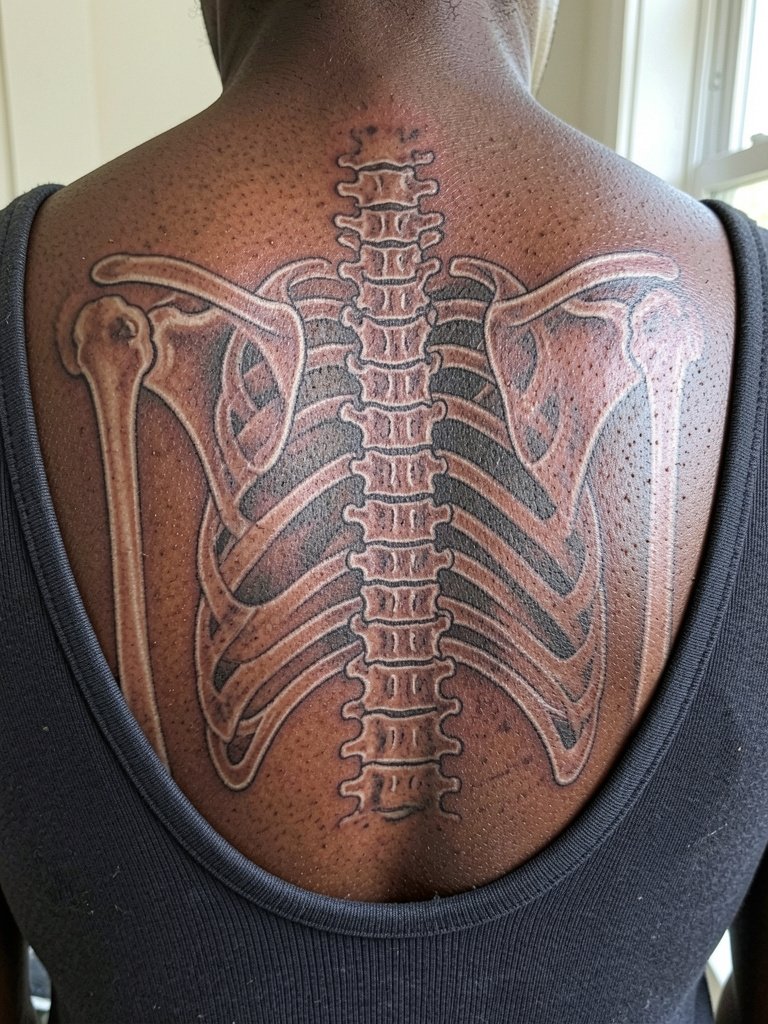
This is a big-piece conversation. One camp argues UV skeletal designs on large flat canvases pop best as mostly UV linework for the blacklight reveal. Another camp prefers mixing UV with bold black outlines so the design reads in daylight and at night. If you want primarily a party reveal, clear UV alone is fine. If you want something that reads at work and at a rave, add black outlines and shading. Expect two to three sessions for upper back detail and plan touch-ups every 2 to 3 years to keep the glow even. For festivals, style with backless tops that frame the upper back.
3. UV Circuit Board Overlay on Outer Upper Arm
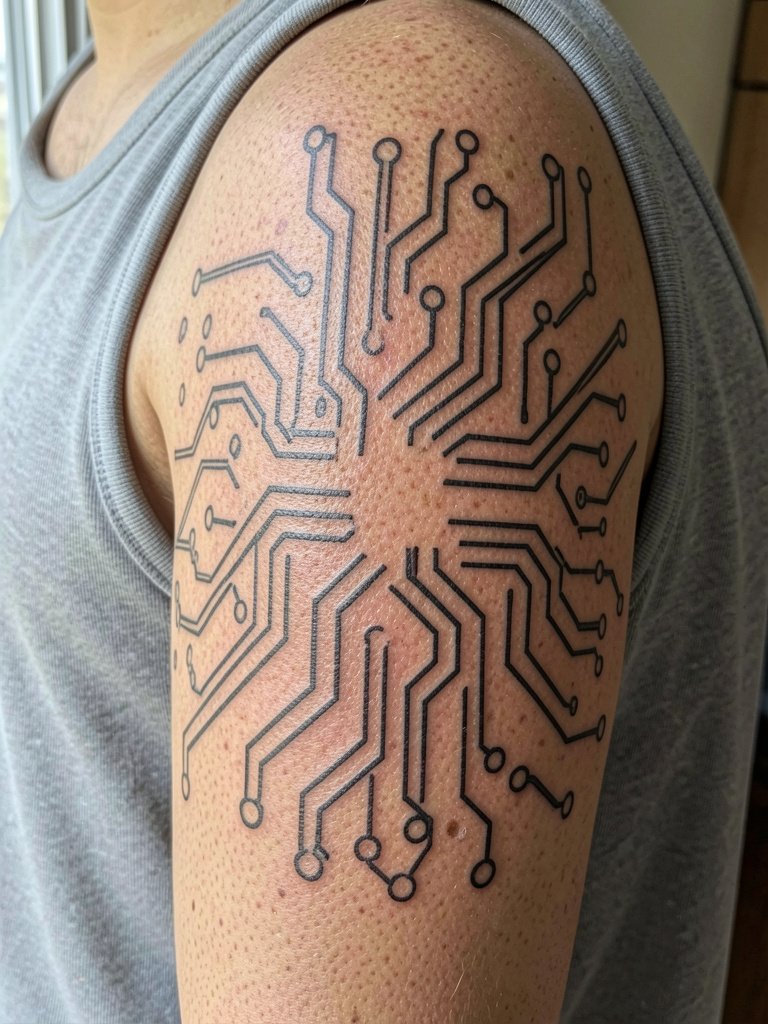
This style benefits from hard geometry and precise linework so the circuit traces stay readable as the skin ages. On the outer arm linework can be slightly bolder than the reference to prevent early softening. Session feel is typically moderate, with a steady hum across the muscle for one to two hours depending on complexity. Wear a sleeveless tank top for the appointment so the artist has full access. A mistake I see is asking for too many micro-circuits in a small patch, which turns patchy after a year.
4. UV Accent Floral Bloom on Lateral Hip
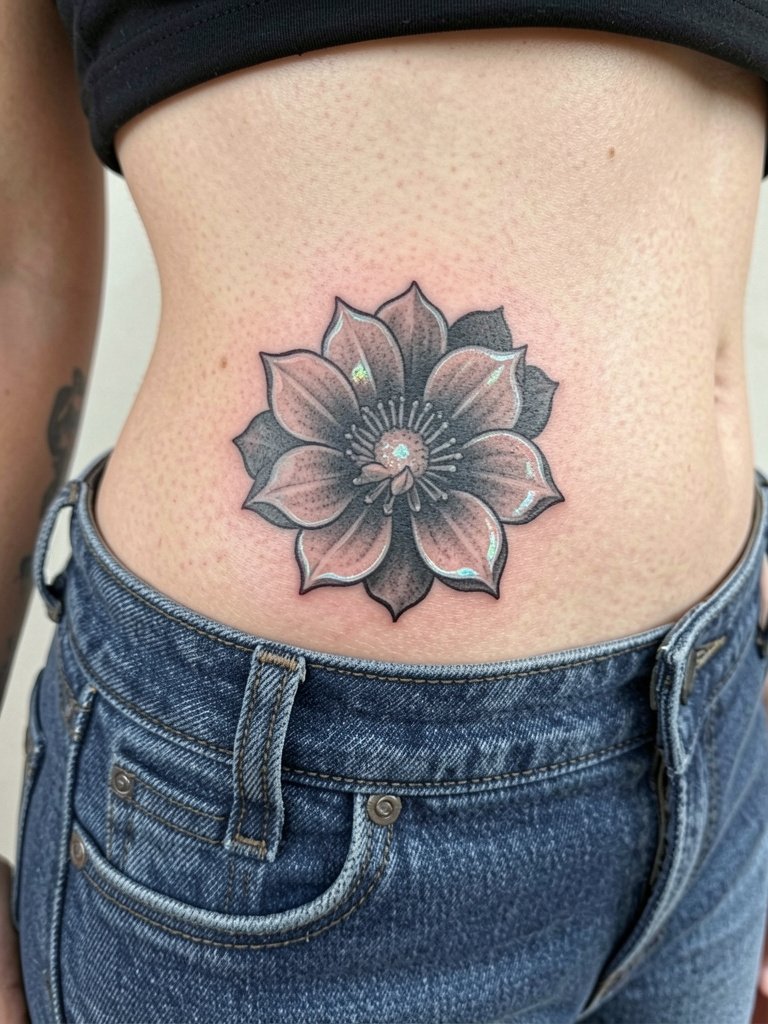
Accent UV pulls focus without committing the entire floral to glow. I usually recommend single-session UV highlights layered into a standard black and gray flower so the piece reads in daylight and then pops under blacklight. Because hips rub against waistbands, session wear should be loose drawstring shorts so nothing presses the fresh ink. The common mistake is putting UV-only dots where clothing will constantly rub, which accelerates fading and raises blowout risk.
5. Discreet UV Script on Inner Upper Arm
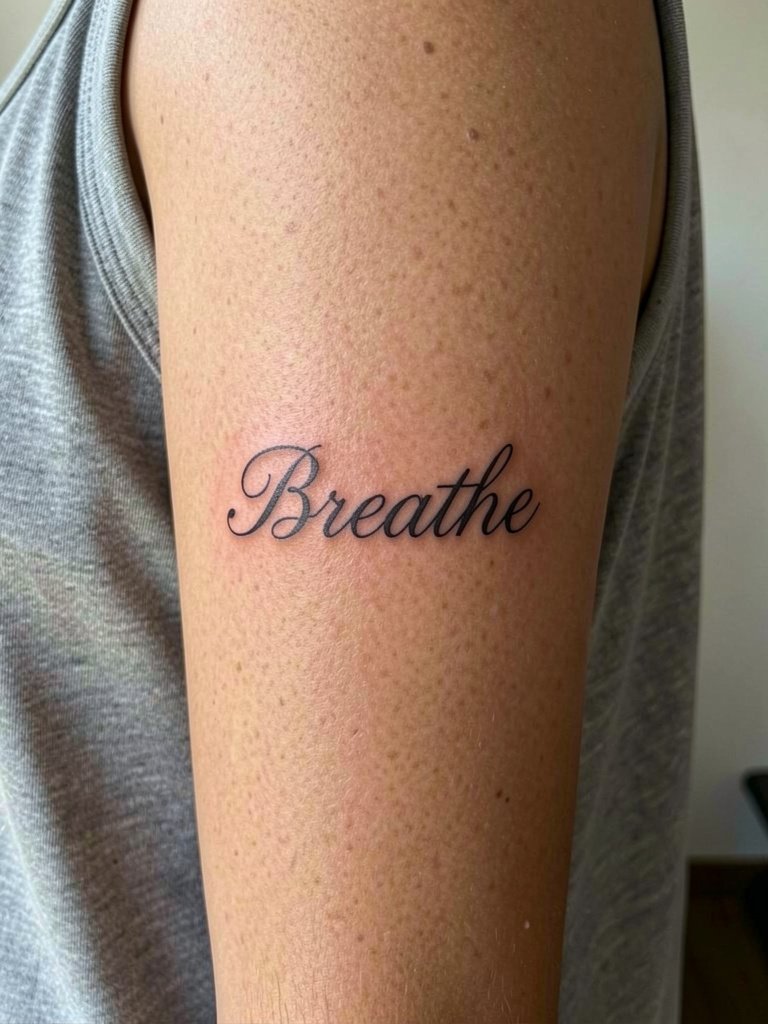
Short script in clear UV gives private meaning without daily visibility. For inner upper arm work the skin is softer and holds single-needle detail a bit differently than the forearm, so plan for slightly heavier line weight than your favorite reference. Have two reference scales ready so the artist can show how the script reads at three inches versus five. Expect a quick 30 minute pass for a small word and a touch-up in a couple of years. For the session, wear a loose tank top so the sleeve does not rub the fresh area.
6. UV Geometric Accents on Collarbone
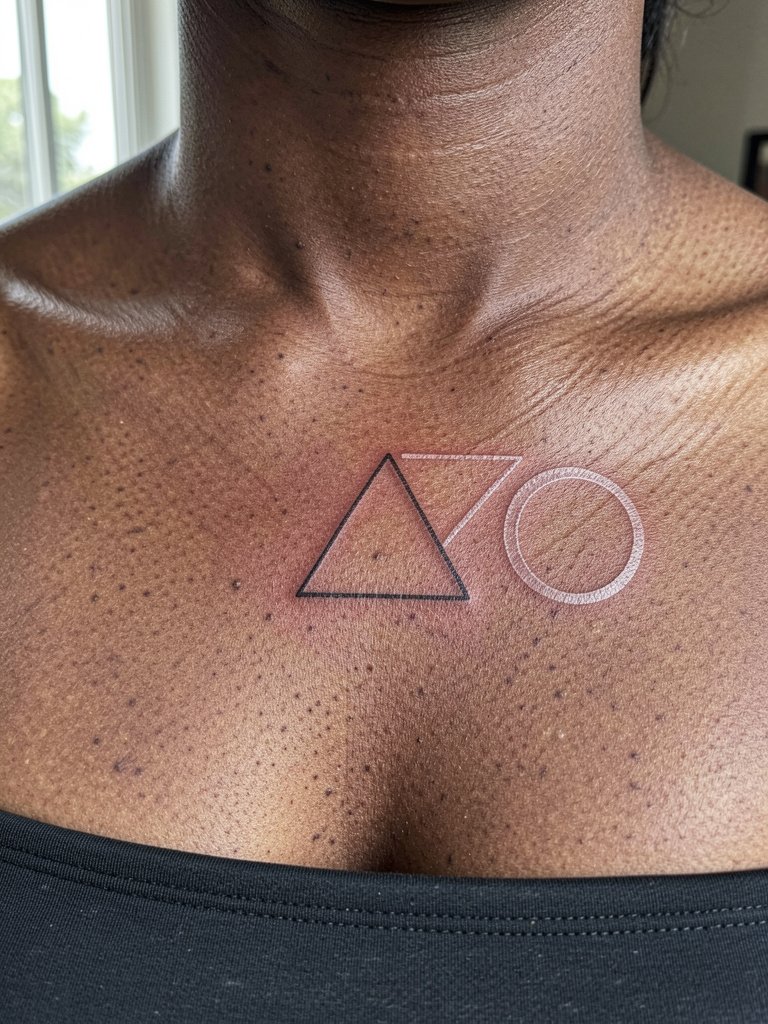
Geometric collarbone accents photograph beautifully and work with layered necklaces. For best longevity have the artist increase lineweight just enough so the shapes do not blur into the clavicle contour after a few years. The sternum and collarbone take shallow needle depth, so tell the artist you want slightly more saturation than a pure single-needle sample. For showing off, pair with strapless tops or wide-neck blouses that frame the geometry. Note that the collarbone area can be sensitive, so expect a sharper sting than the outer arm.
Before You Book
The small forearm and collarbone accents above need slightly different pre-session prep than the larger back pieces, so these picks smooth the appointment and the first week.
- Stencil transfer paper kit. Lets you preview exactly where fine constellation and script work will sit on skin so you can confirm spacing before ink goes in.
- Topical numbing cream. Applied 45 minutes before is useful for wrist and sternum sensitivity on longer sessions while keeping the artist's work undisturbed.
- Thin protective film roll. Handy for small placements that face friction during the first week like wrist, finger, and hip spots.
- Fragrance-free gentle body wash. A mild cleanser for the healing window that avoids scented irritants and keeps linework stable.
- Aquaphor healing ointment. Thin layer for the very first days supports healing for fine line and stipple shading without clogging.
7. UV Moon and Star Cluster on Inner Forearm
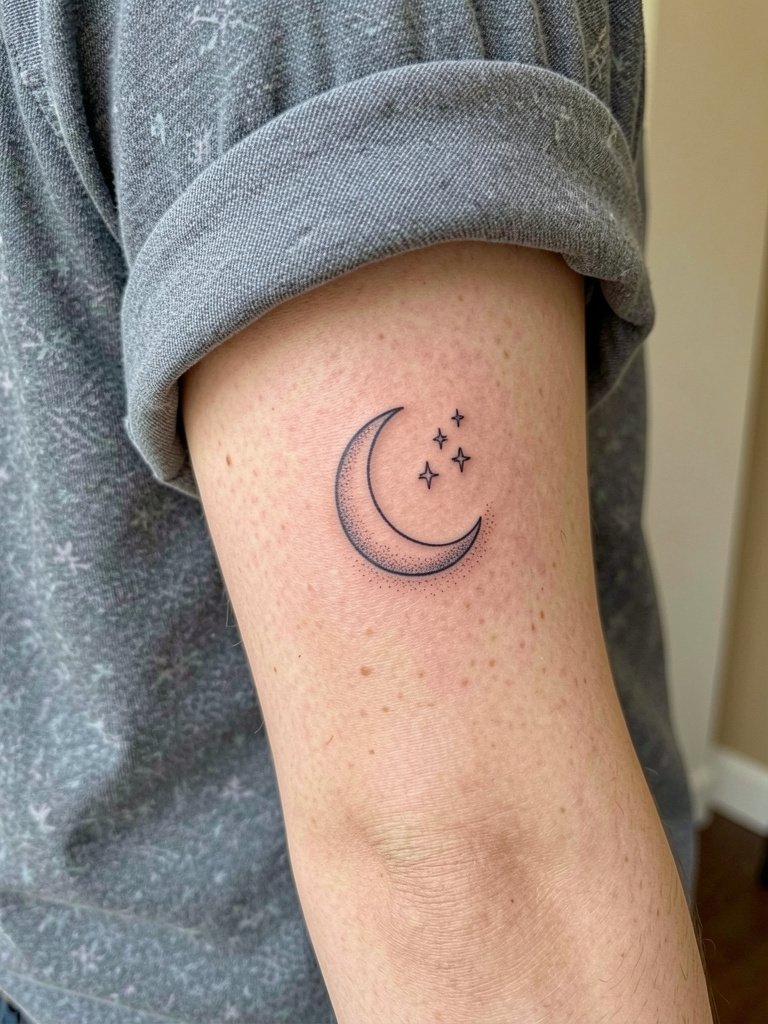
Celestial motifs age well when the moon has solid contour and the stars have breathing room. At six months the stipple often reads crisp, by two years tiny dots may need touch-up. Ask for the moon outline to be slightly stronger than in your reference to keep the silhouette intact as saturation settles. For sessions wear a rolled sleeve blouse so the artist can work the palm-up surface without restriction. The inner forearm is forgiving for single-needle work, but dense dot clusters are a frequent mistake.
8. UV Glow-in-the-Dark Hybrid at Nape
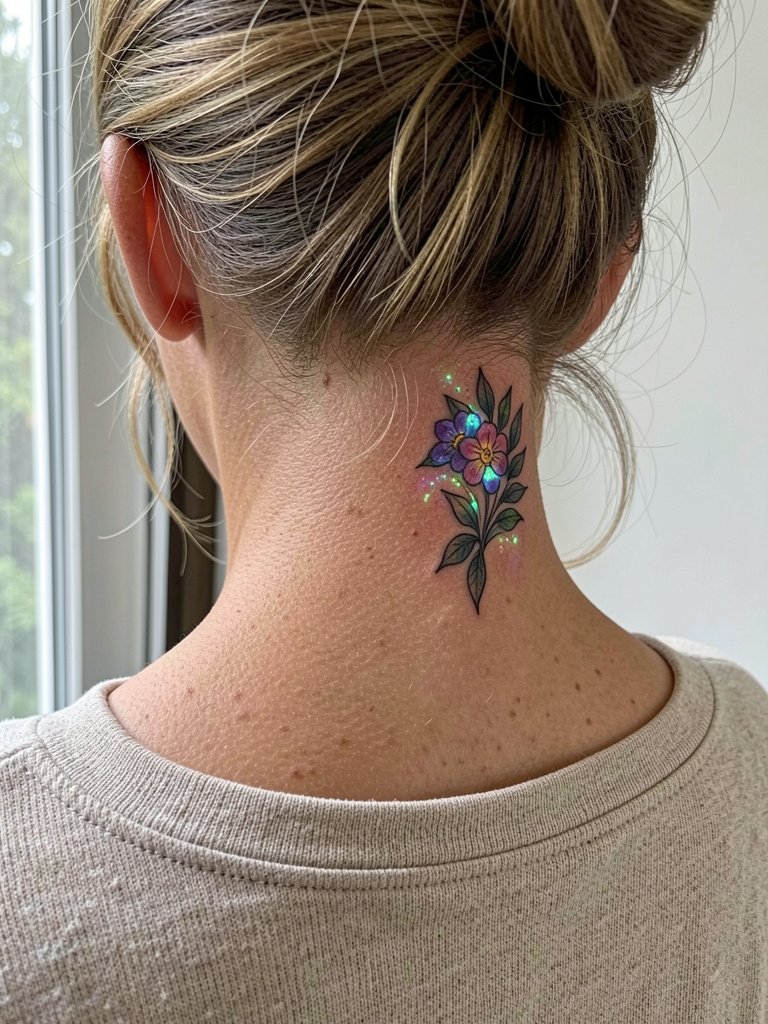
Dual-mode pieces combine UV glow under blacklight with phosphorescent pigment that charges in daylight. One camp values the extra visibility without a UV source because glow-in-the-dark pigment reads in total darkness. The other camp warns the glow pigment can change color and requires more frequent touch-ups. Both are valid trade-offs. Plan for two sessions if you want layered effects and bring healed sample photos of the pigments you prefer. For the session, wear a loose top and pull hair up in a natural updo so the artist can access the nape without fabric shifting.
9. UV "X-Ray" Muscle Formation on Stomach
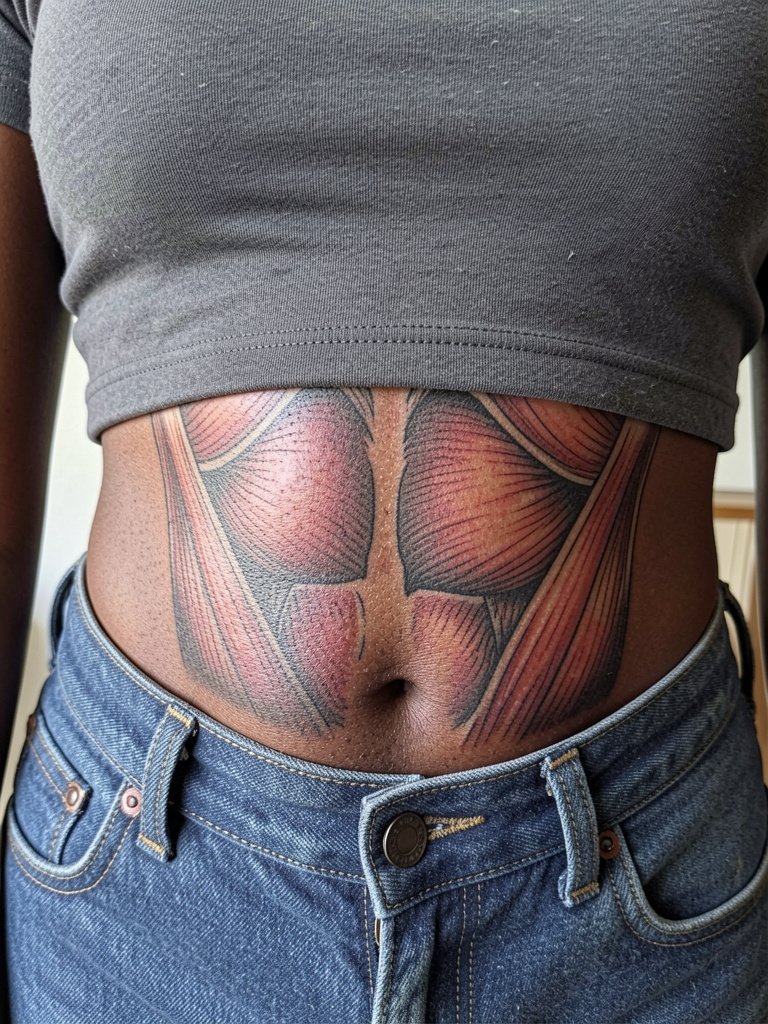
This anatomical approach demands large-scale planning and precise saturation. One camp argues large abdominal UV pieces look incredible for night events but need frequent touch-ups because the stomach moves and stretches. The opposing camp points out that with careful placement along natural contours and wider spacing, the piece can hold its form for years. Tell your artist you want the layout to follow your natural muscle lines so future stretching reads as part of the composition. Avoid tight waistbands during the first month and book sessions in two phases so you can assess healing before continuing.
10. UV Abstract Fluid Lines on Inner Upper Arm
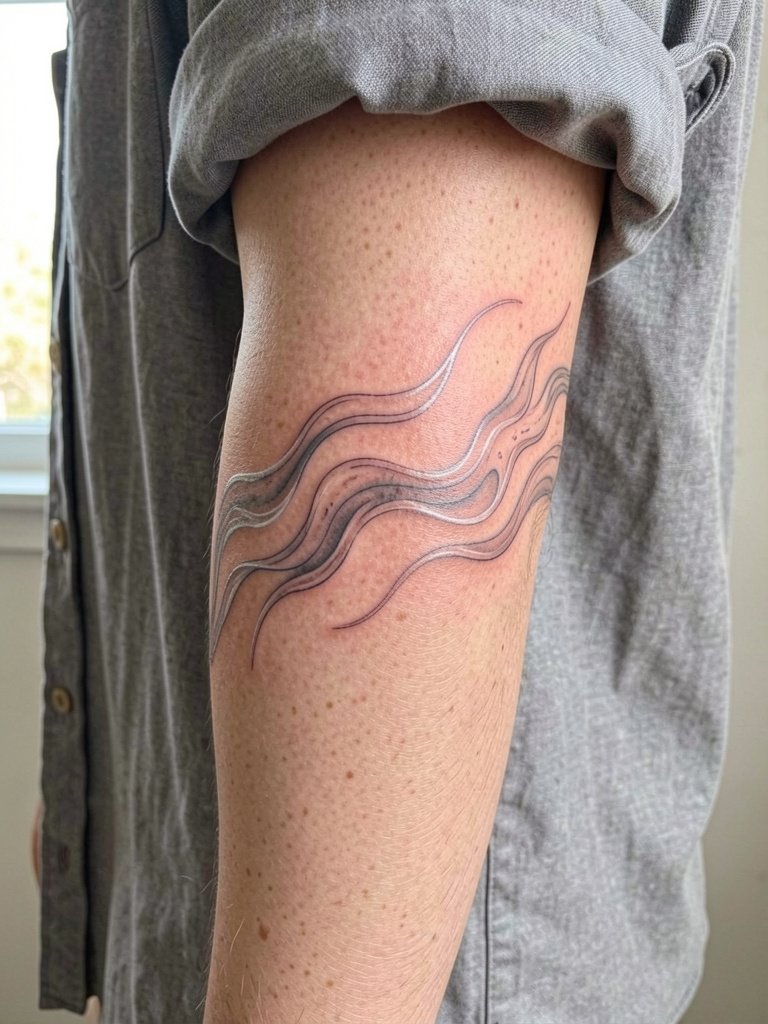
Abstract flow works well where the skin surface is smooth because the lines read continuous across curves. For inner upper arm pieces increase line spacing from reference to avoid early blurring. Session sensation is gentle and steady, usually one hour for a small band. A typical error is over-layering curls in a small area, which makes the pattern muddle as it heals. For the appointment pick a front-button top so you can remove it without pulling fabric across the fresh ink.
11. Tiny UV Hidden Symbols at Inner Wrist
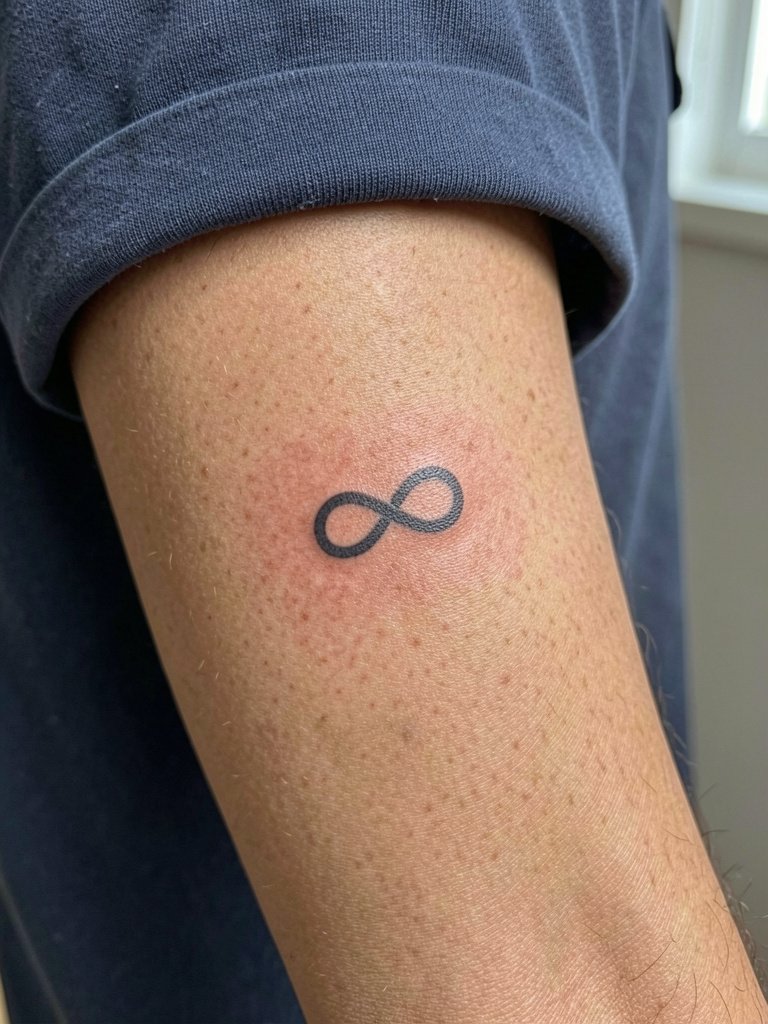
Tiny wrist symbols are quick and private but face heavy use and washing. Expect rapid initial fading if the design sits right on the crease, so ask for a hair heavier lineweight and a planned touch-up at 18 to 24 months. Session time is short, often 15 to 20 minutes, but early protection from watches and bracelets matters. Show off the piece with thin chain bracelet sets on the opposite wrist rather than crowding the tattooed side. A frequent mistake is placing the symbol too close to the wrist fold where movement accelerates wear.
12. UV Neon Color Burst on Outer Forearm
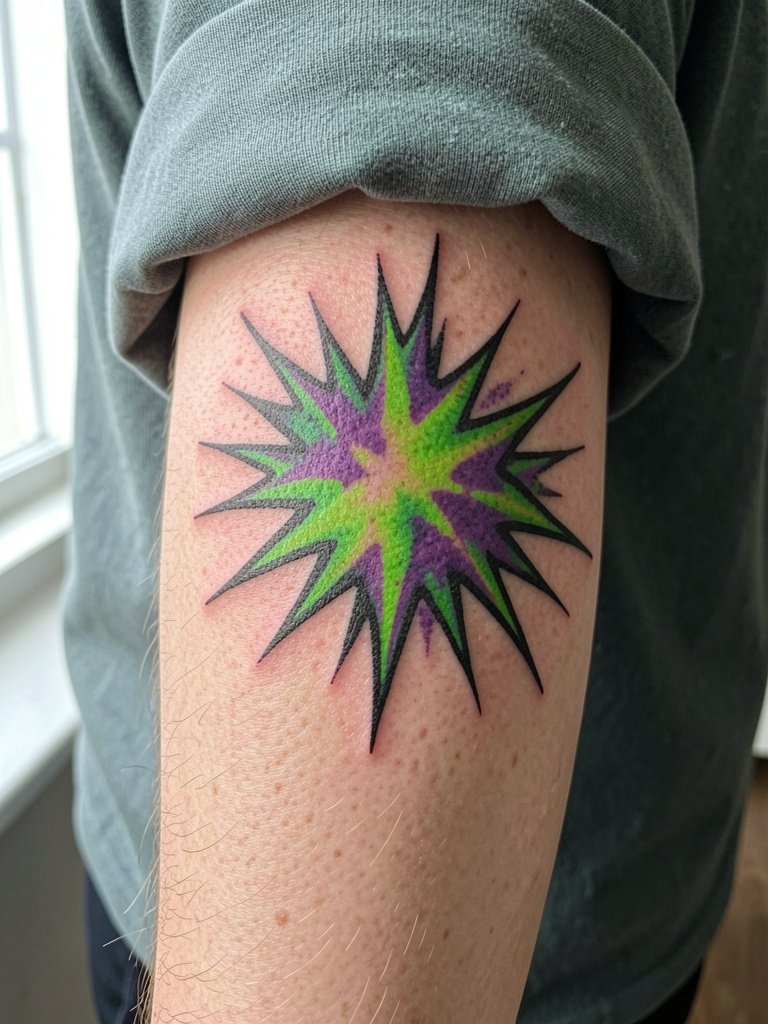
Colored UV inks read bright under blacklight but tend to lose saturation faster than black. For neon bursts ask for slightly more saturation than your reference while the artist balances safety and pigment load. One common regret is choosing a color without seeing a healed sample on your skin tone, so request healed photos on similar skin before booking. Wear a short sleeve tshirt for the session so the artist can rotate the arm freely. Plan touch-ups at a slightly accelerated pace compared with black-only work.
13. UV Hidden Symbols Behind the Ear

Behind-the-ear marks are intimate and ideal for small phrases or tiny symbols. This skin is thin and the area heals fast, but it also shows raised texture if ink is overloaded. Bring exact text or symbol art because tiny lettering often renders incorrectly otherwise. For session comfort, pull hair up in a natural updo and wear a loose crew neck top that does not rub the area afterwards. A professional consideration is that this placement needs steady hands and experience, so seek portfolios showing healed examples.
14. UV Geometric Sternum Piece
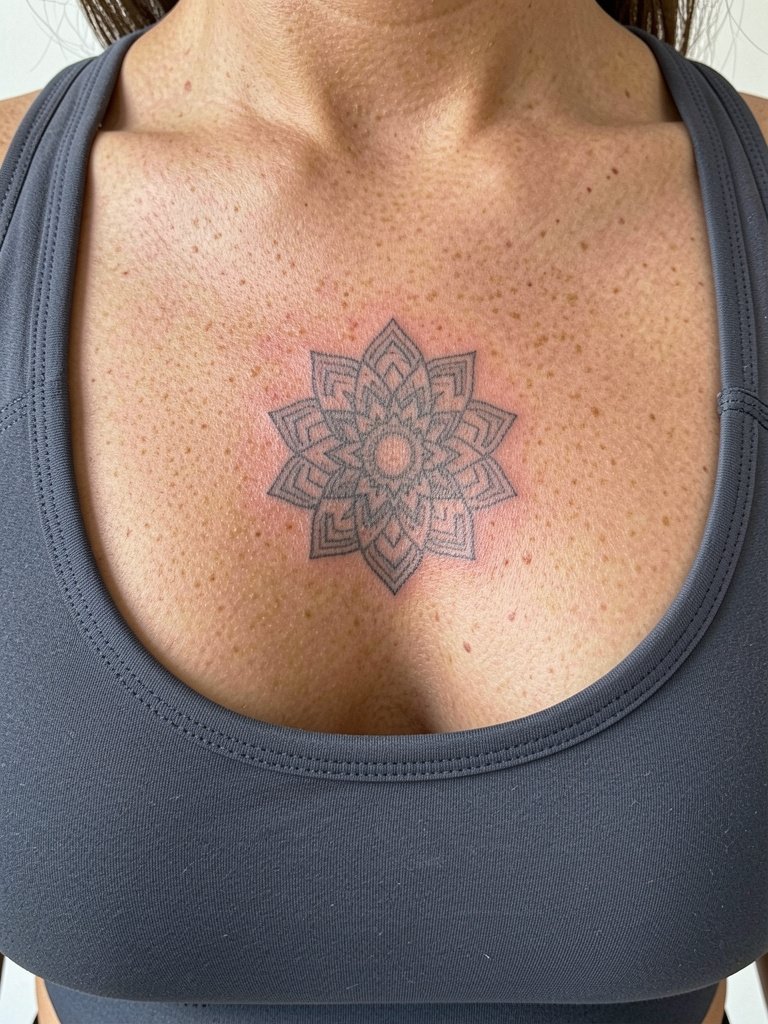
Sternum geometry reads well with centered symmetry but the area sees movement and contact, so spacing is crucial. One common mistake is packing too much tiny detail into the sternum where healing blurs the negative space. Expect moderate pain and a careful two-session plan for larger symmetry work. Because of placement sensitivity pick a front-tie or loose button-down top for the appointment so you do not pull clothing over the chest after the session. Specialized artist experience is recommended for sternum work.
15. UV Neon Neck Side Band
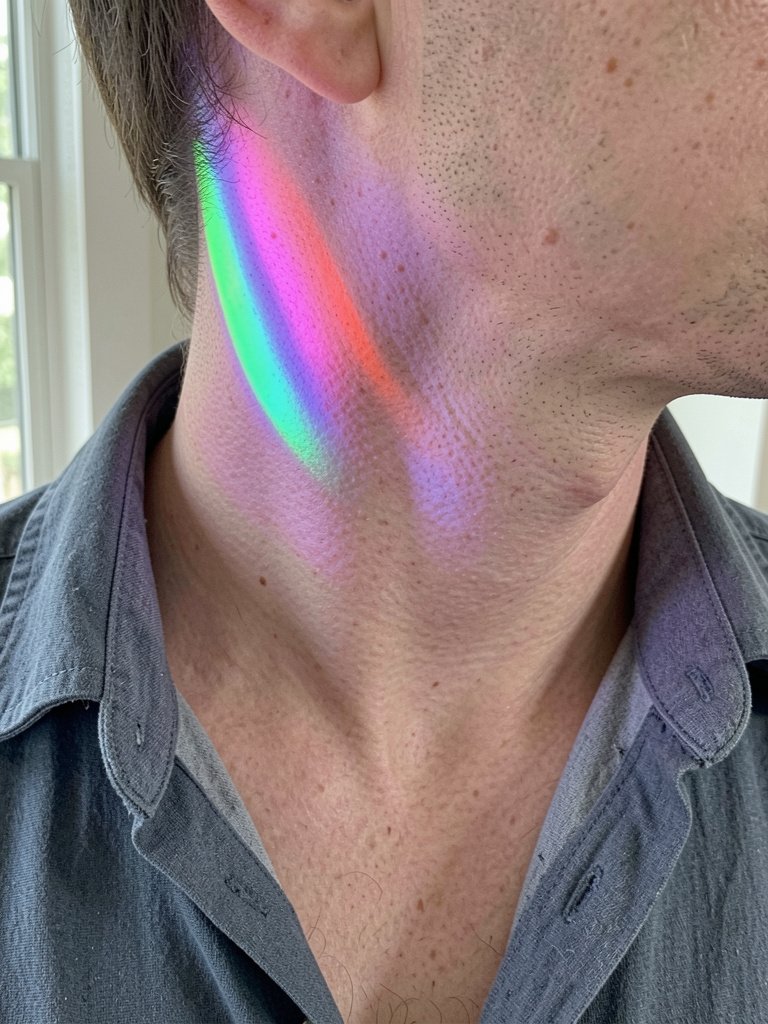
Neck pieces are bold and require explicit placement talks. The safety debate here is familiar. Some people argue neck UV colors fade quickly and are risky for visible work. Others accept regular touch-ups for the novelty and visibility. Both viewpoints matter when you decide how visible you want the piece to be in daytime. If you want longevity make the band slightly narrower with stronger black anchor lines so the neon reads but has a stable base. For the session pick an open collar blouse so the artist can reach the lateral neck cleanly.
16. UV Ink Touch-Up Salvage Over Old Work
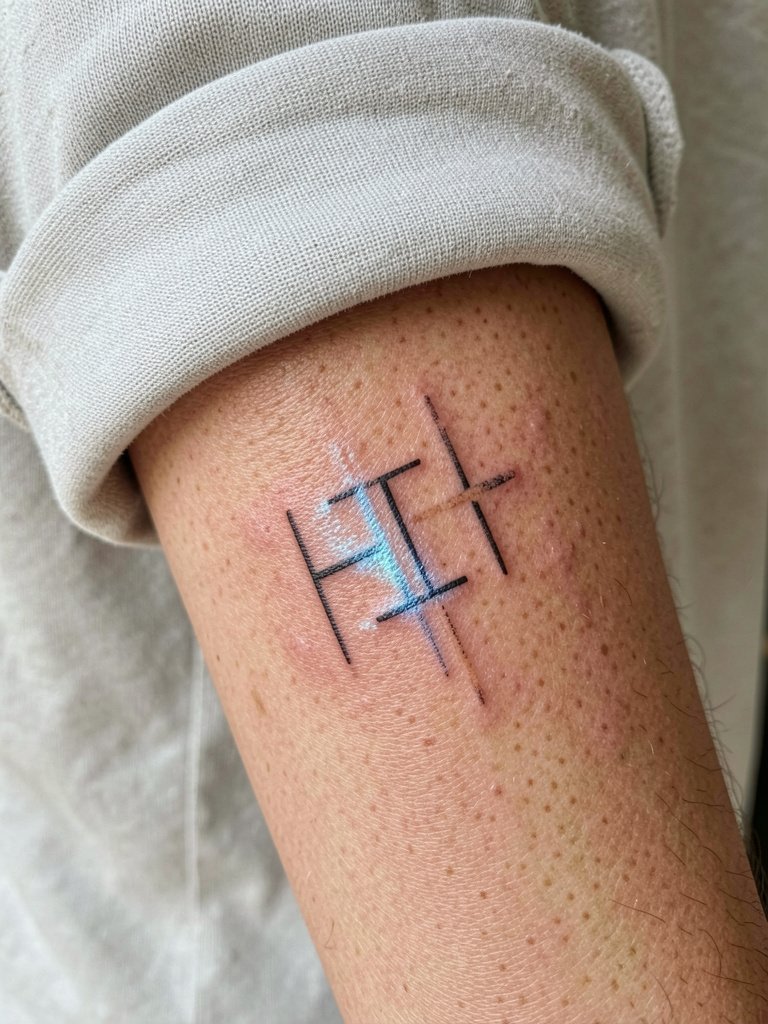
Using clear UV to revitalize a faded section lets you refresh without adding visible color in daylight. This tactic is handy for small salvage spots on older tattoos. Ask the artist for a healed photo of a comparable touch-up on similar skin tone so you know how the UV sits next to the original ink. Session time depends on area, but plan a shorter top-up appointment and a follow-up healing check. A common error is trying to hide large faded areas solely with UV which leaves obvious daylight discrepancy.
17. UV Work for Darker Skin Considerations
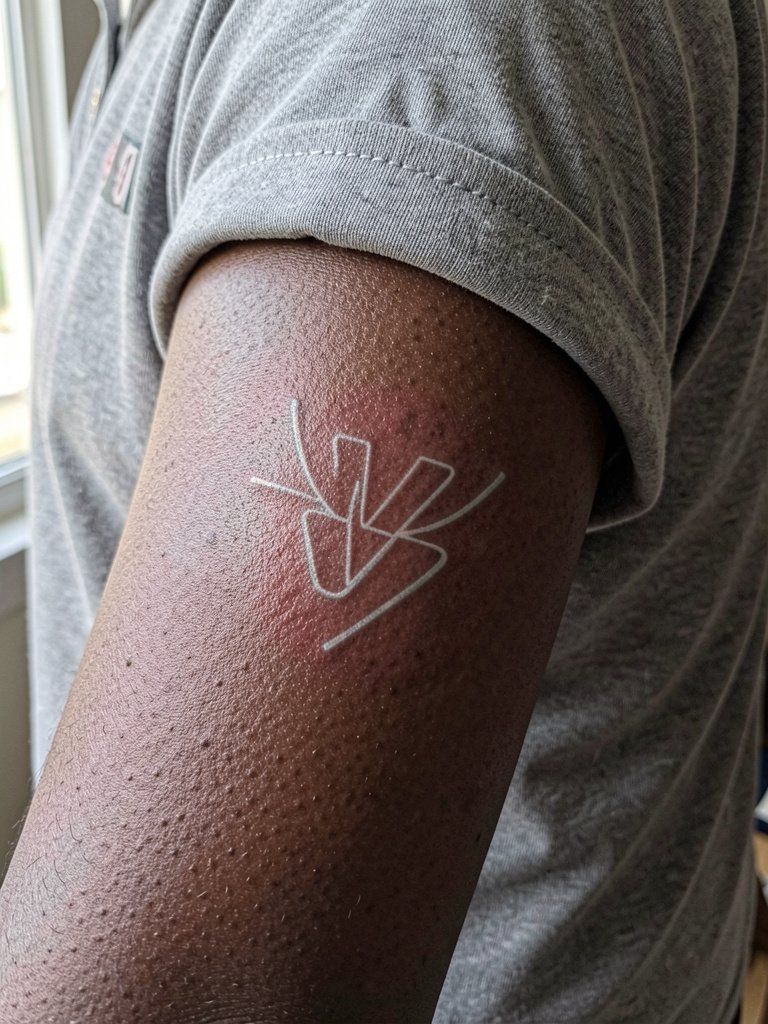
Most guides gloss over how UV appears on darker skin, which is a real gap. Expect different visual results than on lighter skin. One camp says clear UV can still glow strongly on melanin-rich tones under blacklight when saturation and contrast are dialed in. The other camp warns that many UV pigments were tested primarily on lighter skin and may need heavier saturation or color choices to read the same way. If you have darker skin ask to see healed work on similar tones and plan for a realistic touch-up timeline.
Frequently Asked Questions
Q: Do UV tattoos glow in complete darkness without a blacklight?
A: Generally no. Most UV tattoos require a UV source to fluoresce. Designs that also use glow-in-the-dark pigments will charge in daylight and emit faint light without a blacklight. If you want visibility in both conditions tell the artist you want a dual-mode approach so they can plan pigment placement and session time accordingly.
Q: How long do UV tattoos usually keep glowing before a touch-up is needed?
A: Plan for touch-ups every two to three years for clear UV and colored UV, with some neon pigments needing attention sooner. Small pieces often need check-ins earlier than large blackwork accents because of repeated friction and washing. A realistic budget range is small designs around $150–$400, medium accents $500–$1,500, and large anatomical pieces $1,200–$3,000 depending on detail and artist.
Q: Are UV inks safe and what are the irritation risks?
A: People report both outcomes. One camp believes reputable UV inks are safe for most skin types and that studios screen clients and do spot tests. Another camp warns UV pigments can irritate sensitive skin more often and that removal tends to be harder. If you are sensitive, request a patch test and consider consulting a dermatologist before a full session.
Q: Where can I find healed UV portfolios and local artists without naming people directly?
A: Search hashtags like #blacklighttattoo and #clearuvink on Instagram and TikTok, then filter by location tags. Tattoodo and Booksy let you search by keywords such as "clear UV ink" and show portfolio images. Reddit communities like r/tattoos and r/tattooadvice often surface healed examples and local recommendations. Use healed photos as your primary proof, not fresh photos.
Q: What should I wear to the appointment for these placements?
A: Match session wear to the placement. For inner forearm or outer arm pieces wear a short sleeve tshirt or sleeveless tank so the artist can reach the area. For hip or sternum pieces choose loose drawstring pants or a front-button top that you can remove without dragging fabric across the fresh tattoo. For neck and nape work put hair up in a natural updo.
