
A well-balanced patchwork tattoo reads like a thrifted jacket of memories, each patch different but stitched with purpose. Random bits and small scenes work best when there is an organizing rule, like a shared line weight or a repeating color dot. Start by choosing the visual rule you want to hold the collage together and then pick placements that age similarly, so the whole composition still reads as one piece years from now.
1. Forearm Patchwork Column of Tiny Motifs
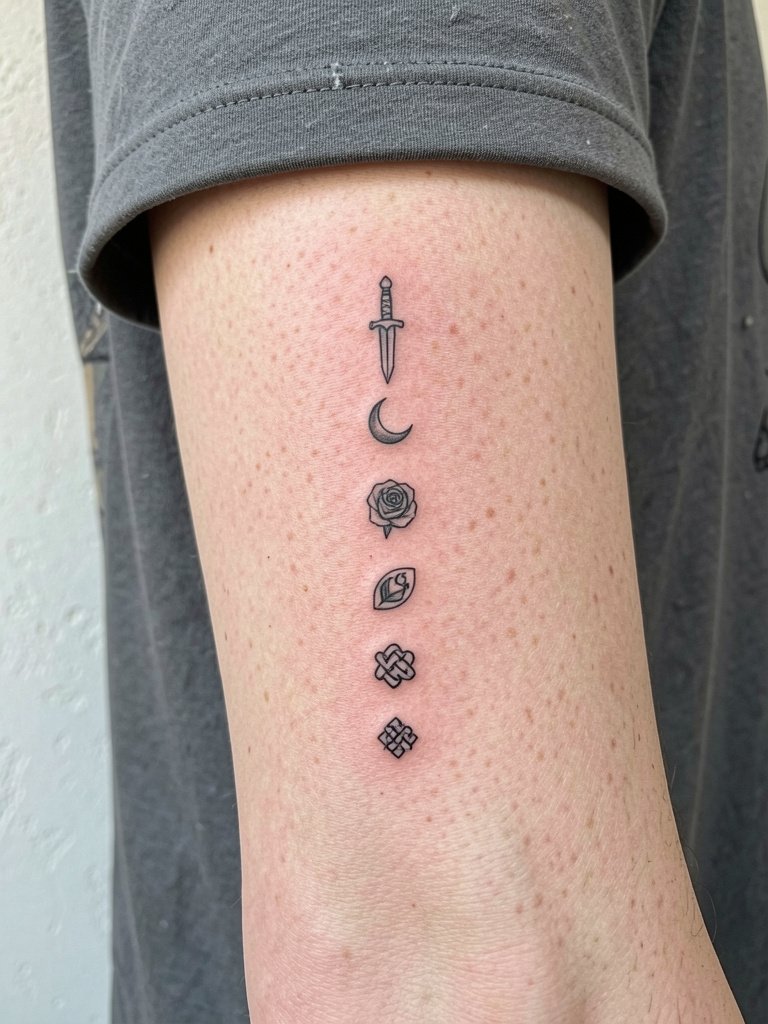
A stacked forearm column is the classic patchwork start. I recommend slightly heavier lineweight than pure single-needle here because the inner forearm moves and small details can blur by year two. Session time for a modest column is often 60 to 120 minutes depending on complexity, and pain sits around a 3 to 4 out of 10. Bring two scale references so your artist can show how each motif reads at three inches versus five. Common mistakes are requesting ultra-fine filigree that disappears and not spacing motifs for future additions. At six months the motifs read crisp, by two years small scripts soften and may need a touch-up. For showing off, roll the sleeve cuff up with a cropped linen tee so the column sits in clear view.
2. Chest Patchwork Grid with Bold Outlines
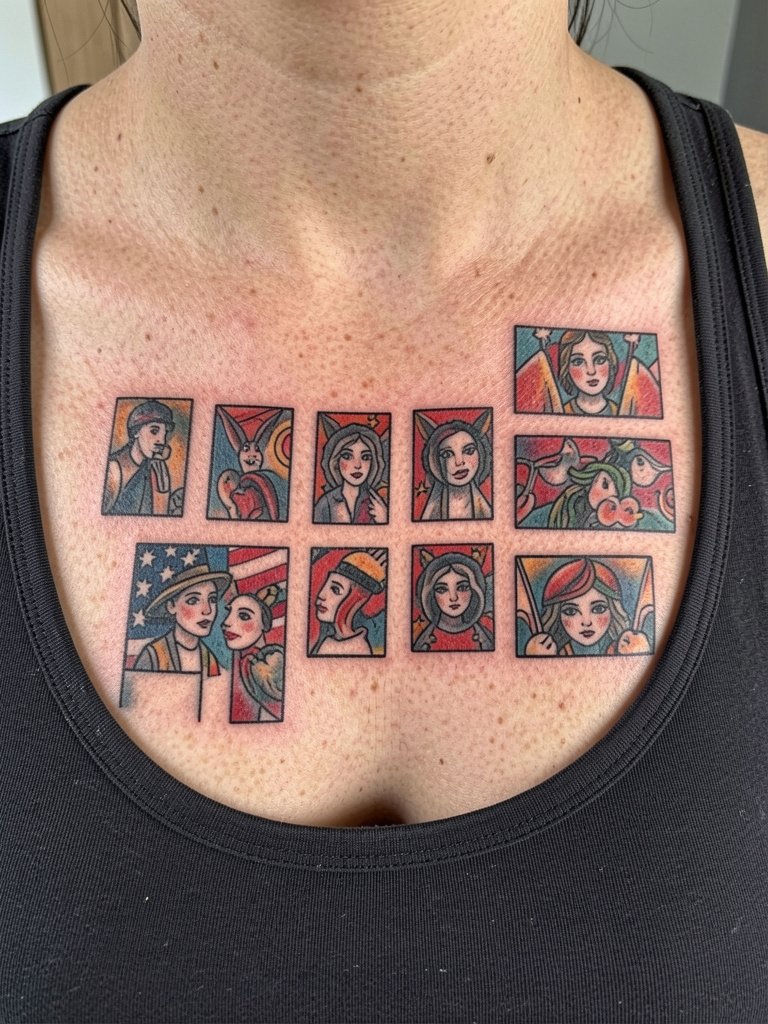
A chest grid of panels reads as intentional patchwork when each square has consistent bold outlines and similar saturation. Pain for this area ranges 4 to 6 depending on proximity to the sternum. Plan for two to three hours for multiple panels. Ask for consistent outline thickness across panels so the chest keeps visual continuity as color fades. One mistake is mixing washed watercolor panels with saturated neo-traditional ones and expecting them to age the same. At year three the bold outlines usually remain the anchor while pale washes need touch-ups. For evenings, wear open-back midi dresses that let the grid peek above a neckline.
3. Ankle Patchwork of Tiny Symbols
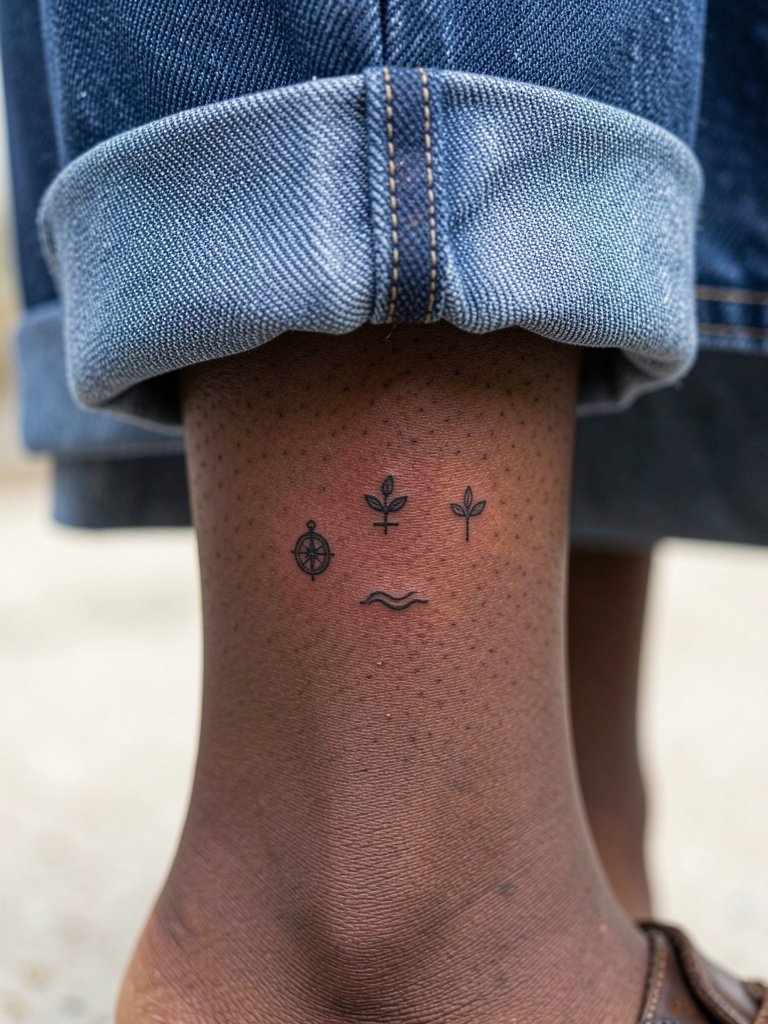
Ankle patches look casual but face abrasion from socks and shoes. Pain is low to moderate at 2 to 4. Session windows are short, often 30 to 60 minutes per small motif. The common error is making symbols too small when they need a minimum of clear negative space to avoid early blurring. Expect some fading at the edges after one year if the design sits on top of the ankle bone. Touch-ups usually come around year two for the smallest symbols. For showing off, cuffed jeans and minimal leather ankle boots frame the area without rubbing the fresh ink during healing.
4. Ribcage Patchwork of Random Floral Panels
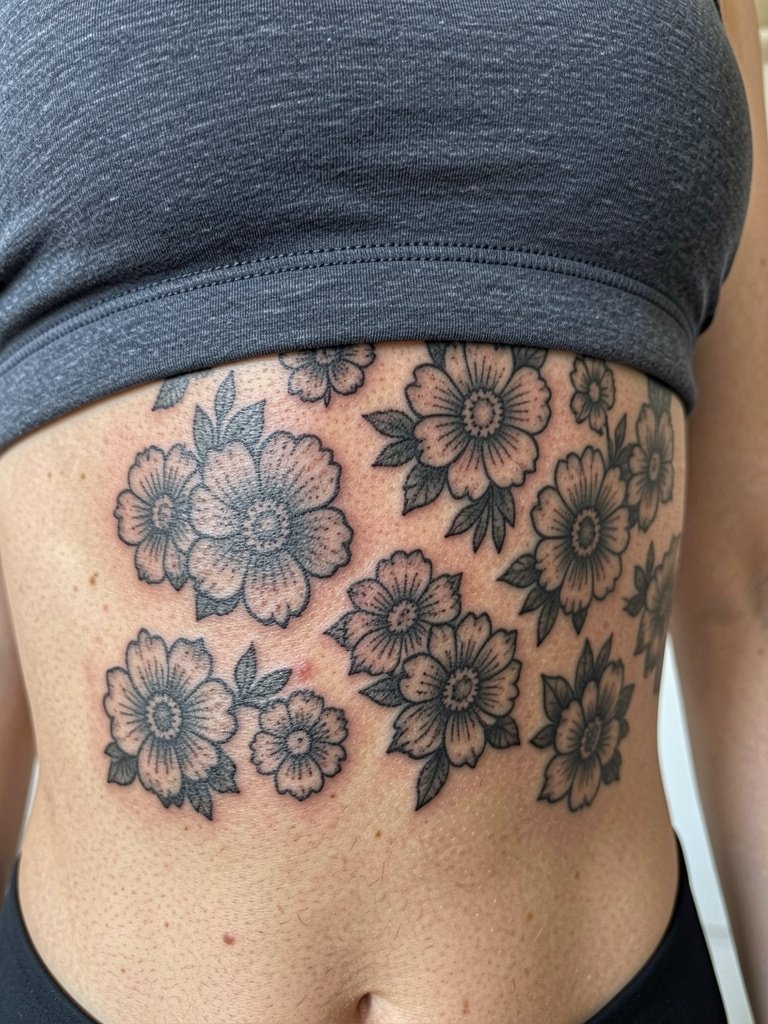
Ribcage patches give a dramatic sweep but they are one of the highest pain zones at 7 to 9. Plan long sessions with breaks and expect two or three sittings for a moderate patch layout. One important aging note is that thin single-needle details on ribs can blur faster due to skin movement. If you want longevity, choose slightly bolder linework within the floral panels and allow extra spacing between motifs. A frequent mistake is compressing many tiny motifs into a small area, which reads muddled at year three. For the session, wear a fitted cropped athletic top so the artist has clear access without exposing the rest of your torso.
5. Collarbone Patchwork of Mixed Scripts and Icons
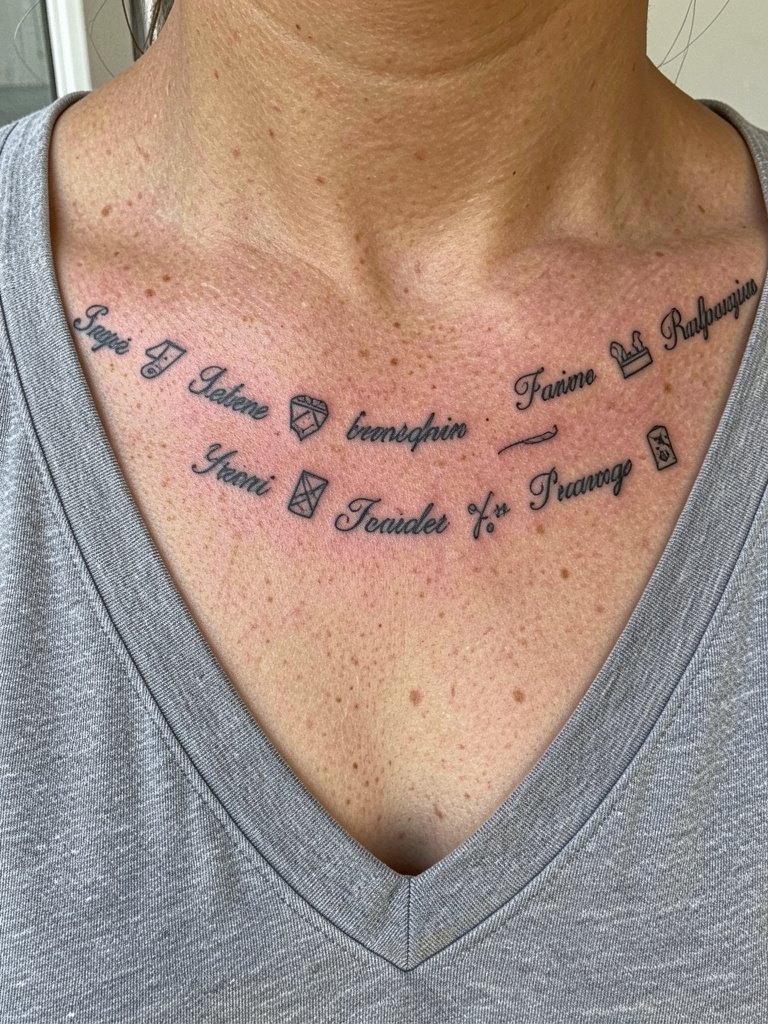
Scripts and icons along the collarbone read best when the text spacing is widened slightly over what you see in tiny Pinterest images. Pain sits at 3 to 5 and sessions are usually 45 to 90 minutes. Discuss exact letter sizing and ask for a stencil preview at the intended scale to evaluate how it follows collarbone curvature. A mistake is matching a script style from a shoulder shot without checking how it stretches across the clavicle. In my experience, delicate cursive still softens by year four so plan for a touch-up then. For outfits, scoop or V-neck tops like delicate ribbed tanks let the script breathe.
6. Mixed-Placement Wrist and Hand Patches
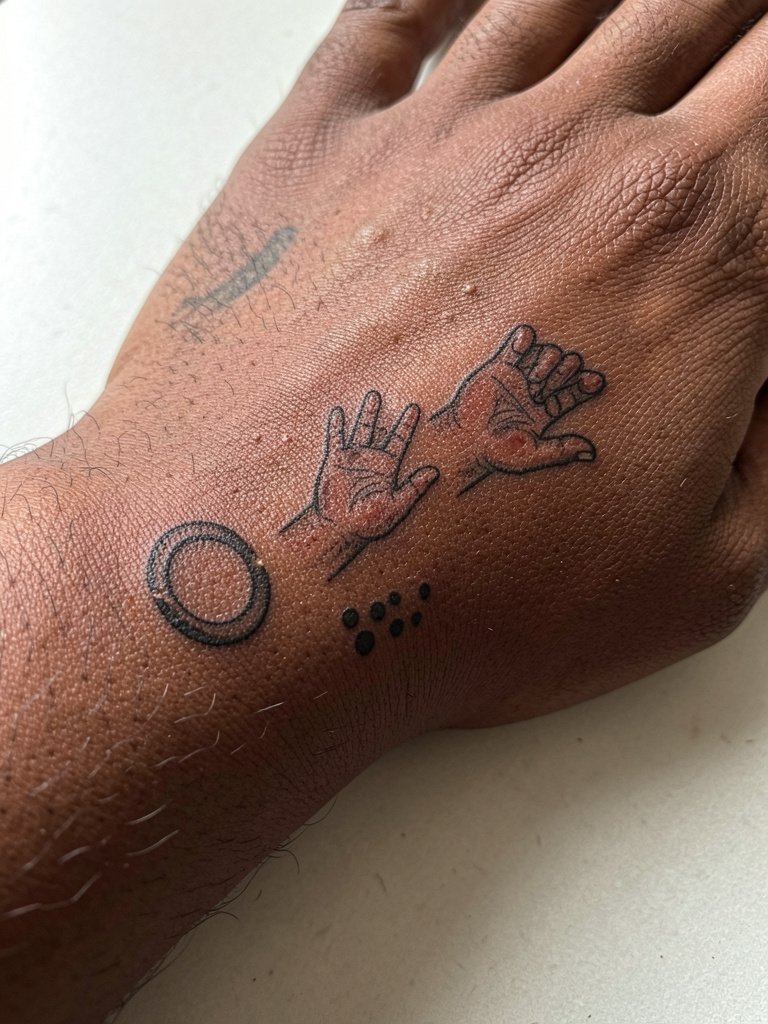
Hand and wrist patches are visible and wear fast from daily washing and friction, so plan for more frequent touch-ups. Pain is moderate at 4 to 6 for wrist and can spike on finger joints. Sessions are short per motif but you should expect multiple sittings if you want several patches around the hand. The common mistake is tiny single-needle work on fingers without allowance for fading. At six months the ink will look crisp and by year two the fingers often need a refresh. For the appointment, wear a loose long-sleeve you can roll up and bring a glove-friendly routine for post-session care. For showing off, pair with thin stacked rings that do not rub against the fresh ink and with a minimalist ring set.
Session Day Picks
The small, visible spots above often need careful session planning, especially for wrists, hands, and ribs.
-
Stencil transfer paper kit. Helps preview exact spacing on skin so small patches read correctly at the intended scale, which is crucial for forearm and wrist columns.
-
Topical numbing cream. Useful for high-pain rib or sternum patches when applied according to package timing, it smooths longer sessions without compromising linework.
-
Thin protective film roll. Keeps ankle and hand patches cleaner through the first week of washing and reduces fabric abrasion.
-
Fragrance-free gentle body wash. Mild cleansing for the healing window that avoids irritants near delicate wrist and chest panels.
-
Aquaphor healing ointment. A classic thin-layer option for the immediate first days to lock in moisture for fine line work without creating clotted buildup.
7. Random Patchwork Thigh Medley
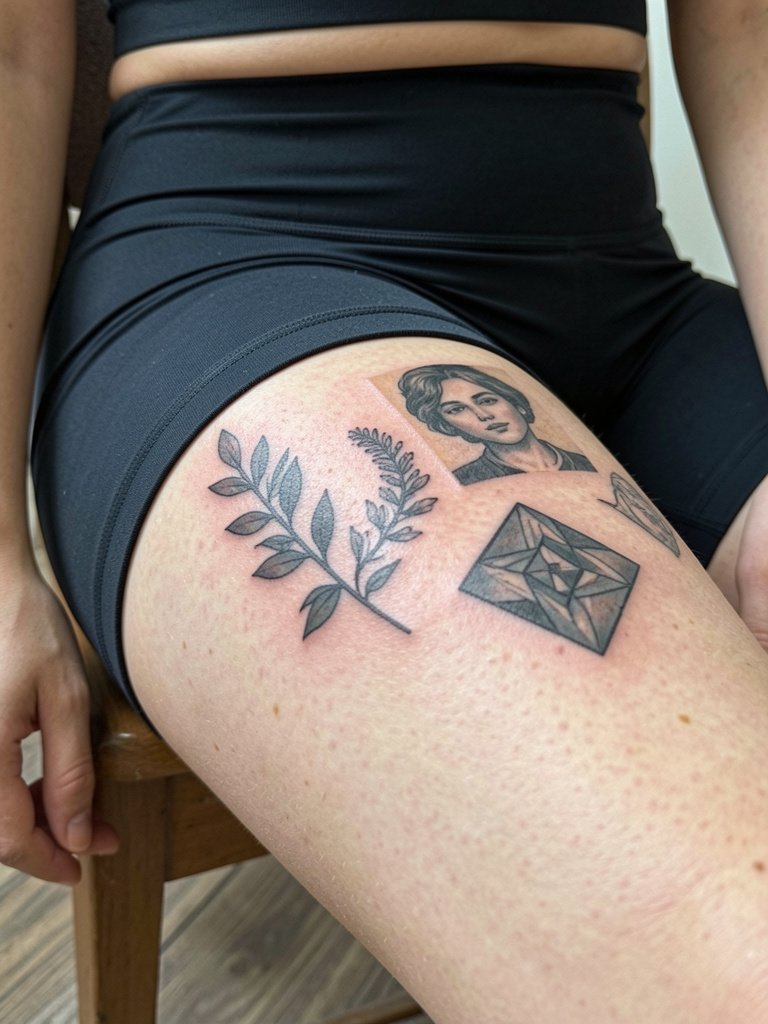
Upper-thigh patchwork gives room to mix scales and still keep clarity. Pain is moderate to high at 5 to 7 depending on inner-versus-outer placement. Sessions can be long for full medleys, so split into two sittings if you want saturated color. One mistake is cramming tiny portrait detail onto soft inner-thigh skin where shading can blur. Discuss shadow scale and stipple shading patterns so stipple holds up over time. Expect steady wear from friction if the placement is near underwear lines, so plan spacing away from seams. For the session, wear bike shorts or loose shorts so the artist has access without fabric shifting.
8. Shoulder Patchwork Half-Sleeve
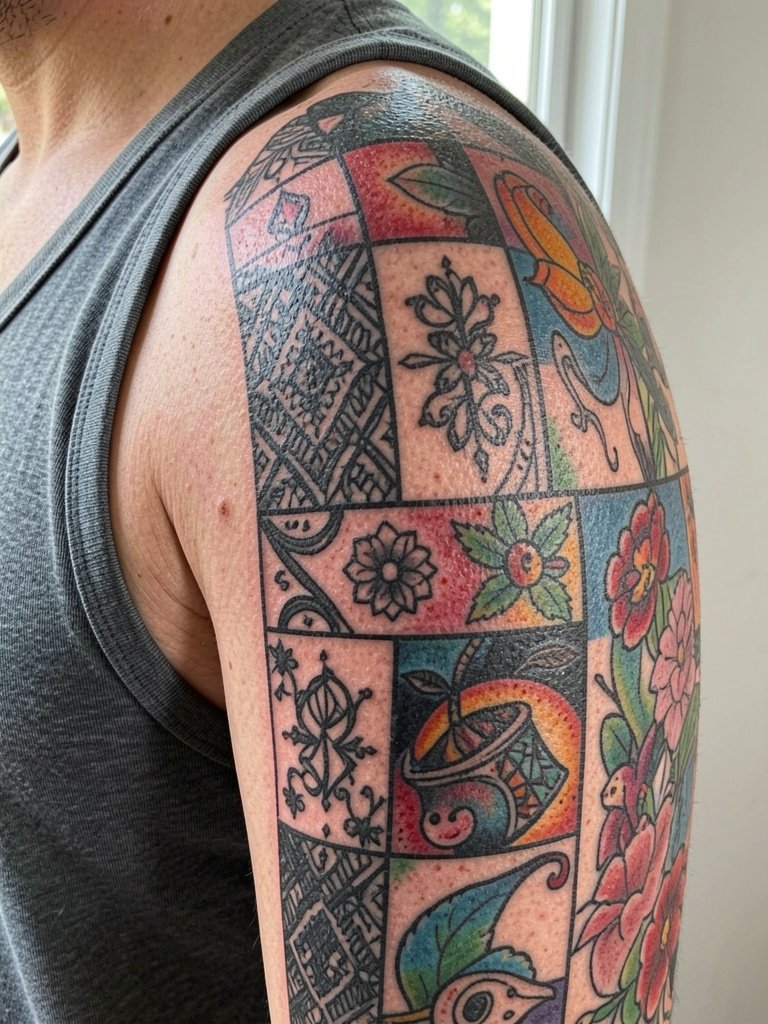
Shoulder patchwork is forgiving and allows varied motifs while keeping a cohesive silhouette. Pain is low to moderate at 3 to 5 and session blocks typically run two to four hours. A planning tip is to anchor the half-sleeve with one dominant panel then scatter smaller patches to balance negative space. Mistakes include uneven saturation across panels which becomes obvious in sunlight. At two years, saturated panels stay bold while pale washes lose contrast. For easier sessions, wear a sleeveless top so the artist can work without constant fabric adjustment and show off with tank tops paired with linen shorts.
9. Rib-to-Hip Random Trail
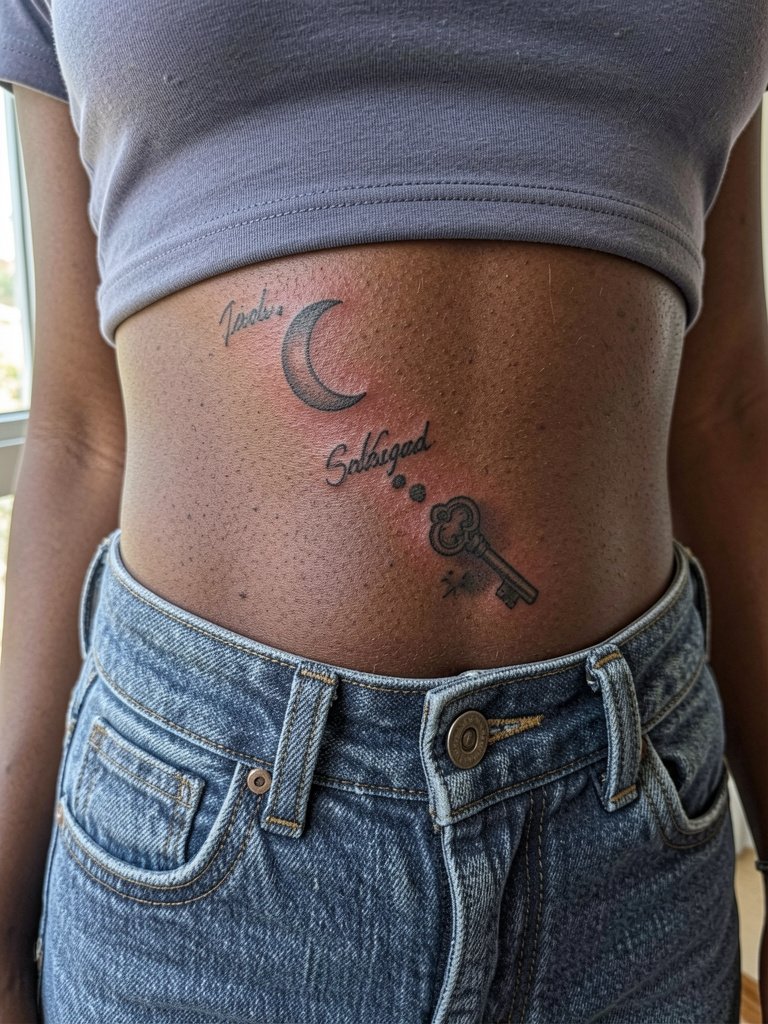
A rib-to-hip trail creates movement across the body but needs breathing room between motifs because that skin stretches and shifts. Pain varies across the run, with ribs higher at 7 and hip at 4. Break large projects into multiple sessions to avoid overworking the skin and to monitor how initial pieces heal before adding adjacent ones. A common error is tight clustering that causes merging after healing. For aging, expect ribs to settle and hips to hold saturation slightly longer. Outfit-wise, low-rise jeans and cropped tees let the trail show in daywear, so try a high-waisted denim cut to frame it.
10. Scattered Back Patchwork Islands
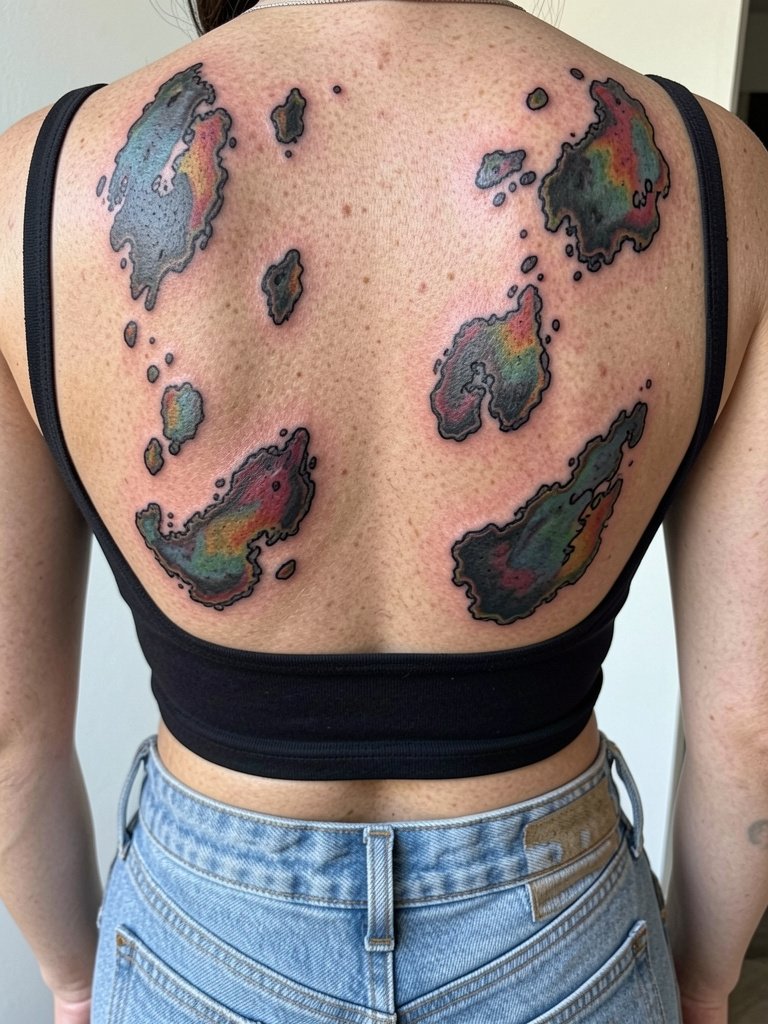
Patch islands on the back let you add over years without committing to a full canvas all at once. Pain is moderate at 4 to 6 over the scapula and higher near the spine. Sessions vary widely depending on color. One mistake I see is matching panel sizes without considering how a shirt collar interacts, which can hide or compress certain islands. At two years the saturated pieces still anchor the look while pale washes may soften. If you plan to expand later, leave intentional negative space between islands. For clothing, back-baring tops or open-back dresses show the islands well.
11. Random Sleeve of Mixed Scales
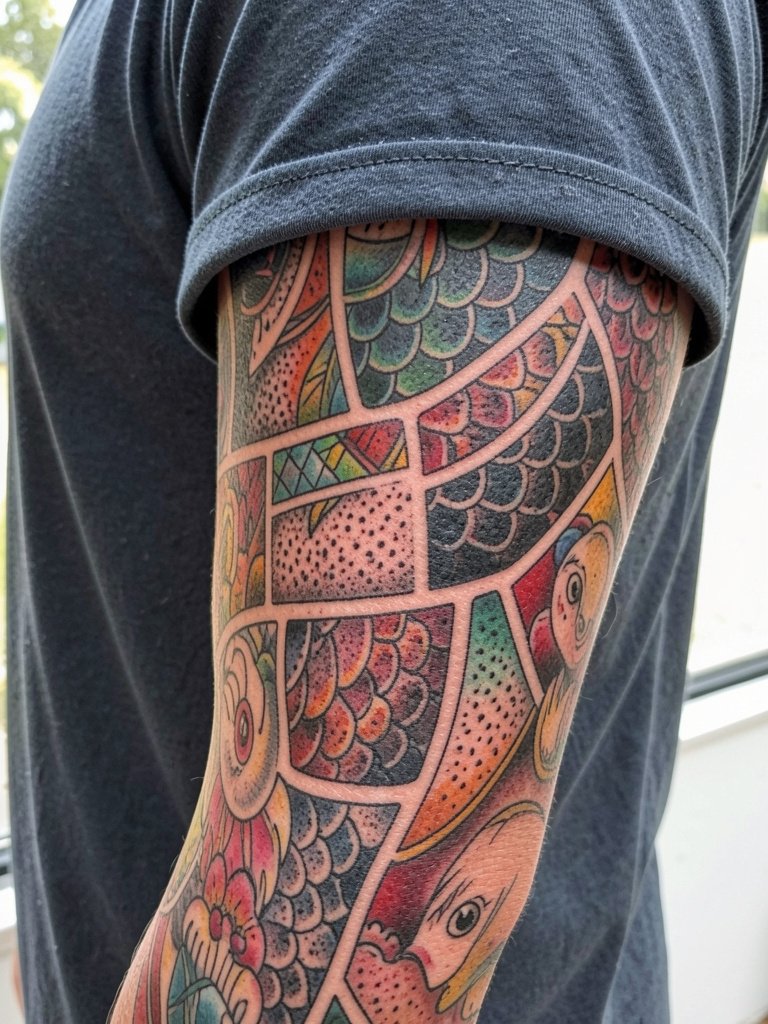
A mixed-scale sleeve can feel collected rather than chaotic when there is a unifying element like repeated dot-work or a shared palette. Pain depends on the specific arm zones, average 3 to 6, and full sleeves are usually built over many sessions of two to four hours each. Mistakes include inconsistent lineweight across adjacent patches which makes the sleeve look patched together instead of intentionally curated. Expect touch-ups at two to five years for the lighter fills. For outings, short sleeves and rolled cuffs highlight the sleeve nicely and you can pair it with a casual button-down shirt worn open.
12. Cultural Motif Patchwork With Respectful Adaptation
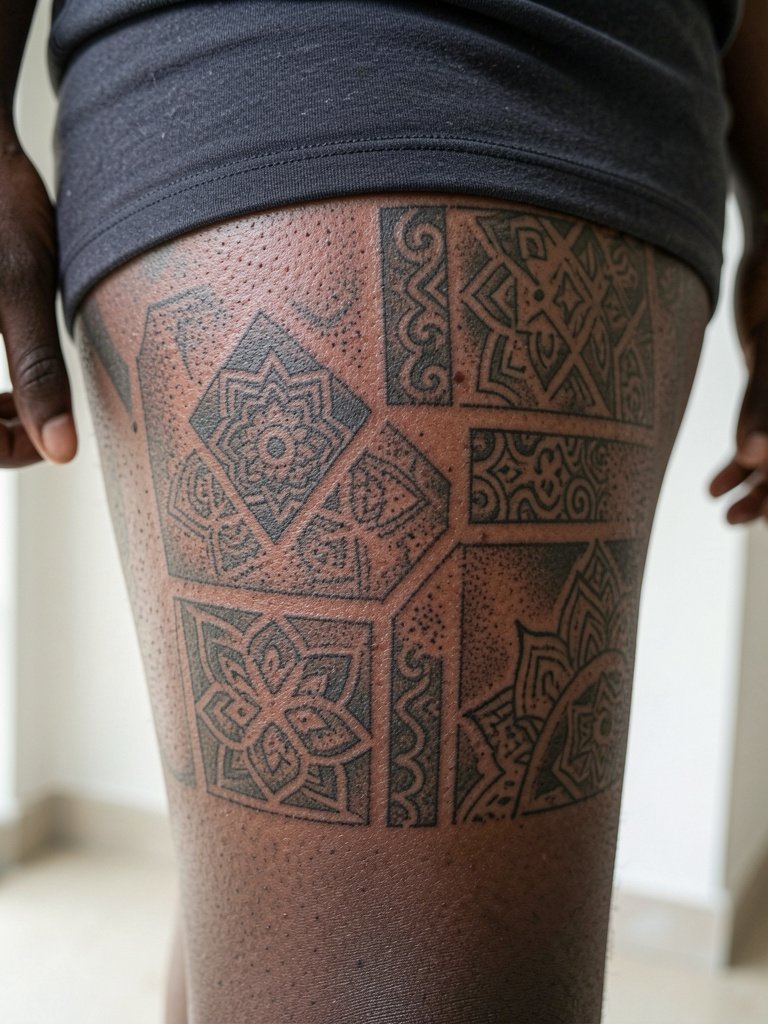
Patchwork that draws from cultural motifs needs careful thought. One camp favors creative reinterpretation so motifs can be blended and styled to personal meaning. The other camp urges respectful boundaries and attribution, warning against casual appropriation of sacred symbols. If you choose to use motifs with cultural origin, explain the intent and provenance clearly and source reference styles rather than copying sacred items directly. In practical terms, stipple and dot-work helps maintain crisp visual texture on thighs, and session blocks are often 60 to 180 minutes per panel. For showing off, midi skirts and shorts that sit naturally above the thigh let the panels be visible without friction.
13. Pocket-Style Hip Patches
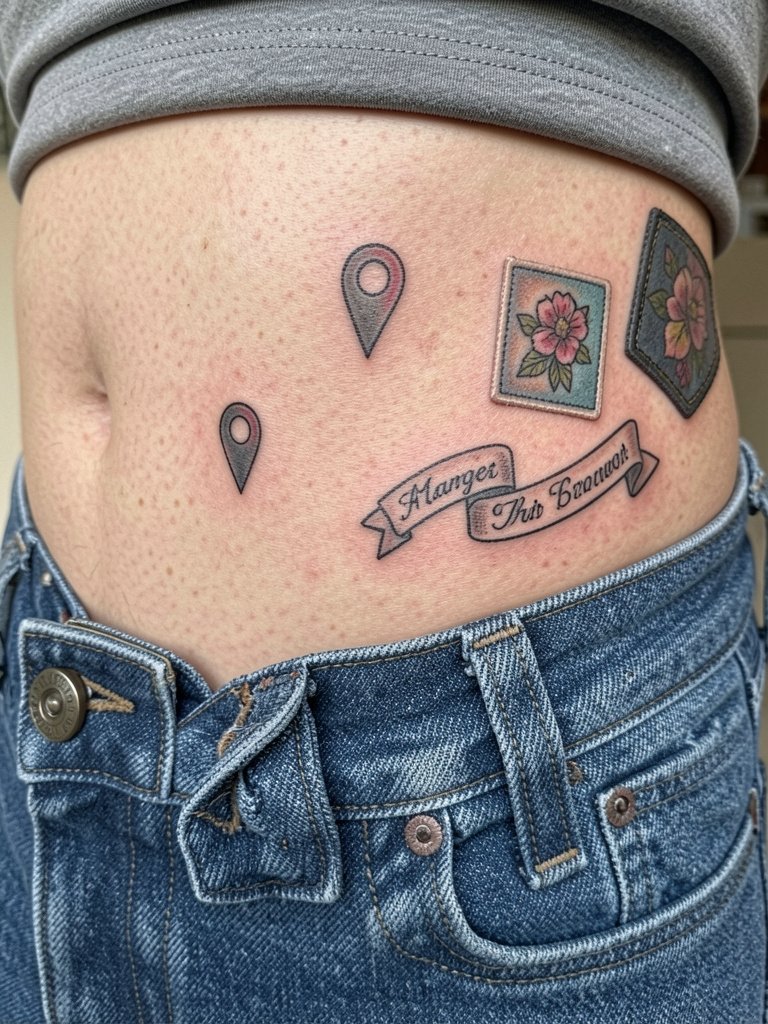
Hip patches sit nicely at the edge of clothing so plan placement with your favorite waistline in mind. Pain is moderate at 4 to 6. Session time per small patch is short, but healing can be tricky where fabric rubs the area. The mistake is placing too-close-to-the-waistband, which can cause constant abrasion during healing. Allow a finger-width of space from the top of your jeans so the art avoids repeated friction. For daytime looks, low-rise jeans and cropped tops naturally frame the hip patches and a fitted cropped tee keeps edges visible.
14. Chest-to-Collarbone Patchwork Band
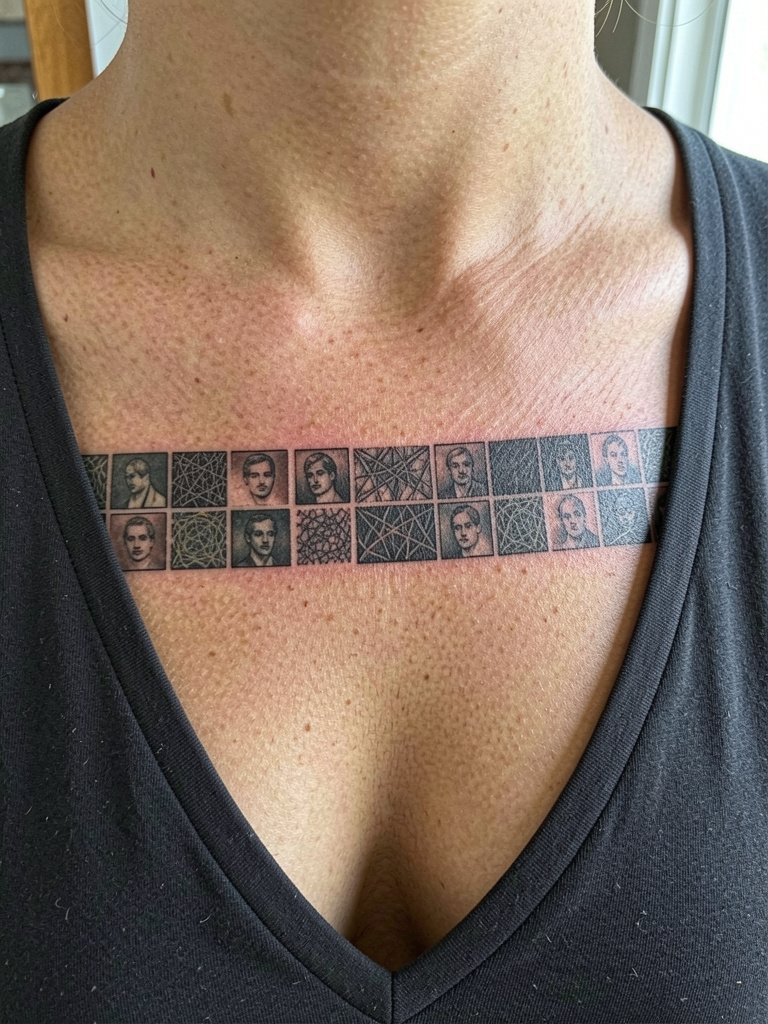
A horizontal band across chest and collarbone reads like an intentional banner when panels share similar negative space. Pain ranges 3 to 6, and sessions vary based on number of panels. One practical tip is to preview how the band sits with the collarbone movement so nothing gets distorted when you reach or inhale. A frequent mistake is underestimating how a curved chest will warp a straight-lined geometric panel. For longevity, keep linework consistent and expect touch-ups to keep micro-portraits legible after a few years. Pair with open-neck blouses that sit normally to highlight the band.
15. Calf Patchwork Columns
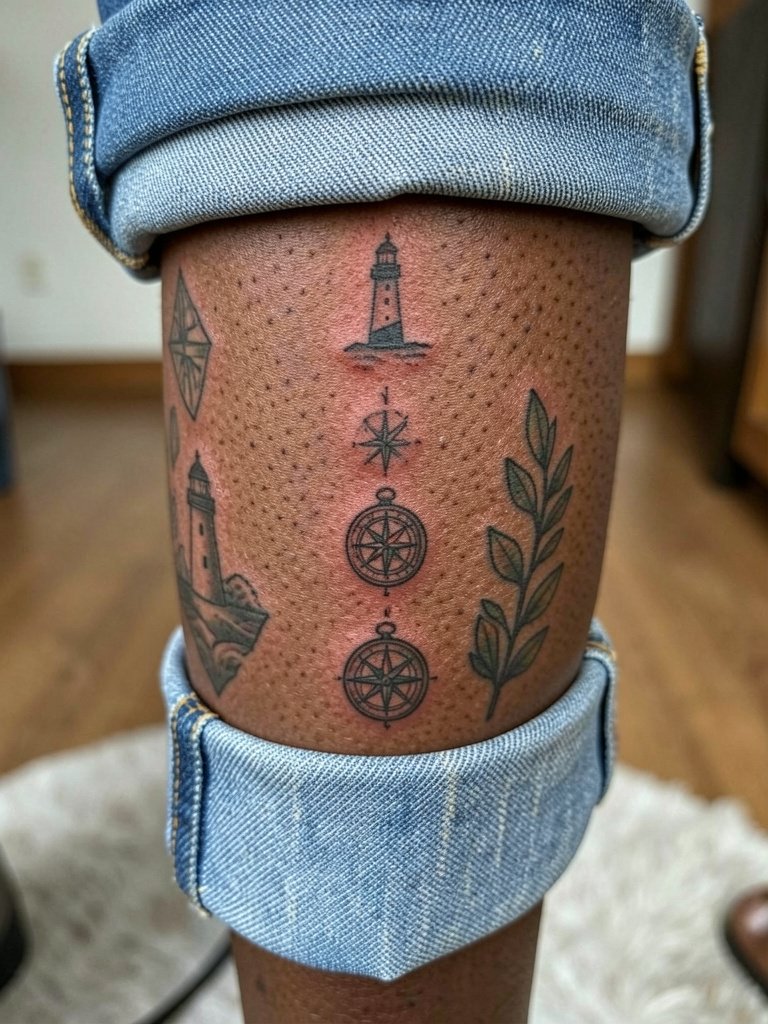
Calf columns allow vertical rhythm and age well because the calf sees less frequent abrasion than ankles or hands. Pain is moderate at 3 to 5. Sessions for multiple small patches can be scheduled in 90 to 180 minute blocks. The main mistake is mismatched spacing causing visual crowding when you sit or cross your legs. For a pulled-together look, repeat one motif or color dot throughout the columns. Expect stable healing at six months and minimal early blowout risk unless linework is pushed too shallow. For footwear, cropped pants and low-top sneakers let the calves show.
16. Sternum Patchwork Vignettes
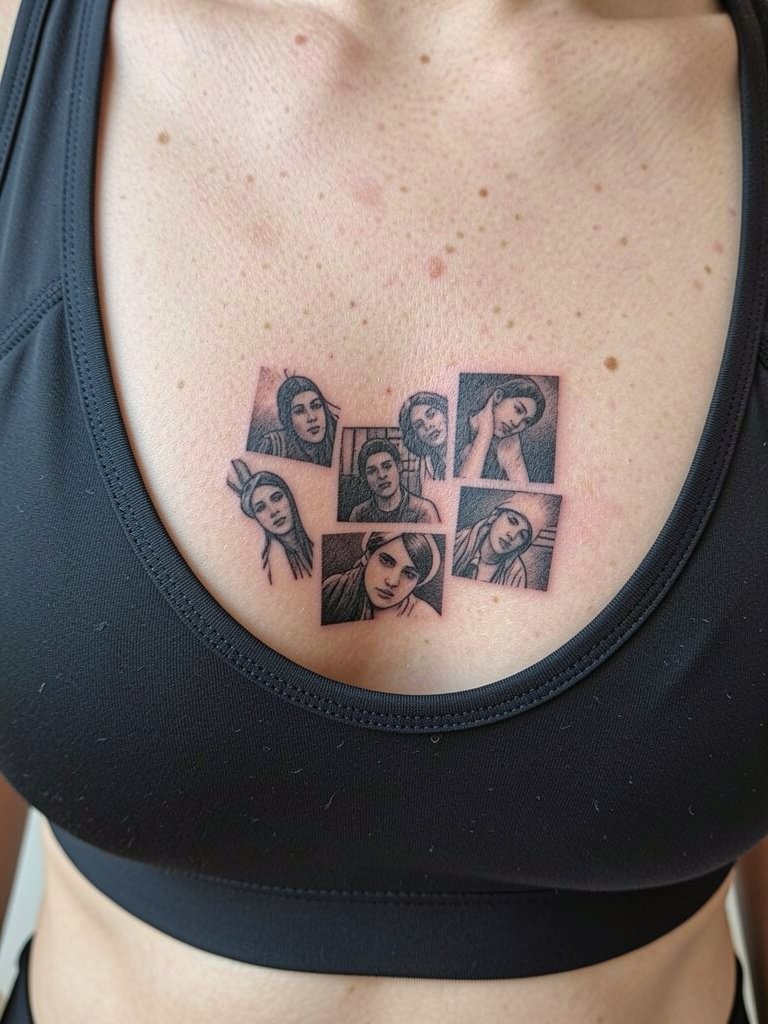
Sternum vignettes are intimate and higher on the pain scale at 6 to 8. Sessions are often shorter motifs under an hour but require careful breathing coordination. One common error is packing too many details into the narrow sternum zone, which leads to muddiness after healing. For longevity, favor bold contours and dot shading over single-needle micro detail. Also consider whether the design sits above or below your bra line so it will be visible when you want it to be. If you plan a sternum piece, book with an artist experienced in chest work.
17. Random Neck and Behind-Ear Patches
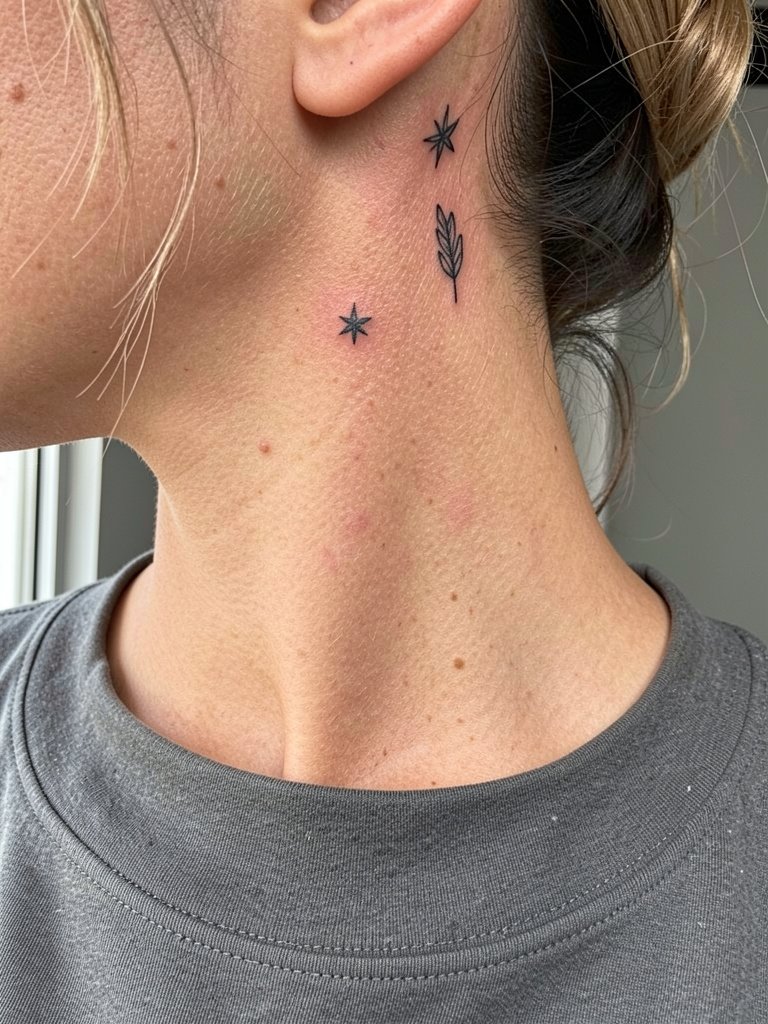
Neck and behind-the-ear patches are subtle but highly visible when hair is up, and they require an artist comfortable with small radiused areas. Pain is variable at 5 to 7. Session time per motif is short but the area heals differently than torso skin, so plan for potential touch-ups. A mistake is choosing single-needle micro detail that vanishes on the textured nape skin. If you want longevity, use slightly bolder contours and ask for healed photos of similar placements. For styling, wear hair up or try headbands that do not rub the fresh area.
18. Random Palm and Finger Accents
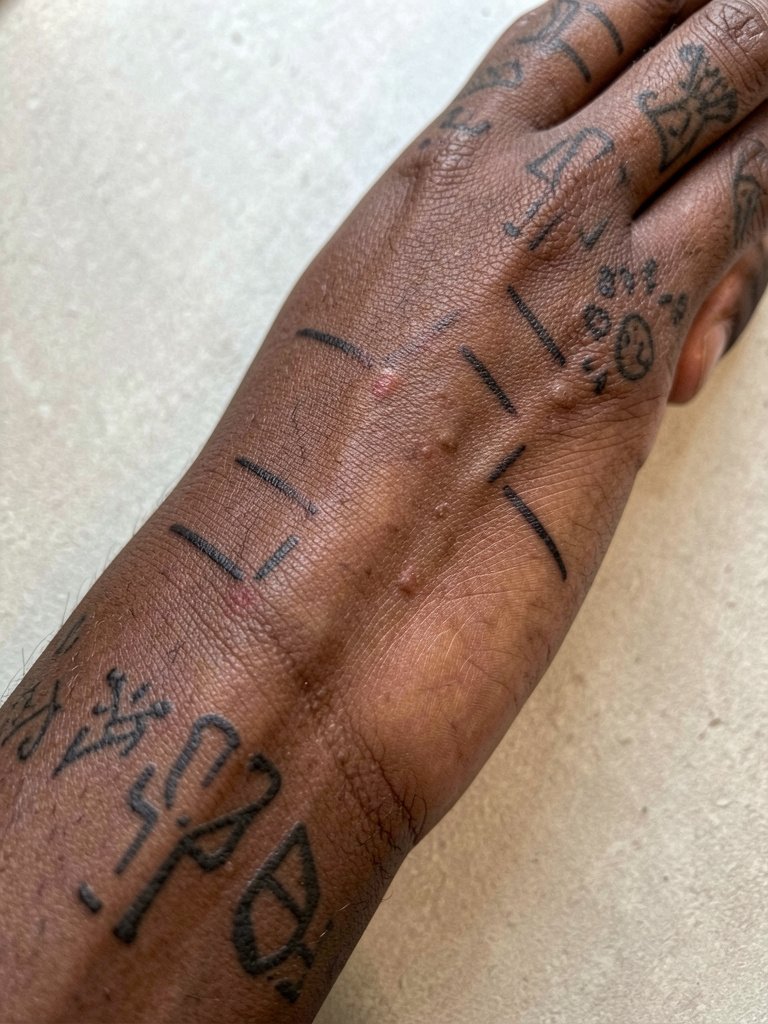
Palms and fingers are among the fastest-fading spots because of constant use and shedding. Pain on the palm is higher at 6 to 8, and finger joints are notoriously touch-up territory. Expect short sessions with the likelihood of needing multiple passes. The most frequent error is treating finger detail like forearm detail and skipping scheduled refreshes. For long-term planning, use bold, simplified motifs on fingers and expect touch-ups annually or sooner. Keep in mind work and hygiene routines will affect healing and longevity.
19. Random Chest Pocket Badges
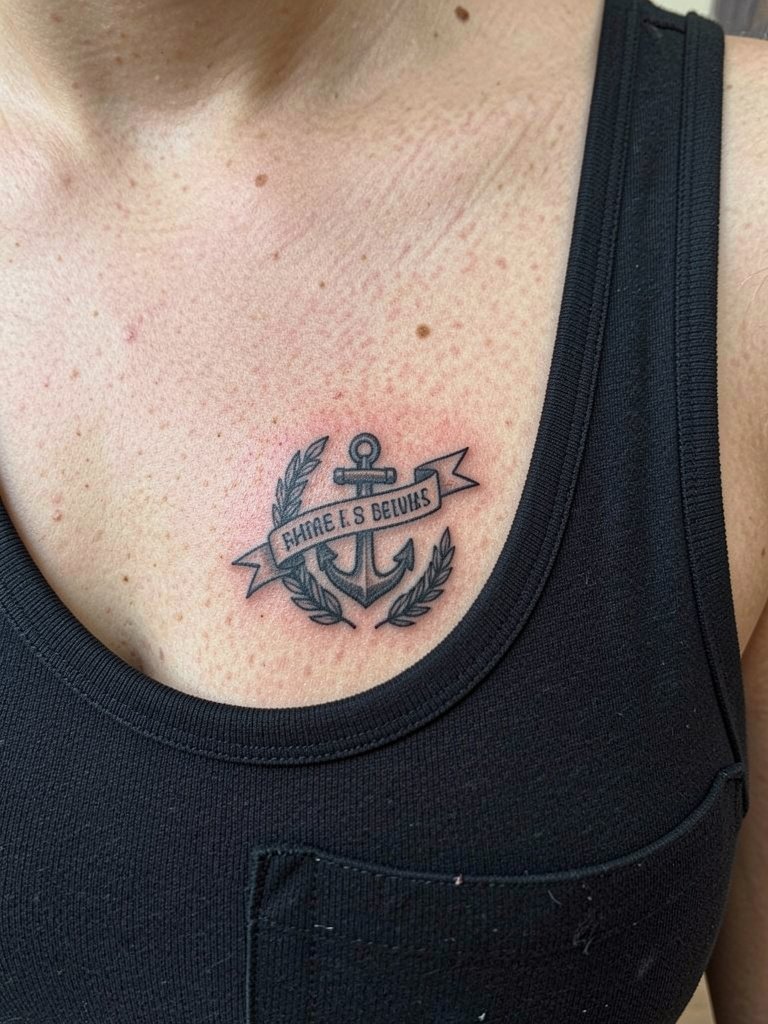
Pocket badge patches near the chest are great for storytelling without committing to a large torso canvas. Pain is moderate at 3 to 6. Sessions are generally an hour per badge if detail is limited. One mistake is making banners too narrow which causes script to compress over time. For better aging, keep scripts spaced and choose bold banners that hold pigment. For daily wear, crew or scoop neck shirts frame the badge and layered necklaces can complement without rubbing the area.
20. Random Shoulder Blade Clusters
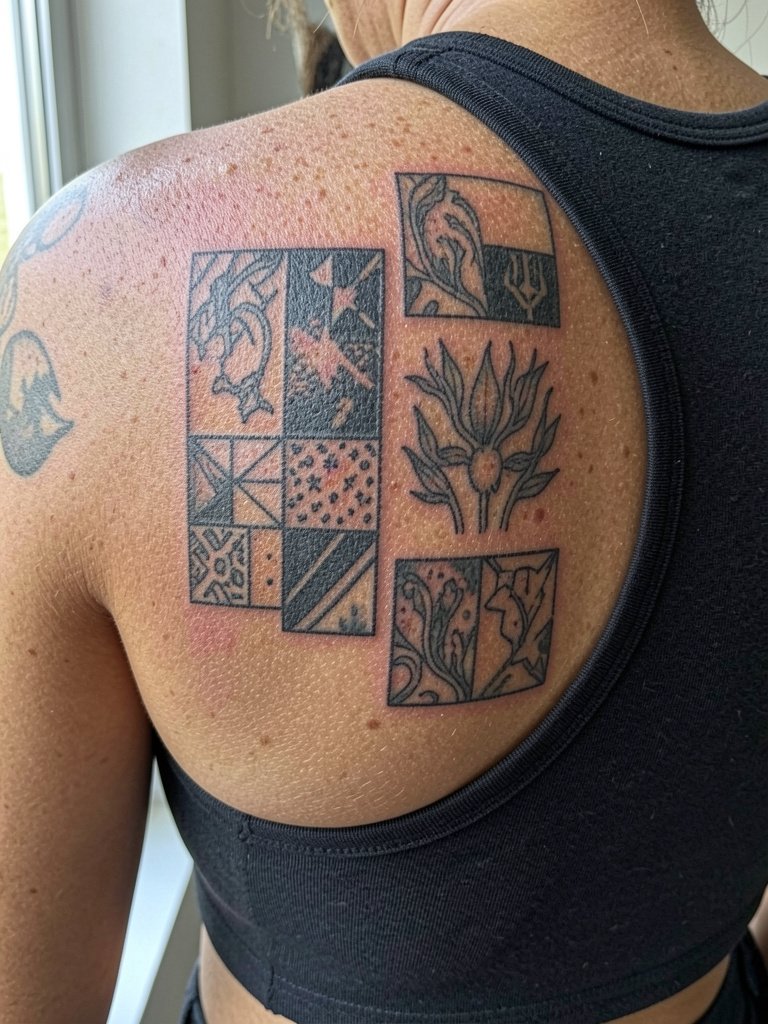
Shoulder blade clusters work for staggered additions because the area rarely sees heavy abrasion. Pain sits around 4 to 6. Sessions are comfortable for most and the skin takes saturated color well here. Avoid clustering too densely near the spine where curvature can distort panels. Over time, dense black pieces remain the anchors while lighter fills need refreshment. For off-duty looks, open-back shirts and tops worn normally show the clusters without compromising healing.
21. Random Lower Leg Medley
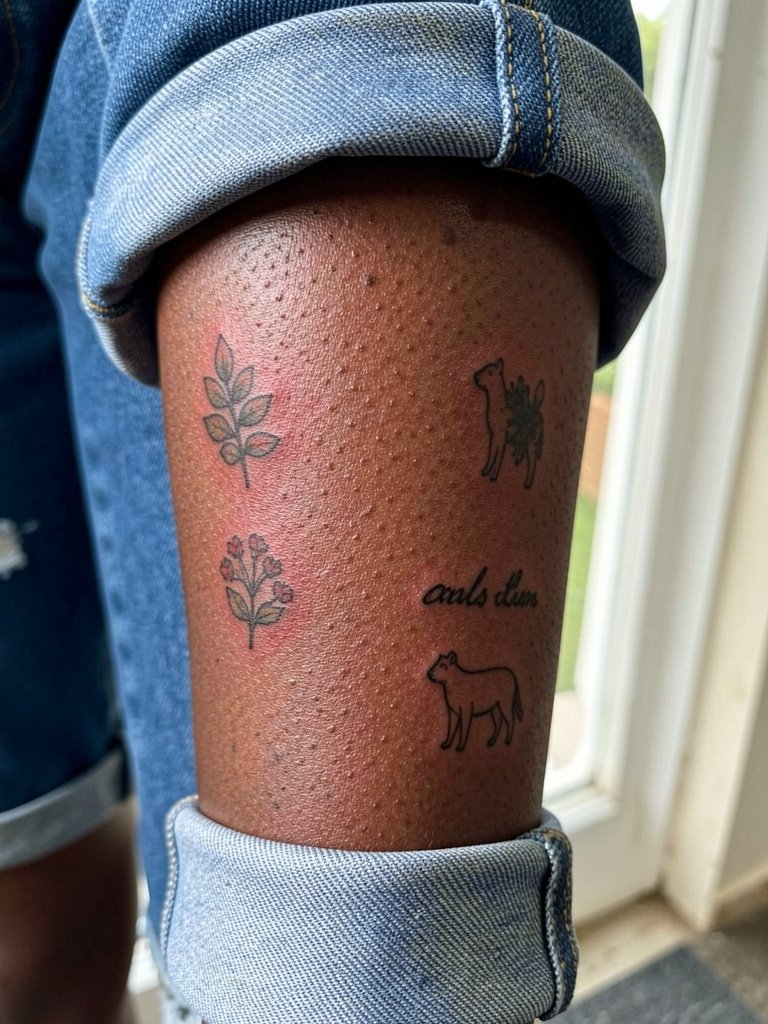
Lower-leg medleys are visible and durable because the shin experiences less daily abrasion than ankles. Pain varies by spot, 3 to 6, and sessions for medleys are usually 60 to 180 minutes. A typical mistake is inconsistent spacing across the front of the shin, which looks busy when you wear shorts. Consider one unifying motif or repeated dot to tie patches together. Expect good aging for bold outlines and periodic touch-ups for lighter detail. For styling, pair with cropped trousers or linen culottes to show the medley.
22. Minimalist Scattered Back-of-Arm Patches
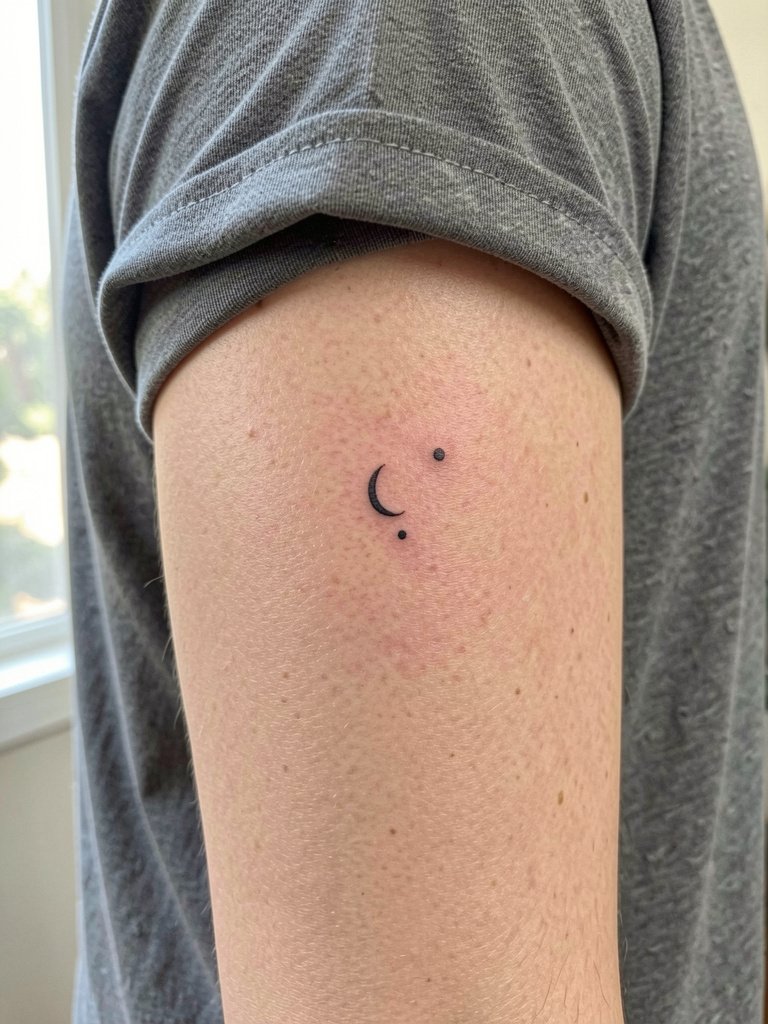
Back-of-arm patches are subtly surprising and low on abrasion, which helps minimalist work last. Pain is moderate at 3 to 5 and sessions are brief. The common mistake is placing motifs too close to the underarm crease where sweat and friction can accelerate fading. Position them slightly toward the triceps and keep linework consistent. Healed results at six months usually look clean, and touch-ups rarely needed before year three if spacing is right. For session comfort, wear short sleeves that can be rolled up without tugging.
23. Random Patchwork Neckline Fringe
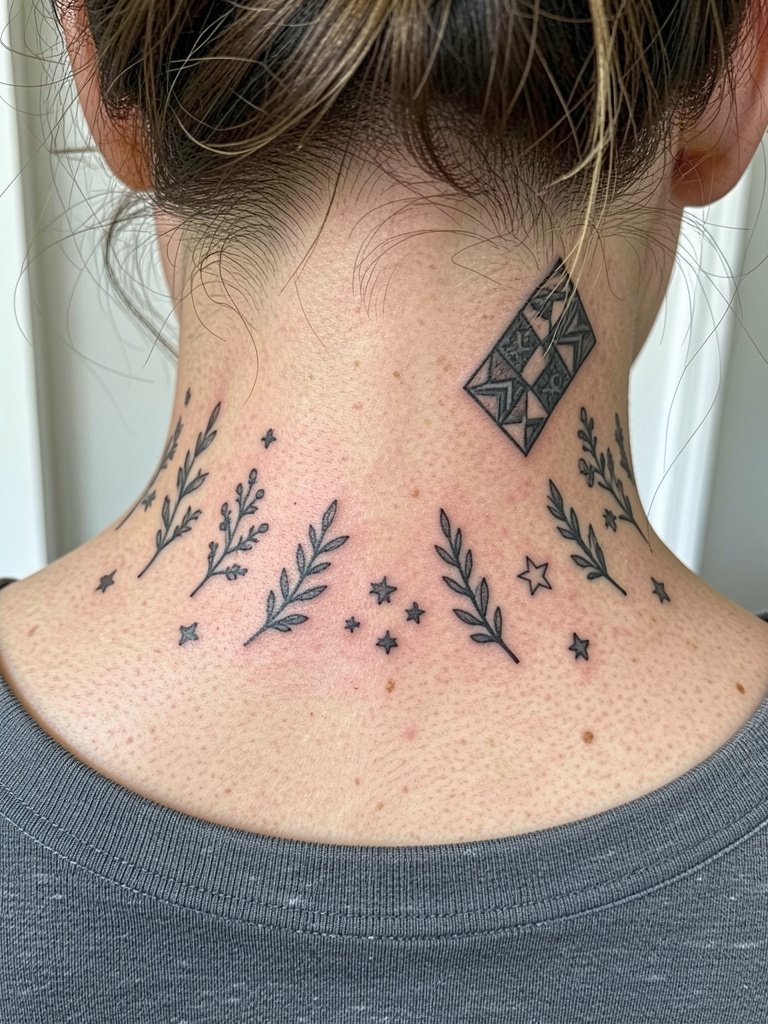
Neckline fringe clusters are intimate and visible when hair is up, and they require a steady hand from an artist who understands small curved surfaces. Pain sits at 5 to 7. Sessions are short per motif but the placement is sensitive. A key mistake is tight micro-detail that does not translate on the nape, so widen spacing and favor simple silhouettes. For longevity, go slightly heavier on lineweight and plan a one-year check-in for touch-ups. For neck-framing outfits, try wide-neck tops that sit normally and delicate necklaces that do not rub the area.
Frequently Asked Questions
Q: How do I plan a patchwork layout so the pieces look intentional rather than random?
A: Start with one unifying rule such as repeating dot-work, a single shared color, or consistent outline thickness. Lay down an anchor piece first, then place smaller patches around it with deliberate negative space so the eye can move. Bring scale references and ask for a stencil preview at the intended final size so you can see how the collection reads on your body.
Q: Where can I find healed examples and portfolios without naming artists?
A: Search platform hashtags and portfolio sites for phrases like "healed patchwork tattoo," "collected tattoos healed," and "small panel tattoo healed," and use location filters on Instagram and TikTok to narrow results. Reddit tattoo threads often show long-term healed shots across skin tones. Look for tagged healed photos and compare scale and spacing before booking.
Q: How soon will small patches need touch-ups, especially on hands, fingers, and ribs?
A: Expect hands and fingers to need refreshes most often, sometimes within a year, because of constant friction and washing. Ribs and sternum can hold saturation but thin single-needle detail may soften within two to three years. For chest, back, and calves, touch-ups commonly come later at three to five years depending on sun exposure and care.
Q: Are there special professional considerations for face, neck, hand, or sternum patches?
A: Yes. These placements often require an artist experienced with small curved surfaces and sensitive skin because healing behavior differs from torso skin. Discuss healed portfolios from the exact placement, and be honest about long-term maintenance expectations since visibility and wear patterns vary widely.
Q: What should I wear to the session for different patch placements?
A: Dress for easy access without disrobing. Wear a loose tank for shoulder and chest work, a fitted cropped top for sternum or rib sessions, bike shorts for inner-thigh pieces, and cuffable jeans for ankles. For visible patches you plan to show off afterward, bring outfits you would normally wear so you can confirm final placement against your clothing lines.
