
Pixel-perfect micro tattoos keep the nostalgia without taking over your body or your budget. The trick is spacing, lineweight, and placement more than color. Done right, a one-centimeter heart or tiny coin reads as a crisp icon at year three, not a blurred gray. Read these 11 micro pixel ideas with practical tweaks for aging, session wear, and realistic healed outcomes.
1. 8-Bit Heart on the Inner Wrist
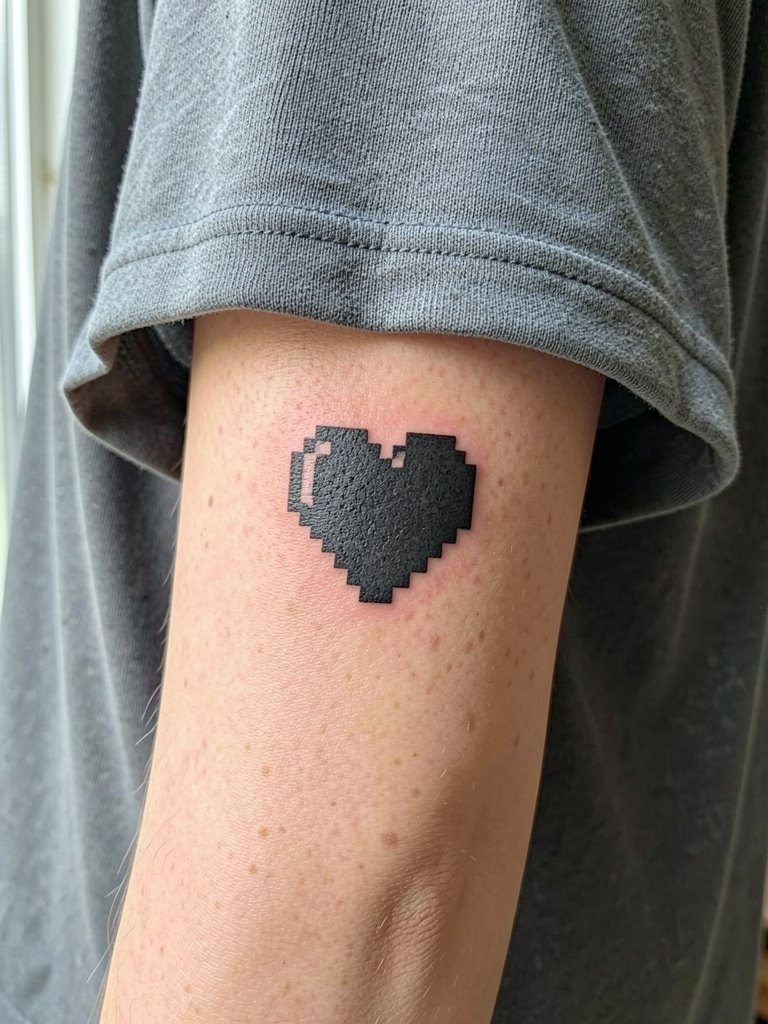
The inner wrist is a classic for a tiny pixel heart because it sits like a small bracelet. Artists still argue about fine line versus bold line for these grids. One camp says bold, slightly thicker blocks preserve the grid and avoid blur as the skin ages. The other camp says fine line can work if you increase spacing to one or two pixels and avoid dense fills. For this piece bring a printed mockup at actual size so the artist can confirm pixel spacing. Expect a quick 20 to 40 minute session and a likely touch-up window around year two to three. For showing it off, pair with a rolled-cuff linen shirt in neutral tones and a dainty stacked bracelet on the opposite wrist, like linen button down shirt women and dainty gold stacked bracelet set.
2. Pixelated Mushroom on the Lateral Hip
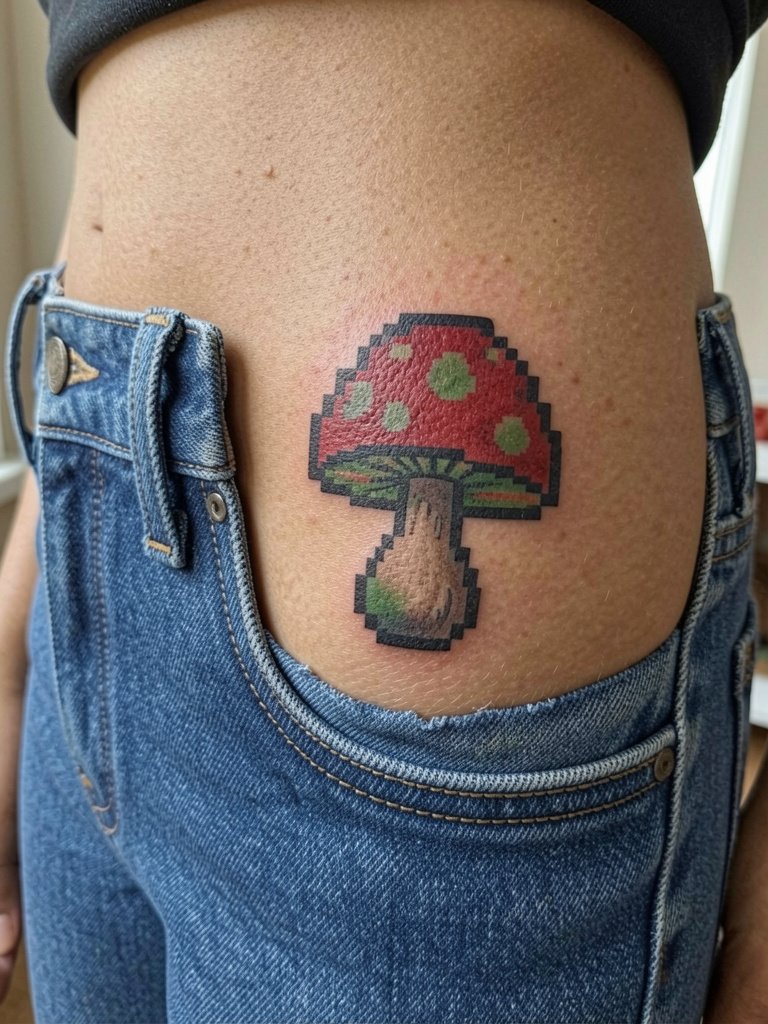
The pixel mushroom wears color well when scaled to 2–3 cm, but tiny color blocks fade faster than blackwork. If you want a color mushroom, ask the artist to limit color to one or two solid blocks and keep the outline bold. A common mistake is packing too many tinted pixels into a one-centimeter grid; that turns into muddiness at six months. Plan for a 30 to 45 minute session and expect the first touch-up around year two. This placement is seasonal. If you plan visibility in summer, low-rise jeans or skirts will frame it nicely. For the appointment wear loose shorts or a skirt so the artist can access the hip comfortably.
3. Pixel Sword Outline on the Inner Forearm
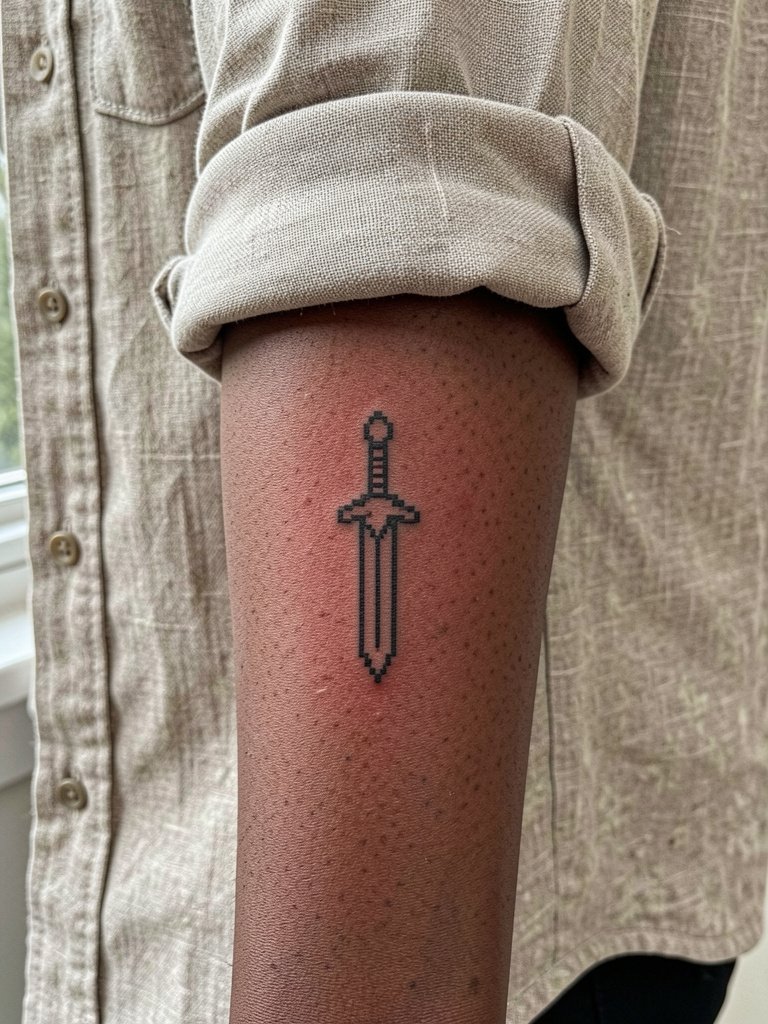
An outlined pixel sword reads clean on the inner forearm because the skin there moves less than on fingers. The main design risk is going too thin with linework. Ask for line weight that is a hair heavier than the smallest reference, and bring a full-scale print so the artist can show you how each pixel reads at actual size. Most sessions take 20 to 40 minutes. Aftercare is standard, and touch-ups are usually minor at two to three years if the outline was bold enough. For session wear, roll up a linen button down shirt women and bring a slip-on sleeve protector if you tend to bump your forearm. To balance the look, a thin stacked bracelet set on the opposite wrist complements the sword without crowding the composition, see stacked thin bracelet set.
4. Pixel Cloud on the Collarbone
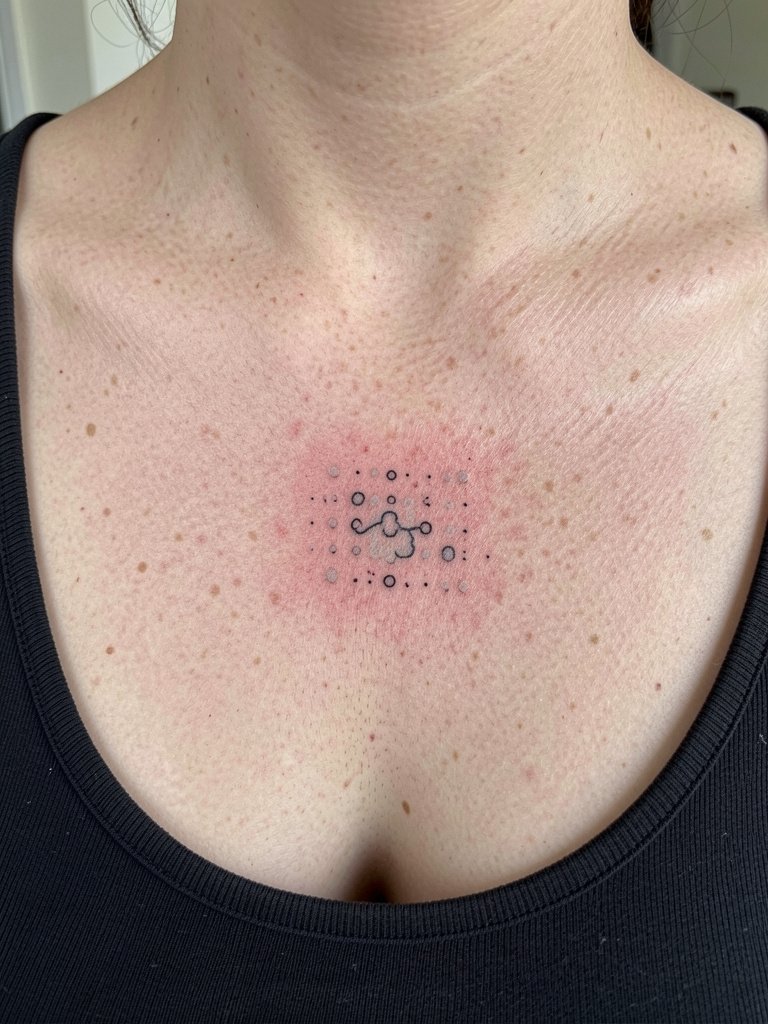
Collarbone placements read like jewelry when scaled to 1–1.5 cm, so keep the cloud airy and avoid cramped pixels. A common aging problem is over-shading in tiny areas. Request minimal grey dots rather than full gradients. During consultation show your artist how the cloud should sit under the clavicle so the grid follows the bone line and does not get distorted by movement. Pain is moderate for most people, and session time is usually under an hour. For showing off, choose crew-neck or scoop-neck tops and a layered chain necklace that frames the pixel cloud. Try a layered chain necklace set.
5. Pixel Skull on the Ankle
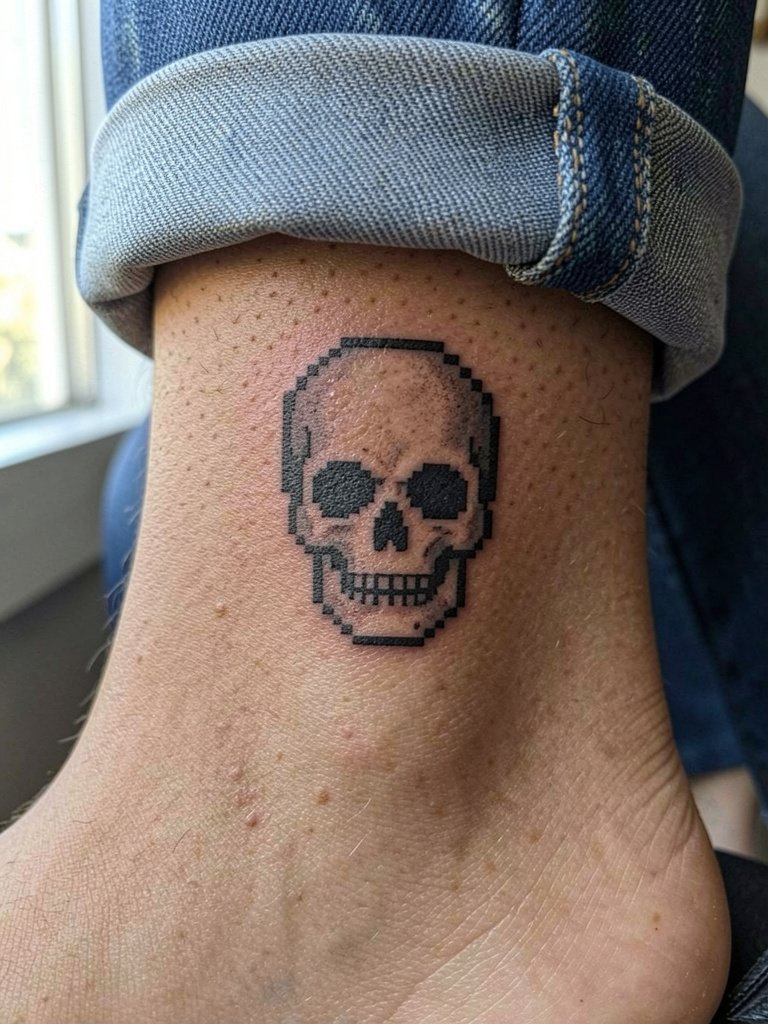
Ankle skin sees a lot of friction from shoes and socks, so solid silhouettes outperform delicate pixels here. The usual mistake is packing tiny shaded pixels into the ankle grid. For longevity ask the artist to favor bold outline blocks and reserve grey only for a single accent pixel. Sessions can run 30 to 50 minutes depending on size. Expect faster fading than wrist pieces, and plan a touch-up in the first two years if you want the skull to stay dark. For the appointment wear shorts or shoes that let you easily rest the foot flat so the artist can work without extra movement.
6. Pixel Key Behind the Ear
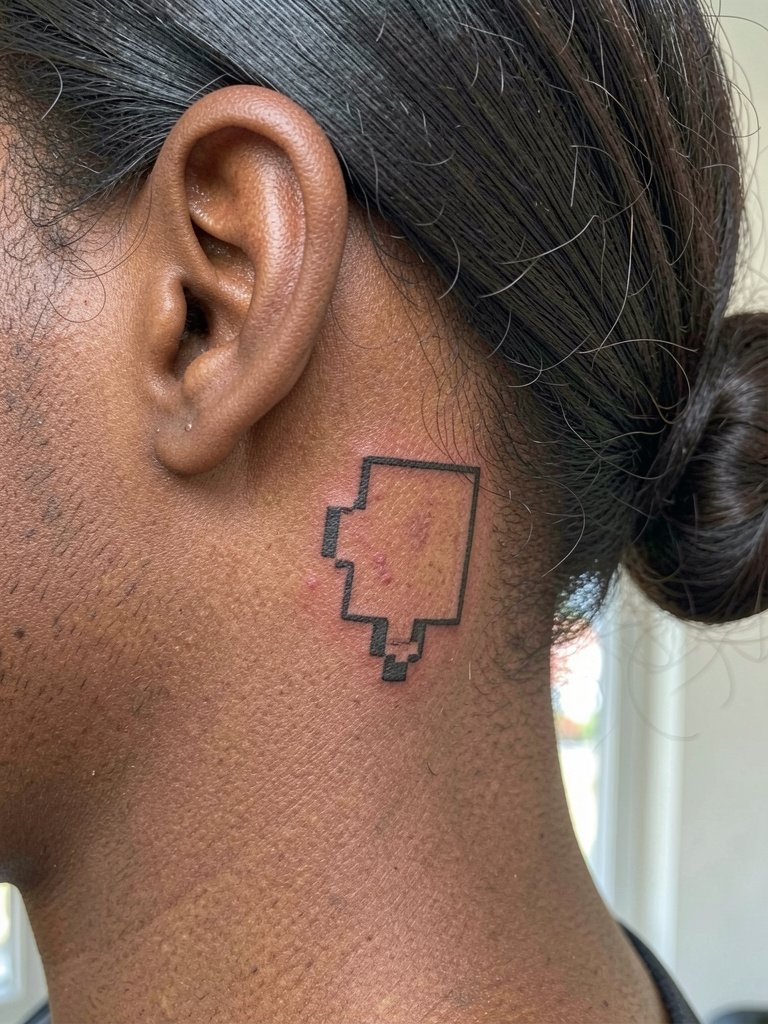
Behind-the-ear pixels are tiny and discreet. The advantage is low visibility and less friction than fingers. Bring a photo of how your hair will sit after healing so the artist can place the key where visibility matches your preference. The common mistake is requesting a one-pixel-thin outline; ask instead for a slightly bolder outline so the key does not soften into a line at year one. Sessions are under half an hour. For the appointment pull your hair into a low bun or clip-up so the mastoid area is exposed without tugging, and wear a top with a wide neckline.
Session Day Picks
These small icons above live on high-movement skin in different ways, so a few targeted supplies smooth the appointment and the first week.
- Japanese tattoo cream. A thinner, non-greasy cream mentioned by healed-ink communities to reduce pore-clogging on small grid work, good for tiny back-of-ear or wrist pieces.
- Indie pixel balm. An antioxidant-rich balm from small indie labels that collectors say helps keep small black blocks crisp during the first two weeks.
- Heal & Glow tattoo cream. Reported to be kinder on darker skin tones for avoiding hyperpigmentation around healed blackwork.
- Saniderm tattoo bandage. A thin medical film often used for high-friction placements like ankles and fingers to protect fresh linework for the first few days.
- Aquaphor healing ointment. A familiar option for the very first nights when a thin, sparing layer helps avoid excessive scabbing on fine line pieces.
7. Pixel Star on Finger Sides
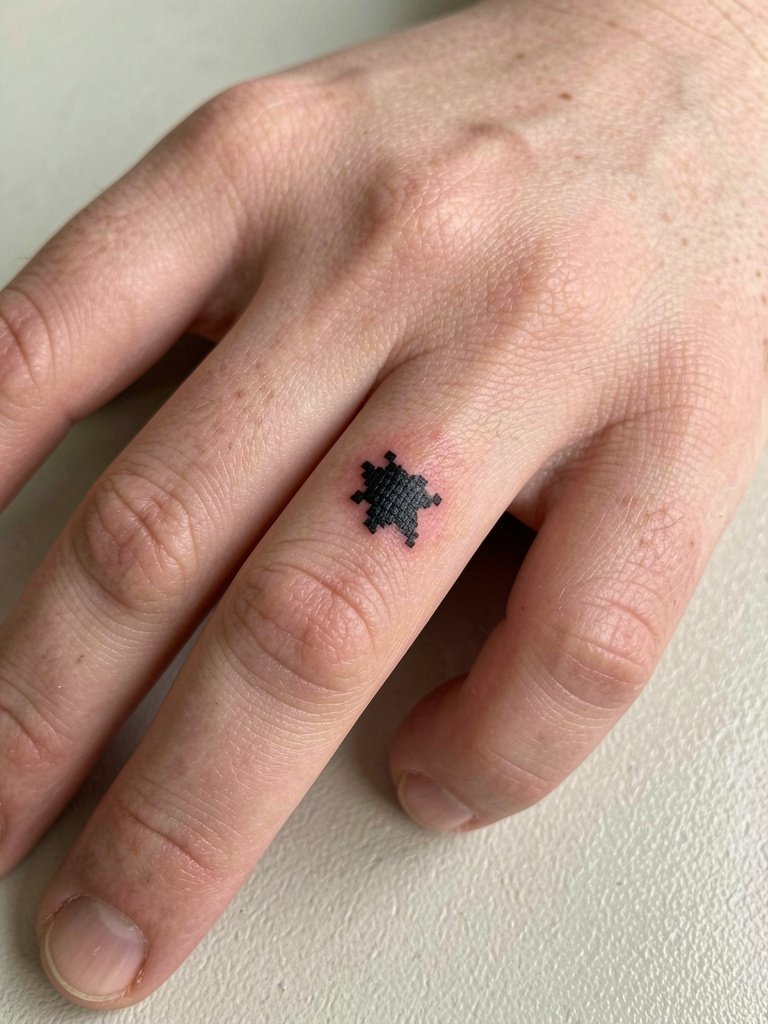
Finger pixel art is divisive. One camp argues fingers are ideal because they mimic rings and draw attention at the joint. The other camp warns that fingers face so much washing and friction they often blur into smudges within a year. If you still want a finger star, go very simple and expect touch-ups every 12 to 18 months. A common mistake is sizing the star under one centimeter. Increase the pixel grid slightly so the geometry holds. Sessions are fast but the pain is higher because fingers are bony. For styling, keep rings thin and spaced so the pixel star has visual room; try a thin ring set.
8. Pixel Leaf on the Inner Upper Arm
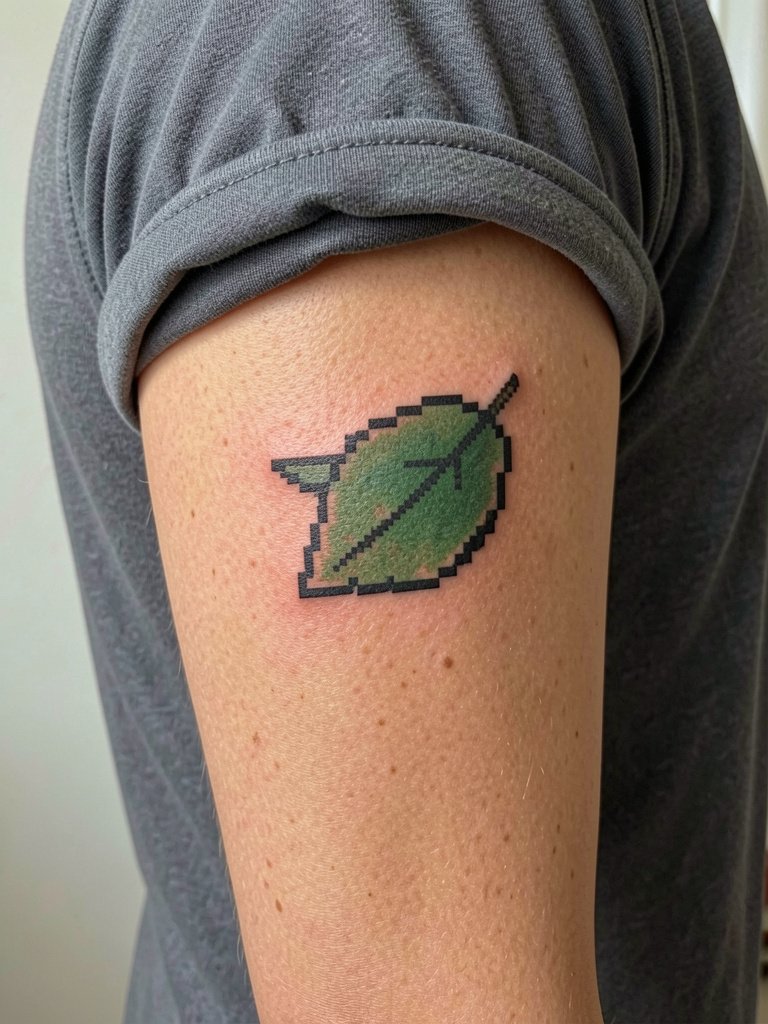
The inner upper arm is forgiving and ideal for slightly larger pixel icons at 1.5 to 2 cm. The skin there moves but not as constantly as the fingers, so the leaf will age more gracefully. Ask your artist about spacing between blocks and avoid dense grey shading. A typical session is 30 minutes. If you are using color pick pigment families known to hold on your skin tone, and expect a touch-up at year two if the green softens. For session wear choose a top with a wide neckline so the artist can reach the medial bicep without tugging.
9. Pixel Battery (Low Charge) on Smooth Inner Upper Arm
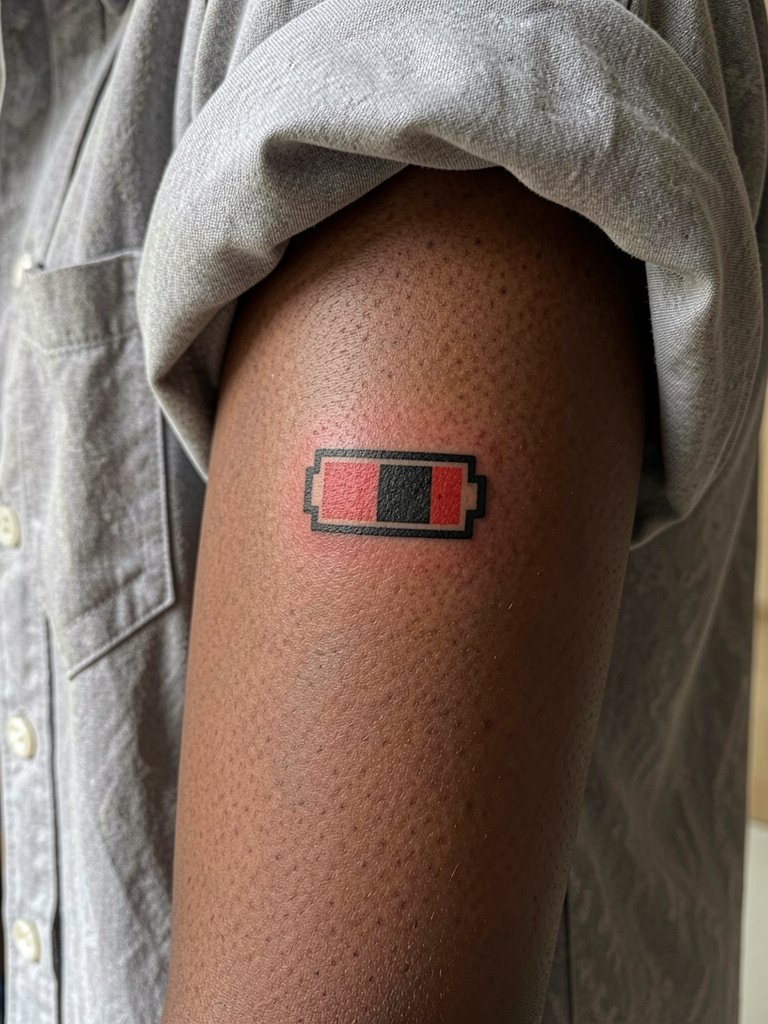
A battery icon reads well as a micro metaphor for energy. The red segment gives a focal contrast, but colored pixels on dark skin need careful placement to avoid disappearing. Talk specifics about contrast and saturation with the artist, including how the red will heal on your skin tone. Mistakes include overfilling the red so it spreads into neighboring black pixels. Session time is typically 20 to 35 minutes. For showing off pair the placement with rolled-up sleeves and a thin gold chain if you wear v-necks, such as a thin gold chain necklace. Plan a touch-up at two years if you want the red to stay punchy.
10. Pixel Drop on the Wrist (Palm-Down)
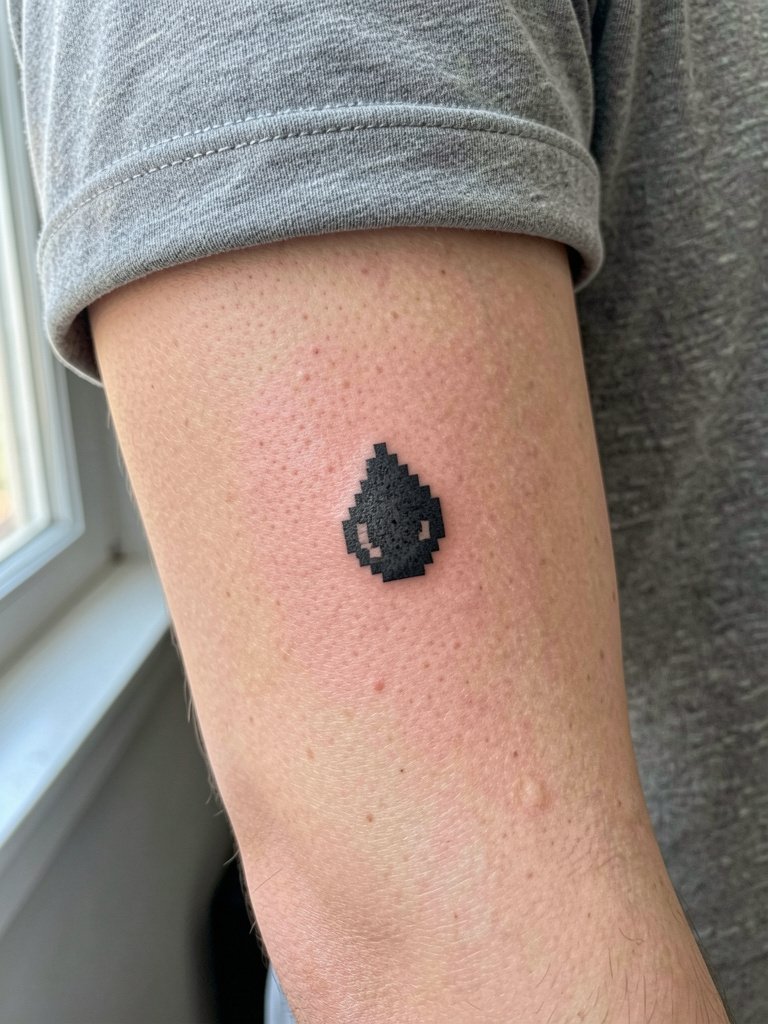
A palm-down wrist drop is low-commitment and reads as a discreet charm. The danger is under-sizing; pixels that sit under one centimeter get buried by daily washing. For longevity request slightly larger pixel blocks and a bold outline to prevent early blurring. Expect a 20-minute session and plan for a minor touch-up at year two if you are rough with wrist movement. For the appointment wear short sleeves that expose the wrist and avoid bracelets that could rub the fresh work.
11. Pixel Flower on the Medial Inner Thigh
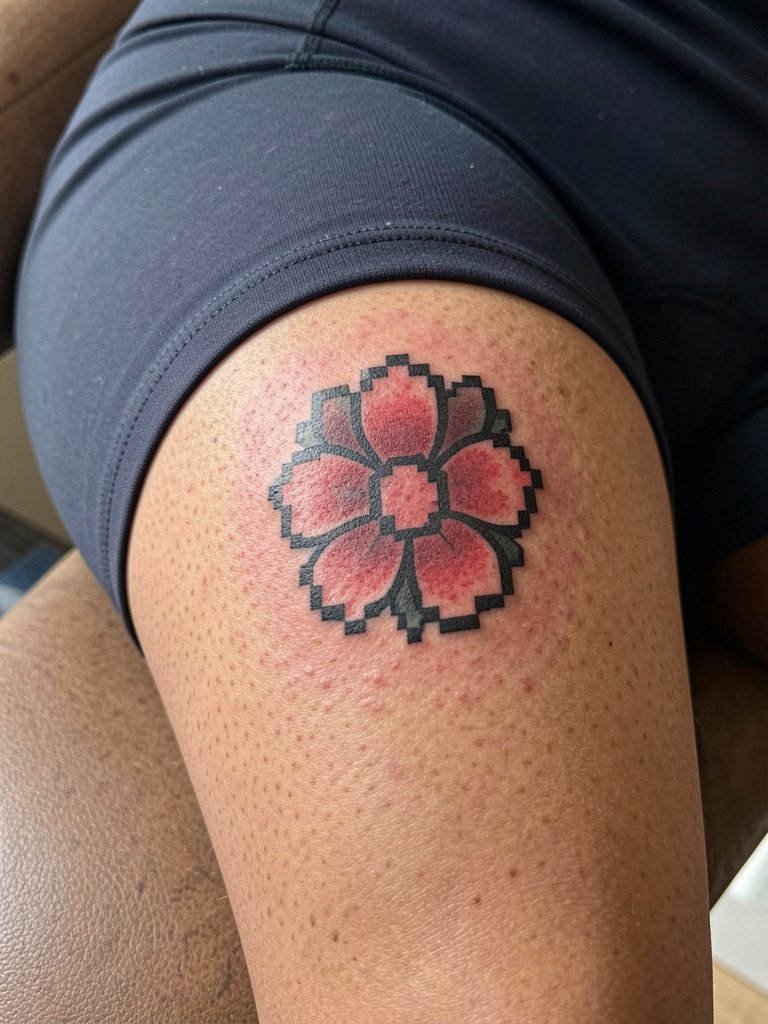
Inner-thigh pixel work is private and sits away from constant sun and friction. Because of that the flower keeps sharper edges longer than fingers or ankles. Note the professional considerations for intimate placements; some studios require a consultation and modesty expectations for session setup. A common mistake is putting too many tiny shaded pixels that flatten with healing. Size the design at around 2 cm and keep color blocks simple. Sessions are comfortable for most people when seated, and touch-ups are usually optional beyond year three. When you want the piece visible choose high-waisted shorts or skirts that reveal mid-thigh, try high waist shorts women for the summer months.
Frequently Asked Questions
Q: How do I size a pixel design so it does not look muddy after healing?
A: Print the design at actual size and hold it to the exact placement on your skin. If the smallest details vanish on the print, simplify the grid and increase spacing to one or two pixels between filled blocks. Ask the artist to show a healed example at the same scale so you know what to expect.
Q: Where can I find artists who actually do pixel-grid tattoos near me?
A: Search hashtags like #pixelarttattoo, #8bittattoo, #microtattoo and filter by location on Instagram and TikTok. Browse keyword searches on Tattoodo or use directory filters in the Inked App and Booksy to surface portfolios that show healed grid work. Reddit threads in r/tattoos and r/TattooDesigns are useful for peer recommendations and healed photos across skin tones.
Q: Do tiny pixel tattoos on dark skin photograph differently and need different treatment?
A: Darker skin tones can handle solid black pixels very well, but small colored pixels may need higher contrast or slightly larger blocks to read in photos. Mention your skin tone explicitly when you book so the artist can show healed examples on similar tones and recommend pigment choices.
Q: How often will I need touch-ups on a small pixel tattoo?
A: Realistic touch-up windows for micro pixel icons are often every two to three years for visible placements, and sooner for high-friction spots like fingers or ankles. Plan your budget around shop minimums and expect at least one minor refresh if you want the grid to stay crisp.
Q: Are there tattoo styles or placements I'd better avoid as my first tiny tattoo?
A: Fingers and outer ankle are higher risk for early blur because of frequent washing and friction. If you want low maintenance start with collarbone, inner forearm, or inner thigh for better long-term retention. For the appointment, wear clothing that gives the artist clear access, for example a low bun hair clip set if you plan a behind-the-ear piece so hair stays securely out of the way.
Q: What should I bring to the consultation to get the pixel result I want?
A: Bring a full-scale printed mockup at the size you want, two reference photos at different scales, and notes on spacing and lineweight. Ask the artist to show healed photos of similar-sized grids on comparable placements so you can evaluate how the pixels settled over time.
