
I spent months collecting patchwork tattoo photos before I realized the real choice isn’t a single perfect flash. It’s a strategy: pick styles that age well, leave breathing room, and let pieces arrive over time. These 26 patchwork tattoo ideas are the ones I keep returning to.
Quick note: I focus on nature-forward, mixed-style, and blackwork patchwork that actually looks good healed. These placements work for forearms, legs, backs, and hands. Mixed-style patchwork shows up in most 2025 trend roundups (see Monolith Studio and BoredPanda).
Realistic Botanical Arm Patchwork on Outer Forearm
Style/Technique: Realistic / Illustrative
Pain Level: Medium (3-4/10)
Session Time: Multiple short sessions
Best For: Thematic storytelling arm patchwork
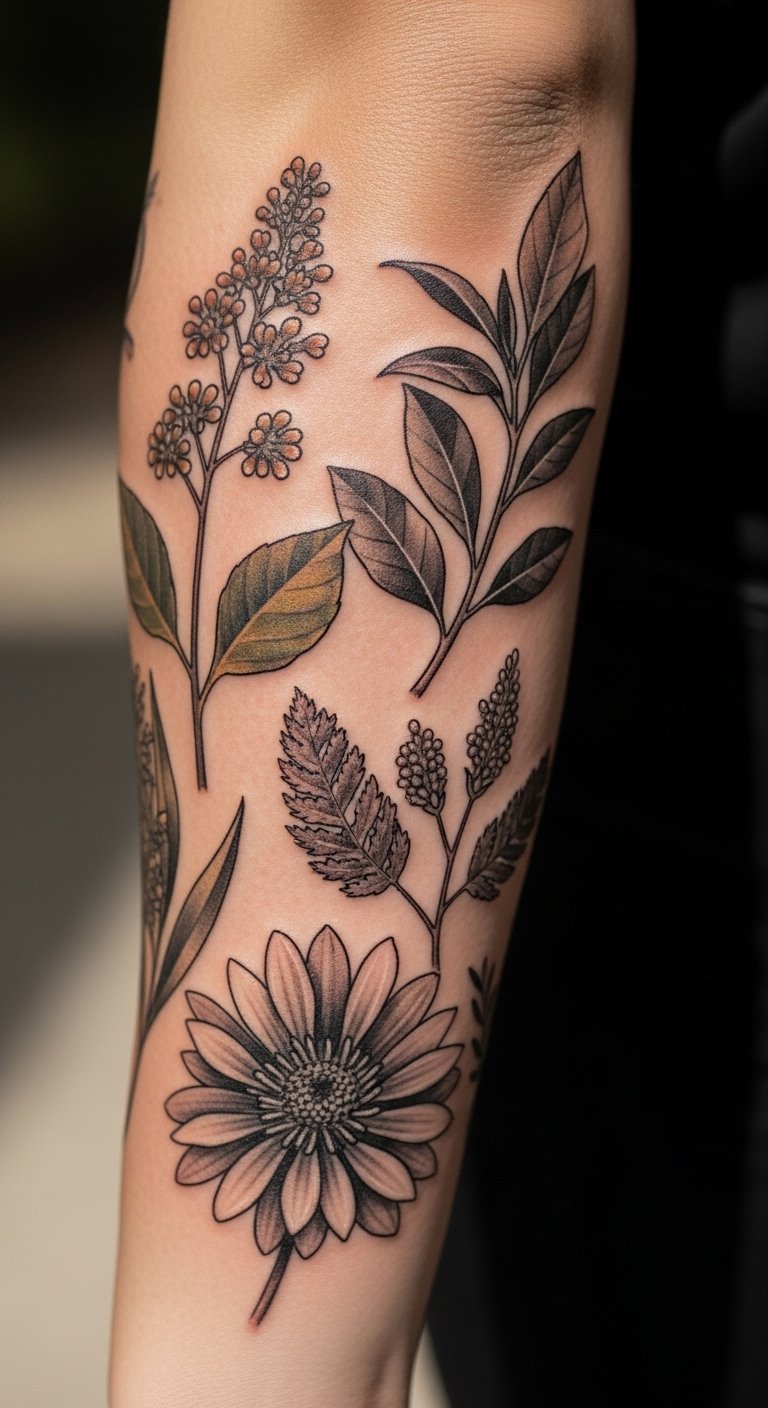
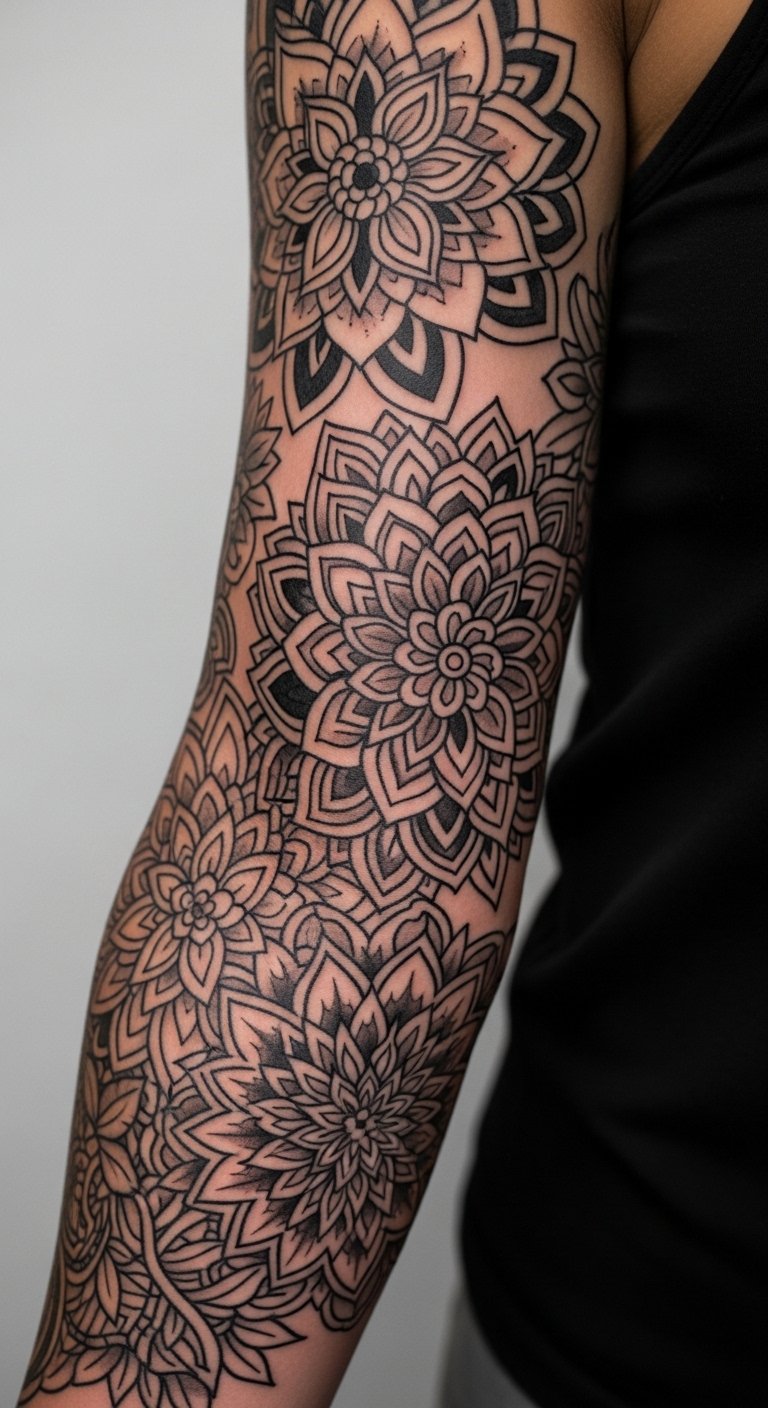
I love this for storytelling. I saw Delphin Musquet’s botanical pieces remind me how realism builds a cohesive patchwork sleeve without rigid planning. Expect medium pain and several sessions. Healed lines soften; color may lose pop, so ask for deeper saturation. Common mistake: crowding pieces—leave open skin as frame. Use terms like patchwork sleeve and botanical patchwork when you talk to your artist.
Botanical Farm Leg Patchwork on Calf
Style/Technique: Minimalist / Botanical
Pain Level: Low-Medium (3/10)
Session Time: 1-3 sessions per piece
Best For: Rustic, personal themes across legs
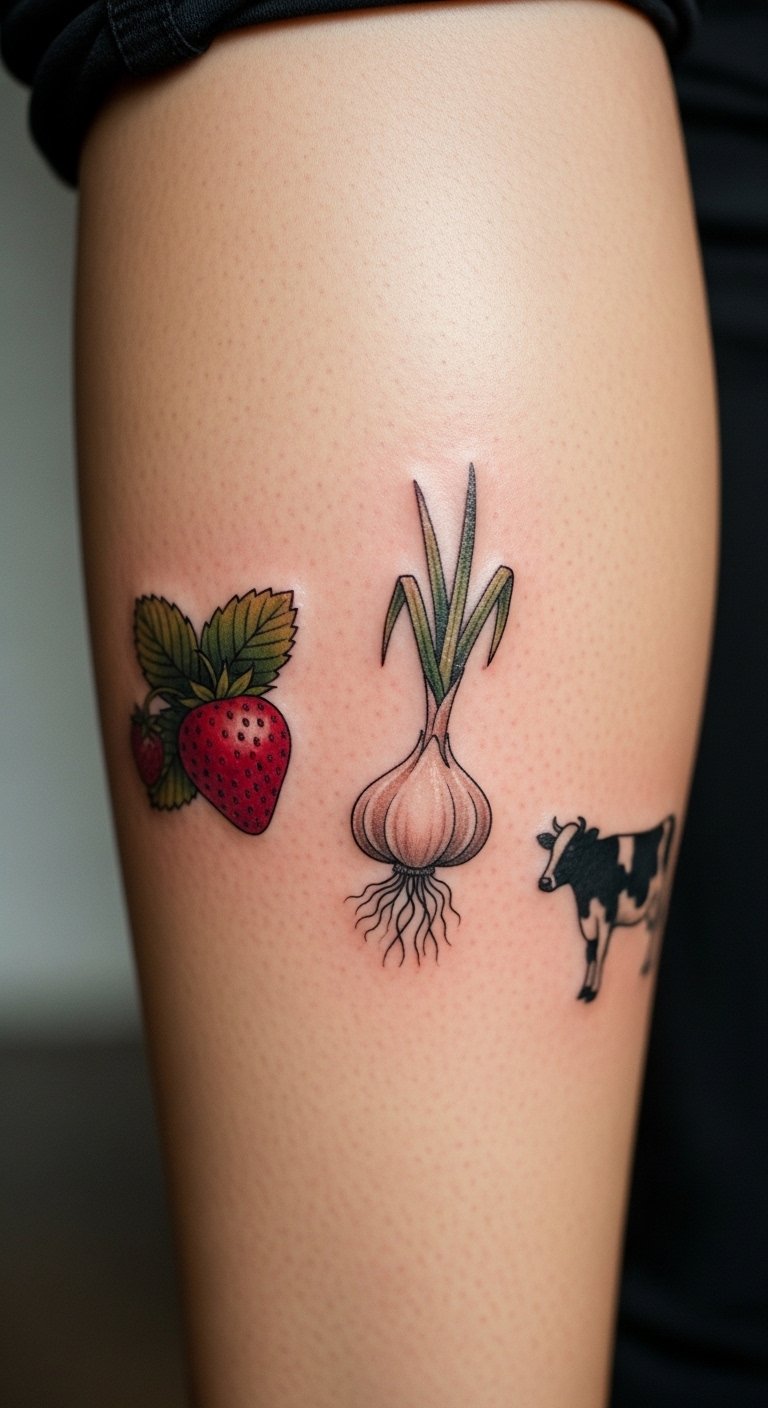
This one nods to farm life and regional plants. I found it refreshing—animals and veggies give a homey, personal feel. Calf placement is forgiving for pain and hides easily. Healed lines stay sharp if you choose blackwork or bold outlines. Avoid tiny script mixed in; it blurs faster. Mention botanical patchwork and patchwork tattoo meaning in your notes.
Classic Americana Leg Patchwork on Thigh
Style/Technique: Traditional / Americana
Pain Level: Medium (4/10)
Session Time: One session per medium design
Best For: Timeless, bold statement leg work
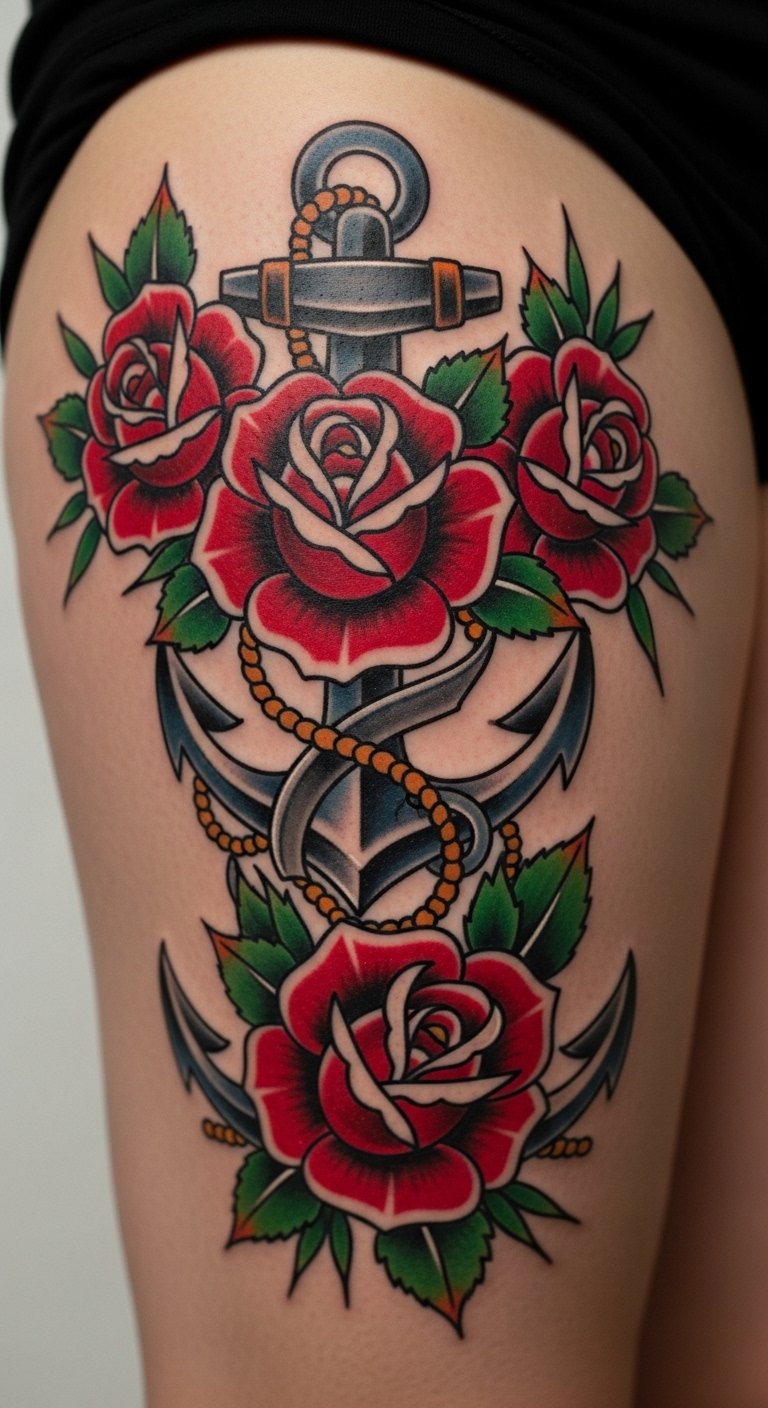
Classic Americana reads well in patchwork. I’ve seen Peter Thorne-style strong lines keep their shape years later. Thigh skin holds color and line. Pain is bearable. Common mistake: trying to do ultra-fine detail in this style—traditional works because of bold lines. Use patchwork sleeve and color traditional patchwork as search terms.
Aesthetic Forearm Patchwork Sleeve on Inner Forearm
Style/Technique: Fine Line / Minimalist
Pain Level: Low-Medium (3/10)
Session Time: 3-5 short sessions
Best For: Visible, curated forearm collections
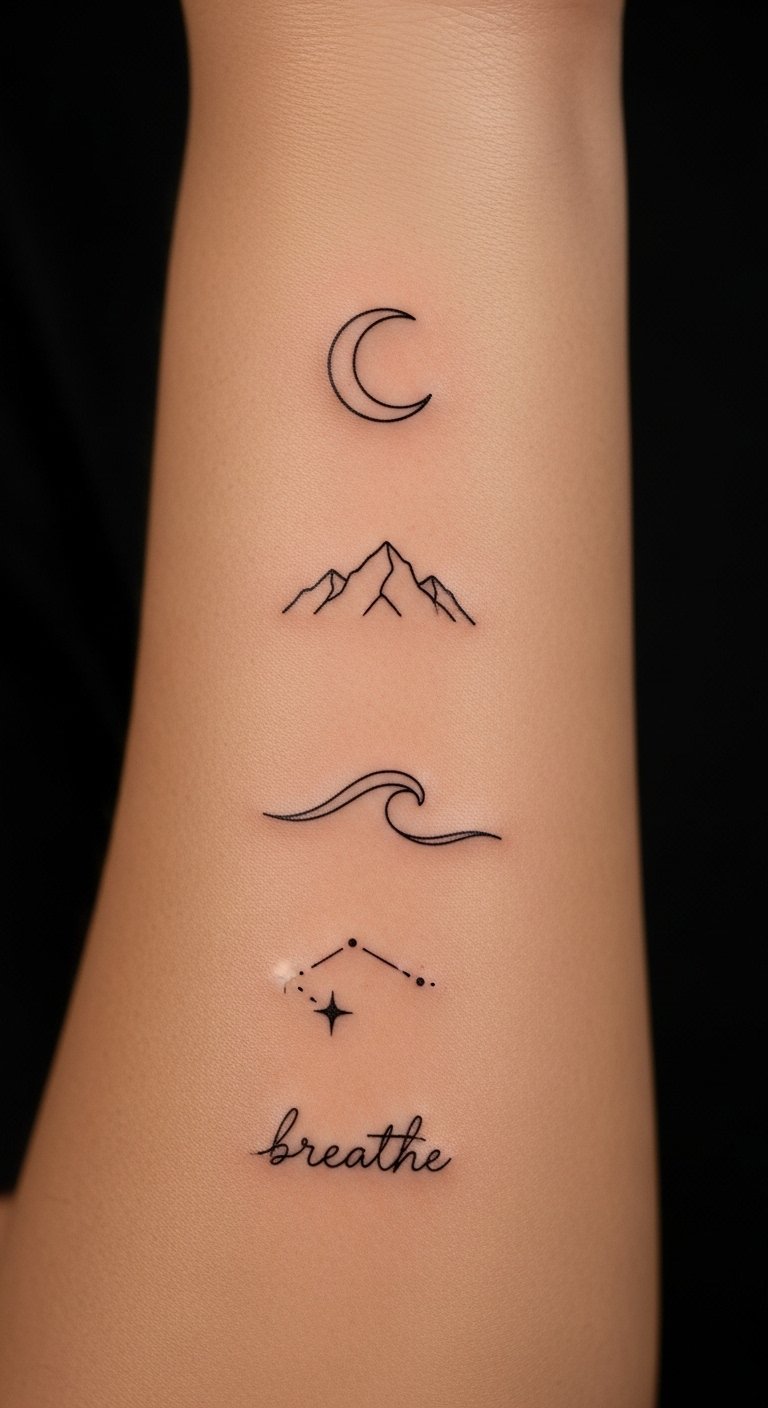
This is my go-to for building slowly. The aesthetic forearm patchwork looks curated even when added piece by piece. Fine line heals gracefully on inner forearm, but ultra-thin lines can blur—ask for slightly stronger line weight. Pain is reasonable. Avoid mismatched line weights; ask your artist to match their fine-line style. Search for small patchwork tattoos and patchwork sleeve inspo.
Black Sleeve Patchwork on Full Arm
Style/Technique: Blackwork / Bold Line
Pain Level: Medium-High (5-7/10)
Session Time: Multiple long sessions
Best For: High-contrast coverage and longevity

Black sleeve patchwork is dramatic and ages well. I noticed blackwork resists the common fading issues color faces. Sessions are longer and pain higher, especially near the elbow. Healed photos show strong contrast. Common mistake: overfilling small gaps—embrace negative space for balance. Mention black sleeve and patchwork pain levels when planning.
Microrealism Back Patchwork on Upper Back
Style/Technique: Microrealism / Portraits
Pain Level: Low-Medium (3-4/10)
Session Time: Precise single-needle sessions
Best For: Tiny, detailed personal portraits

Microrealism lets you add tiny portraits without committing to a full sleeve. I’ve seen upper-back placements hold delicate detail well. Expect precise sessions—artists need microrealism skill. Healed work keeps depth if shading is done conservatively. Avoid overly tiny sizes; details vanish over time. Use microrealism and patchwork tattoo meaning when describing subjects.
Minimalist Flower Arm Patchwork on Outer Upper Arm
Style/Technique: Fine Line / Minimalist
Pain Level: Low (2-3/10)
Session Time: 1 hour per small piece
Best For: Feminine, low-commitment visible ink
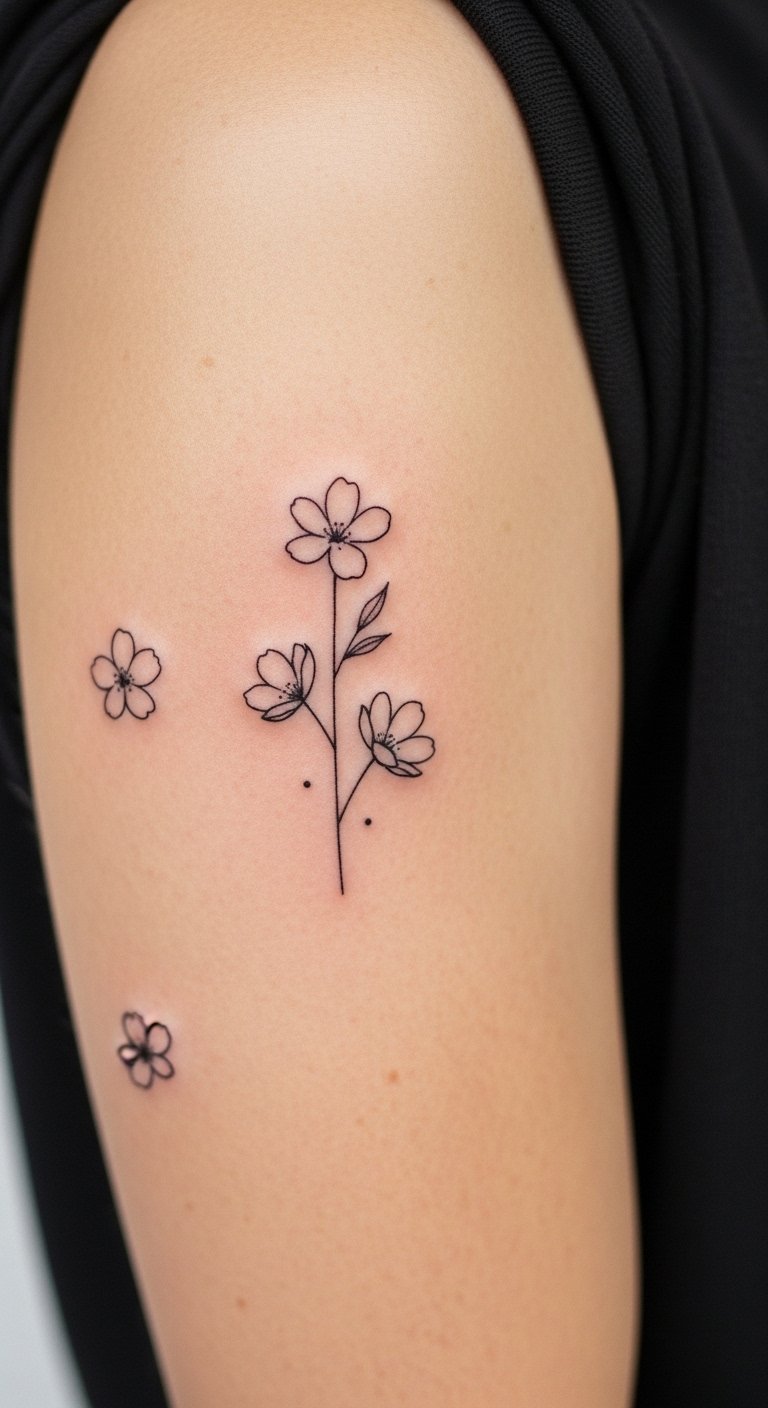
Delicate flowers age nicely on upper arm. I picked this when I wanted visible but easy-to-hide ink. Fine line is fast, with low pain. But very thin lines can fade—ask for slightly stronger outlines. Don’t overcrowd the cluster; keep space between motifs. Search small patchwork tattoos and minimalist patchwork.
Animal Leg Patchwork on Calf and Shin
Style/Technique: Illustrative / Botanical
Pain Level: Medium (4/10)
Session Time: 1-3 hours per animal
Best For: Nature lovers and thematic legs
Animals bring motion to a patchwork leg. I like grouping creatures and plants for cohesion. Legs tolerate larger designs and the skin heals well. Colors can fade faster on the shin—black and gray holds longer. Mistake: random scale—keep sizes varied but balanced. Mention animal patchwork and nature-inspired arrangements.
Mixed-Style Arm Sleeve on Outer Arm
Style/Technique: Neo-Traditional / Mixed Styles
Pain Level: Medium (4-5/10)
Session Time: Multiple sessions over years
Best For: Eclectic collectors building over time
Mixed-style patchwork captures personality. I’ve seen forearms combining neo-traditional and fine line for dynamic contrast. It ages well if you keep consistent line weights and palette. Pain varies. Biggest mistake: no thematic ties—pick a thread (color, subject, or line style) for cohesion. Use mixed styles and patchwork sleeve in briefs.
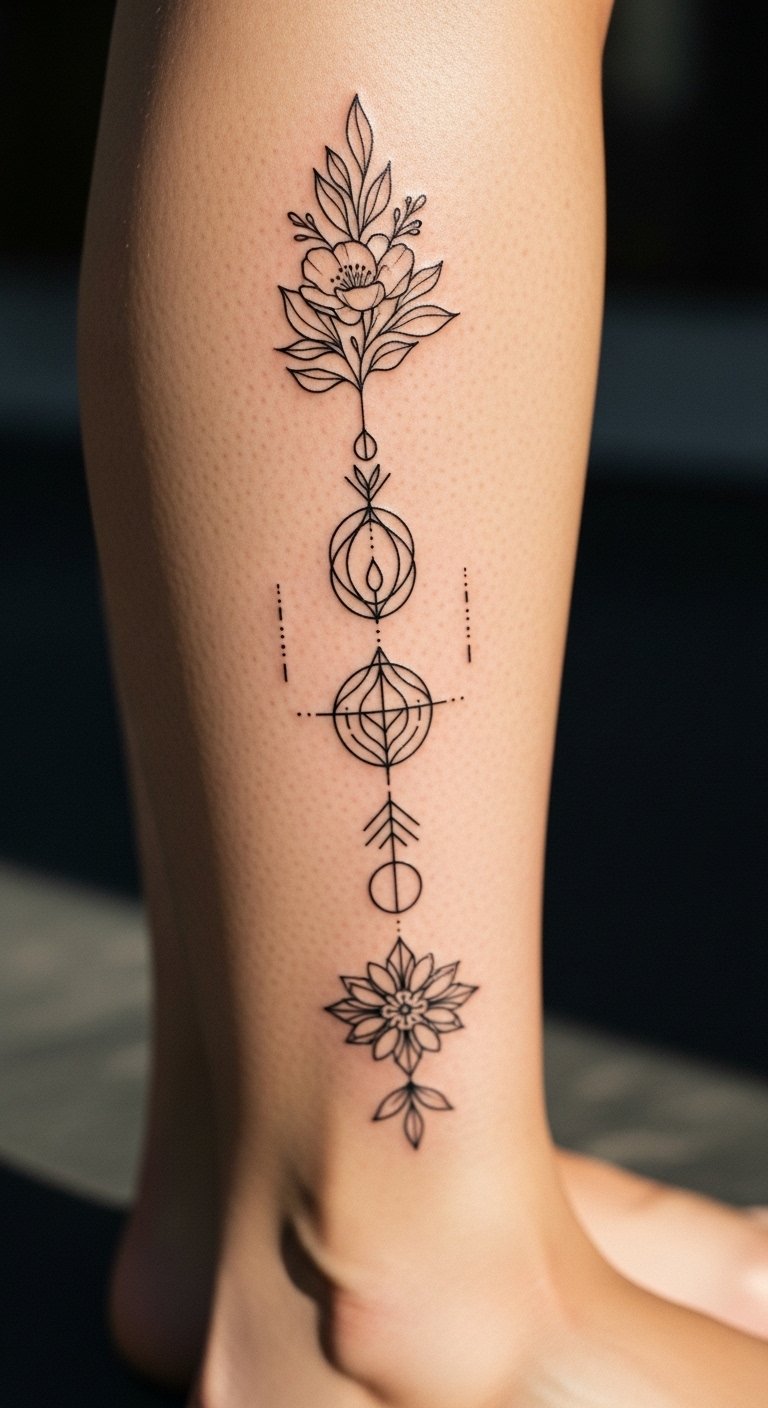
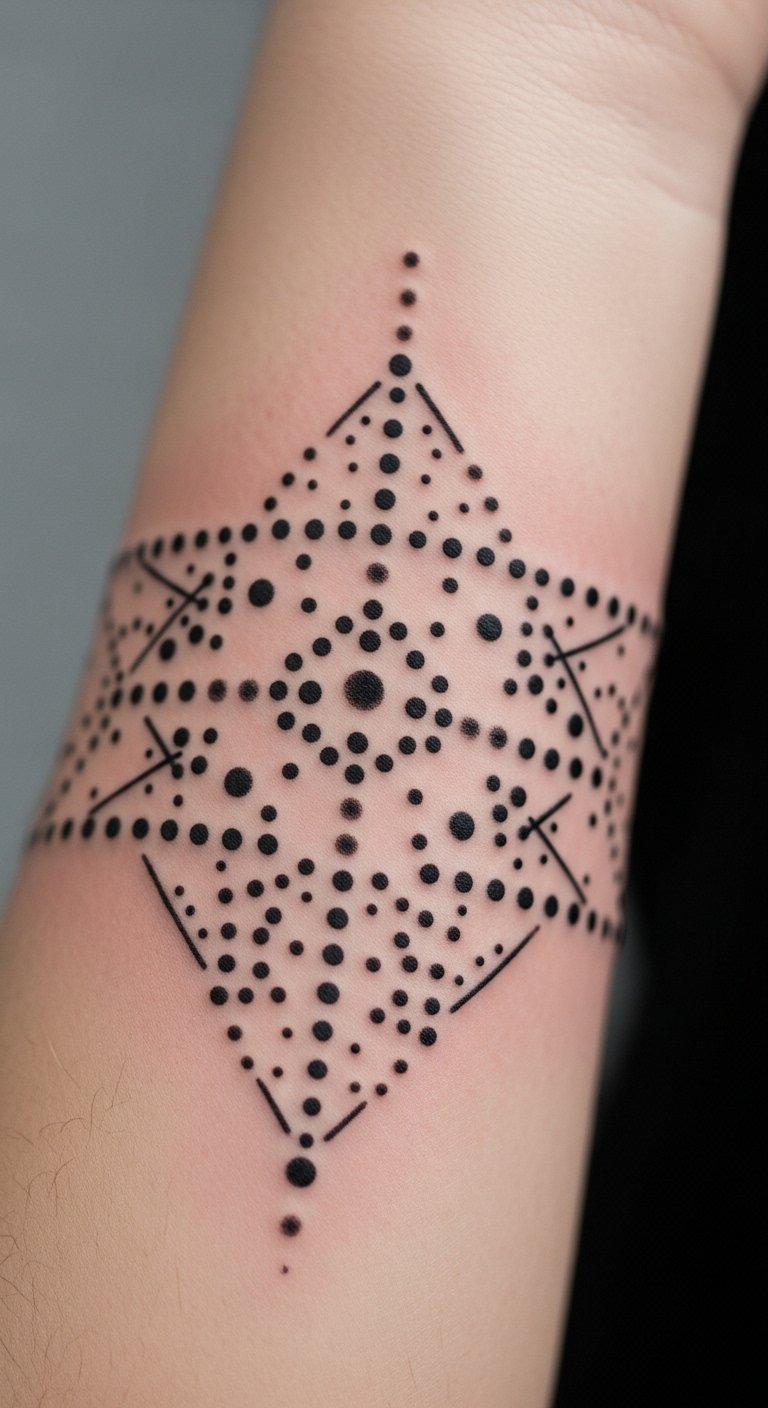
Geometric Nature Forearm Patchwork on Outer Forearm
Style/Technique: Geometric / Minimalist
Pain Level: Low (2-3/10)
Session Time: Short focused sessions
Best For: Modern, symbolic pieces
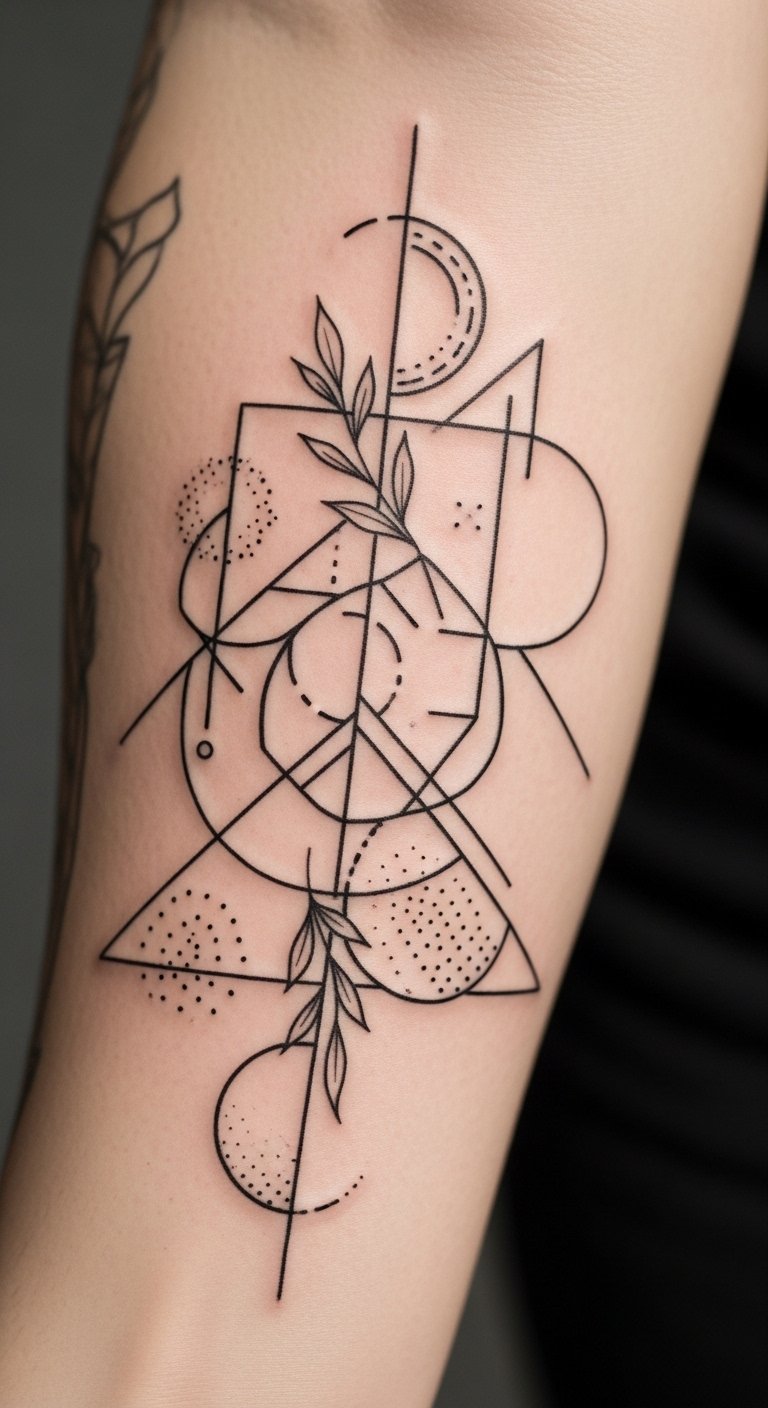
Geometric nature pieces feel modern. I like the asymmetric layouts; they let you add cultural sigils or runes without crowding. Healed geometry looks crisp if lines are precise. Common error: tiny, fiddly geometry—keep lines bold enough to last. Reference geometric patchwork and patchwork tattoo meaning while planning.
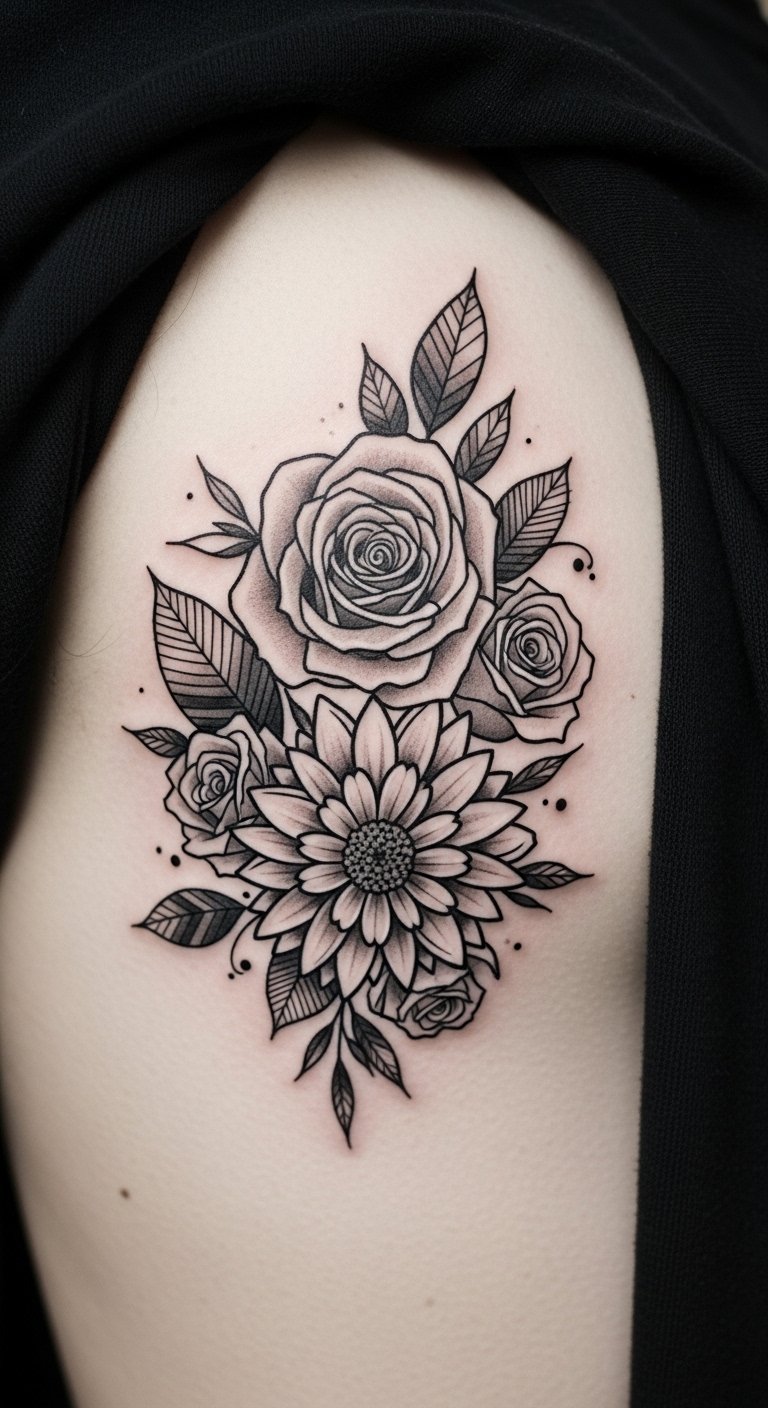
Black and Gray Illustrative Sleeve on Full Arm
Style/Technique: Illustrative / Black & Gray
Pain Level: Medium (4-6/10)
Session Time: Multi-session shading work
Best For: Deep shading without color commitment
Black and gray illustrative patchwork gives depth without color worry. I prefer this when I want shading that ages predictably. Sessions focus on tone; healed tattoos show soft gradients. Mistake: too much tiny shading near joints—it can blur. Use black and gray and cohesive patchwork as descriptors.
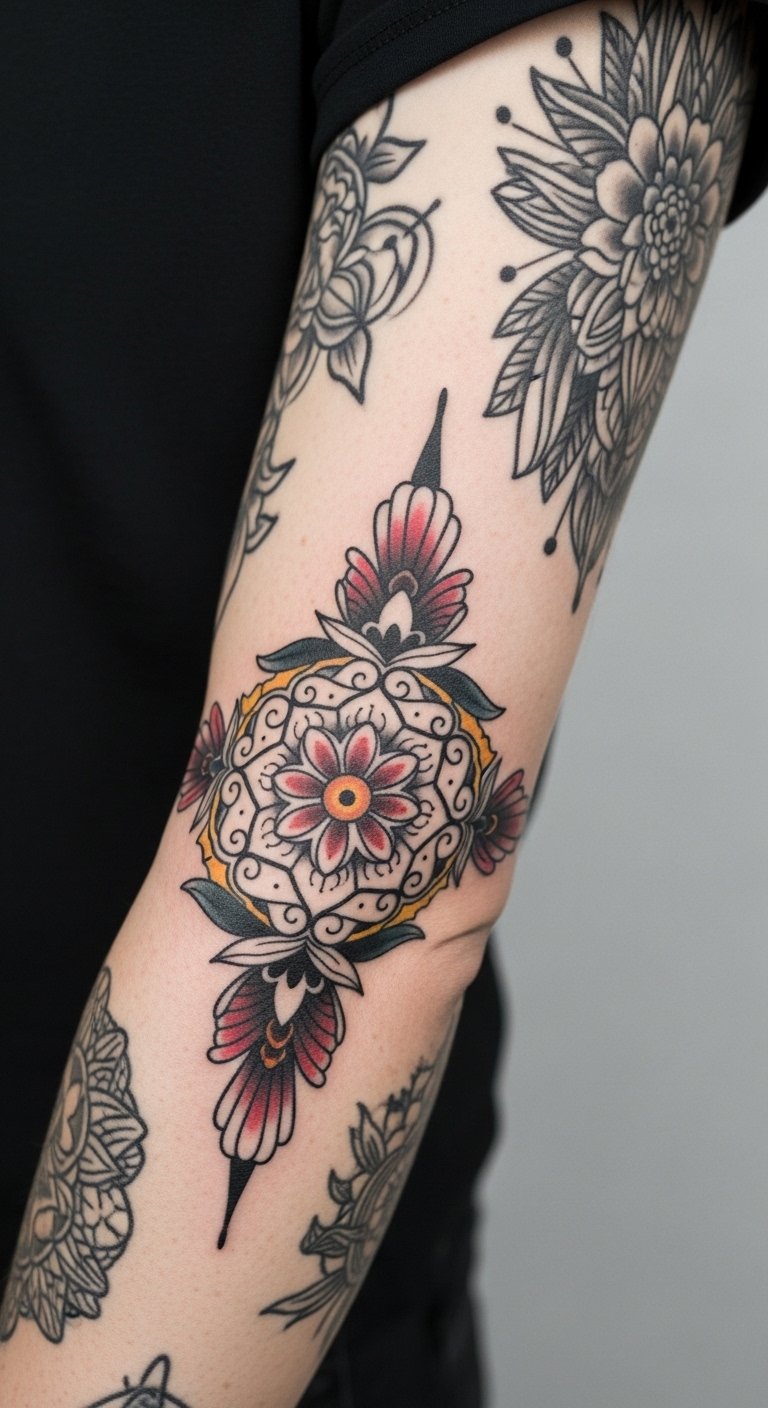
Color Traditional Patchwork Arm on Bicep
Style/Technique: Traditional / Color
Pain Level: Low-Medium (3-4/10)
Session Time: 1-3 hours per piece
Best For: Vibrant symbols with classic lines
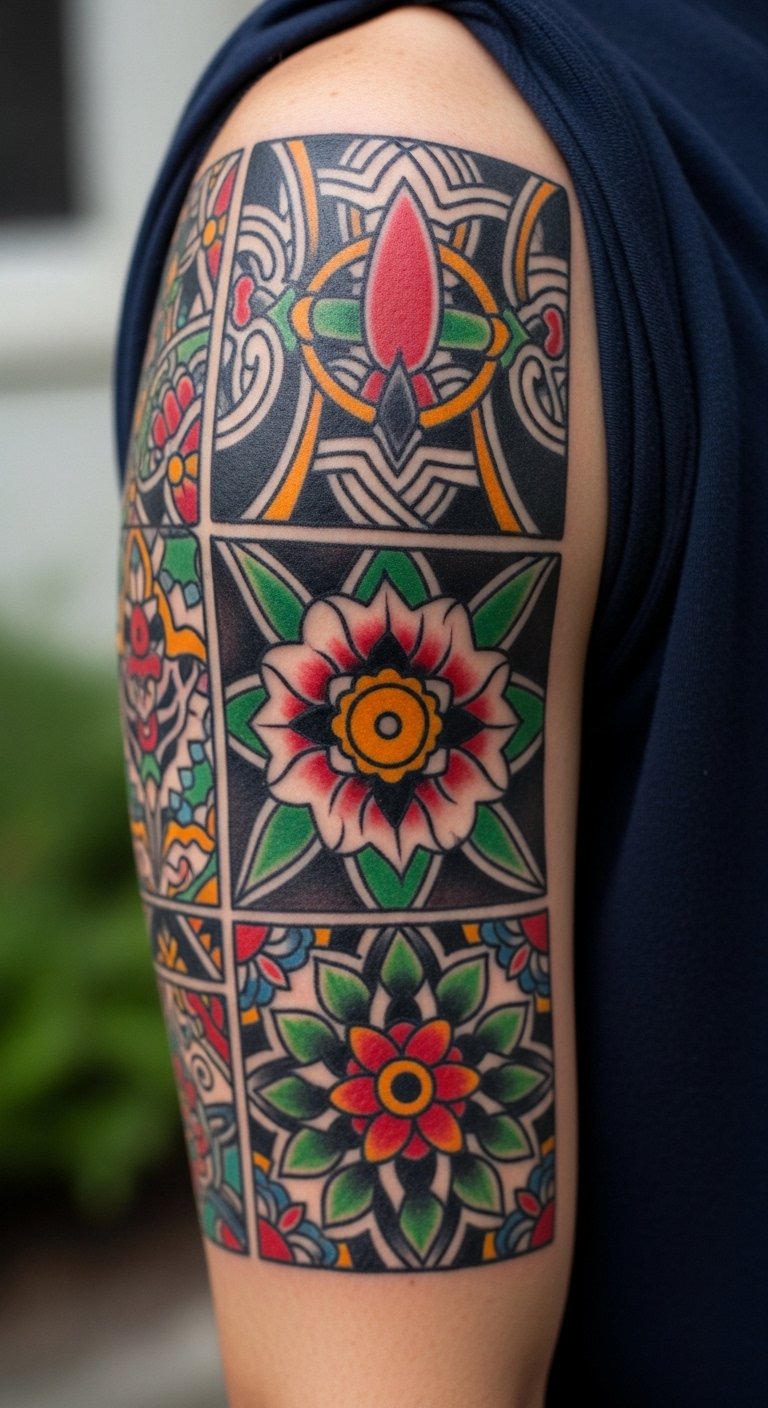
Color traditional patches read as vibrant and meaningful. I like how each piece stands alone. Colors fade faster than black, so choose pigments carefully and use aftercare and sunscreen. Don’t cram tiny color details—traditional thrives on bold simple fills. Tag this as color traditional patchwork.
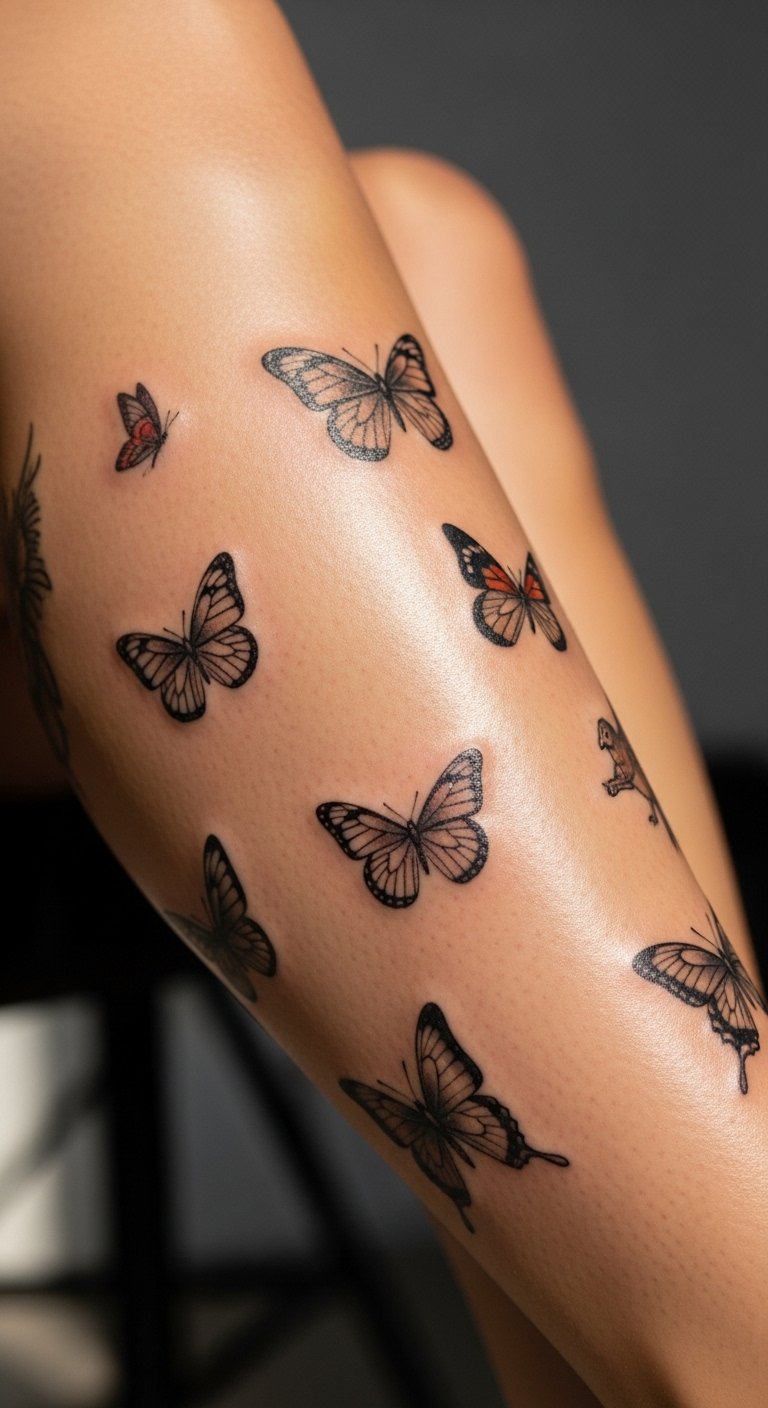
Butterfly Small Patchwork Hand on Side of Hand
Style/Technique: Minimalist / Micro
Pain Level: High for hands (6-8/10)
Session Time: Short single sessions
Best For: Subtle hand/finger accents
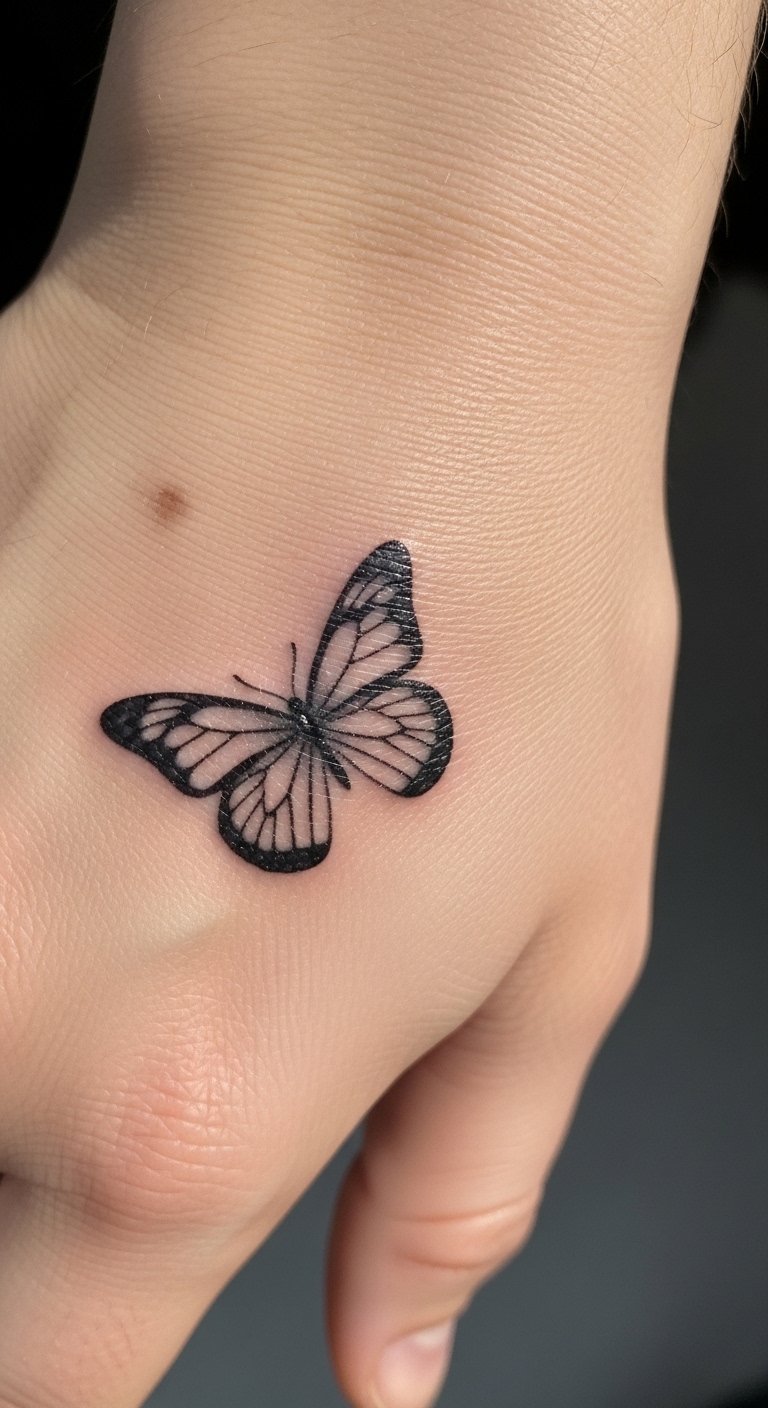
Hands age differently. I got a friend’s hand tattoo that faded faster than forearm pieces. Expect higher pain and touch-ups. Small butterflies are cute but may need refreshers. Avoid white ink and tiny details here. Use small patchwork tattoos and first patchwork tattoo when weighing this placement.
Spine Blackwork Column Down Spine
Style/Technique: Blackwork / Geometric
Pain Level: High (7-8/10)
Session Time: Multiple sessions
Best For: Bold, central statement pieces
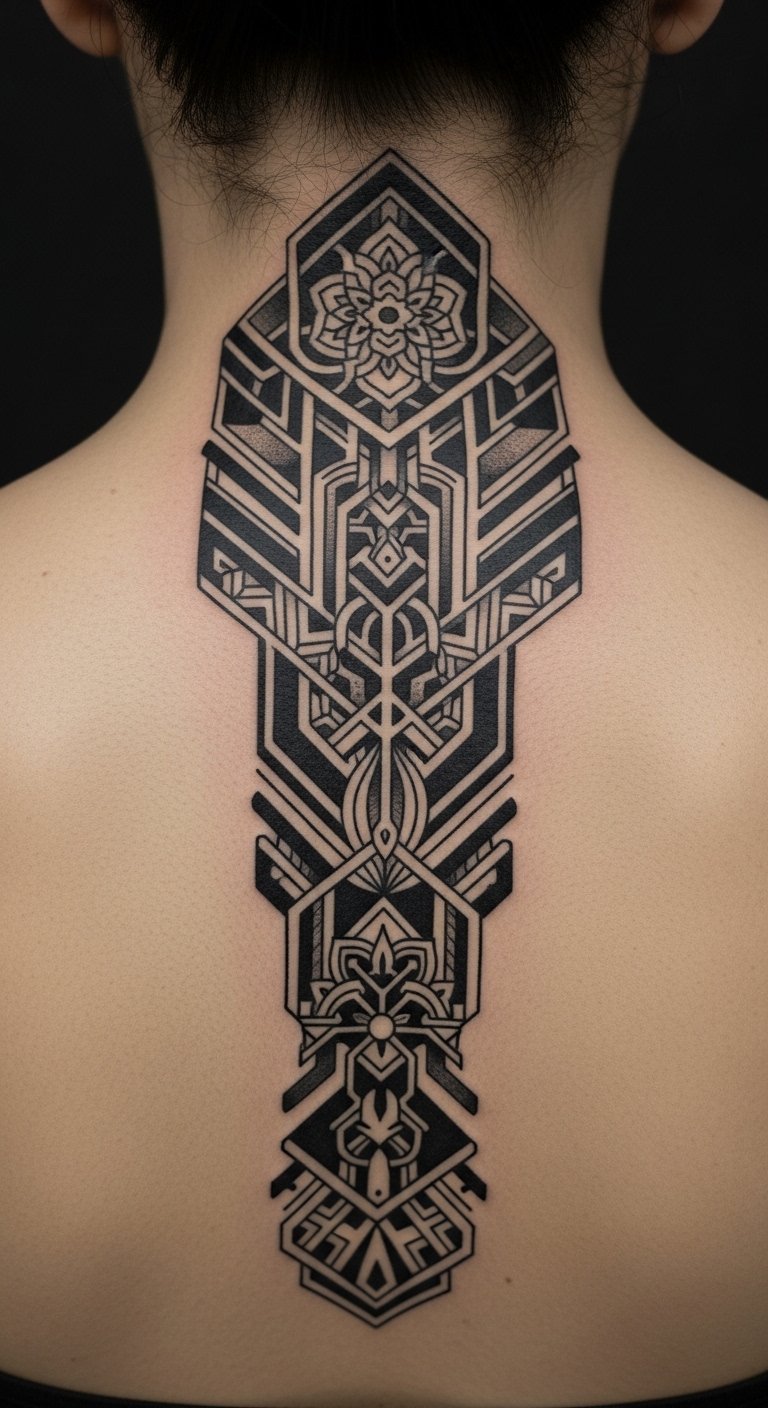
The spine is dramatic and painful. I’ve felt that line work here demands steady hands from your artist. Healed black shows strong presence. Avoid ultra-fine filler near bone. If you want asymmetric patchwork, let spine pieces anchor nearby additions. Mention patchwork pain levels and black sleeve as context.
Sternum Floral Patchwork on Chest
Style/Technique: Fine Line / Illustrative
Pain Level: High (7/10)
Session Time: 1-2 hours per element
Best For: Intimate, meaningful centerpieces
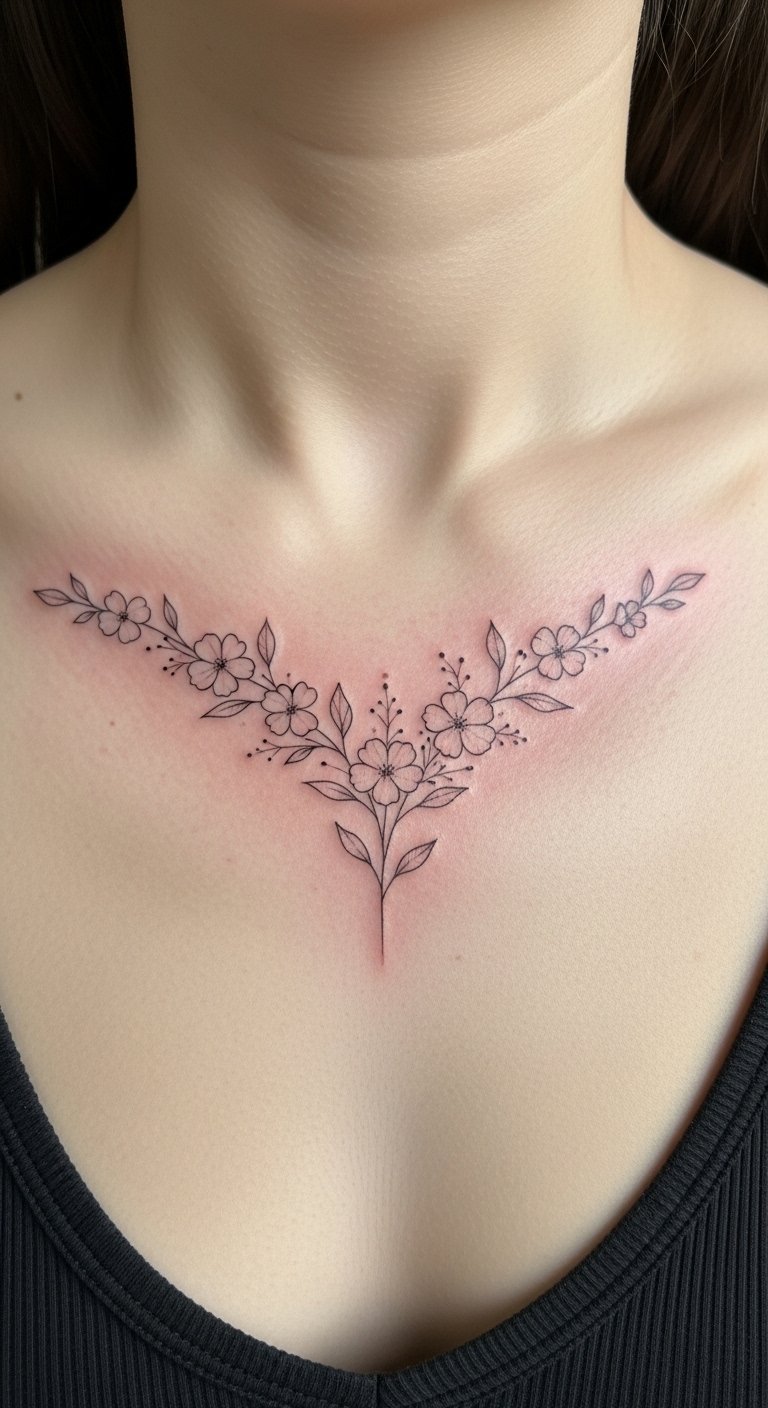
Sternum tattoos hurt but read as intimate and personal. I chose small florals here to keep balance. Healed fine line can soften; avoid too-faint lines. Common mistake: placing heavy color—sternum needs careful composition. Use patchwork tattoo meaning when describing family or memorial pieces.
Shoulder Blade Minimalist Patchwork
Style/Technique: Minimalist / Fine Line
Pain Level: Low (2-3/10)
Session Time: Short sessions per motif
Best For: Hidden pieces that reveal with clothing

Shoulder blade is forgiving and low-pain. I like adding small symbols over time—easy to hide. Healed minimal pieces look graceful. Mistake: very thin lines near the edge of the blade—they can stretch with movement. Use first patchwork tattoo and small patchwork tattoos as descriptors.
Clavicle Simple Icon Patchwork
Style/Technique: Minimalist / Single-Needle
Pain Level: Medium (4-5/10)
Session Time: Short single sessions
Best For: Visible but small symbolic pieces
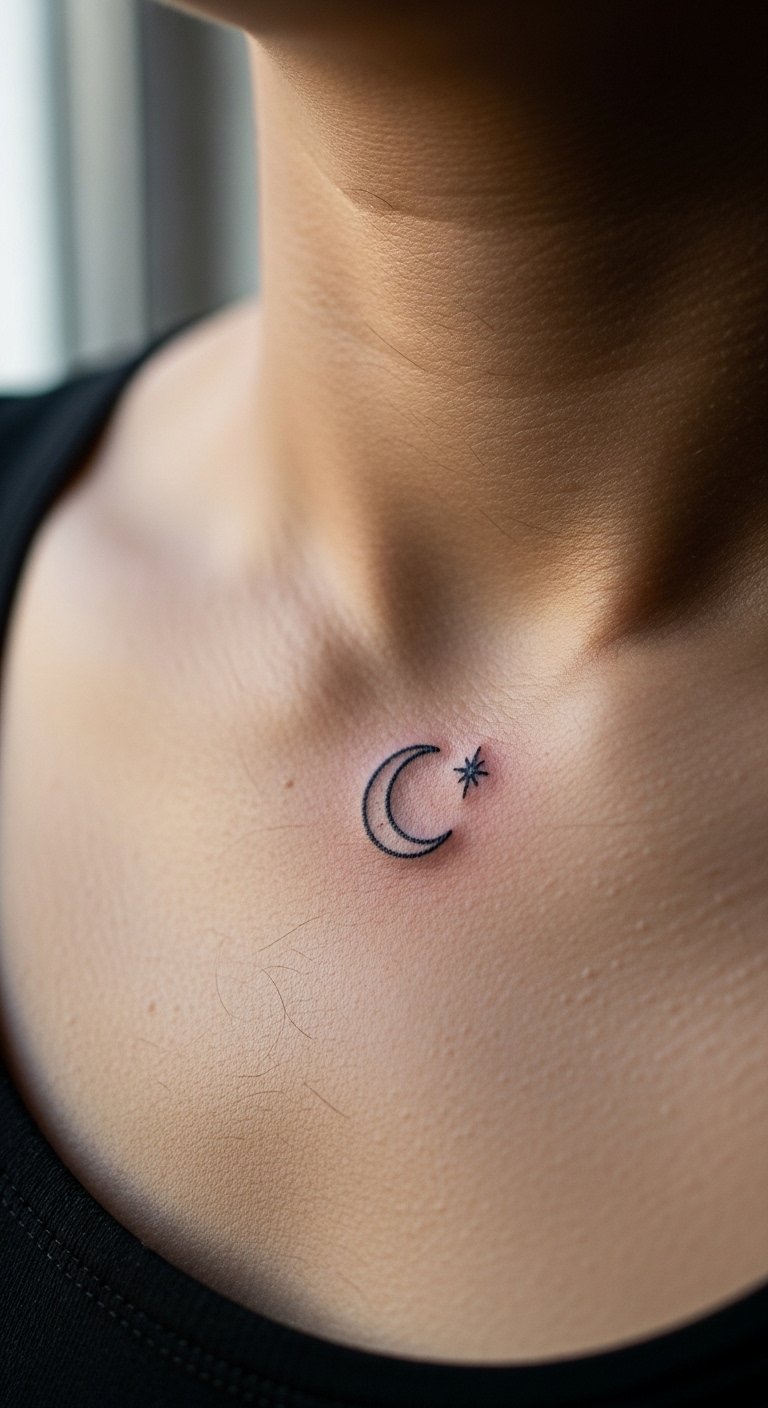
Clavicle placement is visible and elegant. I picked an icon there to anchor later shoulder pieces. Pain is higher near bone but healing is straightforward. Avoid tiny script. Ask for slightly bolder lines so the icon lasts. Use patchwork meaning and small patchwork tattoos in notes.
Ribcage Illustrative Patchwork Cluster
Style/Technique: Illustrative / Black & Gray
Pain Level: High (7-8/10)
Session Time: 1-3 hours per piece
Best For: Hidden, meaningful artwork
Ribcage is painful but hides well. I like placing personal imagery here. Healed shading looks soft. Mistake: heavy saturation too close to ribs—it heals poorly if you’re breathing heavily. Talk patchwork tattoo aftercare and recovery if choosing this area.
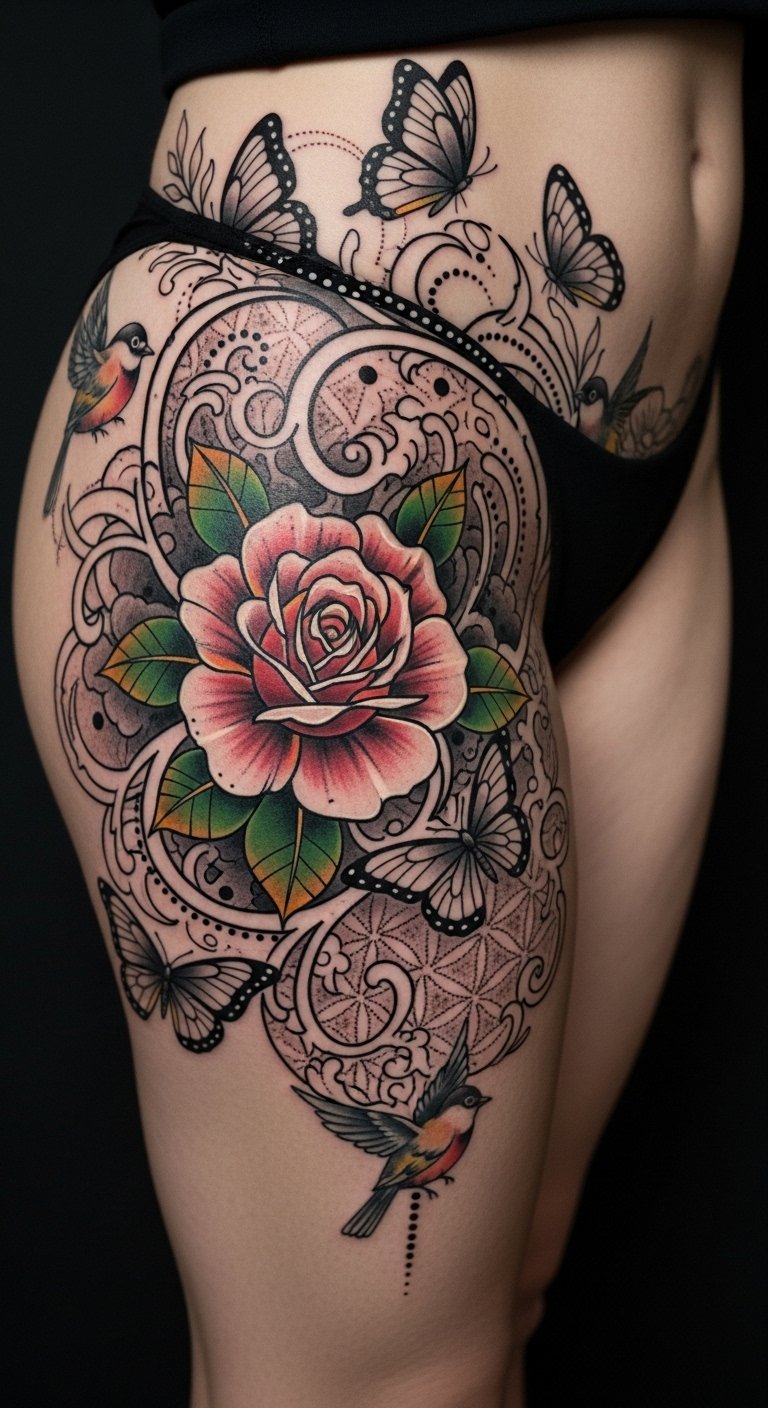
Hip Neo-Traditional Patchwork on Side Hip
Style/Technique: Neo-Traditional / Color
Pain Level: Medium (4-5/10)
Session Time: 1-2 hours per piece
Best For: Flattering, curving compositions
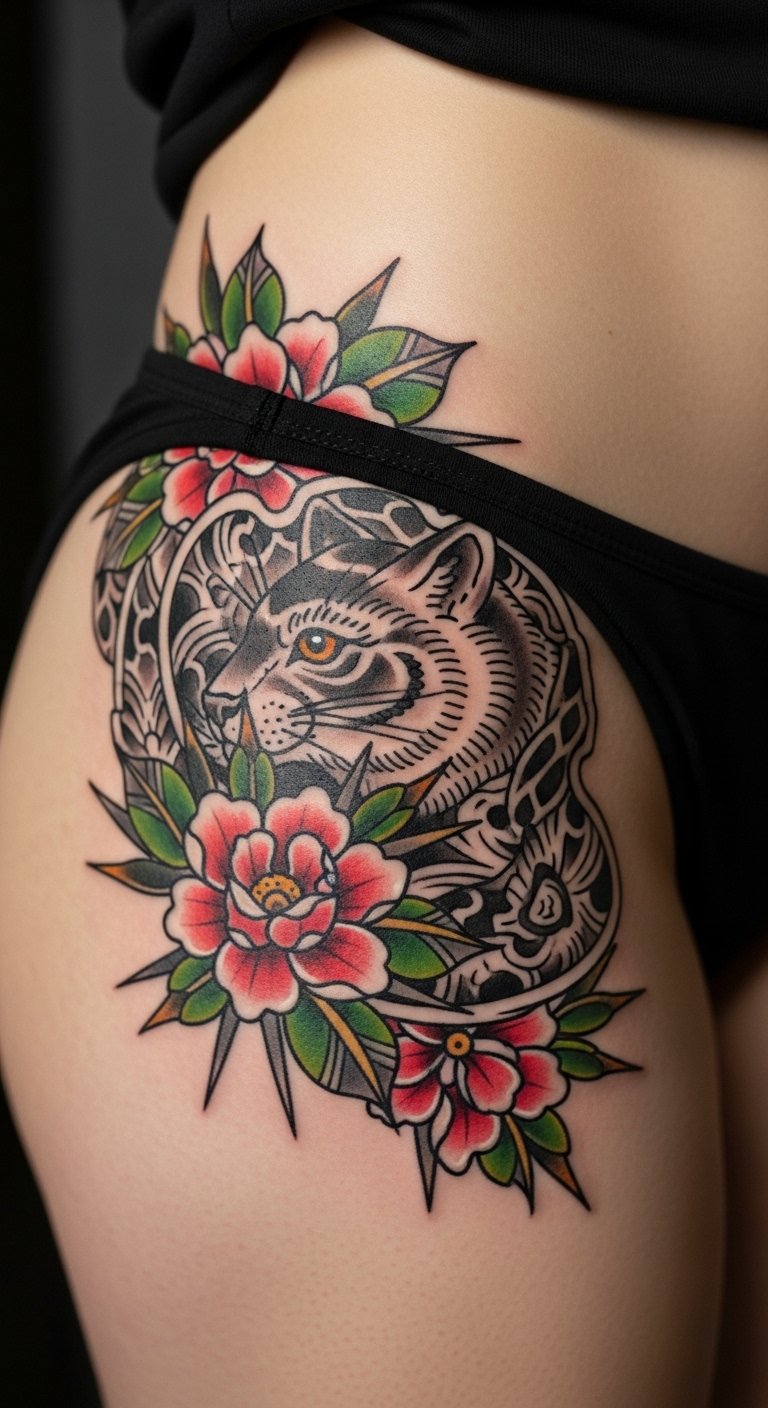
Hips offer natural curves for neo-traditional pieces. I like how motifs sit with body movement. Healing can be tricky with tight clothing—wear loose clothes. Colors mellow; pick saturated fills. Avoid placing too many overlapping elements. Use patchwork sleeve and cohesive patchwork language.
Shin Linework Patchwork on Front Shin
Style/Technique: Fine Line / Illustrative
Pain Level: Medium (4/10)
Session Time: 1-2 hours per piece
Best For: Vertical, linear collections
Front shin is visible and linear—great for stacking small motifs. Pain is moderate. Healed lines can get scuffed if you wear boots often. Keep pieces proportionate to the leg. Use geometric and nature-inspired search terms.
Behind-Ear Tiny Patchwork Motifs
Style/Technique: Micro / Minimalist
Pain Level: High (5-6/10)
Session Time: Short sessions
Best For: Tiny, surprising details
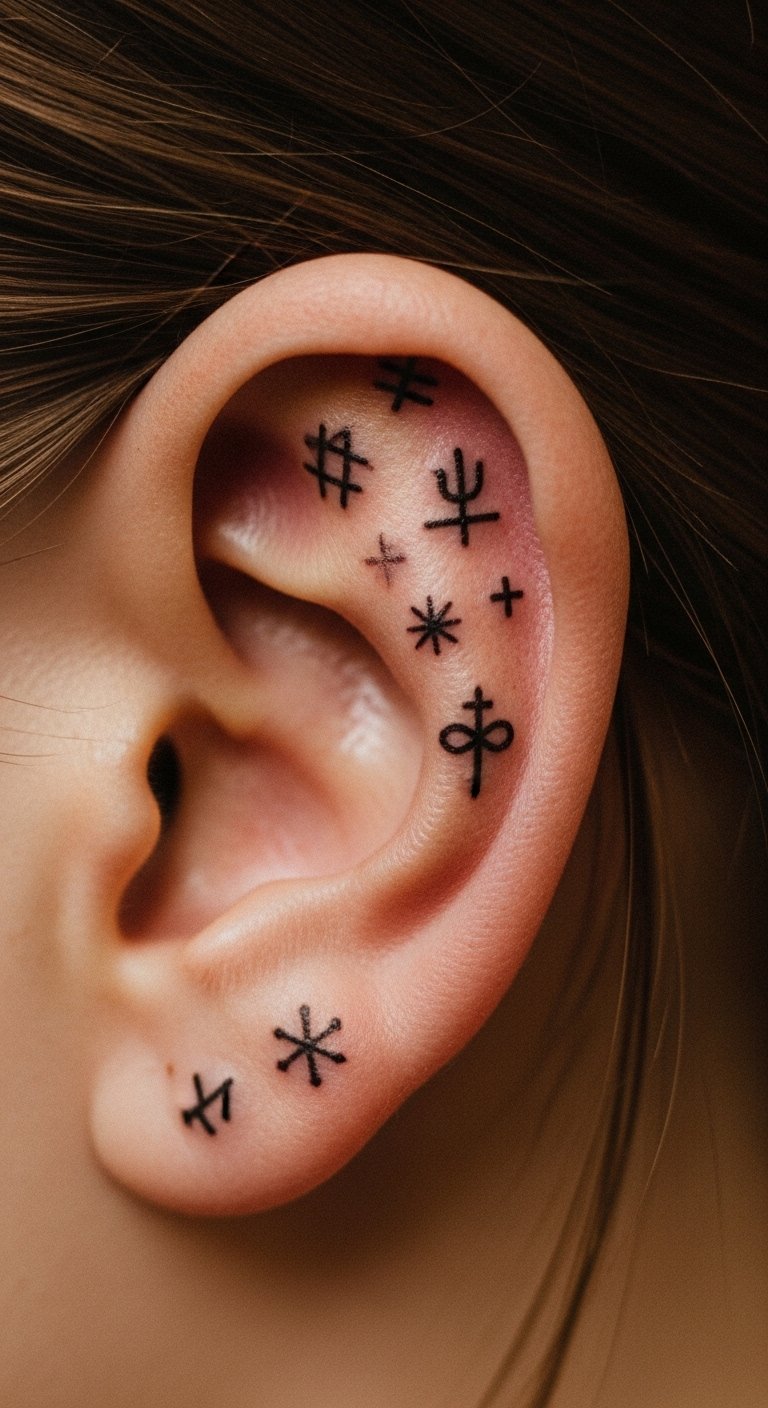
Behind-ear tattoos are discreet and personal. They can blur or lighten fast. I recommend simple black icons. Pain is sharp but brief. Avoid detailed color. Tag small patchwork tattoos and first patchwork tattoo when deciding.
Finger and Knuckle Small Patchwork
Style/Technique: Minimalist / Single-Needle
Pain Level: High (6-8/10)
Session Time: Short sessions, frequent touch-ups likely
Best For: Micro statements with edge
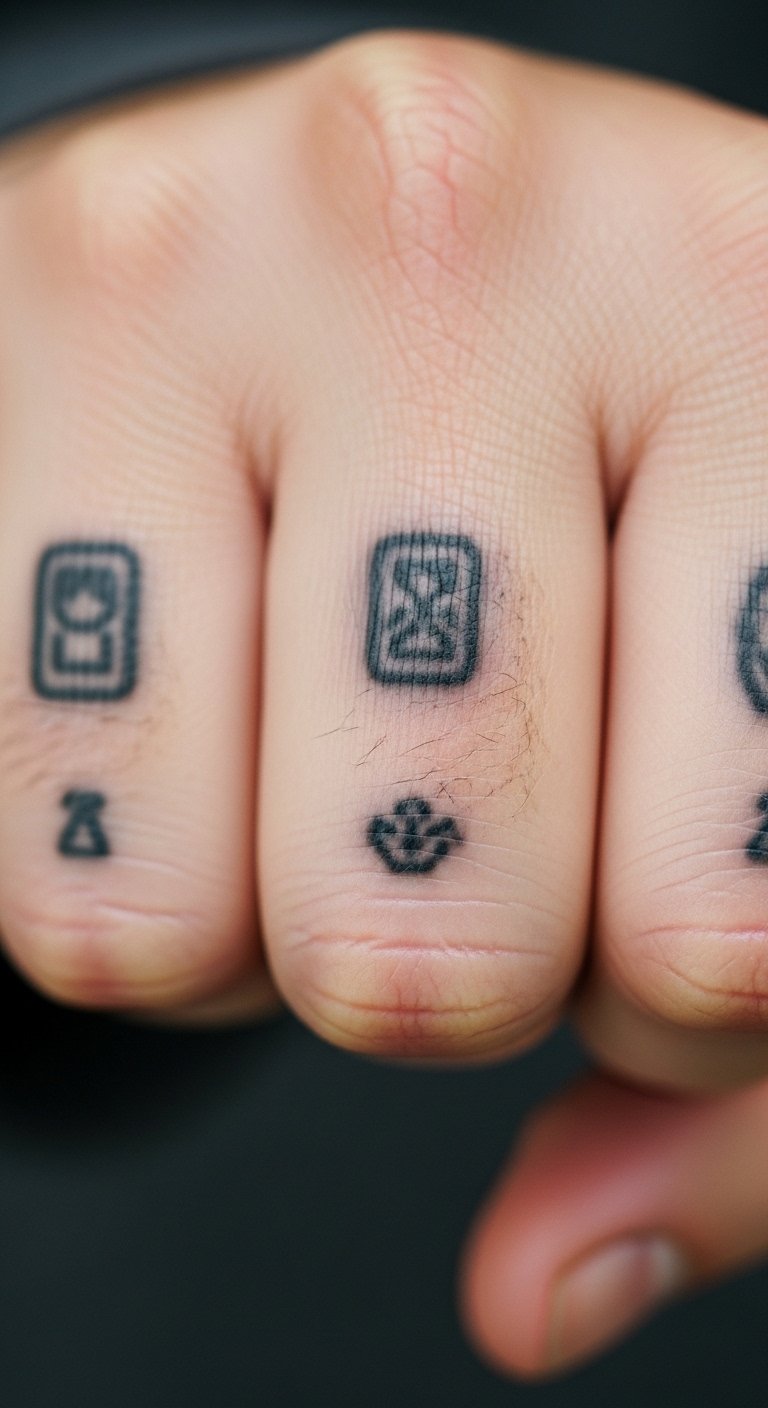
Fingers fade and need occasional touch-ups. I’ve seen fine symbols wash out faster than forearm ink. If you want longevity, choose bold simple icons and accept maintenance. Common mistake: tiny serif text—avoid it.
Calf Story Patchwork with Animals
Style/Technique: Illustrative / Botanical
Pain Level: Low-Medium (3-4/10)
Session Time: Multiple medium sessions
Best For: Narrative leg collections
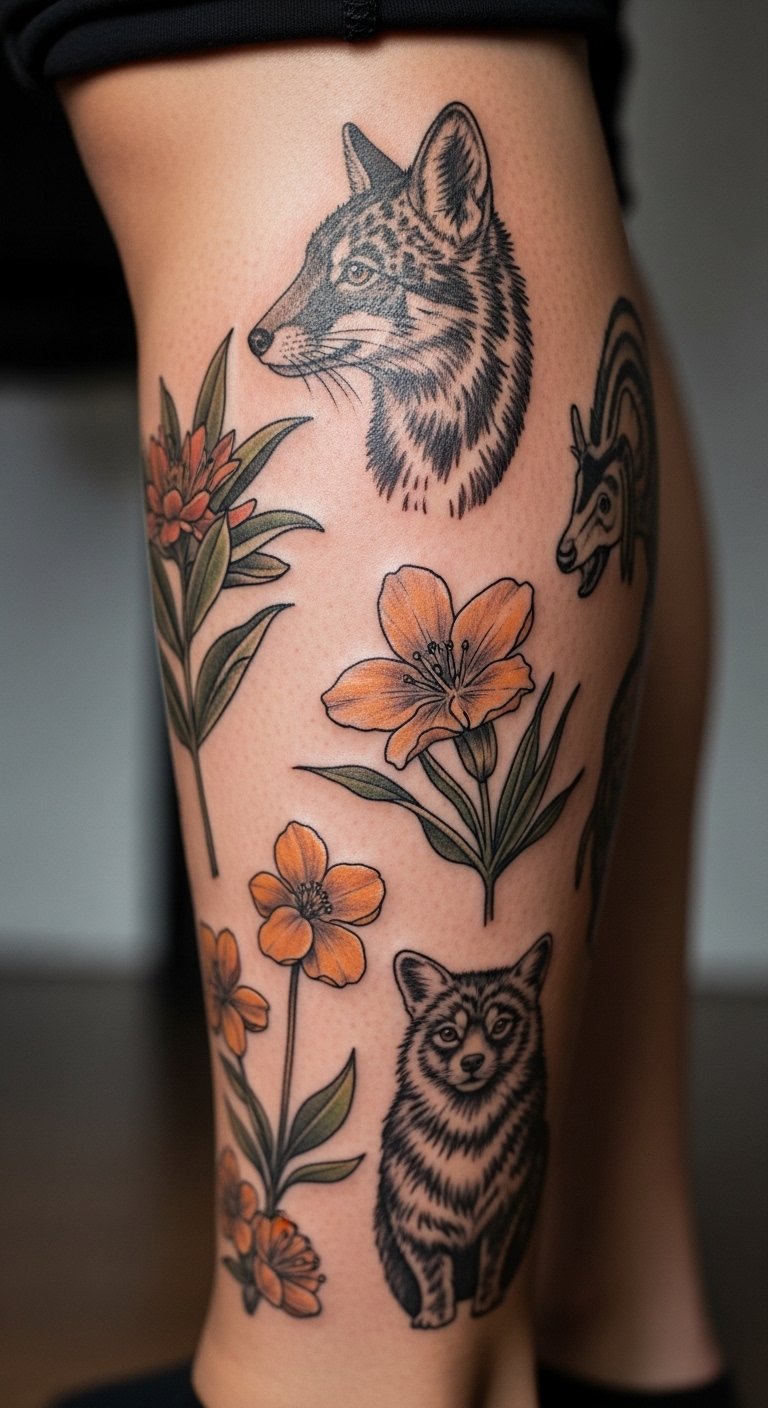
Calf patchwork gives room to tell a story. I like mixing small animals and plants for rhythm. Healed pieces retain good saturation. Avoid unrelated motifs—keep a thread (subject or palette) for cohesion.
Hip-to-Thigh Large Patchwork Panels
Style/Technique: Mixed Styles / Neo-Traditional + Realism
Pain Level: Medium-High (5-7/10)
Session Time: Several long sessions
Best For: Larger statement expansions
Large panels let you combine realism with traditional elements. I’d plan composition in stages. Healed work blends styles nicely when palette and line weight are consistent. Don’t rush—build gradually.
Side of Foot Tiny Patchwork Motifs
Style/Technique: Minimalist / Micro
Pain Level: High (6-7/10)
Session Time: Short sessions
Best For: Crowded, tiny accents
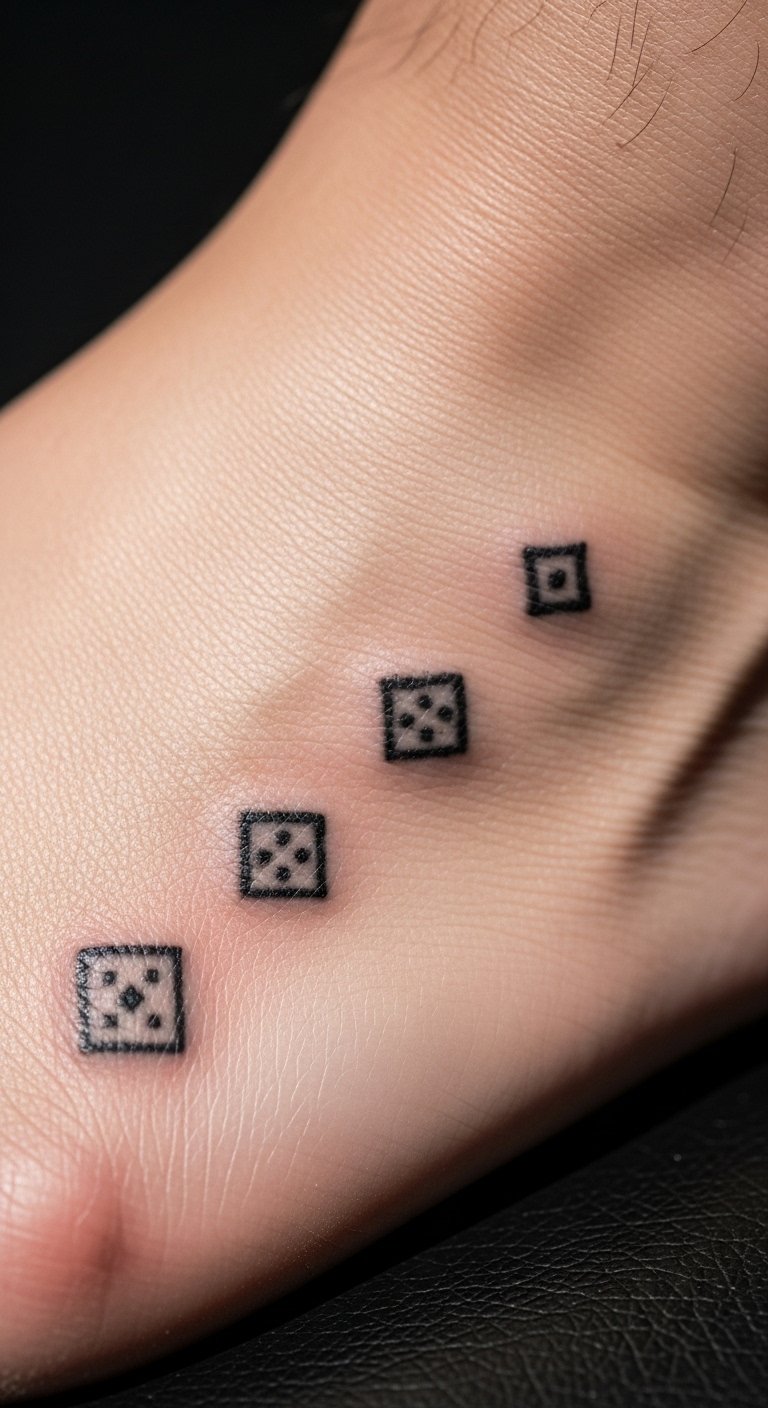
Feet are high-maintenance. I used tiny icons there and expected more fading. If you wear sandals often, expect faster blurring. Keep designs bold and simple.
Handpoke Organic Patchwork on Forearm
Style/Technique: Handpoke / Organic Lines
Pain Level: Low-Medium (3-4/10)
Session Time: Short sessions, built over time
Best For: Imperfect, handmade aesthetics
Handpoke gives an imperfect, human touch to patchwork. I like the raw edges it creates. Healing can be different than machine work; lines may look softer. Ask about artist handpoke experience. This is one of the under-covered approaches I noted.
Cultural Sigils in Geometric Patchwork on Inner Forearm
Style/Technique: Geometric / Symbolic
Pain Level: Low-Medium (3-4/10)
Session Time: Short sessions per sigil
Best For: Personal symbolism and subtle storytelling
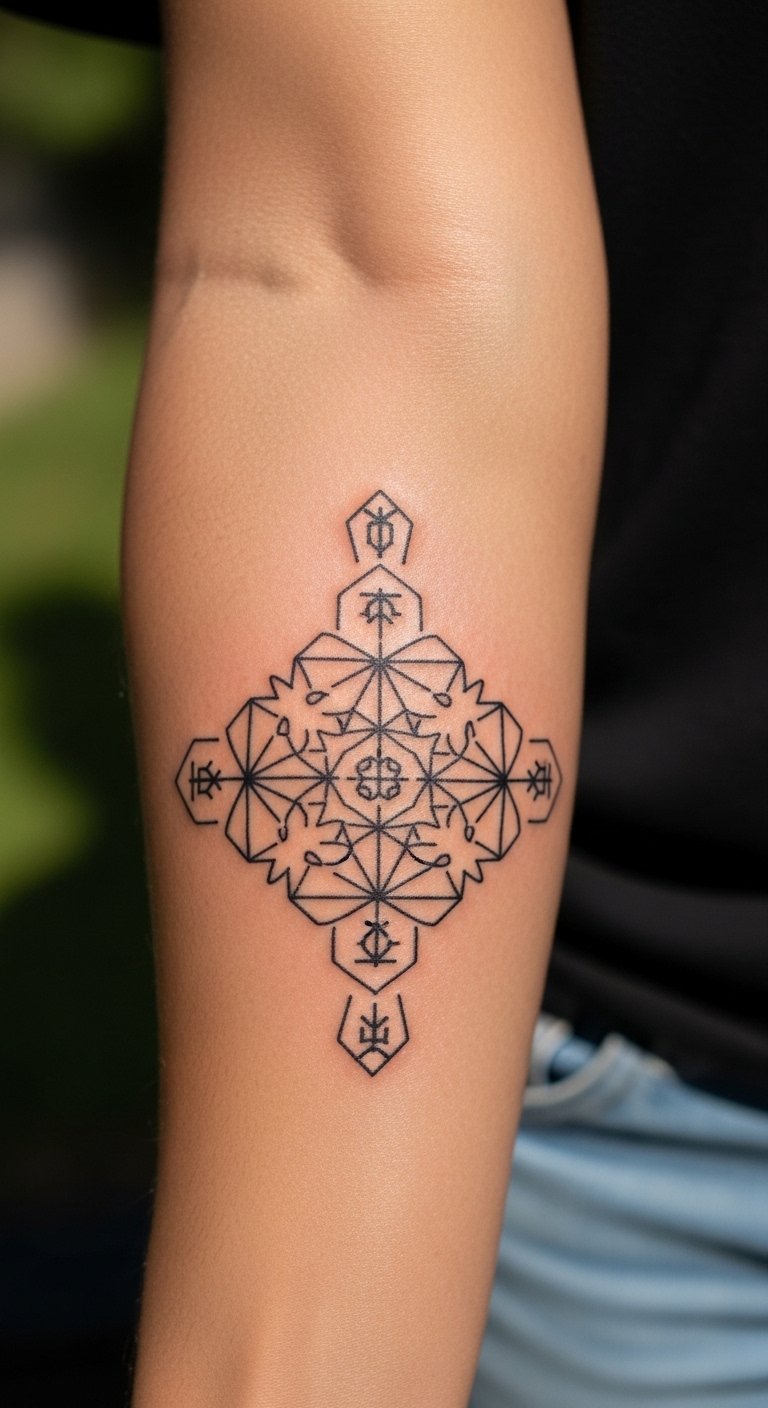
I’ve found cultural sigils add personal depth when integrated into geometric patchwork. Discuss meaning and placement with your artist. Healed geometry looks crisp if lines are solid. Avoid copying sacred designs without understanding them.
Oregon Nature-Themed Realism on Upper Arm
Style/Technique: Realistic / Regional Botanicals
Pain Level: Medium (4/10)
Session Time: Multiple sessions for detail
Best For: Hyper-personal regional sleeves
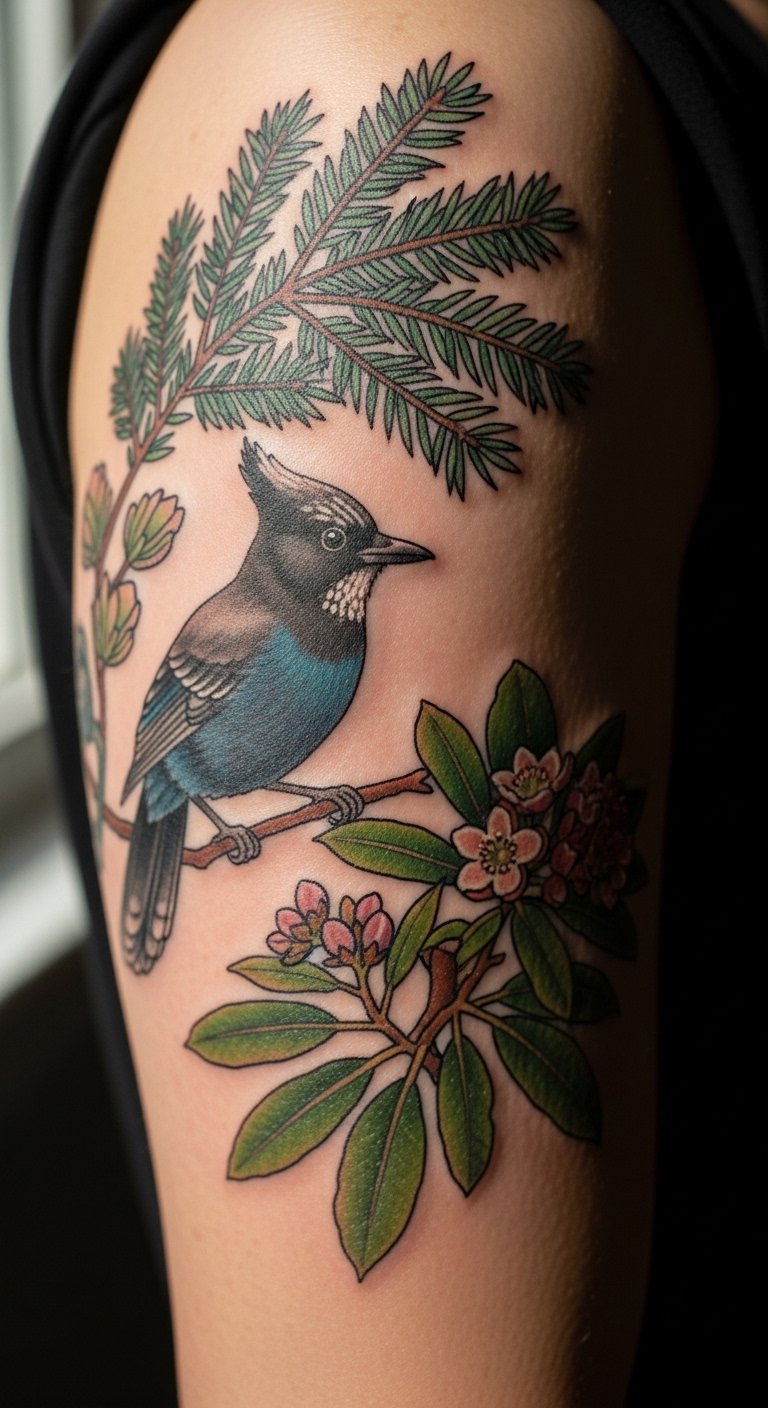
This is a unique angle I spotted—regional botanicals and animals create distinct, personal sleeves. I like how place-based imagery reads as a map of experience. Healed detail depends on artist realism skill—look for healed examples.
Tattoo Prep and Aftercare Essentials
Aftercare Essentials:
- Aquaphor Healing Ointment, 14oz tube — First 3-5 days for many artists
- Saniderm Transparent Adhesive Bandage, 6-inch roll — Second-skin option for initial healing
- CeraVe Fragrance-Free Moisturizing Lotion, 12oz — Daily moisturizer after scabs fall
Before Your Appointment:
- Tattoo Numbing Cream with 5% Lidocaine — Ask artist before use
- Tattoo Stencil Transfer Paper — For planning layouts at home
Long-Term Maintenance:
- SPF 50+ Sunscreen Stick for Tattoos — Daily protection prevents fading
- Mad Rabbit Tattoo Balm, 2oz — Healed-skin maintenance
- Hustle Butter Deluxe, 4oz — Vegan aftercare alternative
Optional Comfort & Repair:
- Hydrocolloid Bandages, Large — For small spot repairs
- Dr. Bronner's Unscented Castile Soap, 16oz — Gentle cleansing
I included products artists commonly recommend (Saniderm, Aquaphor, Mad Rabbit) and gentle cleansers I use personally.
Frequently Asked Questions
Q: How bad does a tattoo actually hurt?
A: Pain depends on placement. Forearm/upper arm = 3-4/10. Ribcage/spine/ankle = 7-8/10. It’s more a constant scratch or burning than sharp agony. For sensitive spots, consider tattoo numbing cream with 5% lidocaine but ask your artist first.
Q: What if I regret it?
A: Sit on ideas for months. Start with hidden or small patchwork tattoos you can add to. Laser removal exists, but plan as if it’s permanent.
Q: How do I keep my tattoo from fading?
A: Daily sunscreen is key. Use an SPF 50+ sunscreen stick every day. Blackwork fades slower than bright colors.
Q: Can I work out after getting a tattoo?
A: Wait 48-72 hours minimum. Sweat irritates fresh ink. For heavy flex areas, wait a week.
Q: Should I get a small tattoo first?
A: Only if you actually want it. Pain varies by placement, not just size. Small forearm pieces are a good first patchwork tattoo for many.
Q: How long does a tattoo heal?
A: Surface healing: 2-3 weeks. Full healing: ~2-3 months. First week is critical—clean gently and moisturize.
Q: Do tattoos look different on different skin tones?
A: Yes. Black and gray shows well across tones. Bright colors may appear muted on deeper skin. Ask to see healed examples on similar skin tones.
Final Thoughts
Start slowly. I built my patchwork over years and never regretted pacing. A good artist will help make pieces cohesive, and simple aftercare—Aquaphor and daily SPF—keeps ink vibrant. Which patchwork idea are you leaning toward?
