
Someone I know spent months scrolling portfolios before realizing the hard part was not picking a cool design. It was choosing one that actually reads the same after a year. I spent time in five shops across Brooklyn and talked with an artist who specializes in fine line, and patterns kept repeating: flat placements, bold contrast, and test stencils matter more than trends. Below are 20 optical illusion tattoo ideas that consider placement, healing, and how they age so you get the effect you expect.
1. Penrose Triangle Forearm Piece
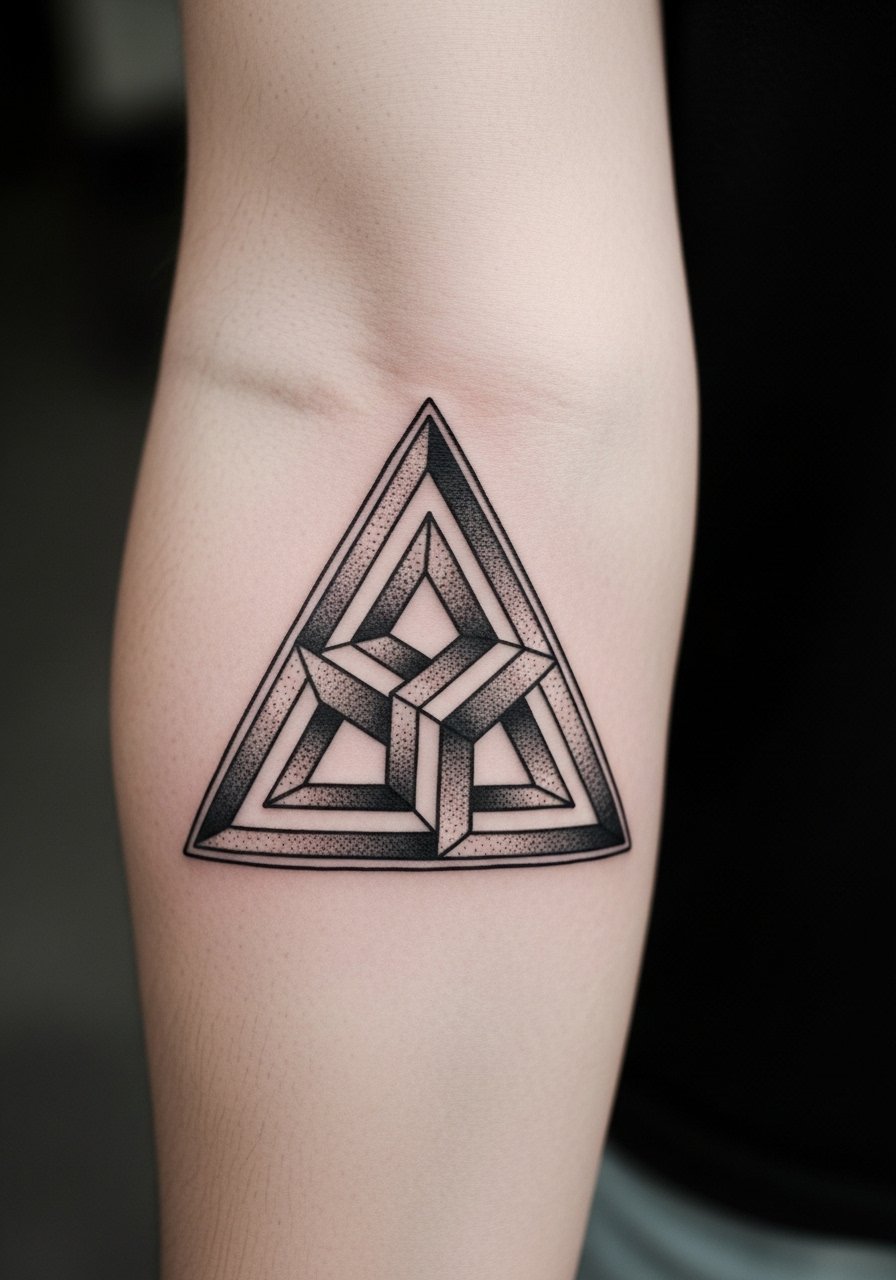
Someone I know first saw this on a friend's forearm and the geometry never stopped looking crisp. Recommend the outer forearm for a flat surface so the impossible loop reads correctly when you bend your wrist. Tell your artist you want a slightly heavier lineweight and tight spacing between corners so the shape keeps its silhouette after a couple of touch-ups. Small Penrose triangles go flat in photos, so aim 4 to 6 inches tall and expect a one to two hour session. Blowout risk is low on the forearm but fine line versions blur faster, so plan a touch-up around year two if you want razor edges.
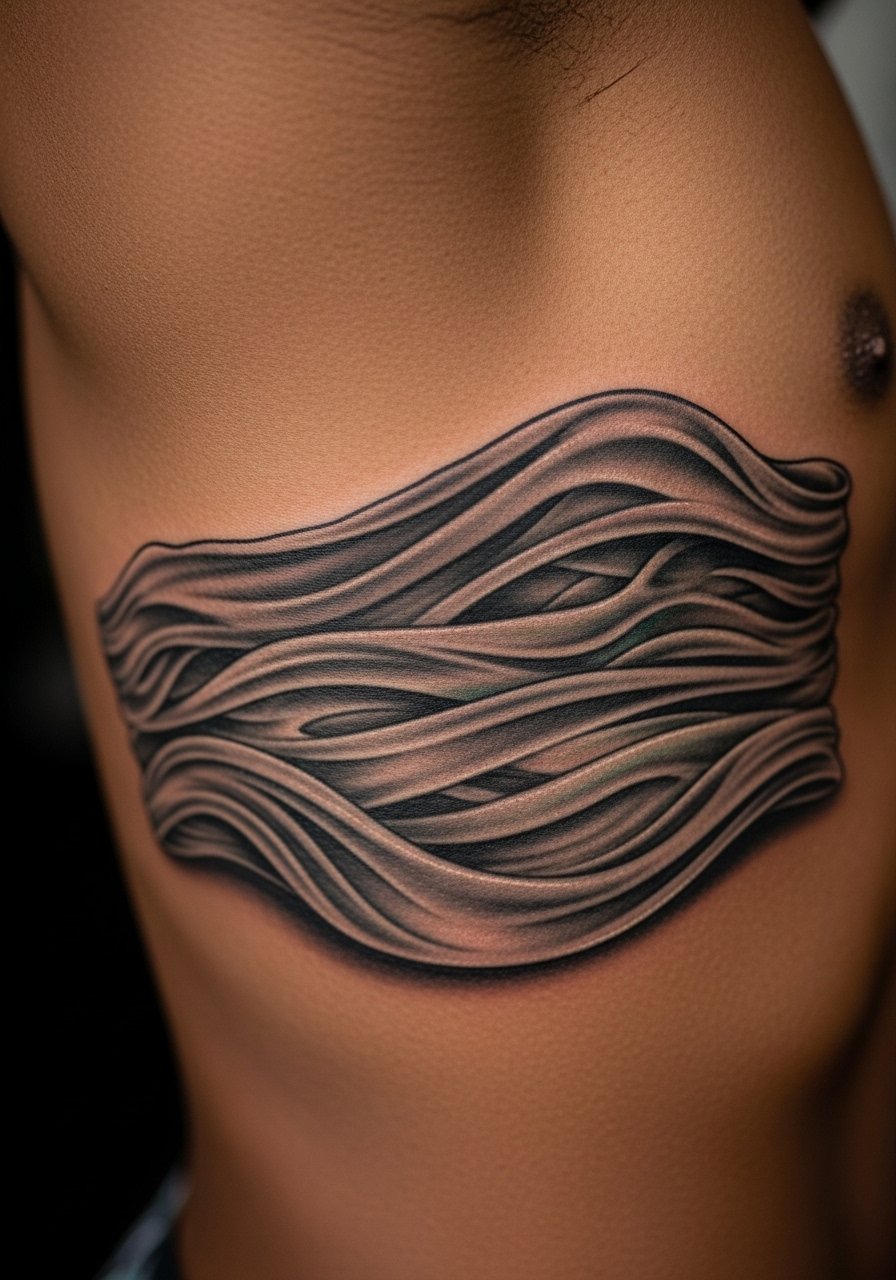
2. Rippling Skin Illusion on the Bicep
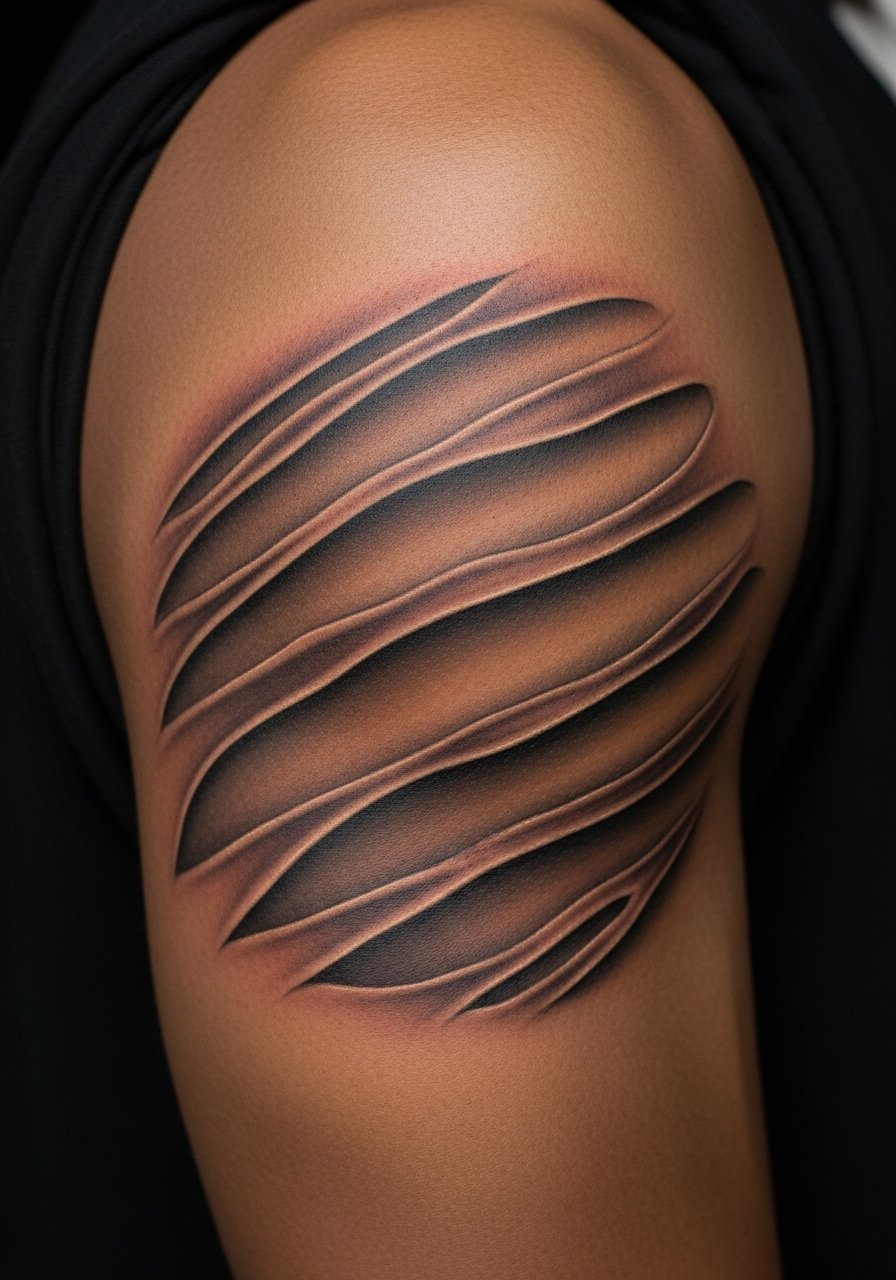
Fair warning, the bicep warps with muscle and that is exactly the point here. This design mimics skin tearing or waving so it moves with a flex. Bring motion references and short video clips to your consult so the artist maps highlights to muscle peaks. Expect longer sessions because micro-realistic shading takes time and layering. The common mistake is flattening the ripples with uniform shading. Instead ask for directional stipple shading and high contrast at fold lines. On darker skin prioritize solid black outlines and negative space rather than pale gray blends so the effect lasts through healing and two years beyond.
3. Negative Space Cube Forearm
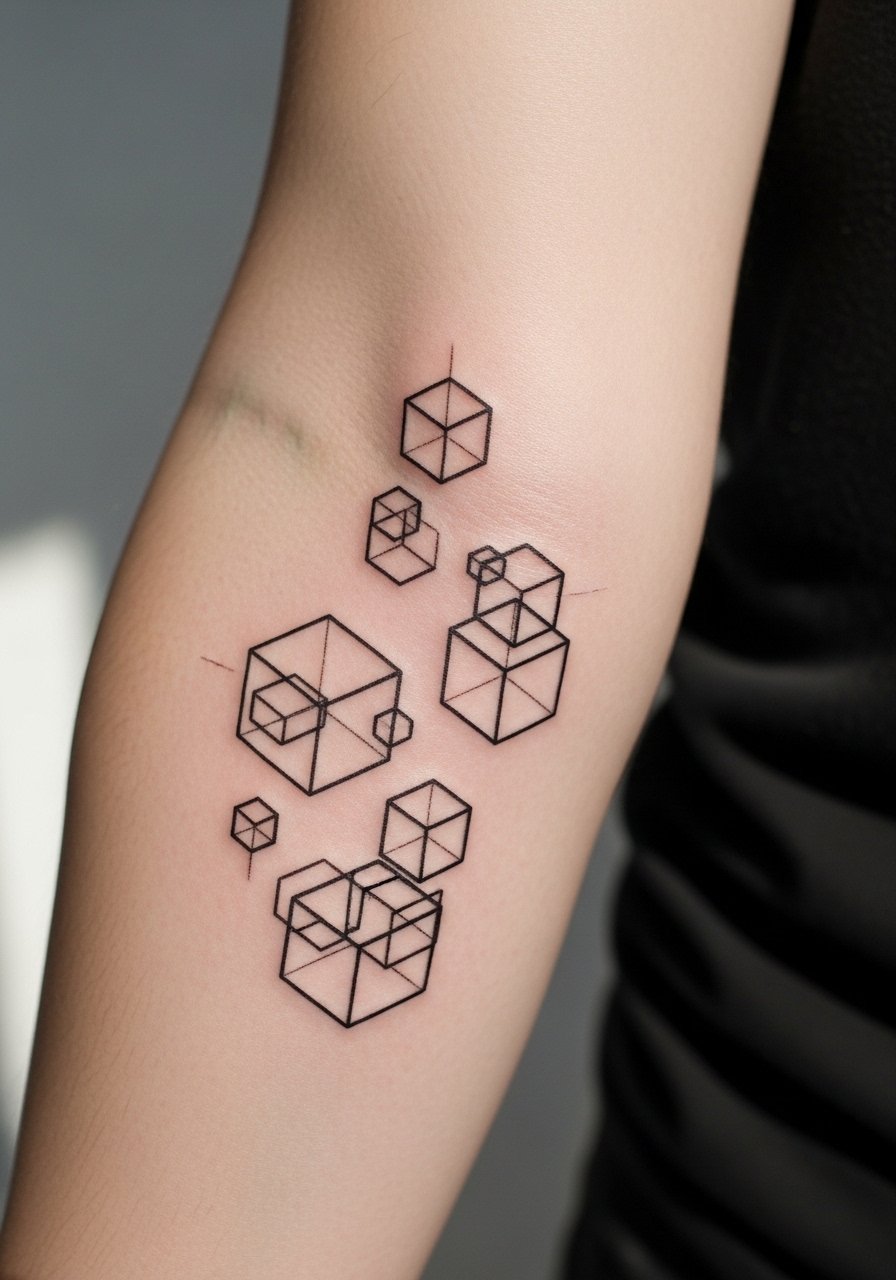
When people ask for minimalist cubes they often want tiny single lines that blur. The trick is to use skin as the fourth plane and keep the outer edges bold enough to preserve the void. At the consult say you want the skin to read as part of the cube, not just blank space. Most artists split on fine line longevity. One camp says thin lines on inner forearms blur within 1 to 2 years. The other camp argues that with proper needle depth and spacing it can settle cleanly. Ask your artist how they space lines and what touch-up timeline they recommend. Expect low pain and one to two short sessions.
4. 3D Hole in the Calf
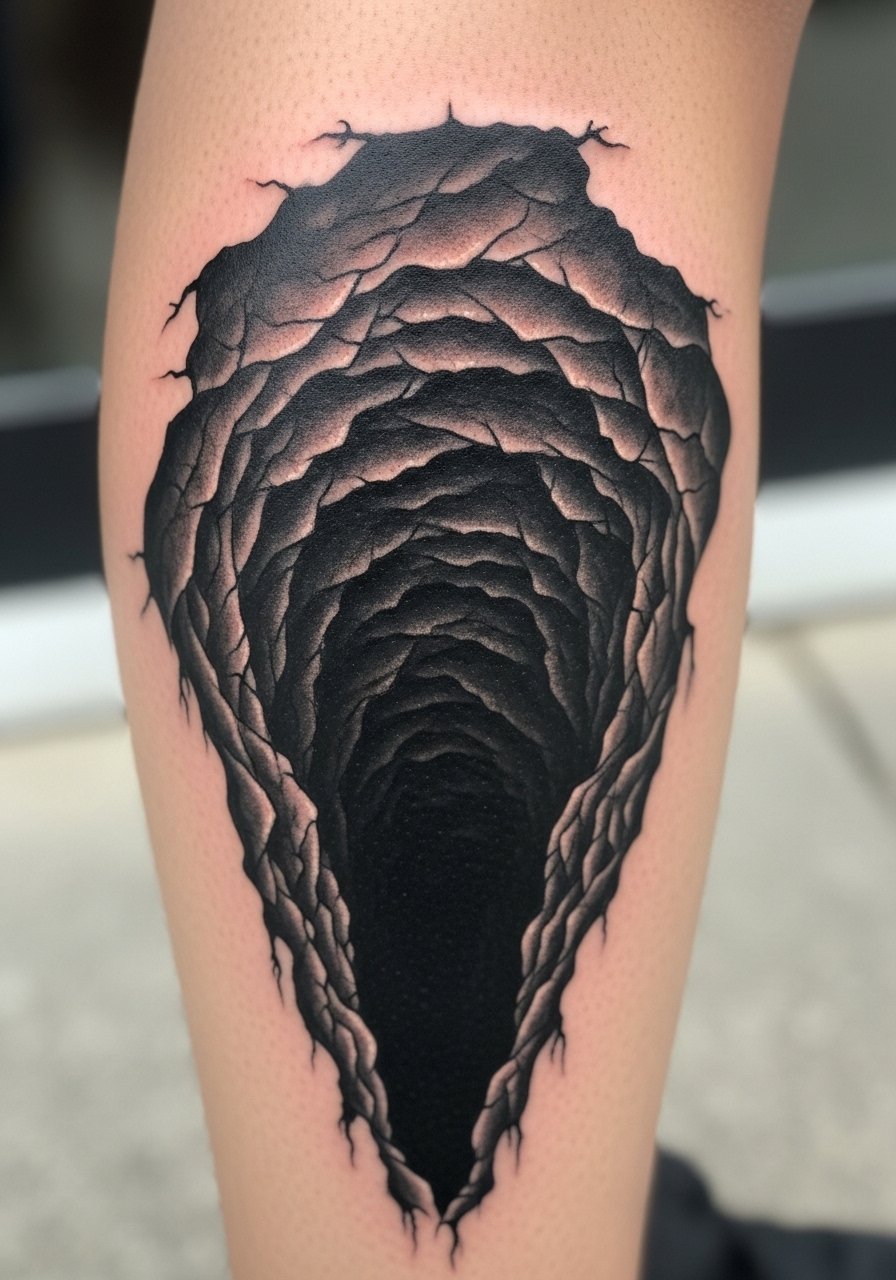
Calves are trending for portal-style designs because heat and movement during summer healing are easier to manage than ribs. For a convincing hole you need deep contrast and a few soft white highlights. Tell your artist you want layered gray washes to sell the depth and to preview the stencil while standing. A common mistake is under-shading the inner rim which flattens the illusion. Sessions usually run two to three hours and you may need a touch-up once the swelling fully subsides. Expect more attention to aftercare in hot months.
5. Spinning Wheel Wrist Illusion
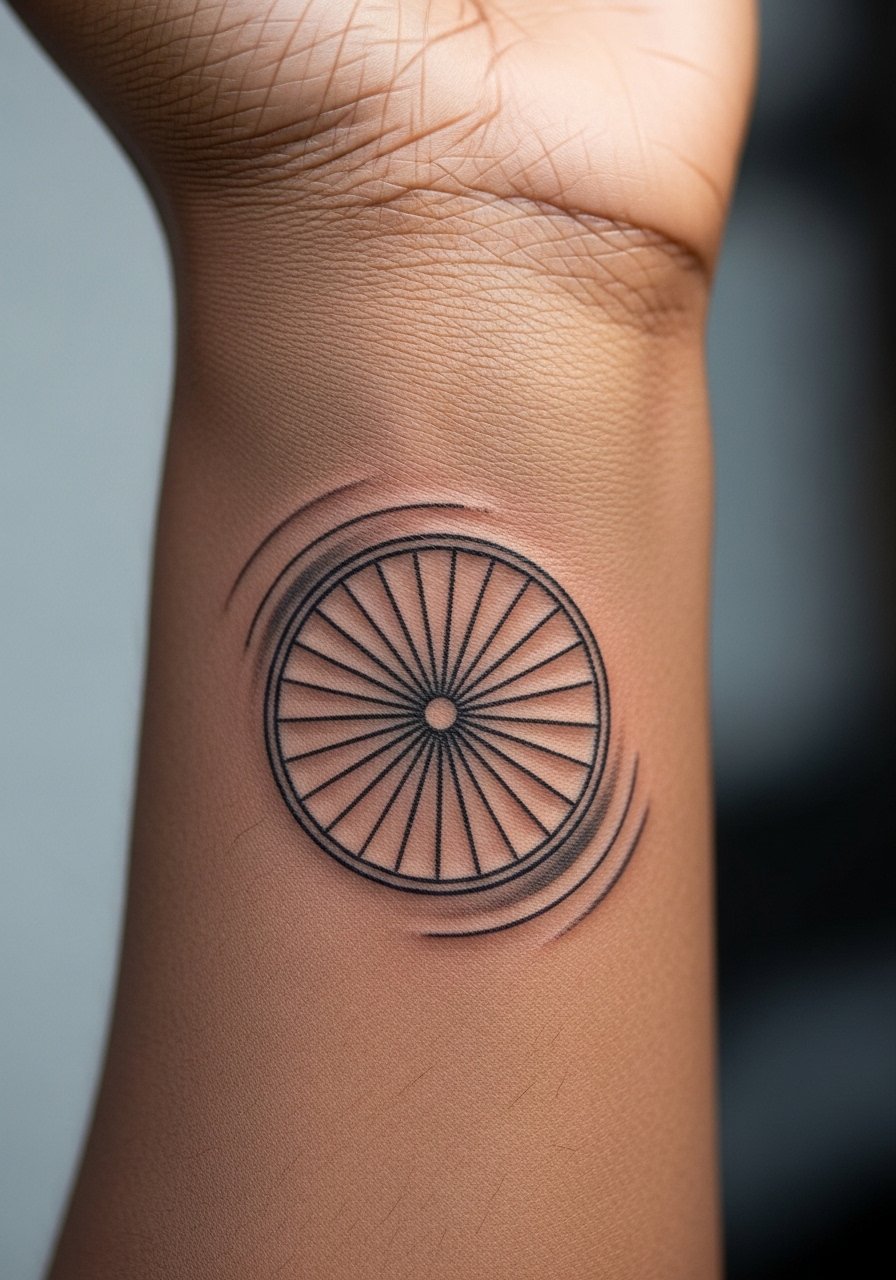
This is a great small optical piece for visible spots if you want a mind-bending effect without size. Keep it around two inches so the concentric lines create the perceived rotation. The biggest mistake is going too small; compressed lines blur into a gray disc. Tell the artist you want crisp separation and ask to see healed examples of radial work on wrists. Pain is moderate because the wrist has thin skin. One session is usually enough but expect a touch-up within a couple of years if you wear watches or bracelets that rub the area.
6. Floating Skull Thigh Piece
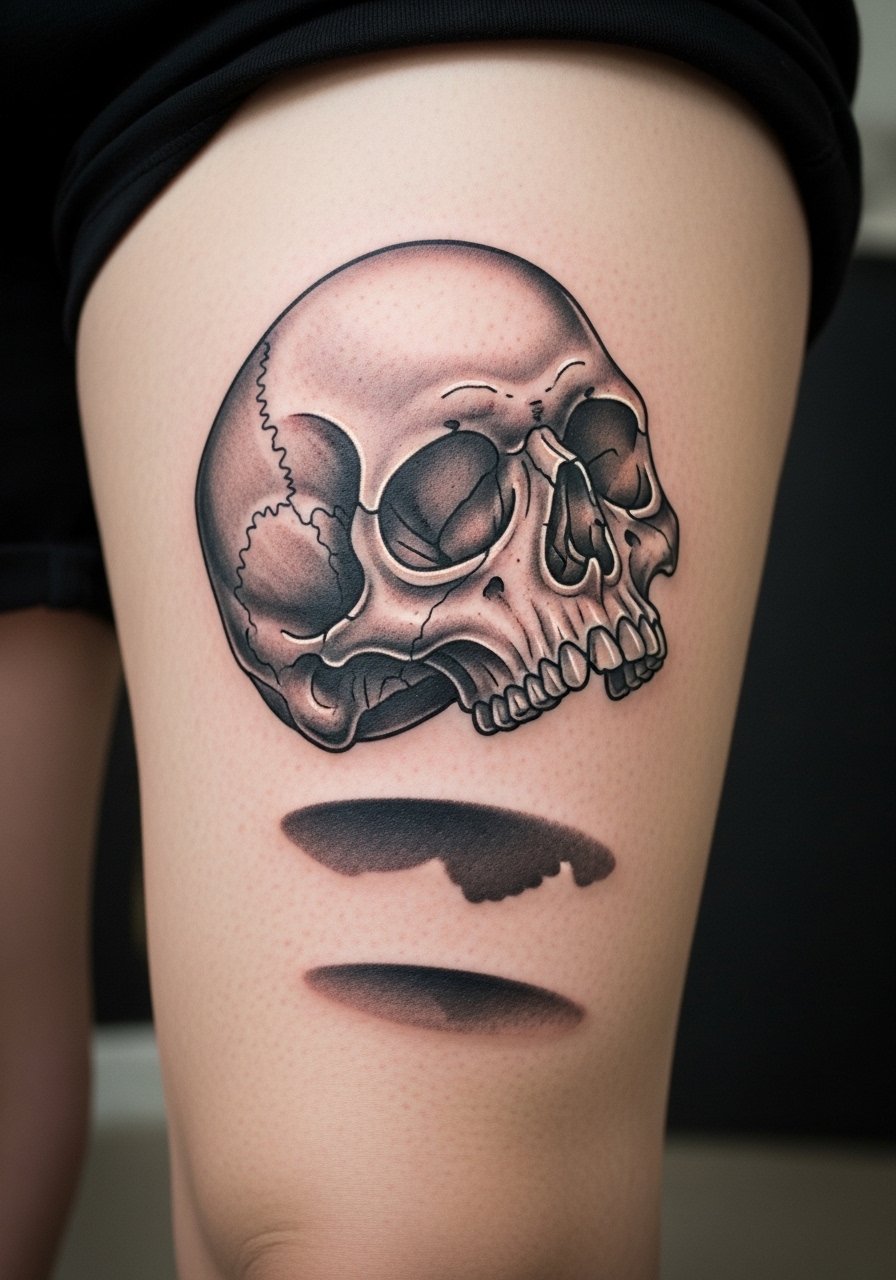
Thighs give room for an 8-inch composition that appears to levitate thanks to under-shadowing. A common version that ages poorly uses faint shadows that disappear as the ink settles. Ask for a defined dropped shadow and a slightly higher saturation near the skull base so the levitation reads even after a year. Sessions are longer and pain is lower than ribs. Note the thigh tolerates layering well, so split into two or three sessions for saturation and depth. Expect low blowout risk but plan for a touch-up if fine gradients soften.
7. Escher-Inspired Staircase Sleeve Start
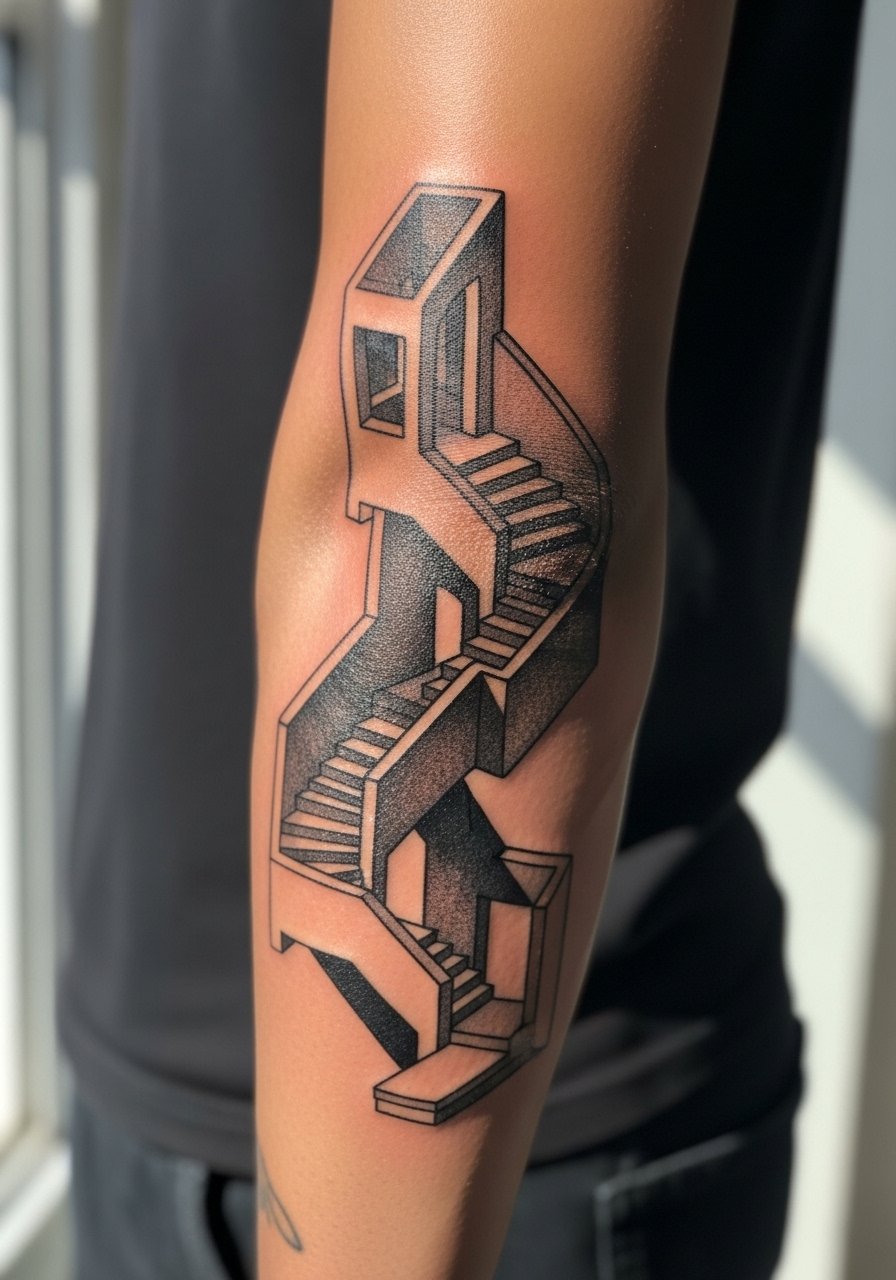
When you commit to a sleeve start that loops visually, you are signing up for staged work over years and a consistent line language. Artists sometimes disagree on how tight the stairs can be. One group favors slightly thicker lines to hold across sessions. The other group says finer lines keep the optical trick delicate. During consult ask how the artist plans spacing across future panels and whether they recommend bold anchors to prevent blur. Expect four or more sessions for the lower arm span and a multi-year build if you want a full sleeve.
8. Dimensional Eye on the Hand
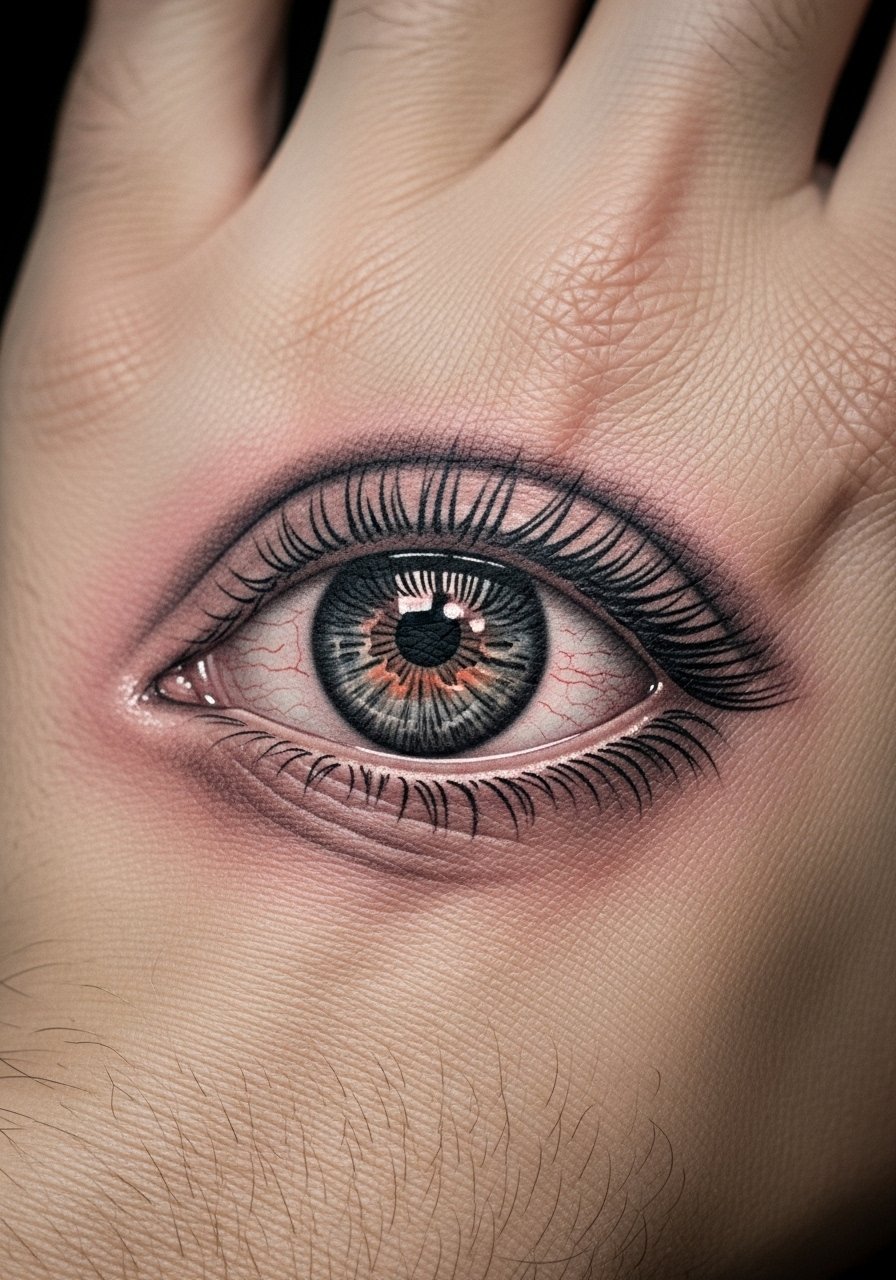
Hand tattoos take heavy wear and can lose subtle shading fast. This eye is designed to seem to follow movement through layered shading and a slight raised highlight. Hand placements require a one to two hour session and carry higher touch-up risk because of constant exposure. Also consider professional ramifications because hand tattoos still affect hiring in some industries. The common mistake is asking for delicate gray smudges on hands. Opt for stronger contrast and negative space to keep the pupil and iris crisp as it heals.
9. Impossible Arrow Chest Tattoo
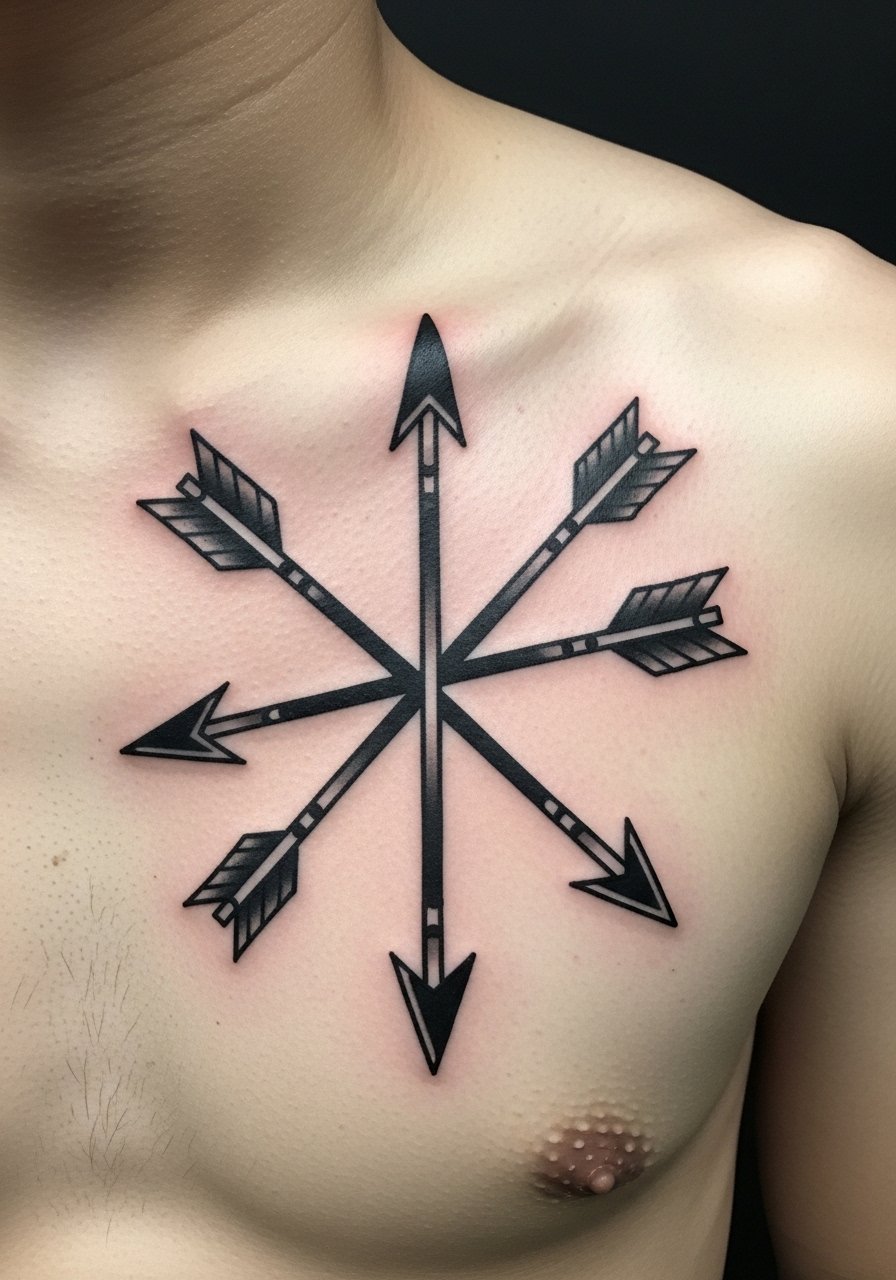
Chest pieces read boldly across shirts and jackets and make a statement when constructed with directional shading to suggest overlapping. For impossible arrows, request clear overlaps and small shadow anchors where arrows cross. The rib region near the chest can be painful, so expect shorter bursts if the piece extends inward. A common aging issue is faint gray washes getting lost on sun-exposed chests. Plan sun protection and schedule a touch-up around year three if the saturation drops.
10. Waving Flag Rib Illusion
Fair warning, ribs are a top pain spot especially for first-timers. This design sells with directional shadows that follow the contour of the ribcage and breathe when you move. The usual mistake is trying a too-small flag, which loses the sense of fabric. If you want a patriotic piece consider breaking it into two sessions to manage pain. Numbing cream is common for long rib sessions yet artists are split about its use. One camp uses it for comfort and longer saturation sessions. The other calls it unnecessary for short bursts. Decide in consult and plan check-ins every 30 minutes.
11. 4D Sphere Shoulder Piece
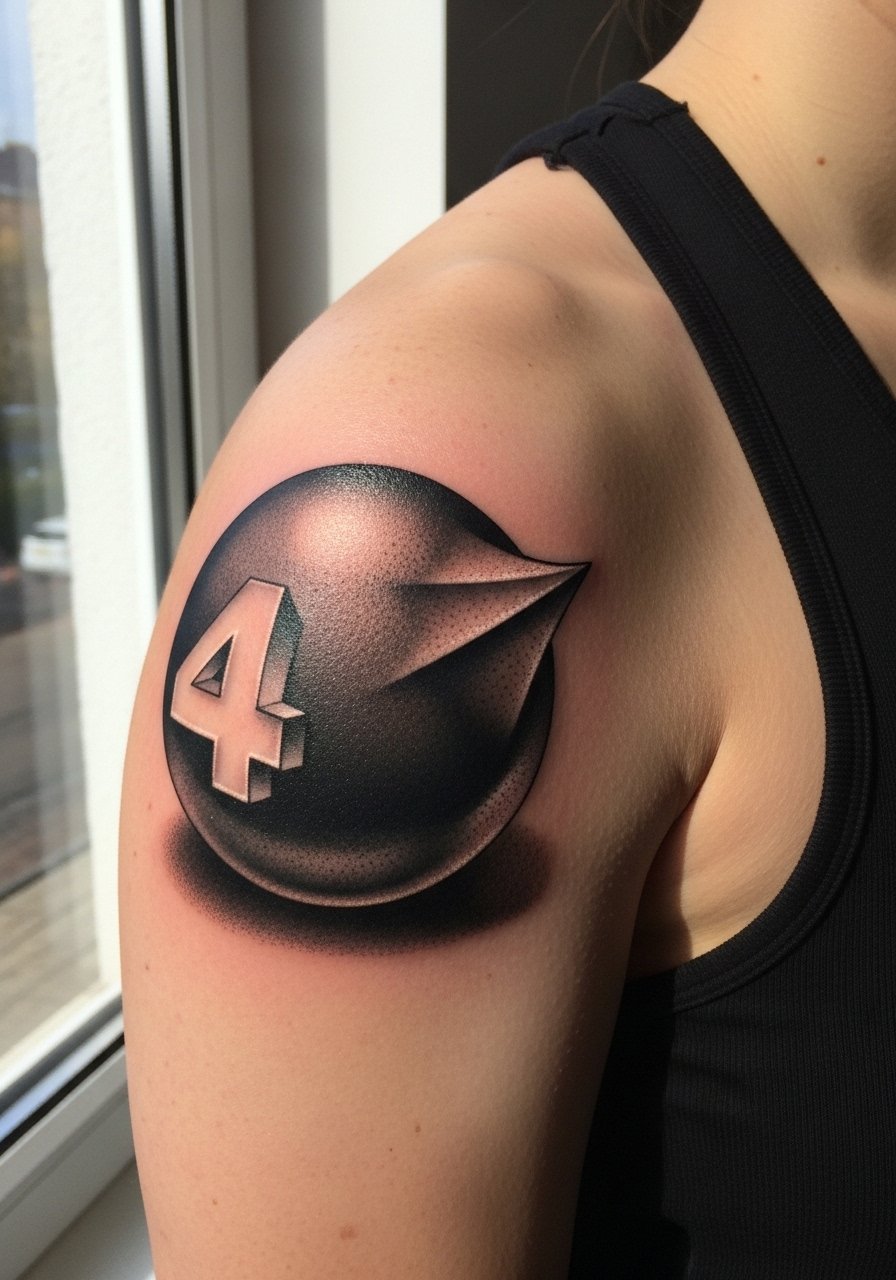
Shoulders are excellent for spherical illusions because the curvature helps the eye interpret convexity. A 6-inch sphere benefits from concentrated saturation at the edges and soft highlights near the crown. The common error is trying to mimic 3D with flat shading. Ask your artist to preview the piece from multiple angles while you stand. Session time is three to four hours and you may need a secondary pass for saturation. Remember that clothing friction and sun exposure can affect outer edge saturation, so sunscreen is part of long-term maintenance.
12. Fractal Pattern Ankle Wrap
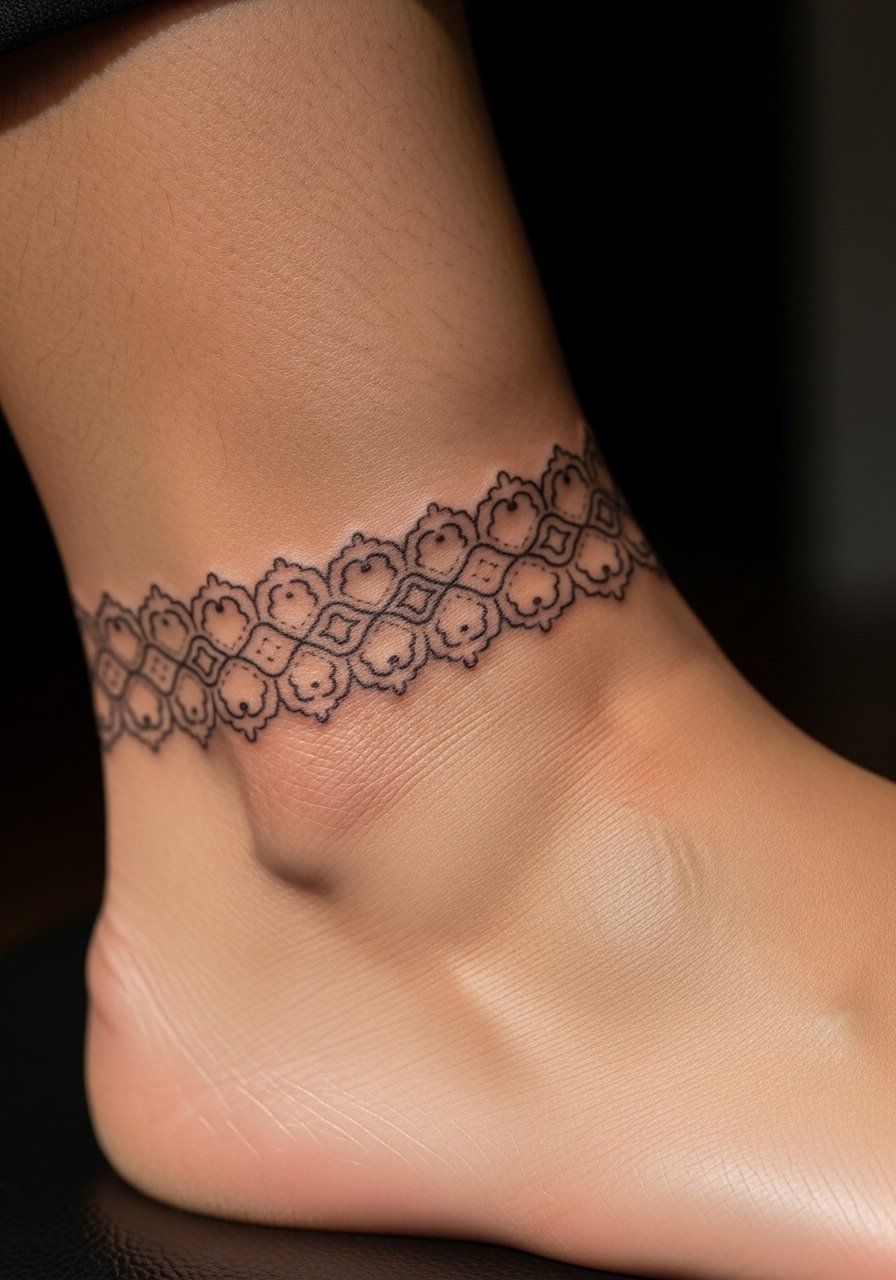
Ankles work well for repeating motifs that imply infinite zoom. Keep the band about four inches around to give lines room to breathe. The biggest mistake is compressing detail into too small a circumference which leads to early blurring. Tell your artist you want slightly wider gaps between radial elements and ask about foot movement while standing. Pain is moderate on the ankle. Expect one to two short sessions and a touch-up option if the inner band sees friction from shoes.
13. Knuckle Motion Illusions
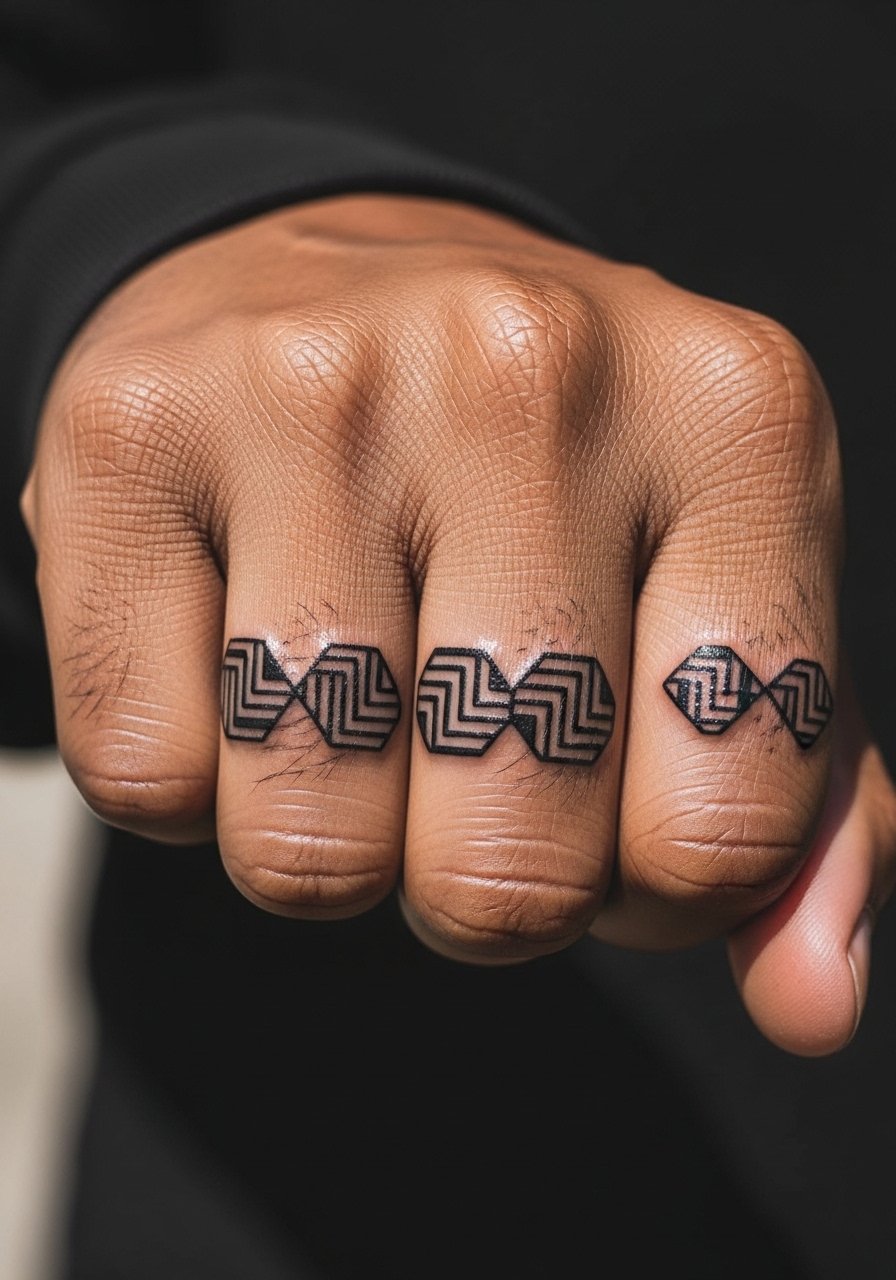
Knuckles are intimate and interactive because they move when you flex. One intriguing approach uses a set of tiny repeating shapes that animate with a fist. Keep the design bold and simple. The common mistake is too much tiny detail which fades into smudged dots. Also note that knuckled designs require skilled placement to align with joint creases. Pain is high and touch-ups are frequent. Think about career implications and ask if the artist has healed knuckle examples to show before booking.
14. UV-Reveal Layered Illusion
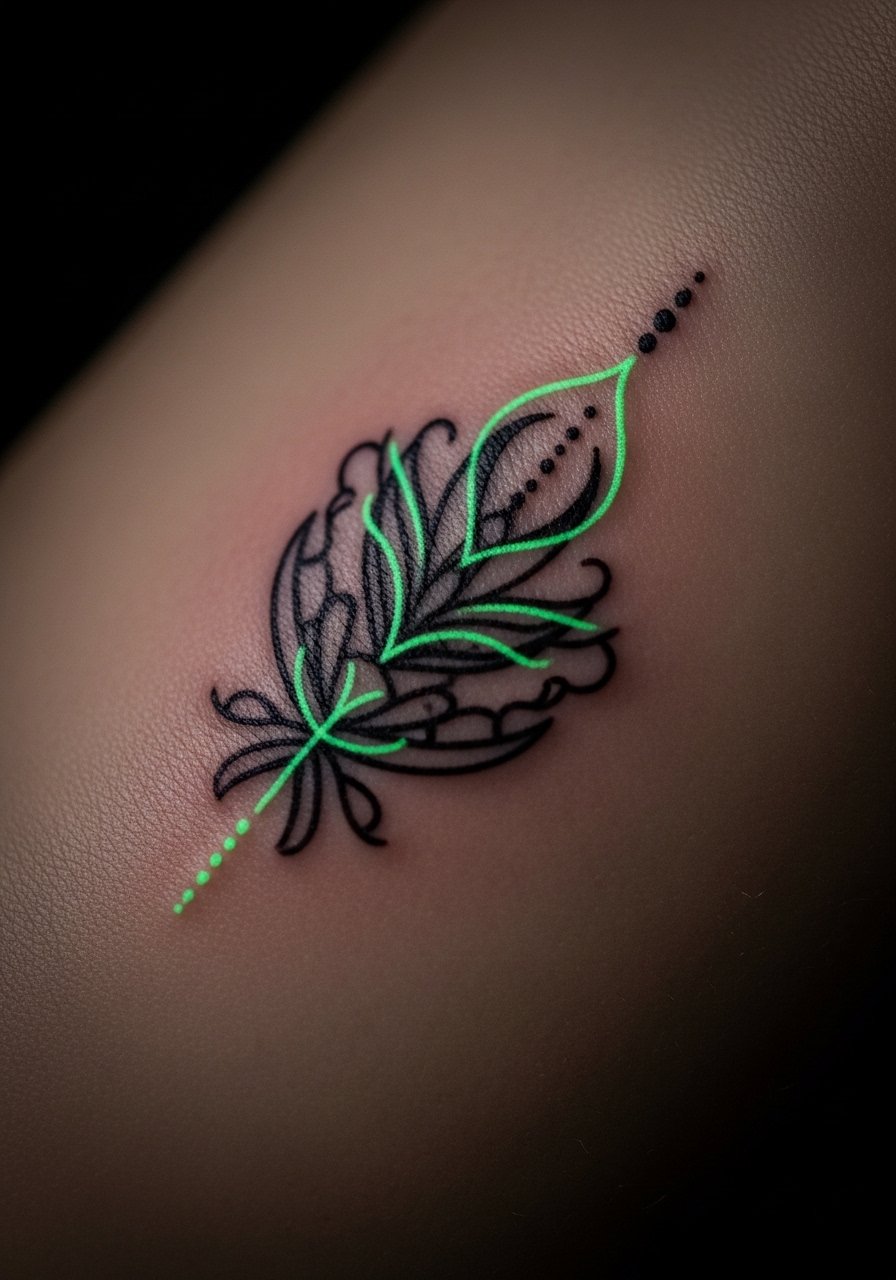
Pairing a visible blackwork illusion with UV ink adds a hidden layer that appears under blacklight. This is one of the under-covered ideas that a lot of people ask about for festival season. Ask your artist about UV ink sources and how they test saturation in healed shots. Be aware UV pigments behave differently on darker skin and may not glow the same. Sessions are slightly longer because of layering and specialized ink handling. If you want a UV reveal show your artist a clear plan for where the glow should appear and expect a touch-up focused on the UV layer.
15. Patchwork Illusion Sleeve Elements
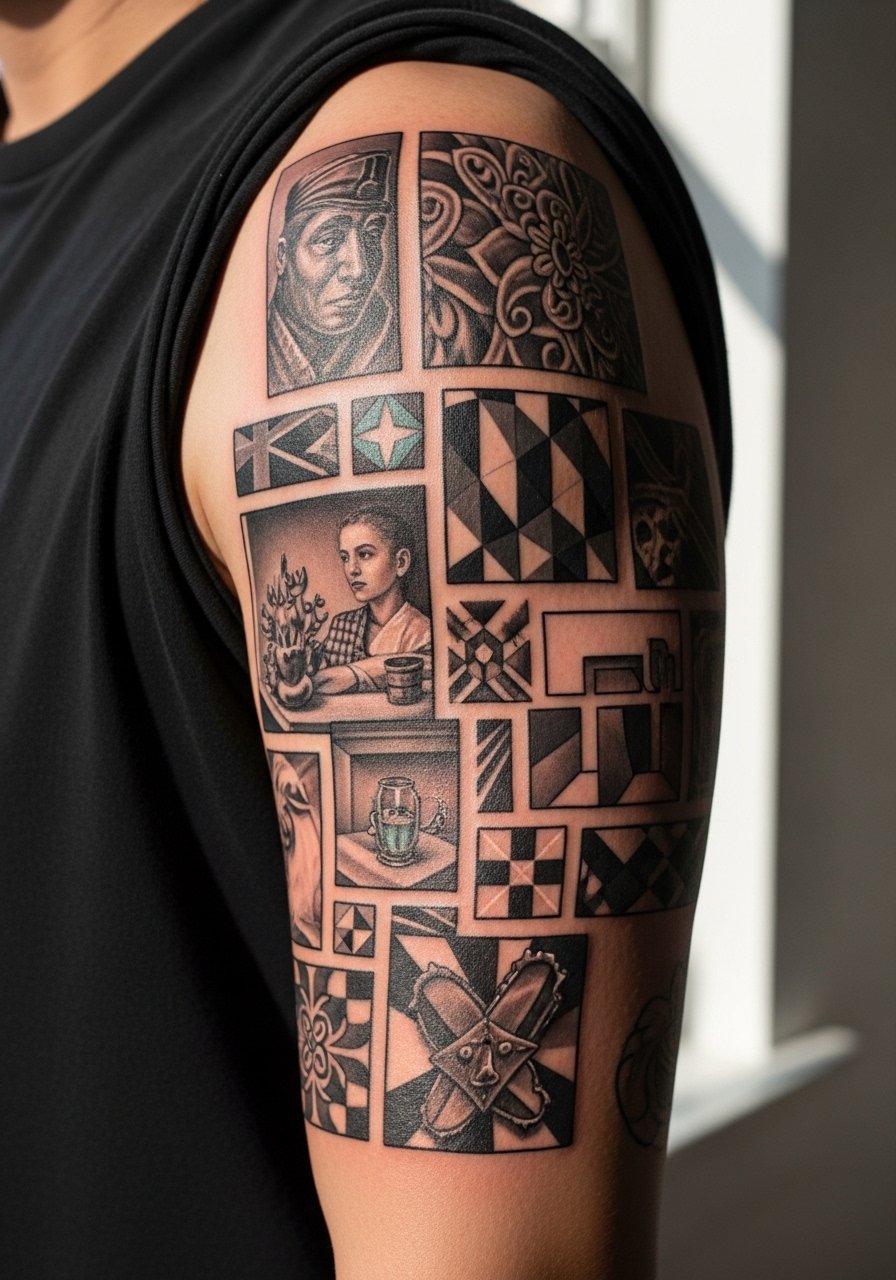
Building an evolving sleeve over years is a different commitment than a single-session piece. Patchwork illusion sleeves let you add panels that create depth variety as the arm fills. The usual error is mismatched line language across artists which breaks the visual rhythm. When planning, map a few anchor motifs the next artist can reference so future panels match linework and saturation. Sessions are staggered and you should expect periodic touch-ups to blend old and new panels.
16. Negative Space For Darker Skin
I noticed a gap in galleries for darker skin examples so this approach leans on negative space instead of subtle gray shading. Ask for strong black anchors and larger negative cuts so the pattern reads clearly after healing. The common mistake on darker skin is relying on pale gray gradients that wash out. Expect low pain on the inner forearm and plan for a one to two session build if the artist layers saturation for deeper contrast. This style ages well if you prioritize UV protection and stronger linework.
17. Stipple Shaded Ring Around the Elbow
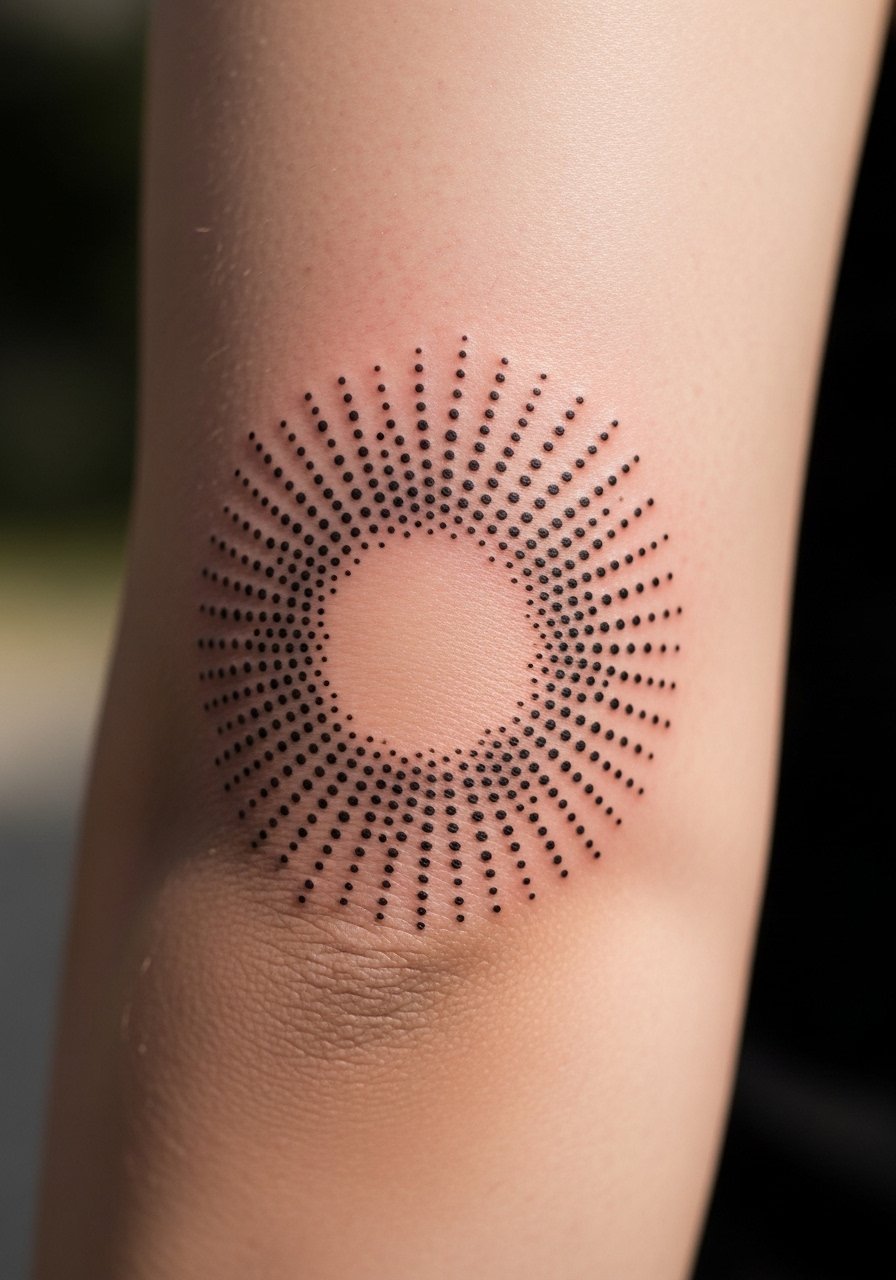
Elbow placements are tricky because skin folds and stretches, yet a stipple ring can emphasize that movement for an optical effect. Tell the artist you want the dot density to decrease toward the outer edge so the ring reads as a gradient rather than a solid block. The common mistake is uniform dot density which puckers during healing. Sessions are typically split because the elbow requires breaks. Expect some touch-up work after the first six months as the skin at the crease settles.
18. Escher Knot on the Ankle
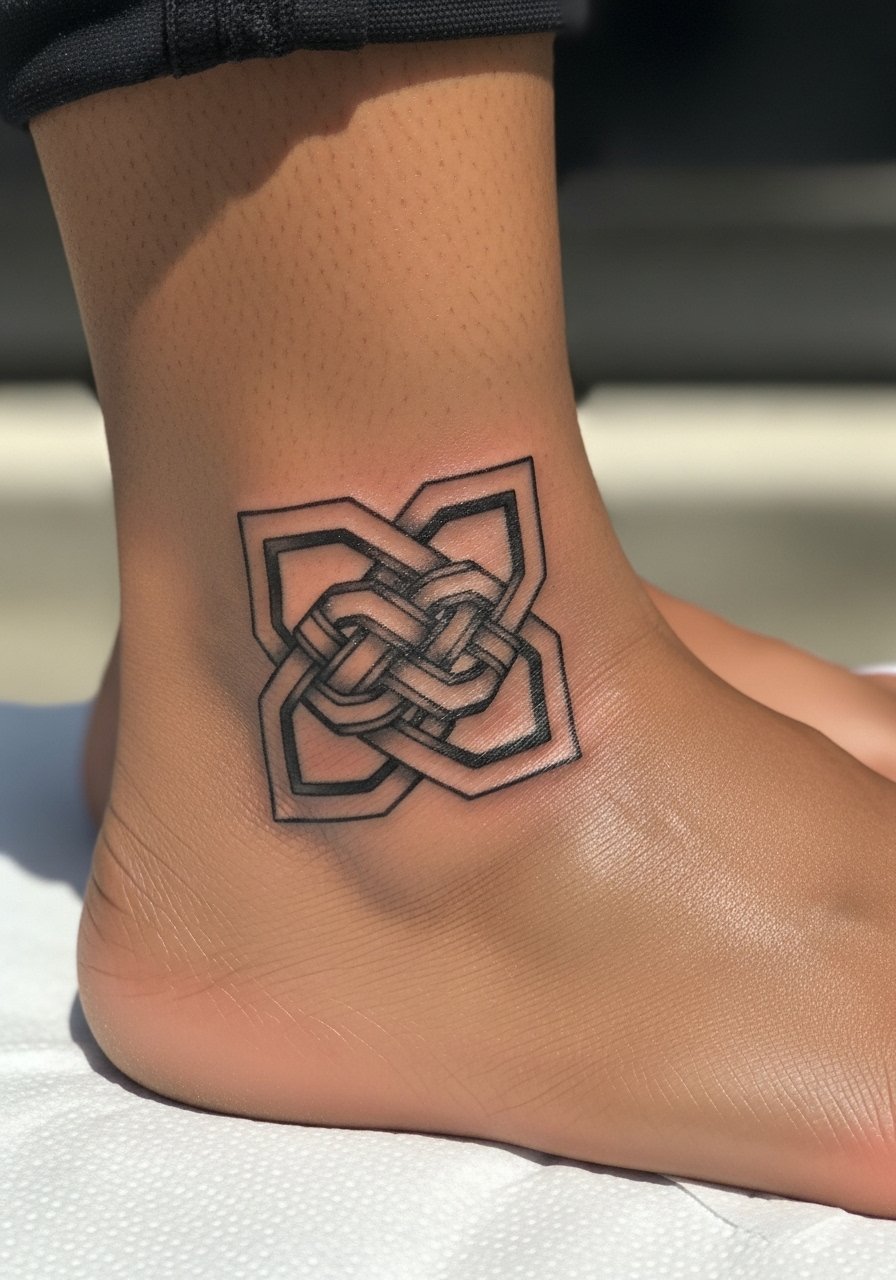
Ankle placements are low on the pain scale compared to ribs yet still visible. An interlocking knot benefits from thicker anchors where lines intersect to prevent later blur. The biggest mistake is using extremely thin linework that turns into a gray blur after activity and shoe friction. Ask the artist for reinforced intersections and preview the wrap while standing. One to two sessions usually cover it, and a touch-up might be needed after the first season of wearing boots or heavy socks.
19. Optical Mandala on Upper Back

Upper back gives room to place a mandala that seems to pulse because of alternating black and negative rings. When you consult ask for radial spacing that widens slightly toward the outer rings so the effect survives touch-up cycles. The typical mistake is packing too many tiny elements into the center which muddles after healing. Sessions are moderate length and pain is low. Plan a touch-up at year two if you want lines to stay crisp, and protect the area from sun when possible.
20. Floating Geometric Throat Accent
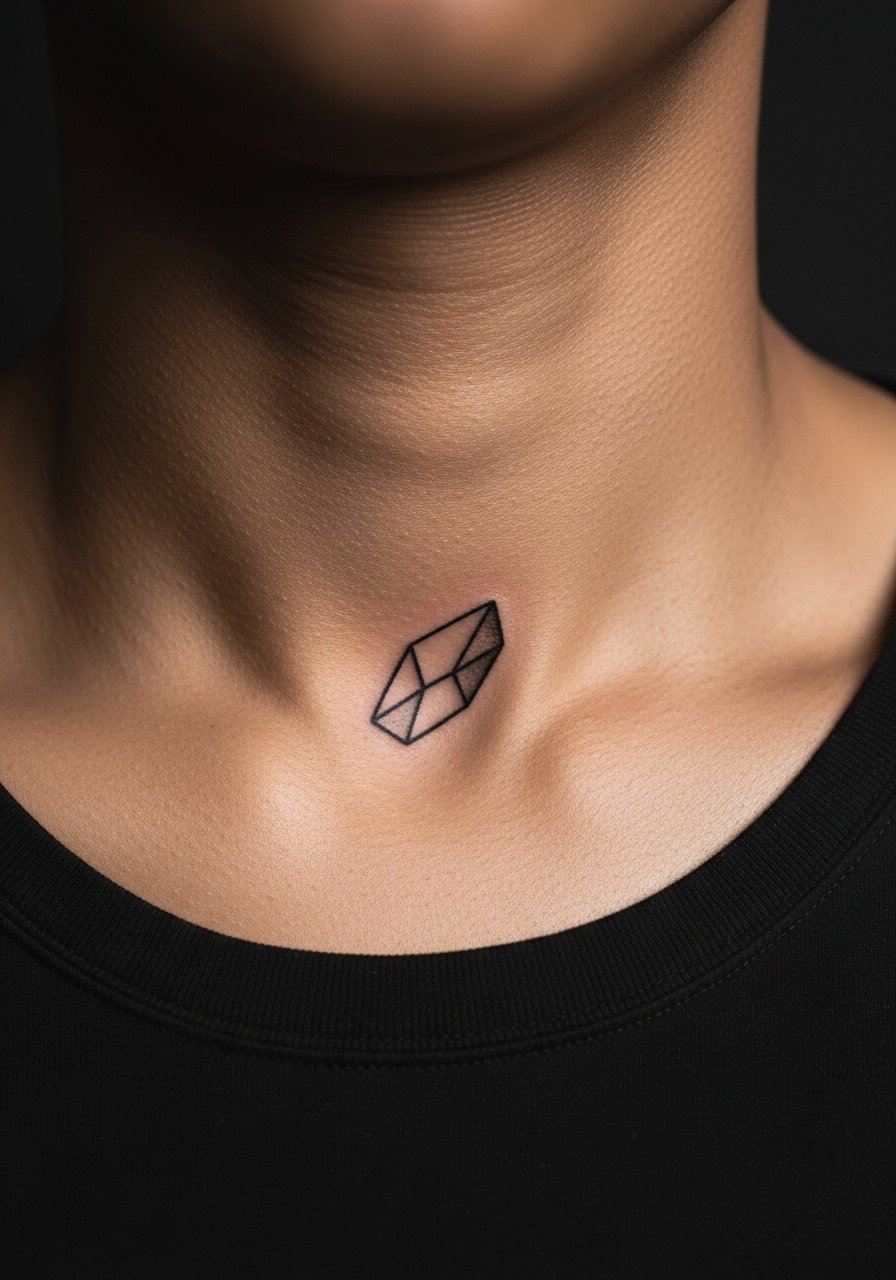
Neck and sternum-adjacent placements are high-visibility choices and require an experienced hand because the skin is thin and moves with breathing. For a small floating geometry keep the piece compact and symmetrical so breathing does not warp the illusion. The common mistake is overcomplicating the center which amplifies blowout risk. Expect moderate pain and ask the artist about their healed neck portfolio. Also note some cultures treat throat markings differently so be mindful of the design's origins.
Tattoo Prep and Aftercare Essentials
Below are items to bring to a session and products that help keep detailed illusions crisp while they heal. Links go to targeted Amazon searches. Replace with the exact product you and your artist prefer.
Healing and aftercare essentials
fragrance-free tattoo healing balm, light, non-greasy. A lightweight balm applied thinly after the initial bandage helps maintain saturation without clogging pores. Use sparingly and follow your artist's timing.
medical-grade second skin bandage, small sheets. Use as the initial covering for detailed pieces when your artist recommends occlusion to protect fragile shading.
gentle pH-balanced cleanser for tattooed skin. Use a soft, fragrance-free cleanser for the first two weeks to remove debris without stripping pigment.
breathable silicone scar sheet, small size. For raised areas of heavier shading a silicone sheet can help flatten and protect during later healing stages.
Pre-appointment prep
soft sensitive-skin razor for stencil areas. If you need to shave around the stencil do it gently the day before and moisturize the skin.
reusable water bottle and snack kit. Long sessions need hydration and a small snack to keep energy steady.
Long-term maintenance
mineral sunscreen SPF 50 for tattoos. UV protection preserves contrast and slows fading for shaded illusions.
fragrance-free moisturizing lotion, non-comedogenic. Daily moisture keeps skin supple and sustains saturation after healing.
Every tattoo is different. Always follow your artist's specific aftercare instructions. Consult a dermatologist if you have skin concerns or unusual healing issues.
Frequently Asked Questions
Q: Will a Penrose triangle on the forearm still read well after two years?
A: In my experience a forearm Penrose with slightly heavier lineweight and room to breathe will keep its shape longer than a tiny version. Expect some softening at the edges by year two, and budget for a light touch-up if you want razor crispness.
Q: Do 3D hole tattoos on calves need different aftercare in summer?
A: Yes. Calves heal in heat and sweat, so manage heat rash and friction by wearing breathable fabrics and changing bandages more often. A medical-grade second skin sheet in the first 24 to 48 hours can help; follow your artist's timing for occlusive care.
Q: I have dark skin. Are negative space illusions a better option than subtle gray shading?
A: From what I've seen negative space with bold black anchors tends to hold up better on darker tones because subtle grays can wash out during healing. Ask for higher contrast and larger negative cuts so the design reads at every stage.
Q: Saniderm versus dry healing for detailed shading, which camp is right?
A: Artists are split. One camp favors Saniderm for keeping detailed shading intact and reducing picking. The other camp worries it can trap moisture in heavy black areas. Decide this with your artist and monitor the bandage closely, changing it if excess fluid accumulates.
Q: How long before a micro-realism eye on the hand looks "healed" and stable?
A: Hands often show initial settling at two to four weeks, but true stability may take three to six months because of wear and sun exposure. Plan on a touch-up window around three months to reinforce fine shading once the area has fully settled.
