
Small hand pieces age differently than wrist or forearm work, and the trick is choosing designs that read clean as the skin shifts and you wash your hands a lot. Pick slightly more space, a hairier line weight on friction zones, and a placement that gets occasional cover during heavy activity. Read the first idea to see how a tiny butterfly at the thumb base can outlast a front-of-finger micro if you plan for spacing and touch-ups.
1. Tiny Single Butterfly, Base of Thumb
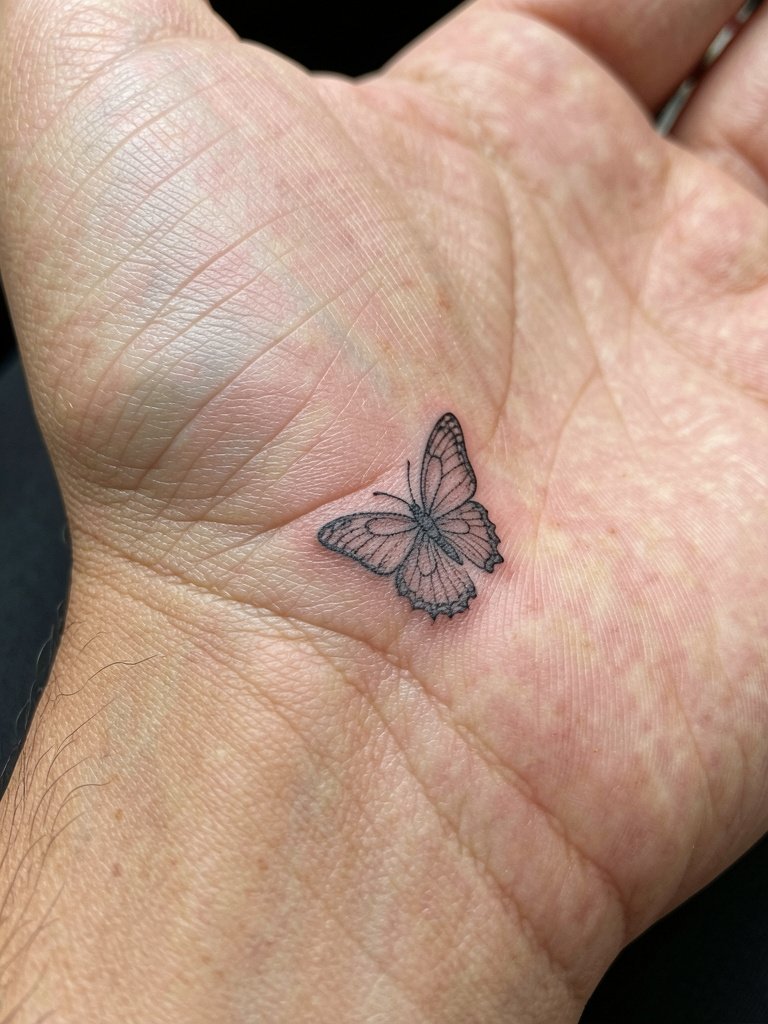
A tiny butterfly at the thumb base reads like a quiet accent and avoids the worst wear that front-of-finger designs get. I recommend a fine line outline with slightly heavier linework where the wing tips meet the body so the pattern keeps its shape after six months and beyond. Bring two reference photos at different scales so the artist can show how the butterfly reads at one inch versus two inches. Common mistake: asking for ultra-fine filigree that vanishes into blotchy pixels after repeated washing. Plan for one light touch-up at the six-to-twelve month mark. Professional note: the thumb web is a high-motion area, so choose an artist experienced in hand work.
2. Mini Butterfly, Side of Index Finger
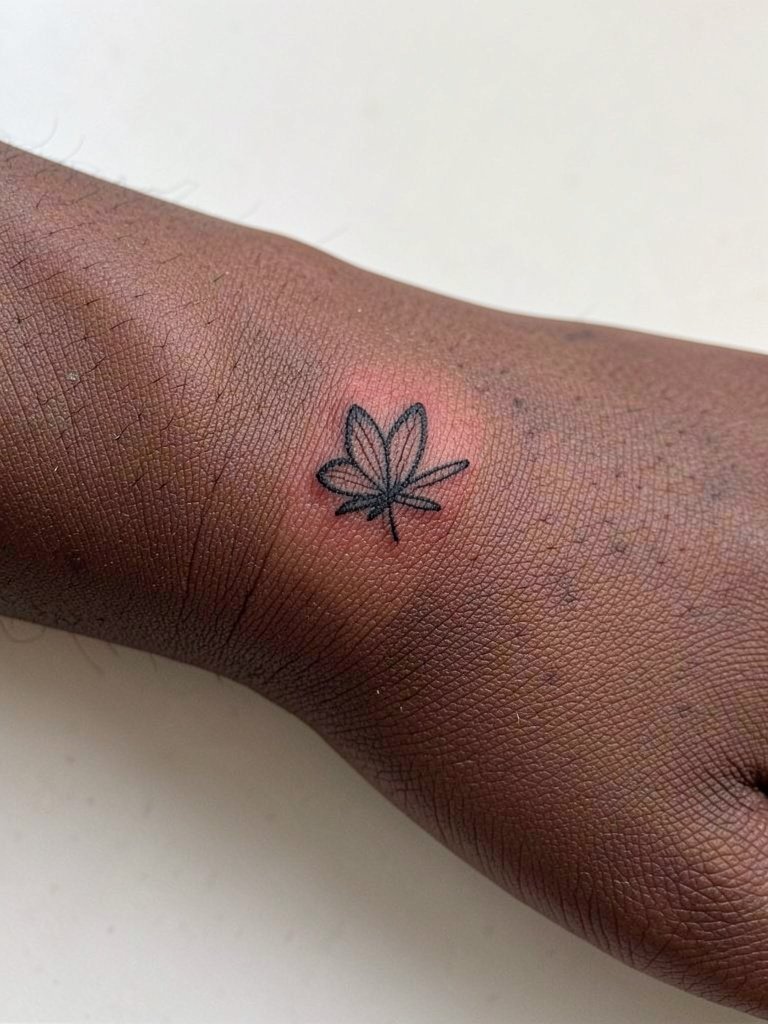
Fine line on finger edges divides opinion strongly. One camp argues that ultra-thin single-needle work blurs within months because the finger skin moves and regenerates quickly. The other camp says fine line can hold if the artist controls depth and gives extra spacing between strokes, and they point to two-year healed examples where the design still reads crisp. Practical note: prefer a slightly bolder contour than your Pinterest reference, and plan for a touch-up at the one-year mark. The side of the finger has less daily contact than the pad, but blowout risk is still real. Choose a simple silhouette over dense detail.
3. Two Tiny Butterflies, Diagonal Across Back of Hand
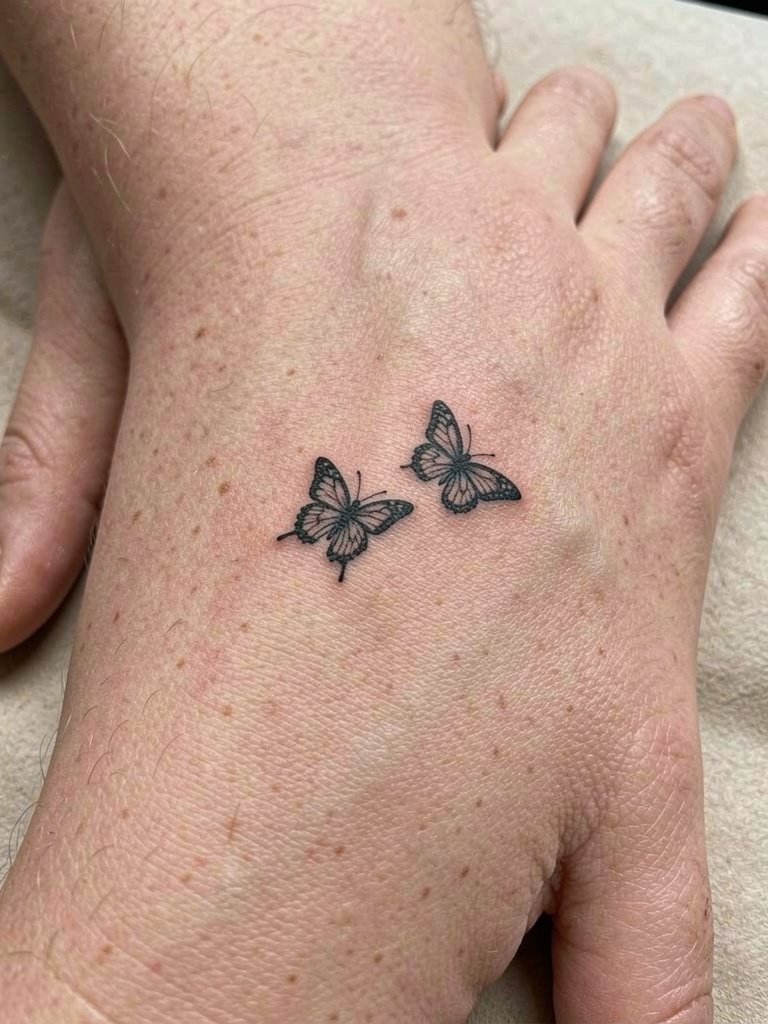
Spacing is the main longevity hack for small back-of-hand clusters. I prefer keeping at least three to five millimeters between elements so the butterflies do not merge as the ink spreads a little over time. During consultation, specify that the artist map the negative space first and show the healed-size tracing on your hand. Session feel: expect a moderate stinging across the flat hand surface for 20 to 30 minutes total. Show-off pairing: this placement looks great with an open-back blouse and a thin gold bracelet set on the opposite wrist to keep attention balanced. Professional note: the back of the hand sits close to tendons, so an artist used to small hand work will stage your piece for the least friction.
4. Vertical Script, Side of Finger
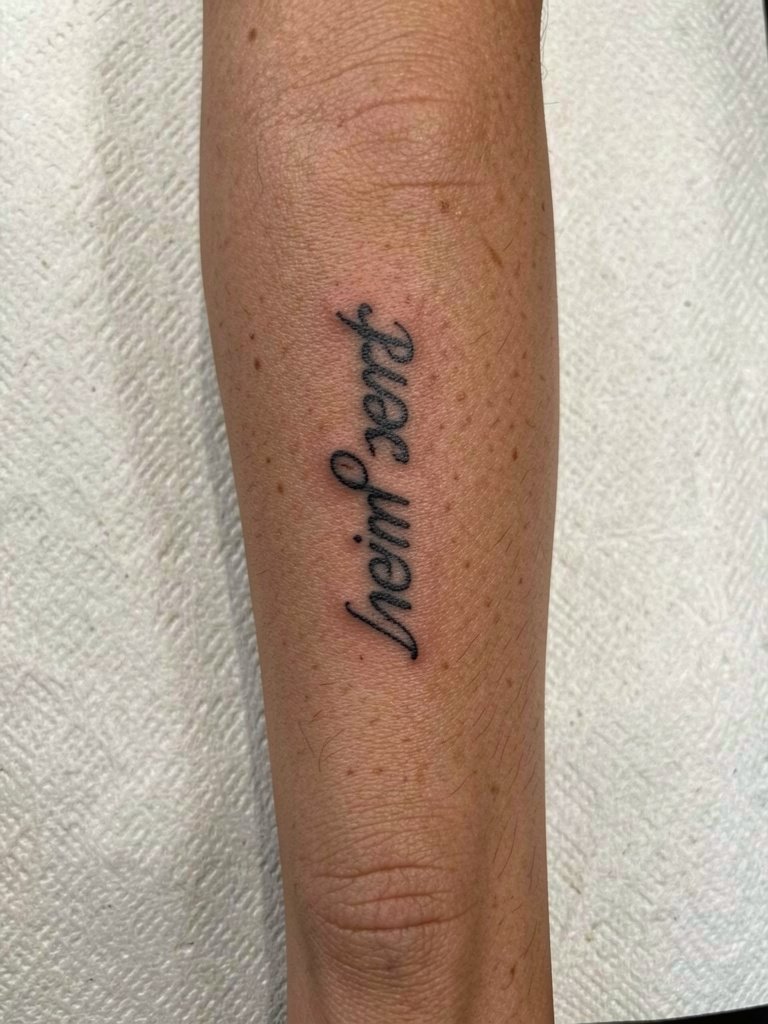
Vertical script on the finger must favor readability over dainty strokework. One camp says ultra-thin script will blur into a gray line inside a year because the finger skin regenerates rapidly. The opposing view argues that with controlled needle depth and marginally wider letter spacing, vertical script can read clearly for two years or more. Practical guidance: choose letters with open counters, avoid heavy loops, and request the artist draw the word at full intended healed size right on your finger so you can test legibility. Pain is sharp but short. Expect a touch-up on fingers more often than other hand zones.
5. Tiny Star or Angel Number, Near Wrist Crease
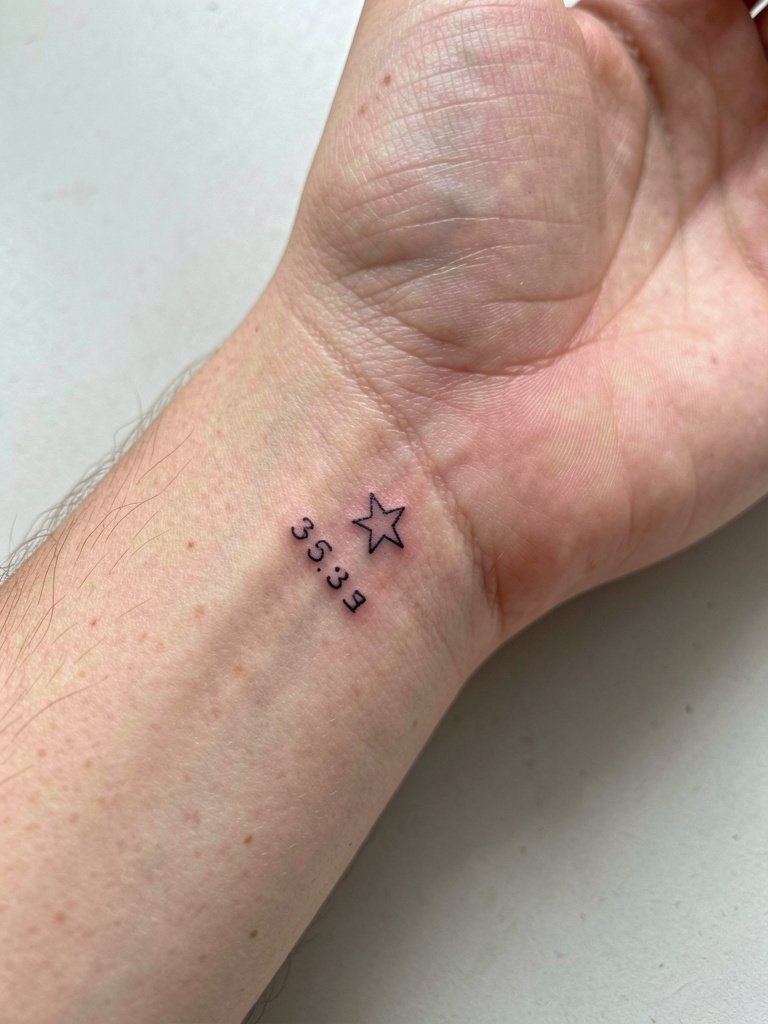
The inner wrist gives micro symbols a quieter life than fingers because it avoids constant rubbing. A common disagreement revolves around healing method. One camp favors dry healing and says wrapping traps moisture and can lift ink on high-motion areas. The other camp prefers Saniderm or second-skin because it reduces scabbing and helps fine lines settle without hard scab edges. If you plan a fine single-needle star or number, ask the artist how they handle early moisture control and what they recommend for the first 72 hours. Show-off pairing: rolled cuffs and a stacked thin bracelet set on the opposite wrist frame this placement nicely. Expect lighter pain and an easy session for such a small mark.
6. Single Word Script, Center Back of Hand
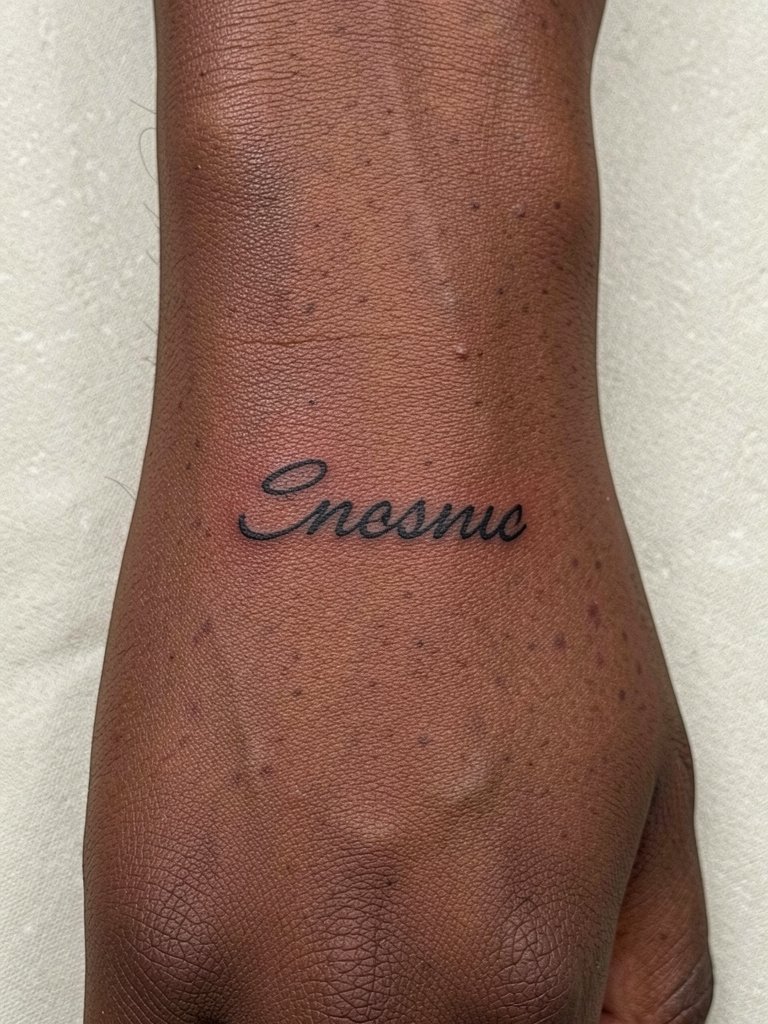
A centered script can make the whole hand read like a curated panel, but it needs breathing room. I suggest a simple typeface rather than ornate cursive so the counters do not fill as the ink spreads. Common mistake: requesting tiny script with tight kerning that becomes illegible after a year. During the consult, have the artist write the word on tracing paper and place it on your hand so you can see scale. Session time is short, but the surface can be tender because of underlying tendons. Plan for one touch-up in the first year to keep the word crisp.
Pre-Session Essentials
The finger and wrist pieces above respond differently to aftercare and motion, so a few products make the first week smoother.
-
TattooGlow Thin Balm. A thinner balm that avoids clogging pores on thin hand skin and helps fine line work remain visible during the initial healing window.
-
Hustle Clear Non-Scented Balm. Used by many fine-line artists for fingers and hands because it lays down a thin protective layer without heavy residue.
-
NoScab Healing Patches. Small protective patches reduce friction from clothing and help keep finger and thumb web tattoos from picking scabs.
-
Fragrance-Free Thin Tattoo Balm. A gentle non-scented option for the very first days after washing, suitable for sensitive hand skin.
-
Saniderm Second-Skin Sheets. Many people choose a short Saniderm application for fine line hand work because it reduces scabbing, but follow your artist's timeline for removal.
7. Minimal Animal Silhouette, Inner Wrist
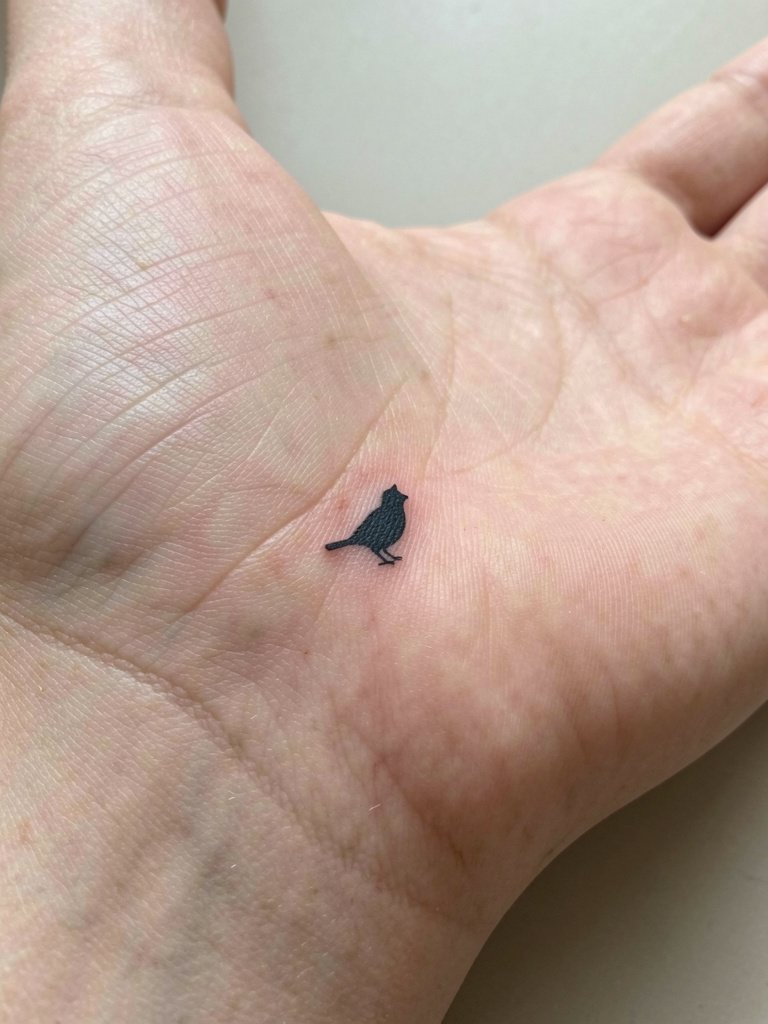
The inner wrist is a great compromise if you want visibility without the wear of fingers. For readable silhouettes pick a shape with solid form rather than fragile line details. Tell the artist you want the silhouette adjusted to maintain contrast on your skin tone, and have them show a healed-size mockup. Session feel is mild to moderate and usually completes in a single short pass. Show-off pairing: this placement pairs nicely with stacked thin bracelet sets on the opposite wrist and rolled cuffs in neutral tones. Professional note: inner wrist skin can be thinner, so minor touch-ups are common.
8. Tiny Flower Stem Angled Toward Wrist
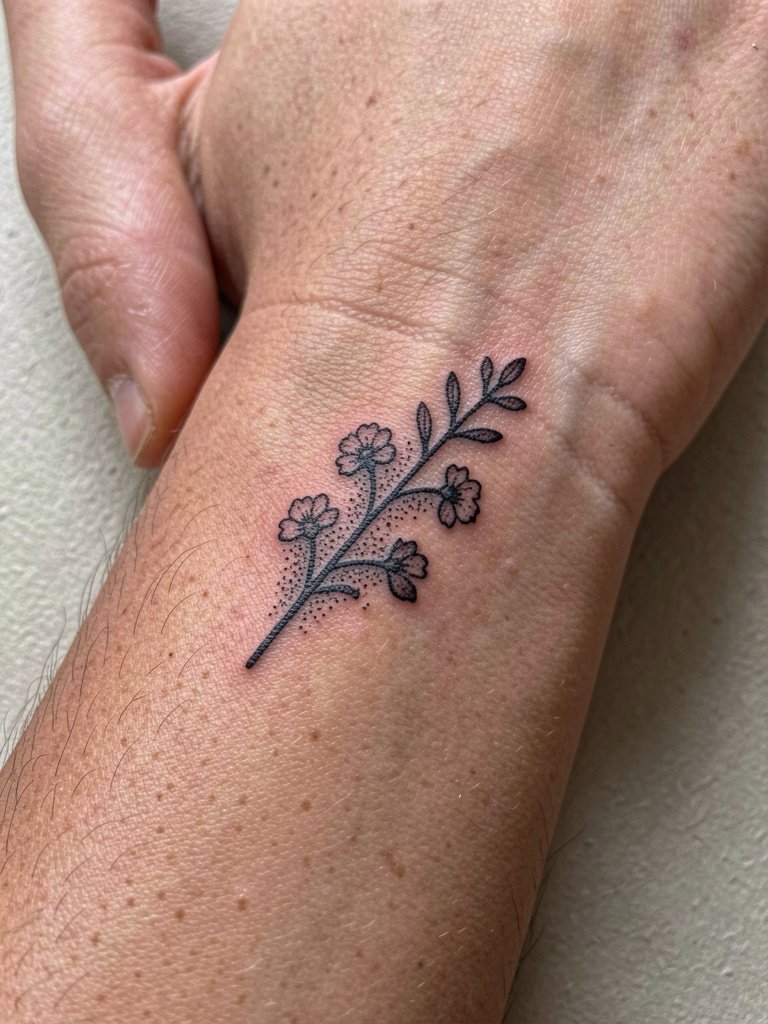
An angled stem gives movement and makes the piece read like part of your natural hand line. Keep petals spaced and minimal to reduce the chance that small dots merge over time. A common mistake is dense stippling near the stem; opt for light stipple shading and rely on linework for longevity. For the session, wear short sleeves so the artist can access the wrist without fabric rubbing the area. Show-off pairing: try a sleeveless open-back blouse and a thin gold bracelet set to keep attention on the botanical line. Expect a touch-up after the first year if your skin is highly active.
9. All-Seeing Eye, Side of Hand
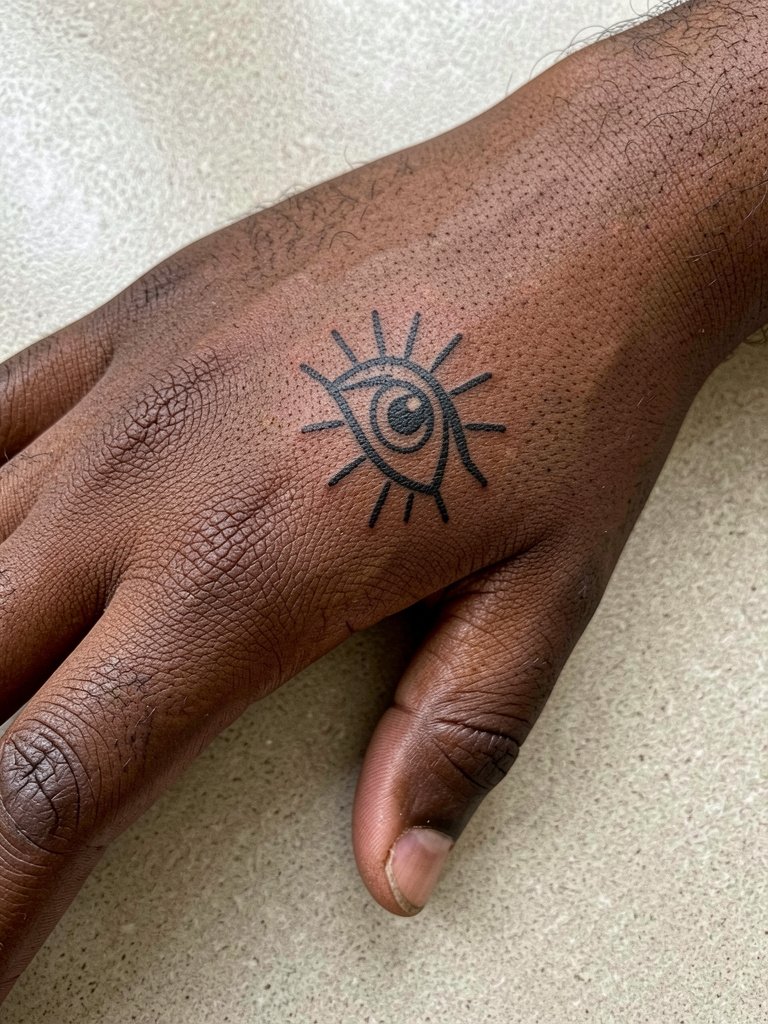
Bold symbols like an eye suit the side of the hand because solid shapes resist blurring better than filigree. If you prefer an edgy look, ask for thicker outer lines and simple internal geometry, not tiny ornamental details. Mistake to avoid: packing shading inside a small eye, which tends to smudge into a gray patch. Expect a brief session with a moderate bite during the passes. Professional note: this placement needs an artist comfortable with small blackwork on hands, since the outer edge gets light daily friction from bags and surfaces.
10. Tiny Micro Symbol, Hidden Side of Finger
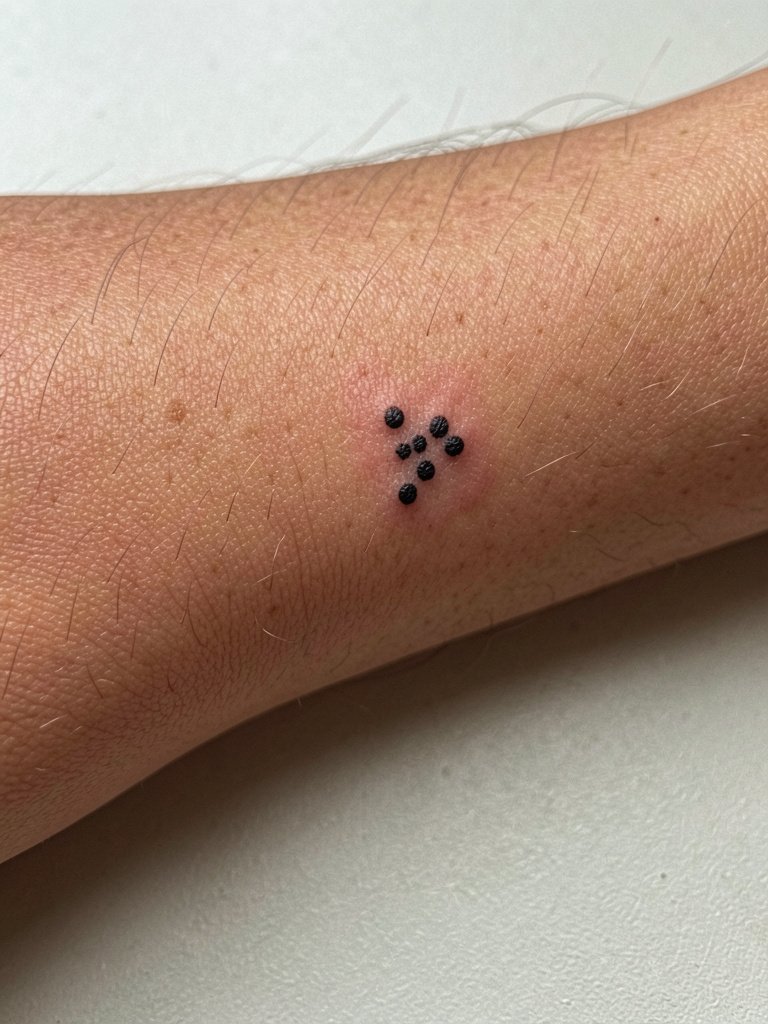
Hidden-side micro symbols are the lowest-visibility option while still being hand-located. The trade-off is slower healing and a higher chance of line loss because that edge rubs on surfaces. There is the same fine-line debate here as with other finger work. One camp says ultra-fine micro lines will blur quickly on fingers because of constant movement. The other camp insists tiny designs can settle if spaced and if the artist slightly thickens the core strokes. Practical tip: plan for a conservative size and a light touch-up budget in the first year. Session time is minimal but keep the area dry while it scabs.
11. Geometric Mandala Segment, Center Back of Hand
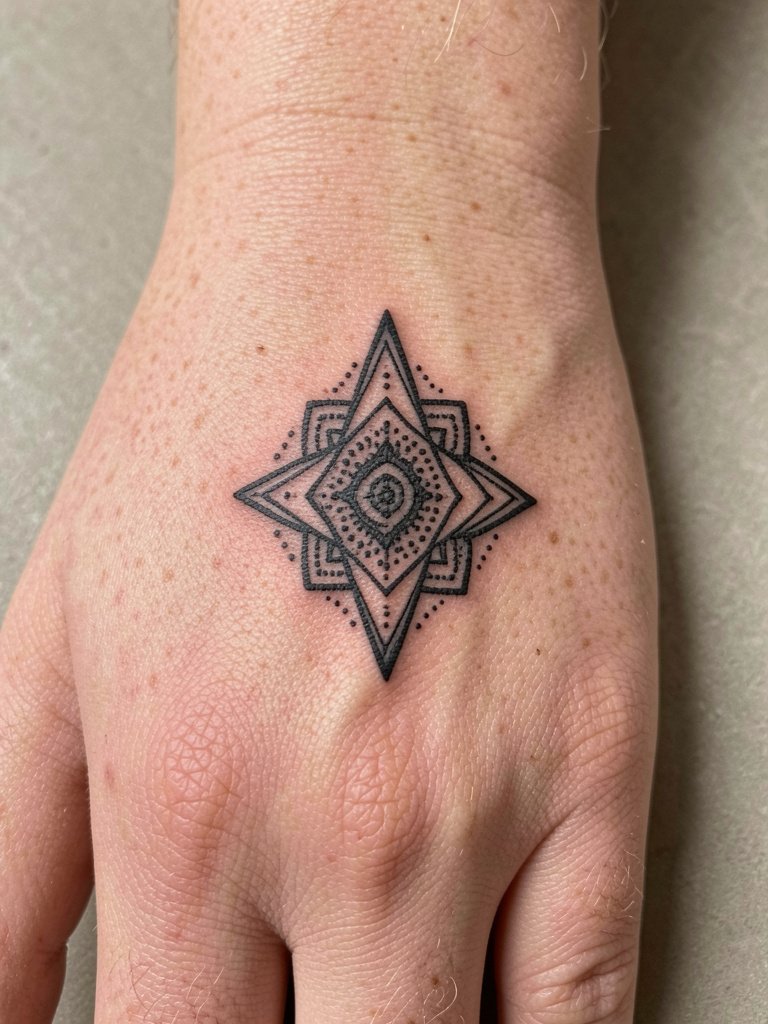
Mandala segments give geometric impact without full-coverage risk. They need room for each line to breathe, so avoid compressing too many spokes into a small wedge. Tell the artist you want the central negative space preserved and request a healed-size transfer before ink. Session feels busy because the artist will go slow on precise geometry, expect 30 to 45 minutes. Show-off pairing: open-back tops and thin bracelets keep the pattern visible, try an open back top and a thin gold bracelet set for evenings out. Cultural note: mandala forms draw on sacred geometry, so acknowledge origin and discuss respectful interpretation with your artist.
Frequently Asked Questions
Q: How much should I budget for a small hand tattoo and touch-ups?
A: For single small hand pieces expect session prices to range broadly from about $100 to $300 depending on the shop and the artist. For touch-ups, budget an extra $60 to $200 over the first two years since fingers and hands often need at least one return visit.
Q: Will a fine-line hand tattoo work on darker skin tones?
A: Fine line can work, but thicker outlines or a tiny accent color often help the image read in photos. Personally I suggest a slightly heavier contour and ask the artist to test contrast on your skin tone with a healed-size mockup.
Q: What healing method should I use for a new hand tattoo?
A: Artists split on this. One camp prefers dry healing for hands, arguing that wraps trap moisture and can lift ink on friction zones. The other camp advocates Saniderm or second-skin for fine-line work because it limits scabbing and helps lines settle cleanly. Follow the approach your artist uses for hands and plan to monitor the first week closely.
Q: Where can I find healed hand portfolios and local artists without naming creators directly?
A: Search hashtags like #smallhandtattoo, #finelinetattoo, and #handtattooideas on Instagram and TikTok and then filter by location. Tattoodo and Booksy let you search by keyword plus region and often show healed examples. Reddit threads on r/tattoos surface peer recommendations and photos across skin tones.
Q: What should I wear to my appointment for a thumb-web or wrist piece?
A: Wear loose short sleeves or a button-down that can roll easily so cuffs do not press on the area during the session. For a back-of-hand design, a sleeveless top keeps the area accessible and comfortable. A good option is a linen short sleeve shirt that rolls neatly and does not rub the fresh work.
