
UV-reactive and white-ink tattoos look like two different hobbies when you see them side by side. UV ink can be nearly invisible in daylight, white ink can shift yellow on some skin tones, and many glow pigments fade faster than standard black. If any of that sounds like a deal breaker, you can still get a long-lasting result by choosing the right technique, placement, and aftercare. Start with a bioluminescent floral that reads clean in daylight and lights up under a 365nm blacklight.
1. Bioluminescent Floral on the Inner Forearm
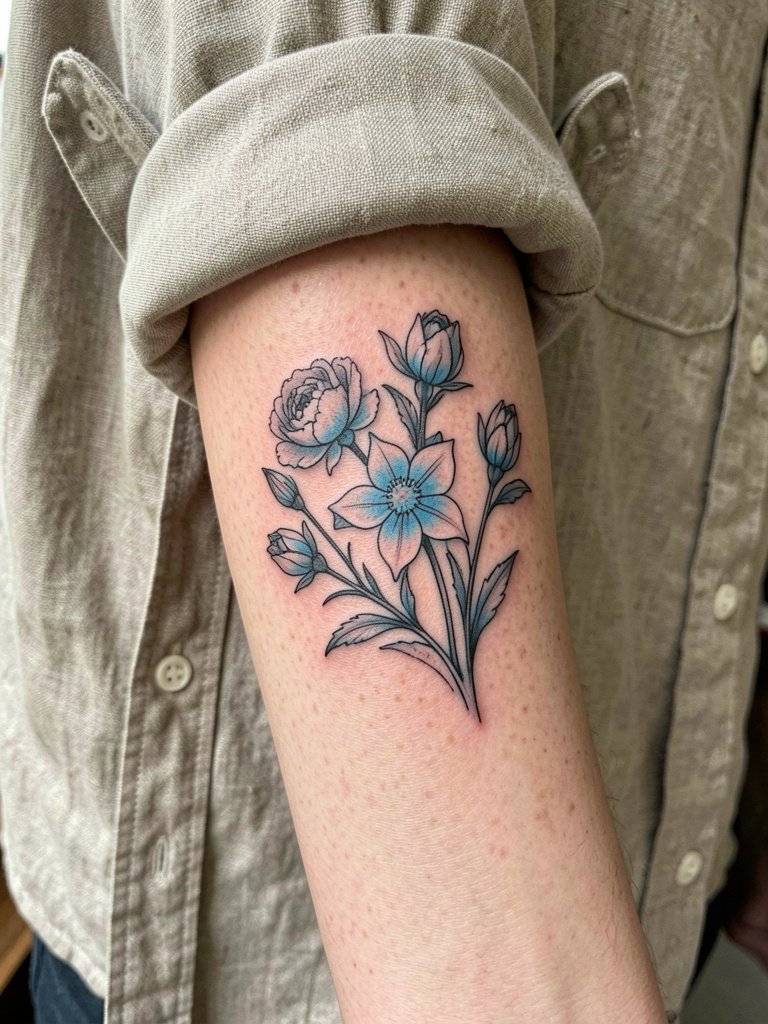
A bioluminescent floral works when you want a piece that reads like a delicate fine line in daylight and becomes neon under blacklight. I recommend a white-ink underbase with a UV top layer for darker tones so the petals remain visible by day. During your consultation, show a close-up of where you want highlights and request a daylight visibility test before you leave the studio. Common mistakes are going too tiny with single-needle details on the wrist and expecting them to read unchanged after two years. Expect a single session for a small piece and a touch-up within 12 to 24 months if you spend lots of time in sun. For showing this placement, pair it with rolled cuff linen shirts in cream or olive to keep the forearm as the focal point.
2. Holographic Mandala at the Collarbone
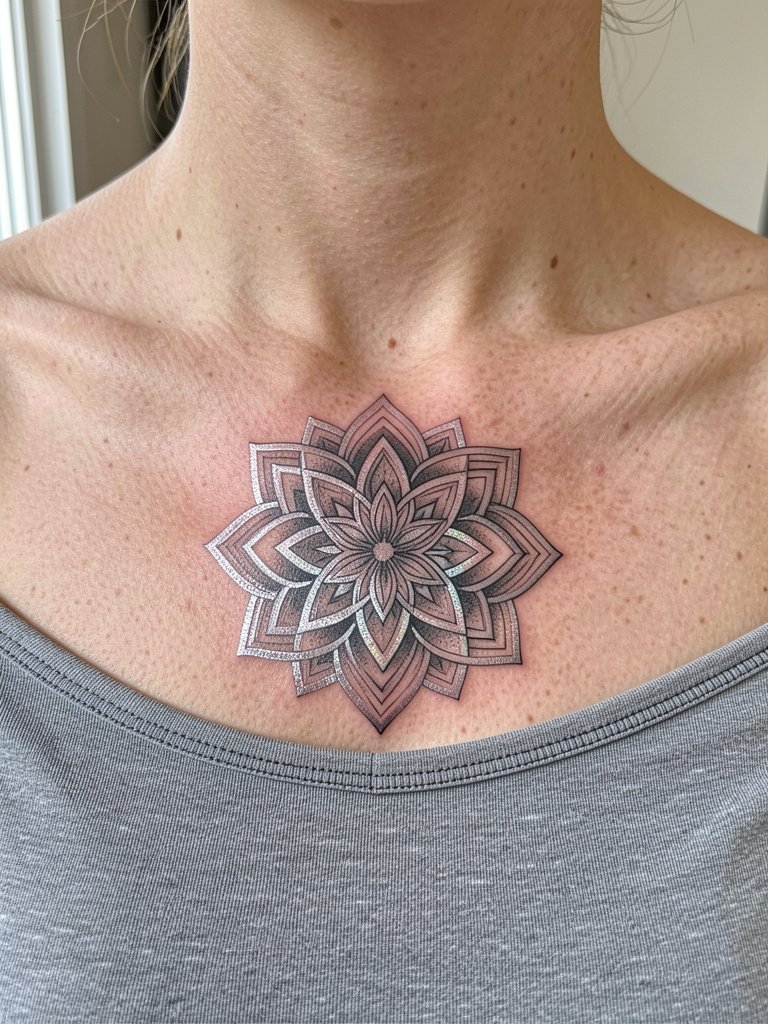
Holographic mandalas need enough real estate to read the gradient and chrome effects without muddying. Ask for slightly bolder linework in the center so the geometry does not blur as the piece heals. An aging problem to avoid is squeezing too many tiny spokes into a collarbone piece. When that happens the radial lines merge by year three. This style often takes one to two sessions depending on scale, and a touch-up can refresh metallic highlights. For nights out the collarbone is framed perfectly by off-shoulder tops and a thin gold chain on the opposite side.
3. White Script on the Inner Forearm
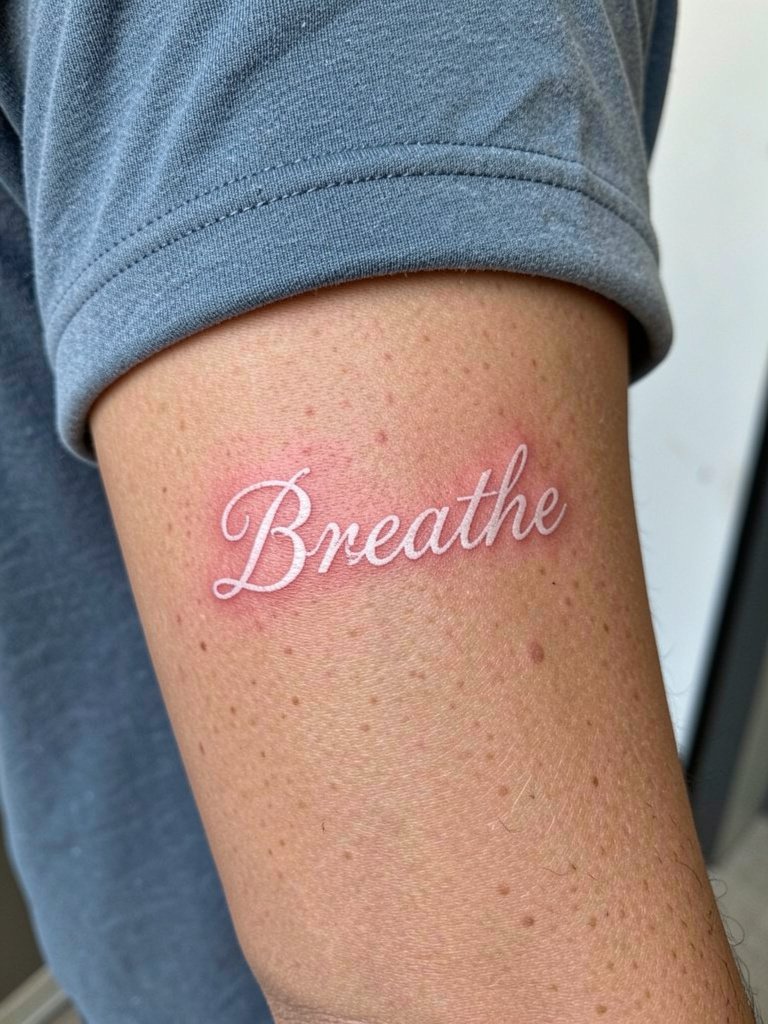
White-ink script reads beautifully on medium to dark skin when the pigment and technique match your tone. The key detail to discuss is pigment formulation. Specifically ask for a white mixed with a tiny amount of yellow on olive or darker tones to reduce the risk of green shift. There is a two-camp debate on white ink aging. One camp says pure white almost always turns yellow or green on darker skin within a year. The other camp says quality white inks and small color tweaks prevent that shift and show healed examples to back it up. Expect mild fading and plan a one-year check-in for a touch-up, especially if you live somewhere hot and sunny.
4. Constellation Star Map on the Nape
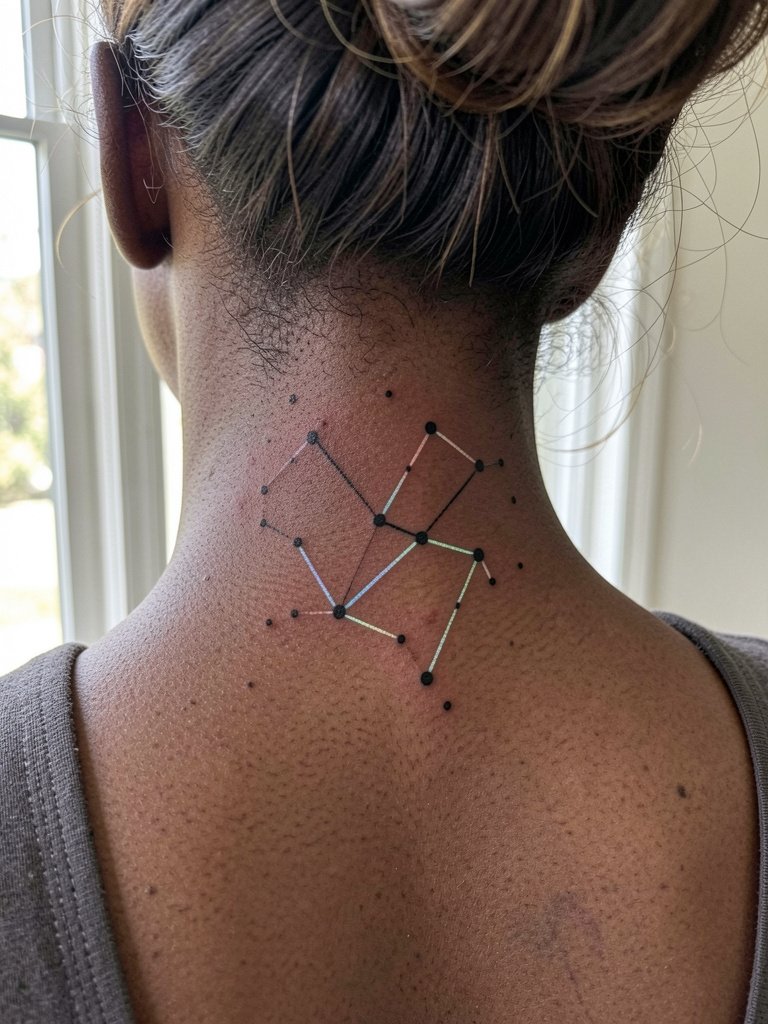
Constellation maps are great if you want tiny, meaningful marks that pop under blacklight. A common mistake is asking for UV-only lines without a black base on darker tones. If you want night visibility and some daytime presence, request a faint black outline or a white underbase. For session prep wear a top with a low back or an open-back tunic so the artist can access the nape easily. The sensation is mild, roughly a 3 to 5 on most pain charts for this spot. Because the neck sees sun and friction from hair, budget one touch-up in the first 18 months.
5. Liquid Metal Doodles on the Inner Wrist
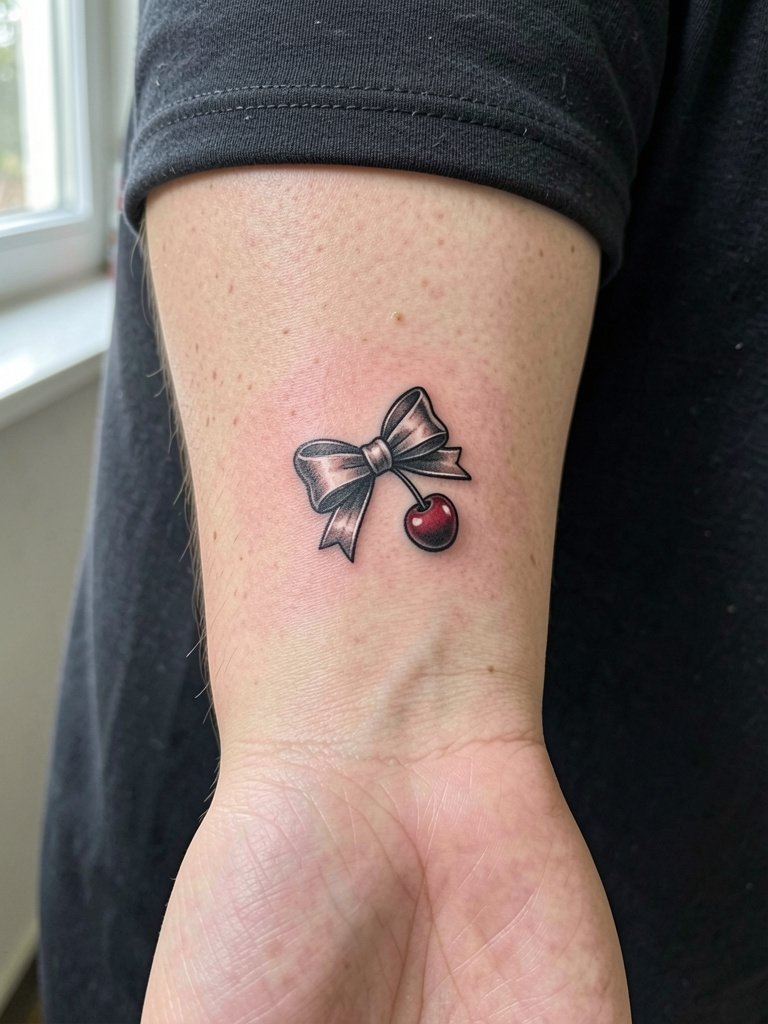
Liquid metal doodles read playful and modern when the white highlights are sharp. The wrist sees a lot of washing and rubbing so avoid overly fine filigree here. Ask the artist to build in slightly heavier highlights and to show a healed photo of a similar wrist piece. Wrist work often takes 30 to 60 minutes and may need a touch-up within a year because of friction. For showing off, low-profile accessories look best on the opposite wrist. Try a dainty gold stacked bracelet set on your other hand so the doodle keeps the visual focus.
6. Glitch Art Silhouette on the Outer Thigh
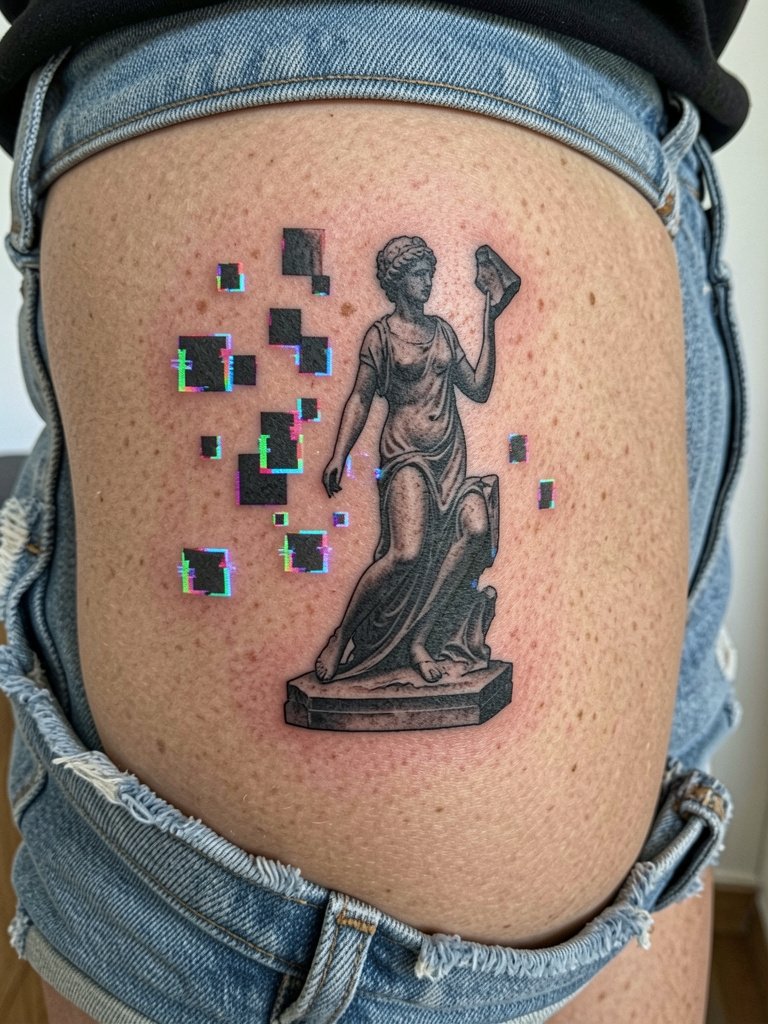
Glitch silhouettes need scale so the pixel breaks look intentional rather than noisy. This placement is forgiving because the thigh has thicker skin and low blowout risk. If you want the UV pixels to pop on darker tones, request a white underbase in the UV spots. Sessions run longer with more detail, expect one to two sessions depending on size, and touch-ups after heavy sun exposure are common. For outfit pairings, high-waisted shorts or skirts with slits let the outer thigh read in motion. Try high waisted shorts women neutral for casual wear and a high waisted skirt women cream for evenings out.
Pre-Session Essentials
The forearm, collarbone, and thigh pieces above share a need for basic session tools and testing gear that preserve fine linework and the UV effect.
- Mad Rabbit UV Glow Serum. A thin finish after the first week reduces clogging while keeping UV pigments visible as the ink settles.
- Hustle Butter UV Blend. A balm that artists use to maintain saturation during healing, helpful for white highlights and chrome shading.
- Japanese UV Aftercare Lotion. Lightweight lotion recommended by some artists for UV-treated pieces to slow pigment breakdown during recovery.
- 365nm UV Flashlight. Use this at the appointment to verify true UV reactivity, since consumer blacklights often miss the full glow.
- Eternal White Ink. A widely used white pigment that some artists prefer when planning white-underbase techniques on medium to dark skin.
7. Bioluminescent Vines Along the Inner Thigh
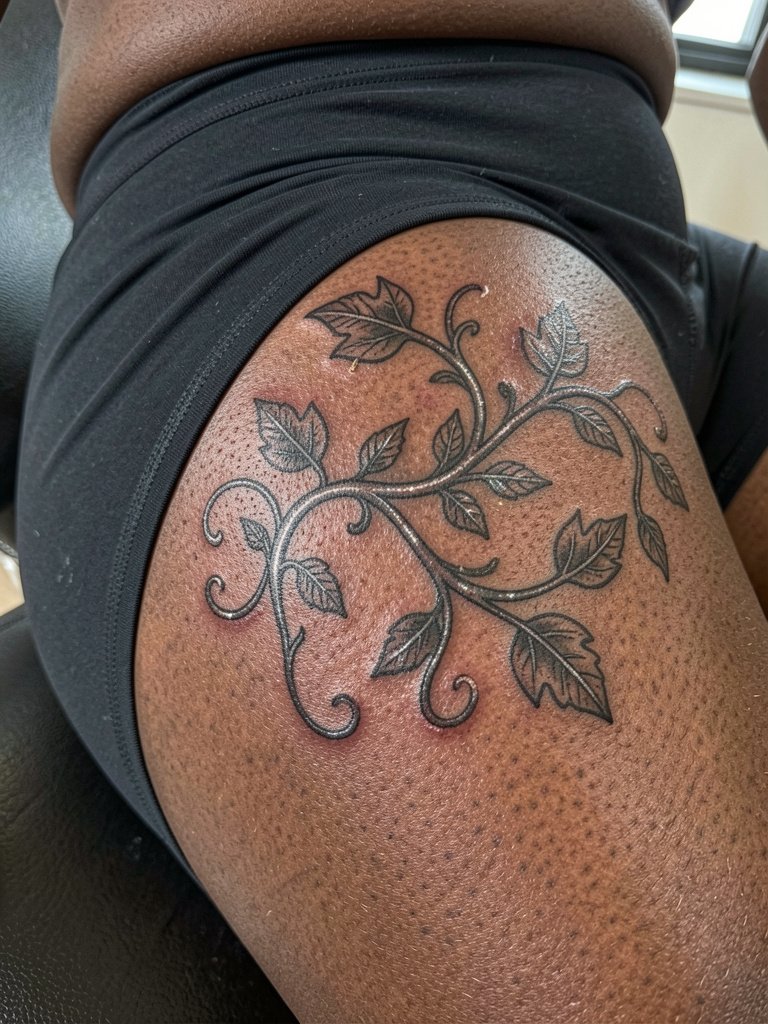
The inner thigh is a sensual, private canvas that rewards flowing compositions. Because this placement sees occasional friction, the biggest mistake is expecting ultra-fine single-needle trails to last untouched. Tell the artist you want slightly bolder contour lines where the vine curves so the piece holds over time. Be aware healing here requires no tight clothing for the first two weeks. Note that intimate placements often need a practitioner experienced with privacy and sterility protocols, so confirm studio policies before booking. For visible moments wear high-waisted skirts or dresses with a slit that reveal the inner thigh when you walk.
8. Y2K Bows and Cherries on the Hip
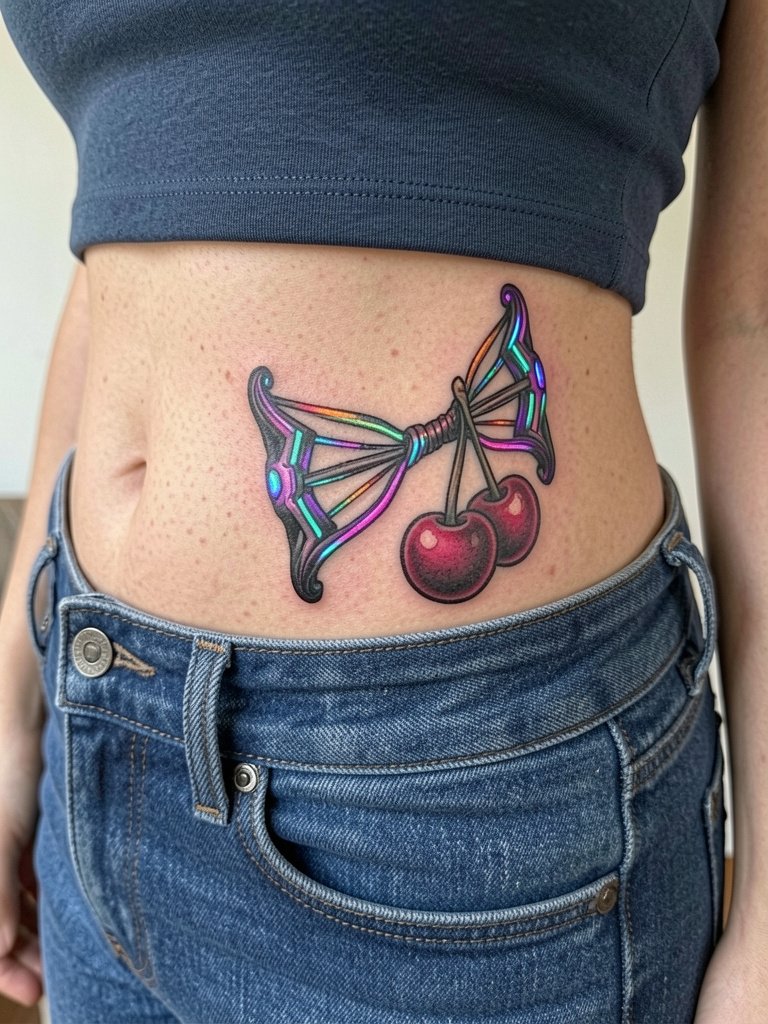
Y2K bows and cherries are playful and photograph well on the hip where they peek above a waistband. The common error is asking for heavy color saturation that sits too close to the waistband. That causes friction and early fading. Ask for placement slightly above the natural waistband and wear loose drawstring shorts for the session so the artist can reach the area without pressure. This style usually needs one session and a possible touch-up the following summer if you wear low-rise jeans often. For a cohesive look, pair with neutral slip dresses or high-waisted shorts.
9. White Micro-Artifact on the Inner Wrist
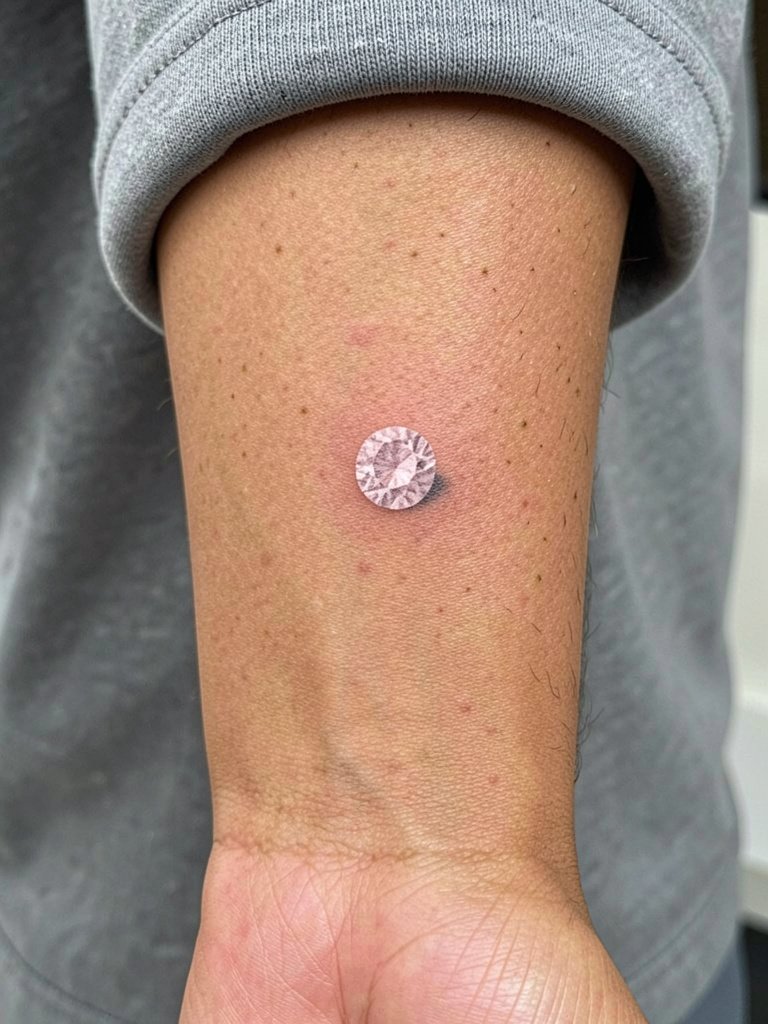
Micro white artifacts have a jewelry-like effect when executed with three-dimensional shading. The inner wrist is high touch and high wash frequency, so the typical mistake is expecting white ink to remain crisp without protective care. Ask the artist for a plan: slightly increased contrast in the shading and a touch-up scheduled at the six to twelve month mark. The wrist session is short but can feel scratchier than the forearm. Style it with a minimalist watch or thin chain bracelets on the opposite wrist so the micro-artifact keeps the stage.
10. Y2K Flip Phone on the Ankle
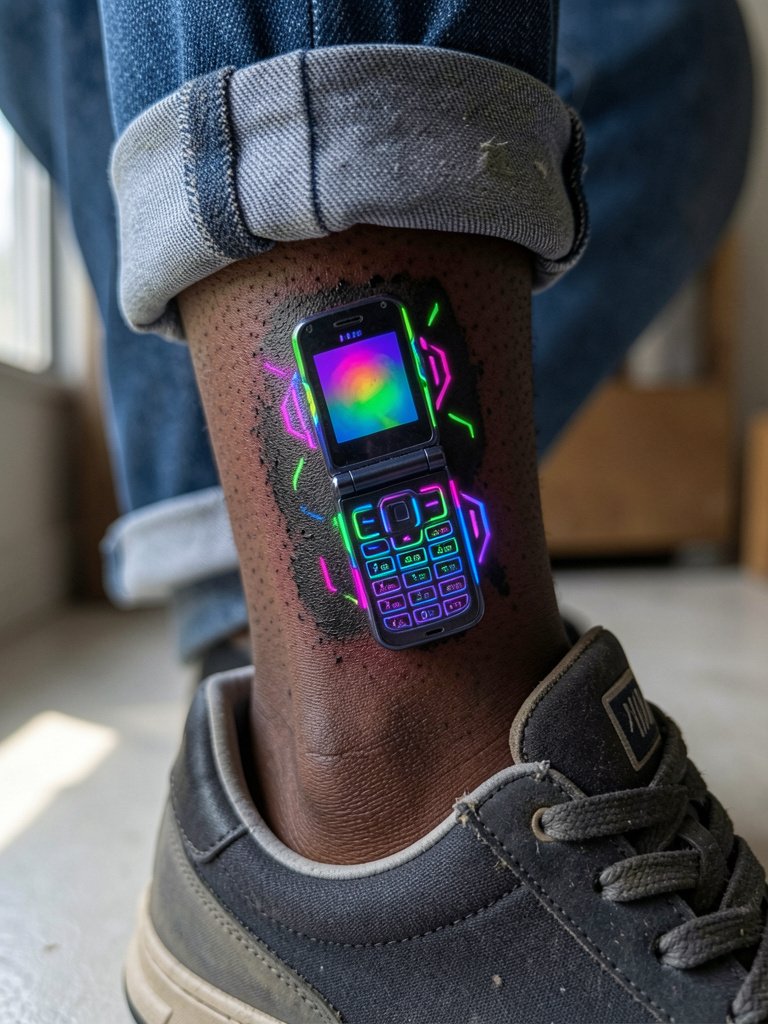
Ankle placements are perfect for small nostalgic pieces, but they rub against shoes and socks. The usual mistake is placing the design too close to the shoe seam. For better longevity, request placement slightly above where your shoe collar sits. An ankle piece is quick but often needs a touch-up within 12 months because of friction. When you want to show it off, low-cut sneakers or ankle boots look great. Pack a pair of low cut sneakers women neutral for outfits that make the ankle visible.
11. Cyber Circuit Traces on the Inner Forearm
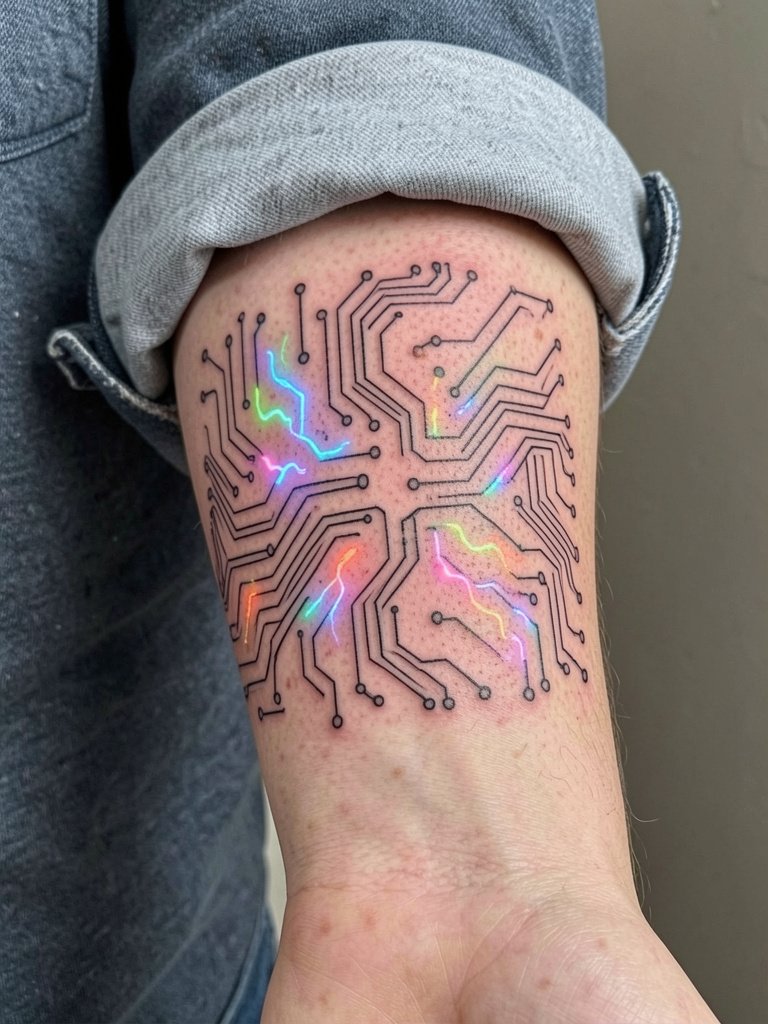
Circuit trace tattoos ask for clarity and consistent linework. The inner forearm handles fine line better than wrists or fingers, but the common error is drawing traces too close together. Ask your artist to space energy lines so they have room to breathe after healing. If you want strong UV "power" lines, request a daylight-visible black base beneath the UV so you can still see the structure in daylight. Plan one session for a small wrap and a potential touch-up in the first 18 months. For session comfort wear a loose button-down or short-sleeve shirt so the artist can roll the cuff without pressure on the fresh skin.
Frequently Asked Questions
Q: How long does a glow tattoo actually keep glowing under blacklight?
A: Expect most UV-reactive pigment to show strong glow for one to two years before significant fade, with touch-ups common after that. Some people report longer longevity when a white underbase is used and the tattoo is protected from sun during healing, and others see faster fade despite those steps.
Q: How can I test a tattoo under a blacklight at the appointment?
A: Bring or request a 365nm UV flashlight at the appointment because common 395nm blacklights often fail to reveal full pigment reactivity. Ask the artist to demo the design under the 365nm light so you can confirm the glow strength before leaving.
Q: Where can I find portfolios and healed examples of glow tattoos without naming artists directly?
A: Search hashtags like #glowtattoo, #uvtattoo, #bioluminescenttattoo, and #whiteinktattoo on Instagram and TikTok and filter by your city for local results. Tattoo directories and apps let you search by keywords such as "UV-reactive floral" and show healed photos. Reddit communities also surface peer recommendations and healed shots across skin tones.
Q: Will white ink always yellow on darker skin?
A: It does not always yellow, but the risk is real on some skin tones if pure white pigment is used without adjustment. One camp argues pure white almost always shifts color on olive or dark skin within months. The other camp says mixing a small amount of yellow into the white and using proven pigments prevents that shift, so ask for a sample healed photo on a similar skin tone.
Q: What should I wear to the appointment for different placements?
A: Wear clothing that gives the artist full access without fabric pulling on fresh skin. For collarbone pieces wear an off-shoulder top, for inner thigh wear loose drawstring shorts, and for hip work wear low-rise jeans with the waistband sitting below the tattoo. If in doubt choose loose, easy-to-remove layers so the artist can work without fabric interference.
