
Small bird tattoos are everywhere on feeds, but what holds up is often the exact opposite of what looks best in a fresh photo. The tiny single-needle sparrow that racks up likes can soften into a gray smudge sooner than a slightly bolder silhouette that reads at arm's length. This list focuses on small designs that still read clearly after a year, what to ask for in the consult, and how to dress for the session so the final healed piece looks like the photo.
1. Fine Line Sparrow Silhouette on the Wrist
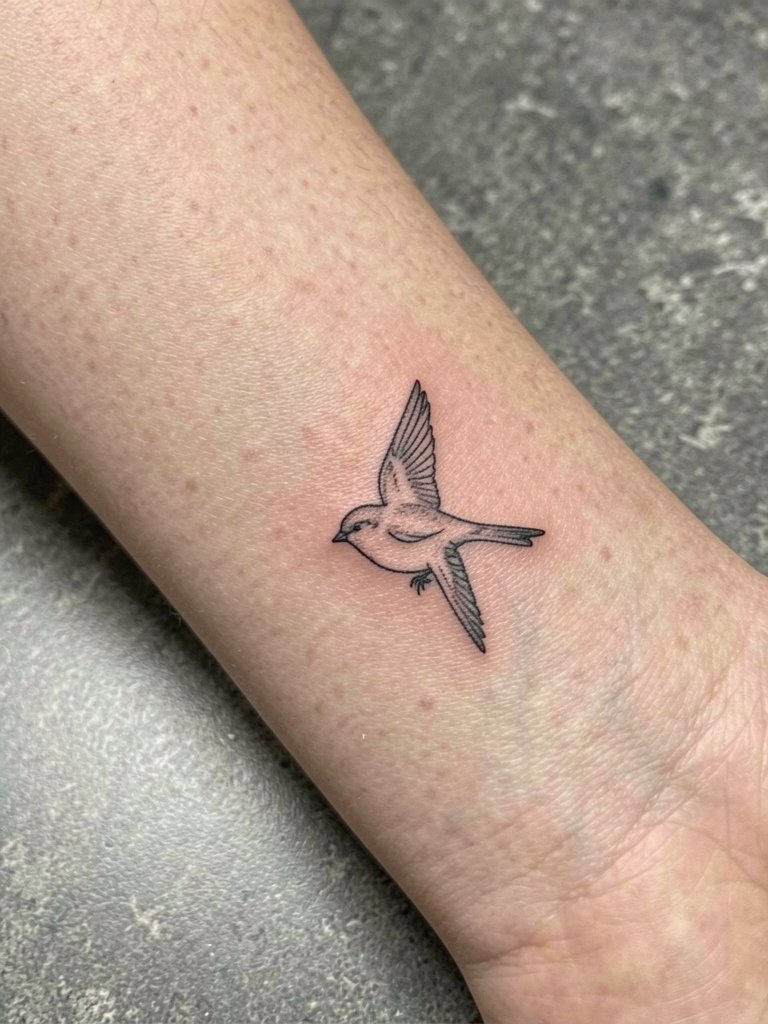
A tiny sparrow shape on the wrist is a classic for a reason, but the wrist eats ultra-thin linework over time. One camp of artists says fine line on the wrist blurs quickly because the skin over the radius is thin and moves constantly. The other camp says if the line weight is dialed up slightly and the spacing is adjusted, a sparrow silhouette can keep distinct edges for years. For this wrist version ask for single-needle outline but with a hair more weight inside the silhouette so the bird keeps presence at six months. For the session wear a short-sleeve tee so the artist can work without tight cuffs. This placement pairs well with a thin gold chain bracelet on the opposite wrist to balance attention.
2. Micro-Realism Hummingbird on the Inner Forearm
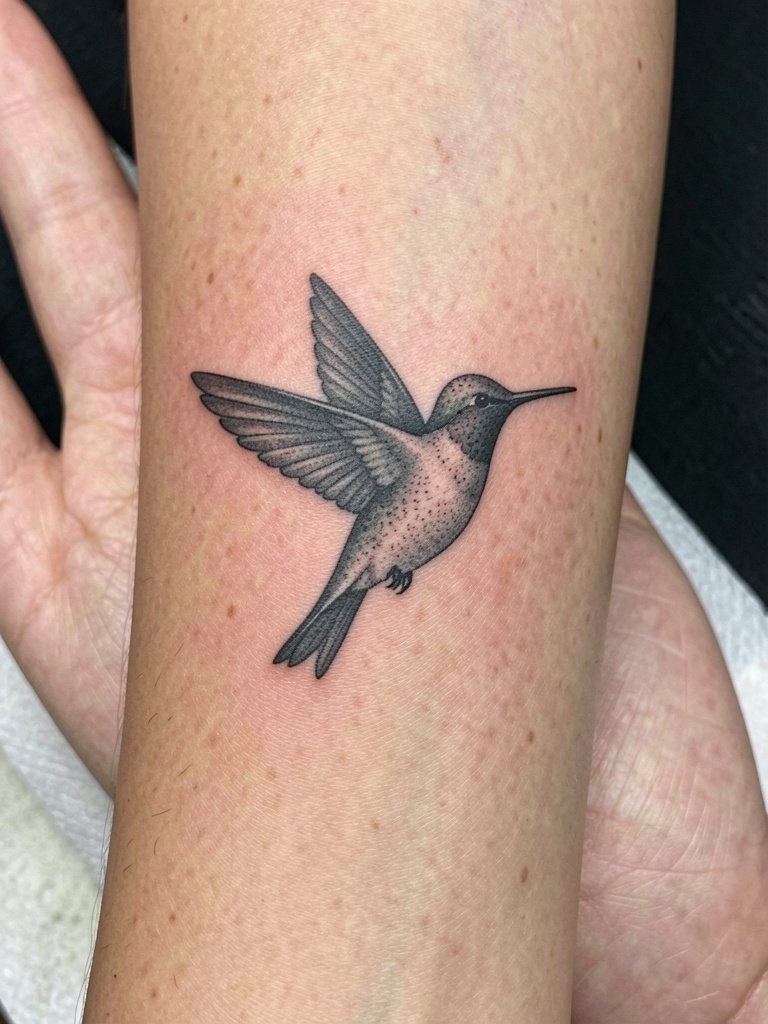
Micro-realism packs surprising detail into a small area, and the inner forearm is the best place to read that work. Expect a session under an hour for a one-inch hummingbird, with focused machine shading and careful stipple shading for feathers. A common mistake is asking for a photo-like feather texture at half an inch, which flattens into gray; instead request feather suggestion and a tiny highlight to keep contrast. After six months the soft gray gradients will mellow but the feather texture should still be legible if the artist uses dense tiny dots. For showing it off, wear an open-cuff blouse in earth tones so the forearm reads as a panel.
3. Neo-Traditional Owl on the Lateral Hip
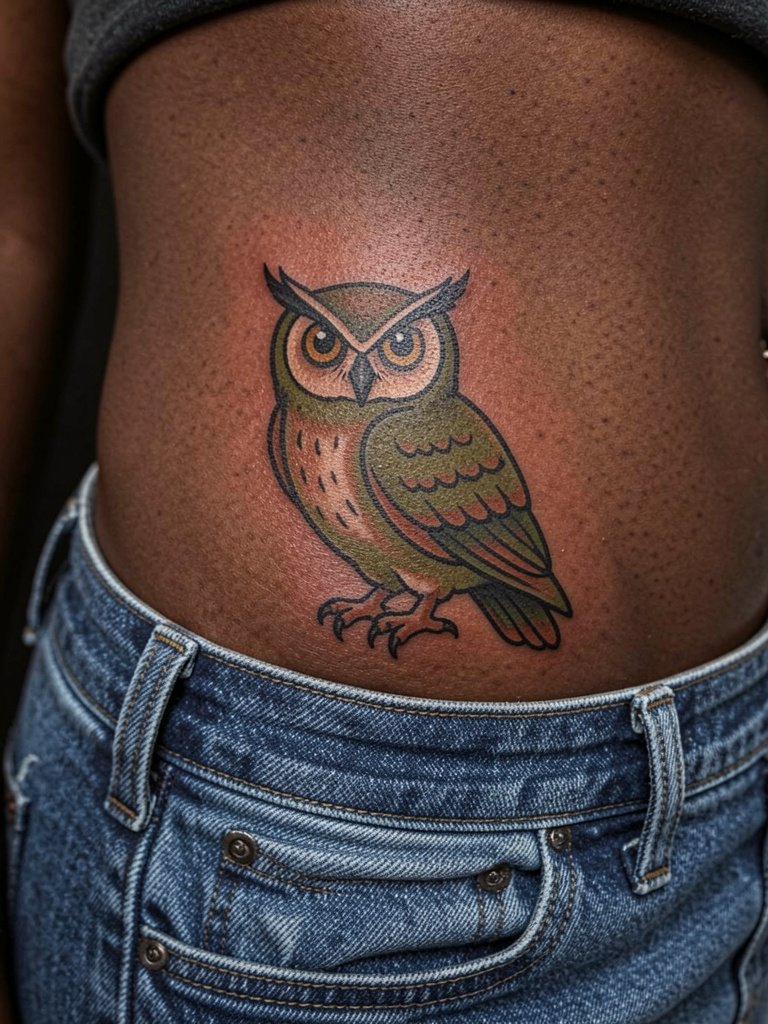
Neo-traditional work gives small hip tattoos longevity because the thicker outlines keep the image readable on dark skin tones. Session time is usually under 90 minutes for a compact owl. A frequent error is requesting micro-detail inside the owl's feathers that will compress; instead opt for bold contrast areas and a couple of saturated color fields to hold up. Be aware the hip can shift with weight change, so ask the artist to orient the owl so key elements sit on stable planes of the hip bone. For a night-out look the piece pairs with high-waisted shorts and a cropped tank that reveal the side silhouette.
4. Blackwork Phoenix on the Collarbone
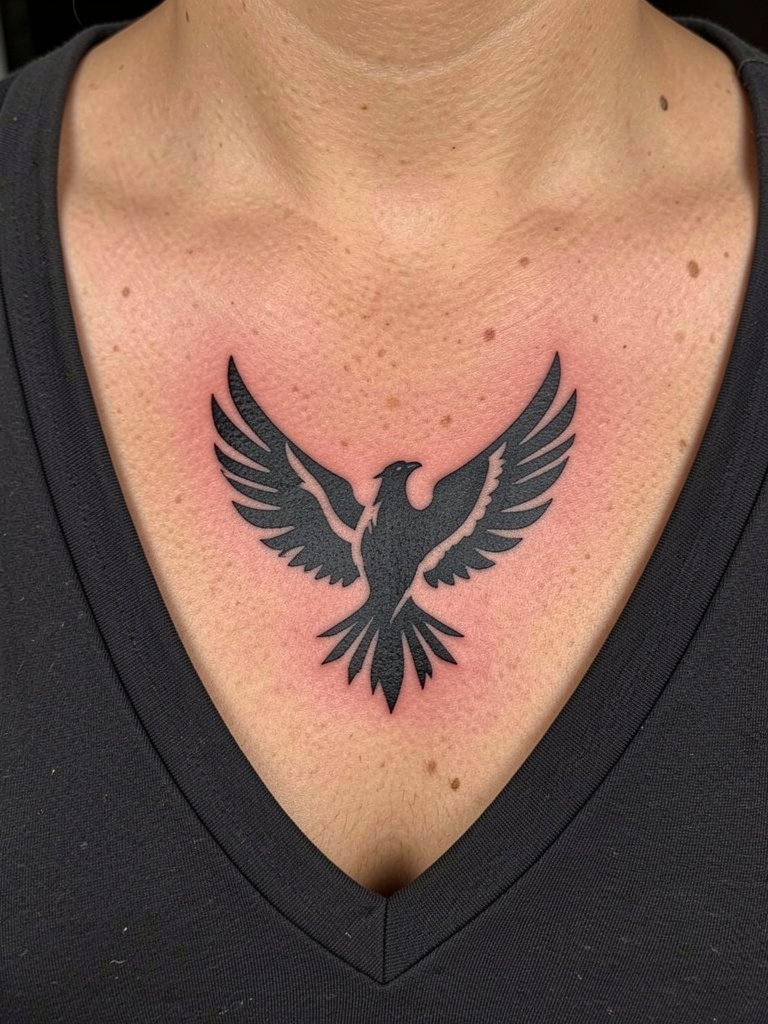
A collarbone phoenix in pure blackwork survives time because solid fills age into shape rather than losing edge. The collarbone is a high-mobility and high-sweat spot in summer, so the artist may recommend a single session with bold fills. One common mistake is overcomplicating negative-space details that collapse into gray patches after a few years. For the day of the session wear a strapless or wide-strap top so the artist can reach the clavicle without tight straps rubbing the fresh ink. When styling later try an off-the-shoulder blouse to frame the area.
5. Illustrative Dove with Branch on the Inner Upper Arm
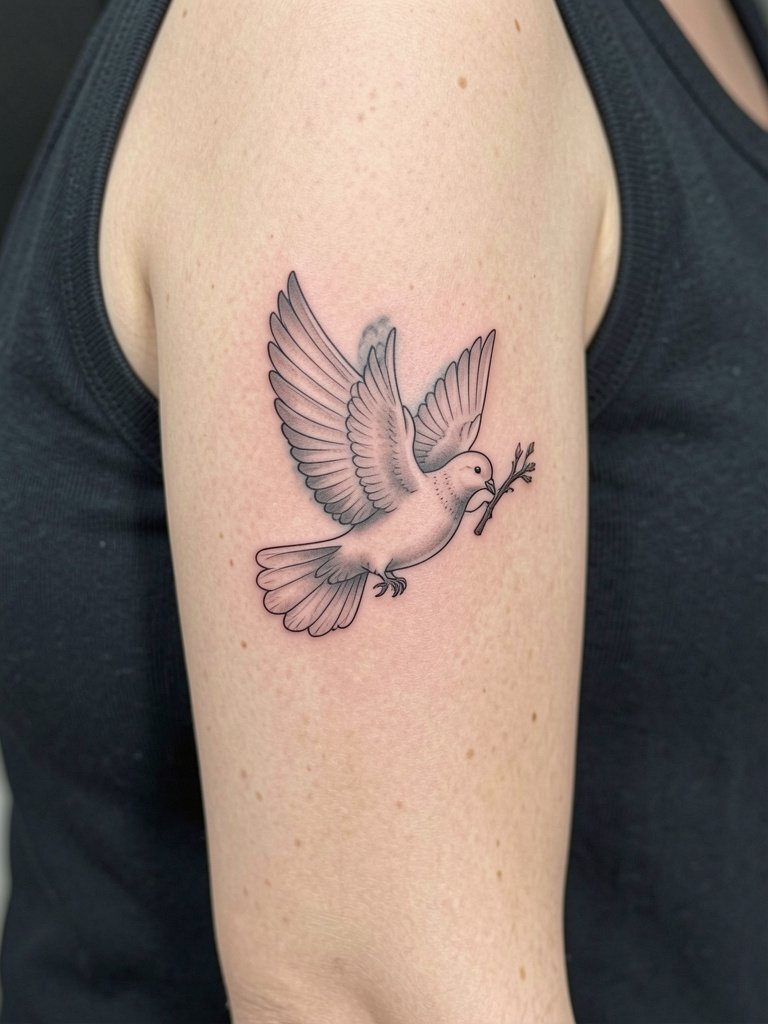
An inner upper arm gives space for a slightly larger small bird with botanical context, which helps the image read as art and not a sticker. Expect 45 to 75 minutes of single-needle linework and subtle gray wash. A typical mistake is placing the dove too close to the armpit crease where sweat and friction disrupt healing. For the consult bring branch reference photos so the artist can balance negative space, and wear a wide-neck tee for the session. This piece layers nicely with a wide neckline short sleeve tee when you want to show it off.
Session Day Picks
The first six ideas include exposed arm and collarbone pieces that have different session needs from hip or thigh work, so pack a few small items that help on chair day.
- Hush Aftercare Balm. Thin consistency recommended by some artists for small, sweat-prone spots because it avoids heavy occlusion during the first week.
- Tattoo Goo liquid balm. Lighter option some people use for "dry healing" behind the ear and similar tiny placements.
- Bepanthen-style gentle healing cream. Petroleum-free choice that some prefer on small tattoos to avoid greasy buildup.
- Hustle Butter Original. Popular plant-based balm used by clients who find Aquaphor too occlusive on wrist and collarbone areas.
- Saniderm second skin bandage. Breathable protective film that helps tiny tattoos in high-friction spots like the wrist or behind the ear during the first days.
6. Watercolor Bluebird on the Outer Forearm
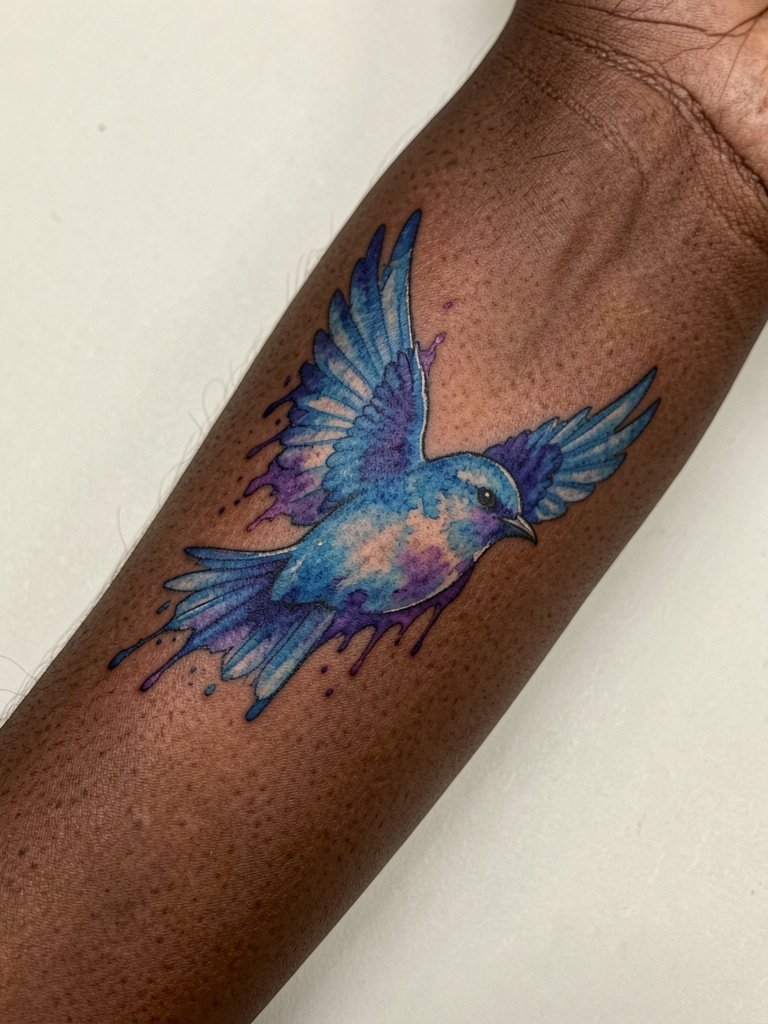
Watercolor birds look painterly fresh but they tend to fade faster on exposed moving areas. One group of artists warns that watercolor and pastel pigments wash out quickly on wrists and forearms because they rely on delicate saturation. Another group argues modern pigments and careful saturation can make color hold well if the artist uses dense layering and plans for a touch-up. If you love a bluebird palette, consider slightly more defined edges with soft color bleeds. For the session wear a linen short sleeve shirt so the artist can access the outer forearm easily.
7. Ignorant Style Crow Behind the Ear
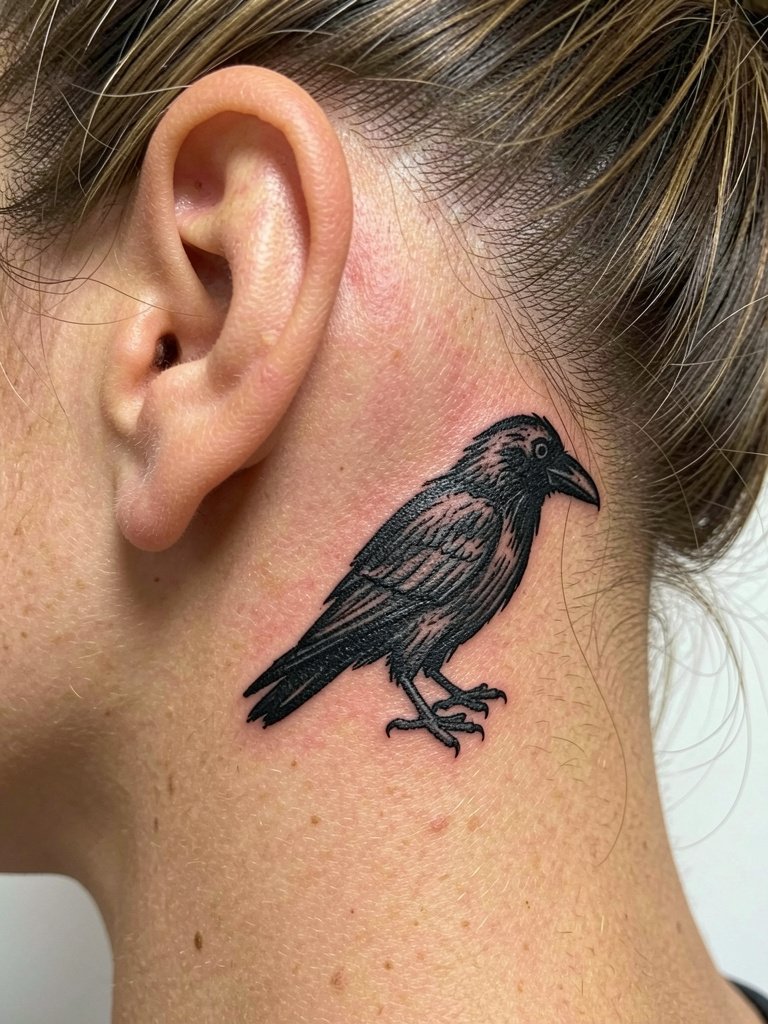
Behind-the-ear pieces are tiny and intimate. The ignorant style embraces uneven, hand-drawn charm and hides minor line wobble by design. Expect a short 20 to 40 minute session and a fast heal, but mention you want a little extra pigment saturation so the crow keeps silhouette after a year. A common mistake is asking for too much interior detail in this tiny zone, which blurs faster than a bold shape. For the session wear your hair up in a messy bun and consider a messy bun hair clip so the artist has clear access.
8. Ornamental Mandala Bird on the Inner Thigh
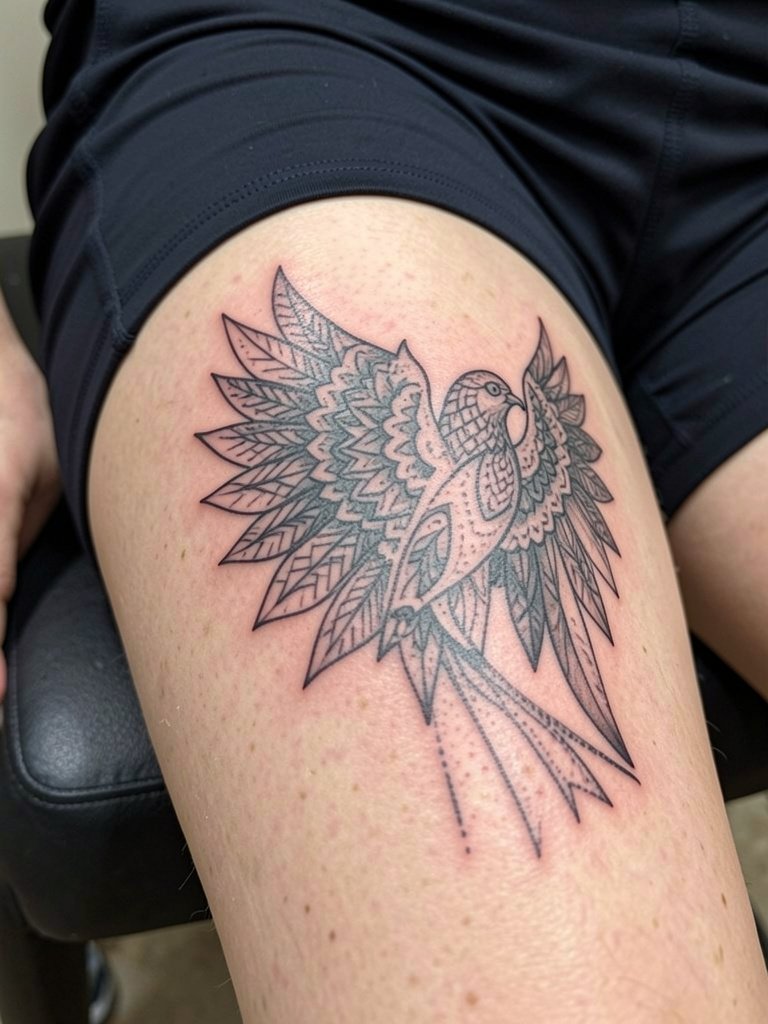
Inner-thigh placements allow more complex geometry in a small footprint, and mandala patterns give the bird internal structure that stays readable. This area often needs a longer session due to careful dot work and may be slightly more sensitive. A mistake is going ultra-tiny on repeating motifs; give each petal or pattern element enough room to avoid merge. Because the spot is intimate, mention if you want future touch-ups and schedule one within 12 to 18 months. For the session wear fitted bike shorts so the artist can easily expose the mid-thigh without tight seams.
9. Single-Needle Robin on the Nape
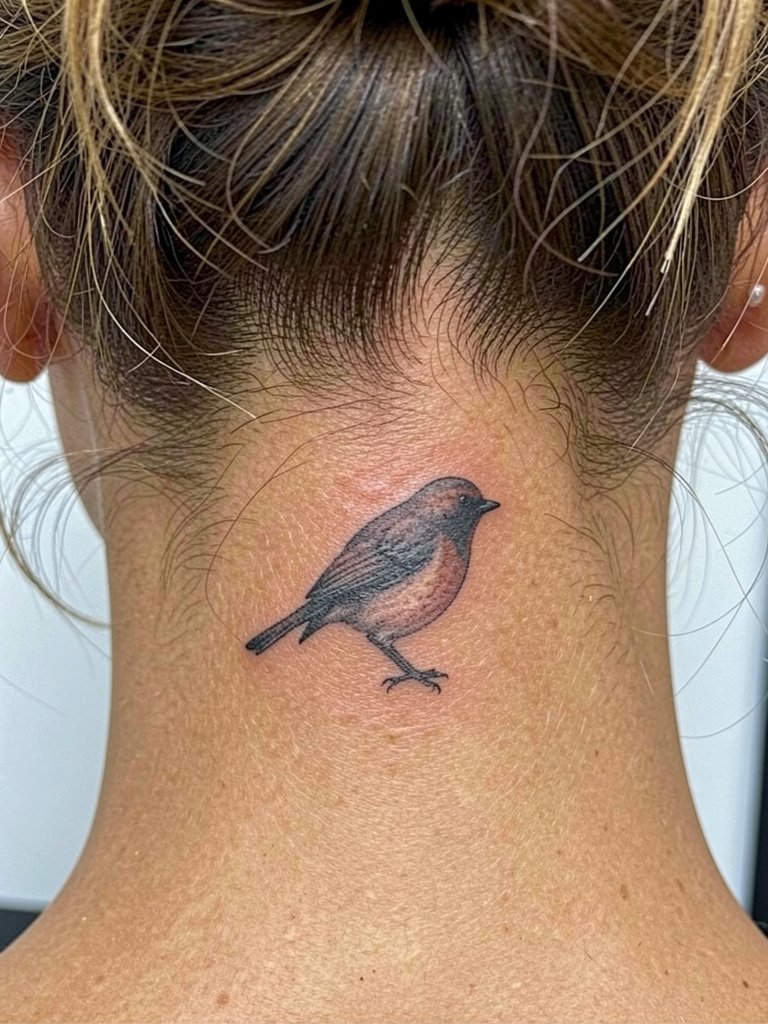
A small single-needle robin at the nape is subtle when your hair is down and pops with an updo. The nape heals quickly but is prone to rubbing from collars and necklaces, so plan clothing and jewelry choices for the first week. Artists will often recommend slightly thicker line weight on the nape than they would on an inner forearm. Common error is too-fine script nearby that competes and blurs with the bird silhouette. Wear a collared shirt that frames the neck and avoid heavy necklaces for two weeks. For styling, a high ponytail hair clip is an easy way to show it off.
10. Minimalist Flight Sequence on the Upper Thigh
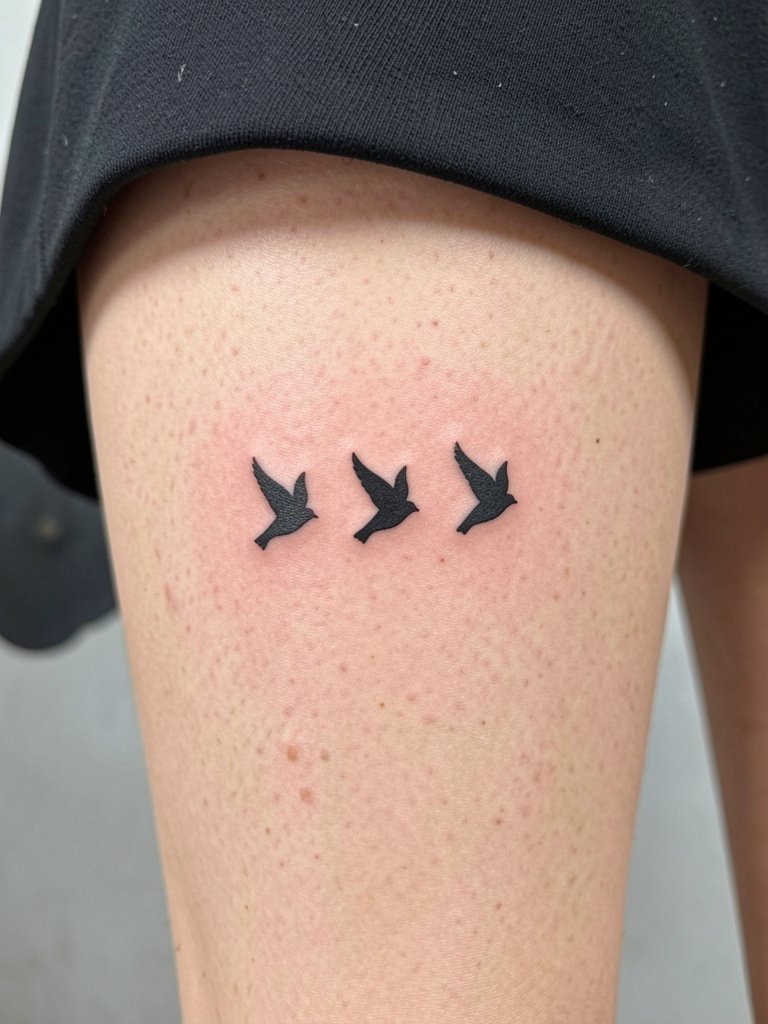
A flight sequence reads as movement and works well on the thigh because the canvas gives separation between each bird. Plan for a session under an hour for three small silhouettes. A typical mistake is packing the birds too close so they merge as the skin ages. Ask the artist to mock up spacing at life-size so you can step back and see the rhythm. For wardrobe, midi skirts or cropped shorts in neutral tones reveal the sequence when you walk, and a midi skirt neutral is an easy pairing.
11. Pastel Pink Flamingo on the Ribcage
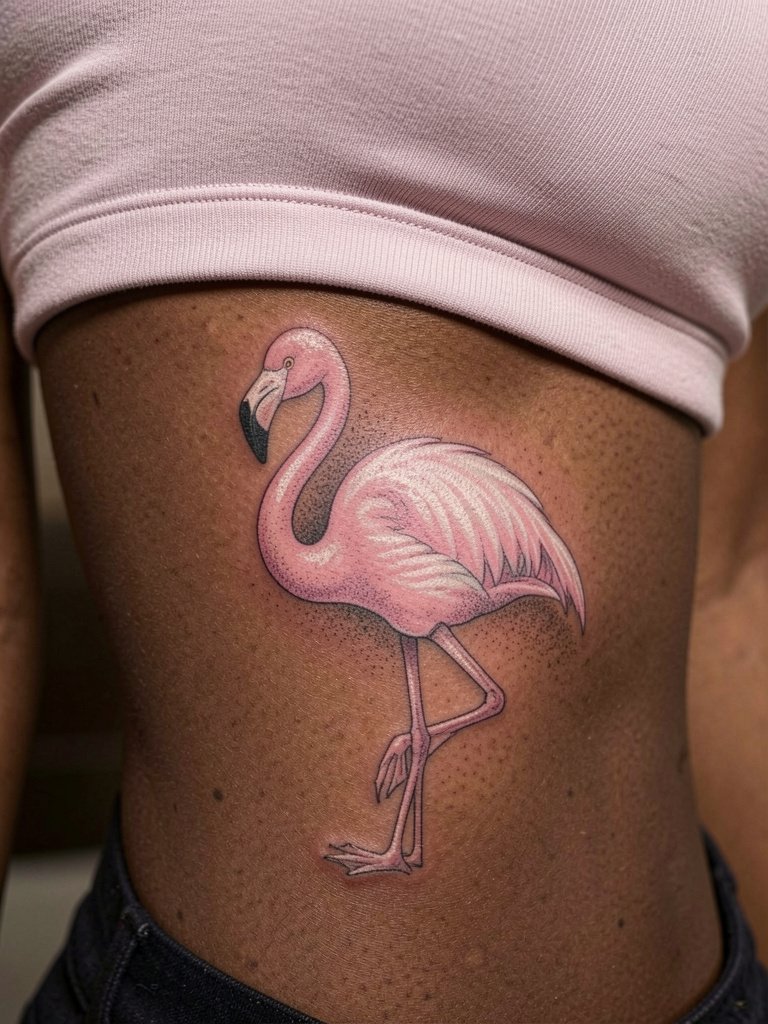
Ribcage tattoos are high on the pain chart but can be gorgeous when designed to suit the skin there. Pastel inks on the ribs risk faster fading due to movement and sweat. One camp of practitioners says the ribcage shifts too much for fine pastel detail and advises bolder silhouettes. Another camp says careful layering and planned touch-ups preserve pastel looks if you commit to aftercare. If you opt for pastel, plan a touch-up pass at 12 to 18 months. For the session wear a cropped top or tank that gives the artist full side access and avoids tight bands.
12. Bold Traditional Eagle on the Lower Back
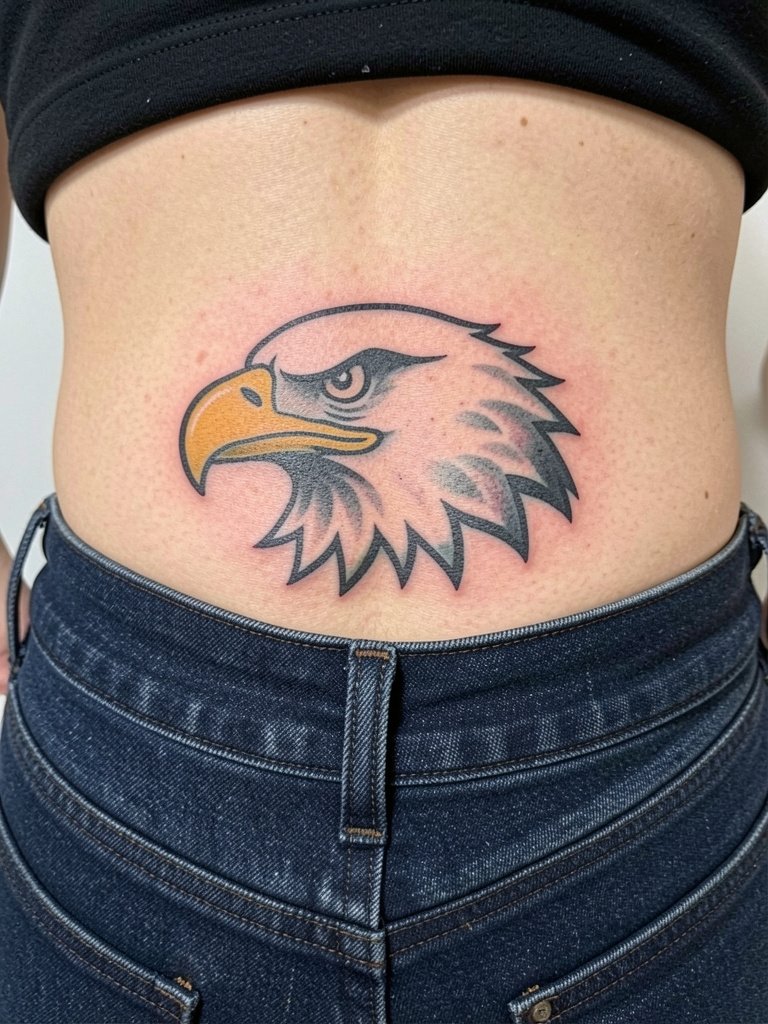
A small traditional eagle on the lower back holds its image thanks to literal bold lines and solid color blocks. The lower back is a stable plane so the heavy outline strategy performs well over years. Be cautious about placing the piece too low where waistbands will rub during healing. For the session choose low-rise pants that can be positioned to leave the small of the back exposed without tight pressure. To show it off, consider low-rise skirts or pants that reveal the silhouette, and a low rise skirt works well for evening wear.
13. Botanical Bird Trio on the Inner Forearm
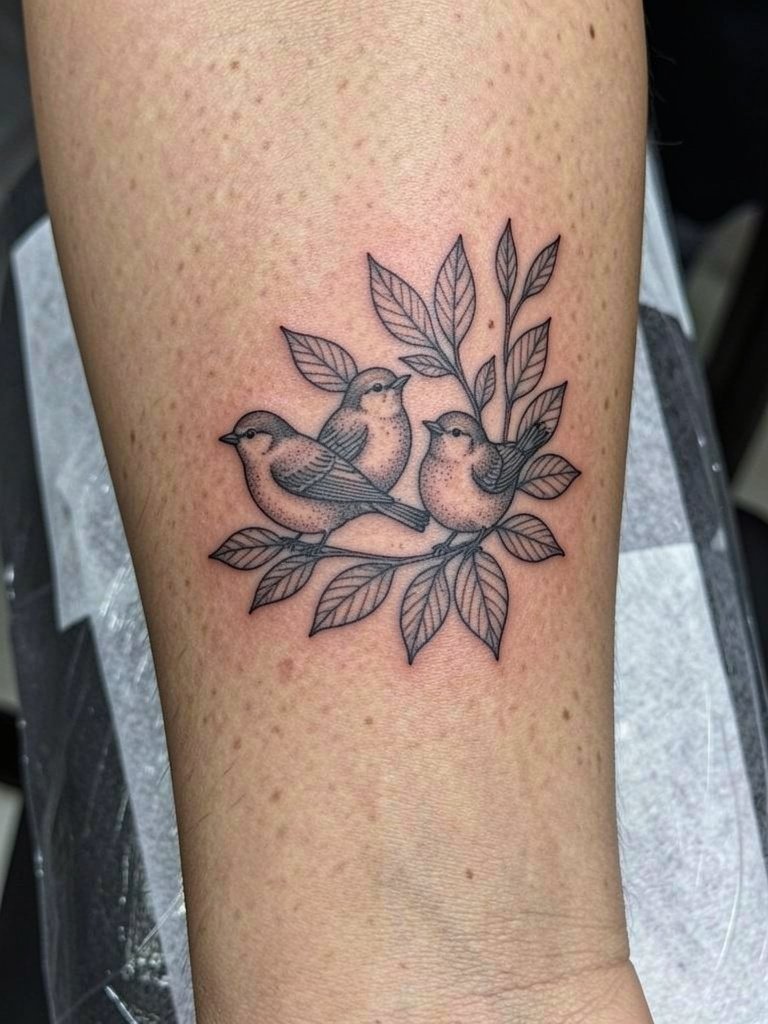
Combining birds with a single branch or sprig gives visual weight to a micro piece and reduces the "sticker" look. The inner forearm is forgiving for detail and tends to keep linework intact if spacing is respected. A common mistake is cramming three distinct bird poses into a space too small for them to breathe. Bring reference images showing scale, and request the artist show a life-size mockup on skin. For sessions wear a loose button-down so the whole forearm is accessible, and try a loose button down shirt for comfort.
14. Geometric Bird Head on the Wrist
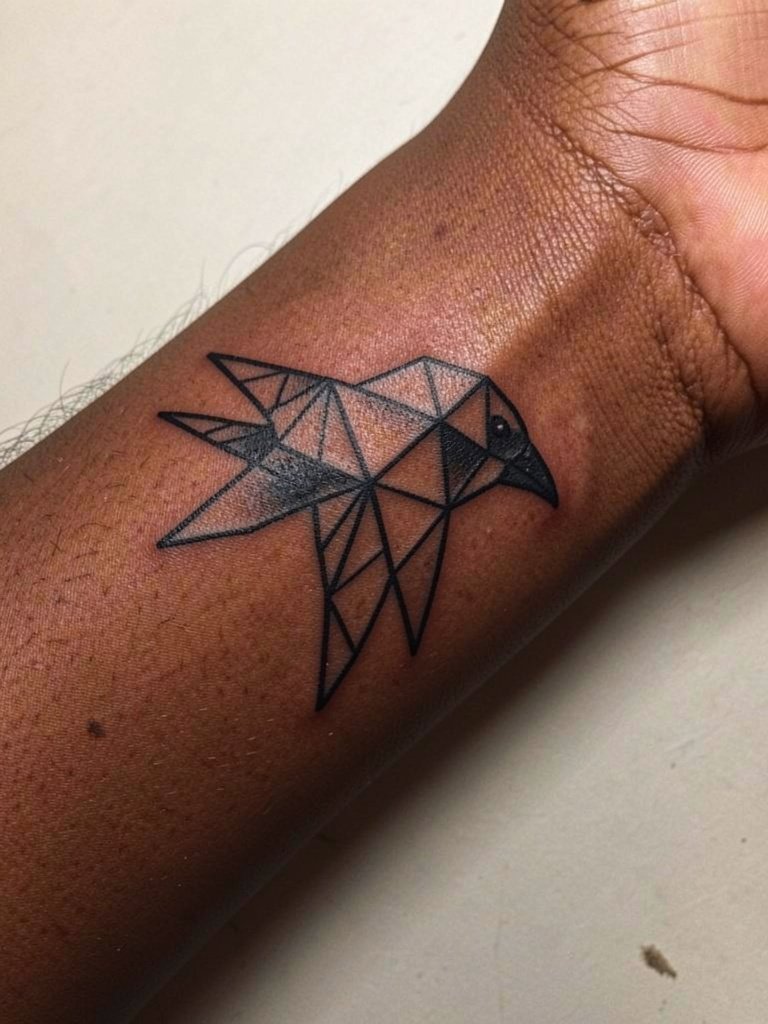
Geometric heads rely on strong negative space and need room to avoid merging of adjacent straight lines. For wrist placement increase the line weight slightly so the triangles stay crisp as the skin shifts. One mistake is matching a geometric reference photographed at five inches to a one-inch wrist tattoo without scaling adjustments. Ask for the design to be redrawn to wrist scale during the consult. This wrist piece pairs cleanly with stacked dainty bracelets on the other wrist.
15. Stippled Songbird on the Inner Thigh
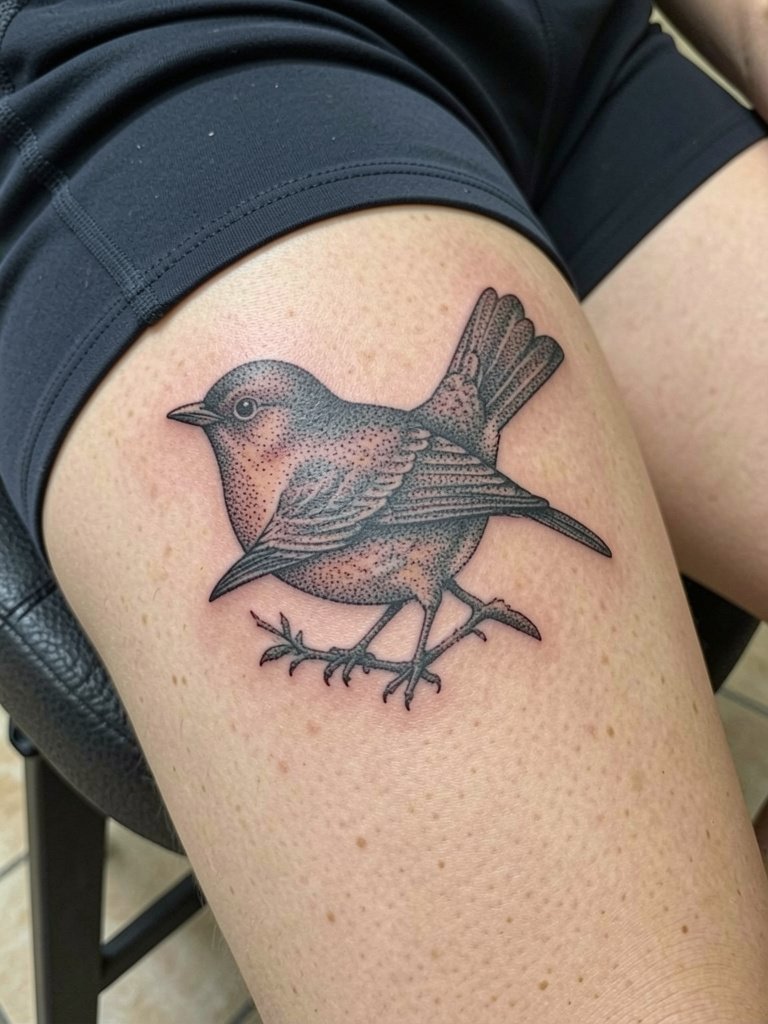
Dot-work gives a soft textured feel and reads nicely on inner-thigh skin, but stippling is time-consuming so expect a longer session. A common misstep is asking for extremely subtle gradients at too-small a scale, which compress into muddy gray. Request a range of dot densities and confirm how the tonal transitions will read at three different scales. Because the inner thigh can move with walking and weight shifts, plan for a touch-up window around 12 months. For showing it off, high-waisted skirts or shorts reveal the placement with movement.
16. Tiny Sparrow with Branch on the Ankle
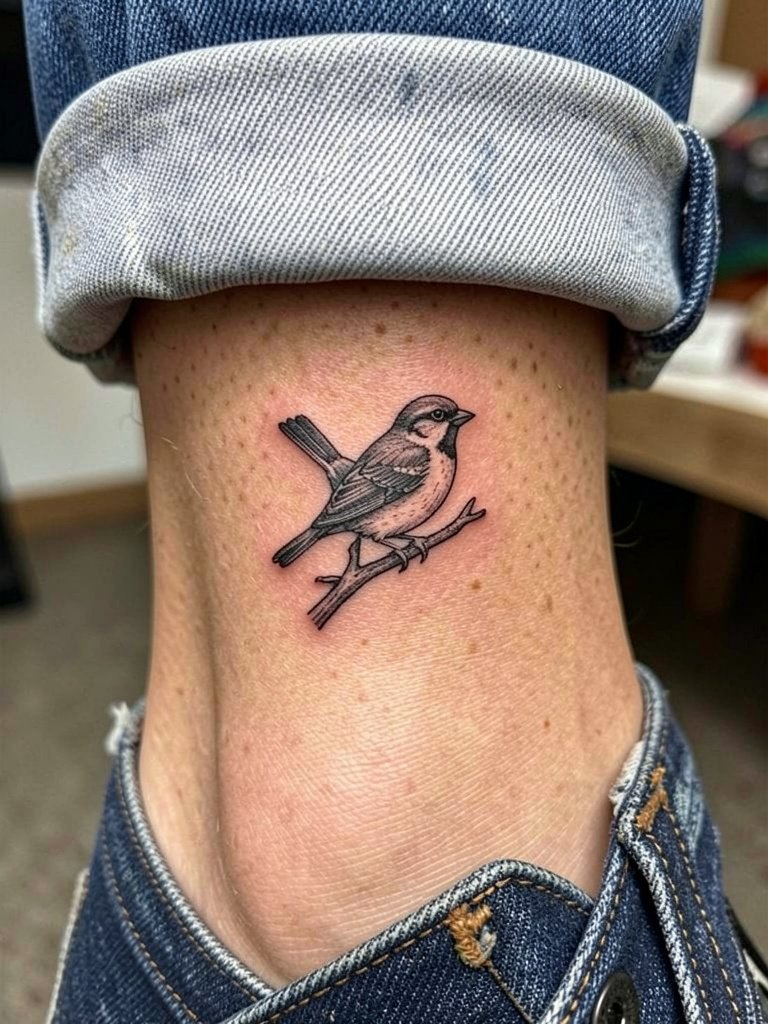
Ankle placements face friction from socks and shoes so silhouettes outperform filigree here. Session time is short, but healing requires mindful footwear choices. A mistake is placing the twig too thin where it fades into surrounding texture. Ask the artist to thicken contact points and plan for a light touch-up after the first year. During the session roll up jeans cuff and wear shoes that do not rub the fresh area for a week. Ankle tattoos look chic with rolled cuffs and a rolled cuff linen shirt for casual styling.
17. Minimalist Winglet Behind the Collarbone
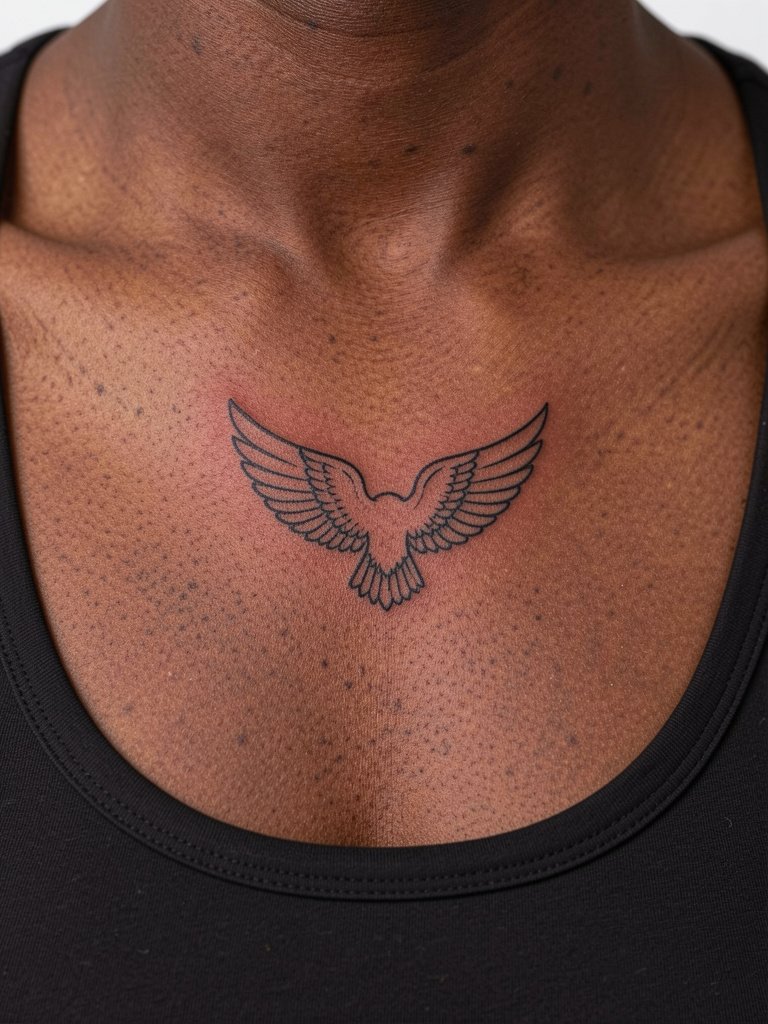
Tiny motifs near the collarbone read better when the negative space around them is respected. The collarbone is sensitive, expect higher pain but a quick session. Avoid ultra-thin single lines that follow the clavicle exactly; they tend to blur where skin flexes. Instead choose slightly contrasted weight and request the artist test a 1:1 scale stencil. For outfits, off-the-shoulder and strapless tops highlight the area, and a strapless top makes a night look effortless.
18. Saxony Finch with Leaf Accent on the Forearm
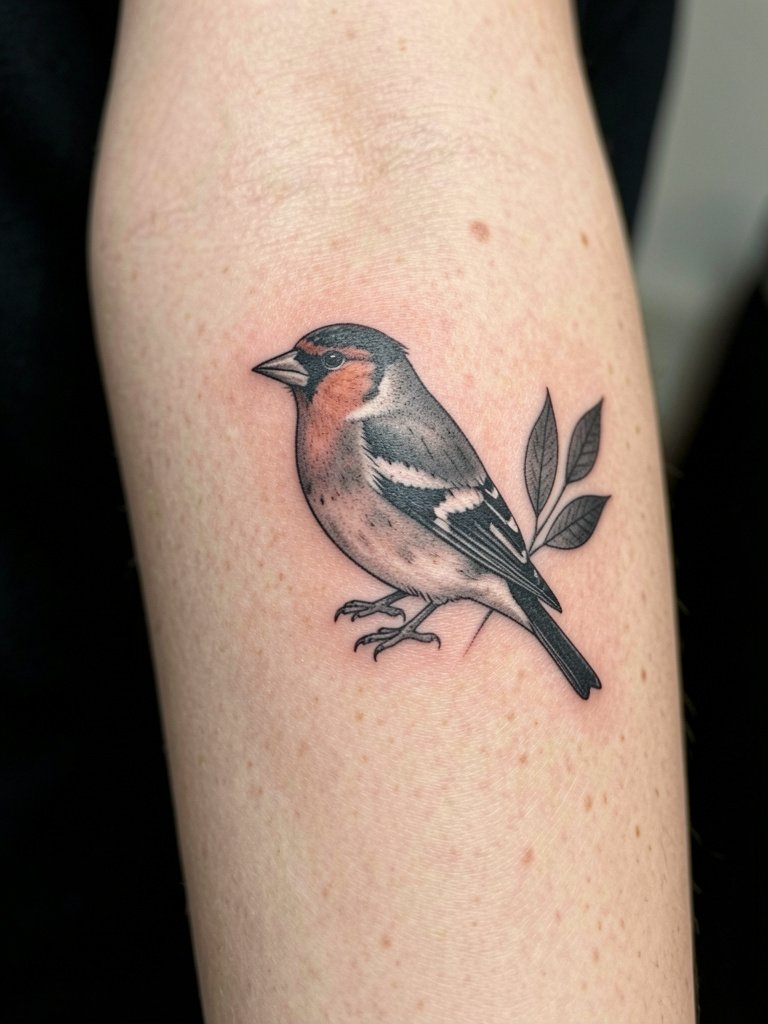
An outer forearm finch can be slightly more detailed because the top forearm has a flatter surface and less friction than the wrist. A usual mistake is asking for micro-feather strokes without adequate spacing. Ask for feather suggestion rather than hyper-detail, and plan for a six-month check to gauge saturation. Session wear is a short-sleeve tee, and the design pairs with light, airy fabrics to show color contrast if any.
19. Tiny Kingfisher with Splash Accent on the Calf
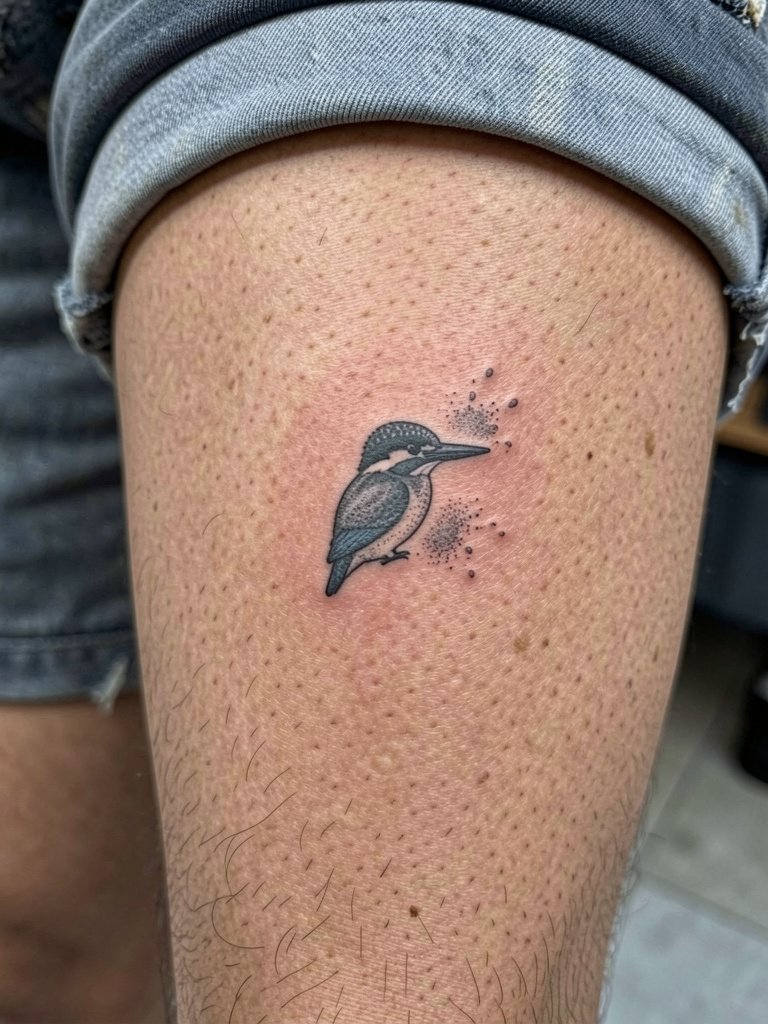
Calf placements give a playful canvas for small birds with a bit of motion, like a splash. The calf tolerates denser shading, so stipple accents can stay distinct. Common error is putting white ink highlights on medium to dark skin where they read poorly; ask for contrast via darker dots rather than white. For sitting through the session, wear loose drawstring pants so the artist can roll the leg up without pressure. When you want to reveal, cropped shorts are an easy show-off choice.
20. Linear Sparrow Row on the Collar Inner Wrist
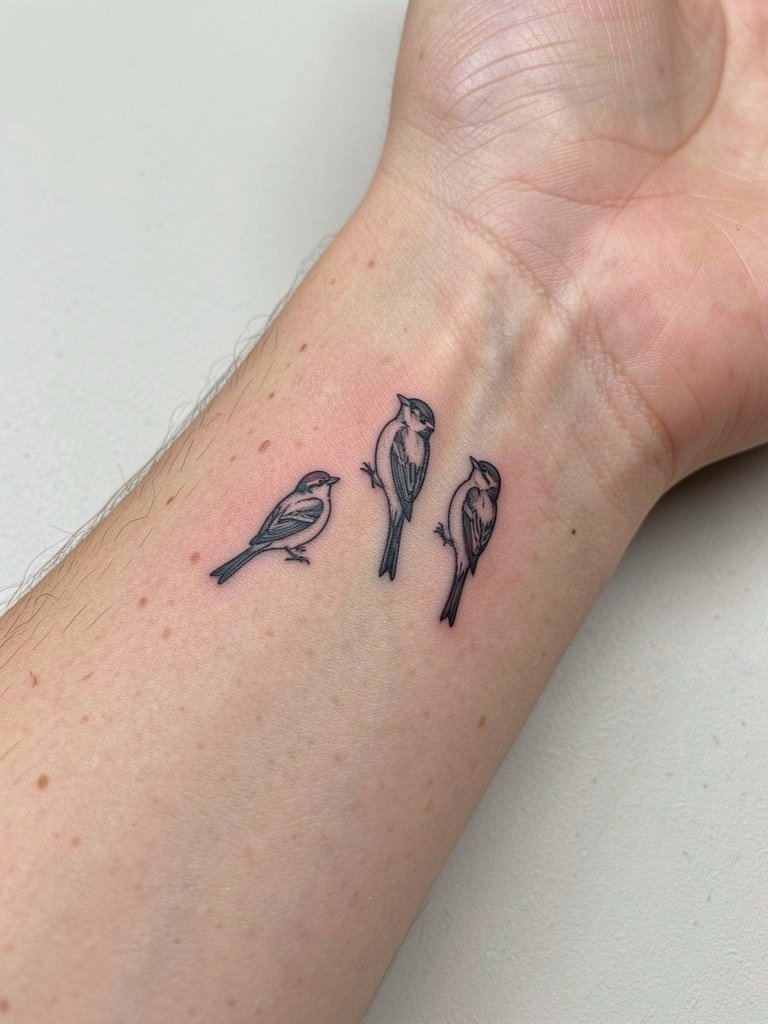
Small rows of symbols along the inner wrist need breathing room from the wrist crease. One mistake is placing the lowest bird directly on the crease, where motion distorts the image. Ask the artist to leave a safe margin of skin between the lowest design and the crease so the row keeps shape. Session is quick, but avoid tight bracelets immediately after. For a simple accessory complement try a minimalist watch worn on the opposite wrist.
21. Tiny Lark with Floral Accent on the Shoulder
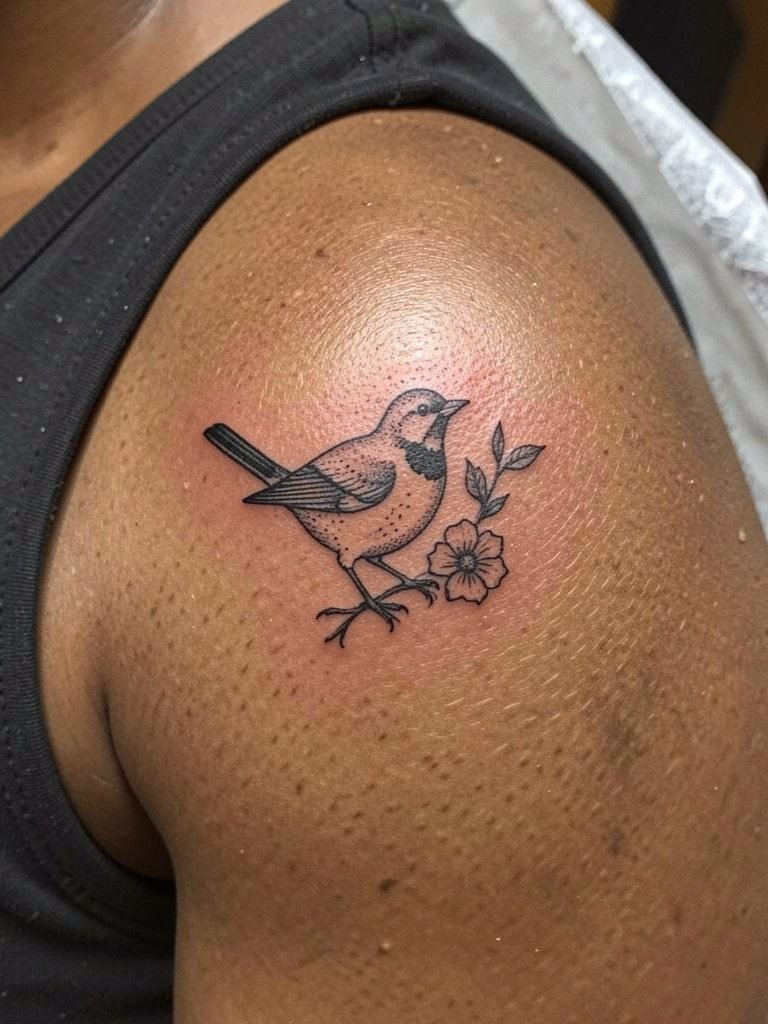
The shoulder is forgiving and displays well with sleeveless clothing. Fine line here looks crisp for longer than on the wrist, but avoid under-scaled flower details that collapse into blur. Ask for the floral accent to be rendered in a simplified line motif so it keeps contrast. Sessions usually run under an hour. To show the piece try a sleeveless tee or tank for casual looks.
22. Geometric Flight on the Rib Side
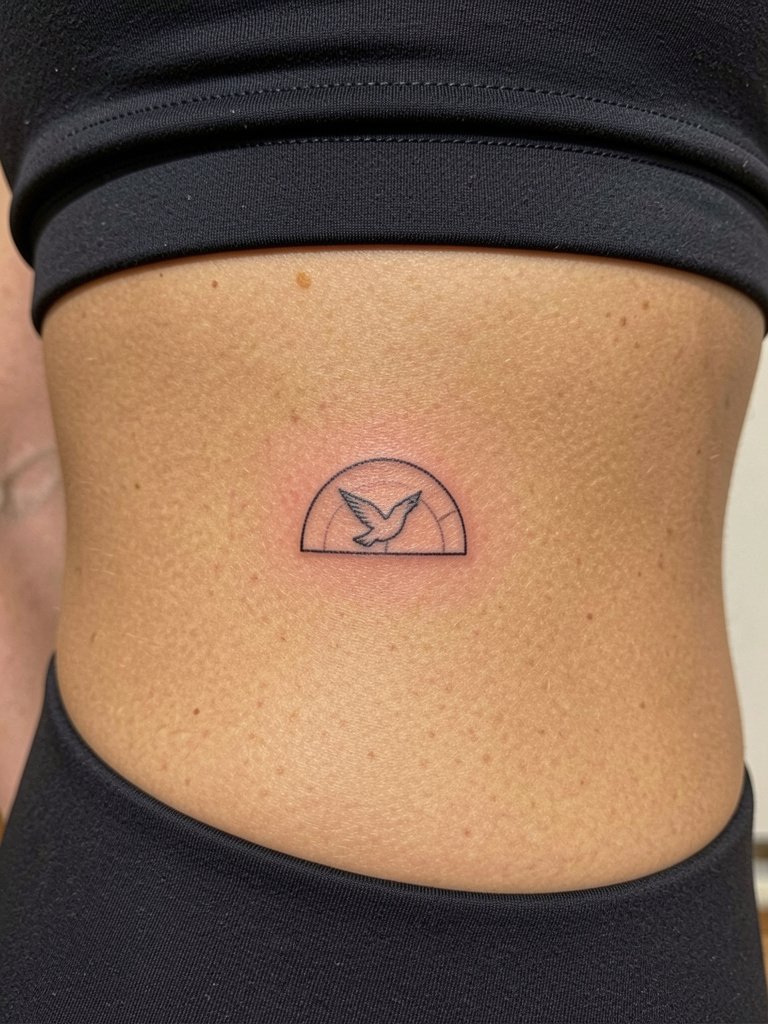
Geometric arcs on the rib can look architectural and modern, but the ribcage is a spot where skin moves and breathes a lot. A common debate is whether fine geometric work can survive that motion. If you want sharp edges, ask the artist to increase spacing and avoid perfect micro angles so natural skin texture does not seize the line. Expect a higher pain rating and plan for breaks. For the session wear a fitted sports bra that exposes the area without shifting.
23. Small Sparrow as Patchwork Filler on an Existing Sleeve
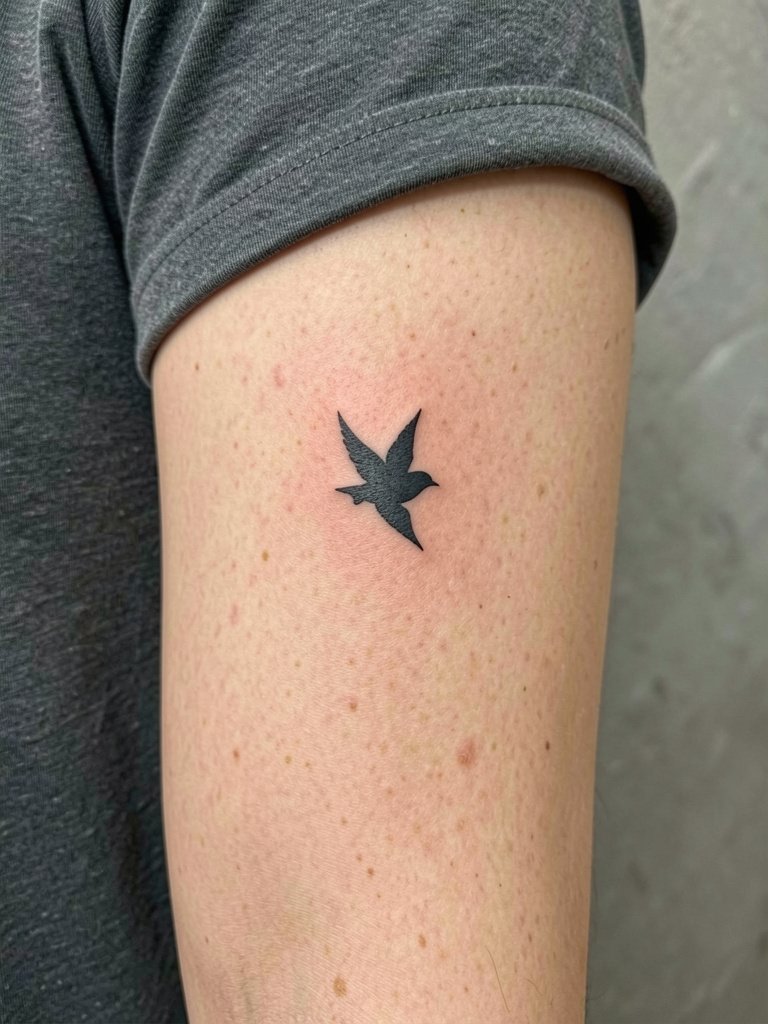
Small birds make excellent filler pieces in sleeves if the scale and flow are considered. A mistake is inserting a bird without matching the existing line weight, which makes the filler look tacked on. Bring clear photos of neighboring pieces and ask the artist to redraw the sparrow to match local saturation and linework rhythm. Session length varies depending on blending needs. For the appointment wear whatever lets the artist view the whole sleeve, and plan a short touch-up if colors or blacks need to be matched exactly.
Frequently Asked Questions
Q: How often do tiny bird tattoos need a touch-up?
A: For micro pieces under an inch I usually plan for a touch-up between 12 and 18 months. The wrist, collarbone, and ribcage are more likely to need a light pass because movement and sun exposure can soften contrast. Ask the artist during the consult to mark your touch-up window so you can book it in advance.
Q: Which small bird styles work best on darker skin tones?
A: High-contrast blackwork and saturated neo-traditional fills generally read best. Single-needle ultra-fine light-gray shading can disappear over time on melanin-rich skin, so request slightly heavier linework or stronger saturation for internal details.
Q: Where can I find healed portfolio examples and local artists without naming specific people?
A: Search style hashtags like #smallbirdtattoo, #finelinetattoo, and #microbird on Instagram and TikTok, then filter by your city or region. Use platform filters on Tattoodo or Booksy to find artists who list "micro" or "fine line" specialties. Reddit communities such as r/tattoos and r/tattooadvice often include before-and-after or healed photos; scroll posts and comments to find real-world healing evidence.
Q: What should I wear to the session for different placements?
A: Match the garment to placement so the artist has easy access: sleeveless tops for shoulders, loose button-downs for full forearm access, and low-rise pants or shorts for hip work so the waistband does not pinch the area. If you have a collarbone or rib session, a strapless or wide-strap top prevents fabric rubbing during healing. A loose button down shirt is a reliable session choice.
Q: I heard numbing cream can cause patchy healing. Which camp is right?
A: Artists are split. One group says numbing cream helps clients get through sensitive placements without flinching, improving overall result during the session. The other group argues numbing creams can make the skin temporarily rubbery and cause uneven pigment placement, which can show up as patchy healing. If you plan to use topical anesthetic, tell your artist exactly which product and timing you used and discuss a break in the session so the skin settles.
Q: How can I avoid my small bird turning into a blurry blob after a year?
A: Give the artist enough room to add modest line weight, especially on wrists and highly mobile spots. Avoid ultra-fine single-needle detail on pieces intended to be under an inch, and plan for sun protection and a touch-up at 12 to 18 months. I recommend bringing two references at different scales so the artist can demonstrate how the design reads at the actual size you want.
