
Someone I know spent months saving ankle photos and still missed the practical questions. The real issues were pain on the bone, shoes rubbing fresh ink, and how small linework fares on darker skin. I visited five shops across Brooklyn and talked with artists who specialize in fine line and blackwork. Below are 25 ankle tattoo ideas with placement tips, what to ask your artist, aging notes, and a realistic sense of the session.
1. Fine Line Floral Wraparound Anklet
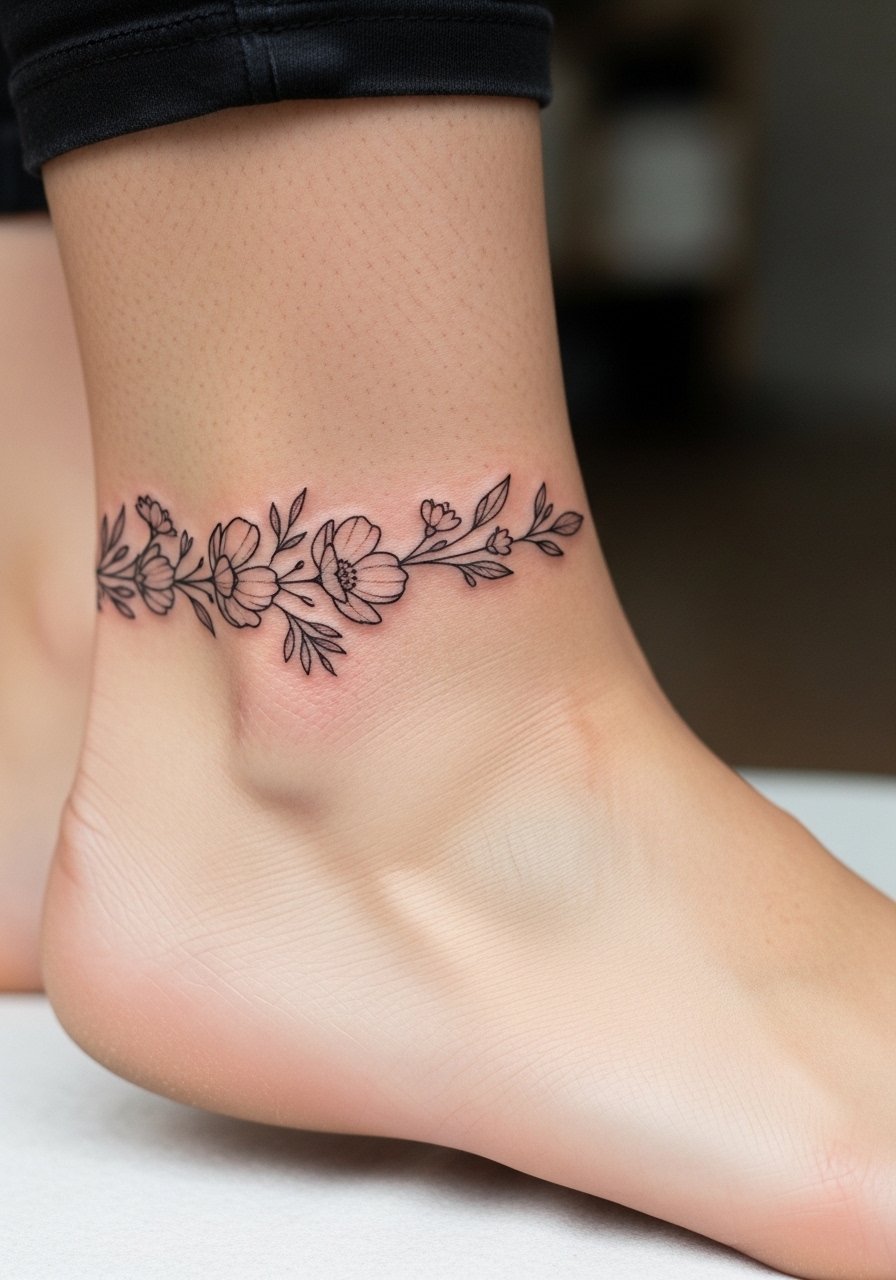
Someone I know booked this because they wanted a jewelry feel without metal. Fair warning, fine line lovers split into two camps about longevity. One camp says the ankle moves and fine lines blur faster. The other camp says careful spacing and slightly deeper linework keeps petals crisp. In consultation, ask for reference photos that show exact line weight and say you want negative space between blooms. Placement off the tibia reduces sharp bone pain and the session typically fits in one appointment. Expect gentle fading by year two on very thin lines, and plan a touch-up if you want crisp edges long term.
2. Minimalist Lotus Outline
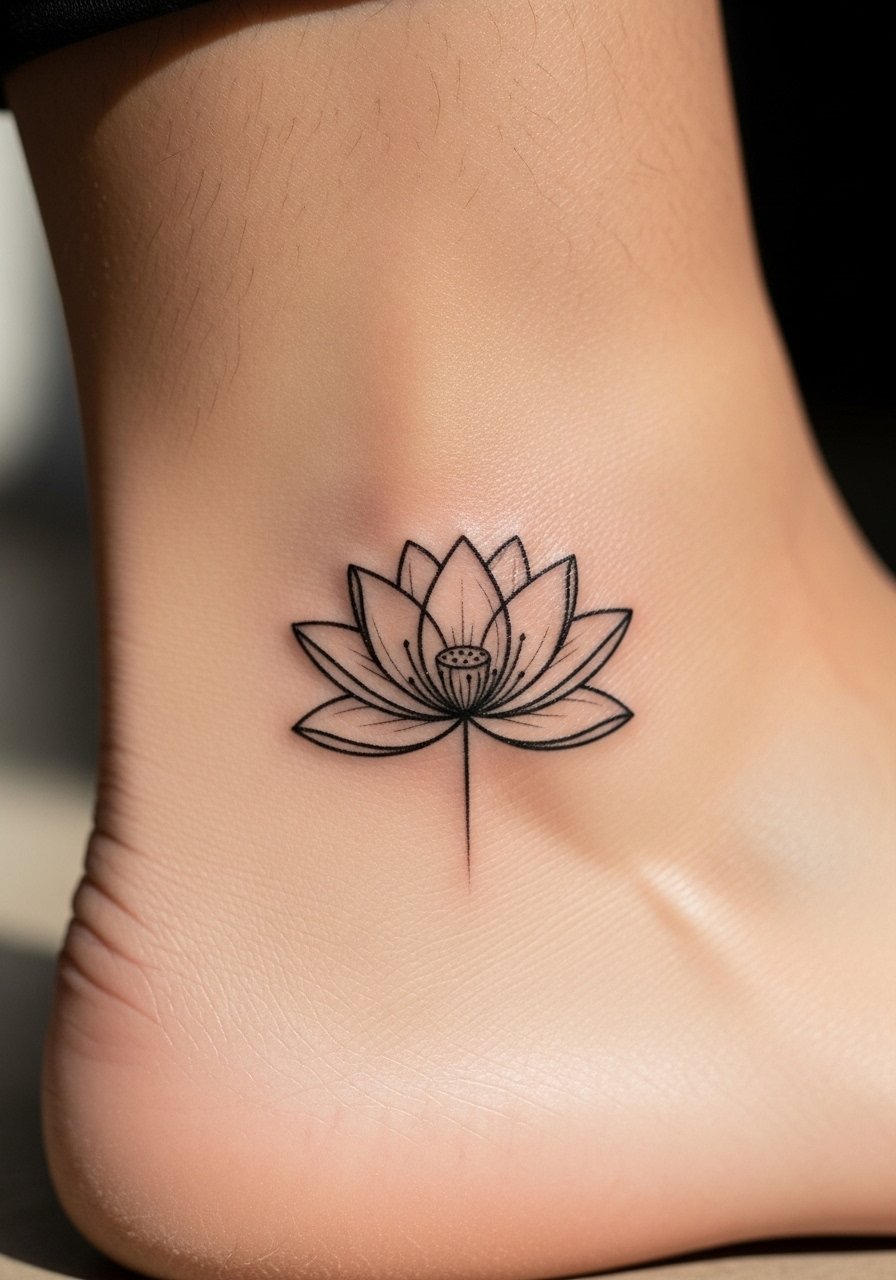
Consultation-wise, bring a one-inch reference so the artist knows how the petals should open without filling. The top of the ankle hits bone more, so pain is higher than the side. Artists debate whether a shallower needle keeps the outline delicate or causes early fading. Tell your artist you prefer clean contour with a modest depth for longevity. A single short session usually does it. For darker skin tones consider slightly bolder outlines so the shape reads at six months. Avoid tiny script inside the petals since micro text often blurs on that placement.
3. Delicate Vine with Blooming Flowers
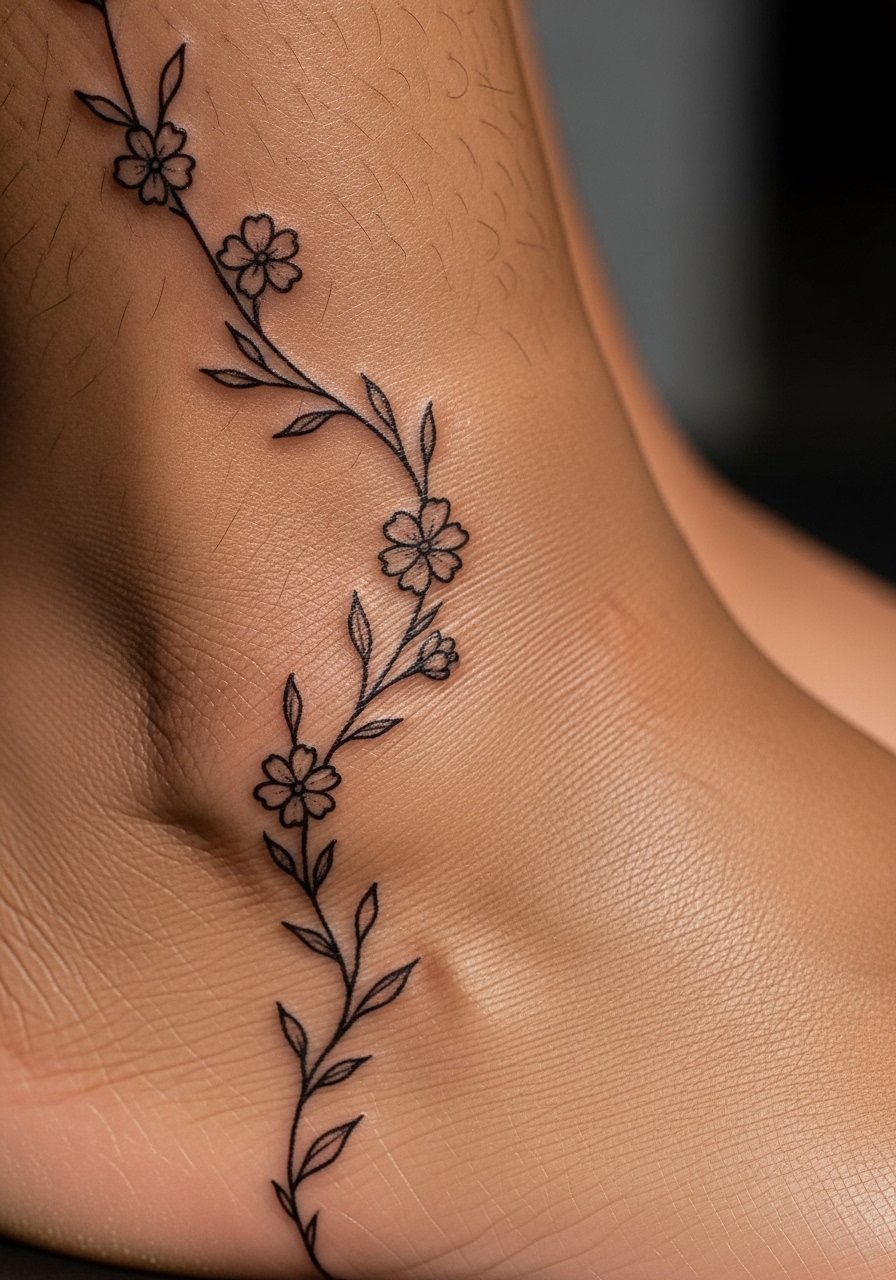
If you want the leg-elongating effect, wrap the vine so the highest bloom points upward toward the calf. Mention during the consult that you want gaps between leaves so the vine does not blur into a band over time. This style can be done in one to two sessions depending on color accents. The inner ankle feels less painful than the bone but has a higher blowout risk if lines are too close. People often ask for too many micro blooms in a narrow band. Scale back the density to keep breathability for the ink and to reduce rubbing from shoes while healing.
4. Intricate Mandala Band
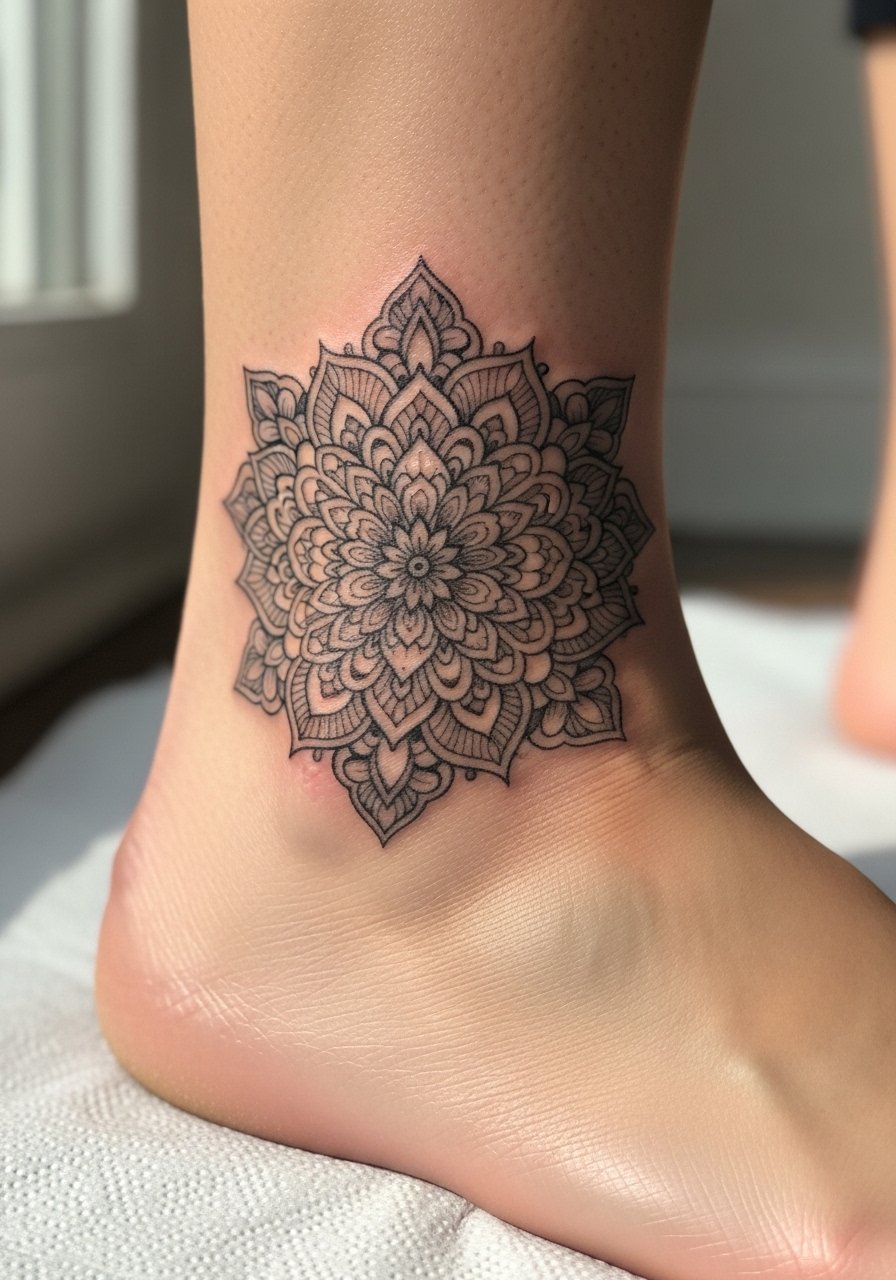
Most mandala bands read like jewelry when placed symmetrically. When you book, ask the artist to map the center line of the ankle so the mandala sits evenly. This is a style where symmetry matters more than tiny details. If you compress a mandala into too narrow a band the geometry blurs as the skin shifts. Expect a single longer session. Pain is moderate around the ankle because of compact linework. For those unsure about a full wrap, try a partial mandala on the outer ankle first. Touch-ups at year two are common for thin ornamental lines.
5. Feather with Trailing Lines
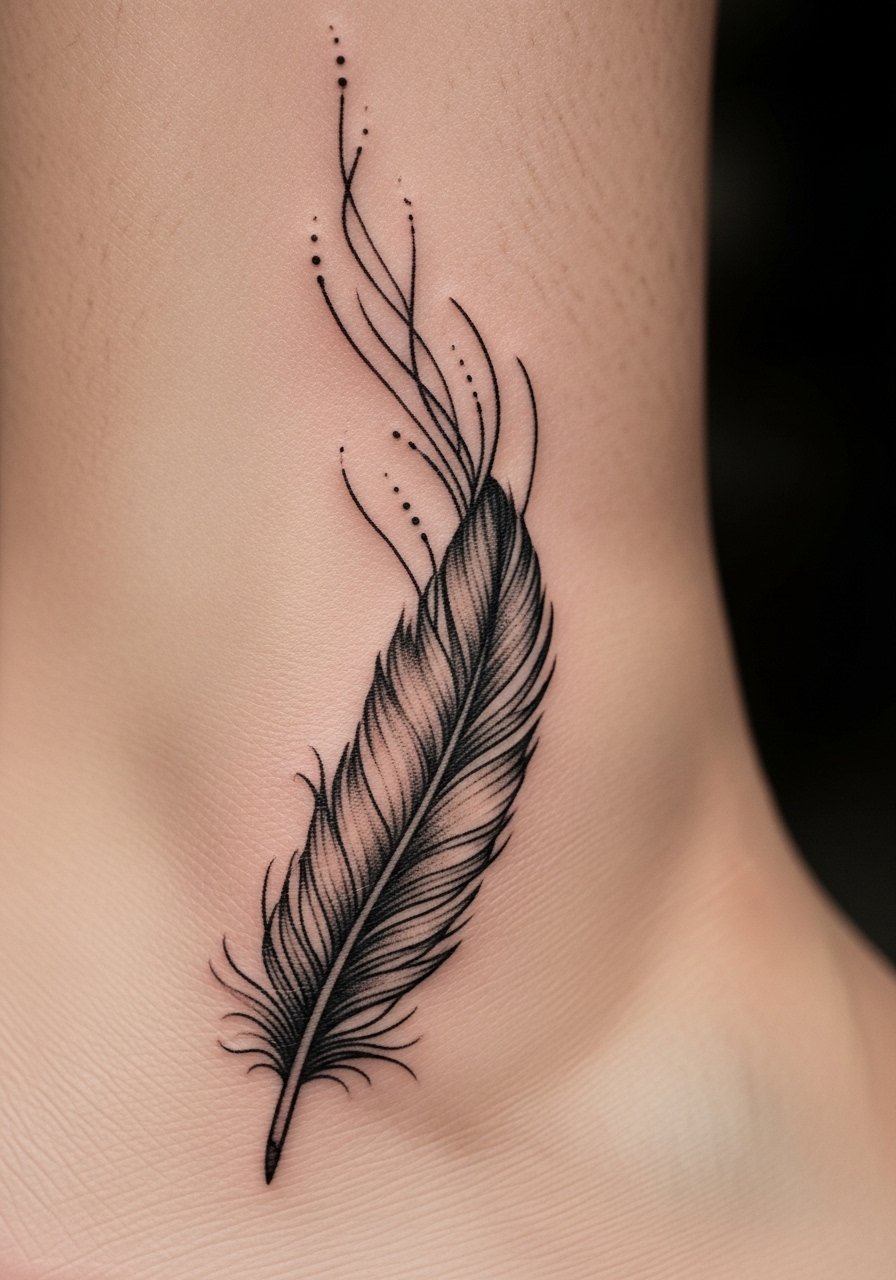
This one photographs well on sandals and elongates the lower leg. Tell your artist during consultation that you want the quill to taper into faint whip shading, not a heavy fill. The inner ankle placement is more forgiving on pain and sits comfortably when you wear low shoes. A frequent mistake is adding tiny color accents that age unevenly along the feather. The session time is short and the design keeps its airy look if lines are spaced and the artist uses stipple shading for texture. Expect a touch-up option if any trailing lines soften.
6. Butterfly Silhouette in Flight
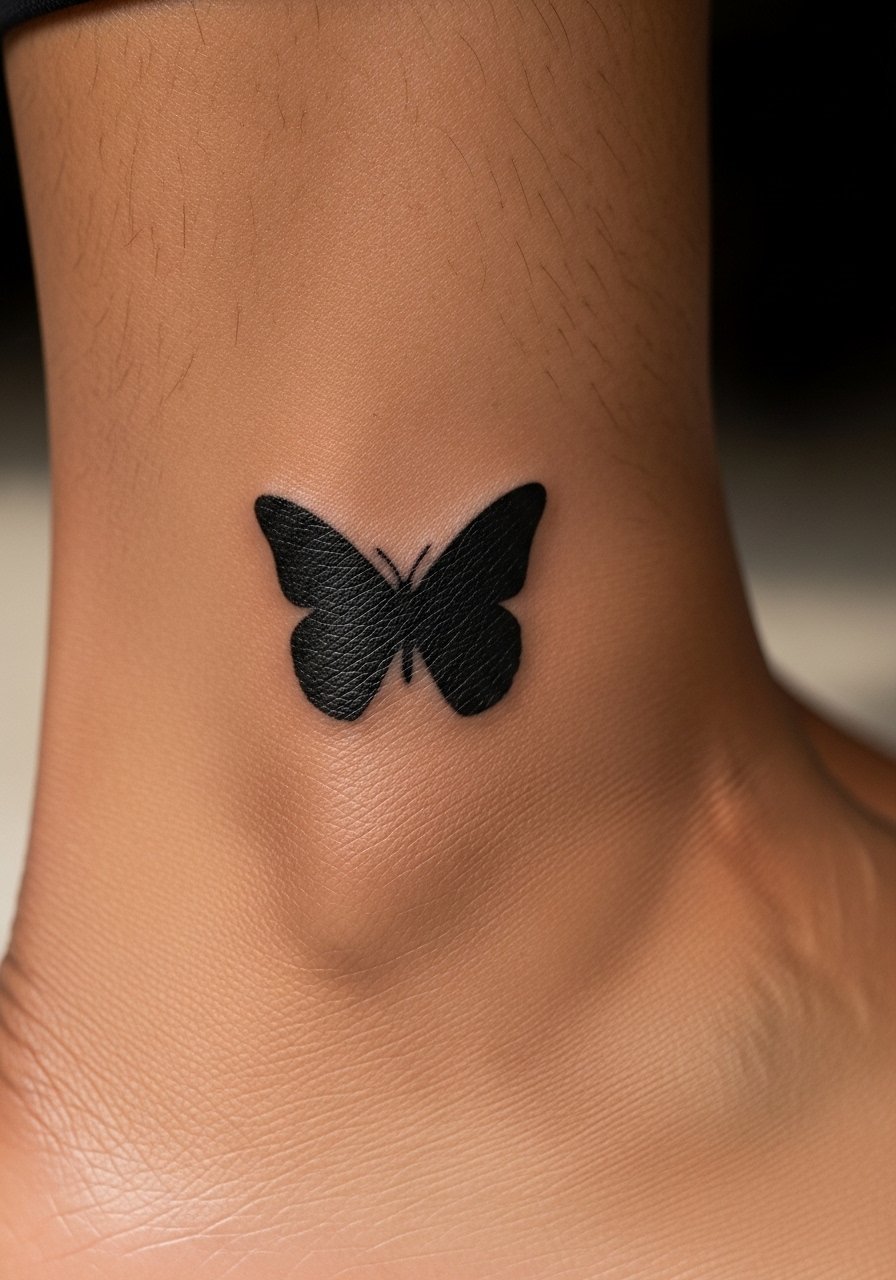
A clean silhouette reads from a distance and stays graphic as ink ages. When you bring references, indicate wingspan and whether you want internal vein detail or a pure silhouette. Outer ankle placement is lower on the pain scale. The most common error is asking for tiny wing veins that fill in and look muddy after a year. A single-session outline with strong linework holds up better than ultra-thin veins. If you want color, ask for saturated blackwork borders with pigment inside to reduce early color washout near shoes.
7. Script Quote Along the Ankle Bone
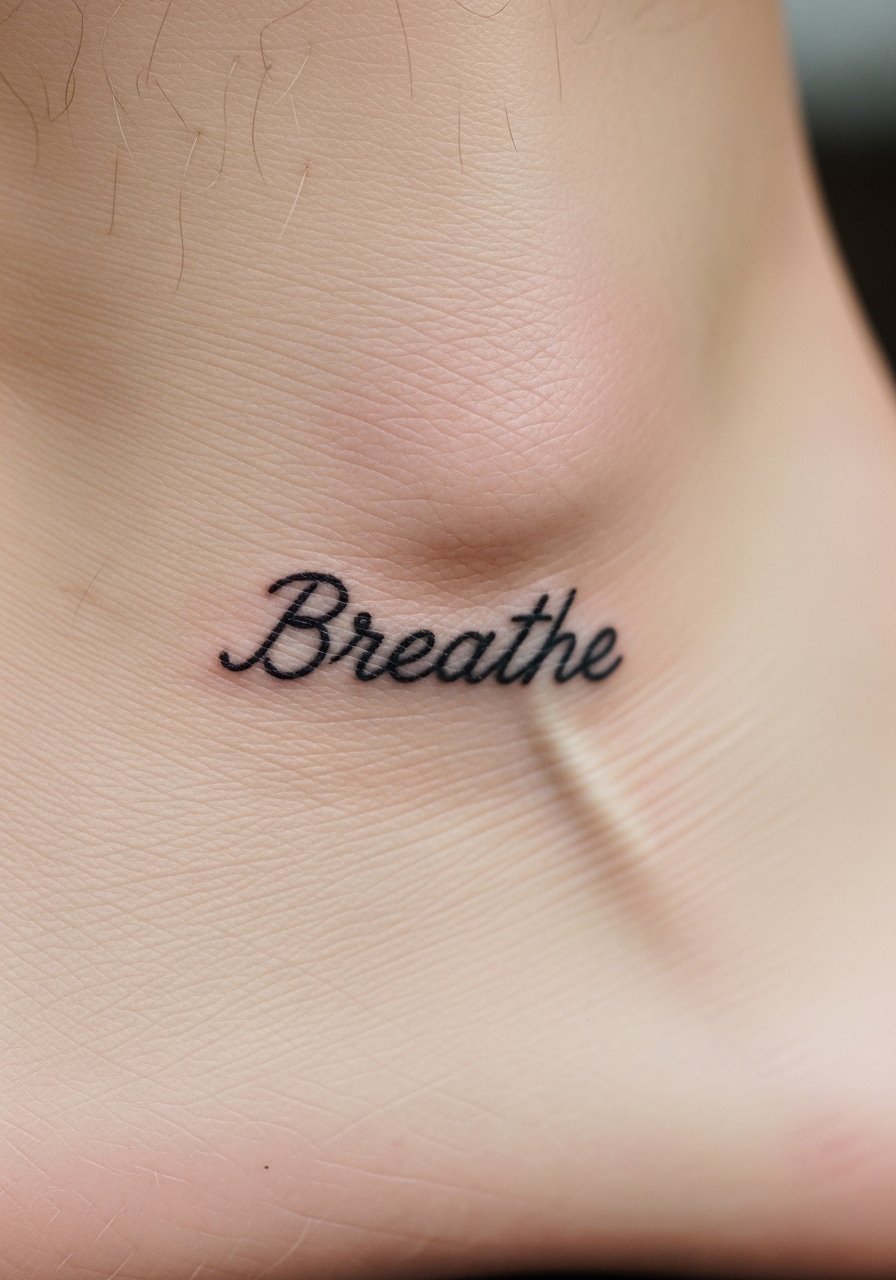
When text is visible in an image, the prompt includes exact words. For a one- to two-inch arc along the bone, tell your artist the font, letter spacing, and whether you want tight kerning. The ankle bone area is painful, so expect a sharp sting for short bursts. The biggest mistake people make is choosing ultra-thin cursive that becomes unreadable on textured skin. Ask for slightly heavier hairlines so the text stays legible at six months. Session time is short, and a touch-up within a year is not unusual for tiny script.
8. Heart with Arrow Anklet
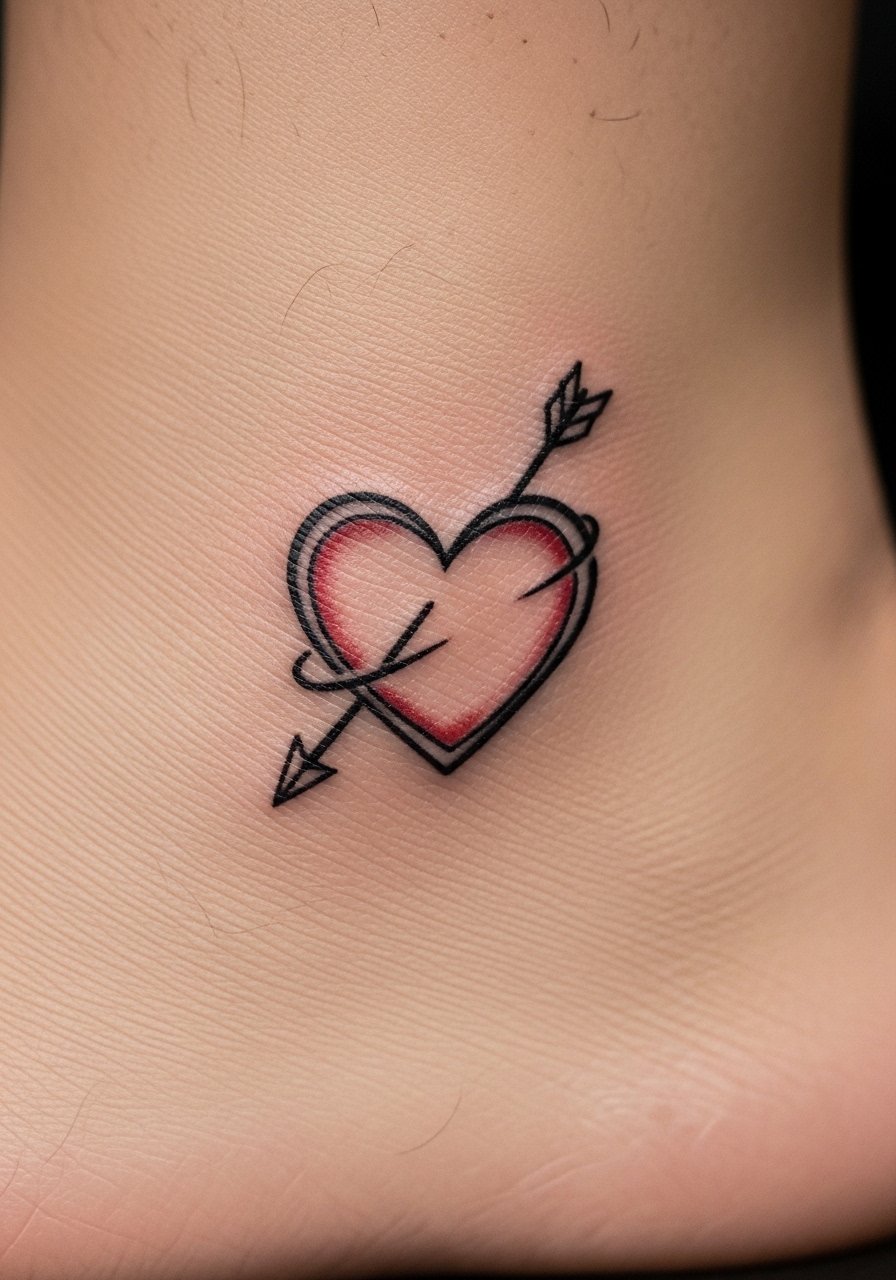
This '90s anklet revival works as playful jewelry. Tell the artist if you want a solid red fill or a subtly shaded heart so they can plan saturation. Front ankle placement sits away from the tibia but can catch on shoe edges during healing. Mention you plan to wear low shoes so they can suggest covering tactics. A single-session design heals quickly but red pigment can fade faster, so ask about pigment saturation and a potential touch-up schedule. The common mistake is requesting micro red details that look faded by year two.
9. Star Constellation Trail
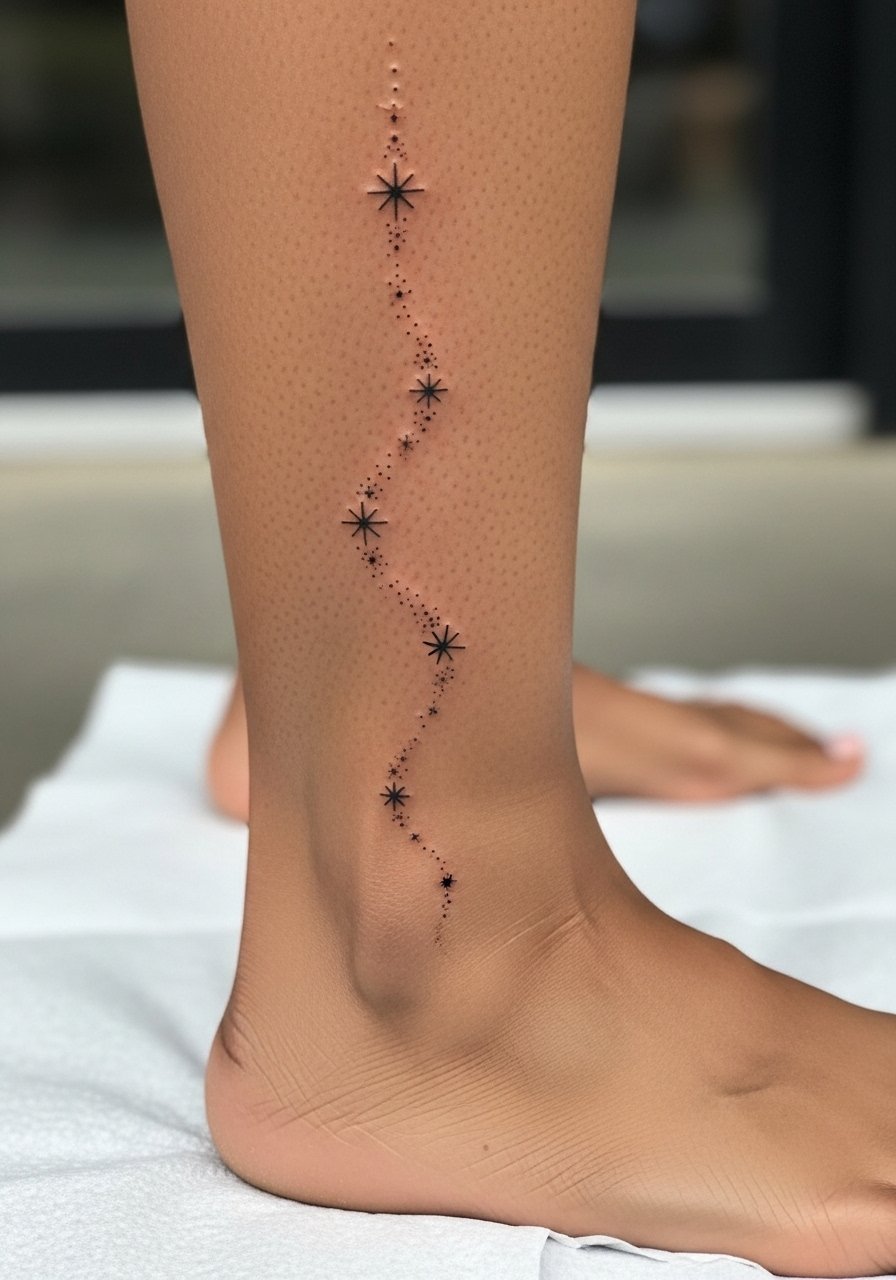
If you want a narrative piece, choose a constellation that maps to a personal date. Dot work and tiny stars need spacing to avoid merging over time. The trail that climbs toward the calf helps with leg elongation. Pain is lower on the outer ankle but expect more sensitivity where the trail crosses the bone. Artists differ on dot density. One camp argues denser dots create a strong image. Another camp warns that dense dot fields can muddy on active skin. Ask which density they prefer and plan a light touch-up at year two.
10. Wave Pattern Band
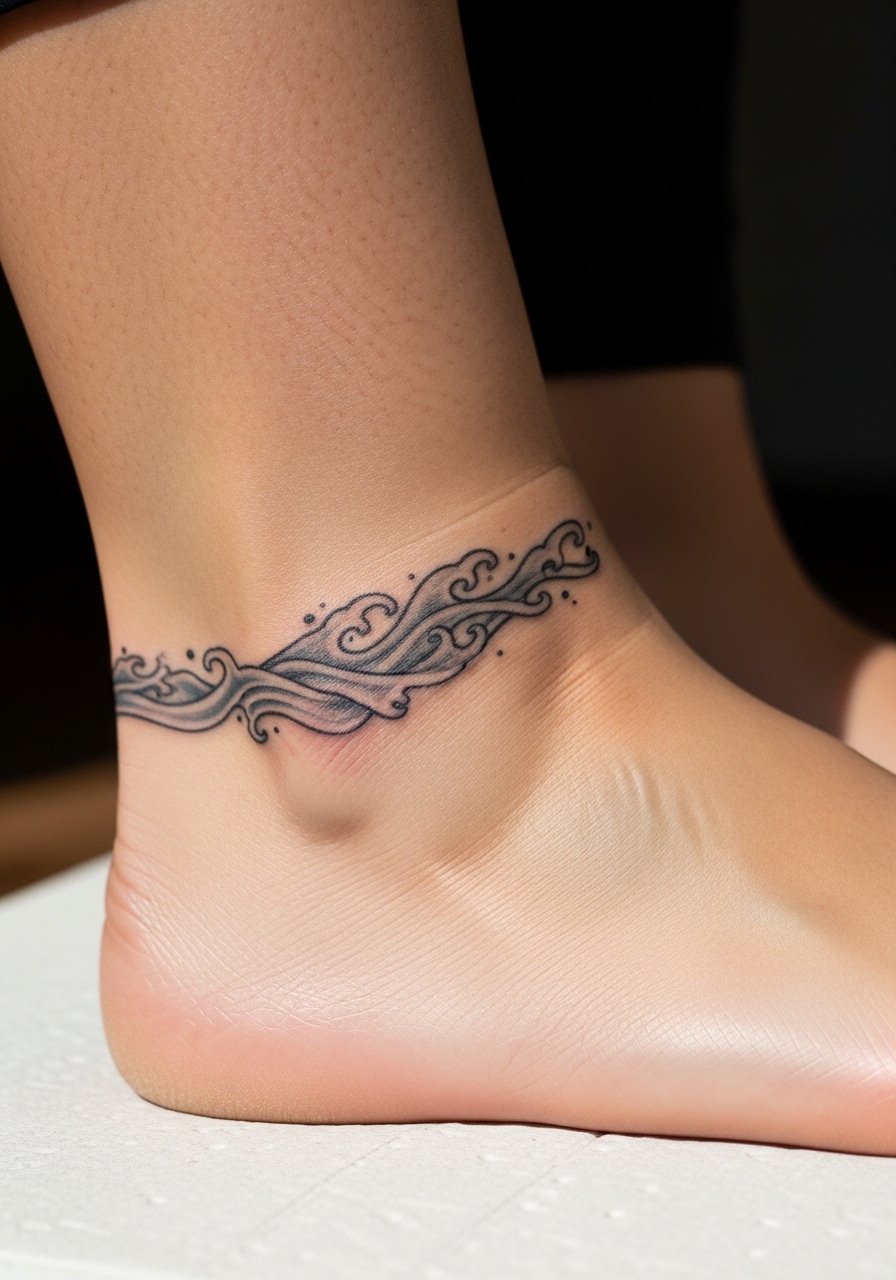
A full wrap around the ankle reads like a bracelet. During the consult, specify whether you want a continuous band or a hairline gap at the heel for comfort. Full wraps can distort with weight fluctuations, so test with temporary markers before committing. Expect a moderate session with some shading time. Shoes can rub the inner band while it heals, so plan footwear accordingly. People often request overly fine waves that lose contrast; ask for a balanced line weight so the pattern ages with clarity.
11. Dainty Anchor Motif
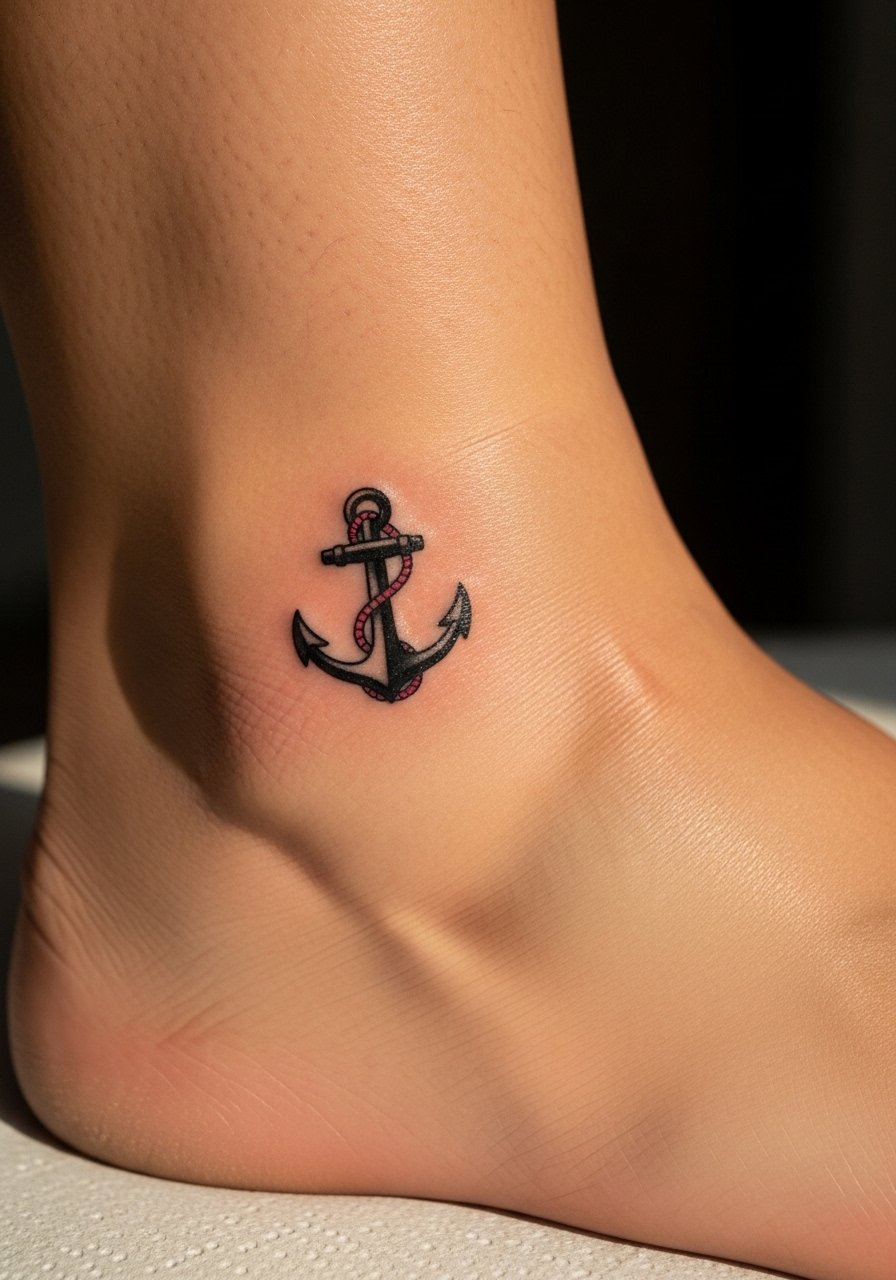
An anchor works well for that nautical nod without being literal. Tell the artist whether you want classic bold anchor lines or a simplified icon. The top ankle placement is sensitive but manageable in a short session. Avoid asking for tiny engravings inside the anchor since they can blur. For longevity choose solid black outlines and minimal color spots. If you plan to hide the piece easily at work, top-ankle placement fits under socks during the first week. A single touch-up may keep the color crisp over time.
12. Geometric Triangle Stack
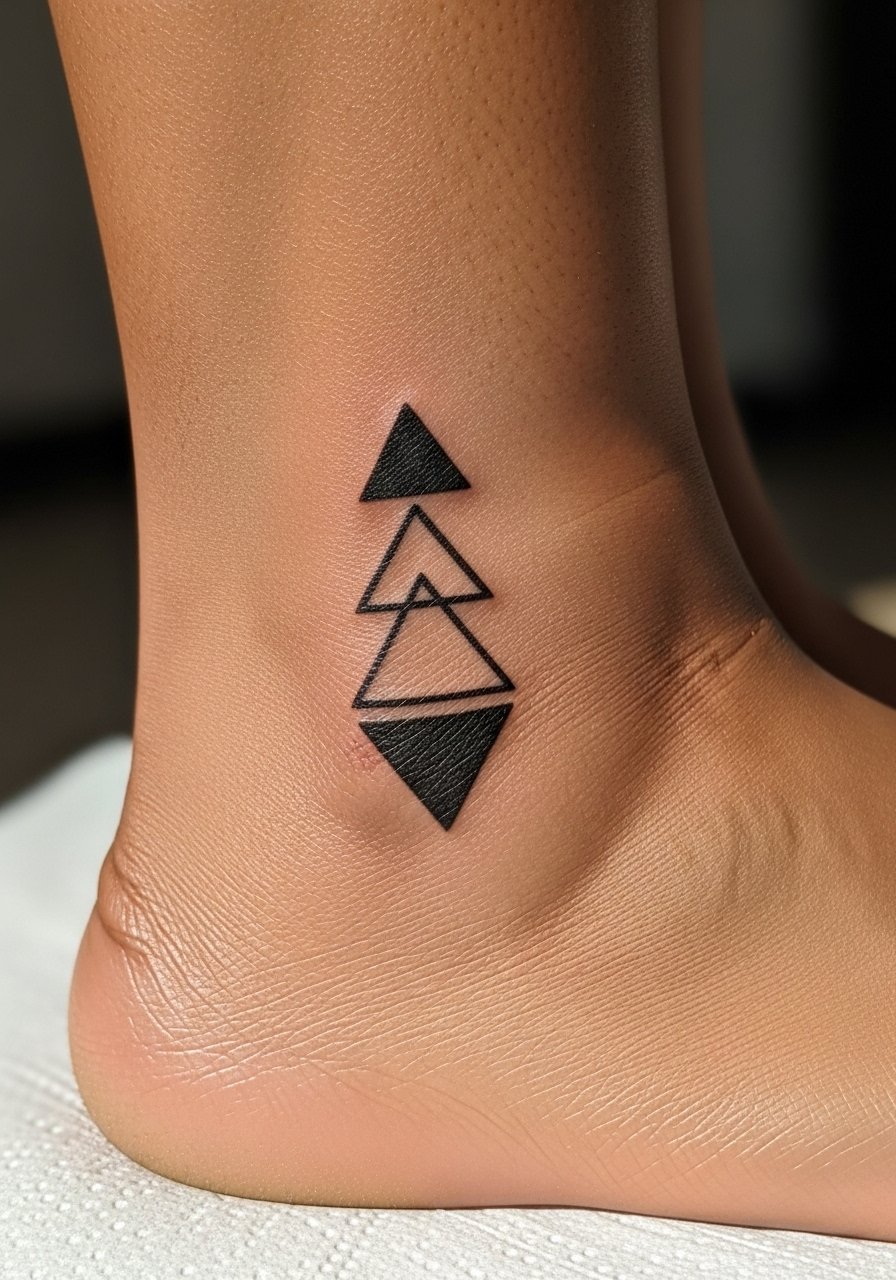
The biggest mistake with geometry is scaling too small. Give the artist enough space so angles do not close up as they heal. Inner ankle placement makes the geometry feel private and modern. Pain is low, and the session is quick. Tell the artist you want consistent lineweight and ask them to test a stencil so you can check spacing with movement. If you opt for negative space between triangles the design holds up better than overlapping filled shapes. Expect a two-year check if you notice any softening.
13. Rose Thorn Vine
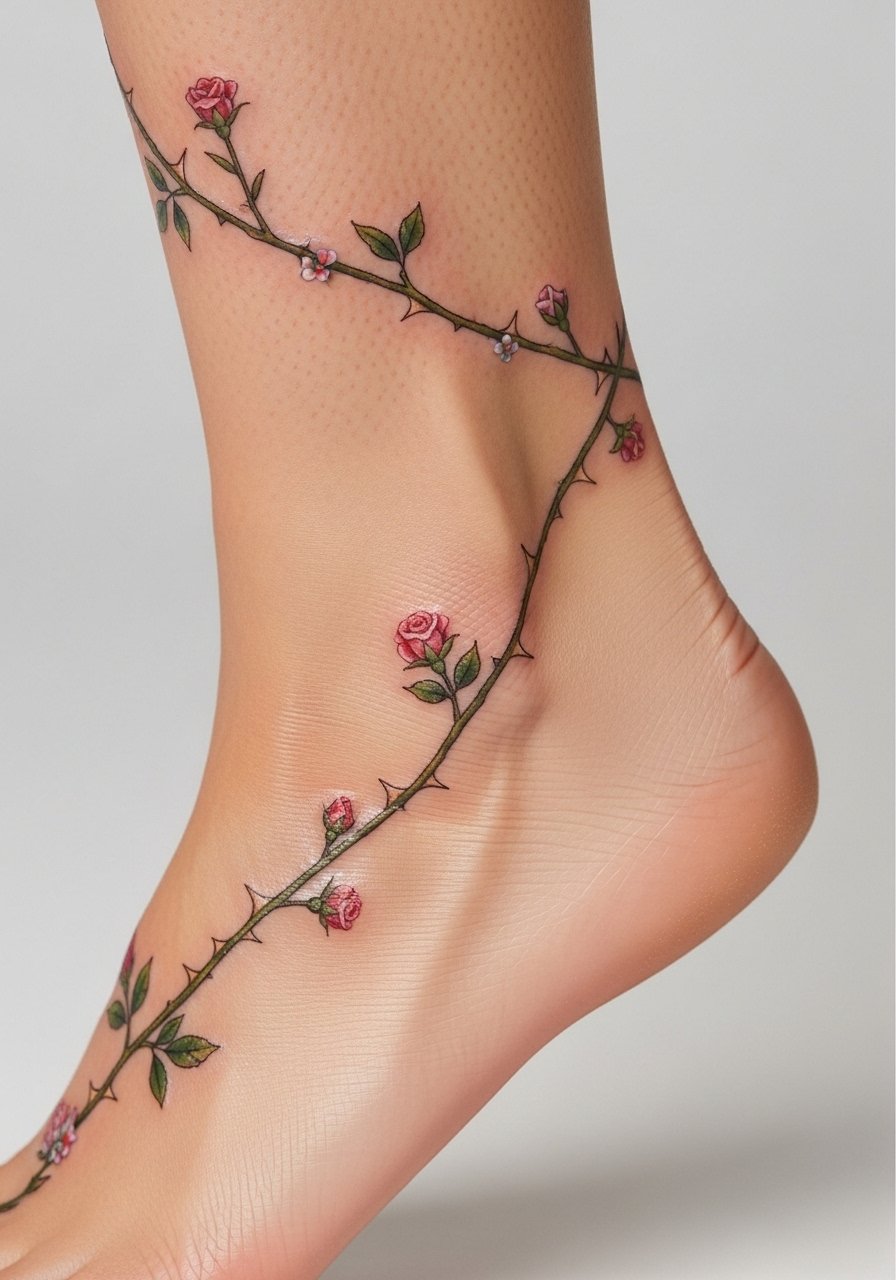
This is for someone who wants feminine and slightly tough imagery. When booking, discuss stem thickness so thorns do not merge into a visual line. Wrapping toward the heel increases pain and may need two sessions. A common error is asking for heavy color on each petal which can look patchy where shoes press during healing. Ask for selective color accents and stipple shading on stems to balance longevity. If you expect weight fluctuations, keep the wrap partial to avoid distortion in the band area.
14. Feather Trail Connecting to Calf
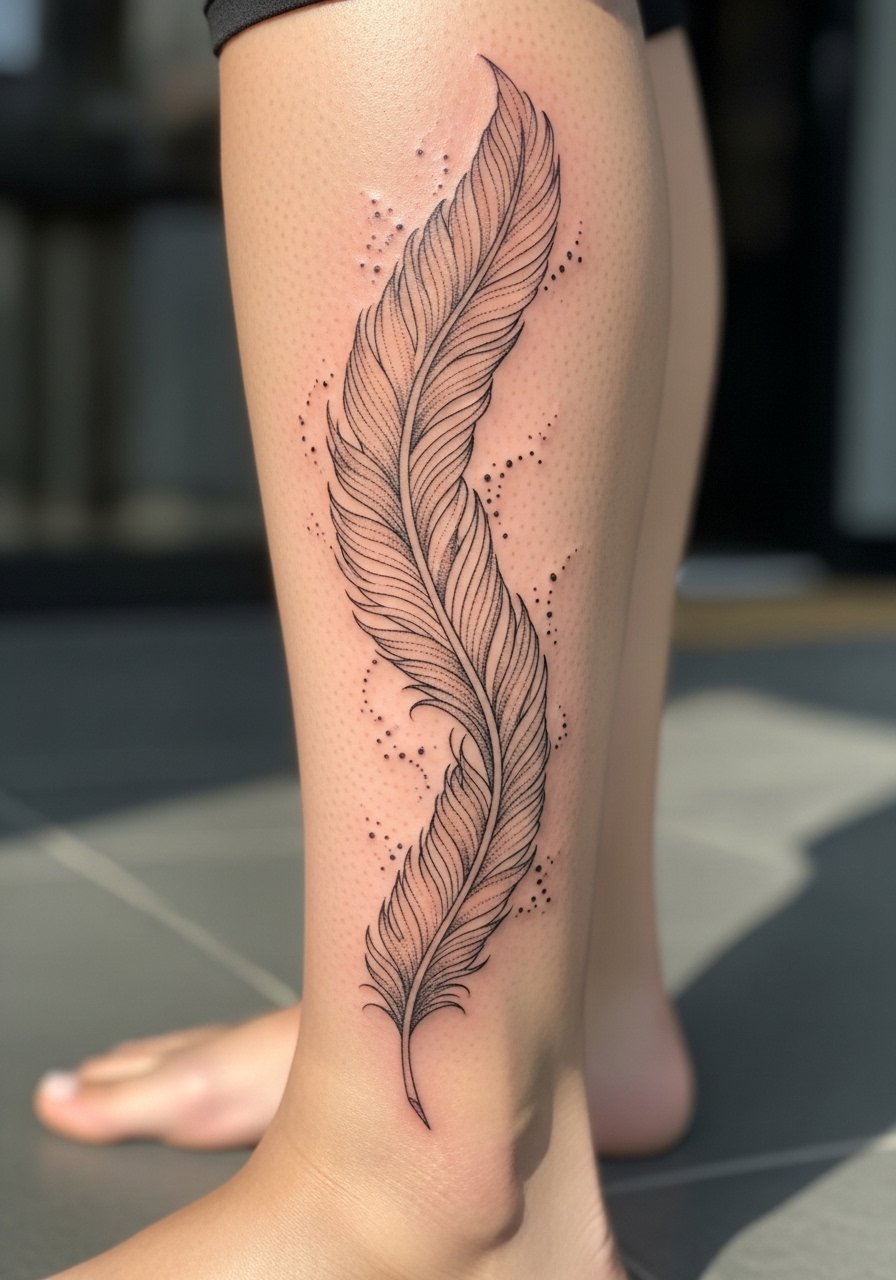
I recommend this when you want a story that continues with future pieces. Tell the artist you want the trail to thin as it moves up so future additions can connect. Pain varies as the trail climbs; ankle sections are sharper. The design photographs beautifully in motion when placed along the outer ankle and calf seam. A common misstep is making the trail too dense near the ankle where shoes rub. Keep the lower portion airy and reserve heavier shading for higher up the calf. Plan for a follow-up if you expand the narrative later.
15. Thorn Rose on Heel
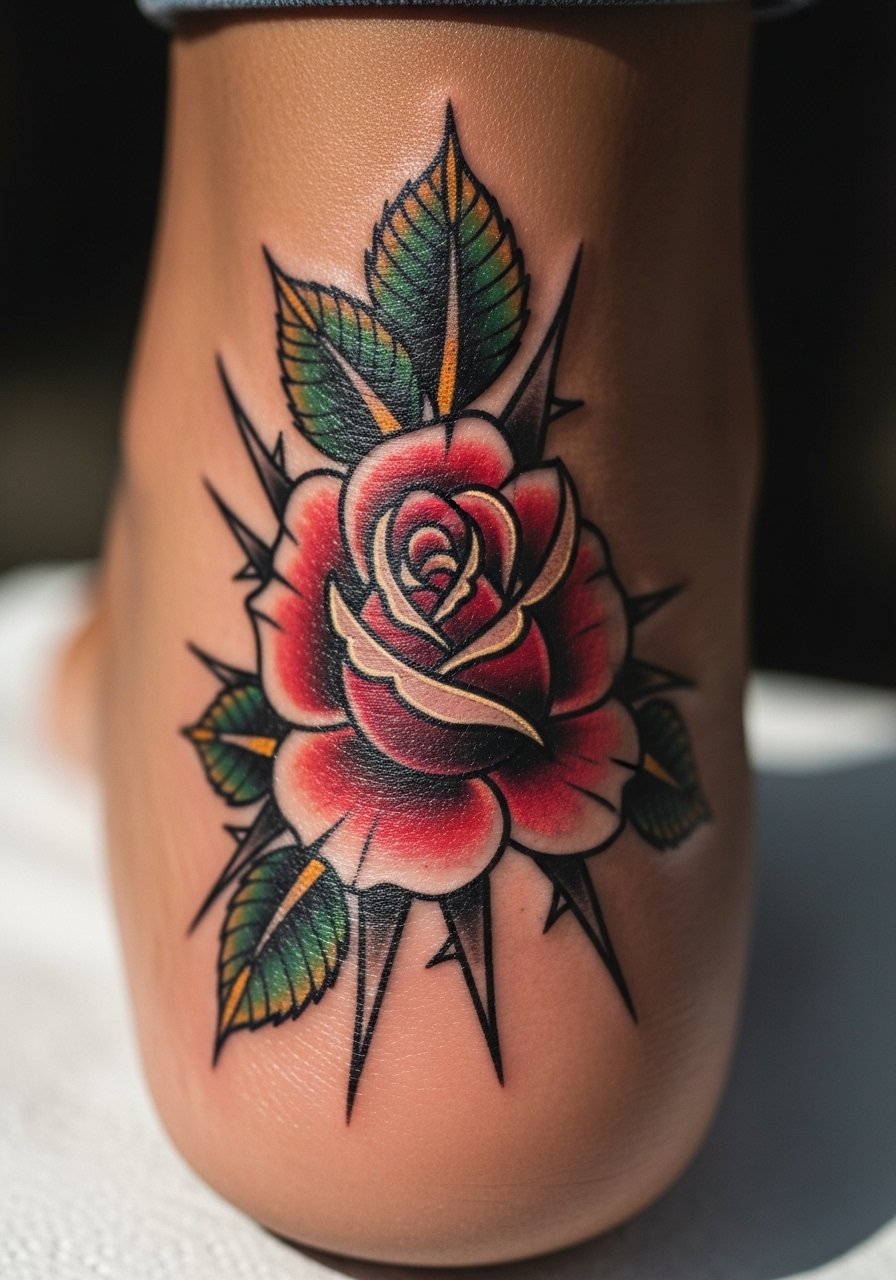
Heels are high-movement and can be painful during the session. Professionals advise that heel pieces may need a second appointment because skin is thicker and contact during healing is constant. Tell your artist you understand the placement will require careful aftercare and ask about session pacing. The mistake is underestimating shoe pressure on the new ink. If you want color opt for saturated blackwork outlines to protect edges. This placement ages differently because of friction, so budget a touch-up window.
16. Micro Dotwork Sunburst
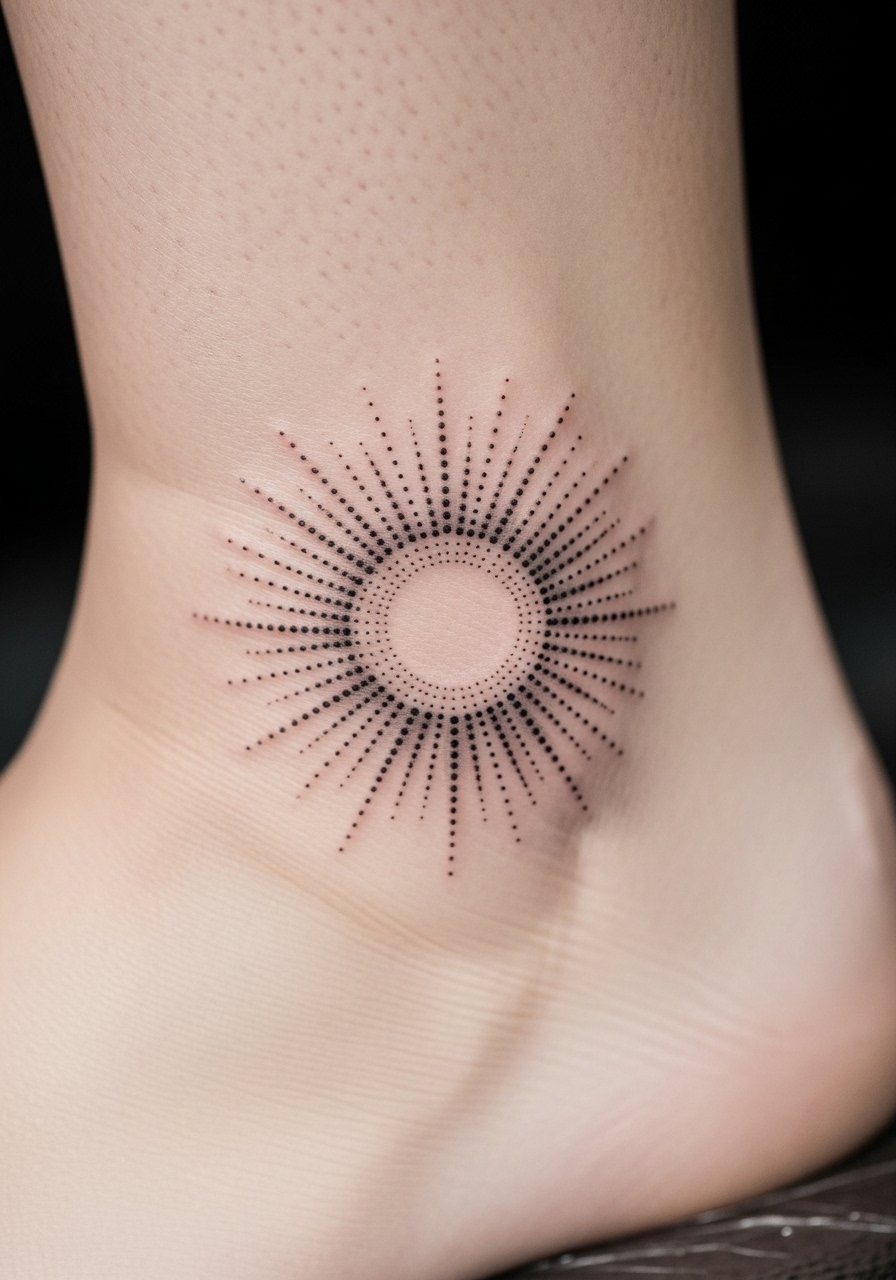
Dotwork reads as texture at a distance and detail up close. Ask the artist about dot spacing so the rays do not merge into a gray patch over time. Outer ankle placement is lower on the pain scale but expect a longer session for dense stippling. One common oversight is asking for too many concentric rings which can lose definition at year one. This style benefits from a slightly wider spread between dots and an agreed touch-up after the initial healing to restore crisp points if needed.
17. Small Moon Phase Row
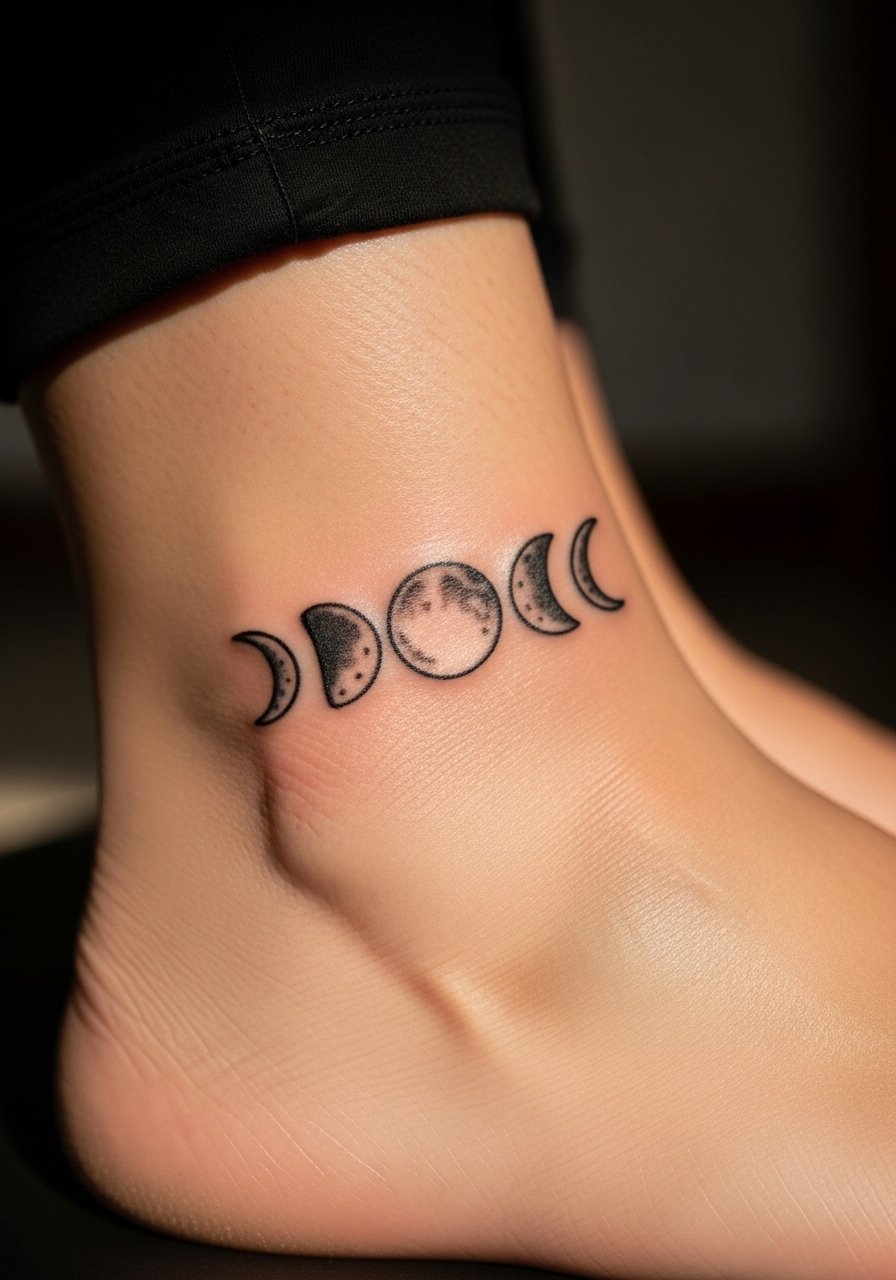
Moon-phase rows are easy to hide and stack well if you later want matching pieces. In consultation, specify the spacing and whether you want filled crescents or outlined phases. Side ankle placement keeps the pain moderate and the session short. The most frequent mistake is compressing phases into too tight a band. Give the artist room between moons so each phase remains distinct. Expect light fading in filled crescents by year two, and plan a touch-up if you want deep saturation to last.
18. Tiny Compass on Inner Ankle
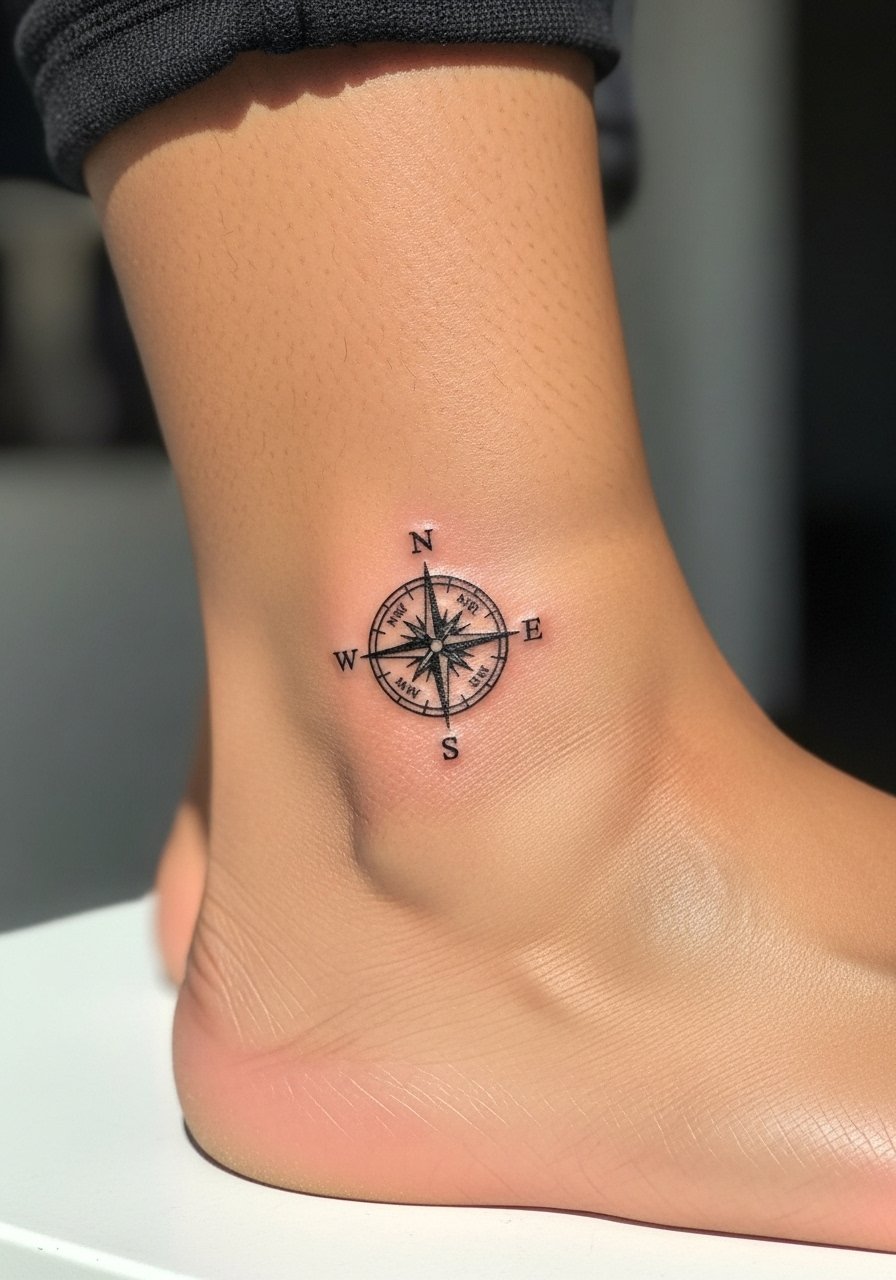
A compass reads personal and functional as a small travel motif. The inner ankle sits near soft tissue so the linework can settle well if not too tiny. Tell the artist you want cardinal points legible at six months, and avoid micro lettering. The session is brief but precise. Common mistakes include asking for too many internal decorations that blur. If you travel often pick slightly bolder cardinal points so the design remains legible in photos. A minor touch-up may be helpful after the first season of sun exposure.
19. Single Stem Lavender Sprig
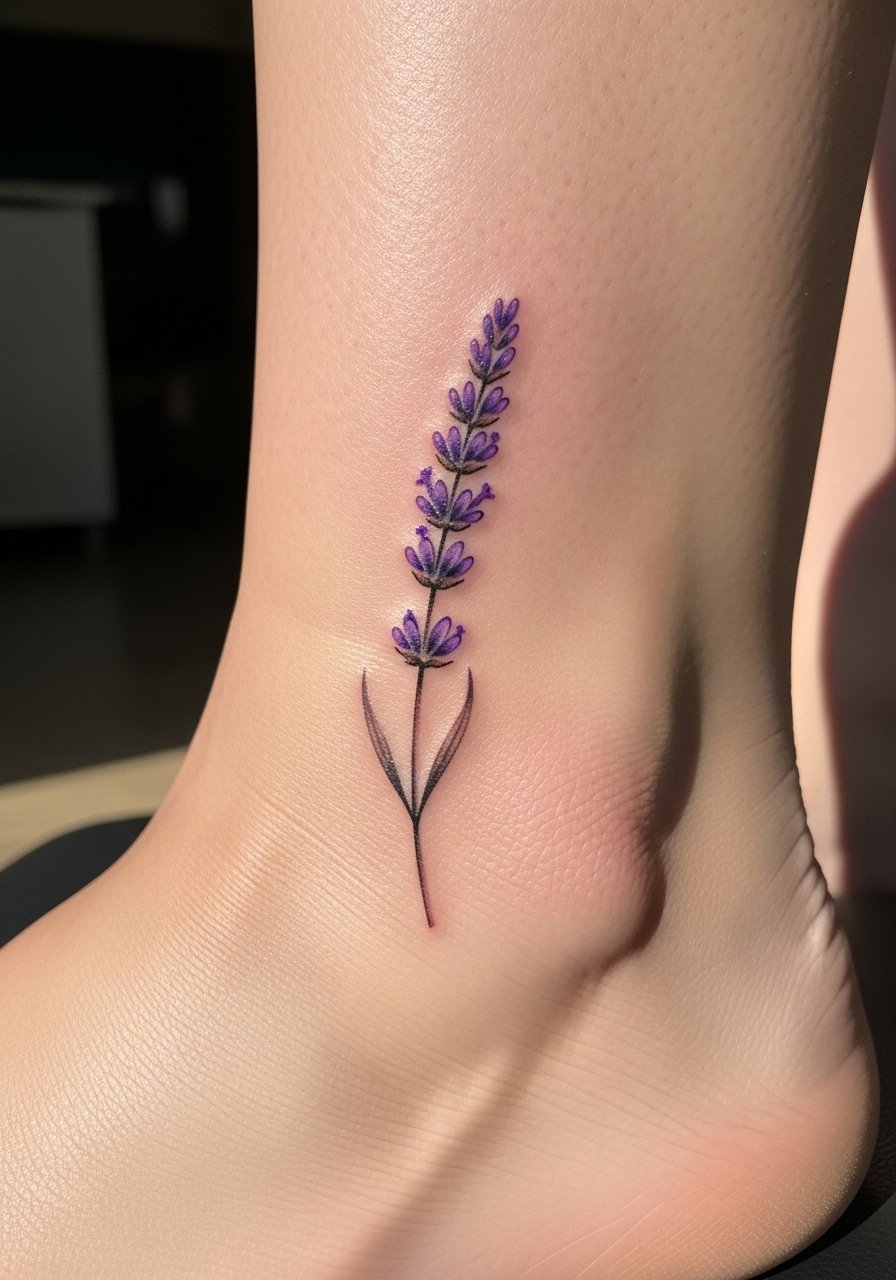
Lavender reads gentle and elongates the ankle visually. Ask for negative space between buds so the texture does not blend into a line as it heals. Side placement is less painful than bone areas and one session usually suffices. Color on tiny florals can wash with friction from socks, so discuss pigment saturation and aftercare to minimize early fading. People sometimes ask for micro shading that becomes indistinct. Keep the shading minimal and consider a touch-up at year two for color refresh.
20. Minimalist Mountain Range
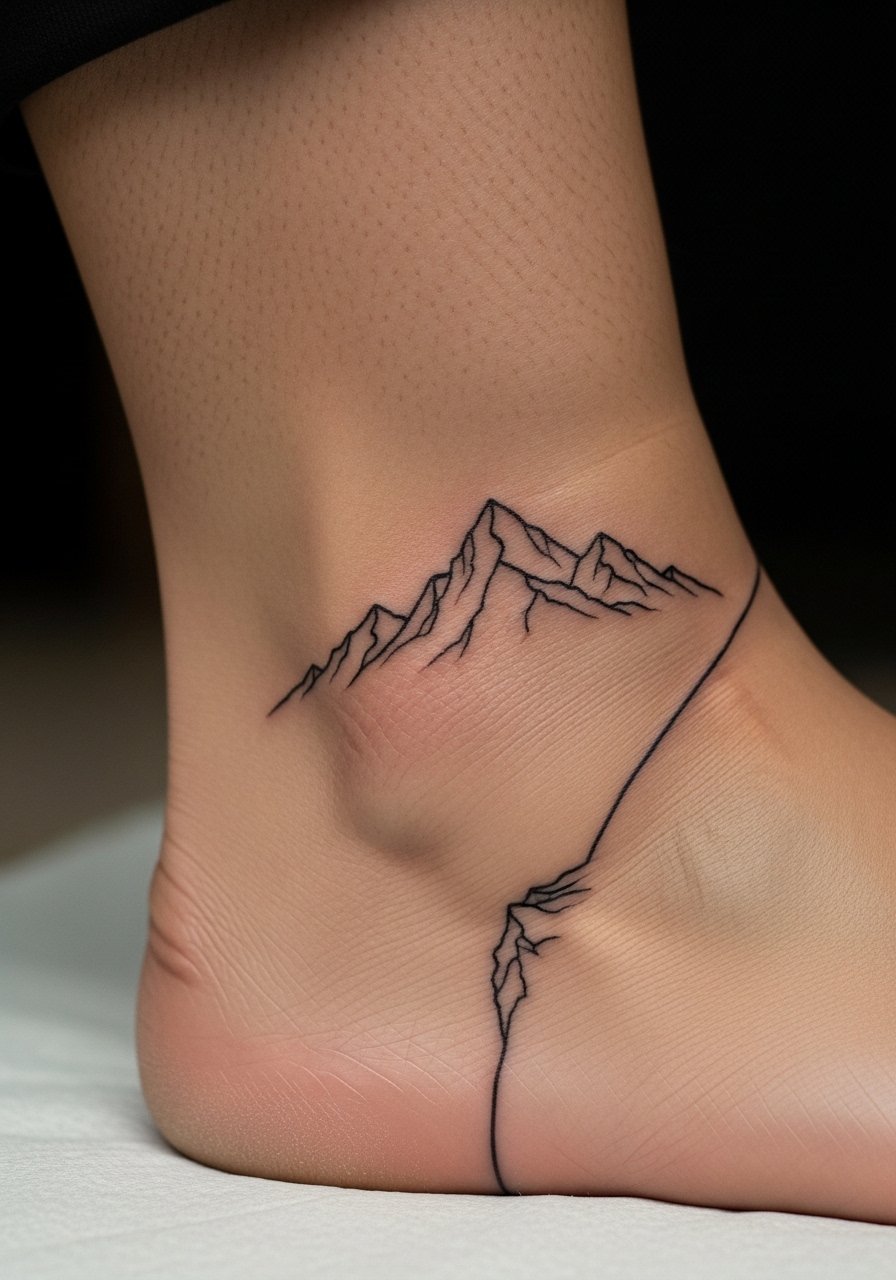
A tiny range can feel grounded and travel-ready. When you sit with your artist, specify horizon placement so peaks do not sit on a joint crease. The ankle bone can make thin peaks feel sharper in pain. The mistake is compressing multiple peaks into a very small space where angles blur. Opt for a clear positive and negative contrast and ask for a slightly heavier peak line. A single session does it, and you may want a touch-up in a couple of years if lines soften from movement.
21. Beaded Anklet Illusion
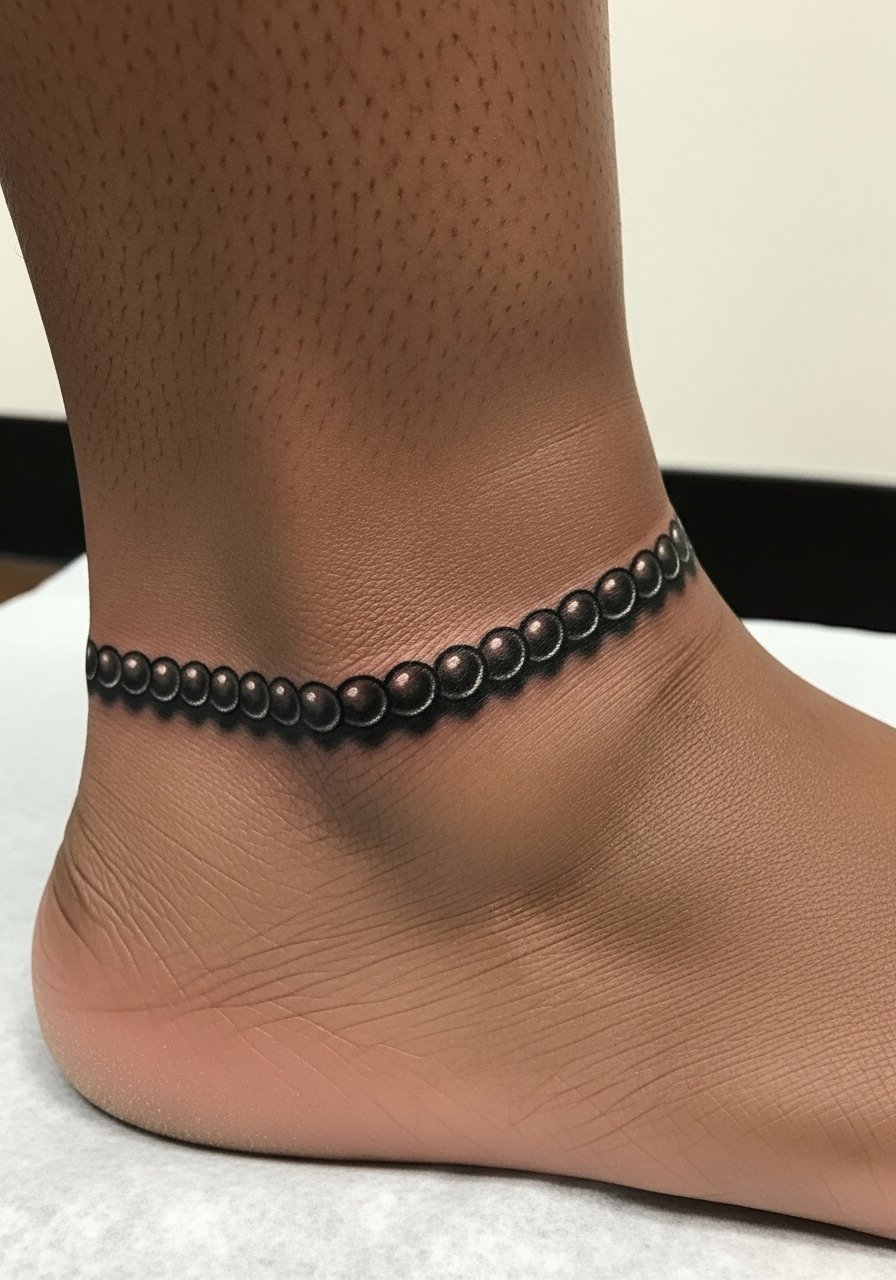
This is an anklet that acts like jewelry without the weight. Ask for bead spacing and whether you want tiny highlight dots to simulate shine. The ankle wrap can be sensitive around the heel, so plan footwear for healing. A common error is making beads too close which merges into a visual chain rather than distinct beads. Keep spacing intentional and test the stencil around the ankle to check how it feels with movement. A touch-up on a few beads after healing helps restore any that rubbed during the first week.
22. Zodiac Glyph with Minimalist Frame
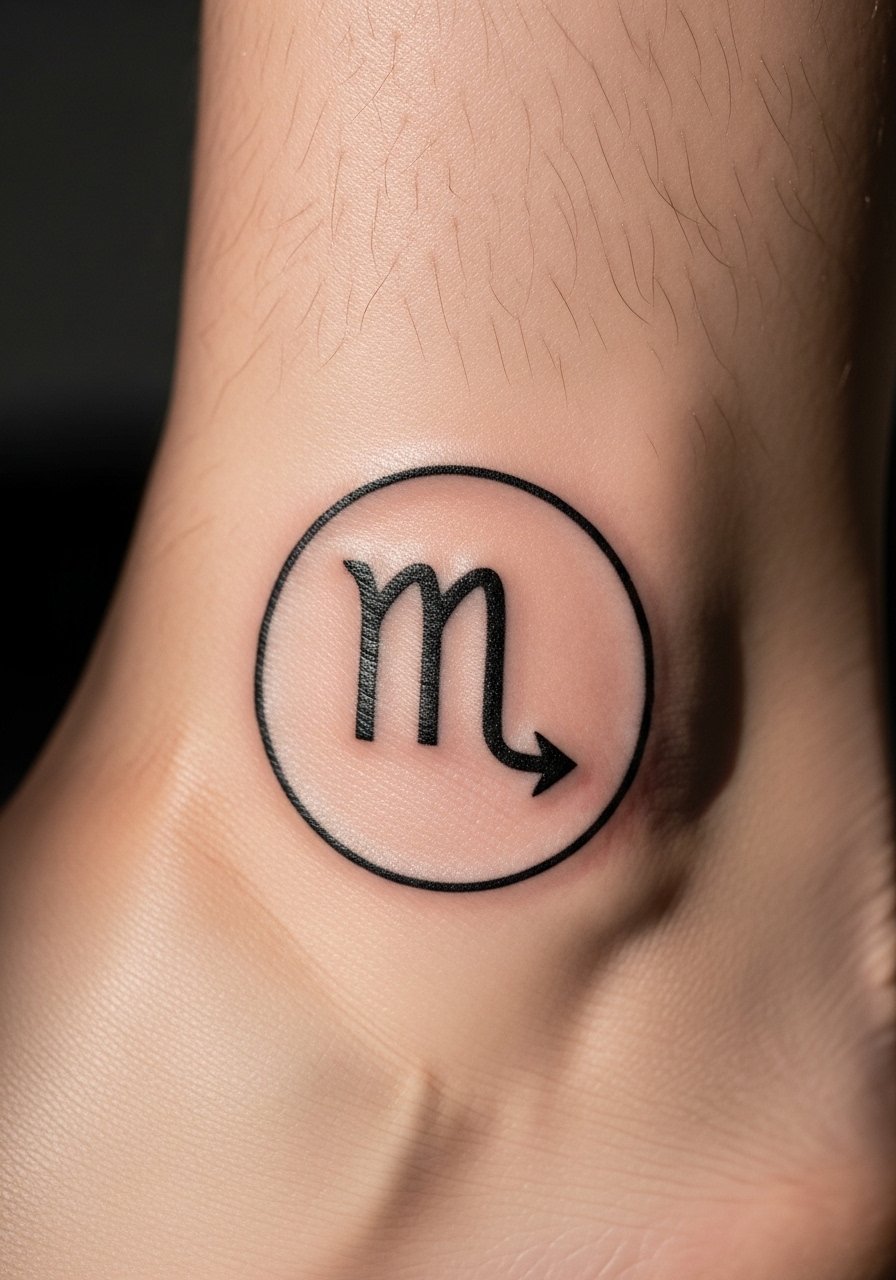
If you pick a zodiac glyph, specify the exact glyph and size so it reads at a glance. For visible text or symbols always bring the exact character. Outer ankle placement is lower in pain and photographs well. The biggest mistake is demanding micro ornamentation around the glyph that ages faster than the center mark. Keep the frame simple and bold enough to remain visible on darker tones if needed. Plan for a small touch-up if you want the glyph to stay solid over several years.
23. Tiny Paw Print Trail
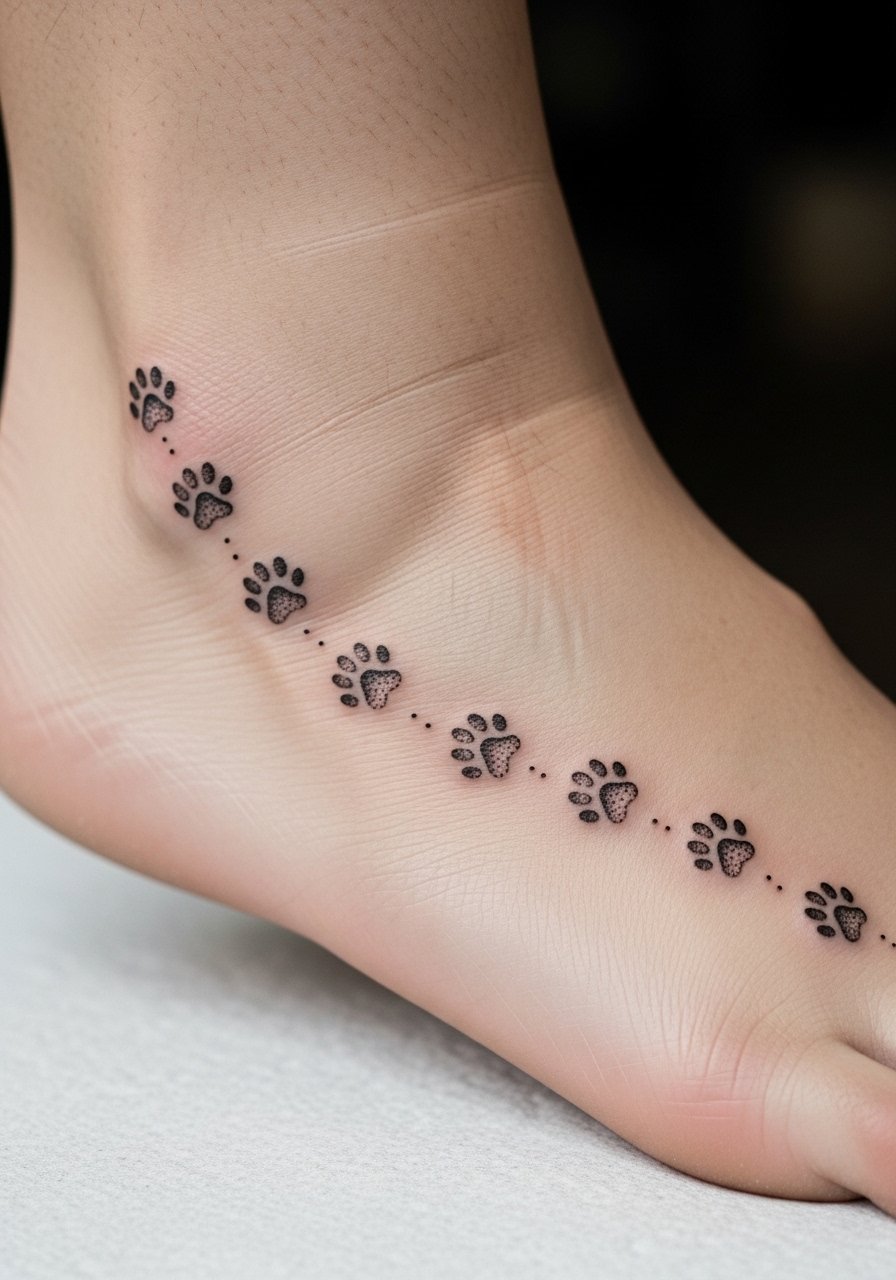
A pet memorial trail feels intimate and works along the curve of the ankle. Tell the artist the number of prints you want and where the trail should start to keep a natural flow. Pain is minimal on the outer ankle. People sometimes request overly small prints that lose definition. Choose a scale that reads as prints rather than smudges. A single short session usually covers this. If you plan color inside the prints discuss saturation choices to avoid early fading from shoe contact.
24. Crescent Stipple with Dot Halo
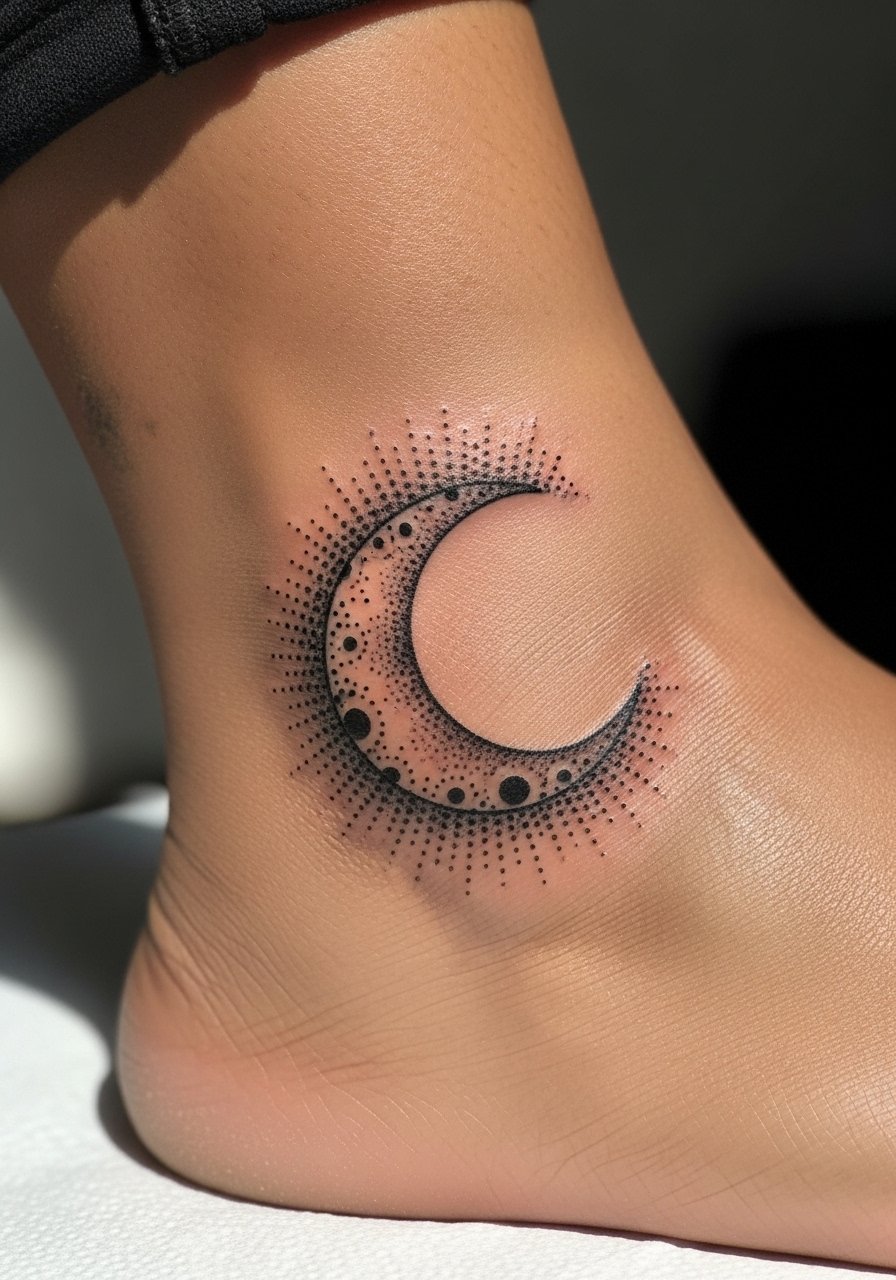
Stipple halos create a soft glow effect without heavy shading. Ask your artist about dot spacing to ensure the halo maintains texture and does not become a gray block. Inner ankle placement sits on softer flesh and is less painful. One mistake is asking for too many concentric dot rings which can muddy. A measured dot gradient keeps the crescent crisp and photo-ready. Expect a slightly longer session if the halo is dense, and consider a touch-up after the first year to refresh fine dots.
25. Scripted Coordinates Along the Anklet
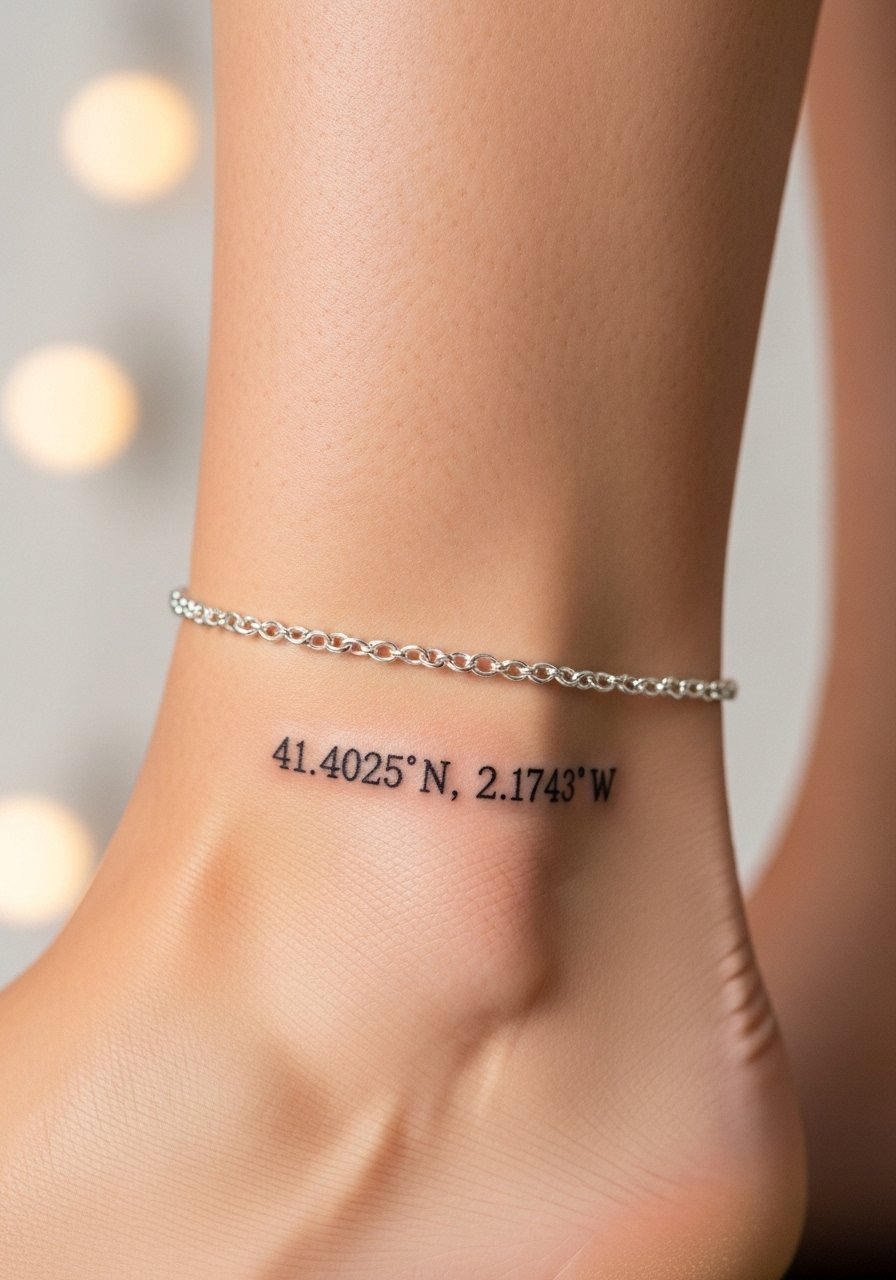
When text is part of the image prompt the exact characters must appear. Coordinates read like a secret and tuck neatly around the ankle. For legibility specify a monospace or fine serif during consult and indicate exact punctuation like commas and periods. The ankle bone can be prickly during the session, so expect sharp brief stings. Tiny numbers tend to blur if too small, so choose a size that remains legible at six months. A touch-up within a year is common for micro numerals that are important to you.
Tattoo Prep and Aftercare Essentials
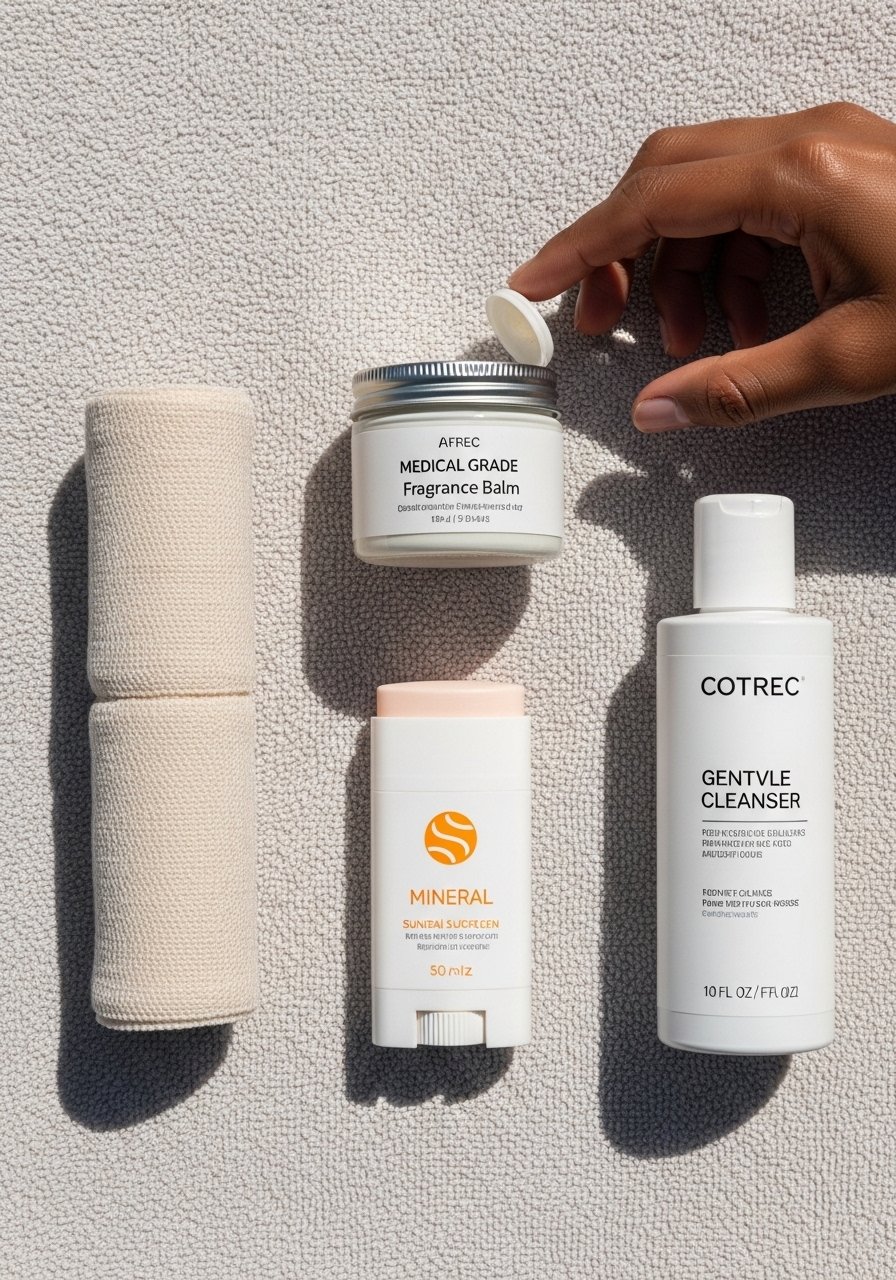
Healing on the ankle has quirks. Shoes rub, sweat traps moisture, and motion stresses the scab. I favor products that minimize occlusion while keeping the area clean. Below are practical items to pack and order before your appointment.
Healing and aftercare essentials
Medical-grade second skin bandage roll, search for "second skin tattoo bandage". Use this for the first 24 to 48 hours if your artist recommends occlusive protection. It reduces friction from shoes and traps less bacteria than some creams.
Lightweight fragrance-free balm for tattoos, search "fragrance free tattoo balm". Apply a thin layer only after your artist clears you. It soothes dry skin without heavy residue that attracts lint.
Gentle pH-balanced cleanser, search "fragrance free gentle cleanser tattoo". Use to rinse sweat and salt from the ankle, especially if you walk a lot during healing.
Saniderm transparent tattoo bandage, search "Saniderm tattoo bandage". This is the one mainstream product I include. Many people find it useful for the first few days. Ask your artist if they recommend it for your piece.
Pre-appointment prep
Low-profile cotton ankle socks, search "women ankle socks cotton low cut". Bring breathable socks so you can keep the area covered without friction the first night.
Mineral sunscreen stick for healed ink, search "mineral sunscreen stick SPF face". After healing, sun protection preserves saturation and slows fading.
Long-term maintenance
Silicone scar smoothing gel for raised touch-ups, search "silicone scar gel tube". Use sparingly if a touch-up grows raised or keloid-prone tissue appears.
Soft bristle cleansing brush for gentle exfoliation around healed ink, search "soft silicone facial cleansing brush". Once fully healed, gentle exfoliation of surrounding dead skin helps the tattoo read clearer in photos.
Every tattoo is different. Always follow your artist's specific aftercare instructions. Consult a dermatologist if you have skin concerns or unusual healing issues.
Frequently Asked Questions
Q: How much does an ankle tattoo typically cost and how many sessions will it need?
A: Prices vary by city and artist, but for a small ankle piece expect a range from low to mid hundreds for a single session. Complex wraps or color work can require two sessions. From what I have seen, simple fine line pieces usually finish in one appointment while ornate bands or heavy saturation may need a follow-up. Budget for a touch-up within two years for many fine-line or colorful pieces.
Q: Will fine line floral anklets fade faster than bold anklet bands?
A: Fine line pieces can fade quicker on ankles because of movement and shoe rubbing. One camp of artists says spacing and depth can keep them crisp. The other camp recommends bolder outlines for longevity. Ask your artist which approach they favor and consider a slightly stronger lineweight if you want less frequent touch-ups.
Q: Is Saniderm better than dry healing for ankle tattoos?
A: Artists split on this. Some people find Saniderm reduces mess and protects against shoe friction. Others prefer dry healing to allow scabs to breathe and form naturally. I have seen both work. Follow your artist's recommendation because they know how the piece was placed and the studio's preferred protocol.
Q: What should I tell an artist when booking a mandala band to avoid problems later?
A: Tell them you want mapped symmetry and to mark the center point on your ankle before inking. Ask for slightly wider spacing in the pattern so geometry does not compress over time. Also request a quick stencil check with movement to see how the mandala sits when you flex or walk.
Q: For darker skin tones which ankle styles hold up best visually?
A: Blackwork and bold outlines tend to read longest on darker tones. Fine line designs work too with slightly heavier lineweight and considered spacing. When in doubt ask the artist to show healed photos on similar skin tones and ask how they adjust depth and spacing for contrast.
Q: Can I get a small ankle tattoo if I have an active job that requires shoes all day?
A: Yes, but the first week needs planning. Use breathable bandaging options and avoid tight shoes that press on the fresh ink. A common trick is to bring low-profile sandals for the first few days or ask your artist about protective second skin to reduce friction.
