
The thin Hangeul scripts and micro-single-needle pieces you see on feed often blur fastest when placed on high-motion skin. Compact, slightly bolder letters, tucked florals, and tight blackwork survive friction and washing better. These 25 Korean-inspired looks focus on choices that read clearly after years, with placement notes, session feel, and outfit pairings so you can pick a design that keeps its identity.
1. Fine Hangeul Wrist Script
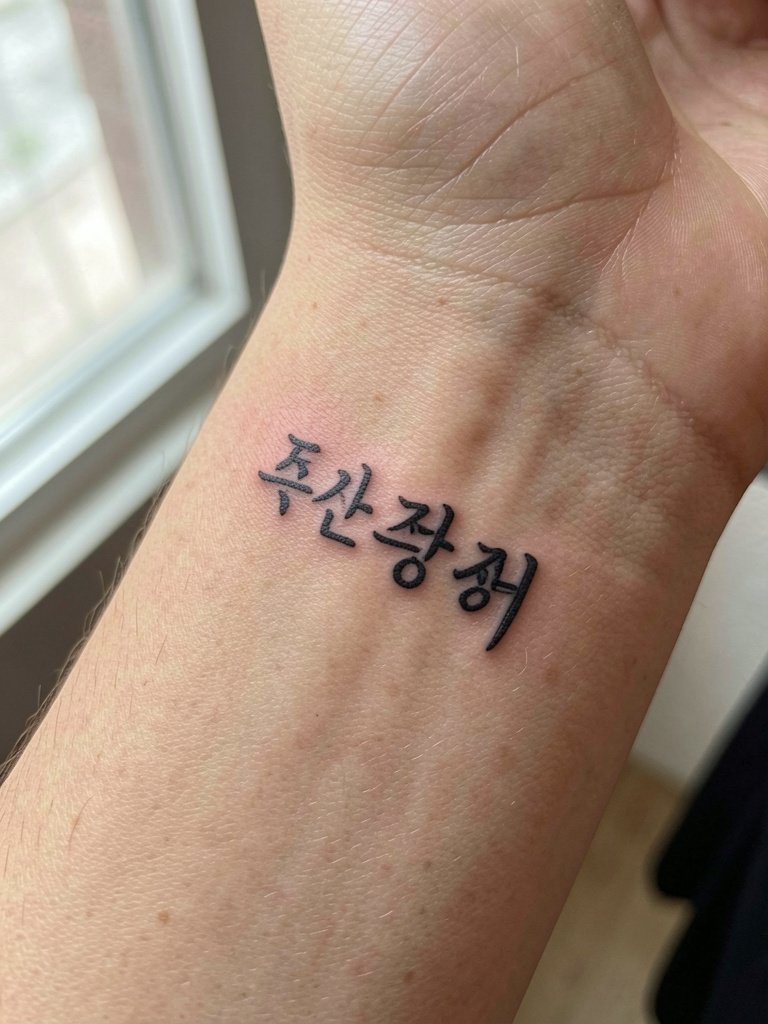
Keep Hangeul tight and slightly heavier than a typical single-needle script so the characters do not fill in by year three. Recommend a spacing tweak during consultation, showing a scaled template at three and five centimeters so the artist can map letter spacing for long-term legibility. The inner wrist moves with every wash, so expect more fading at six months compared to upper arm pieces. Common mistake is requesting ultra-thin strokes with no buffer around the letters. Session time is short, often under 30 minutes, and pain is low to moderate. For showing off, pair this with rolled-up linen shirts that keep the wrist visible.
2. Compact Mugunghwa Bloom on Collarbone
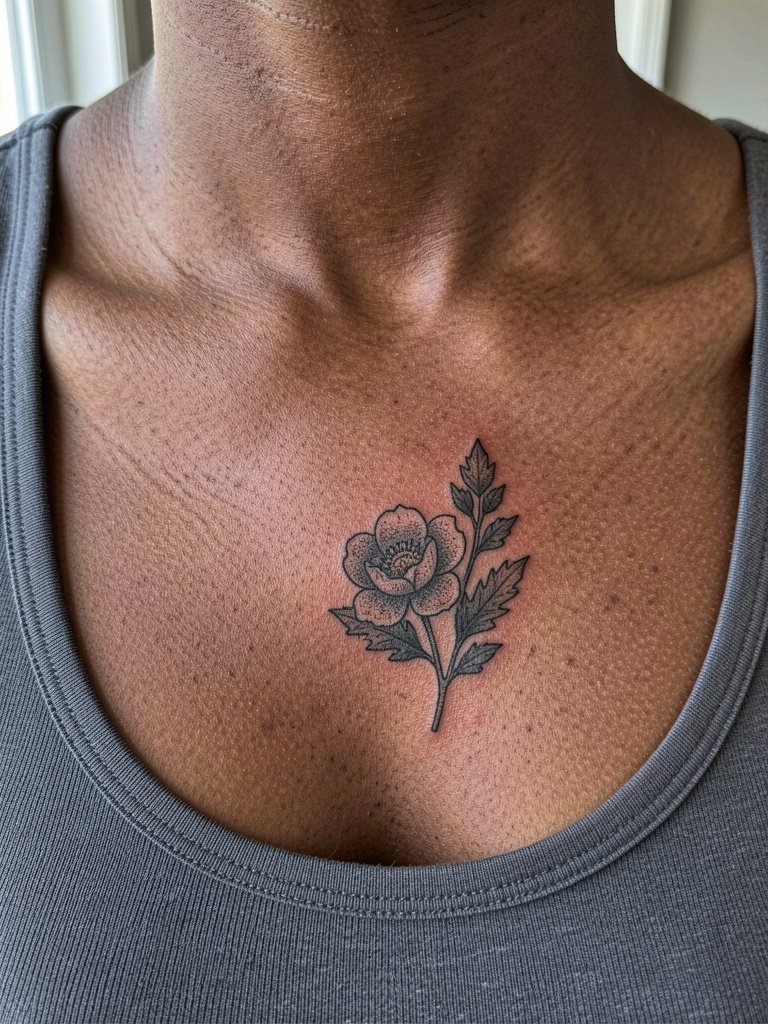
A compact Mugunghwa design reads well on the collarbone because the shape follows natural curves. Ask for slightly bolder contour lines around the petals so stipple shading keeps depth as the ink softens. The mistake to avoid is oversized open petals that lose contrast against the collarbone shadow. Expect a 45 to 90 minute session and moderate pain near bone. This placement pairs with wide V-neck blouses that frame the piece for evenings.
3. Micro-Realism Hanok Roofline on Upper Arm
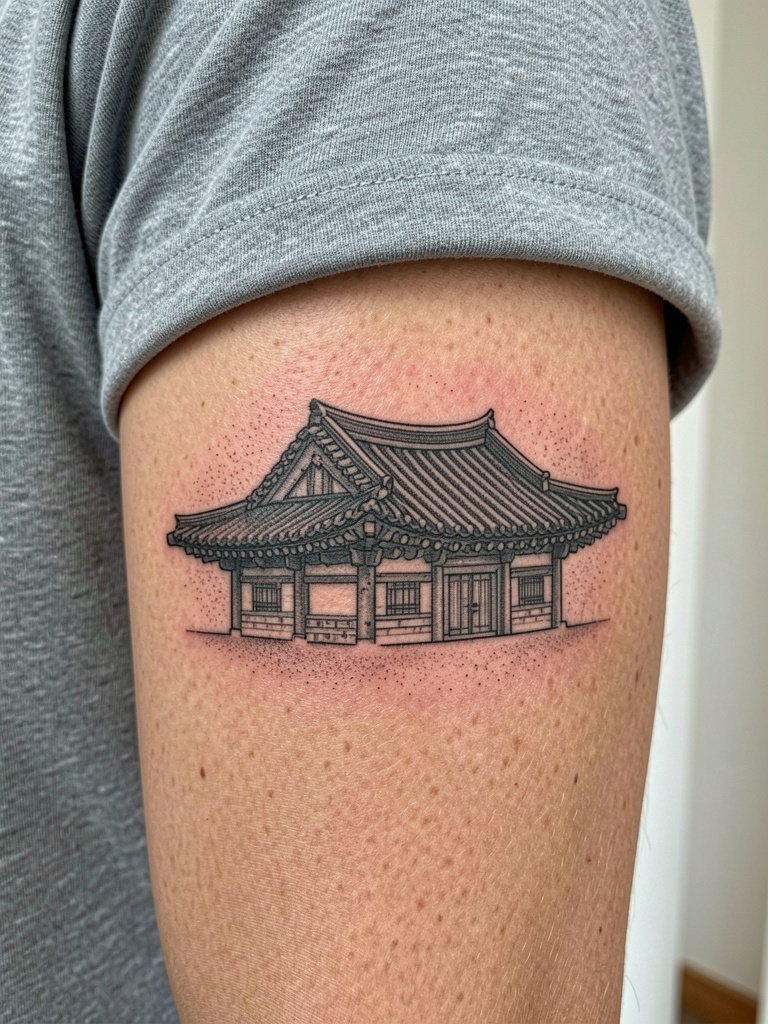
Choose micro-realism when you want a tiny architectural nod that still reads at a glance on the upper arm. Ask for a small printed mockup at three sizes so you can confirm the detail level. Tiny architectural lines placed too small often blur by year two. The outer upper arm tolerates finer detail than wrists, with low blowout risk. Sessions typically run 60 minutes. Style pairing for weekends is an open-back midi dress that keeps the upper arm visible when you put on a light shawl.
4. Stippled Tiger Pocket on Inner Bicep
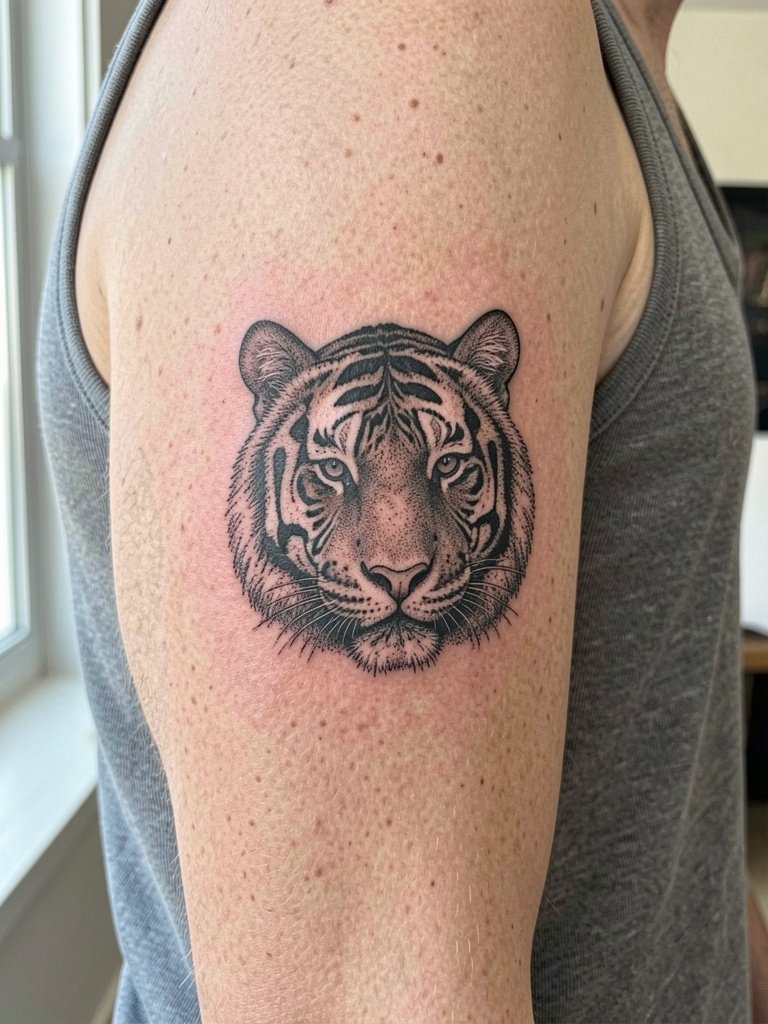
The inner bicep gives privacy and a smooth canvas for stipple work. A common error is packing too much thin line detail into a small area. Request a slightly larger scale and ask to preview how stippling will read from two feet away. The placement is higher pain than the outer arm but calmer than ribs. Expect a 90 to 150 minute session. For the session wear, come in a sleeveless tee that the artist can adjust without pulling fabric over the armpit.
5. Geometric Taeguk Wrist Band
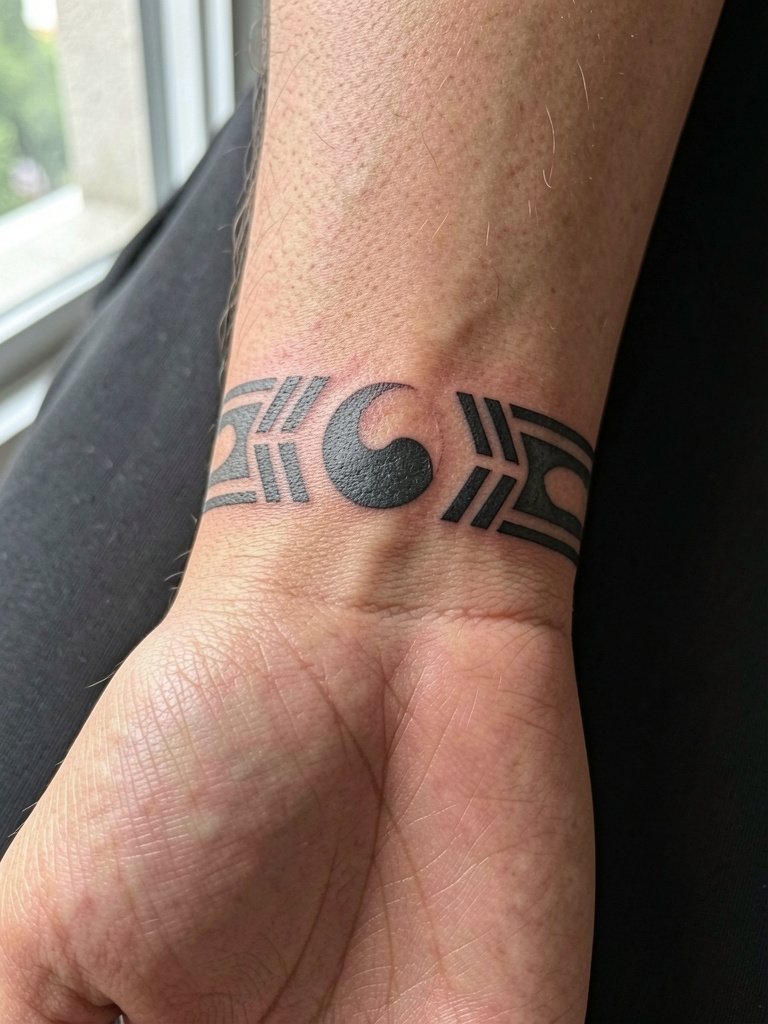
A tight geometric wrist band needs enough negative space to keep the Taeguk motif readable over time. Tell the artist you want the black areas to occupy at least one third of the band so edges do not soften into a single block. Thin continuous bands often lose definition where the skin creases. Sessions run about 45 minutes with low to moderate pain. This piece shows well with stacked bracelets that frame the band without covering it.
6. Minimal Crane Behind the Ear
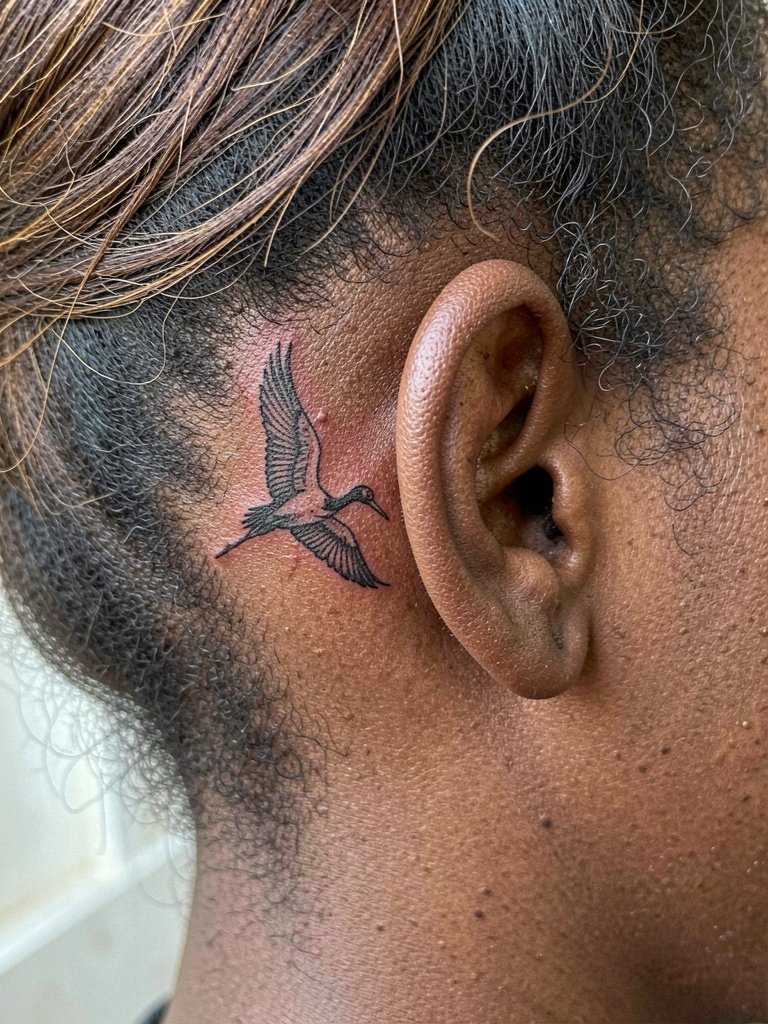
Behind-the-ear tattoos are delicate and read best as silhouettes or single-word script. Ask for a stencil check while upright to see how the curve follows the skull. Artists split on micro-detail in this zone. One camp says the thin-line work blurs quickly and should be avoided. The other camp argues that with careful needle depth and slightly larger proportions, it holds up, and they will point to three-year healed photos. The area requires a steady artist with fine experience. Pain is low to moderate and sessions are short. Hair styles that reveal the nape make this a quiet reveal, and a lightweight scarf complements the placement.
Pre-Session Picks
The small scripts and wrist pieces above have different session needs than chest and ribs, so a few targeted items make the day smoother.
-
Stencil transfer paper kit. Lets you preview line thickness on skin for tight Hangeul or micro-realism before the needle starts.
-
Topical numbing cream. Applied 30 to 45 minutes before reduces the sting on wrists and ribs for clients who need an easier first pass.
-
Thin protective film roll. Useful for small hand and finger pieces to shield against daily friction the first day.
-
Fragrance-free gentle body wash. Keeps new ink clean without stripping natural oils during the first week.
-
Healing ointment balm. A mainstream-friendly balm that helps keep fine line work supple during the initial healing window.
7. Bold Blackwork Hanja Back Piece
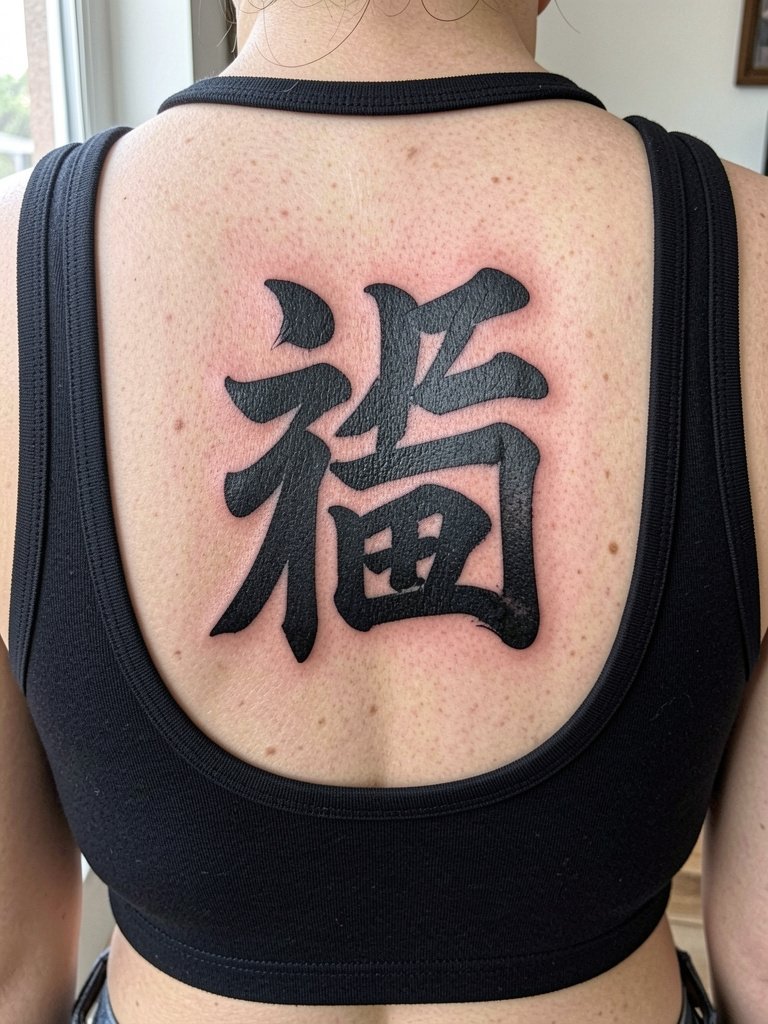
Hanja characters with heavy blackwork age differently than fine script. If you want longevity, choose a single large character with solid saturation rather than a row of tiny Hanja. Discuss ink saturation and edge width during consult so the symbol reads clearly at six months and five years. Sessions can run several hours and may require a touch-up after six months. Pain is moderate on the upper back. For visibility, back-baring outfits like strappy cami tops highlight the piece.
8. Tiny Lotus at the Nape
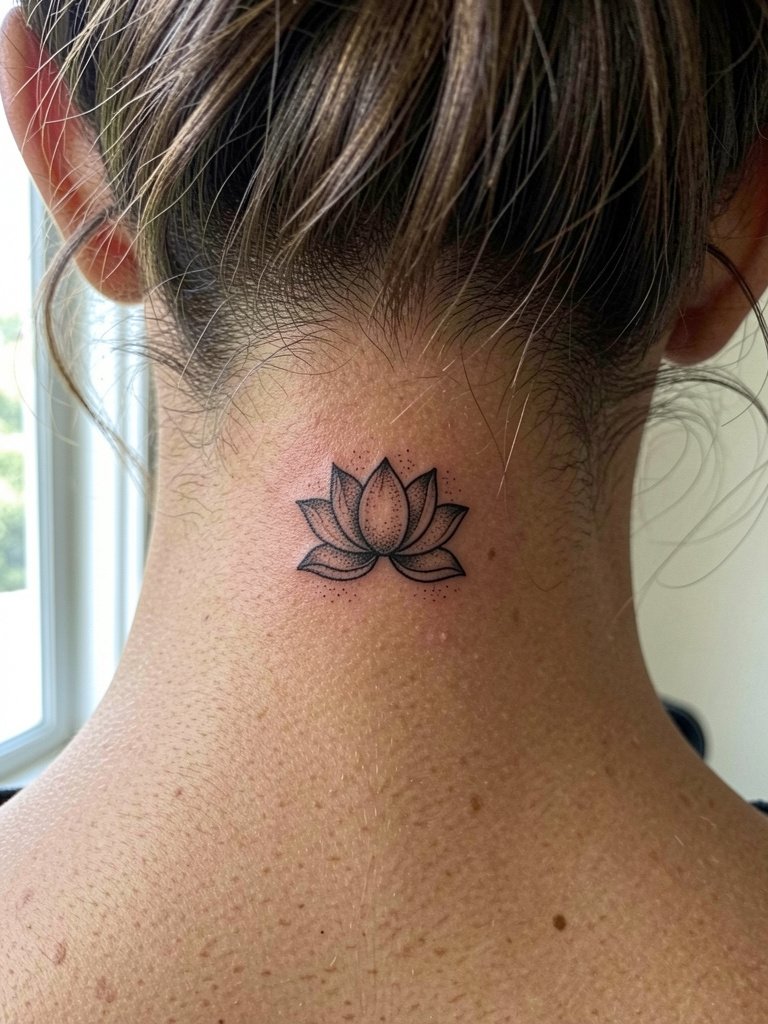
A nape lotus needs clear negative space so petals do not merge with hairline shadows over time. Ask for a preview stencil with hair down and up so you can see interaction. Tiny nape pieces are prone to slight blur by year three if the linework is too wispy. The area is lower pain and sessions are brief. For after the session and when showing off, wear a wide-neck top that frames the nape without covering it.
9. Neo-Traditional Fan Motif on Outer Thigh
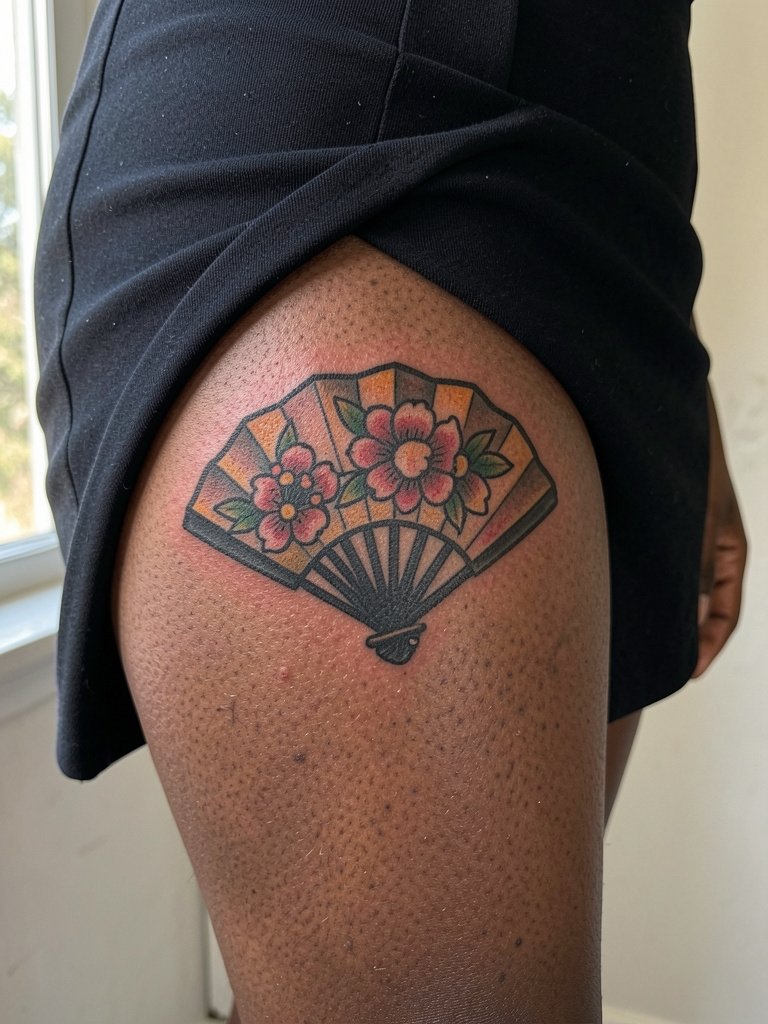
Outer thigh is forgiving for color and neo-traditional detail. If you want the fan to hold, pick bold outlines and moderate saturation rather than watercolor fills alone. Discuss how the design will wrap with garments so the focal point sits where you want when wearing skirts. Sessions usually run one to three hours depending on color. This placement is ideal for summer and pairs with flowy midi skirts that reveal the outer thigh when you walk.
10. Tiny Coordinates on the Ribcage
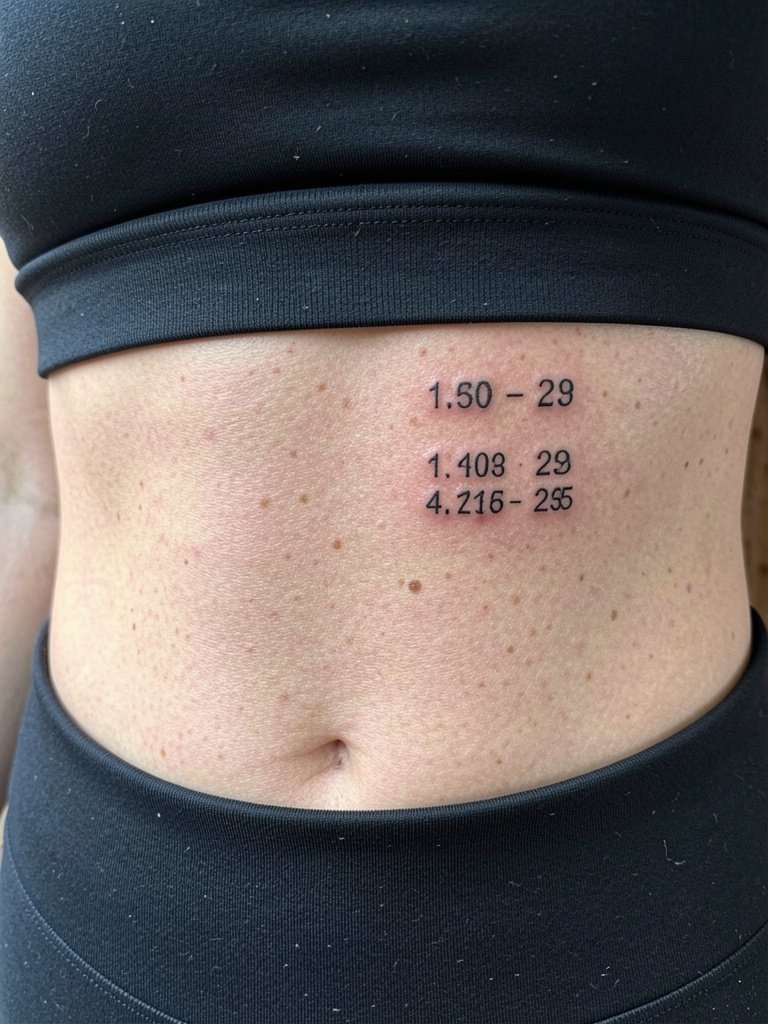
Ribcage lettering is intimate and painful but looks crisp when scaled correctly. Tiny coordinates drawn too fine often break into blur with breathing motion. Artists are split on fine-line ribs. One camp warns that constant flex and thin skin causes early blurring. The other camp maintains that by widening letter spacing and slightly increasing stroke weight, ribs can hold for years. For comfort, ask about numbing options and plan a single longer session rather than multiple short ones. Expect high pain and a likely touch-up after a year. Pick session clothes like a fitted sports bra so the artist has clear access without fabric shifting.
11. Line Art Seoul Skyline on Forearm
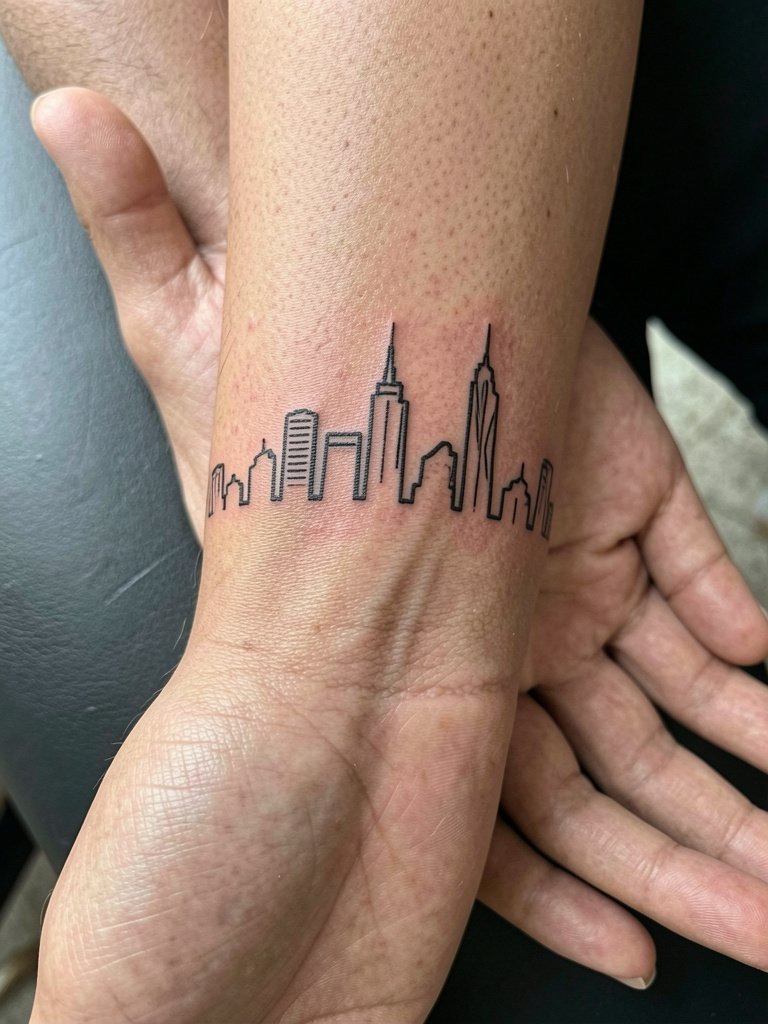
A skyline works best when the artist uses a mix of single-needle for detail and slightly heavier anchors to prevent softening. Ask for a mockup that shows how negative space reads at 6 months. Common mistake is expecting a continuous hairline to remain perfectly crisp on the inner forearm. Session time is typically 60 to 120 minutes with low to moderate pain. For daily wear, rolled sleeves or cuffed shirts help frame the piece, and a casual button-up linen shirt complements the linear look.
12. Small Floral Sleeve Accent on Shoulder Cap
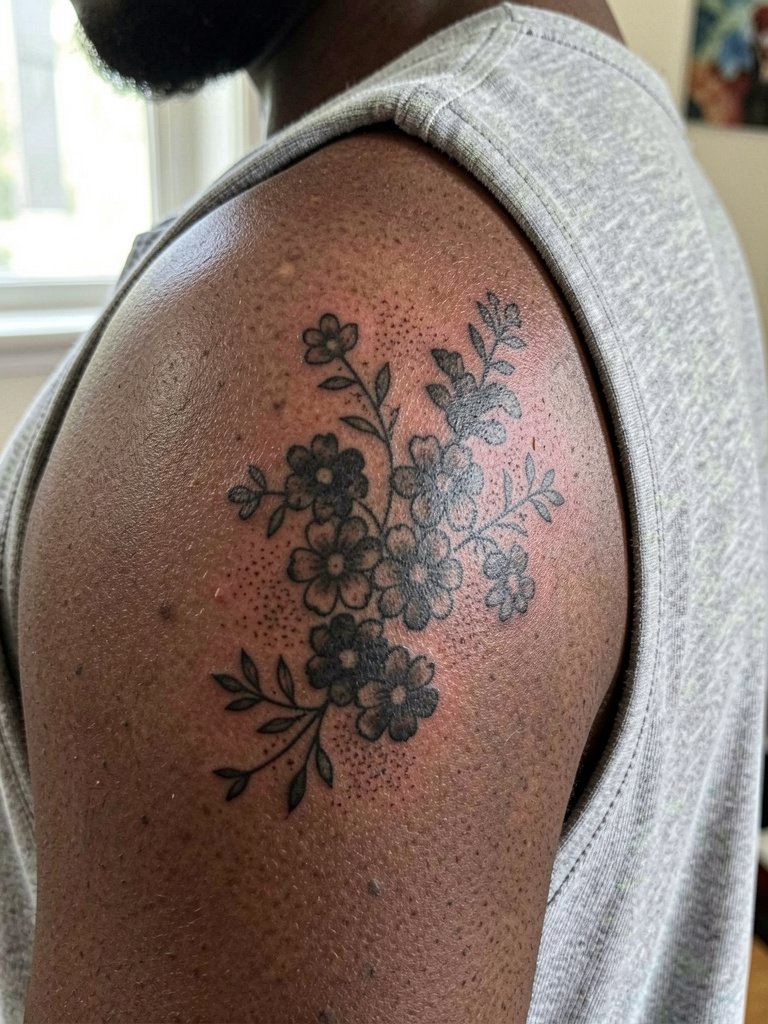
An accent that hugs the shoulder cap reads well because movement is limited compared to inner bicep. Discuss how the cluster will flow into future sleeve work if you might expand later. A common mistake is tight clusters that land too low and lose visibility under most tops. Sessions vary from 60 minutes for small clusters to longer for more pieces. Pain is moderate. For showing off the shoulder cap, try a one-shoulder top that leaves the artwork visible.
13. Brushstroke Calligraphy on Calf
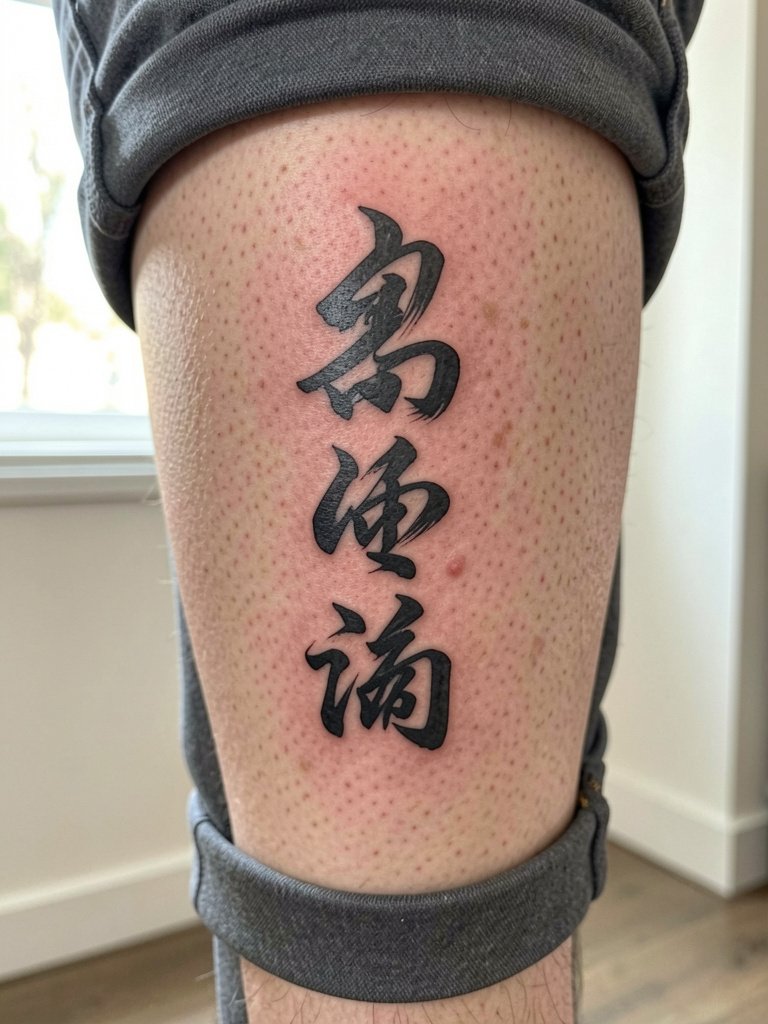
Brushstroke calligraphy needs bold ink strokes to keep the gestural feel as the skin ages. Request that the artist copy stroke weight rather than only the shape so the thickness survives. Mistakes happen when clients ask for hair-fine brushstrokes that vanish into texture. The calf tolerates heavier saturation and is low risk for blowout. Sessions are medium length and pain is low. Pair this with calf-baring footwear and mid-calf boots for a day look.
14. Negative-Space Wave on Side Torso
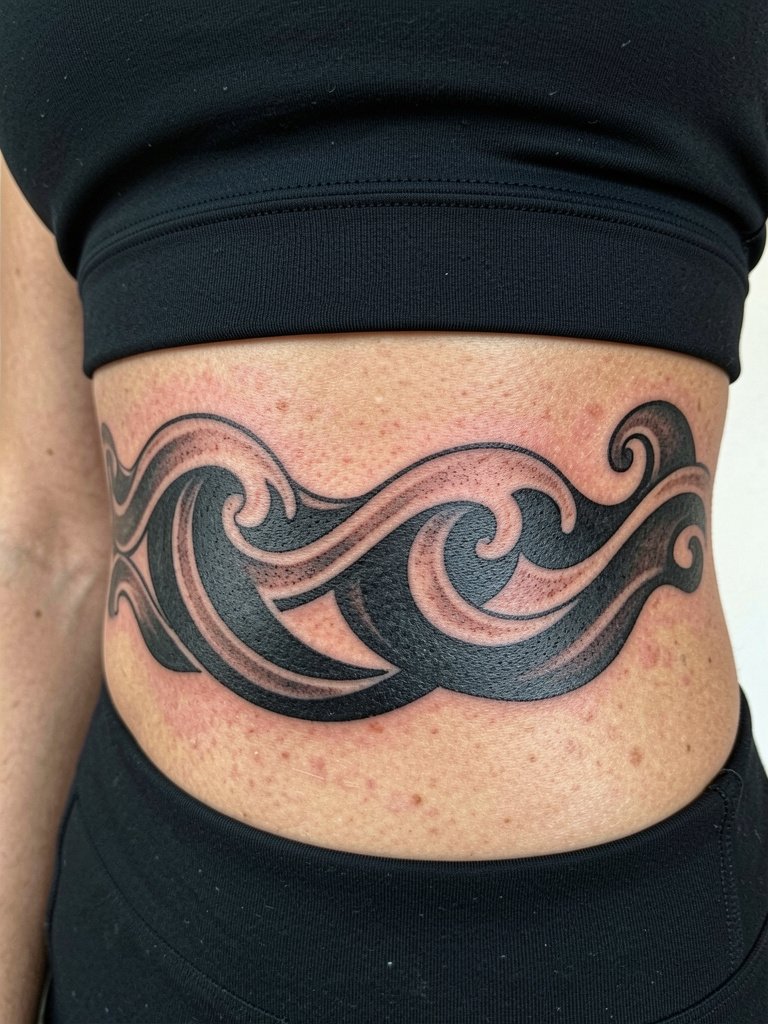
Negative-space blackwork on the ribs reads strongly because contrast is high. Discuss how the shapes will sit with breathing and torso movement so the crest lines maintain separation. Too many thin separators risk filling in over time. Sessions are longer and pain is higher on the ribs. Plan wardrobe like a fitted cropped top so the area is accessible and stays put during the session.
15. Fine Dot-Work Moon on Ankle
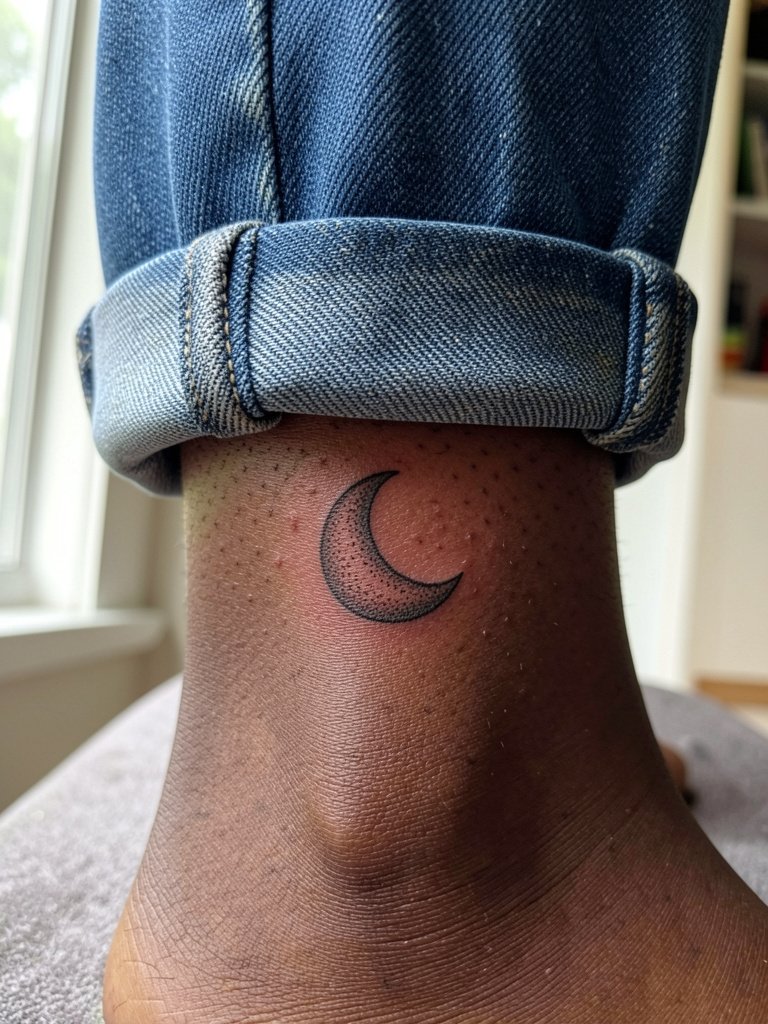
Ankle dot-work can be fragile because the area endures friction from socks and shoes. Ask the artist to place the moon slightly higher than ankle bone to reduce abrasion. The mistake is asking for hairline dots right on the bone. Expect low to moderate pain and a short session. For visibility, style with cropped pants or delicate anklets that draw attention without rubbing the ink.
16. Single-Petal Minimalism on Inner Thigh
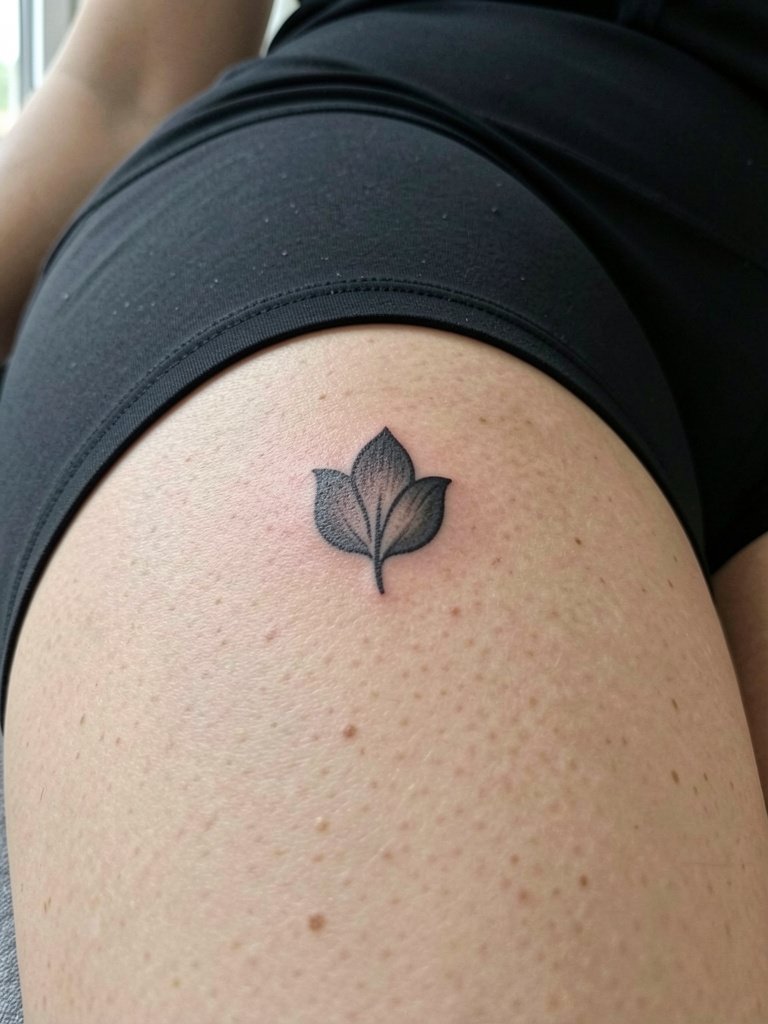
Inner thigh tattoos are intimate and react differently with weight changes and friction. Specify that the petal remain simple and slightly larger than you imagine so edges do not soften into an indistinct blob. Sessions are moderate in time and can be sensitive. Professional consideration note: intimate placements like the inner thigh require an artist with experience in discreet work and strict hygiene standards. For comfort at appointment, wear modest athletic shorts to allow access while preserving privacy.
17. Tiny Script Behind the Finger Knot
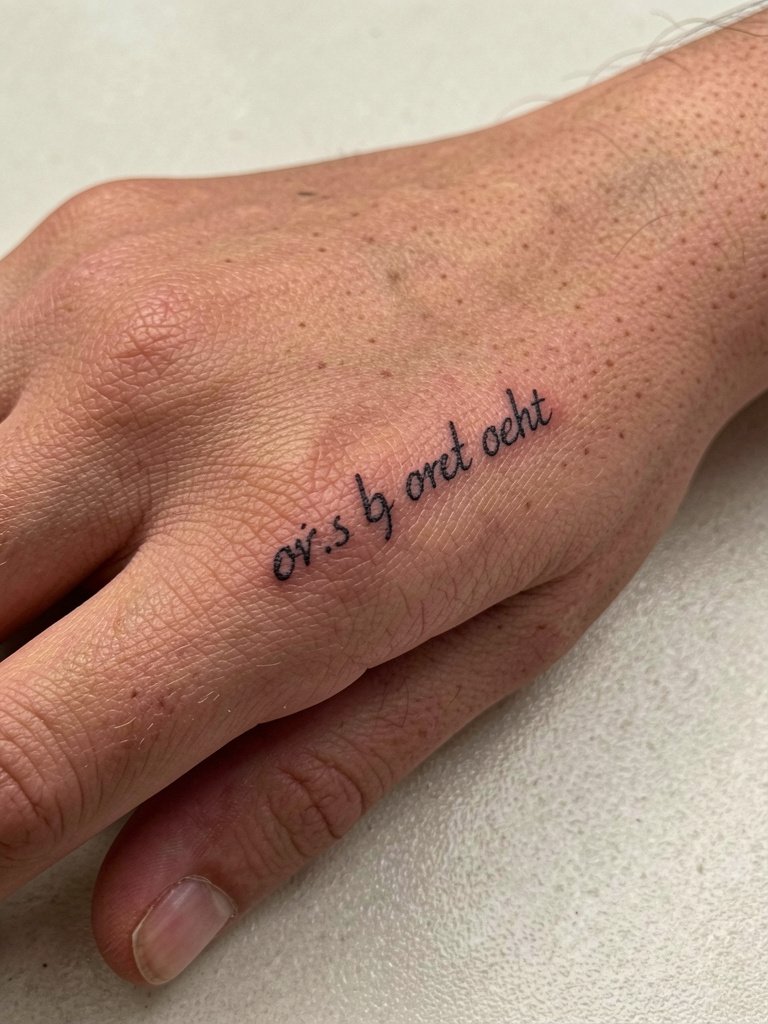
Finger tattoos are high abrasion zones and require heavier line weight than most clients expect. Request that the artist thicken the stroke slightly and set expectations for faster fading. Many small scripts need touch-ups within the first year. Session times are short but comfort is affected by proximity to bone. For styling, choose rings that sit away from the tattoo and try a thin adjustable ring set that complements the placement without rubbing.
18. Small Geometric Mandala on Sternum
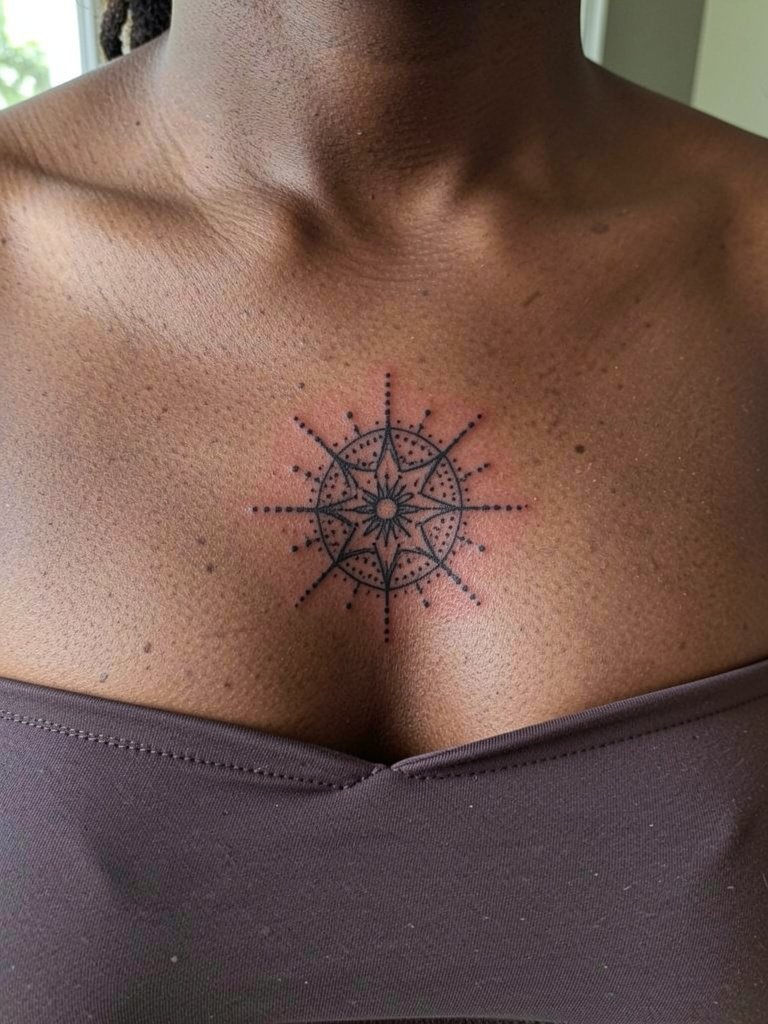
Sternum mandalas are spectacular but sensitive. The error is too much micro-detail in a small diameter; widen the core spacing so radial lines have breathing room. Pain is high and sessions often split. Professional consideration note: sternum work requires an artist experienced with chest curvature and breast tissue placement. For showing off, structured tops with a low center like an open-front bralette complement the mandala without compressing the area.
19. Black-Outline Peony Sleeve Start on Upper Arm
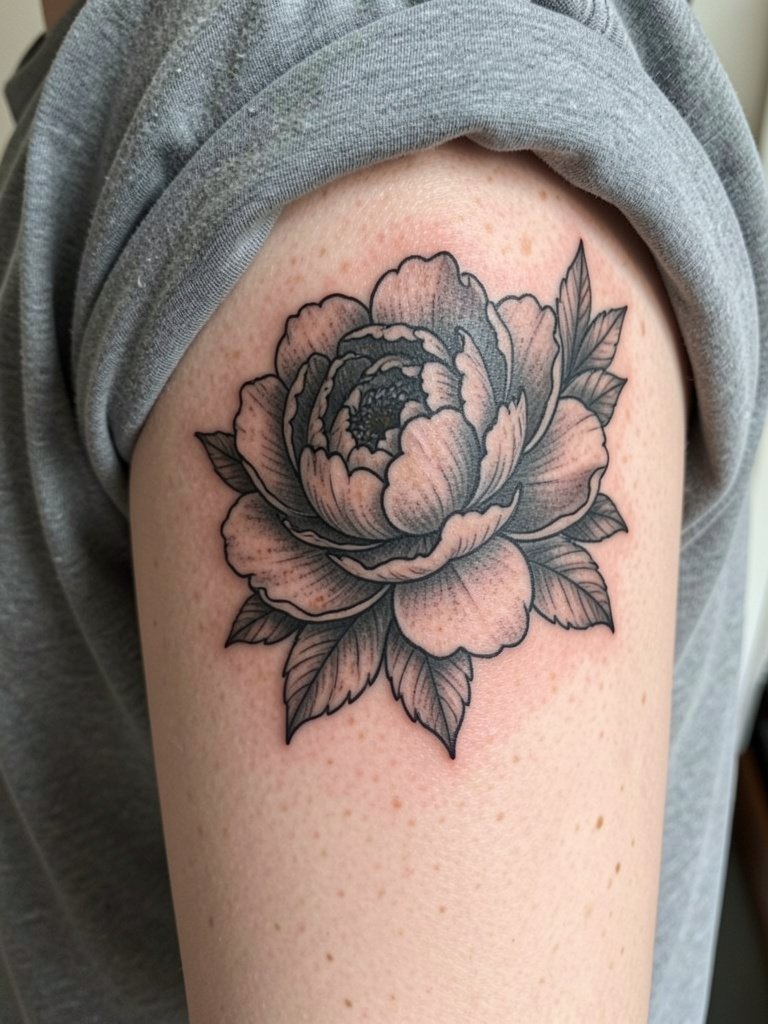
Begin a sleeve with strong black outlines and selective saturation so future additions integrate cleanly. A mistake is shading everything at once which limits how color and black fill layer later. Discuss future expansion plans and anchor points during the first consultation. Sessions vary and can be staged. For warm-weather looks, pair this with sleeveless sundresses or a halter top to show the arm.
20. Tiny Anchor on the Foot
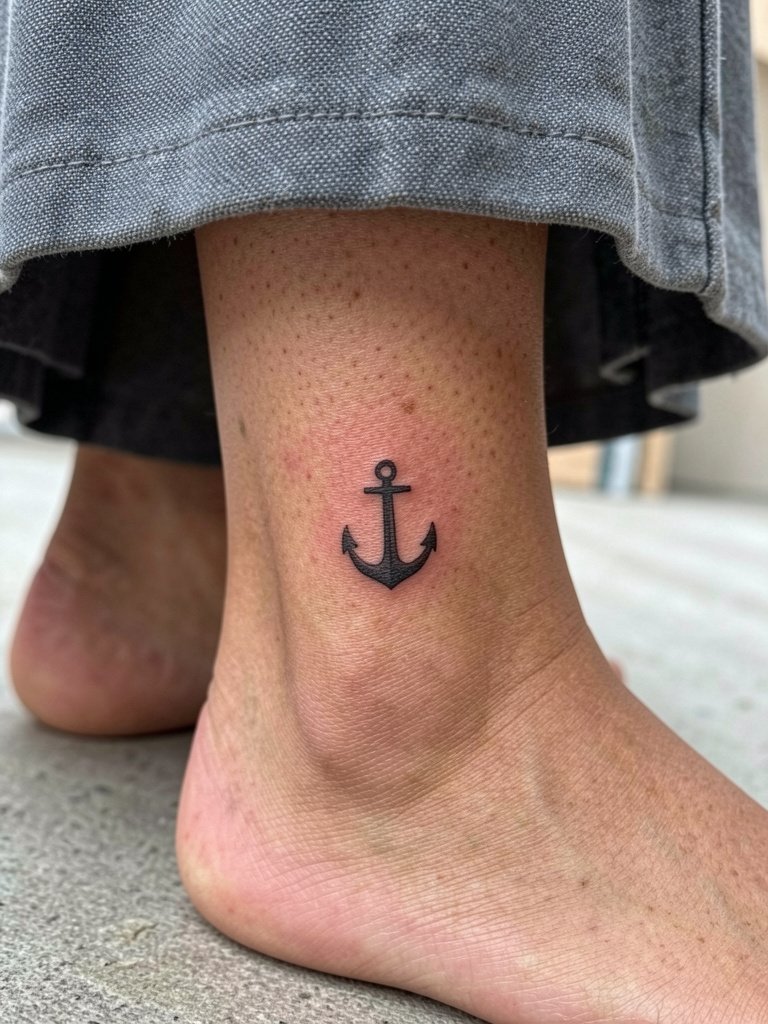
Top-of-foot placements rub against shoes and socks, so pick slightly bolder fills and expect touch-ups sooner. Ask for the anchor to be placed where shoe contact is minimal. Sessions are short but healing can be fussy due to footwear. For display, sandals and minimal slide sandals keep the tattoo visible without constant friction.
21. Single-Line Portrait on Chest Pocket
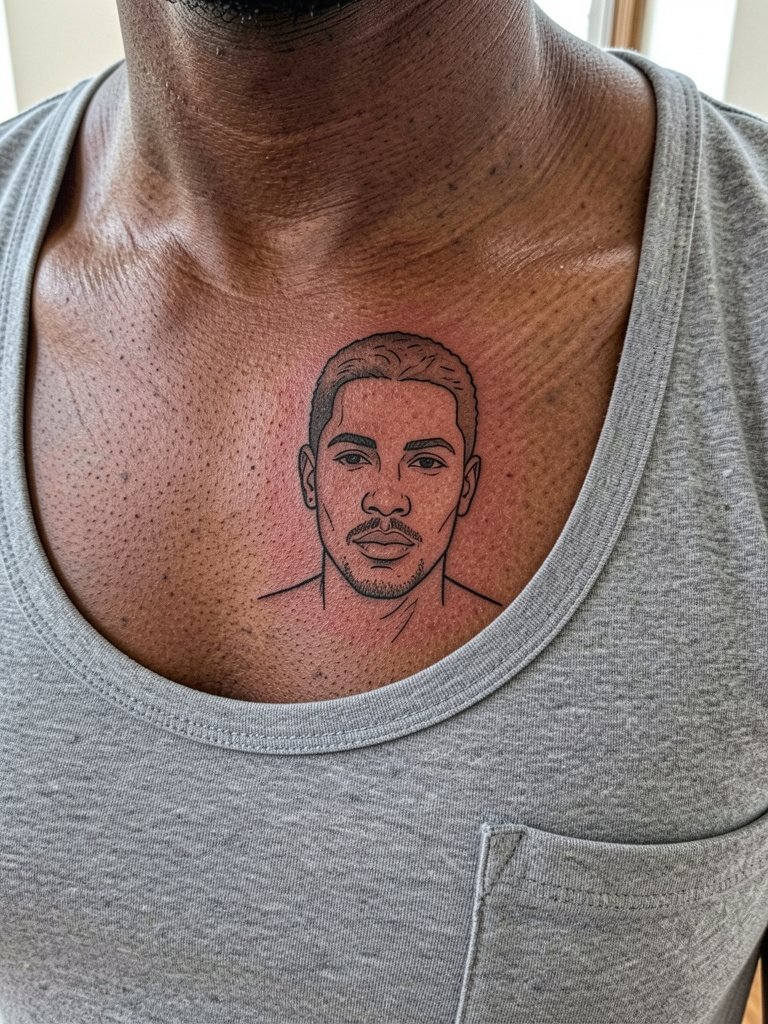
Single-line portraits on the chest are elegant if scaled and spaced correctly. Ask for the line weight to be consistent with simple negative-space highlights so the portrait does not dissolve into skin texture. Chest skin moves differently with breathing so expect slight softening. Pain is moderate. For wardrobe, choose scoop-neck tees or low-slung blouses that frame the piece.
22. Small Phoenix Crescent on Lower Back
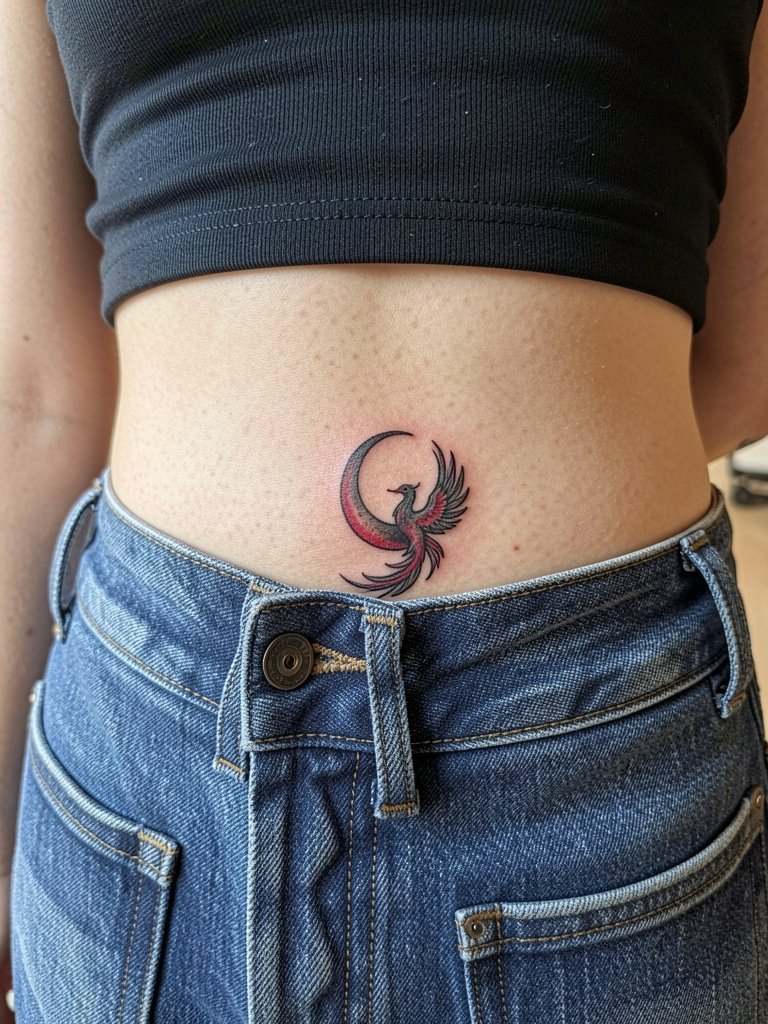
Lower-back pieces tolerate slightly more saturation and color. Keep the phoenix compact so waistband movement does not distort key lines. A common mistake is pushing the design too low where waistband and friction cause faster fading. Sessions are medium and pain is low to moderate. Low-rise dresses and cropped tops highlight the placement.
23. Whisper-Thin Single Word on Rib Side
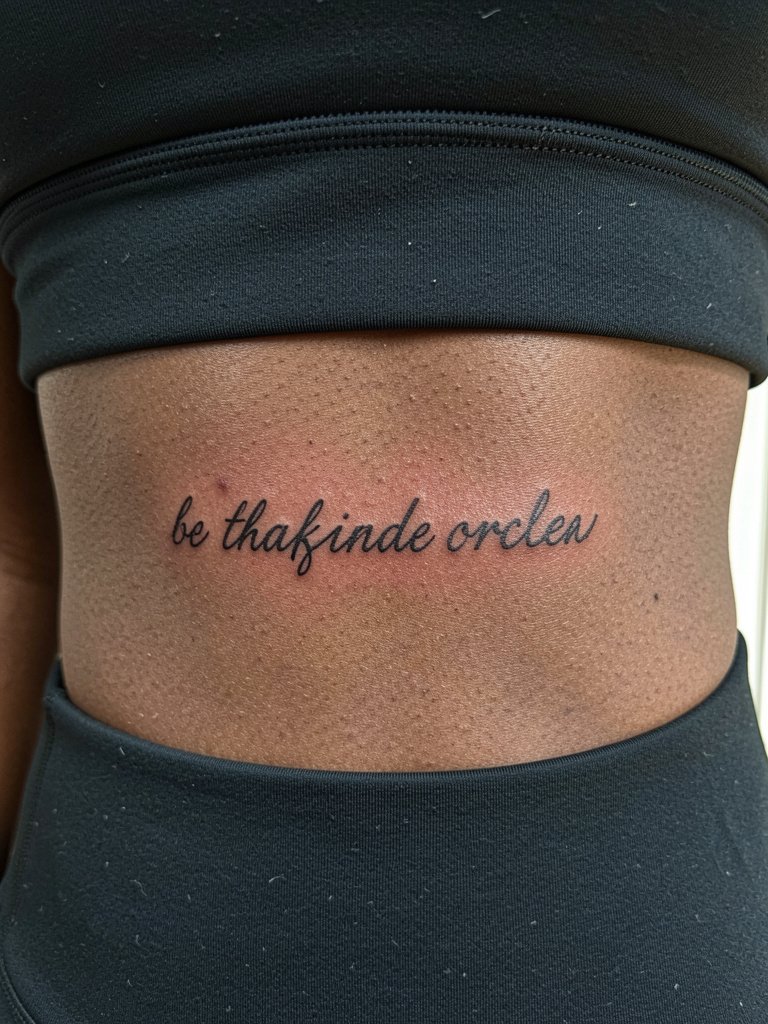
Rib-side text demands slightly heavier single-needle weight and increased spacing to avoid blur. The mistake clients make is assuming an ultra-thin script will stay crisp; increased stroke and slightly larger font size retain clarity. Pain is high and sessions are brief but intense. For comfort bring a loose top that can be adjusted, such as a roomy tank top.
24. Tiny Star Cluster Near Clavicle
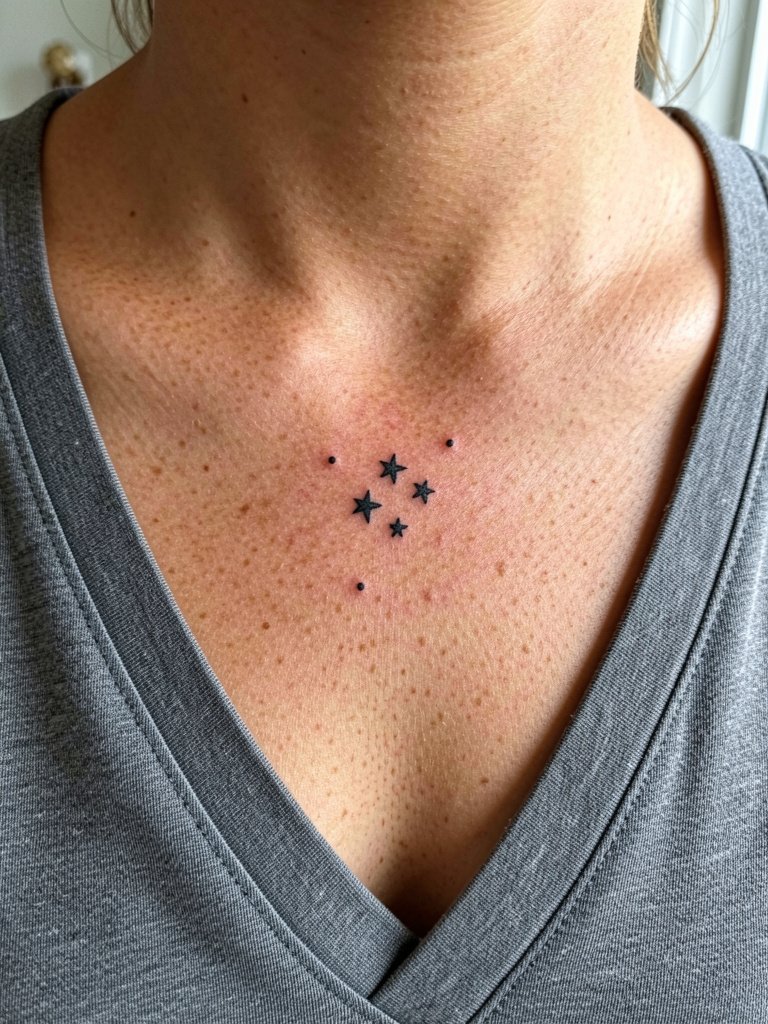
Small clusters near the clavicle look deliberate when spaced as a trio with one slightly larger star. Ask for the center star stroke to be heavier to anchor the cluster visually. These pieces age better than long scripts across the collarbone. Sessions are short and pain is moderate due to proximity to bone. For outfits, pair with delicate pendant necklaces that frame the cluster without covering it.
25. Compact Black Rose on Thumb Side
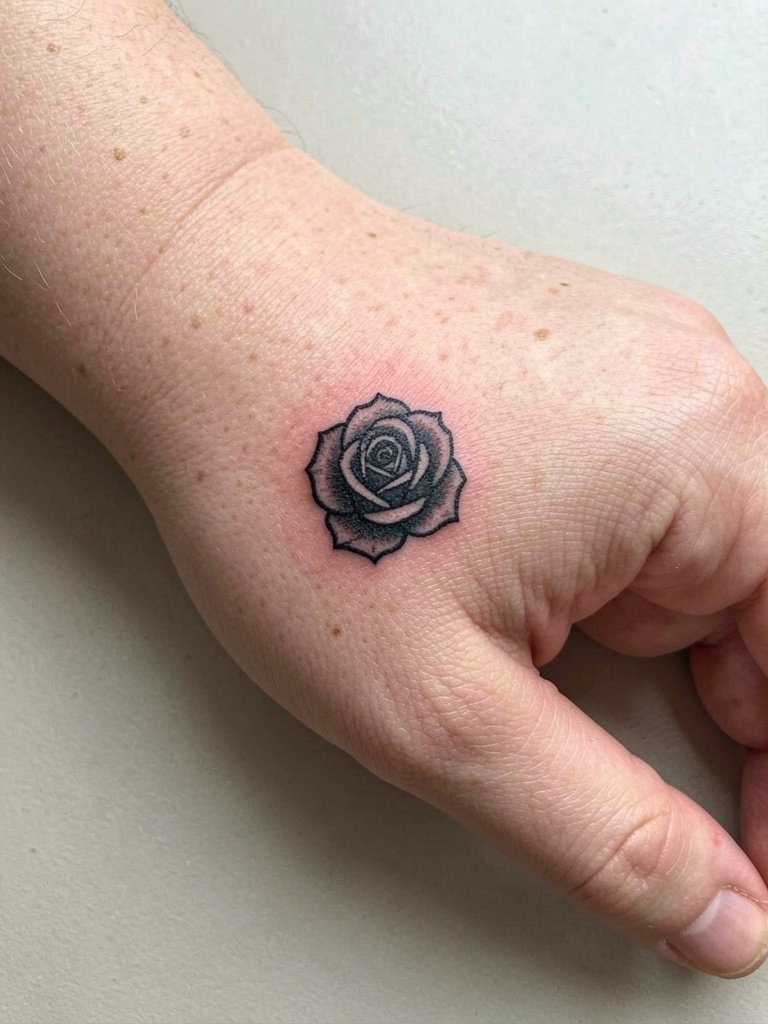
Thumb-side tattoos face constant use and moisture so choose a compact composition with solid outlines. Ask the artist to map where rings sit so the rose avoids constant rubbing. Expect more frequent touch-ups and plan for a first touch-up within the first year. Sessions are short and sensitivity is moderate. For styling, select rings that sit away from the base or use a thin stacking ring to accessorize without affecting the ink.
Frequently Asked Questions
Q: How do Hangeul script tattoos age compared with bold blackwork pieces?
A: In my experience, single-needle Hangeul scripts often soften faster on high-motion areas like wrists and fingers. Bold blackwork and compact designs keep their form longer because the contrast stays clear. If you want script that lasts, increase stroke weight slightly and place it on lower-motion skin.
Q: Where can I find Korean-inspired portfolios and healed examples without naming specific artists?
A: Search platform tags and keywords like #KoreanTattooInk, #HangeulScriptTattoo, and location filters on Instagram and TikTok to find portfolios. Tattoo-focused subreddits and portfolio aggregators show healed timelines and different skin tones. Look for posts with multi-year healed photos to judge aging.
Q: I want a ribcage script but I am worried about pain and longevity. What should I know?
A: Ribs are painful and the skin stretches with breathing so very fine script risks blurring. Ask for slightly wider spacing and a touch-up plan at six to twelve months. Consider numbing 30 to 45 minutes before the session and scheduling a single focused session rather than several starts and stops.
Q: Which placements need specialized artists or extra professional considerations?
A: Sternum, face, hands, and intimate areas require artists experienced with those zones. For sternum and face work, pick somebody who can show healed photos on similar skin types. For intimate placements, confirm privacy policies and hygiene steps before booking.
Q: How often will small hand and finger pieces need touch-ups and how should I care for them?
A: Finger and hand tattoos often need touch-ups within the first year due to constant washing and abrasion. I recommend planning a touch-up at six to twelve months and protecting the area with a breathable film for the first 24 to 48 hours. For daily comfort, wear gloves only when necessary and avoid prolonged immersion in water while healing.
Q: What should I wear to the session for placements like shoulder, thigh, and ribs?
A: Wear garments that expose the area in a resting position without being pulled or lifted. For shoulder work pick a sleeveless tee. For thigh pieces choose modest athletic shorts. For ribs use a fitted cropped top that stays put. A practical item to have is a loose tank top that the artist can roll without tugging.
