
Cyber-Sigilism rules feeds right now, but the forearm is where trend and longevity collide. Some 2026 pieces photograph like magazine spreads and soften into indistinct lines within a couple of years. This guide pairs 23 forearm designs with practical tweaks, session notes, and wardrobe tips that help each style read clearly at six months and beyond.
1. Cyber-Sigilism Circuit Band on Outer Forearm
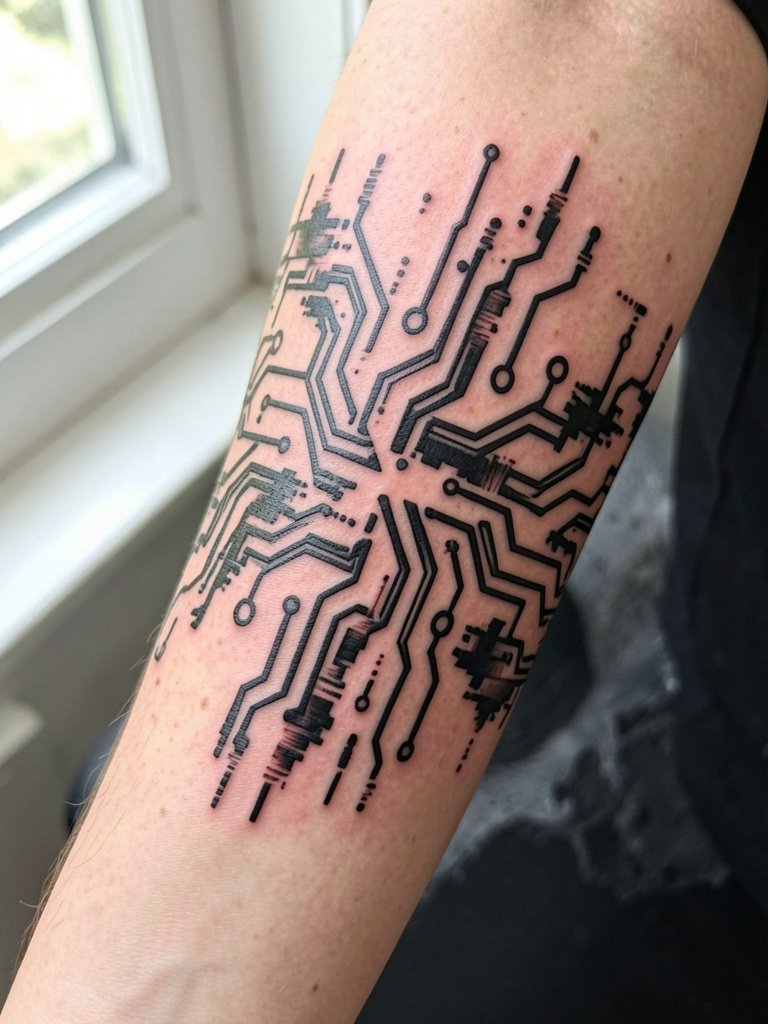
This futuristic band reads best when the linework has room to breathe. Recommend line spacing of at least 2 mm between parallel strokes to reduce early merging on forearm skin. Session feel is moderate, about a two to three out of ten for most people. Blowout risk rises when artists run lines too close together, so bring two reference photos showing spacing at both close-up and full-arm scale. For showing off, pair with solid-color graphic tees or a cropped denim jacket to let the pattern pop across the palm-down surface.
2. Ethereal Botanical Linework on Inner Forearm
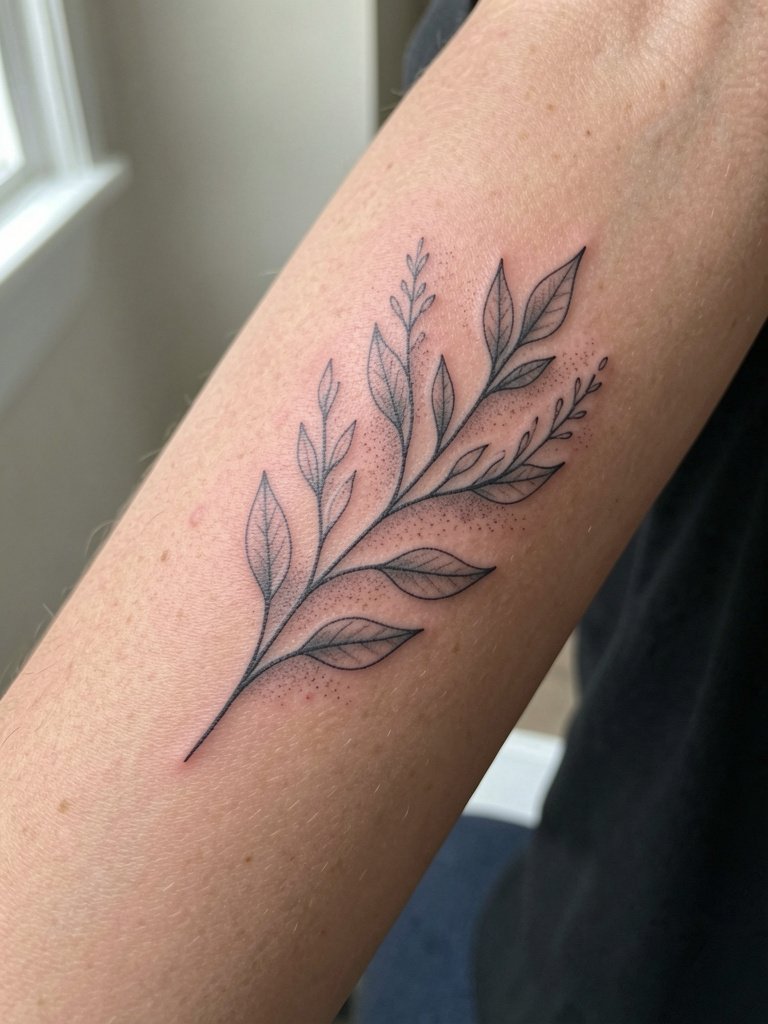
Fine line on the inner forearm sparks a real debate in the community. One camp says the palm-up skin stretches and flexes more, so ultra-fine lines blur faster near the wrist. The other camp insists fine line holds if the artist uses slightly wider spacing and correct needle depth, and they point to multi-year healed examples to back that up. For a version that ages, ask for a hair heavier line weight than the Pinterest sample. Session wear should be a loose button-down so the artist can roll the sleeve without pressure. For evenings when you want the piece noticed, roll the cuff and pair with rolled cuff linen shirts.
3. Micro-Realism Tiny Scene on Inner Forearm
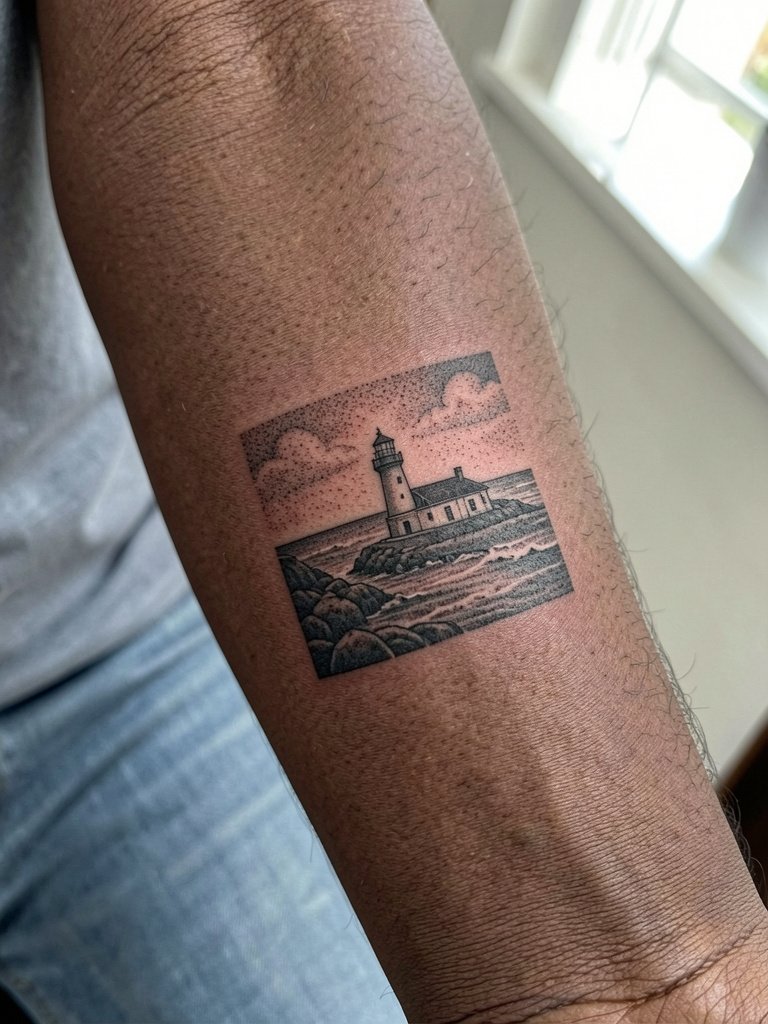
Micro-realism squeezes a narrative into a small area, but clarity depends on scale and contrast. Recommend a minimum 2.5 to 3 inch canvas for faces or complex textures so the tiny details survive the first two years. A common mistake is copying a large-photo reference without scaling; the result reads muddy after healing. Expect one to two sessions and moderate pain on the palm-up surface. For appointment day, wear a loose short-sleeve or sleeveless top so the artist has full inner forearm access. If you want the shot to read in photos, use natural daylight and slightly thicker contrast in the reference.
4. Architectural Linework Along the Outer Forearm
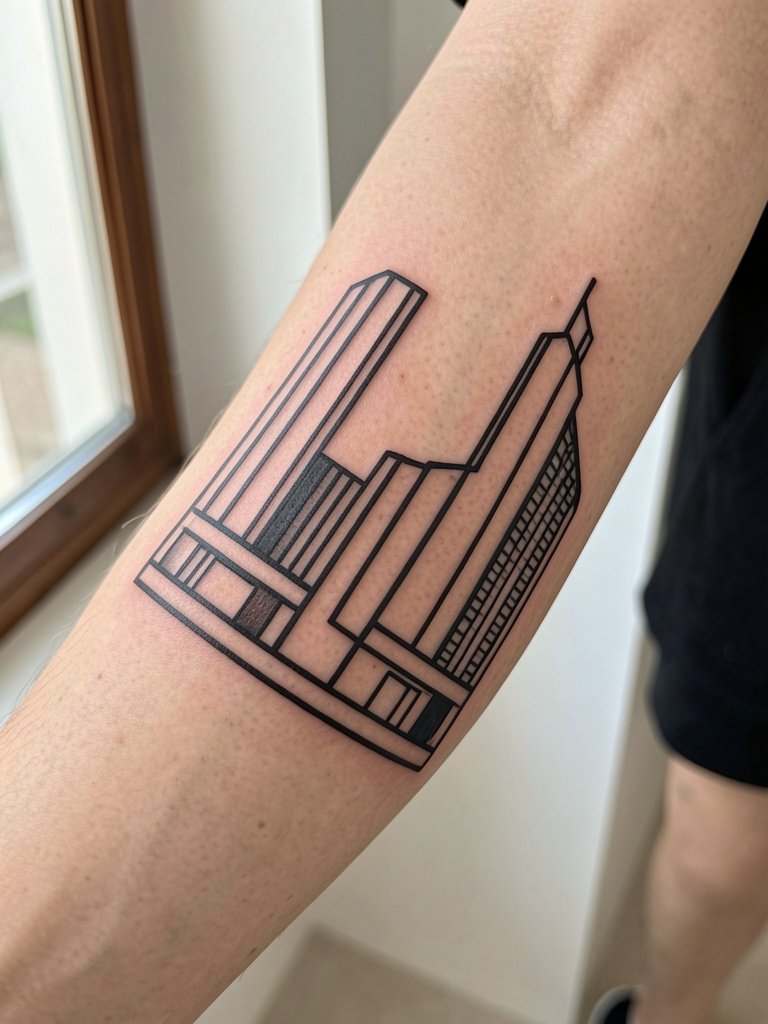
Architectural work benefits from mapping to the arm's natural lines so columns and angles flow with muscle. The biggest error is forcing a square grid onto the curved forearm, which causes corners to warp across the wrist. Talk to your artist about how the design curves when you twist your wrist, and bring photos of the arm relaxed and flexed. Pain sits around two to three out of ten on the outer forearm. Show off this style with vintage denim jackets and chunky silver rings for contrast.
5. Neo-Traditional Portrait with Psychedelic Palette
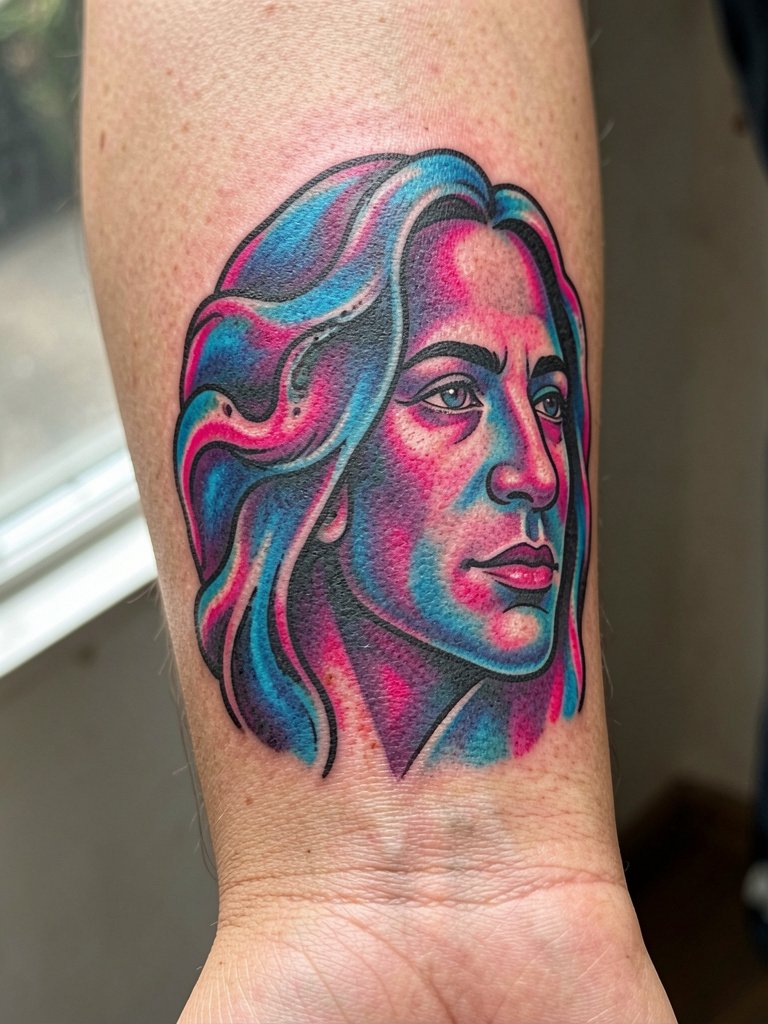
Vibrant palette work needs saturation planning up front. Saturated colors can soften into murky tones if shading and layering are rushed during one session. Plan for one to two sessions so colors saturate evenly. A real mistake is asking for ultra-saturated washes over thin skin near the wrist, which risks patchy healing. Session time feels longer because color packing is repetitive, but aftercare is straightforward. For nights out, pair this with a solid black graphic tee so the colors contrast cleanly.
6. Red Ink Minimalism on Inner Forearm
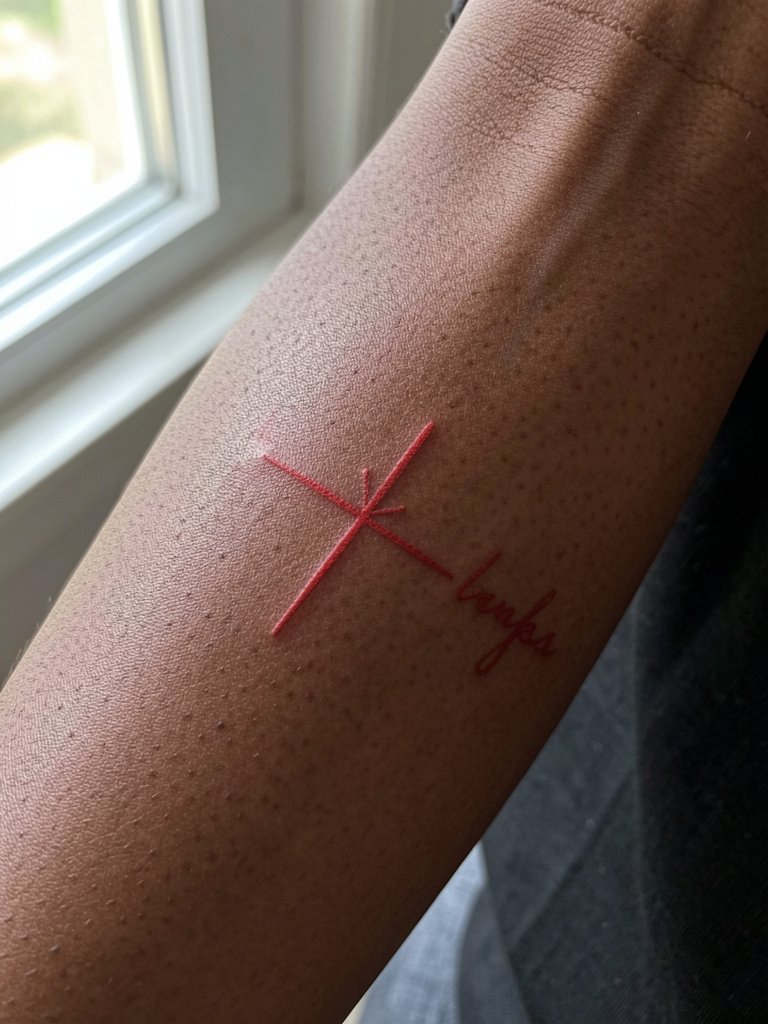
Red ink on the forearm is divisive. One camp says red fades faster than black and can shift brown or pink in sun-exposed areas without strict UV protection. The other camp argues modern red pigments are stable when applied by experienced artists and protected from sun, citing long-term healed examples. If you choose red, plan for a touch-up window at two to three years and avoid midday sun for the first six months. For showing off red linework without sun damage, wear rolled-up linen shirts in cream or olive that keep color out of direct rays.
Session Day Picks
These first six forearm pieces range from delicate inner-arm work to saturated outer-arm color, so a few targeted items make the appointment and first week smoother.
-
Mad Rabbit Tattoo Balm. A thinner balm many artists prefer for fine-line forearm healing because it moisturizes without heavy pore-clogging, which helps thin single-needle strokes settle.
-
Kirei Aftercare Balm. A lightweight Japanese-style balm that soothes fine-line areas and reduces crusting on inner forearm pieces while keeping ink clarity.
-
AR Marker Spray. Useful if you plan an AR-enhanced forearm piece because it stabilizes the visual marker so the scanning app triggers reliably during setup.
-
Blacksmith Balm for Ink Stability. Helps preserve saturation on heavy blackwork bands and cyber-sigilism pieces that face friction from sleeves.
-
Saniderm Second Skin. A thin protective film that reduces scabbing and friction for outer and full forearm work, especially helpful if you wear straps or sleeves that rub the area.
7. Curated Patchwork Sticker Sleeve, Full Forearm
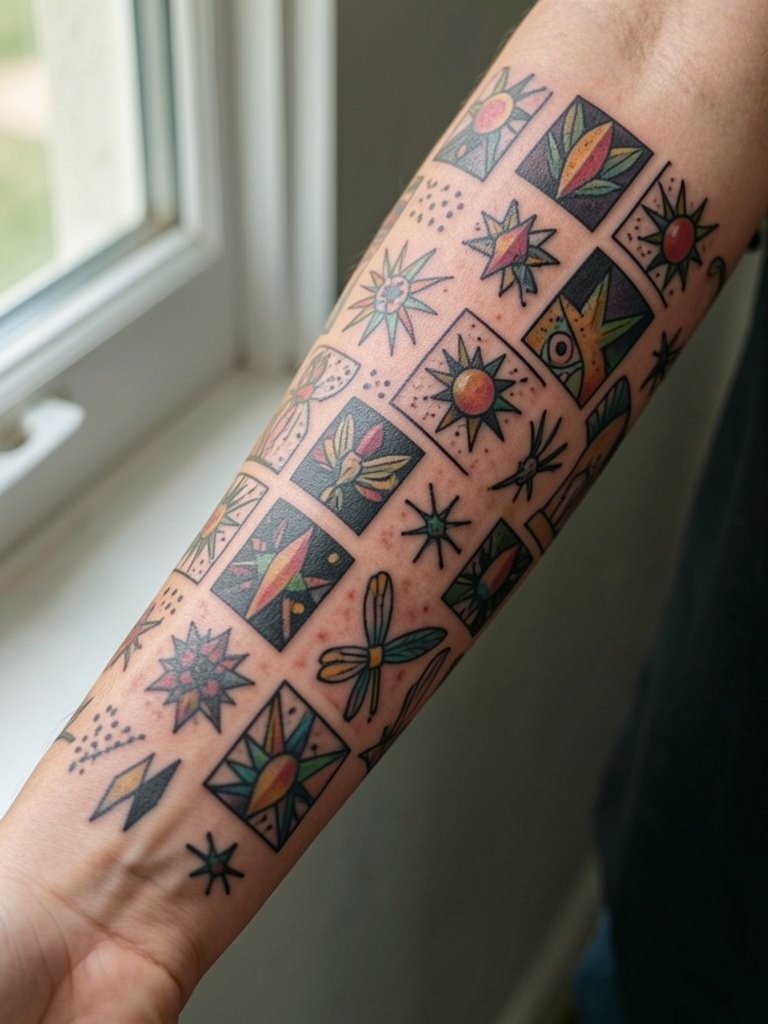
Curated patchwork evolves over years, so plan placement with future additions in mind. A common error is crowding small pieces too close; leave breathing room so each flash retains identity. Each small piece is usually one session and heals independently, so stagger appointments to manage swelling. For session comfort, wear a loose short-sleeve or button-down to let the artist access both inner and outer surfaces. For a cohesive look when you want to reveal the sleeve, try a kimono-style top or open cardigan that frames the forearm.
8. Mythological Figure with Painterly Washes on Outer Forearm
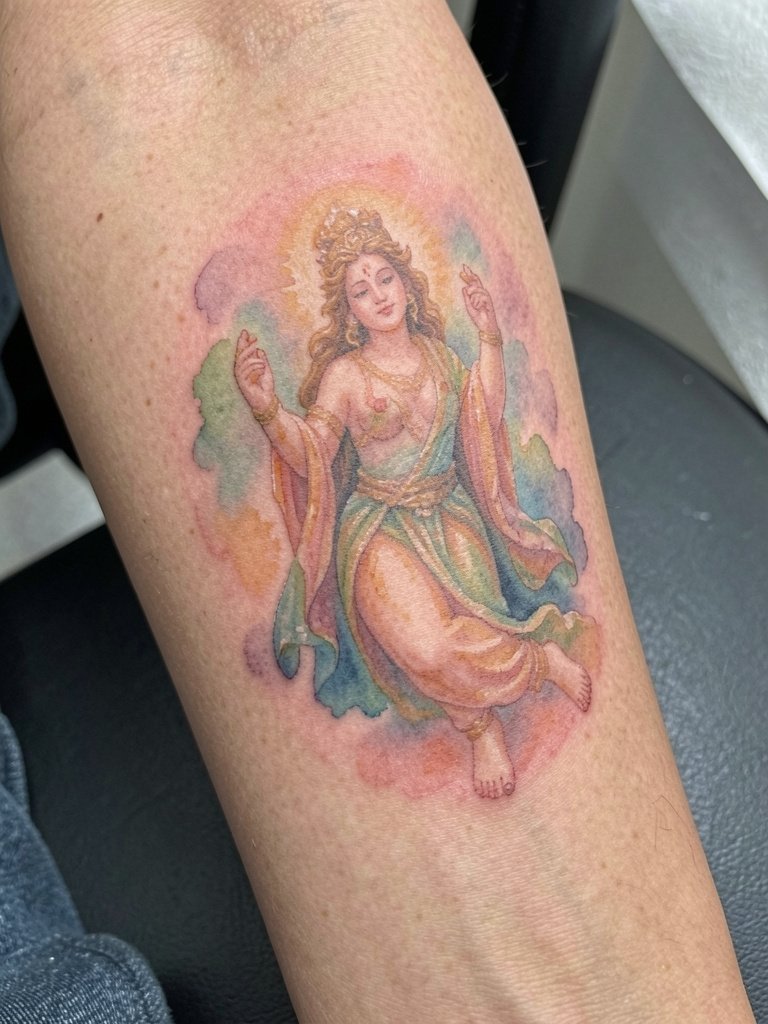
Watercolor forearm work looks painterly at first but often loses crispness as colors spread unevenly. For better longevity, ask the artist to anchor washes with fine black outlines or stipple shading to hold shapes. Expect two to three sessions for a detailed figure with color layering. A common long-term issue is color pooling in thin skin; plan slightly more contrast in the initial layout. Session wear is sleeveless or tank so the outer forearm sits flat. For nights out, contrast the soft washes with a simple layered necklace set that draws attention upward from the arm.
9. Modernized Japanese Flow Sleeve, Full Forearm
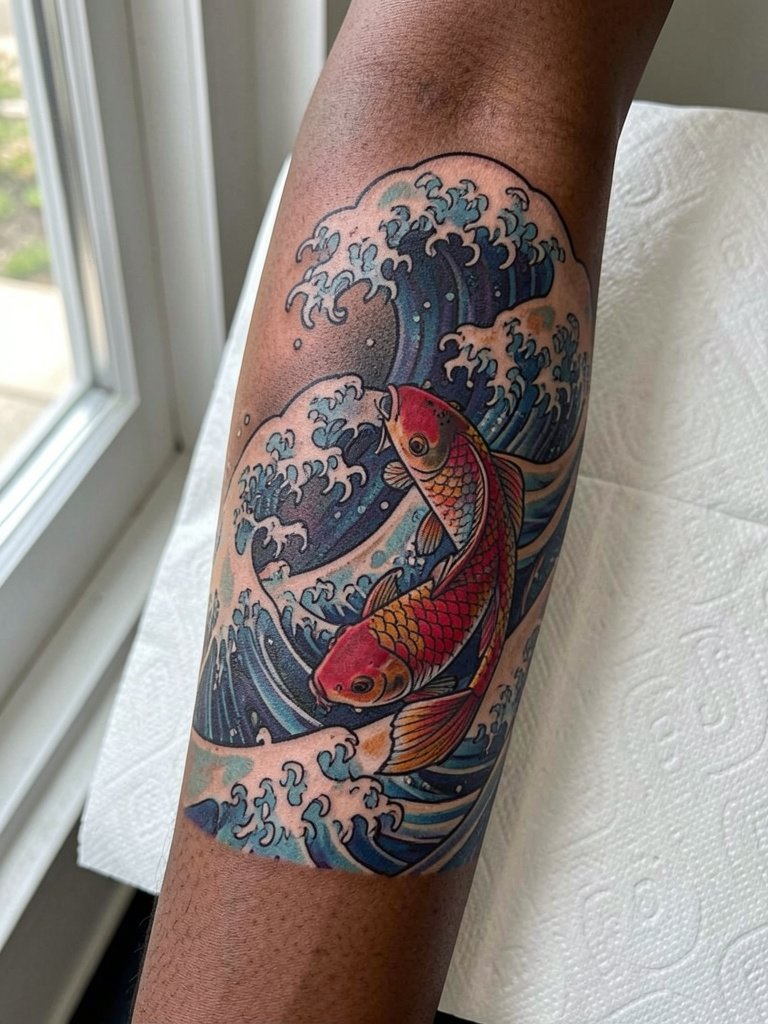
Japanese-inspired sleeves need flow, not symmetry. The typical mistake is treating the forearm as a flat panel and forcing rigid motifs that fight the arm's rotation. Map the key elements to the elbow crease and wrist so the movement reads cohesive. These pieces usually take multiple sessions across months and average a moderate pain level because of area coverage. For wardrobe, reveal the sleeve with a flowy kimono top or open cardigan to keep focus on the art while avoiding tight sleeves that rub fresh work.
10. Abstract Floral with Negative Space on Inner Forearm
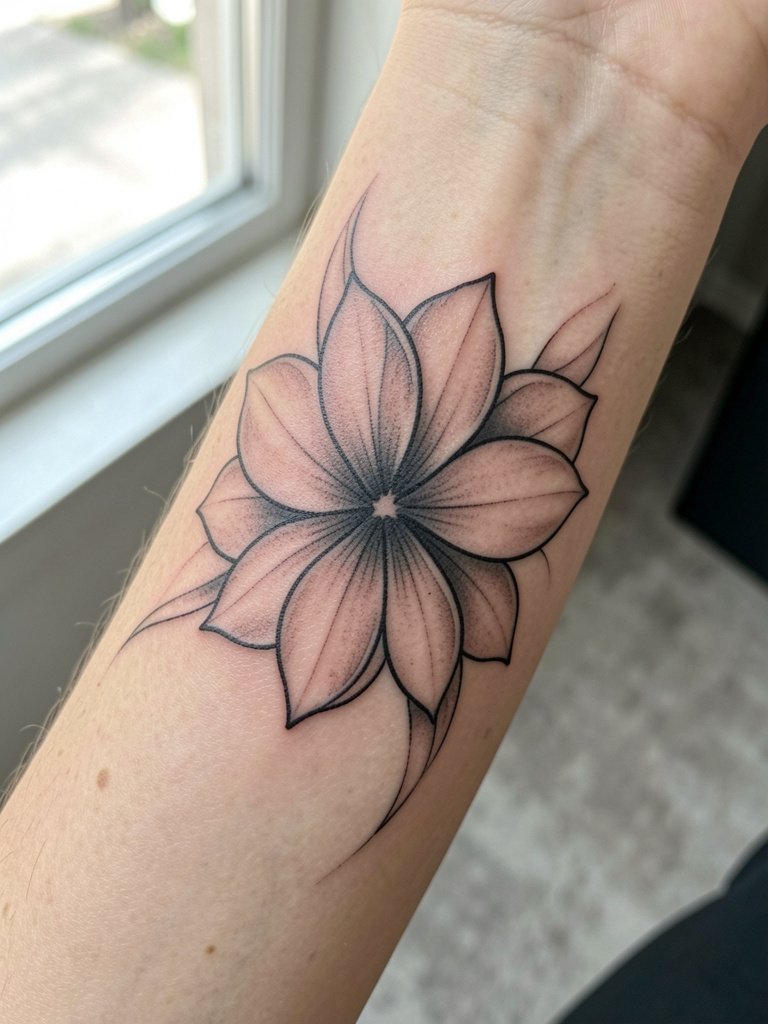
Negative-space florals age well because they avoid heavy saturation that can blur. The design needs intentional gaps sized for the forearm so shapes do not collapse into each other with movement. A common error is too many tiny negative pockets that fill in over time. Expect a single session for a well-planned 3–4 inch piece. For appointment day, a loose button-down or short-sleeve top works best. To show it off, a dainty gold stacked bracelet set on the opposite wrist gives editorial balance.
11. Geotic Mashup: Geometric + Organic Outer Forearm
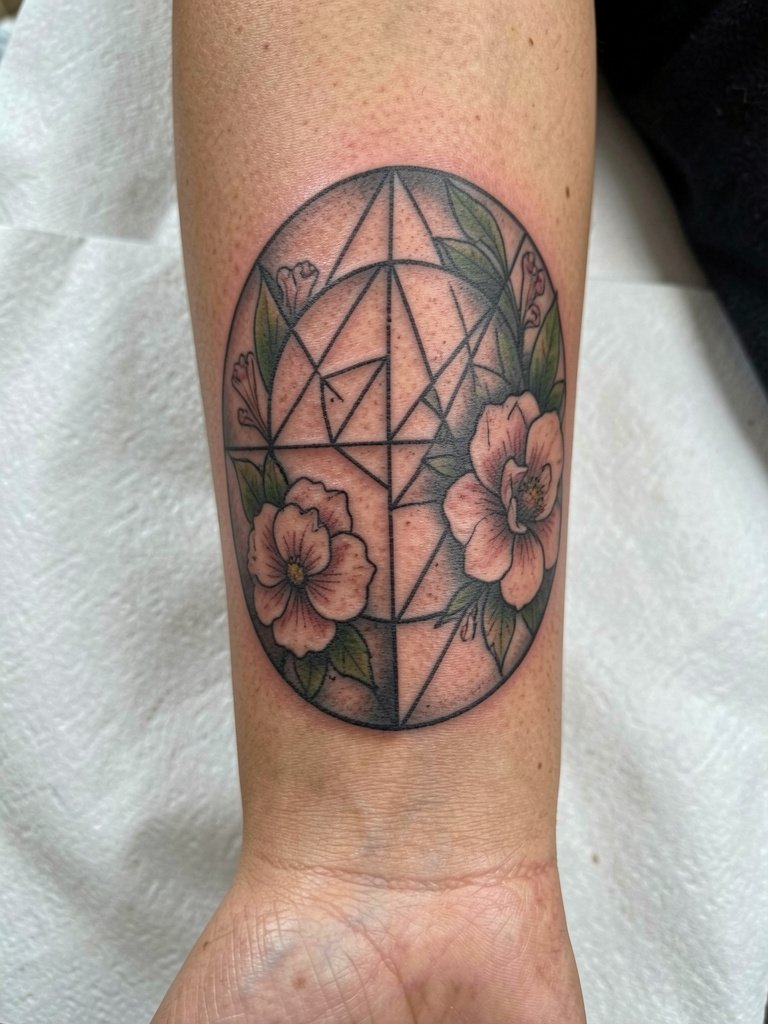
Blend requires scale negotiation. Geometric elements need strict spacing otherwise organic fills can overwhelm the shapes after a year. Ask for stencils showing how the shapes read at both three and five inches. The session feels steady because the contrast between straight lines and curves gives the artist visual rest stops. For showing off the piece, a solid-color tee or leather jacket frames the geometric edges well.
12. AR-Enhanced Forearm Marker on Outer Forearm
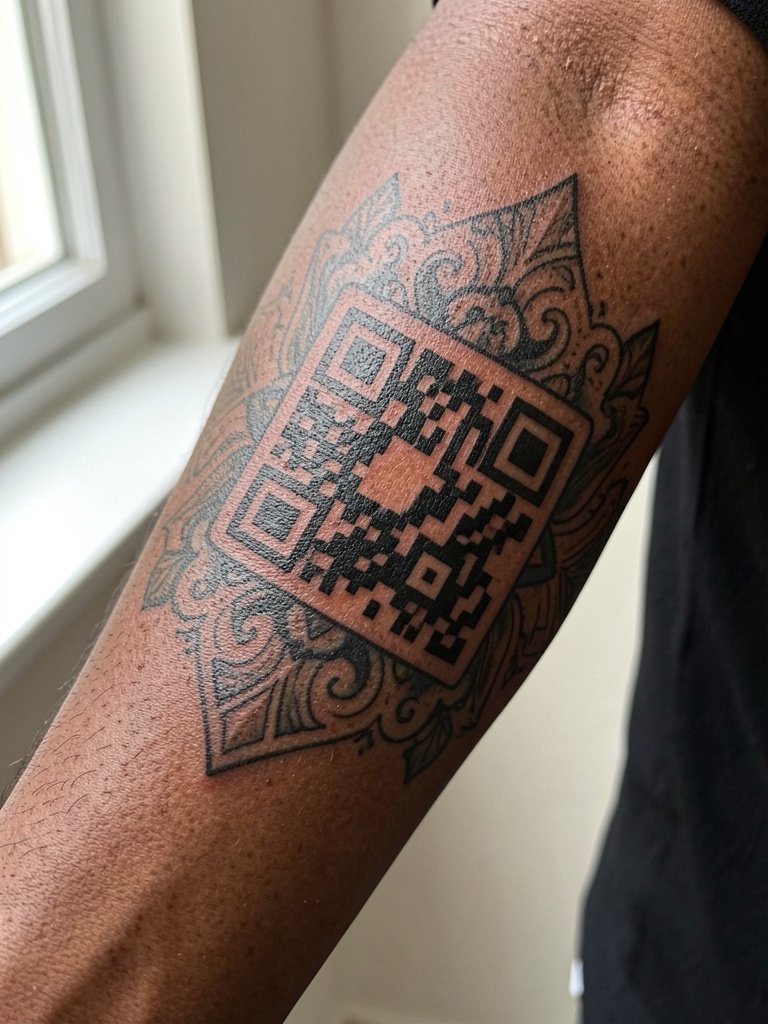
AR tattoos need a precise placement so an app can scan the marker reliably. Place the marker on the outer forearm where phone cameras get a steady angle and minimal glare. A rare oversight is putting the marker too close to heavy shading, which can confuse scanners. Plan one or two test shots during the session and bring the scanning app to preview the result. The tech setup adds time but is usually a one to two session process. If you want to demo the feature, short-sleeve shirts work best for unobstructed scanning.
13. Lotus Gradient Shading on Inner Forearm
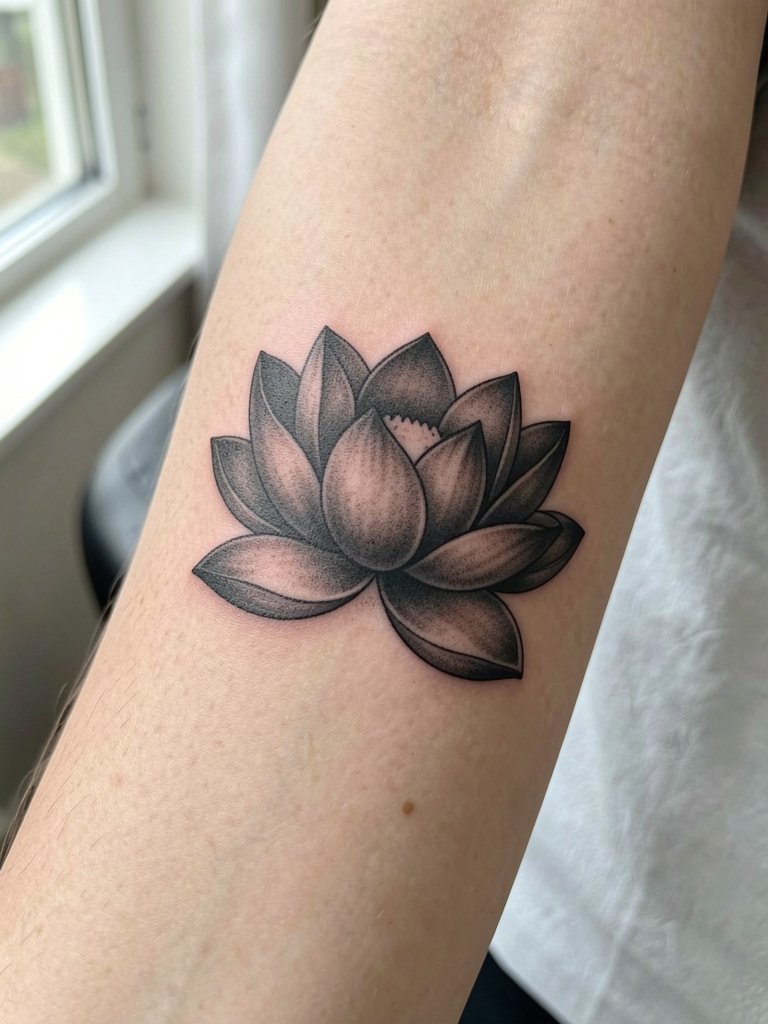
A gradient lotus balances symbolism with practical longevity by relying on black-and-gray shading rather than thin color washes. The major mistake is over-softening edges that later bleed into the gradient, so leave crisp outer outlines. Touch-up at two to three years is common for inner forearm shading because movement loosens fine gradients. For the session, wear a loose tank or button-down for easy access. For styling, a dainty bracelet set or stacked rings keeps the look elegant without competing with the petals.
14. Skull and Rose Integration on Outer Forearm
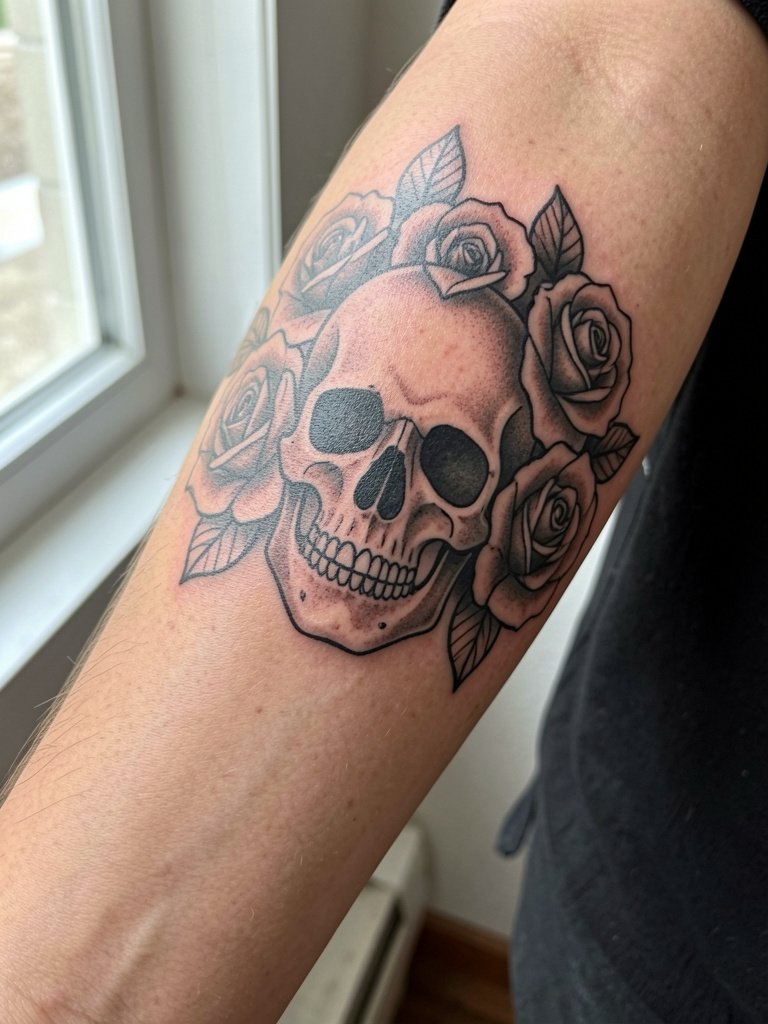
Skull-and-rose combos read strong when outlines stay bold and shading stays deliberate. The error is shrinking the skull to fit a small wrist area, which loses detail and quickly blurs. This design favors the outer forearm where the composition can breathe. Expect one session for a medium piece and moderate pain. Session wear is a short sleeve or tank so the artist can rotate the arm. For evenings, a leather jacket adds the right edge that complements the motif.
15. Single-Word Script with Breathable Lettering on Inner Forearm
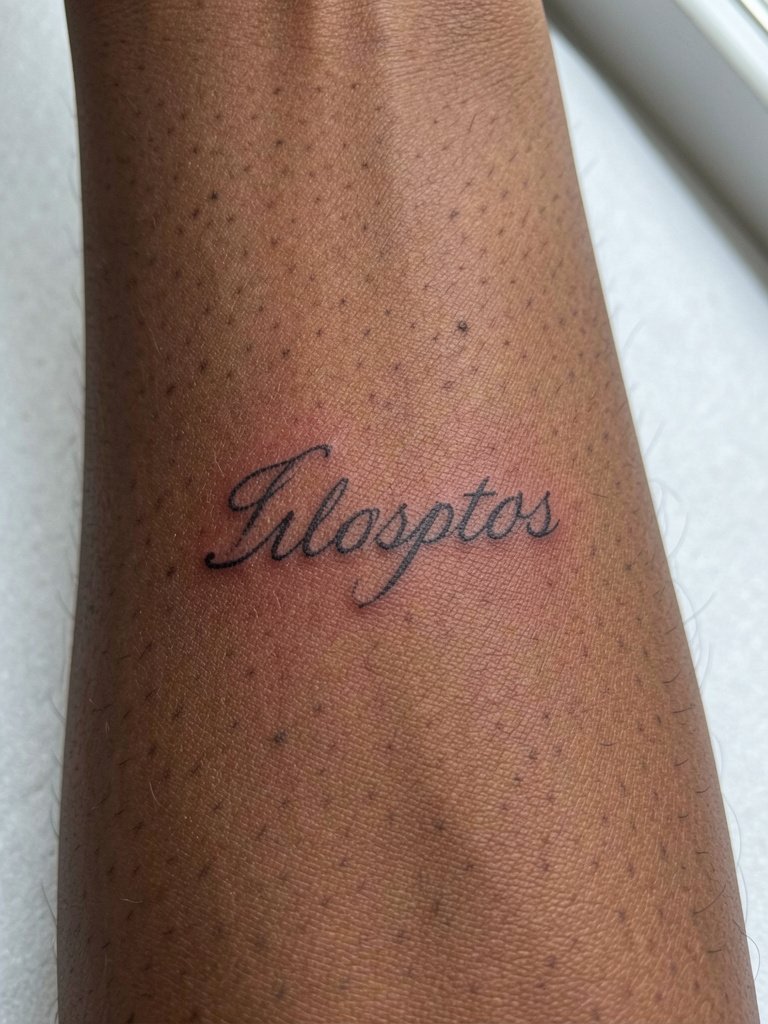
Single-word scripts can blur if letters are too tight. A frequent mistake is copying a tiny cursive font that reads as a smudge after the first year. Ask for slightly increased letter spacing and thicker hairlines so the word keeps shape. Pain is typically low on the inner forearm, and a single session is common. For the appointment, wear a loose long-sleeve you can roll up without squeezing the fresh line. For low-key revealing, a rolled cuff linen shirt in neutral tones complements subtle script.
16. Stipple-Shaded Mandala Band on Outer Forearm
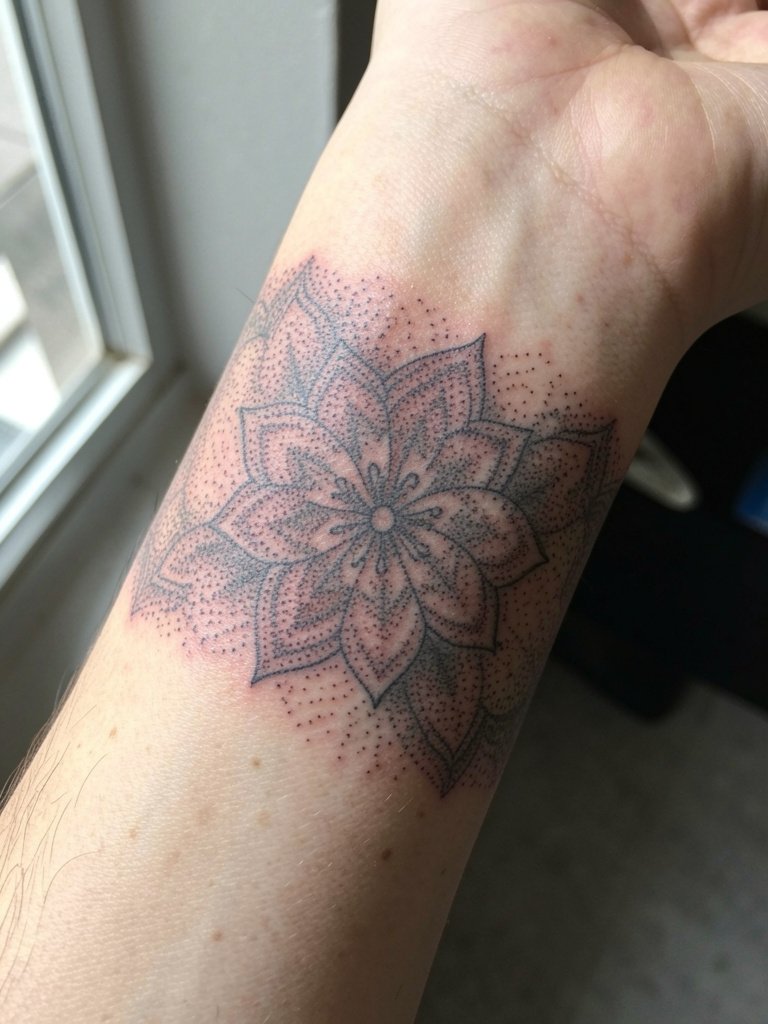
Stipple mandala bands rely on consistent dot density. The common error is trying to cram an overly intricate radial pattern into a narrow band, which collapses in months. Opt for slightly wider bands and check a stencil around the arm to confirm symmetry when you bend your wrist. Dot work sessions are slower but usually low pain. For showing off, a short-sleeve tee or cropped denim jacket gives clean lines against the pattern.
17. Minimalist Mountain Range Across Inner Forearm
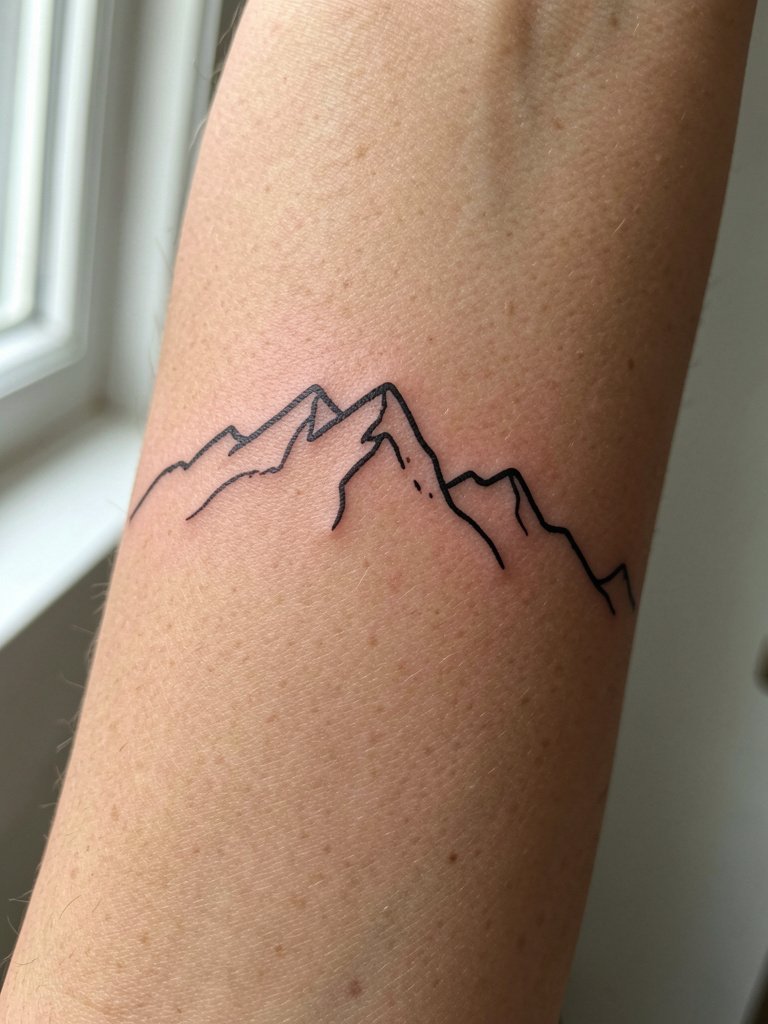
Continuous silhouettes work well because the eye reads a single motion. A typical mistake is making peaks too thin near the wrist where movement smudges the profile. Select slightly bolder contour lines for durability and ask to preview how the silhouette looks at both three and five inches width. Session time is short and pain minimal. For casual styling, a loose tank or short-sleeve shirt keeps the inner forearm visible.
18. Botanical Cluster with Negative Space Wrap, Full Forearm
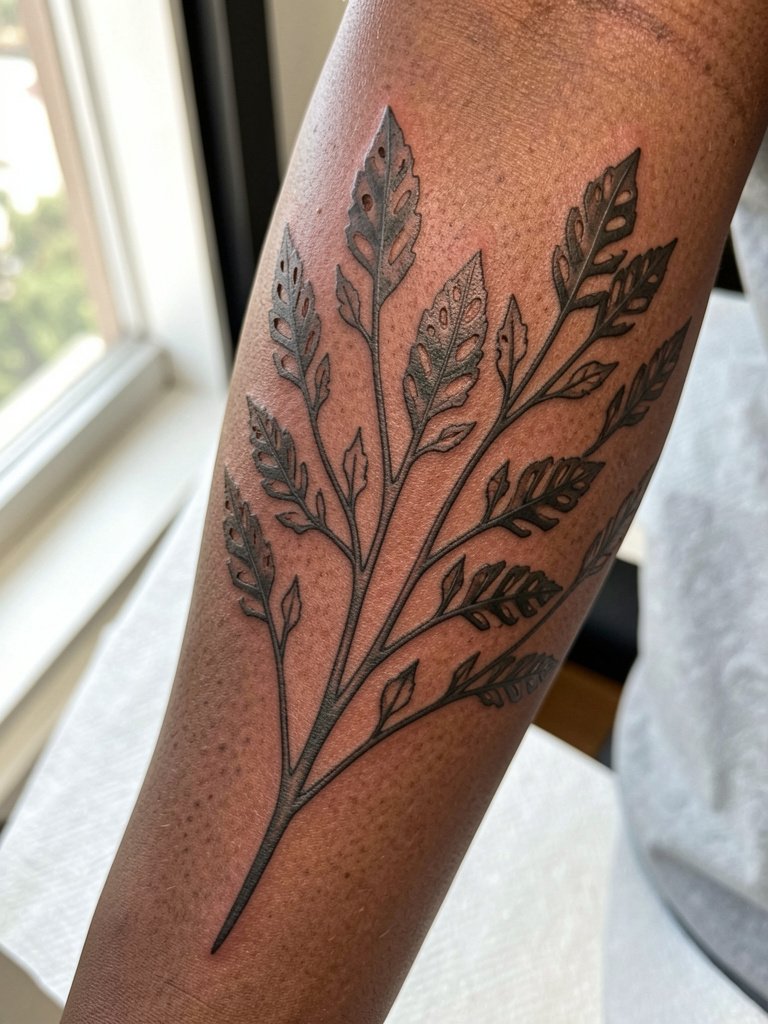
Full-forearm botanicals must respect directionality so stems flow around the arm without looking chopped. A mistake is repeating identical sprigs around the wrap which reads repetitive in photos. Plan focal elements at the elbow crease and wrist so the eye travels. Expect several shorter sessions spaced out and moderate total time. For reveal styling, pair the sleeve with a flowy kimono or open cardigan so fabric frames the arm.
19. Tiny Constellation Cluster on Inner Forearm
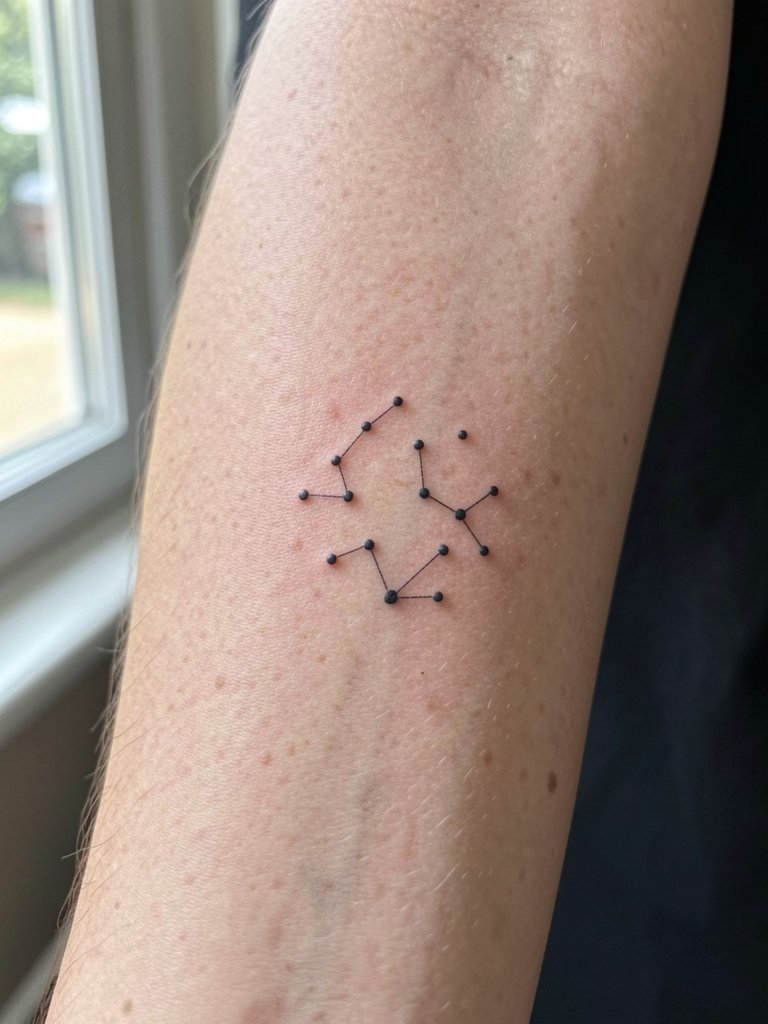
Micro-dot constellation clusters read as delicate when spaced correctly. The most common error is placing too many single dots close together, creating a blur after healing. Keep at least 3 to 4 mm between stars for long-term clarity. Pain is low and most clients complete this in one short session. For showing off, a rolled cuff linen shirt in a neutral shade highlights the cluster in soft daylight.
20. Bold Blackwork Chevron Sleeve Fragment on Outer Forearm
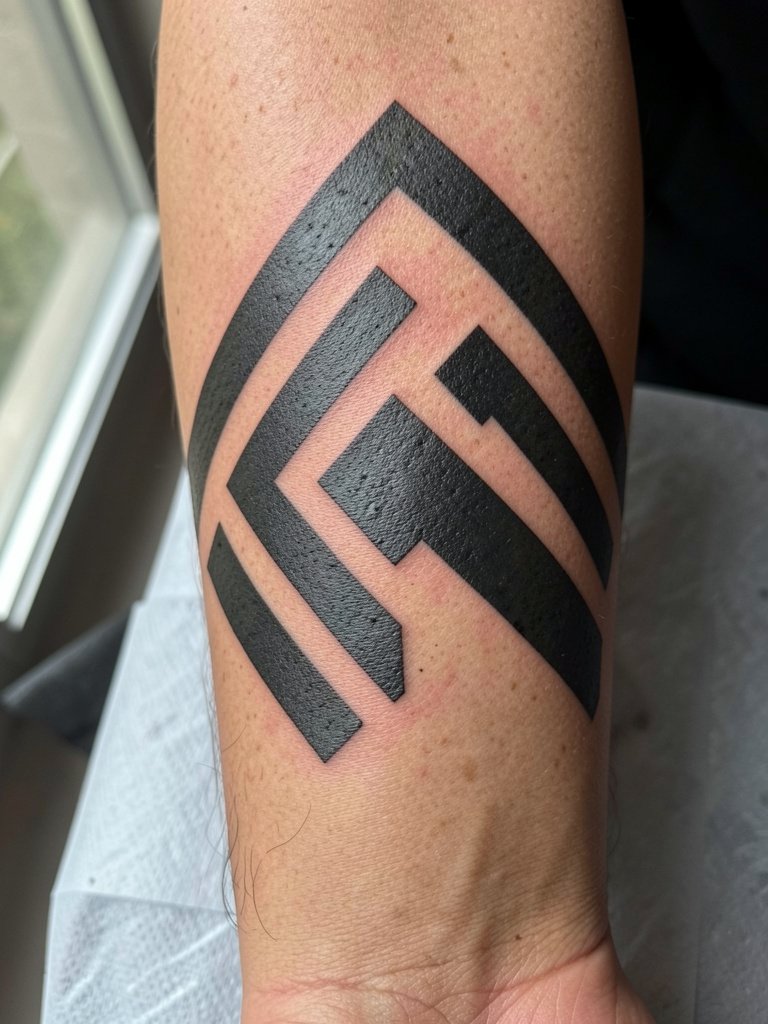
Heavy blackwork holds well because saturation survives sun and movement better than thin lines. The pitfall is overfilling too close to sensitive joints where skin texture interferes with uniform saturation. Plan a slightly stepped session plan and expect one to two sessions depending on area. Heavy black areas feel firmer during healing and need careful moisturizing. Pair this look with solid graphic tees or a leather jacket to let bold geometry read from a distance.
21. Fine-Line Portrait Panel on Outer Forearm
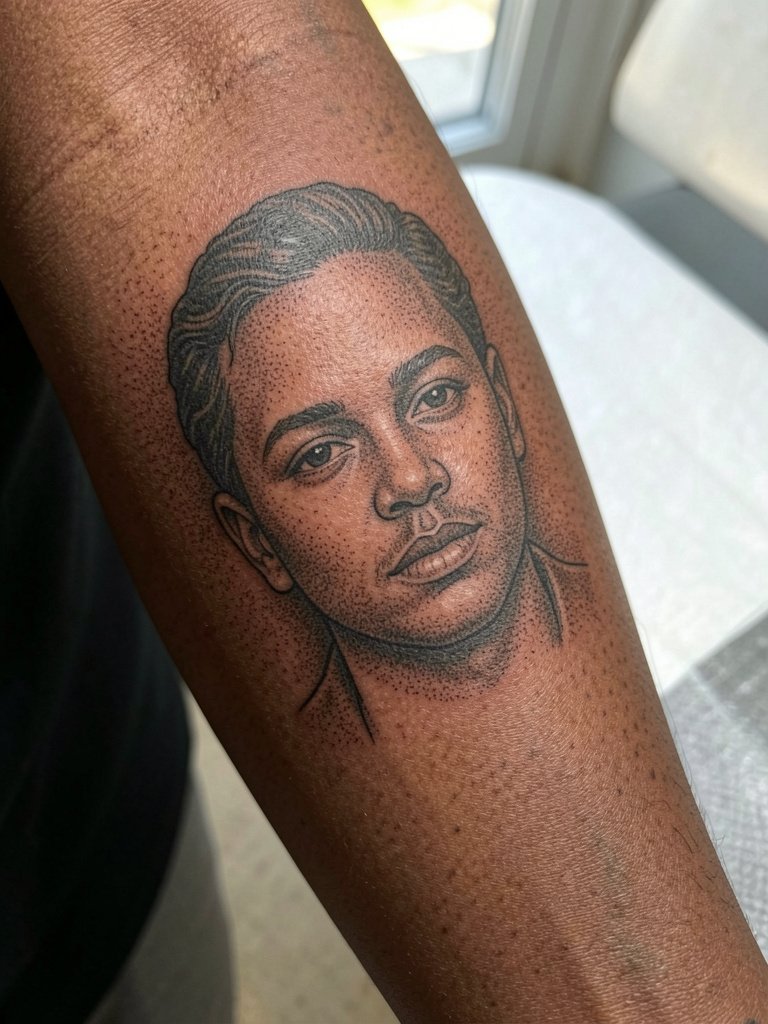
Fine-line portraits demand pin-point contrast so facial features hold over time. The common misstep is compressing too much facial detail into a tiny area. If you want a portrait that ages, increase scale or add soft shading to preserve definition. Session time is longer and pain sits around three out of ten for the outer forearm. For session wear, choose a short-sleeve top. Photograph portraits in soft window light to capture stipple texture.
22. Whip-Shaded Ornamental Band on Outer Forearm
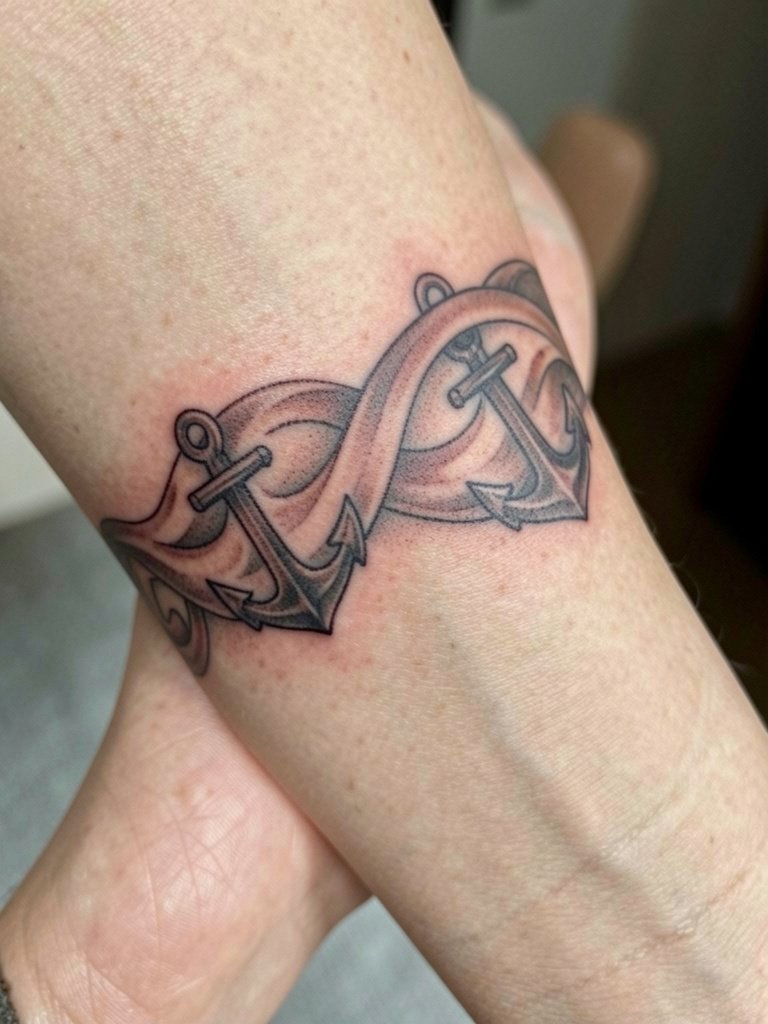
Whip shading gives a soft graphic feel without heavy fill, but it needs a steady hand to avoid feathering that becomes blowout. Ask for a test patch of gradient somewhere similar on the arm so you can see healed texture at two weeks. This technique often needs a touch-up at two years depending on movement. For styling, a short-sleeve tee or cropped denim jacket frames the rhythm of the band nicely.
23. Scripted Coordinates Across Inner Forearm
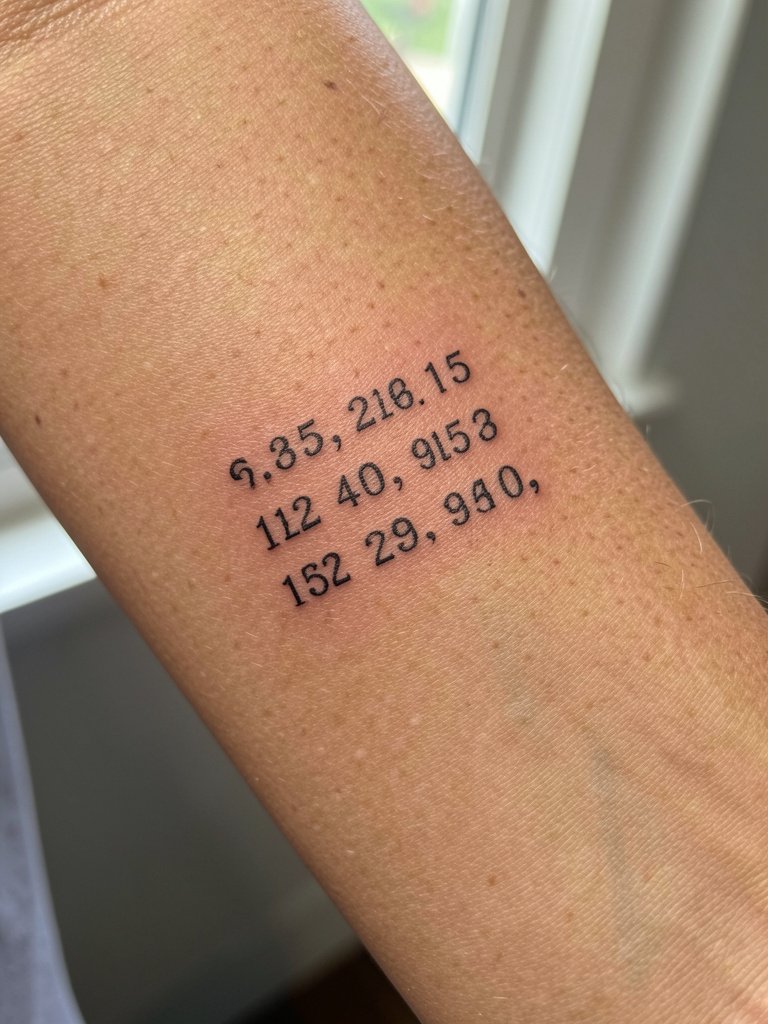
Coordinates need precise lettering so numbers do not blur into one another. Provide the exact numeral string to the artist and confirm spacing at stencil stage. Small monospace digits benefit from slightly heavier hairlines so the numerals stay legible at year three. Session length is short and pain low. Wear a loose sleeve you can roll without compressing the new lines. For low-key styling, a dainty ring set on the opposite hand balances detail without competing.
Frequently Asked Questions
Q: How much should I budget for a forearm tattoo and touch-ups?
A: Expect price ranges by size and complexity. Small forearm pieces often start in the low hundreds, medium pieces land in the mid-range, and full forearm sleeves can run into the higher brackets depending on sessions. Plan separately for a touch-up budget two to three years out for fine line work.
Q: Which forearm placement hurts more, inner or outer?
A: Most people report inner forearm as a one to two out of ten and outer forearm around two to three. The inner surface can feel more "sensitive" because you notice pulse and movement, but it is rarely described as intense. Bring a friend if nerves make the session longer.
Q: How do I find artists who specialize in the styles above without naming anyone directly?
A: Search hashtags like #forearmtattooforwomen, #finelinetattoo, and #cybersigilismtattoo on Instagram and TikTok then filter by location. Use Tattoodo and Booksy to search keywords like "inner forearm red ink" or "curated patchwork forearm" and look for healed photos. Reddit communities such as r/tattoos and r/tattooadvice are also useful for peer recommendations and healed examples across skin tones.
Q: Does aftercare mean Saniderm or dry healing for forearm pieces?
A: Artists and clients split on that. One group favors dry healing, saying it lets the skin breathe and avoids trapped moisture. The other group recommends Saniderm or second-skin products because they reduce scabbing and friction, especially on forearms that rub clothing. Your choice depends on activity level, job, and whether you need waterproof protection during the first 48 hours.
Q: How often will fine-line or red ink need touch-ups on the forearm?
A: Fine-line pieces in high-movement areas like the forearm commonly need touch-ups every two to three years. Red ink can fade faster if exposed to sun, so plan for refreshes at two to five years depending on aftercare and UV exposure. Regular sunscreen after the healing period extends vibrancy.
Q: Any session-day clothing tips for different forearm placements?
A: Yes. For inner forearm appointments wear a loose button-down or short-sleeve you can roll without squeezing the area. For outer forearm and full-sleeve sessions pick a tank or sleeveless top so the artist can rotate the arm freely. If you plan to show the piece afterward, linen shirts and open cardigans frame forearm art well.
Q: What are red flags when choosing a shop for forearm work?
A: Look for inconsistent healed photos, a portfolio with fresh-only images, or a refusal to show healed work of the exact style you want. If an artist guarantees zero fading or asks you to pay full for corrections up front, treat that as a warning sign. Trust clear before-and-after examples and transparent scheduling notes.
