
The tiny suns that still read crisp after a few years are rarely the single-needle micro circles that go viral. In my experience the ones that age into clear, wearable marks balance line weight, spacing, and placement with how the body moves. Read these 25 small sun ideas for exact placements, what tends to blur, and simple wardrobe pairings that make a small sun feel intentional rather than accidental.
1. Fine Line Minimalist Sun with Wavy Rays
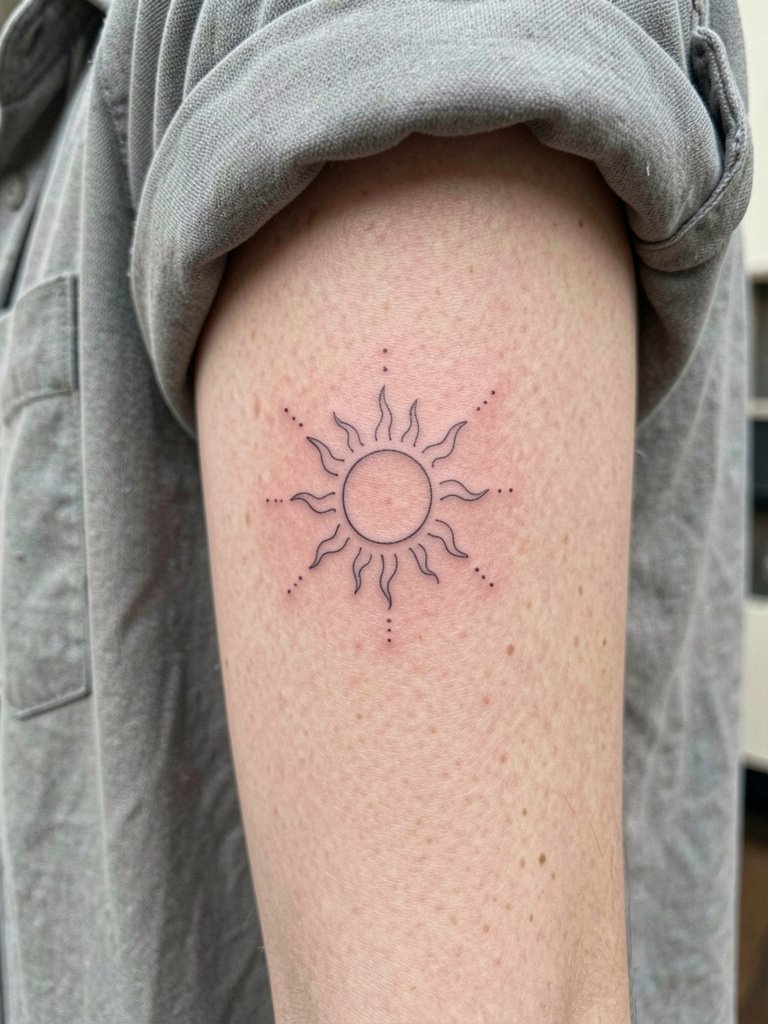
This is the go-to for anyone who wants a low-profile, inner arm accent. I recommend a hair heavier lineweight than the ultra-micro single-needle for this placement because the inner arm sees light rubbing from clothing and can soften thin lines. Expect a one-hour session and medium pain on most people. A common mistake is asking for the absolute thinnest line imaginable; the result often blurs into a soft dot after a year. In six months you’ll see crisp rays, at two years thin lines can feather, and a touch-up around year two keeps the center crisp. For showing it off, pair with a linen short sleeve shirt so the sleeve naturally frames the ink.
2. Ultra-Minimalist Open Circle Sun
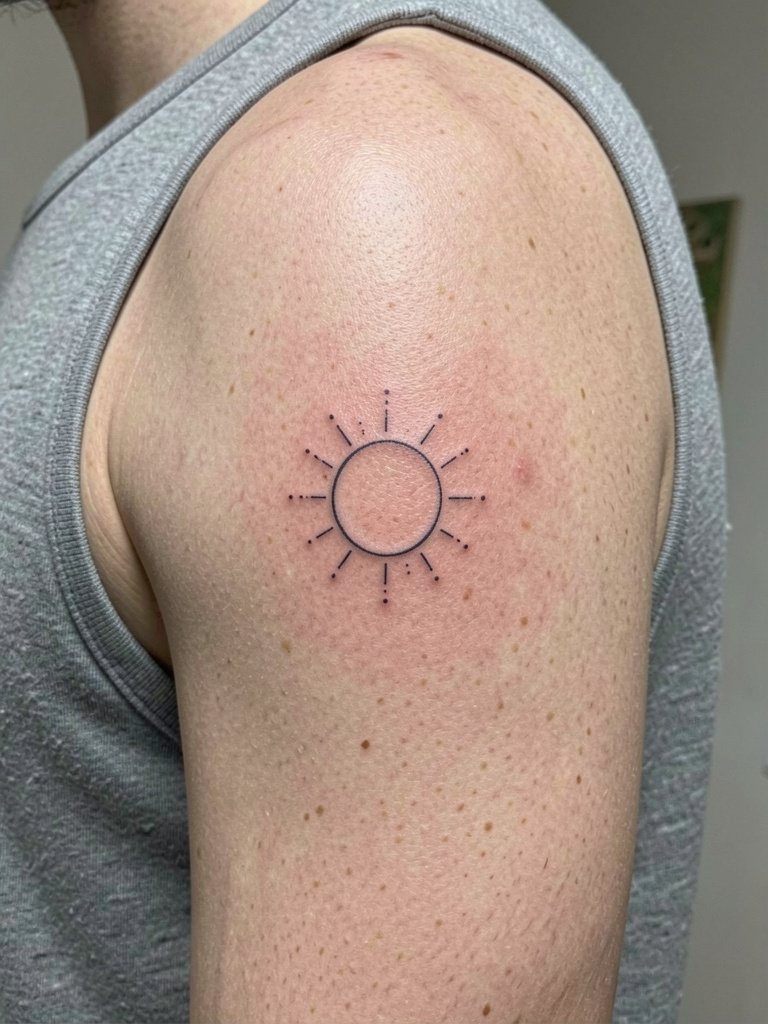
This tiny open-circle approach reads airy on the back of the arm because the skin there has a slightly different texture than the inner arm. It is ideal if you want the sun to feel like a breath of ink rather than a solid emblem. The session is short and the pain is low. The trade-off is longevity. One camp warns single-needle looks ethereal at first and softens into an indistinct spot by year two. The other camp argues slightly wider spacing and a fine-line needle around 0.25mm helps it settle without losing that airy look. If you like this, request wider spacing between rays and plan a two-year touch-up rather than assuming permanence.
3. Half-Sun Spine Accent
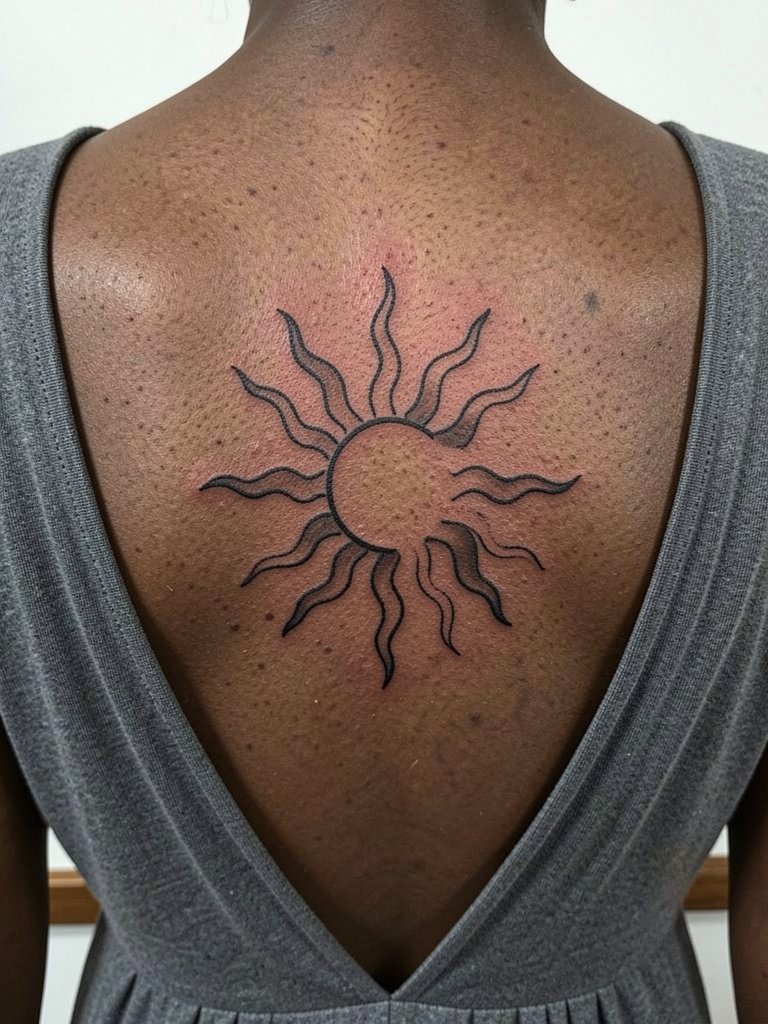
A half-sun on the spine reads modern and keeps visual movement along the body’s natural line. Expect a two-hour session and medium-high pain depending on proximity to the vertebrae. The most common error is compressing the rays too close to the spine. With natural body shifts and posture changes those lines can blur into one another. I recommend one continuous reference photo showing the exact arc you want. For session wear, bring a backless top or dress so the artist can access the area without fabric pressure, and plan for a touch-up if the center area is very compact.
4. Black-and-Grey Face Sun Above the Shoulder
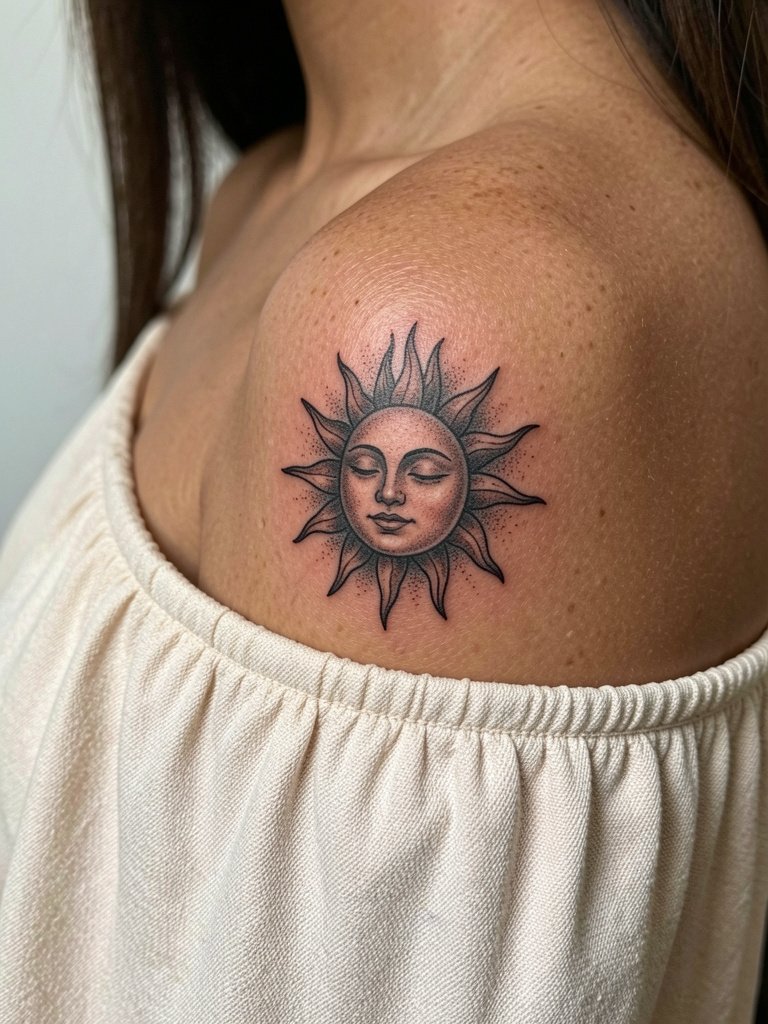
This tiny face-sun adds a calm, human element without getting busy. The session runs about 60 to 90 minutes. A real mistake is asking for dense facial detail at micro scale; eyes and tiny lashes need room or they time-blur into dots. On darker skin tones, subtle black-and-grey saturation helps the face retain contrast in photos. Wear an off-shoulder top for the reveal and bring two reference images showing the size you want so the artist can scale facial features proportionally. Expect a touch-up window at 12 to 18 months if you want the face to remain crisp.
5. Geometric Outline Sun with Straight Rays
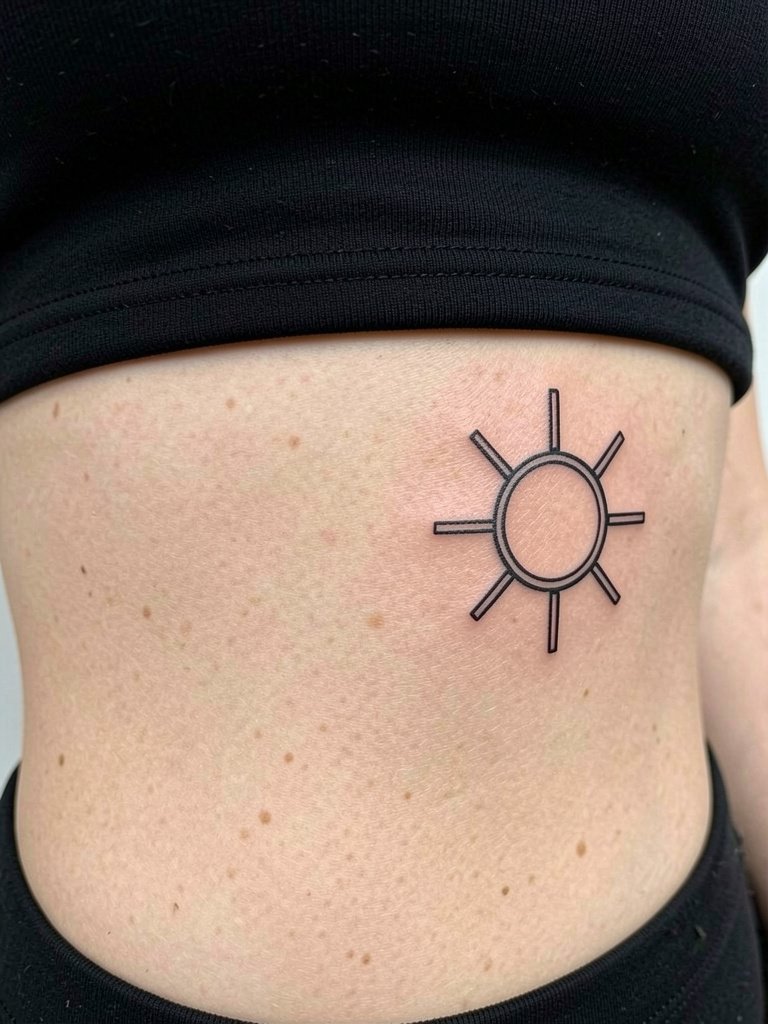
A geometric outline on the rib gives a strong silhouette that ages predictably if spaced correctly. Pain here is high and sessions are short but intense. Artists are split on fine-line ribs. One camp argues the constant stretch and compression makes fine line blur within two years. The other camp says with correct needle depth and slightly wider spacing, fine line settles fine and they will show healed examples to back that up. Both viewpoints matter. If you want this, plan for a slightly larger scale than you imagine and schedule a two-year touch-up to keep the rays separated.
6. Neo-Traditional Sun with Face and Florals
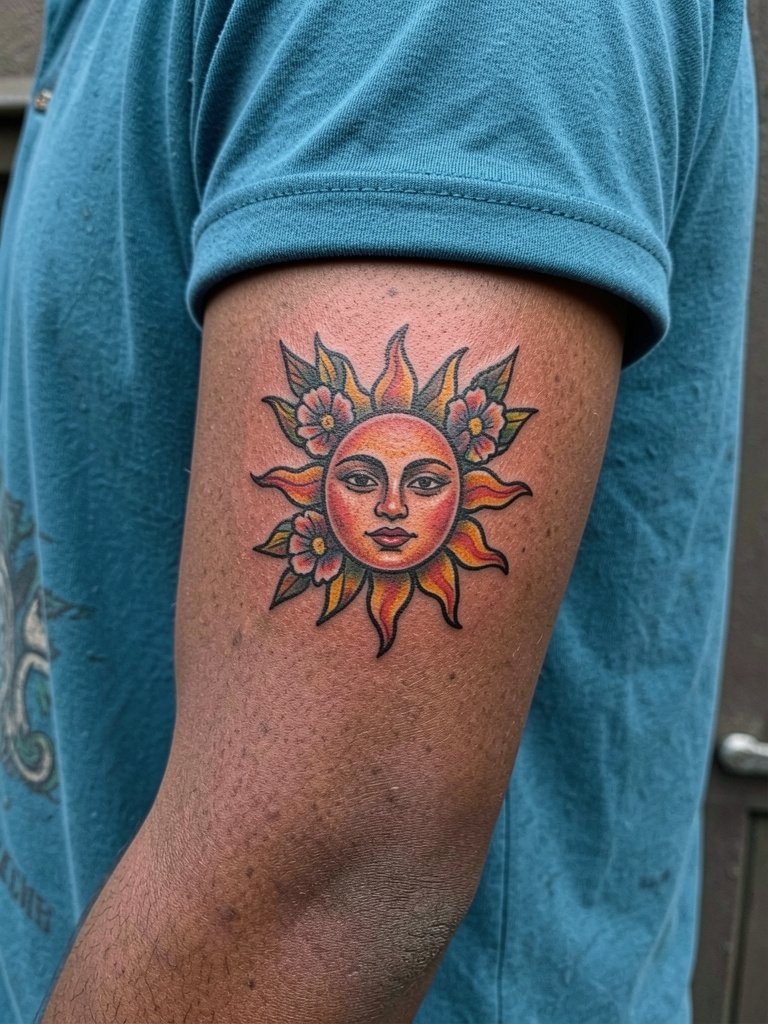
This one leans colorful and reads best on the outer forearm where the ink can show without distortion. Neo-traditional saturation gives longevity if kept at a modest scale. The real mistake is shrinking neo-traditional elements down too far; heavy color packed into a very small sun can muddy over time. Expect a 90 to 150 minute session depending on color layers. For showing off, try a bold solid-color top that complements the palette and a chunky gold bracelet on the opposite wrist for balance.
Pre-Session Essentials
The small placements above each have their quirks, from wrist friction to ribcage stretch, so these items smooth the session and the first week.
-
Lush Tattoo Balm. A non-greasy balm some fine-line fans prefer during the later healing phase for small pieces because it helps skin stay supple without heavy residue.
-
Tattoo Goo Small Tube. The small tube is handy for micro tattoos on fingers and wrists where you want precise, clean application without bulk.
-
Indie Sun Balm Vitamin E. An eco-friendly balm choice that some people use to help prevent post-inflammatory hyperpigmentation on Melanin-rich skin.
-
Cetearyl Alcohol Tattoo Balm. Favored by a few fine-line artists for being thin and non-spreading on ultra-minimal designs.
-
Hustle Butter Deluxe. A widely used option for keeping skin supple during and after sessions, especially helpful when working delicate face details in tiny suns.
7. Watercolor Sun with Color Splashes
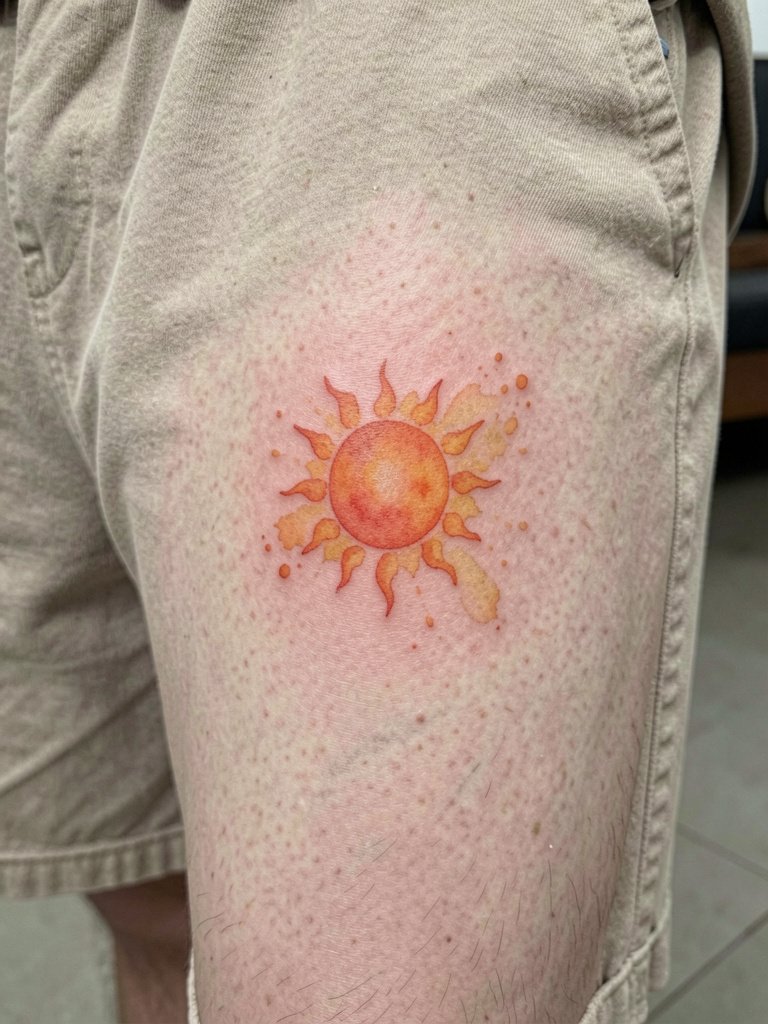
Watercolor suns can look like a painting on the thigh but they are the least predictable for small work. On high-movement zones like the thigh the color can thin and look grey over time. If you want color, ask for stronger pigment saturation and slightly larger pools of color so there is room for fade. This style usually needs a longer session and a realistic expectation of touch-ups after one to two years. Pair with summer skirts or shorts and a summer skirt when you want to spotlight the splashy colors.
8. Minimalist Sun at the Ankle
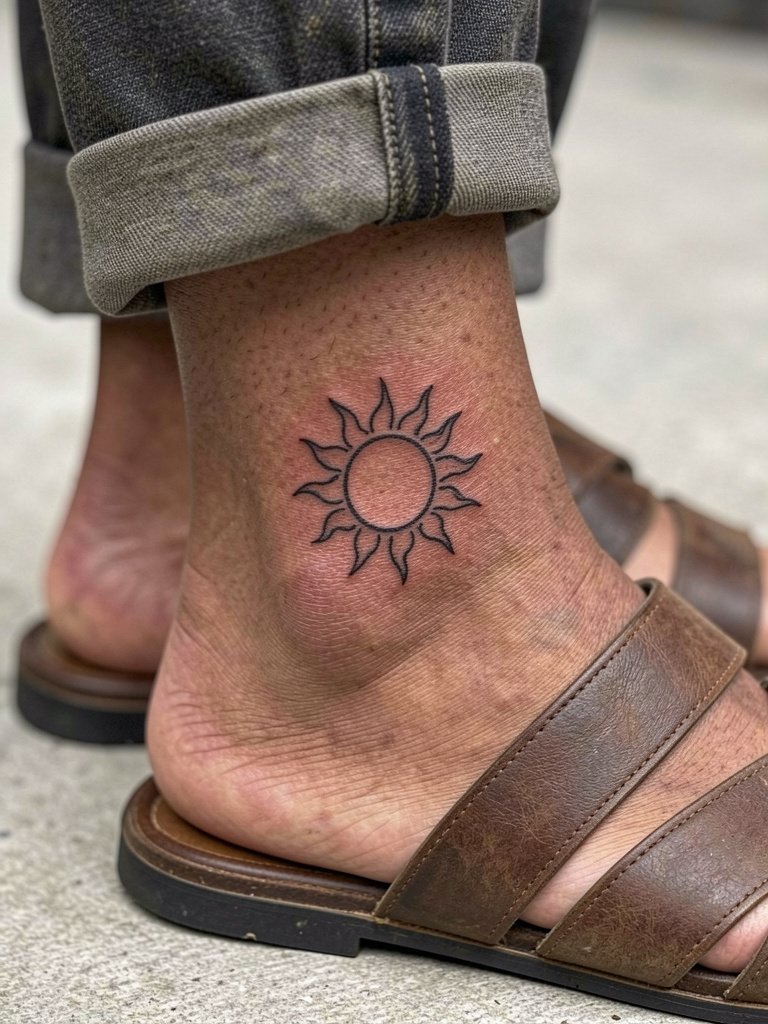
The ankle is a classic peek-a-boo spot. Friction from socks and shoes accelerates fading, so avoid ultra-micro lines here. A slightly more robust line weight and a thin fill for the center help the design keep contrast. Expect minor touch-up needs around year two if you wear closed shoes often. For showing it off, pair with open-toe sandals and a thin anklet. Try an open toe sandals look that lets the ankle breathe and avoids rubbing when fresh.
9. Tiny Outline Sun Behind the Ear
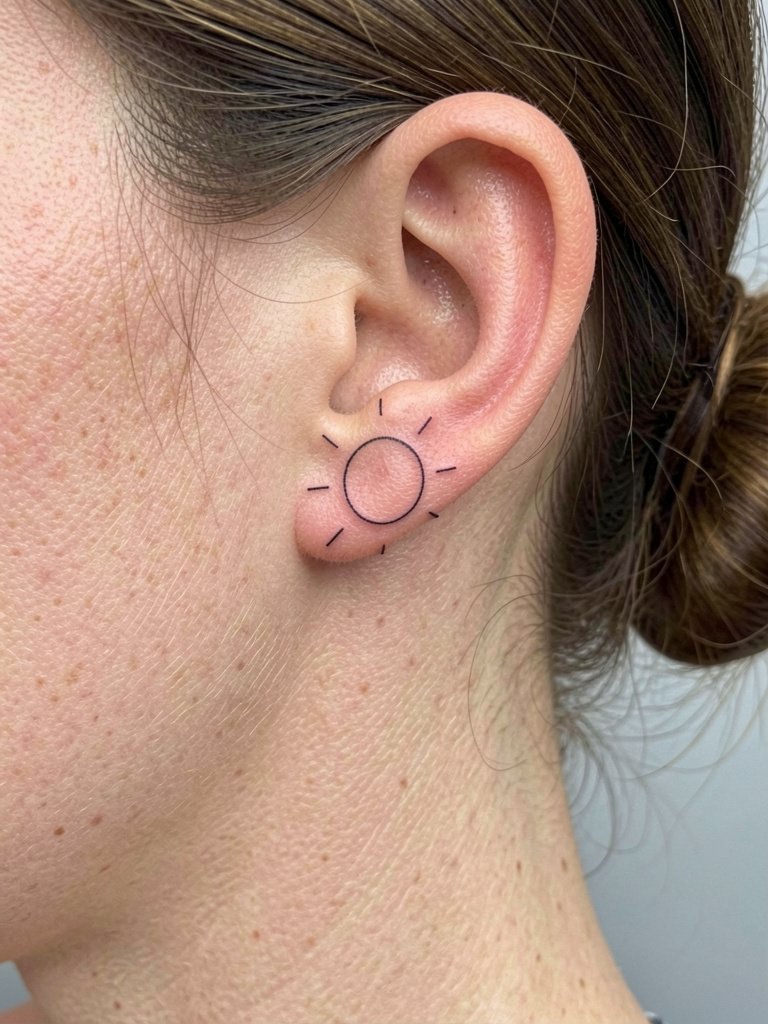
Behind-the-ear suns are extremely discreet and great for people who need concealability. The session is very short and pain is low. Be aware hair growth and shampooing are daily variables during healing. A common error is requesting an ultra-tiny multi-ray sun that loses definition after a year; slightly simplifying the rays preserves recognition. Wear hair up for the session and try a thin gold hoop on the opposite ear for balance. If you want the reveal to read clean in close photos, avoid single-dot center fills that can blow out into tiny smudges.
10. Sun Below the Collarbone with Alternating Ray Thickness
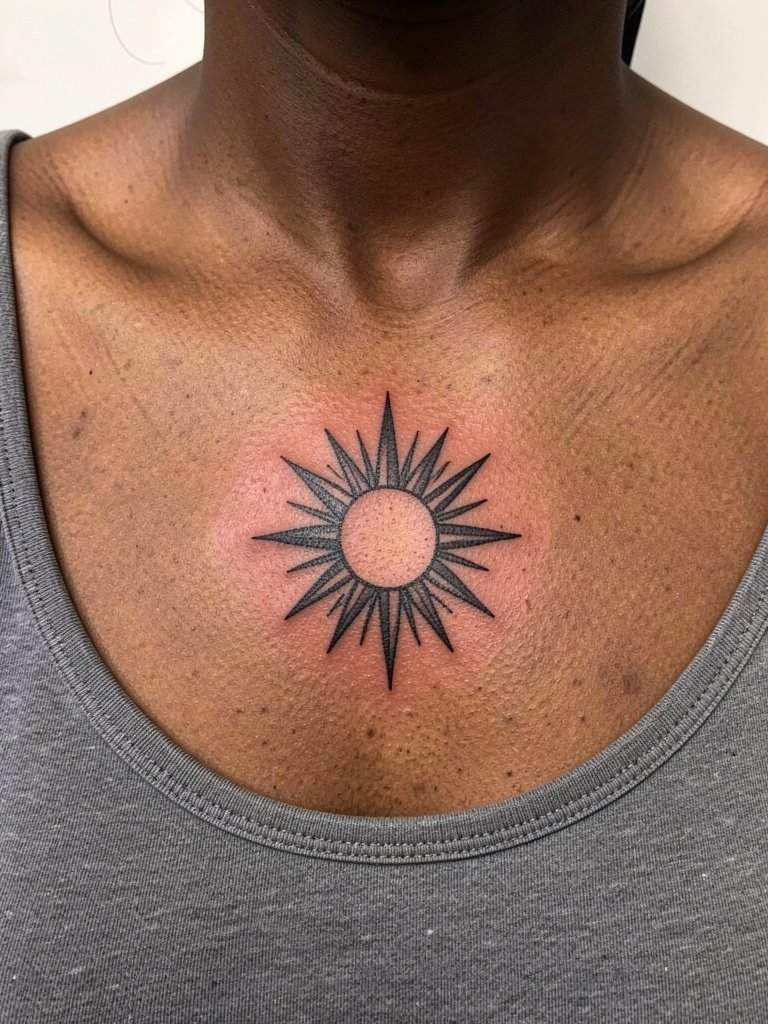
Placing a sun below the collarbone lets you use line contrast to make a small motif read larger. Alternating ray thickness helps the design stand up to jewelry and neckline lines. The area is low to medium pain and typically a one-hour session. A mistake is packing rays too close to the sternum or too near your necklace line where rubbing can occur. For the session wear a top with an easy neckline and consider a delicate pendant that sits above the tattoo when you show it off. Try an off shoulder top to frame the area.
11. Side Ribcage Dainty Sun
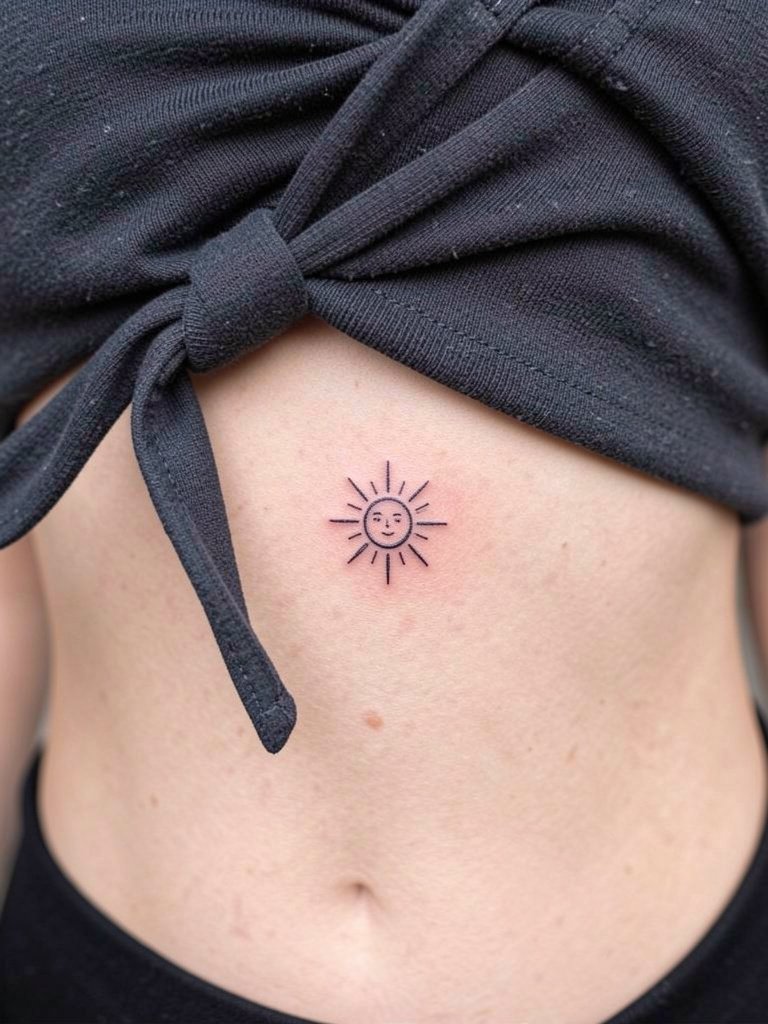
Ribcage pieces can look intimate and crisp when scaled correctly. Pain is on the higher side and sessions are short. One controversy to note: one group of artists says fine-line work on ribs blurs within two years because skin stretch and clothing pressure are constant. The other group insists that with correct needle depth and slightly wider spacing the lines settle fine and will point to multi-year healed photos as evidence. Both perspectives deserve weight when you choose line thickness. If you want a small piece here, size it up slightly and plan for a two-year touch-up window.
12. Minimalist Sun with Dot Accents and Stars
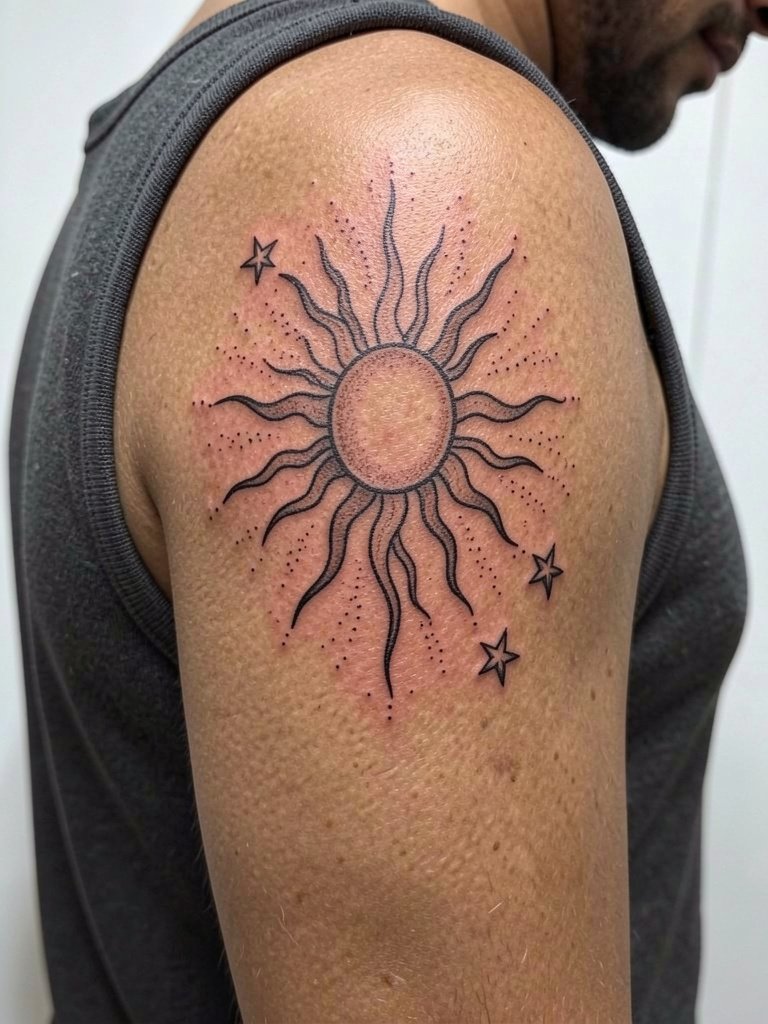
Adding dot work and stars creates a small celestial scene that reads like a constellation rather than a single symbol. The back of arm is forgiving and the design can be slightly larger for better longevity. A common mistake is overcrowding the negative space; give dots room to breathe to avoid merging. Session time sits around 45 to 75 minutes. For showing off, choose a sleeveless tank in sand or black that leaves the lateral arm open and consider a thin chain necklace to balance vertical lines.
13. Finger Sun Outline
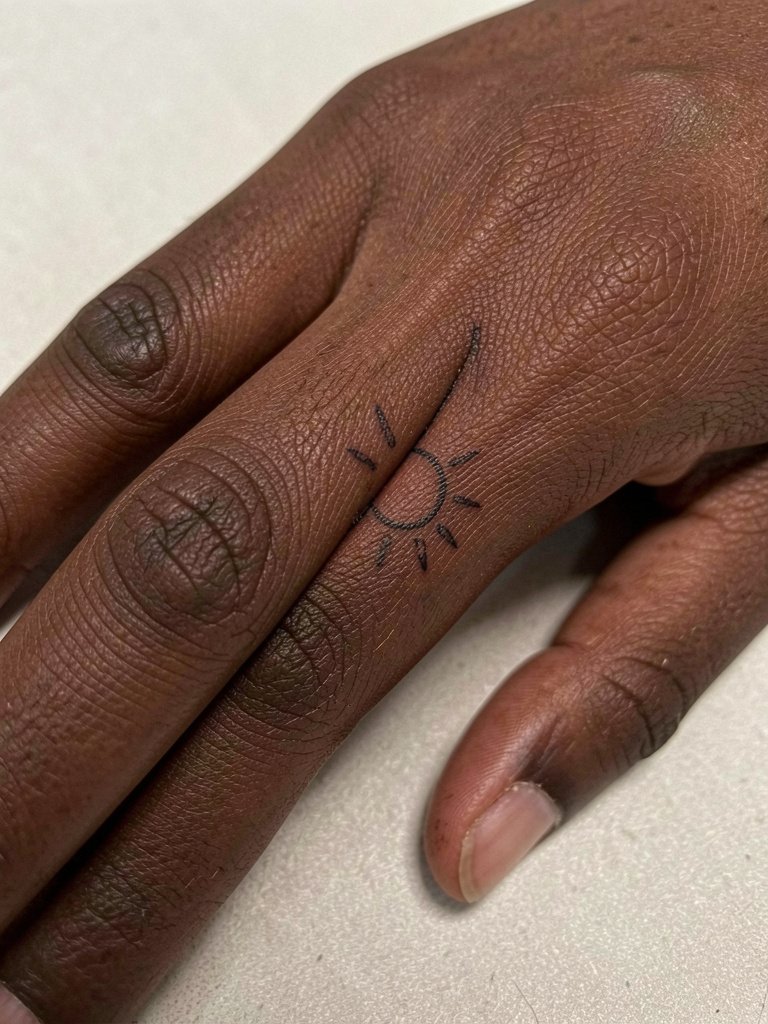
Finger tattoos are high-wear and often need touch-ups faster than other spots because of constant washing and movement. For tiny sun outlines the line should be slightly bolder than you might want initially to survive the wear. A mistake is choosing the tip of the finger or top of knuckle; lateral placement is more stable. Sessions are brief but expect a touch-up within a year. Pair the visible finger piece with minimalist rings on adjacent fingers when you want it noticed. Consider a minimalist gold ring to complement the sun.
14. Delicate Wrist Sun with Soft Shading
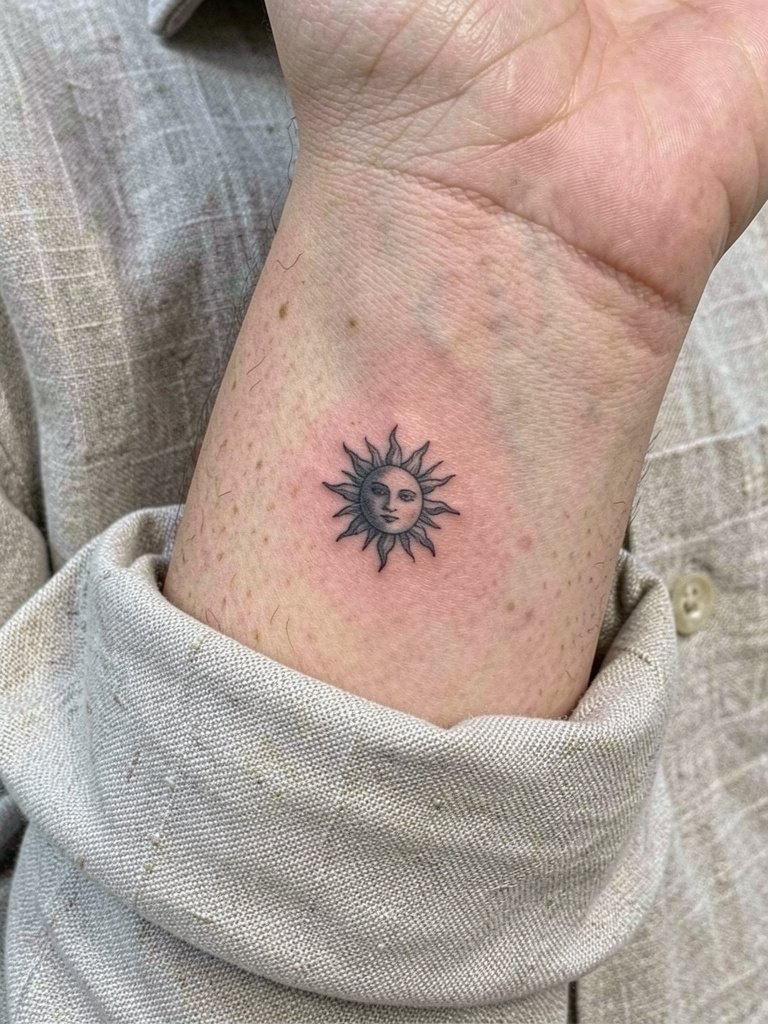
Wrist pieces look intimate but are prone to quicker fading due to friction and sun exposure. Choose slightly thicker lines and avoid ultra-fine stippling over the crease. Expect medium pain and a short session. A typical error is lowering the design too close to the wrist crease where motion breaks up crisp edges. For session wear, roll up sleeves and avoid watches on the tattoo wrist for the first week. Rolled linen shirts work well to frame the area and a thin gold bracelet set can balance the look when healed.
15. Sun with Flame-Like Curved Rays at the Ankle
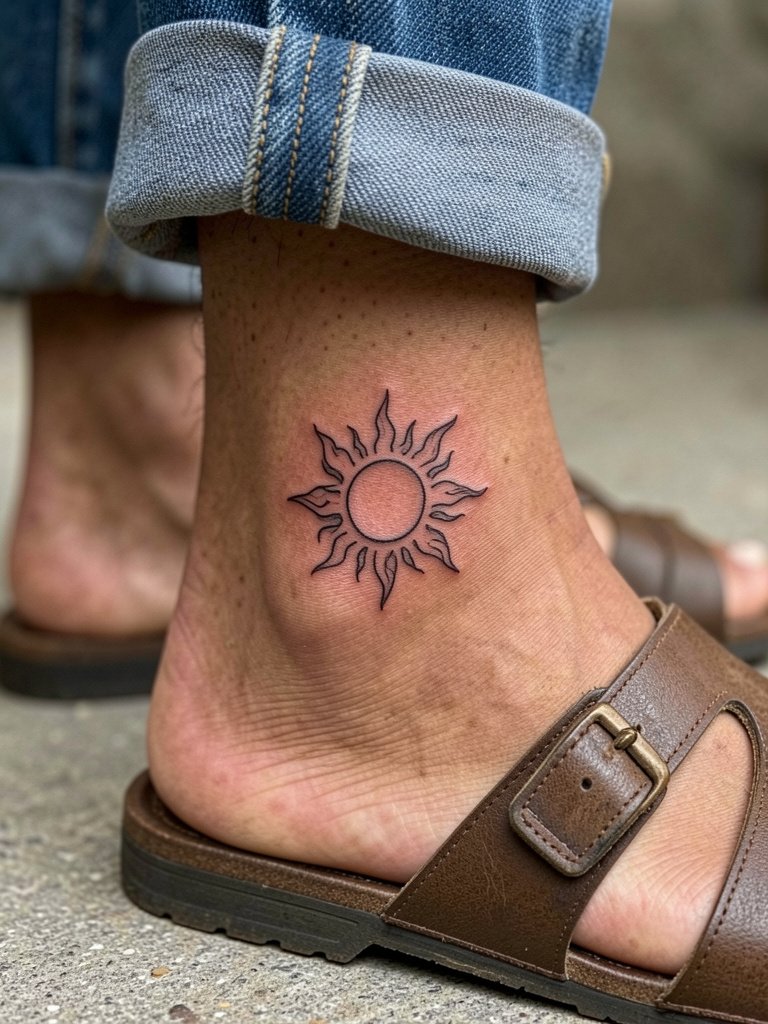
This stylized sun reads energetic and suits an ankle reveal. Because ankles rub against footwear, thicker rays and a firm center stop the piece from smoothing into fuzz. Sessions are short and pain is medium. The frequent misstep is requesting micro-flame rays that look great first week and soften into indistinct shapes by year two. When scheduling the appointment wear shoes you can remove easily and choose sandals for the first weeks while it heals. An open sandal look showcases the design best.
16. Stipple-Shaded Sun on Upper Shoulder
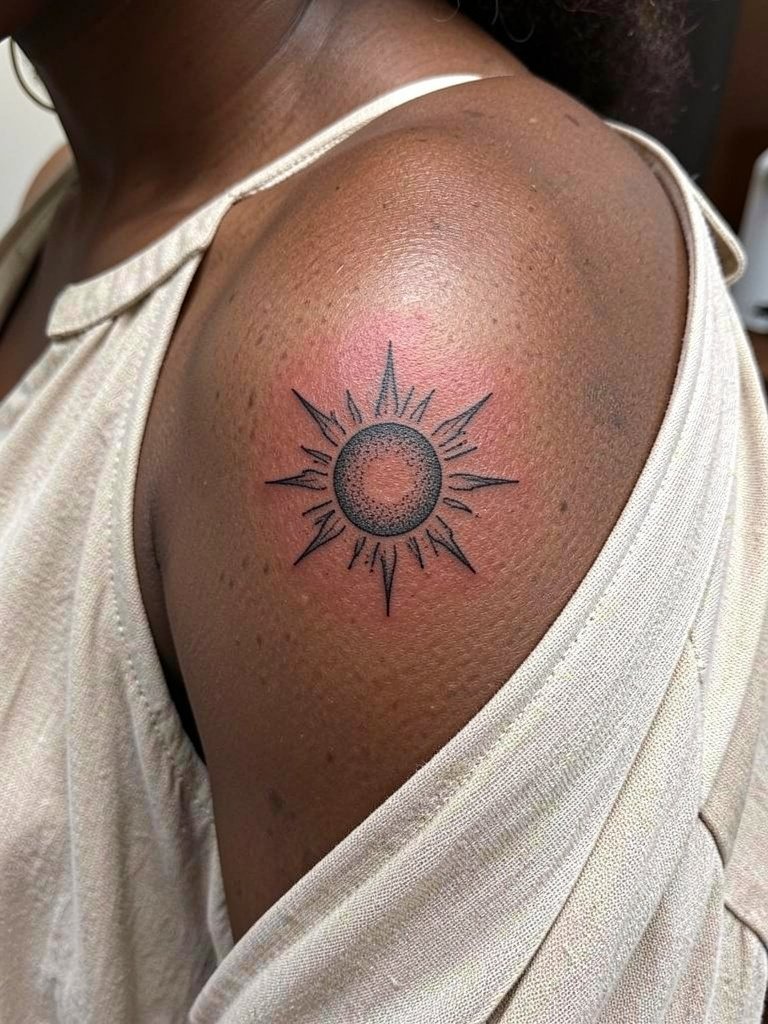
Stipple or dot shading gives a soft, textured look that keeps contrast without heavy fills. The shoulder wears well and is less prone to daily friction. Best for people who want subtle depth without bold color. A common mistake is asking for dense dots at too-small a scale; stippling needs space to avoid merging. The session is comfortable for most people and touch-ups are uncommon unless you want more contrast later. Off-shoulder or wide-neck tops pair well with this placement, and a thin gold chain necklace on the opposite side balances the composition.
17. Micro Neo-Traditional Sun on the Forearm
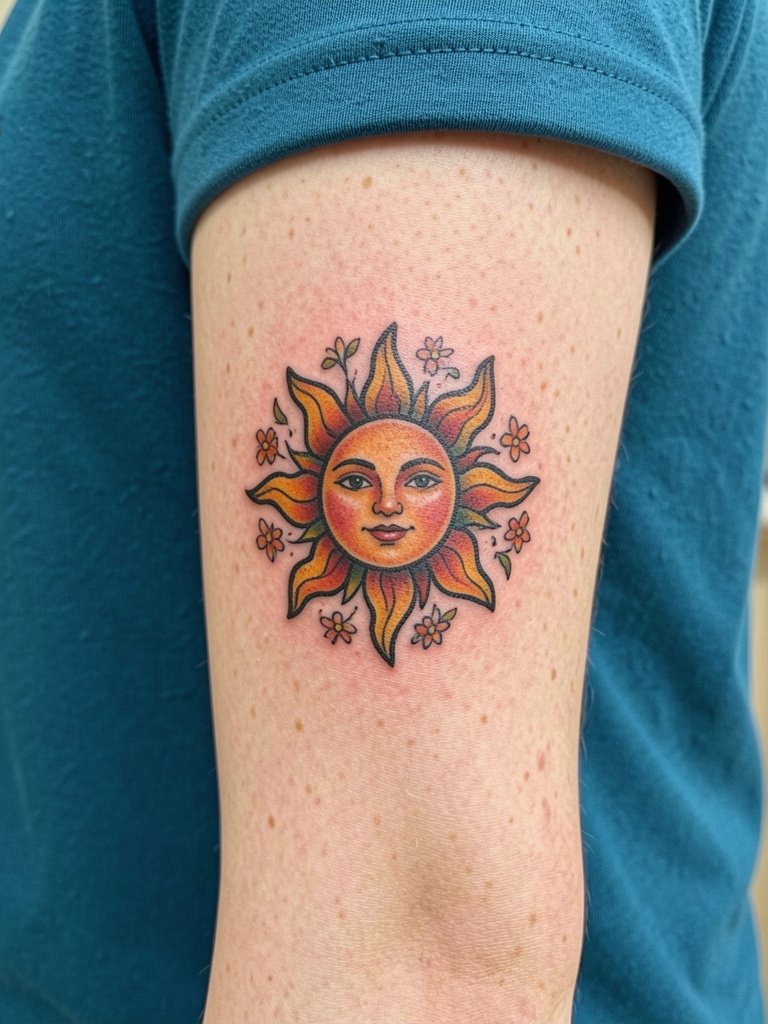
A forearm sun gives visibility and allows for slightly larger neo-traditional elements without overcrowding. Expect a one to two-hour session. The usual error is cramming too much color detail into a tiny footprint; instead scale the florals to maintain negative space. For showing off, choose a solid-color top that complements the palette and add a chunky bracelet on the opposite wrist. I recommend asking the artist for photos of similarly scaled healed neo-traditional pieces to judge how saturation holds up over time.
18. Geometric Sun on the Calf
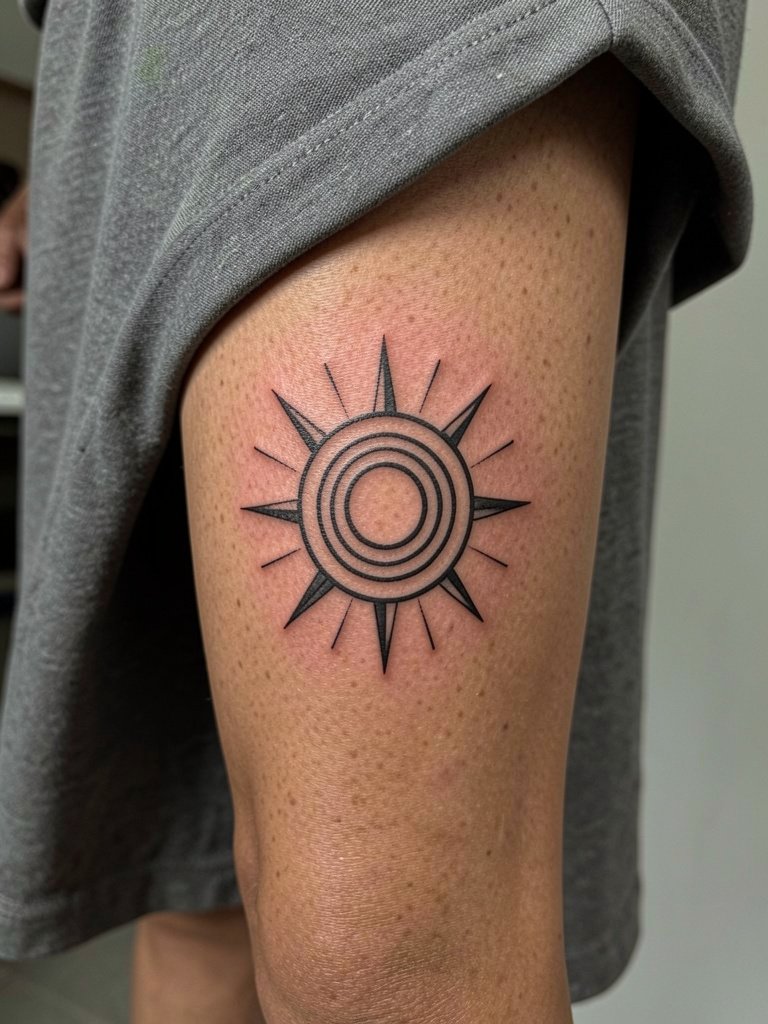
The calf is forgiving for geometric work because skin there holds crisp edges and sees less daily abrasion. This placement is low pain and sessions are comfortable. A mistake is making the geometry too small for the negative space; geometry needs room or the angles look muddy later. If you want a clean, modern look, go slightly larger and expect minimal touch-ups. Pair with summer shorts or a midi skirt to frame the design and consider a loose shorts option for sessions that require easy access.
19. Solar Dot Work Cluster on the Back of Arm
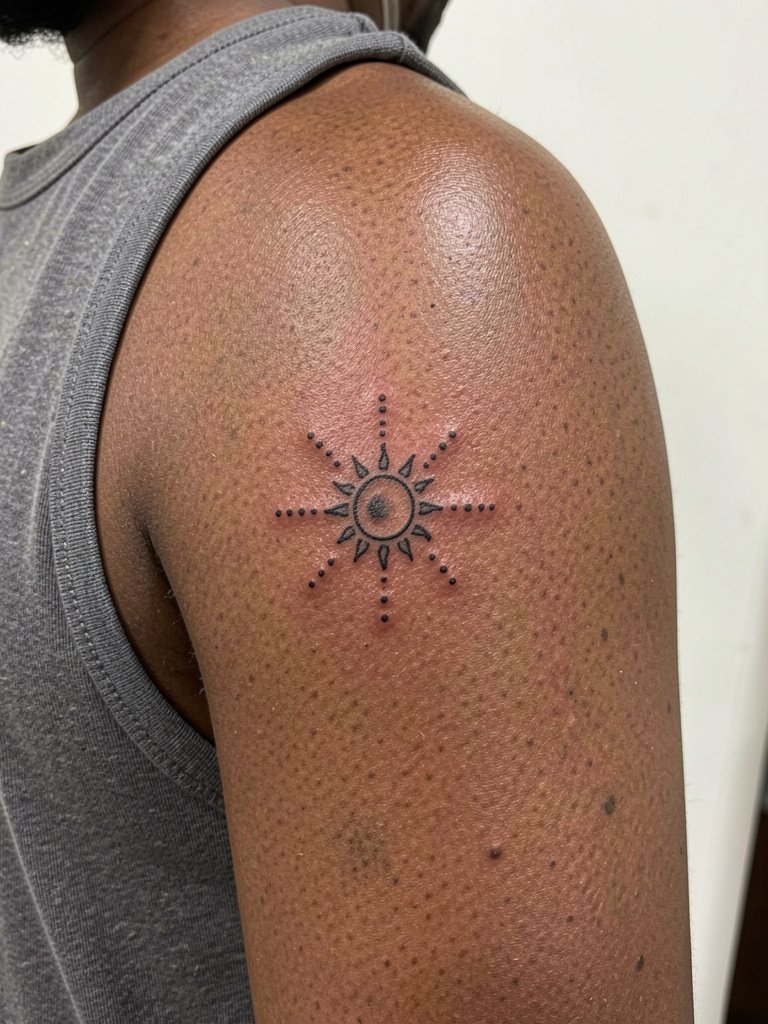
A back-of-arm cluster reads like a quiet constellation and benefits from dot spacing. The trick is to avoid packing dots too closely; give the orbits breathing room to stop merging. Sessions are short and pain is low. In my experience dot clusters show subtle fade first, so plan a light touch-up at year two if you want the dots to remain distinct. Sleeveless tanks highlight the area and a thin chain on the chest balances vertical placement.
20. Open-Center Sun on the Hip
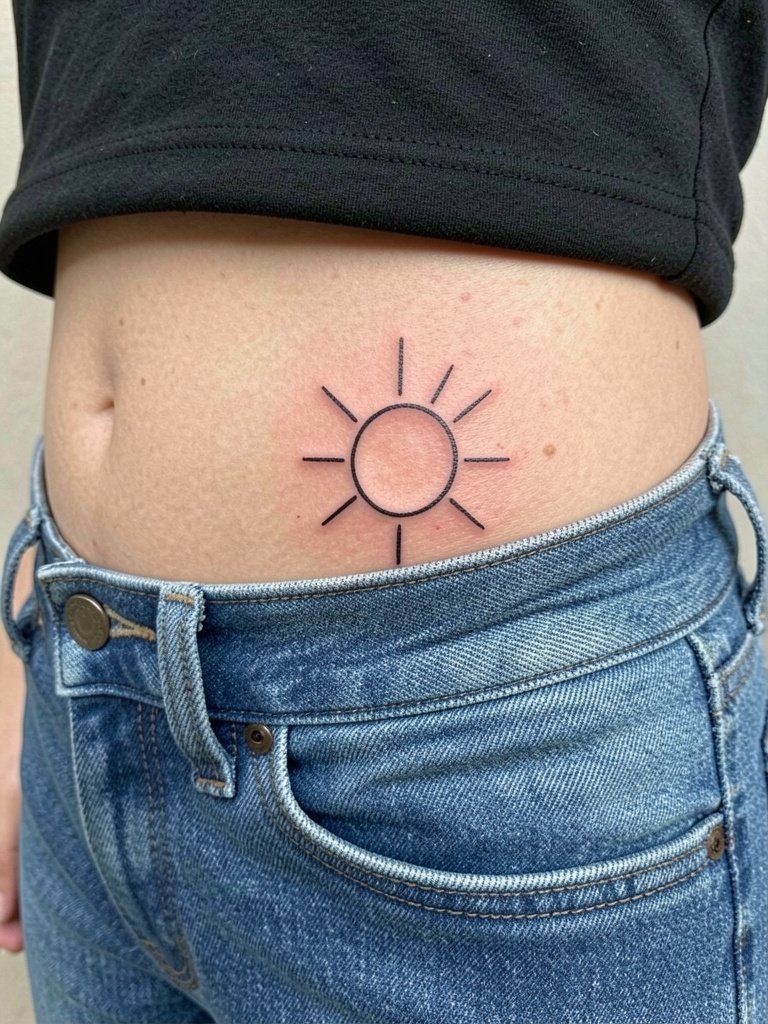
Hip placements are flirtatious and easy to conceal. The hip sees movement but is forgiving for bold outer contours. Avoid micro spacing between rays; friction from waistbands can blur fine joins. Session time is short and pain is low to medium. For the appointment wear low-rise jeans you can lower slightly without unfastening and a cropped tee that exposes the hip naturally. A delicate chain belt can draw attention to the area when you want to show it off.
21. Single-Needle Ethereal Sun on the Inner Forearm
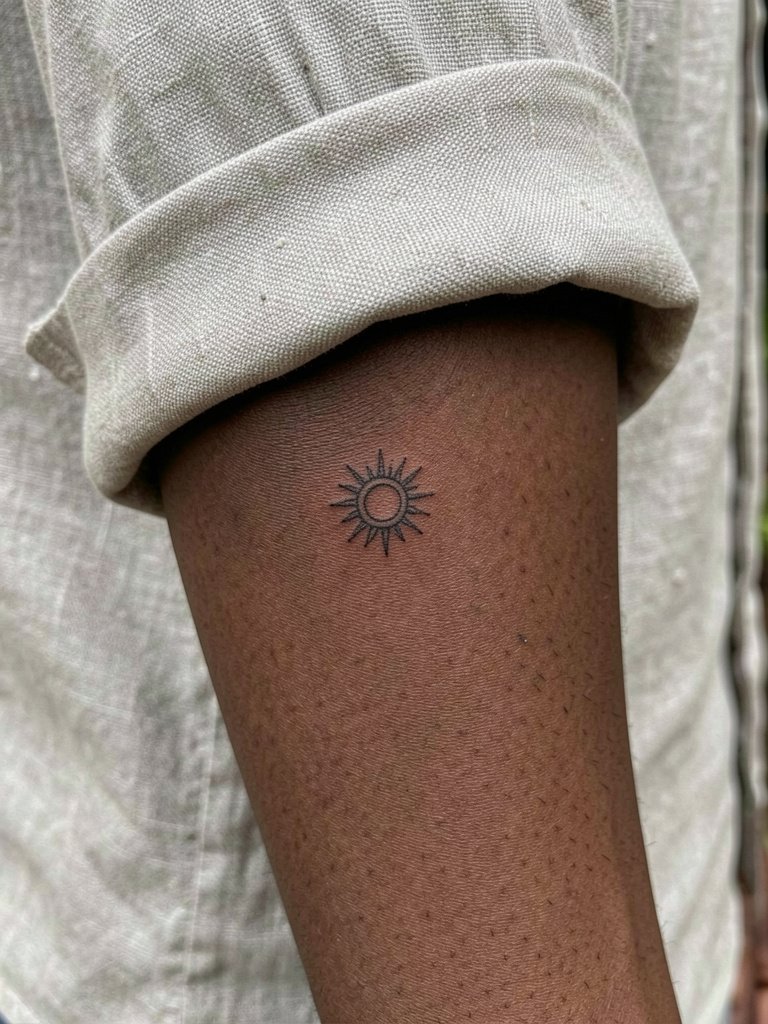
Single-needle suns offer that ethereal, barely-there quality that looks like a drawing. The trade-off is longevity. Some people accept a shorter lifetime for the aesthetic. One camp argues single-needle is too fragile for ray-based suns and will blur in months. The other camp prefers the airy look and says the visual purity outweighs touch-up needs. Decide which you want and plan a realistic two-year check for potential touch-up. For session wear bring a short-sleeve or rolled-cuff shirt so the artist has clear palm-up access.
22. Stylized Sun with Crescent Overlay on the Sternum
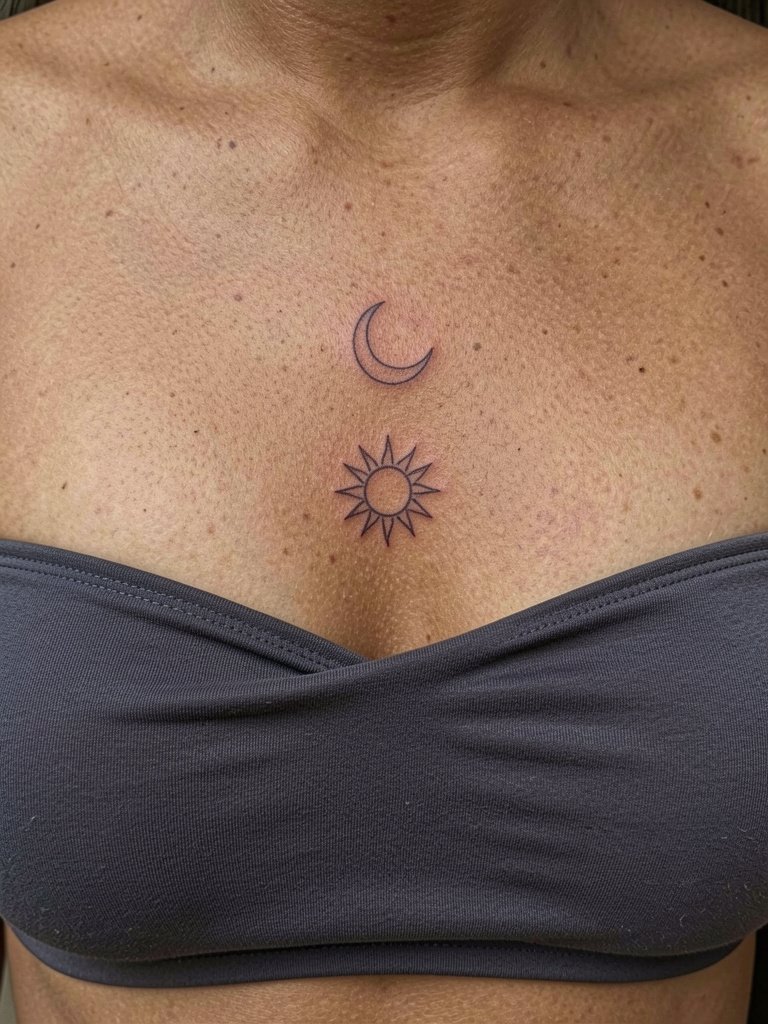
Sternum placements are intimate and require a pro who is comfortable with chest anatomy. Expect higher pain and take session comfort seriously. The biggest mistake is crowding the sternum with too many rays or tiny details that age unpredictably with natural chest movement. Keep the graphic simple and plan for a possible touch-up after a year if you sleep on your stomach or wear heavy fabrics. For the appointment wear a fitted bandeau or sports bra that the artist can work around without fabric pressure.
23. Tiny Solar Mandala at the Nape
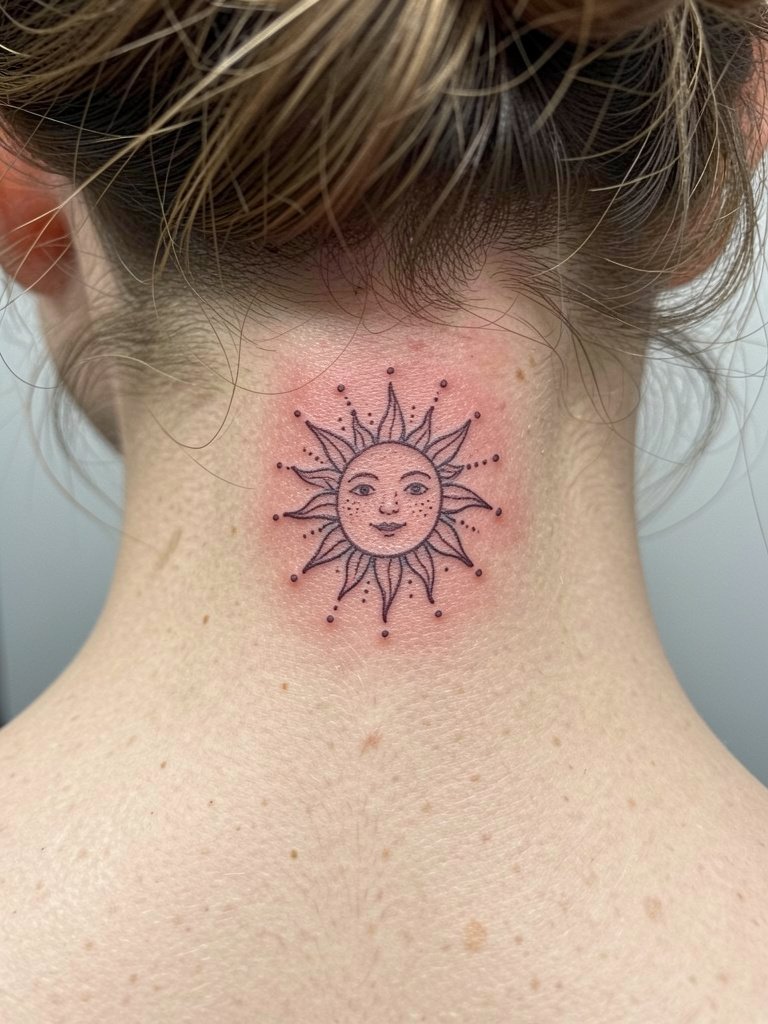
A nape sun-mandala is subtle and frames the hairline nicely. The main blunder is asking for ultra-micro details that a short hair reveal will not showcase after natural wear. Sessions are short and pain is medium. If you want the mandala visible with pulled-back hair, style with a low bun and plan occasional touch-ups if you frequently change hair color or use strong chemical treatments. For session day keep hair tied in a loose updo that the artist can move gently without pulling.
24. Small Sun with Radiant Dot Halo on the Thigh
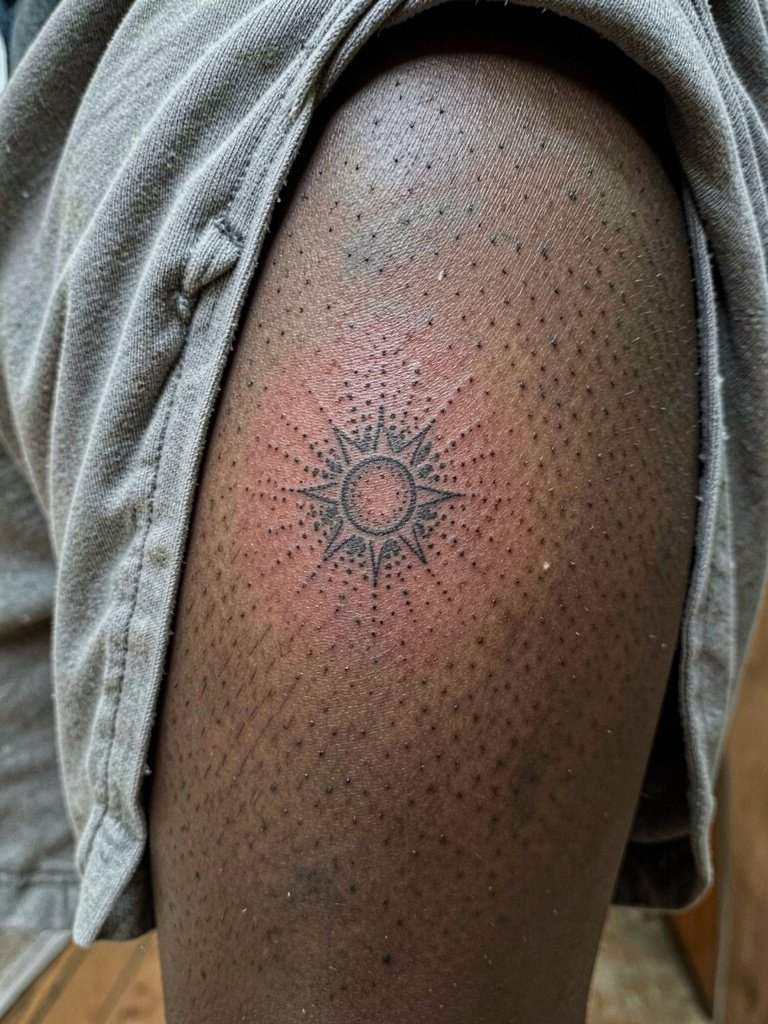
Outer thigh gives color and texture space to breathe. Dot halos create a soft aura that wears well because the thigh sees fewer abrasive forces. A frequent mistake is placing the halo too tight to the center which causes early merging. For session comfort wear loose shorts that can be rolled up without pressure. Summer skirts and shorts show this placement well; pair with a loose shorts look for the reveal.
25. Stylized Sun with Wave Rays on the Ankle Side
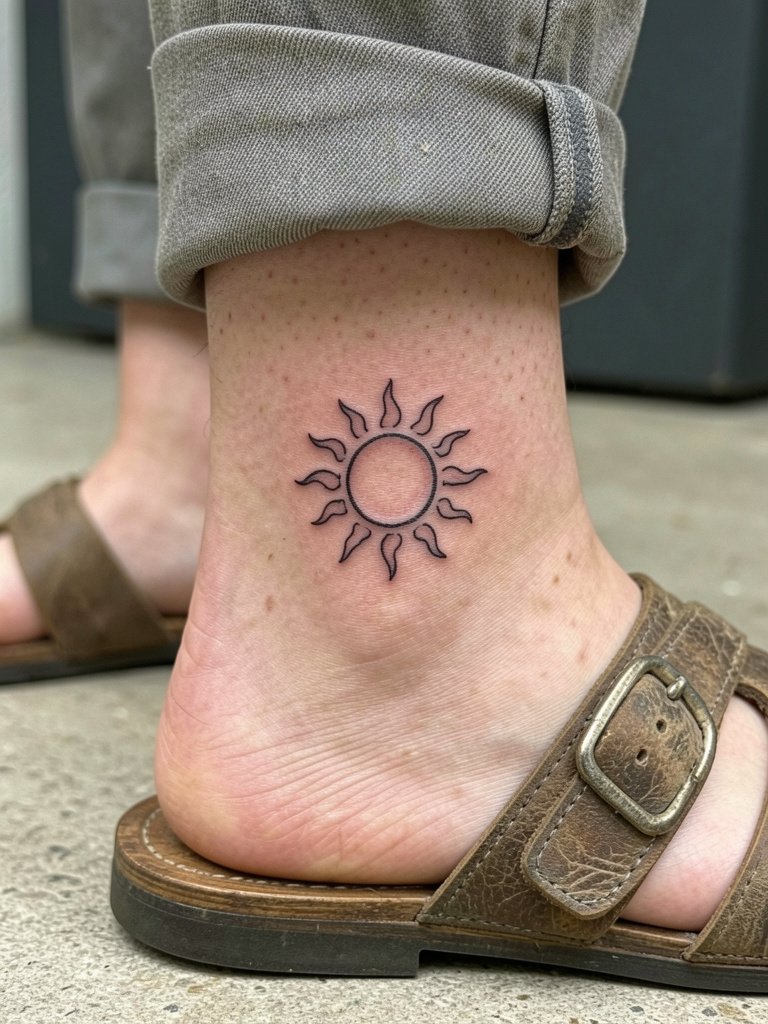
This variation combines energy with subtlety. Because ankles rub, use slightly bolder rays and limit fine interior stippling. The session is short and pain is medium. A common oversight is asking for micro interior detail that the ankle will not preserve. For showing off, sandals and a thin anklet complement this placement. Choose footwear that reduces abrasion while the piece finishes settling.
Frequently Asked Questions
Q: How much should I realistically expect to touch up a small sun?
A: In my experience most fine-line or single-needle suns benefit from a light touch-up around year two if you want the original crispness. Thicker outlines and slightly larger spacing can push that window to three to five years, but anything on high-friction zones like fingers, wrists, and ankles will likely need maintenance sooner.
Q: Which placements hold fine-line sun work best for different skin tones?
A: Black-and-grey tends to hold contrast across a wider range of skin tones, especially for very small pieces. On Melanin-rich skin, slightly wider line spacing or subtle black-and-grey shading helps the sun read in photos. For bright color, ask for stronger saturation and expect more touch-up work over time.
Q: Where can I find healed examples and local artists without scanning Instagram handles?
A: Search hashtags like #finelinetattoo and #minimalsuntattoo on Instagram and TikTok then apply location filters to narrow results. Use Tattoodo, Booksy, or the Inked App to find portfolios by keyword, and read Reddit threads in r/tattoos for peer-shared healed photos and booking tips. Those pathways tend to surface healed shots and practical booking advice.
Q: What should I wear to the studio for different sun placements?
A: For inner arm pieces wear a loose button-down or short sleeve that rolls easily. For rib or sternum work bring a fitted cropped top or bandeau that the artist can work around without fabric pressure. For shoulders and back-of-arm designs choose off-shoulder or sleeveless tops that reveal the area naturally. A useful session garment is a loose button down shirt you can move without tugging.
Q: Why do people regret tiny suns and how do I avoid that?
A: Regret often comes from scale and line choice. Ultra-micro lines that look fragile at week one can blur into indistinct spots within a year. To avoid this, opt for slightly bolder lineweight for high-friction spots, pick simple internal detail rather than dense microwork, and accept that a two-year touch-up is a normal part of keeping very small designs crisp.
Q: Is color worth it for a small sun or should I stick to black?
A: Artists split on this. One camp prefers black-and-grey because it retains definition on small scales and across different skin tones. Another camp says modern pigments and slightly larger needle passes can hold color and make the sun feel lively. If longevity is the priority pick black-and-grey; if you want saturation and are willing to touch up, color can be beautiful.
Q: How can I reduce the chance of blowout or blur for a tiny sun on the ribs or wrist?
A: Use slightly wider spacing between rays and a modest lineweight rather than the thinnest single-needle option. On the ribs avoid placing detail directly over the most mobile skin near the breast crease. On wrists keep the design a touch above the crease and avoid ultra-fine stippling that the area will wash away through daily motion.
