
Counterintuitive truth: the tiny single-needle wrist waves you keep saving on social media often blur faster than a shaded backpiece with saturated color. Size, placement, and line weight determine how a piece looks healed more than how pretty it is fresh. Read these 25 ocean ideas with notes on aging, session feel, and what to bring so your artist can give you a result that still reads well years from now.
1. Fine Line Single-Needle Wave on Inner Forearm
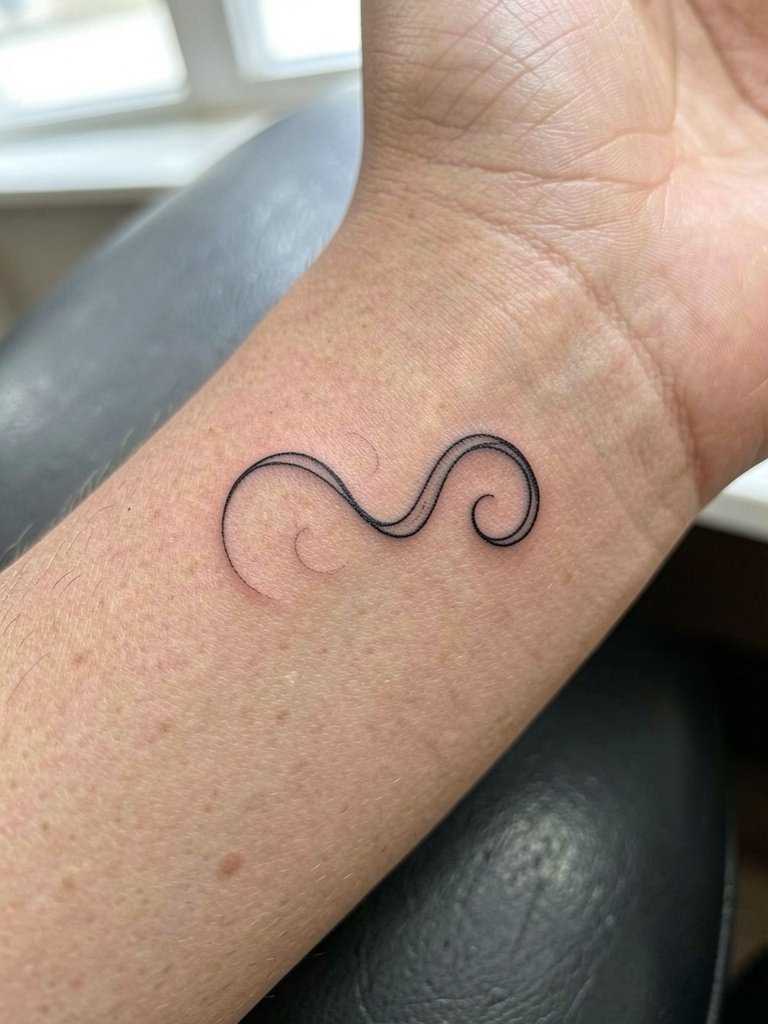
This is the classic starter wave for people who want low session time and a subtle wrist-to-forearm accent. Expect 30 to 60 minutes for a 1–2 inch piece and light, steady buzzing that feels like scratching. A common mistake is going ultra-thin and tiny; the inner forearm needs a hair more line weight so it holds detail at two years. Bring two reference photos at different scales so your artist can show how three-inch versus five-inch spacing affects readability. For showing it off, roll up a linen button down shirt in a neutral color and wear dainty bracelets on the opposite wrist.
2. Micro-Realism Moon & Tide on Ribs
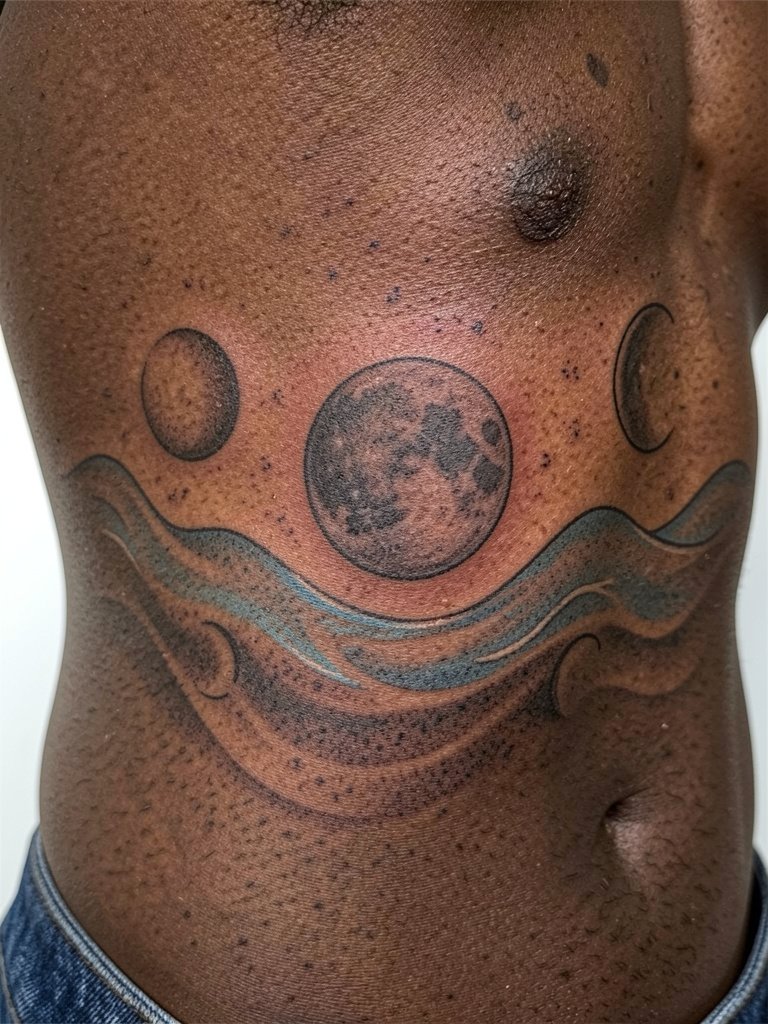
This pairing reads best as a medium-size panel on ribs. Session time is typically one to two sessions depending on detail. Artists split into two camps on fine line here. One camp argues fine line on ribs blurs within two years because the skin stretches and shifts constantly, especially under the breast crease. The other camp says fine line settles fine on ribs when the artist uses proper depth and slightly wider spacing, and they point to three-year healed photos as proof. Because the area moves with breathing, ask for slightly wider spacing and stipple shading to preserve the glow. Wear a high waist crop top to reveal healed placement without compressing the area.
3. Neo-Tribal Ocean Band on Lateral Hip
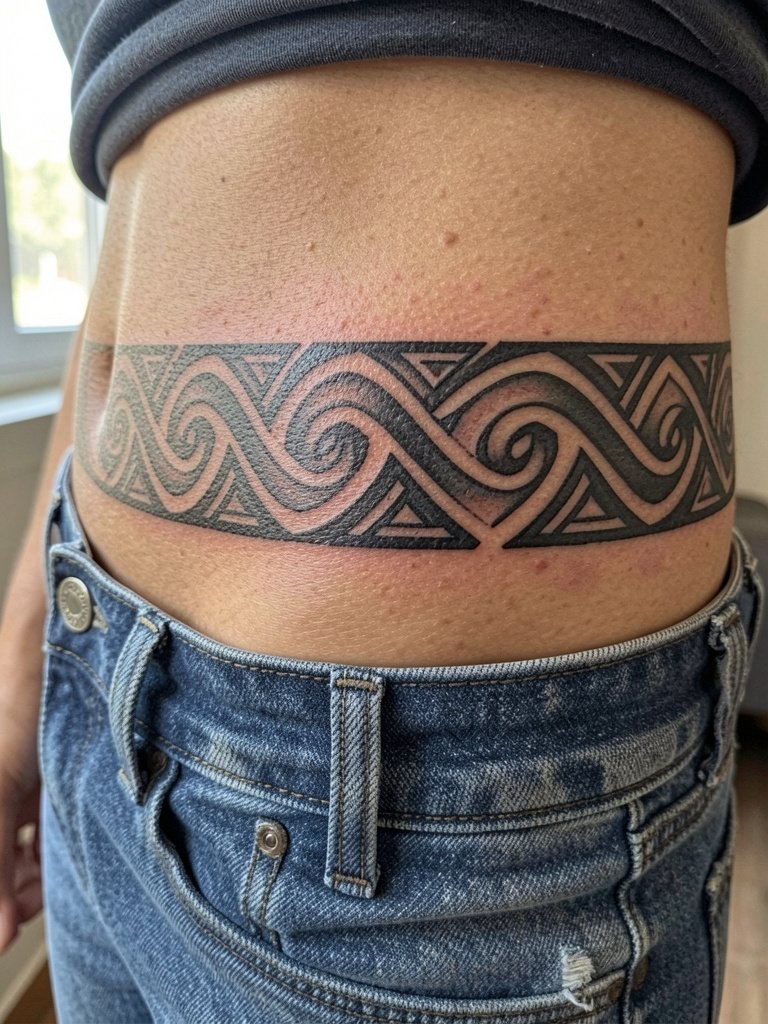
Neo-tribal bands work as a strong graphic waist accent. Expect one to three sessions depending on scale. The biggest mistake is shrinking the pattern too small. Geometric repeats need room between elements to avoid blurring into a solid mass. During consult, show the exact repeat size you want and have the artist lay out a mock band on your hip so you can walk and bend in front of a mirror. Style it with low-rise jeans and a simple top, like low rise jeans that let the lateral hip show.
4. Watercolor Abstract Wave on Calf
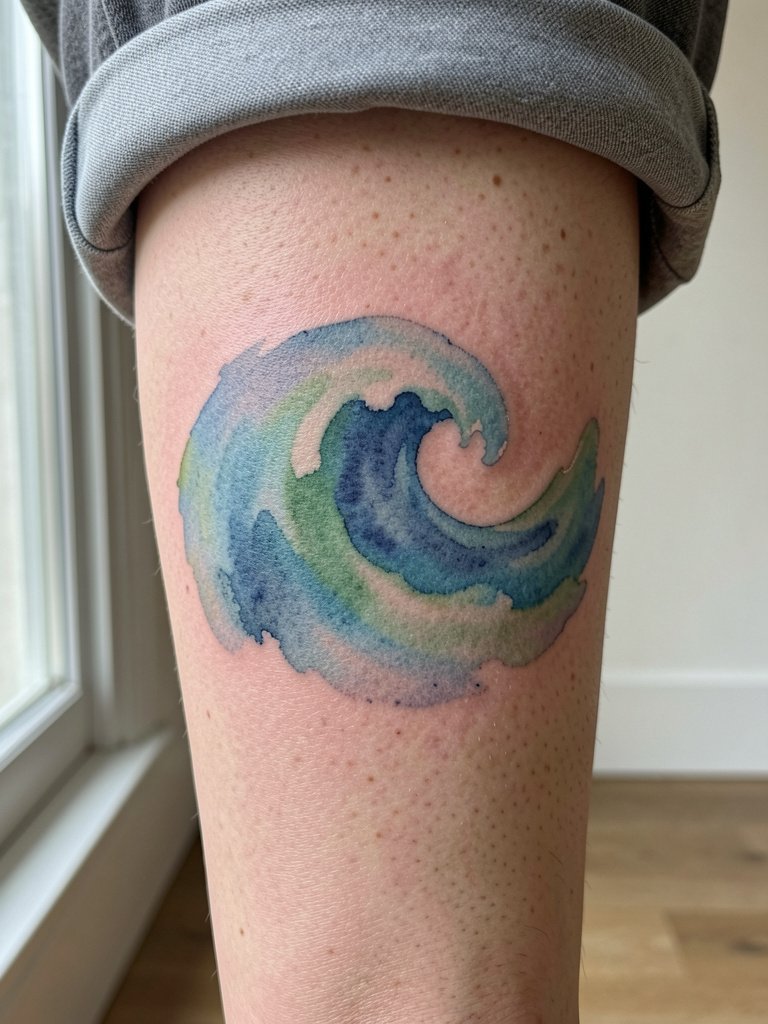
Watercolor captures movement but brings debate. One camp says watercolor fades and blurs quickly because it lacks bold outlines, making it a poor long-term choice for wrists and high-friction areas. The other camp argues watercolor can hold if the artist loads pigment for saturation and you prioritize sun protection and careful aftercare. On the calf you get more pigment retention than on wrists, so this placement is forgiving. Plan for two to three sessions and bring photos of healed watercolors you like so the artist can show saturation targets. Show it off with cropped pants or a summer dress calf length.
5. Japanese Traditional Great Wave on Outer Upper Arm
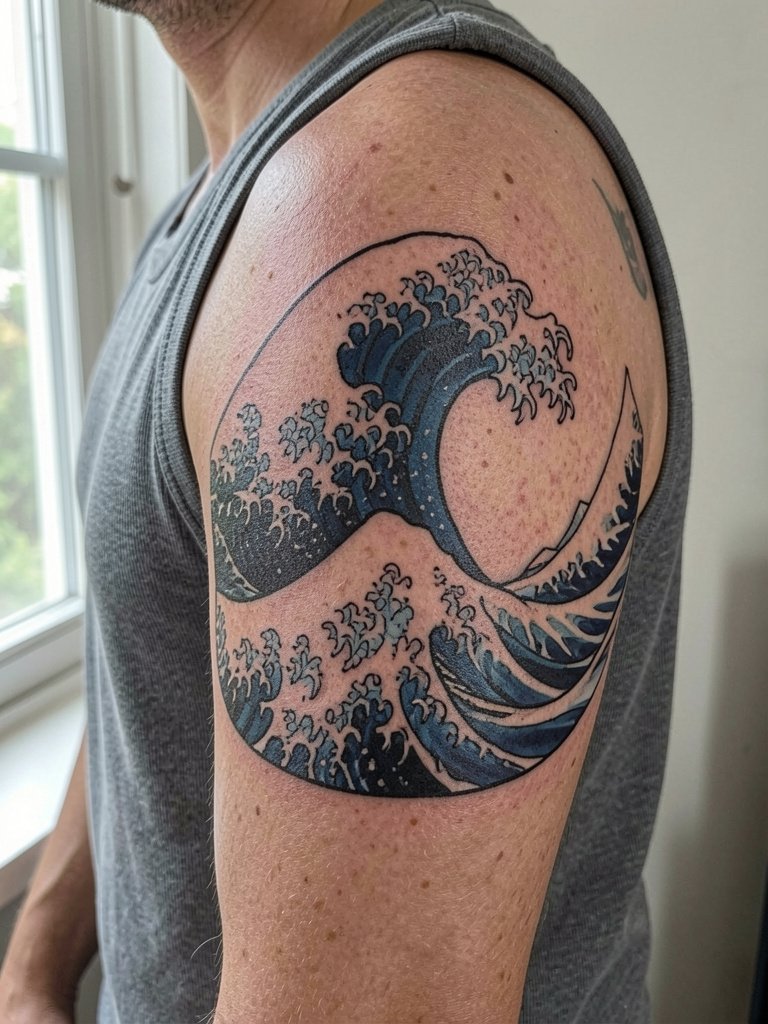
Bold Irezumi pieces age into strong graphic icons because of dense linework and saturation. Expect multiple sessions for half-sleeve scale and noticeable soreness into the first week. A common misstep is compressing too much detail into a small area. If you want an arm piece that reads from a distance, ask the artist for bold outlines and clear negative-space breaks. For evenings out, this placement pairs with sleeveless tops that let the outlines read without interference.
6. Geometric Wave Pattern on Wrist
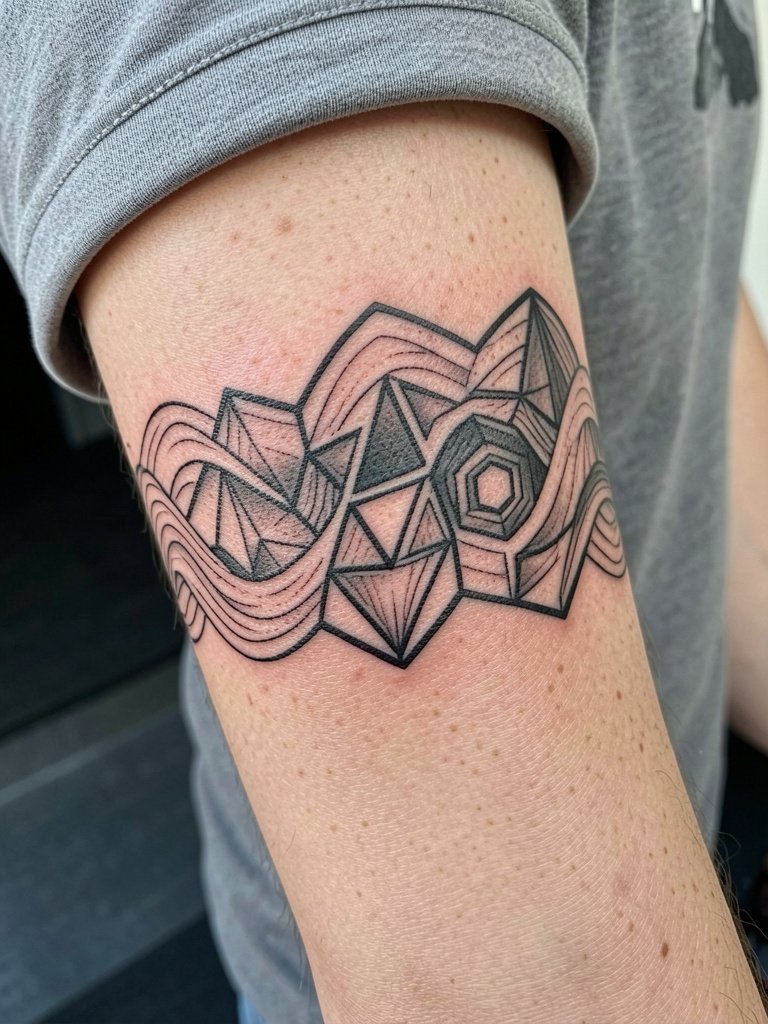
Sharp geometric motifs look modern on the wrist but they demand precise spacing. Session time for a wrist band is usually under an hour for small repeats. The mistake is scaling down a complex pattern until the triangles merge. Bring a mock stencil printed at final dimensions so you can rotate your wrist and check readability. Wear a thin chain bracelet set on the opposite wrist to balance without covering the ink.
Pre-Session Essentials
The inner forearm pieces and wrist bands above heal differently from larger work, so a few targeted items smooth the session and the first week.
- Tattoo Care Japan Balm. A thinner alternative to heavy ointments that a lot of people prefer during the first week to avoid clogged pores on small, dense linework.
- Tattoo Skincare AU Balm. Lightweight and non-greasy, useful for calf and forearm pieces that need breathability in summer.
- Tattoo Butter UK. Good for sensitive skin users who reacted to thicker balms in the past.
- Hustle Butter Deluxe. A popular thinner balm option that many people switch to after Aquaphor to reduce bumpiness.
- Fragrance free moisturizer. Use after the initial ointment window to keep healing skin hydrated without irritation.
7. Monochromatic Blue Depth on Full Back
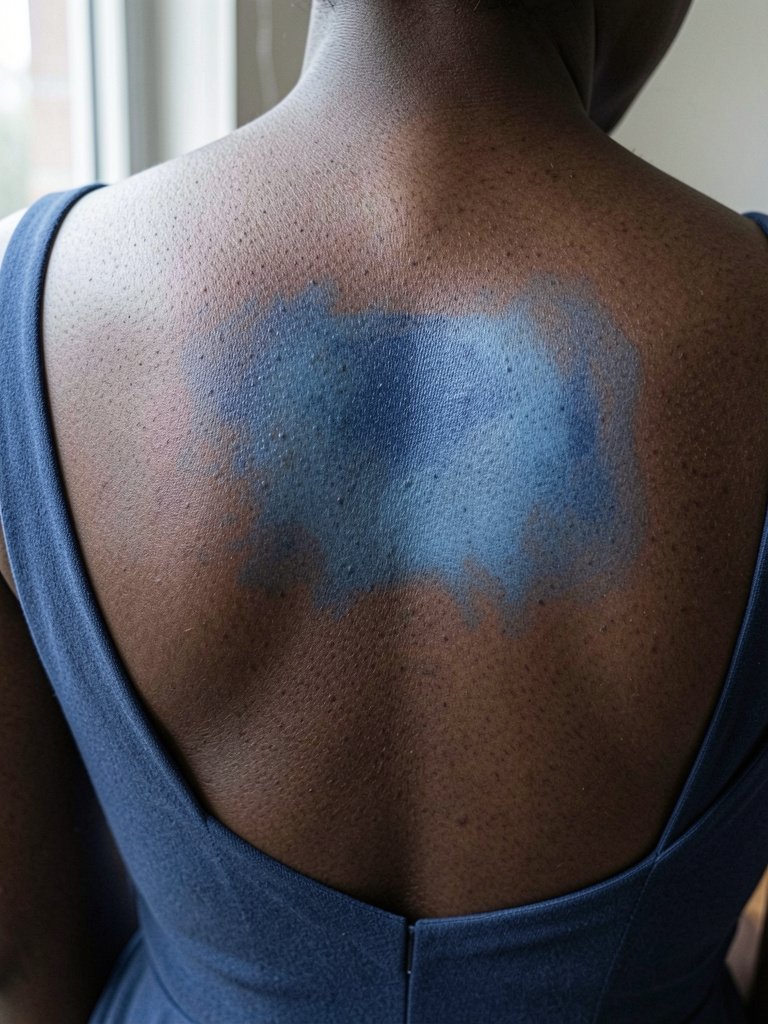
Using only blue tones can evoke oceanic depth while avoiding heavy blacks. Expect multiple sessions and careful pigment packing. Artists debate whether black and grey realism or blue-only work ages better for ocean scenes. One camp favors black and grey for long-lasting contrast and dramatic depth. The other camp prefers monochromatic blue for a more natural ocean read and aesthetic authenticity. For a large back piece, ask the artist which blue pigments they favor for longevity and how they plan highlights. Pair with back-revealing outfits like backless dress to show the sweep.
8. Minimalist Starfish on Ankle
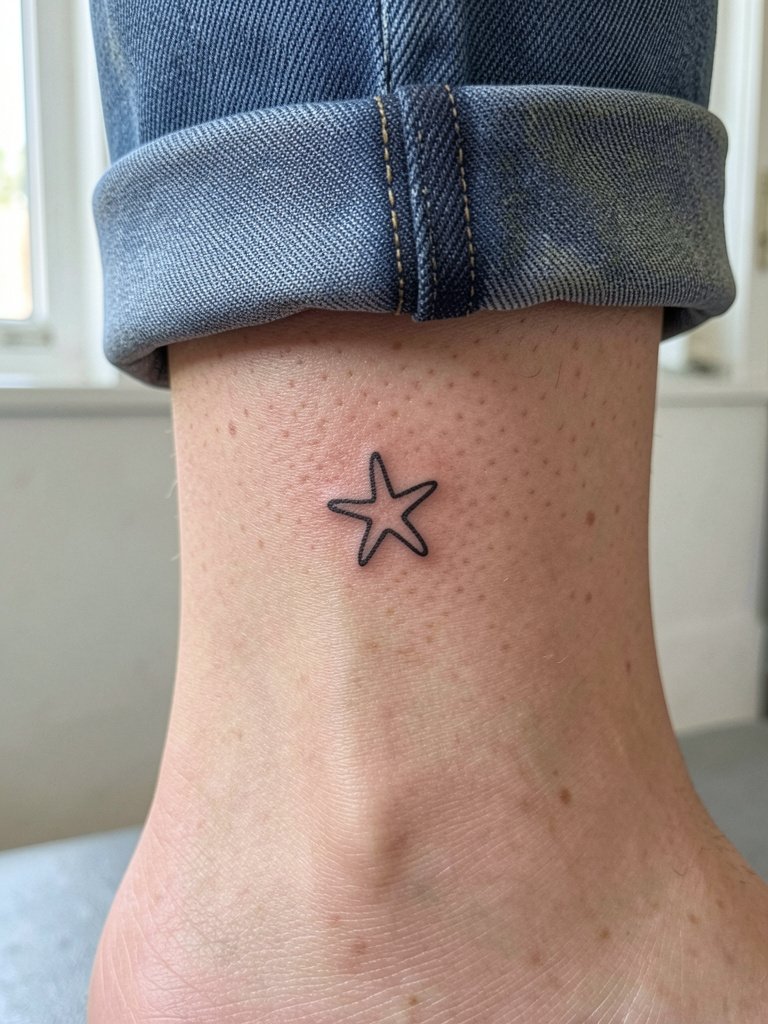
Tiny ankle symbols make great first tattoos because session times are short and pain is moderate. The common error is choosing single-needle too small. Ankles face friction from socks and shoes so slightly bolder line weight helps retention. For the appointment, wear shoes you can remove easily and pants you can roll up like cropped pants ankle length. Expect a single touch-up in a couple of years if you want crisp edges.
9. Seahorse Silhouette Behind the Ear
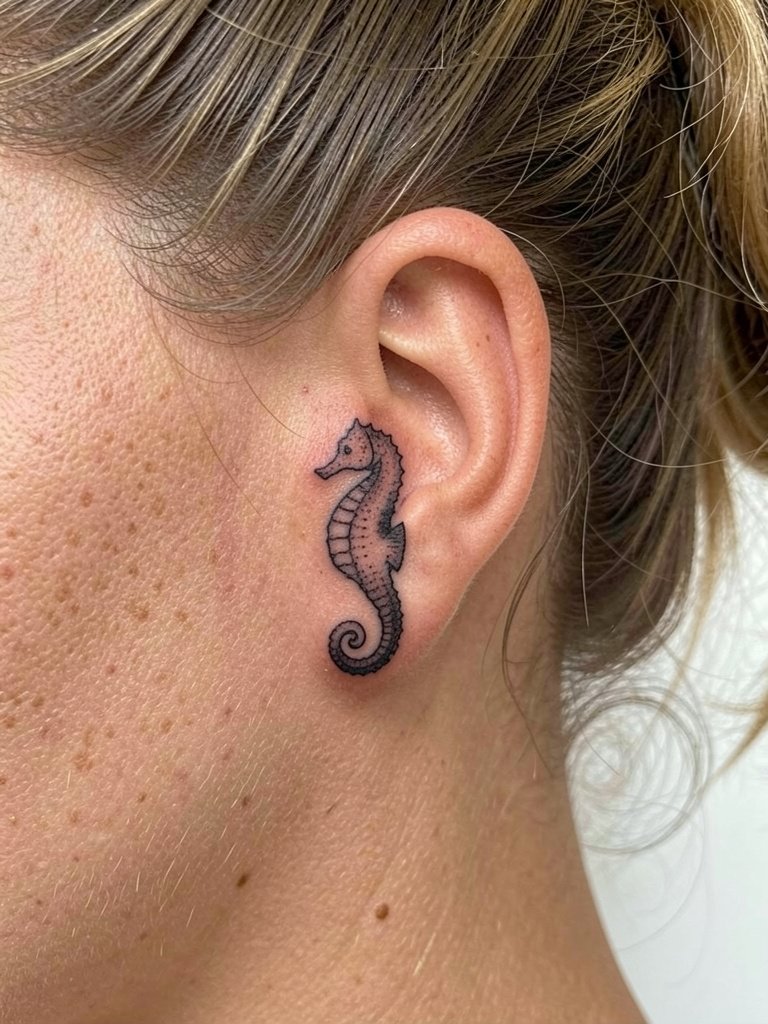
Behind-the-ear placements are tiny and discreet. Pain is low but aftercare needs patience because shampooing can irritate new ink. The usual mistake is cramming too much detail into under-one-inch art. Ask for a simple silhouette to preserve clarity over time. For the session, pin your hair up or wear a loose clip so the artist can access the mastoid area. When you want to reveal it, style with hair up and add delicate earrings to balance the look.
10. Stormy Sea Realism Half-Sleeve on Outer Arm
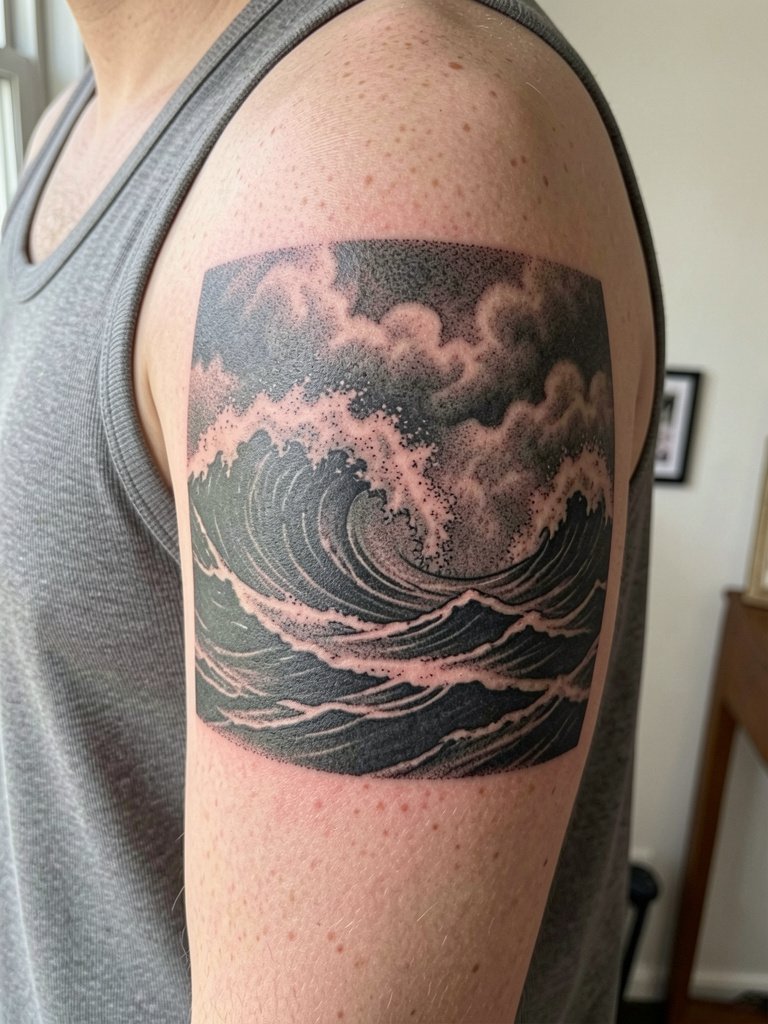
Photorealistic storm scenes need time and patience. Expect three to five sessions and heavy shading work. Common mistakes are compressing too many narrative elements into one arm panel. During consult, ask the artist to prioritize focal areas and plan negative-space breathing room. Sleeve work also benefits from staged sessions to let saturation settle between passes. For showing off, wear tank tops so the arm reads clearly.
11. Compass Rose with Minimal Wave on Wrist or Behind Ear
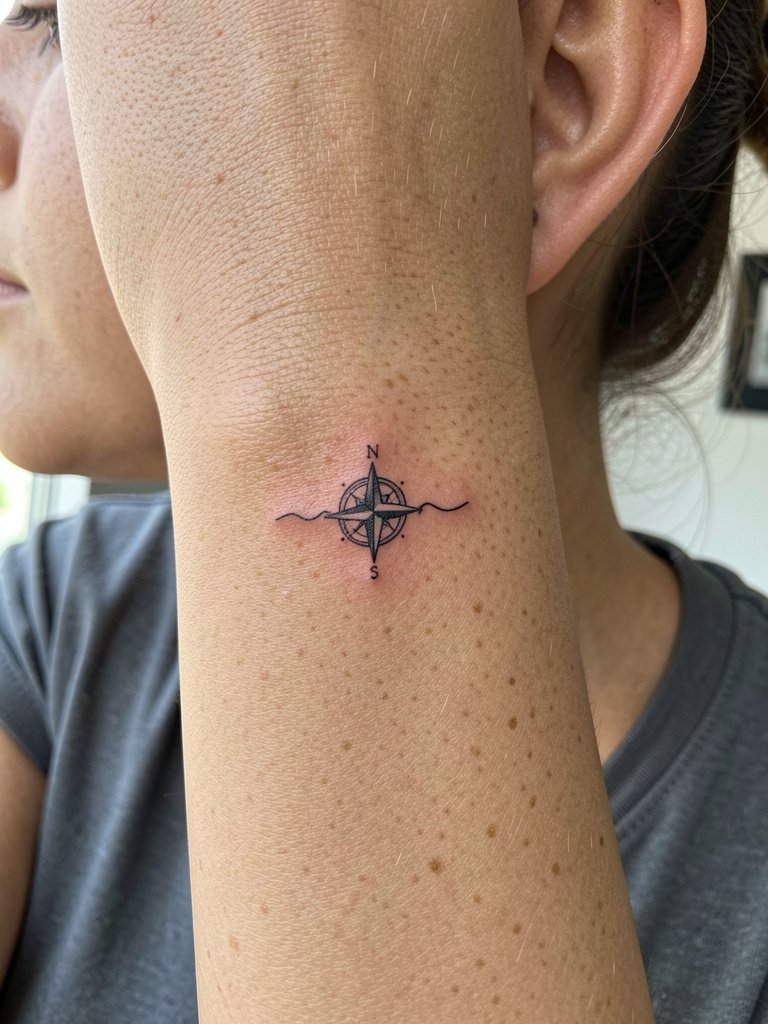
Tiny ornamental combinations are symbolic and low-commitment. A frequent error is using lettering that is too small to remain legible. For longevity, have the compass face a clear distance between points and a slightly heavier dotwork center. Bring a single word or symbol printed at the final size so your artist can confirm legibility. A thin minimalist watch on the opposite wrist pairs well, like a minimalist watch.
12. Seahorse Cluster on Outer Thigh
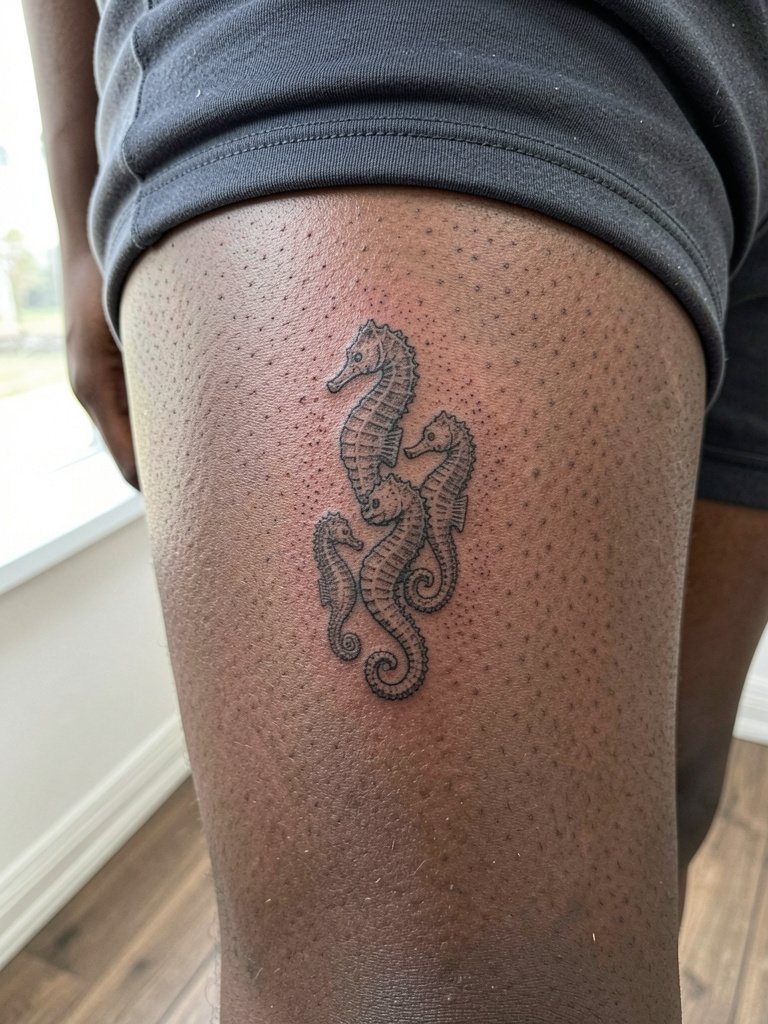
Outer thigh gives room for composition and ages well because it sees low friction. Sessions feel moderate and are easy to sit through for longer blocks. The mistake is over-detailing micro-realism in a tiny patch. Ask for slightly stronger line anchors at the top and bottom so the cluster keeps structure as it heals and with weight changes. For session comfort, wear shorts that can stay on, like modest athletic shorts so nothing rubs the area.
13. Abstract Floral + Water Lines on Inner Forearm
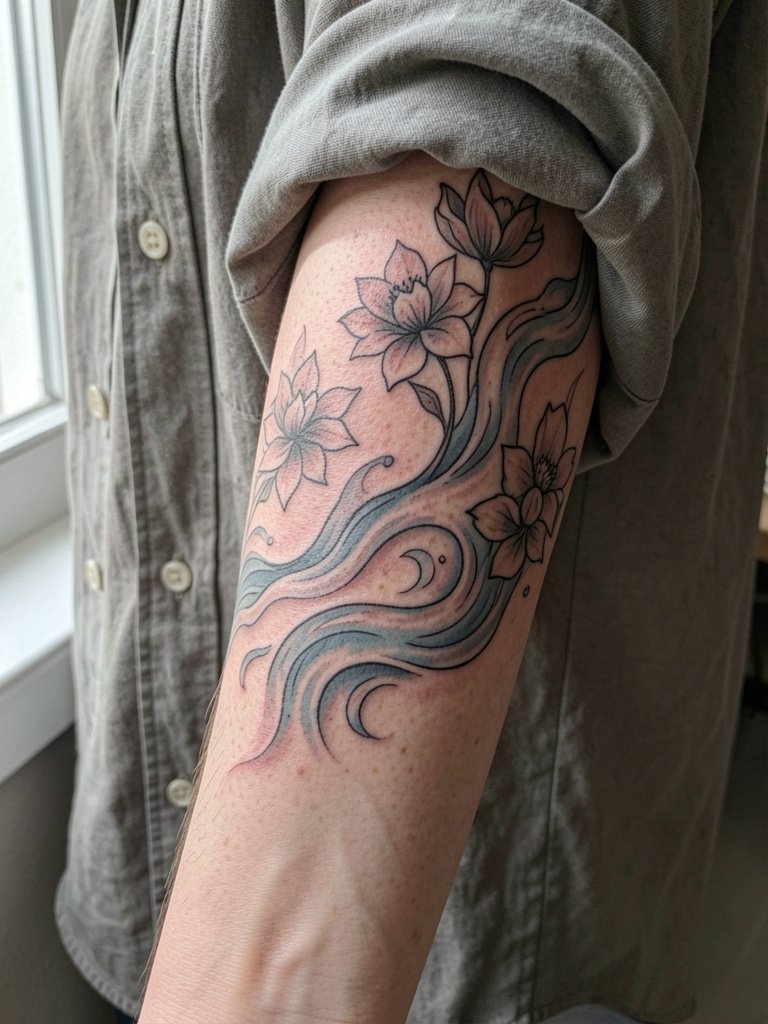
This hybrid trend blends botanical and marine elements for a soft sleeve starter. Expect one to two sessions for a medium forearm piece. A common mistake is too much watercolor wash over fine line, which accelerates blur. Ask for slightly increased spacing between petals and water lines and a plan for touch-up at one to two years. Roll-up linen shirts in cream or sand frame the composition well. For the outfit, try a rolled cuff linen shirt.
14. Black & Gray Photorealistic Ocean Scene on Calf
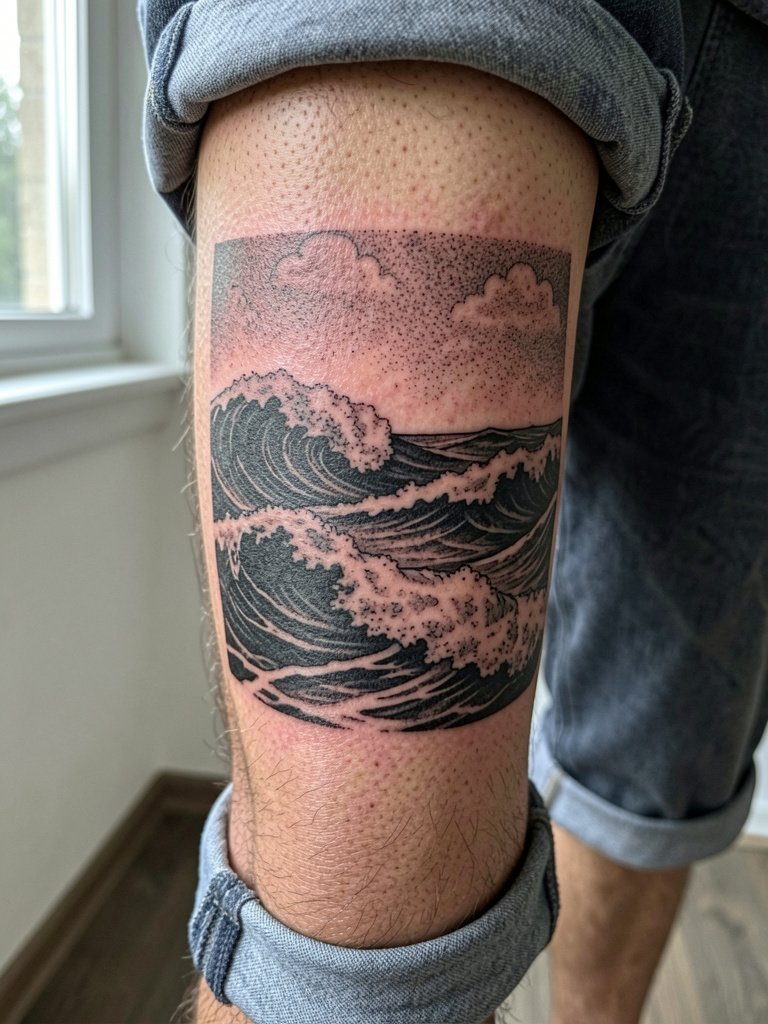
Black and grey realism holds its drama thanks to contrast and deep shading. Plan for two to three sessions with heavy stippling and saturation. The decision between color and black and grey is debated. One camp favors black and grey for photorealistic depth and longevity. The other camp favors blue tones for natural ocean color and layered depth. If longevity is the priority, request pronounced contrast and discuss touch-up intervals. For summer revealing, pair with cropped pants that leave the calf visible.
15. Tidal Moon Phase Band on Inner Forearm or Calf
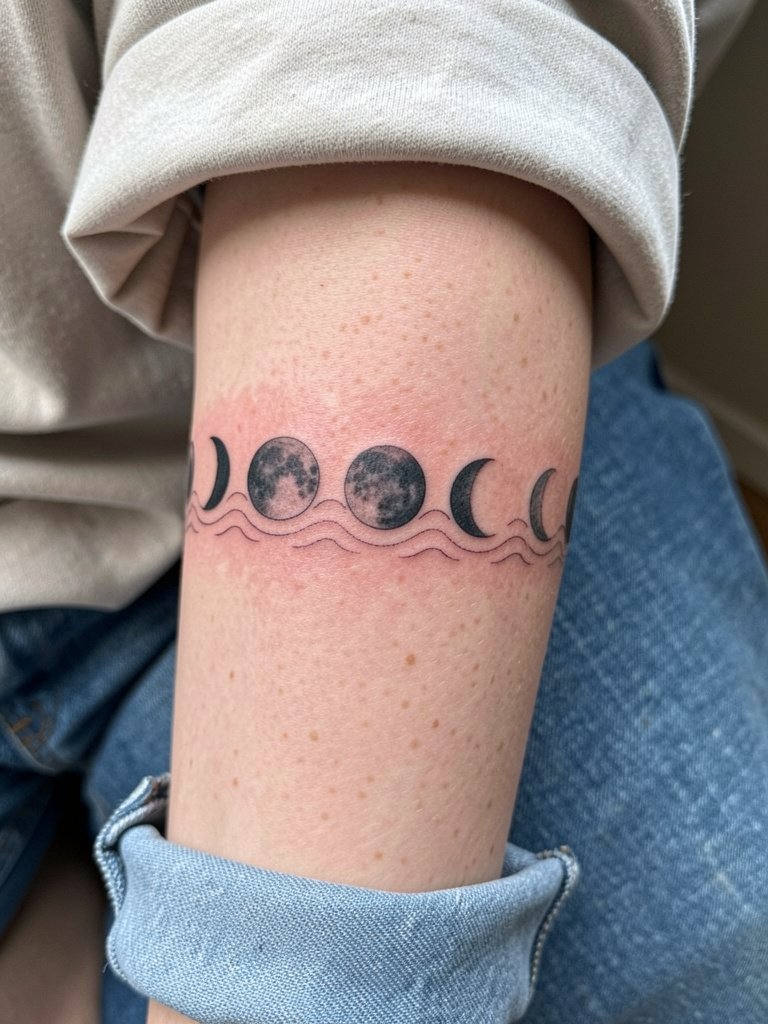
Band-style moon phases are ornamental and read well as a wrap. Small moons need slightly heavier line weights to avoid merging over time. A common mistake is placing moons too close together on high-motion areas. For placement, have the artist mock the band around your limb to check how bending affects spacing. These bands work well with calf exposure or rolled sleeves. For a subtle finish, wear a dainty gold stacked bracelet set on the opposite limb.
16. Kraken Silhouette Full Back Statement
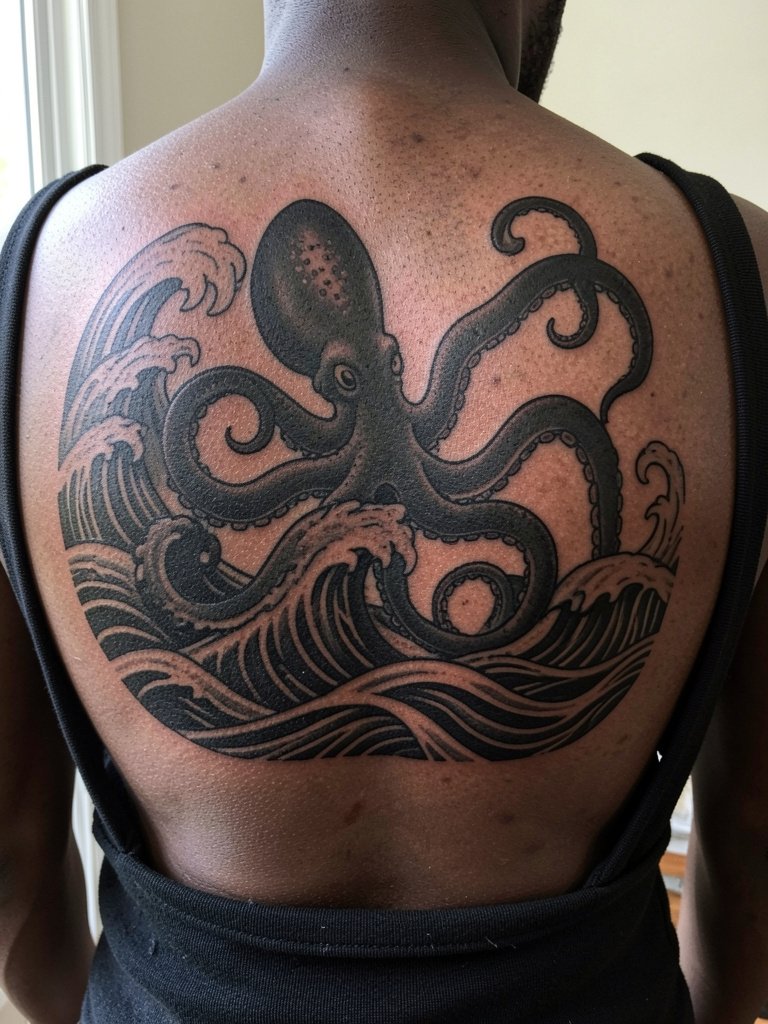
Full-back blackwork reads dramatically and ages predictably when saturation is even. This is a multi-session commitment with heftier pain and long healing windows in places. Avoid overcomplicating the silhouette with tiny internal detail that will fill in. Discuss overall contrast hierarchy in the consult and plan sessions so the darkest blacks go in early. For wardrobe, keep to low-back dresses and loose tops during the healing phase to avoid zipper pressure.
17. Tiny Anchor on Wrist or Ankle
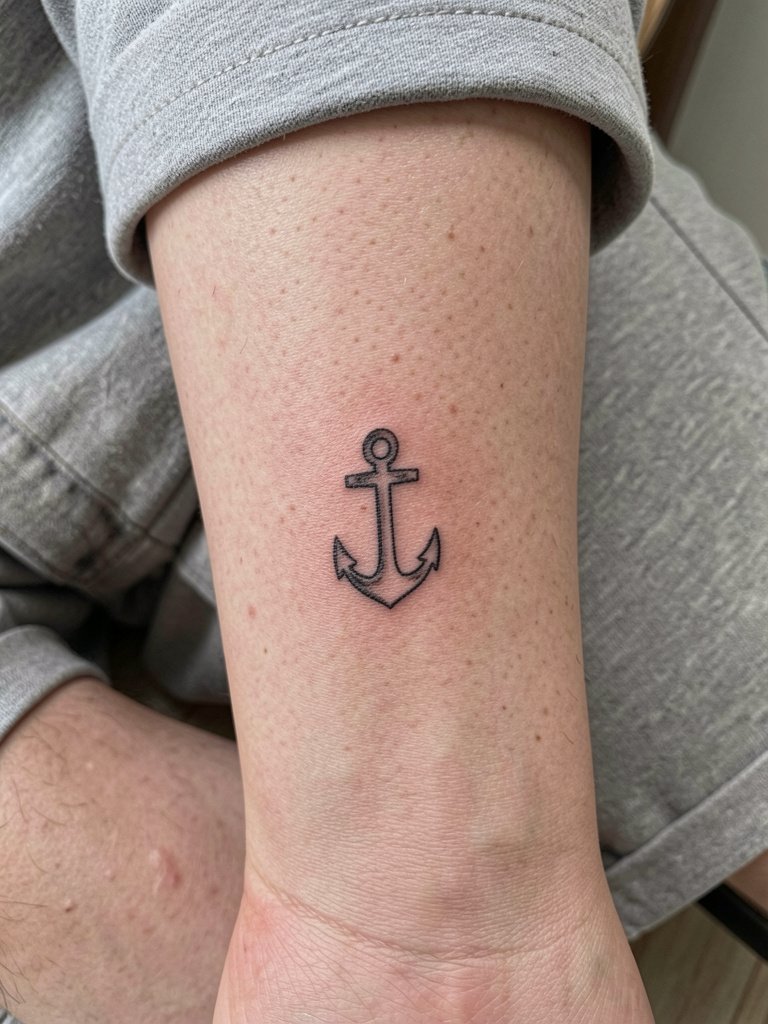
Tiny anchors are classic entry pieces. Pain is low and sessions are short. The common mistake is making the shank too thin. Request slightly bolder anchor points and expect a possible touch-up at two years for crisp edges. For reveal and balance, pair with open-toe sandals or a minimalist anklet when you want the ankle variant to show.
18. Mermaid Silhouette on Thigh or Hip
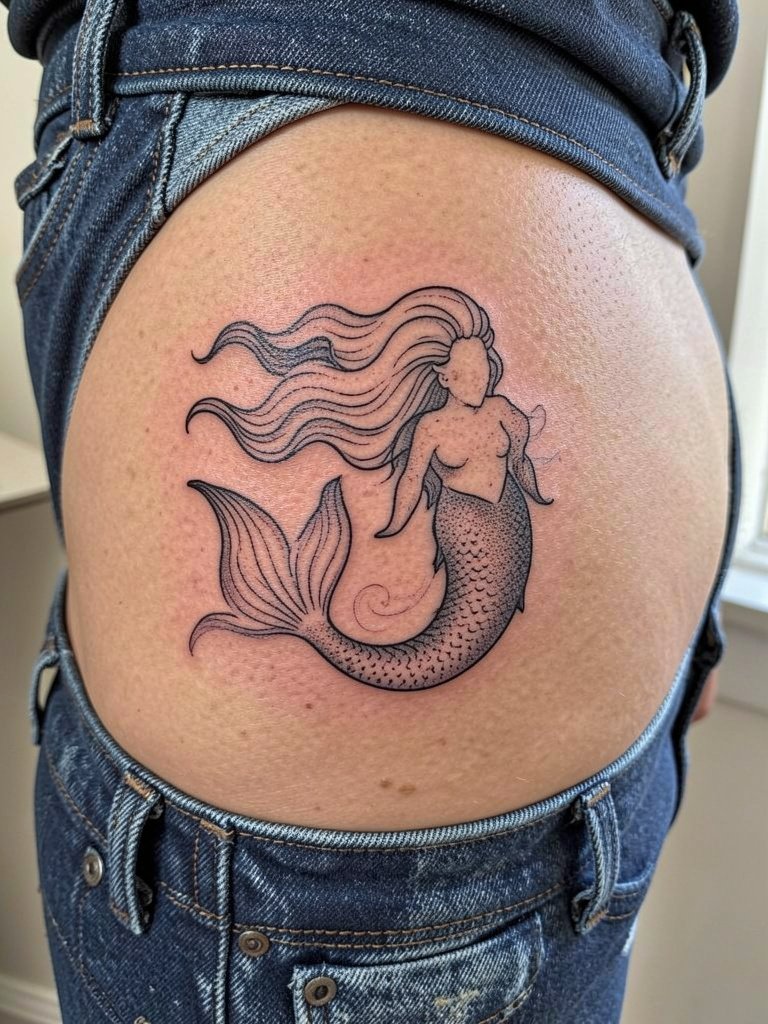
Figurative silhouettes read well at larger thigh scales. Thigh placement is forgiving for weight fluctuation but avoid the groin edge. A frequent mistake is compressing the torso detail into a tiny footprint. Ask for a composition mockup that shows curvature on the hip so the tail flows with the body. Style with low-rise jeans or skirts and consider a minimalist anklet if the hip piece is part of a set.
19. Shorebird Flock Across Collarbone
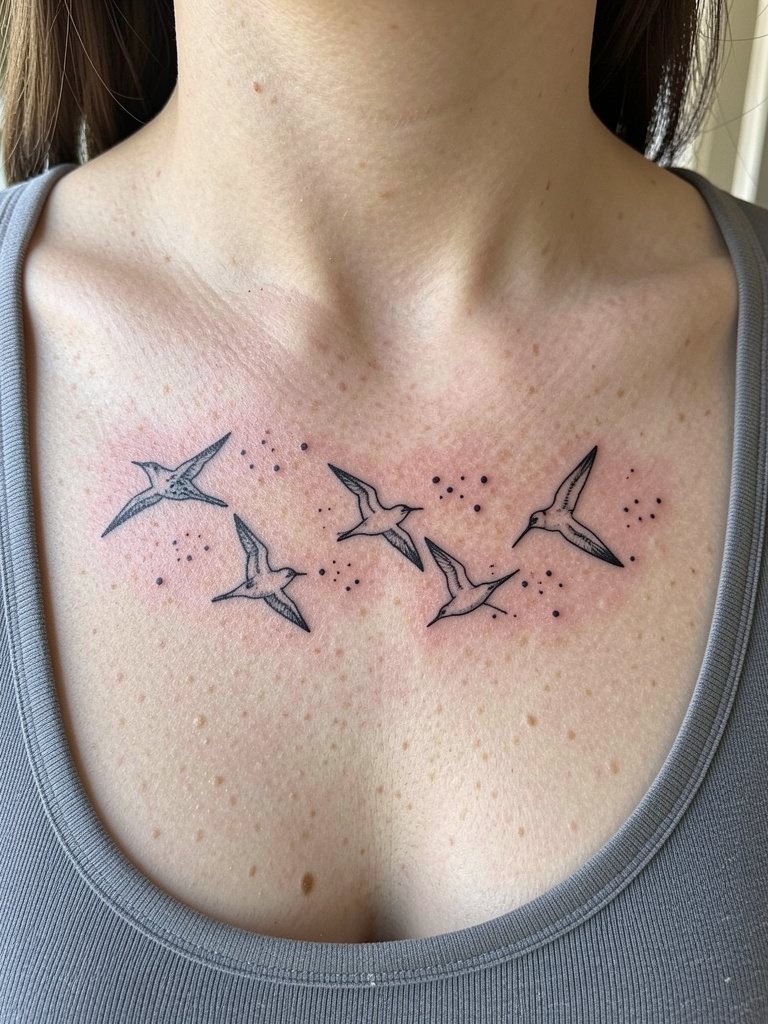
Collarbone placements are visible and need clear spacing. Pain is higher near the bone. The common error is placing birds too small so wing detail fills in. Expect a single short session and plan for touch-up if you want sharp wing tips at year three. Wear a wide V-neck or scoop-neck top to show the line across the chest during reveal.
20. Minimal Tide Line Anklet Band
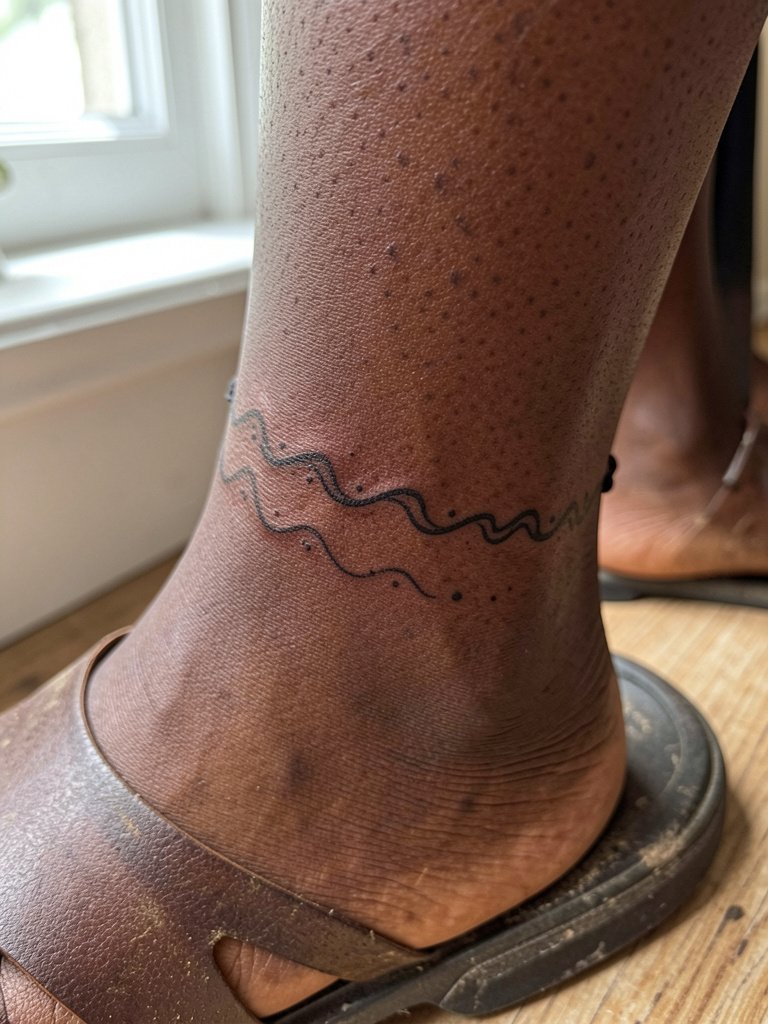
Anklet bands are subtle and low-commitment. The ankle endures friction so avoid single-needle threadlines. The mistake is too fine a line that disappears into skin texture. Request slightly bolder weight for the peaks and ask how the line reads when you stand. For show-off outfits, pair with open toe sandals and cropped pants.
21. Kelp and Seaweed Wrap on Forearm
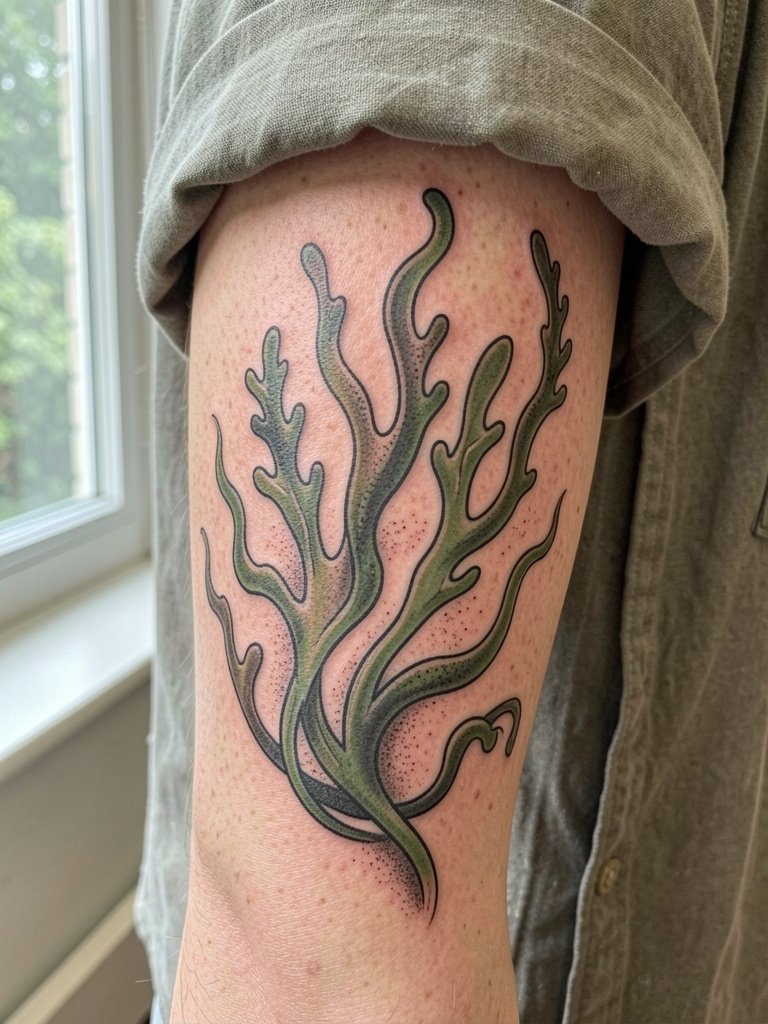
Wraps work well on cylindrical limbs where the flow can continue around. Expect one to two sessions. The common mistake is over-detailing the underside where visibility is low. In consult, map the wrap so anchor points sit where you most want visual pauses. For session comfort, wear a loose button-down so the artist can access the entire forearm.
22. Coral Linework Panel on Upper Arm
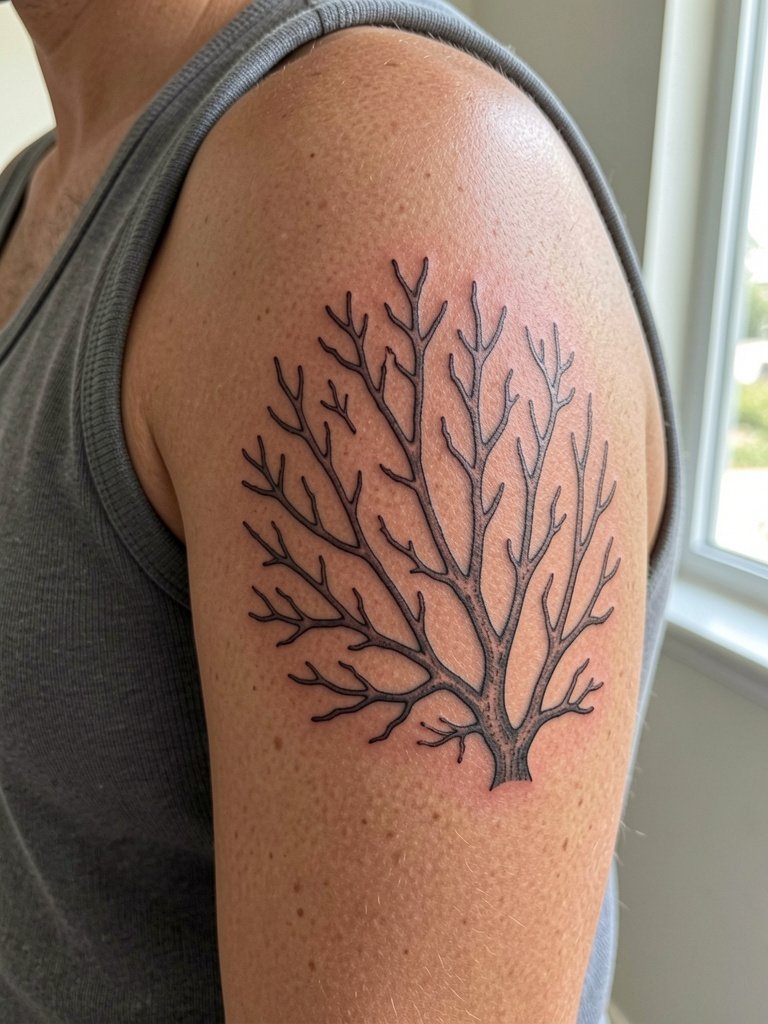
Coral panels look organic when given breathing room. Sessions vary with size. A typical error is making the branches so fine that blowout fills them in. Request slightly thicker branch stems where the design needs visual anchor points. Upper arm placements are easy to dress around, and a sleeveless top works well for reveal.
23. Jellyfish Micro-Realism on Calf or Rib
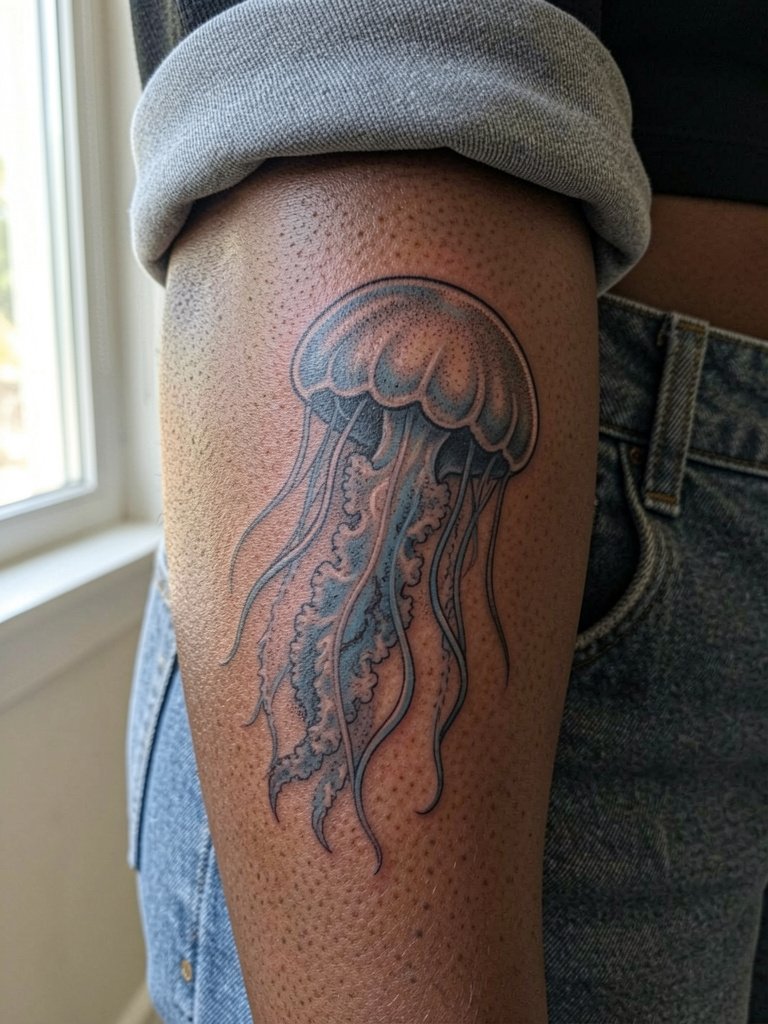
Jellyfish micro-realism asks for careful contrast because translucency is tricky. The ribs variant hits the fine-line debate again since the area moves. Keep the bell at a slightly larger scale than you think and ask the artist for stipple highlights to preserve form at one and two years. For session wear, pick an oversized tee you can lift without compressing the area.
24. Sailboat Silhouette on Collarbone or Inner Wrist
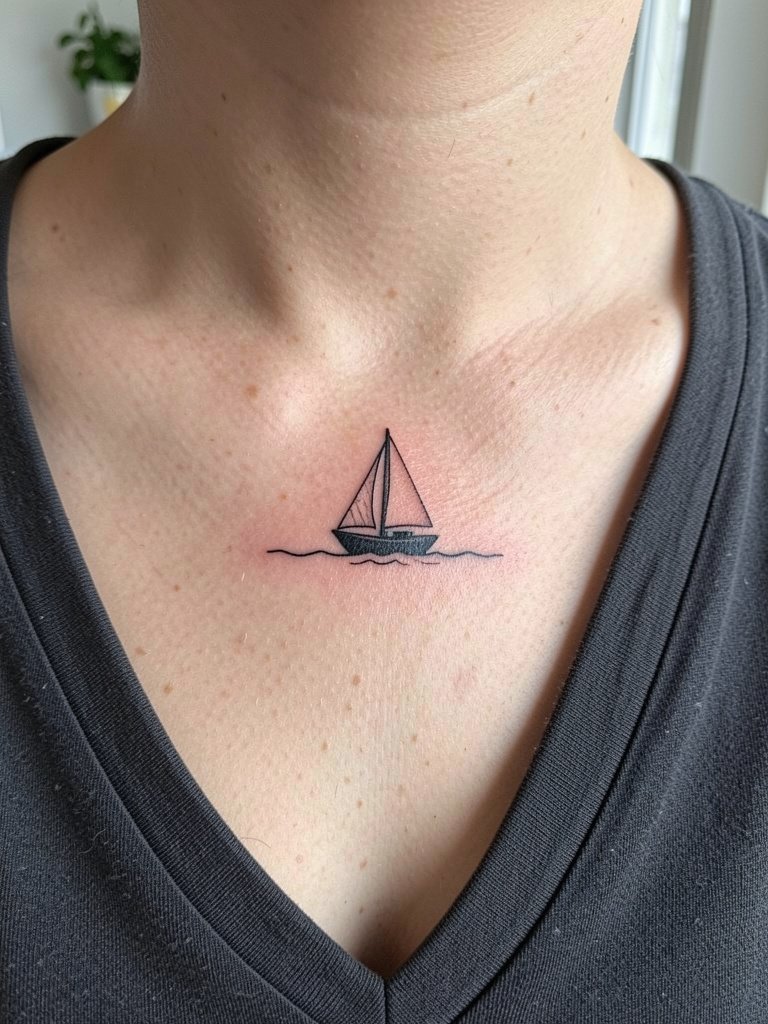
Small nautical silhouettes are classic and low-pain for wrist placements. The mistake is making the mast too thin. Ask for a slightly stronger hull line and tested script size if you plan a tiny caption. For showing it off, pair collarbone placements with a scoop-neck top so the horizon line is visible.
25. Coral Reef Sleeve Starter on Outer Arm
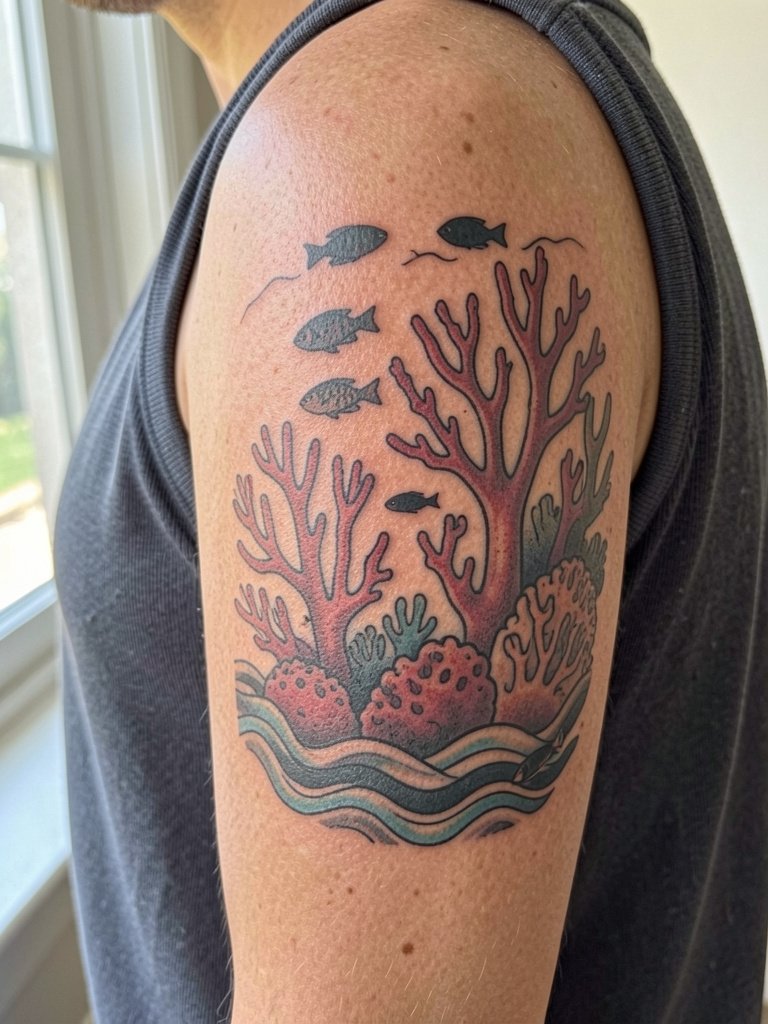
Sleeve starters build slowly. Start with a single panel and leave negative space for expansion. The common mistake is trying to finish a sleeve in one marathon that leaves uneven saturation. Plan staged sessions with pigment settling in between. For session wear, pick a loose tank so the artist can work the shoulder and upper arm easily. Pair finished sleeves with solid color tops to let the imagery breathe.
Frequently Asked Questions
Q: How do I find artists who specialize in watercolor, geometric, or blue-only ocean styles without naming specific shops?
A: Search style-specific hashtags and directories. Try hashtags like #finelinetattoo, #wavetattoo, and #neotribaltattoo on Instagram and TikTok and filter by location. Use Tattoodo or the Inked App to search for portfolio keywords like "monochromatic blue ocean" or "watercolor wave." Reddit threads on r/tattoos and r/tattooadvice often have peer recommendations and healed examples across skin tones.
Q: Will a fine-line wave on my ribs blur faster than one on my forearm?
A: The ribs move with breathing and can be higher risk for early softening. A fine-line wave on the forearm generally holds detail better because it experiences less stretching. If you want ribs, ask for slightly wider spacing and a touch of stipple shading so the piece keeps structure as it settles.
Q: How should I dress for a calf or forearm session to stay comfortable and protect the tattoo?
A: Wear loose bottoms that roll up easily for calf work and a loose button-down or tank for forearm sessions so nothing presses on fresh ink. Bring a change of clothing if you sweat a lot. A pair of loose drawstring linen pants can make a long session more comfortable and prevent friction during the first week.
Q: How often do ocean tattoos need touch-ups and what should I expect?
A: It depends on technique and placement. Small single-needle pieces commonly need a touch-up at two years. Larger saturated work can go longer before needing color boosts. Plan a realistic touch-up timeline with your artist while booking so you can budget time and sessions.
Q: Are there special considerations for getting blue ink on darker skin tones?
A: Blues can read differently on darker skin. High-contrast black and grey or strongly saturated darker blues tend to show better in photos. Ask the artist for healed, same-tone examples and discuss adding small white highlights for pop rather than relying on pale pastels.
