
Traditional Japanese sleeves whisper a lot about lineage and scale, but the pieces that still read clean after five years are often the ones that respected negative space and line weight from day one. Small, densely packed motifs can collapse into mud when compressed into a sleeve. This guide walks through 23 sleeve concepts with practical notes on placement, aging, and the exact wardrobe moves that make each design sing on real skin.
1. Koi Swimming Up the Full Sleeve
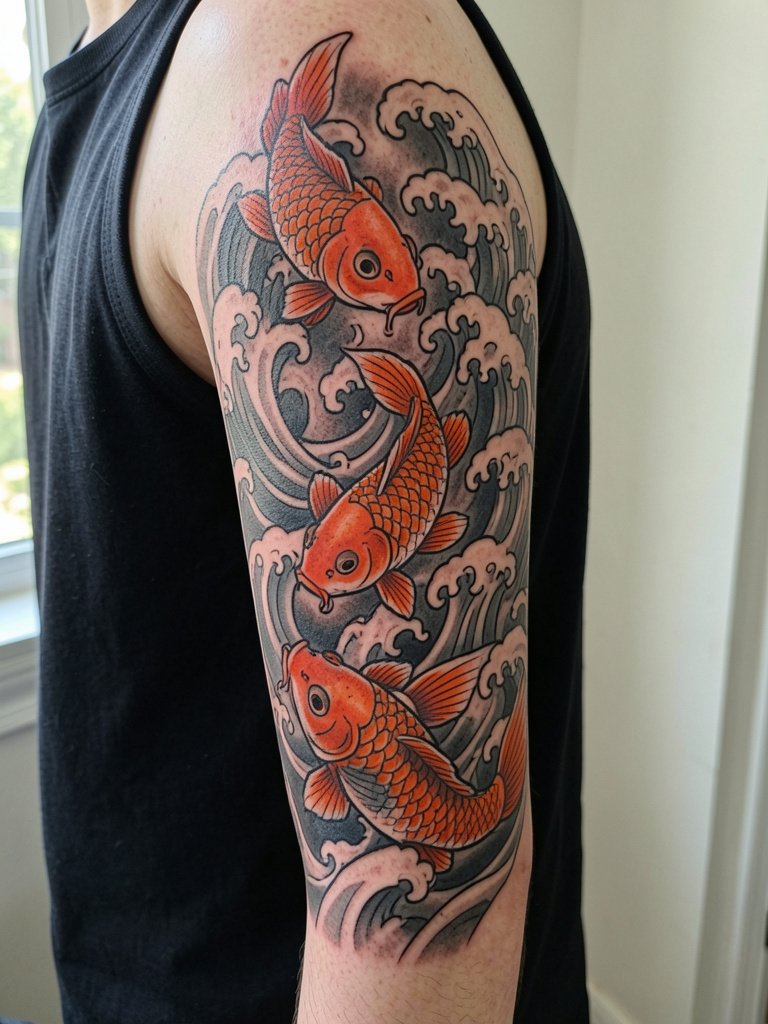
A full koi sleeve is a classic because the movement reads around the arm. For a client who wants a sleeve that reads from across the room, choose bold outlines and saturated fills instead of tiny scaled color patches. On the consultation bring photos showing how the koi curves at each joint so the artist can plan the flow across the elbow and shoulder. Small, tight color detail near the wrist tends to soften by year three, so keep scales slightly larger near high-motion areas. For session comfort wear a loose short-sleeve shirt that rolls up easily and try a breathable linen button shirt to show the artist natural arm movement.
2. Hannya Mask with Floating Peonies
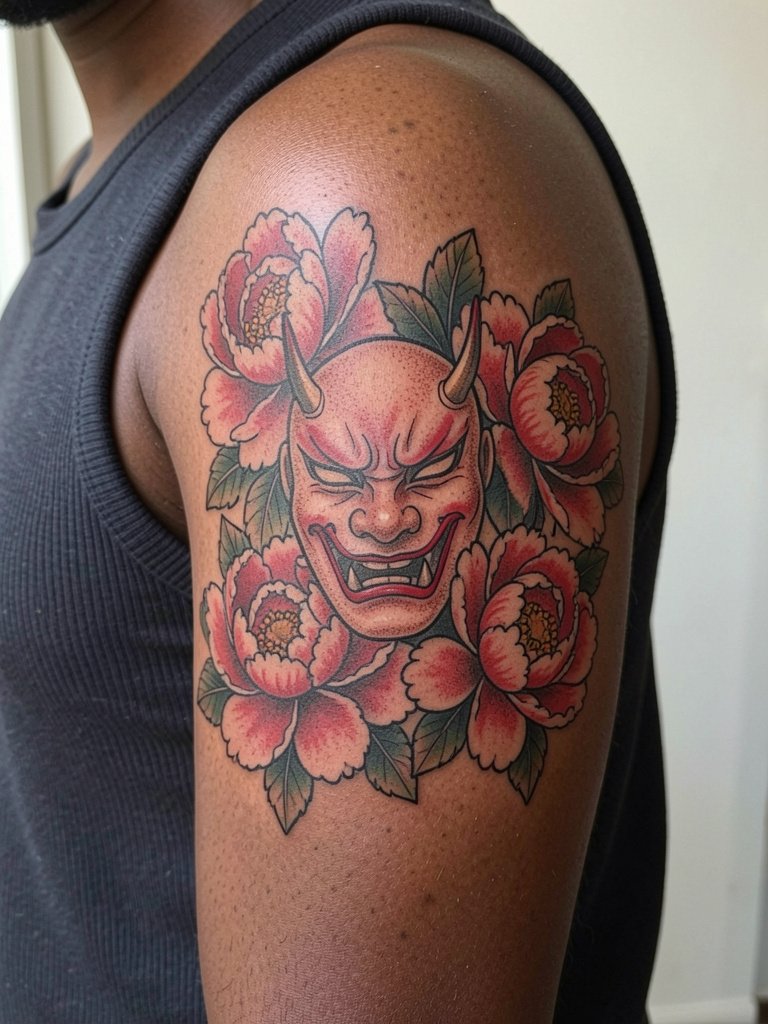
A Hannya face paired with peonies uses contrast to read well across a sleeve. One common mistake is shrinking the mask so it becomes a blot of black by year four. Ask for the facial details to be placed on the upper arm where skin stretches less and let the peonies sit on surrounding flatter planes. Expect a multi-session block for saturation and lining. For show-off outfits choose structured sleeveless tops that keep the shoulder silhouette clean and let the mask be visible without competing fabric.
3. Full-Arm Irezumi-Inspired Wave Band
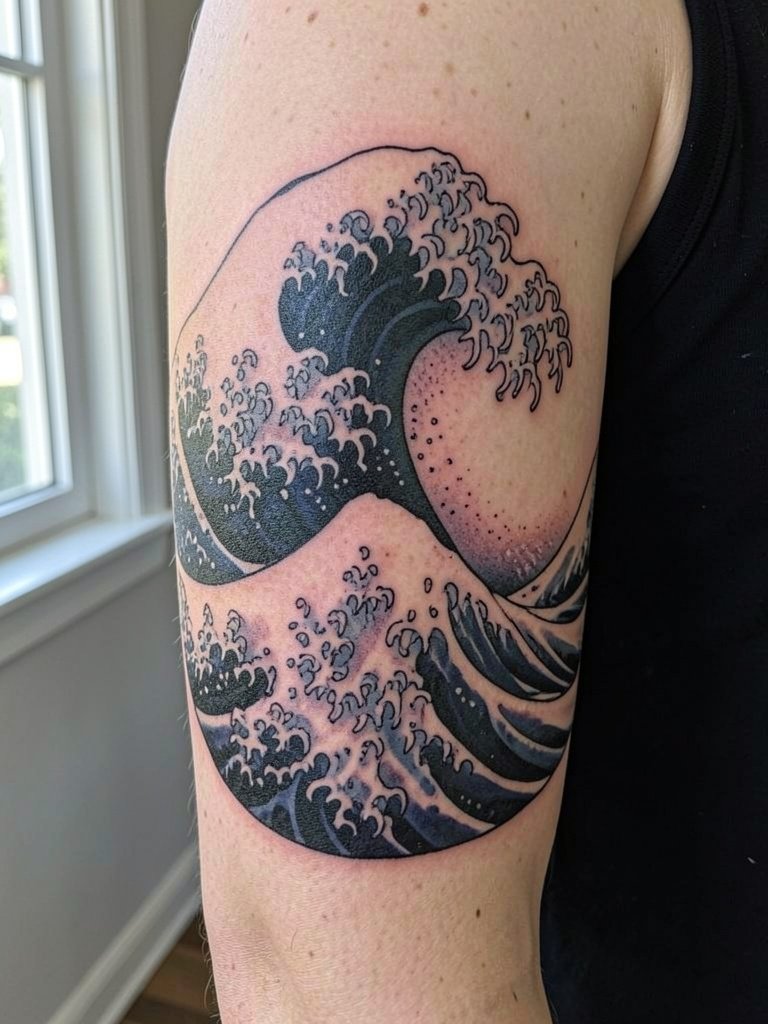
A wave band is a great way to anchor a sleeve and it helps mask future tattoo expansion work. When you want a crisp band that ages well, request heavier outlines at the band edges and lighter interior texture so blowout is less visible. The mid-bicep placement has lower motion than the inner elbow, which slows line spread. Plan for a touch-up at year two for saturation touch. Pair this with cropped short-sleeve shirts for evenings and try a rolled linen sleeve shirt when showing the band off.
4. Samurai Portrait with Storm Clouds
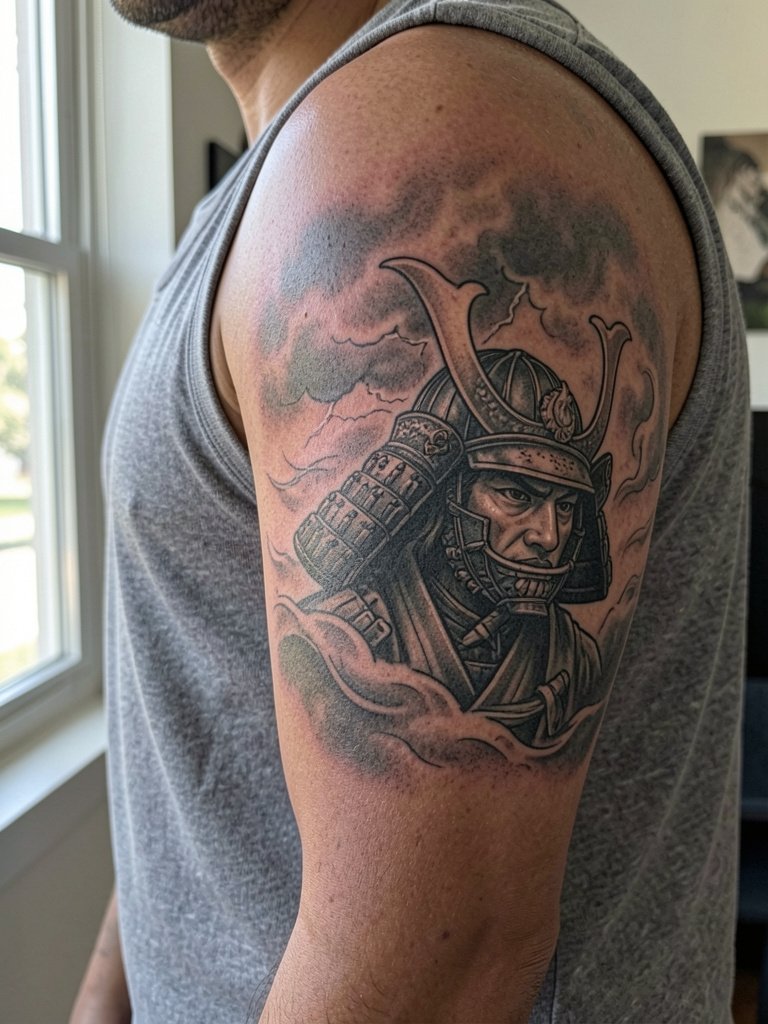
Samurai portraits need breathing room to keep facial features legible as the skin changes. A common aging issue is packing too much tiny detail into the cheek and helmet trim. During the consult bring portrait references at different crop sizes so the artist can translate high-detail elements into slightly bolder linework that will still feel detailed at three years healed. Expect heavier shading sessions to build depth. For evenings, wear a structured bomber jacket with a cropped sleeve so the shoulder portion reads clearly.
5. Dragon Coiling From Shoulder to Wrist
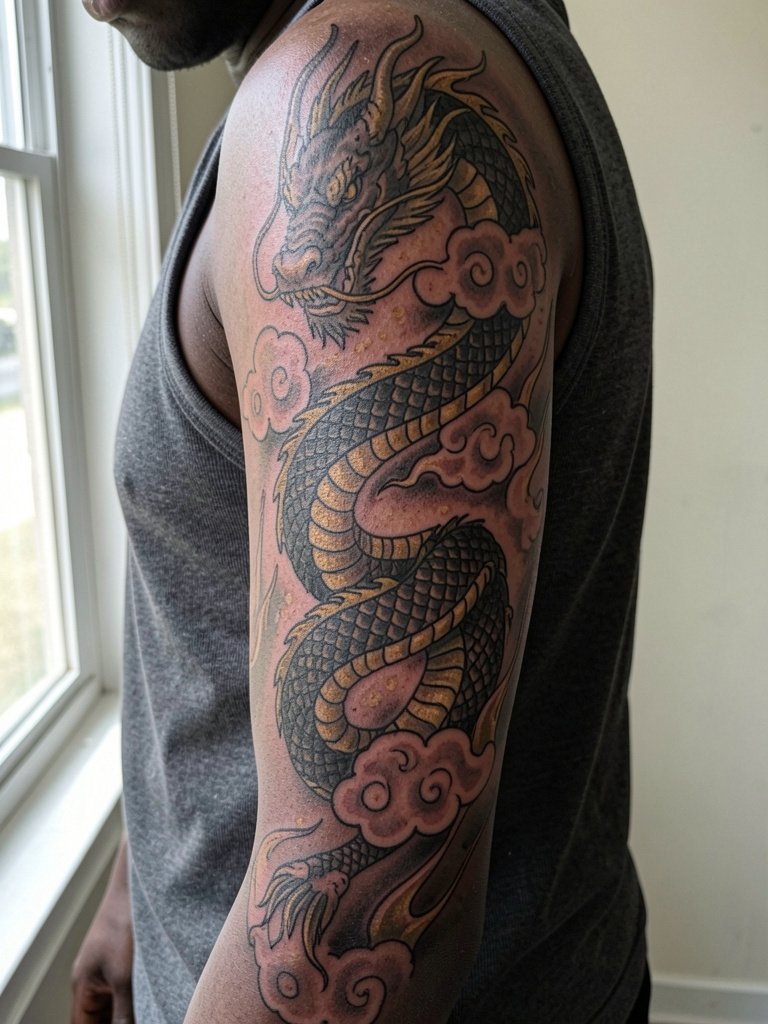
A full dragon sleeve is about flow and spacing. The mistake is wrapping the body too tightly around small muscles so the head loses proportion. Ask the artist to map the head and claws on broader planes such as the upper arm and outer forearm. For session feel expect long shading passes and breaks to reassess curvature. This design shows best with short sleeves or fitted tank tops, so bring a ribbed tank top to your appointment so the artist can see how the piece will sit with real clothing.
6. Blackwork Koi with Negative Space Scales
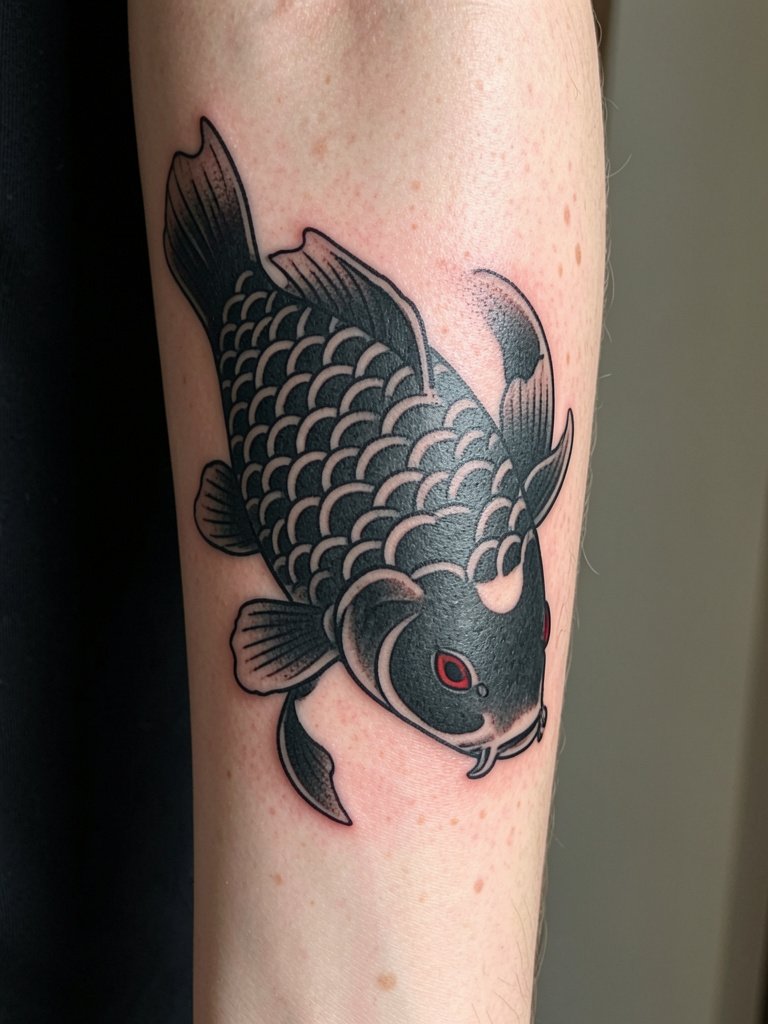
Blackwork koi uses high contrast to last longer on active skin like the forearm. Some artists argue blackwork holds up best because saturation resists blowout. Others prefer traditional color to preserve cultural cues and layered meaning. The first camp points to bold fills that remain readable at year five. The other camp values color gradation to convey the classic koi look and accepts touch-ups. For show-off styling pair with a short sleeve shirt with cuff roll so the black fields anchor the look.
Pre-Session Essentials
The shoulder, forearm, and elbow pieces above heal differently and a few small items smooth the session and the first week.
-
Stencil transfer paper kit. Lets you preview composition on skin and helps avoid the common mistake of crowding details at the elbow.
-
Topical numbing cream. Applied 45 minutes before can ease long sleeve sessions without impacting linework.
-
Thin protective film roll. Protects forearm and wrist pieces from friction during the first week of healing.
-
Fragrance-free body wash. Cleanses without irritating fresh lines and helps preserve saturation.
-
Aquaphor healing ointment. A thin layer for the early days keeps fine line work from drying into flakes.
7. Full Color Floral Sleeve with Wind Bars
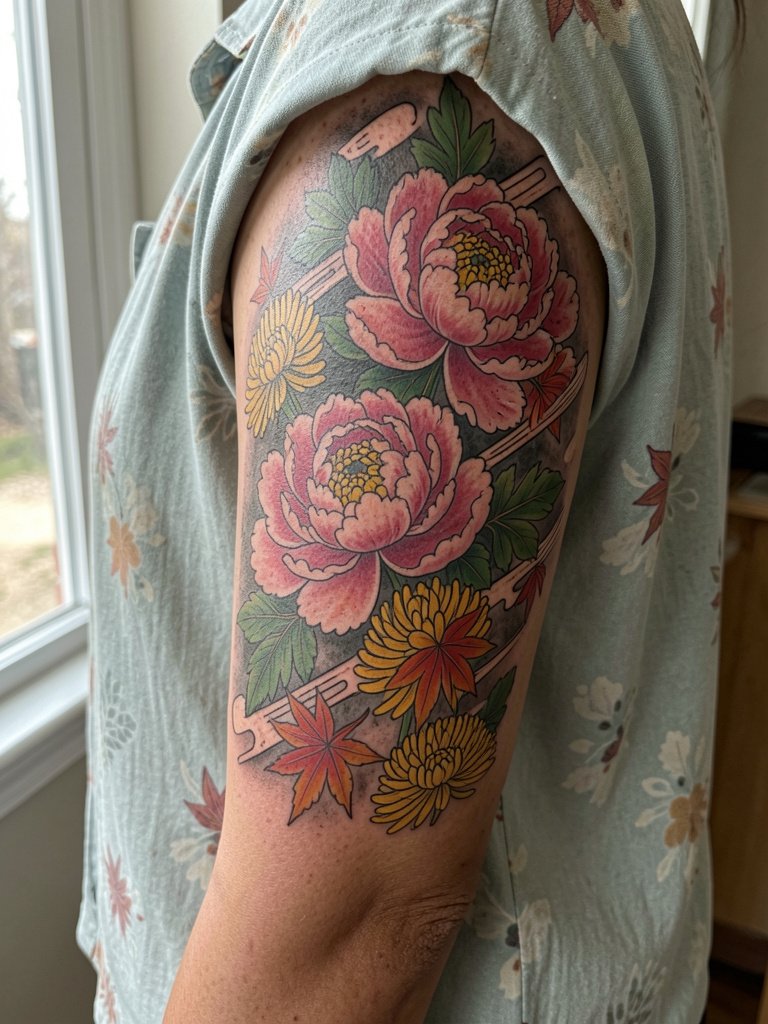
Floral sleeves can look ornate without becoming muddy if the palette is limited and values are consistent. The usual error is adding too many small color gradients that blend into a single tone over time. Specify larger petal shapes and maintain contrast with dark wind bars. For the session expect long color saturation blocks and at least one revisit for touch-up. For evenings choose flowing open-back dresses to show shoulder and upper-arm blooms.
8. Sleeve of Mythical Creatures in Mid-Tone Greys
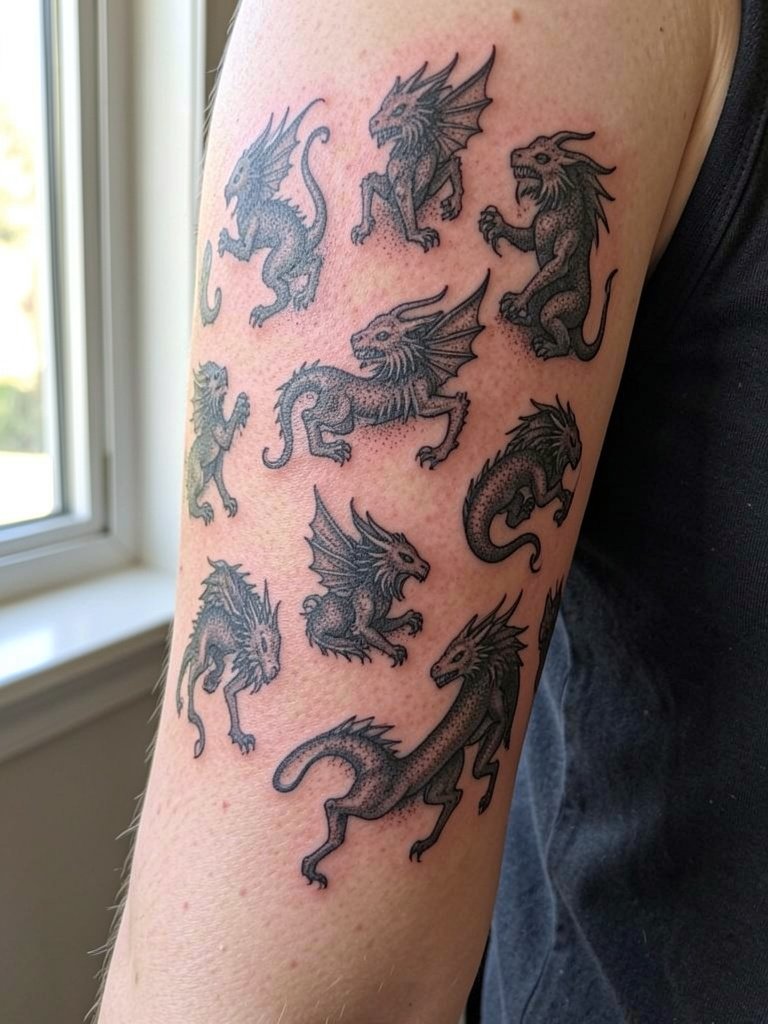
A sleeve made of smaller mythical figures works when the artist spaces each vignette so the eye has pauses. The common mistake is packing vignettes shoulder to wrist with no breathing room. Request a mockup that shows negative space between figures and ask for stipple transitions to soften edges. Stipple holds well on medium skin tones. Wear a buttonless cardigan to appointments so the artist can access the mid-arm without tugging.
9. Sleeve Built from Traditional Panel Flash
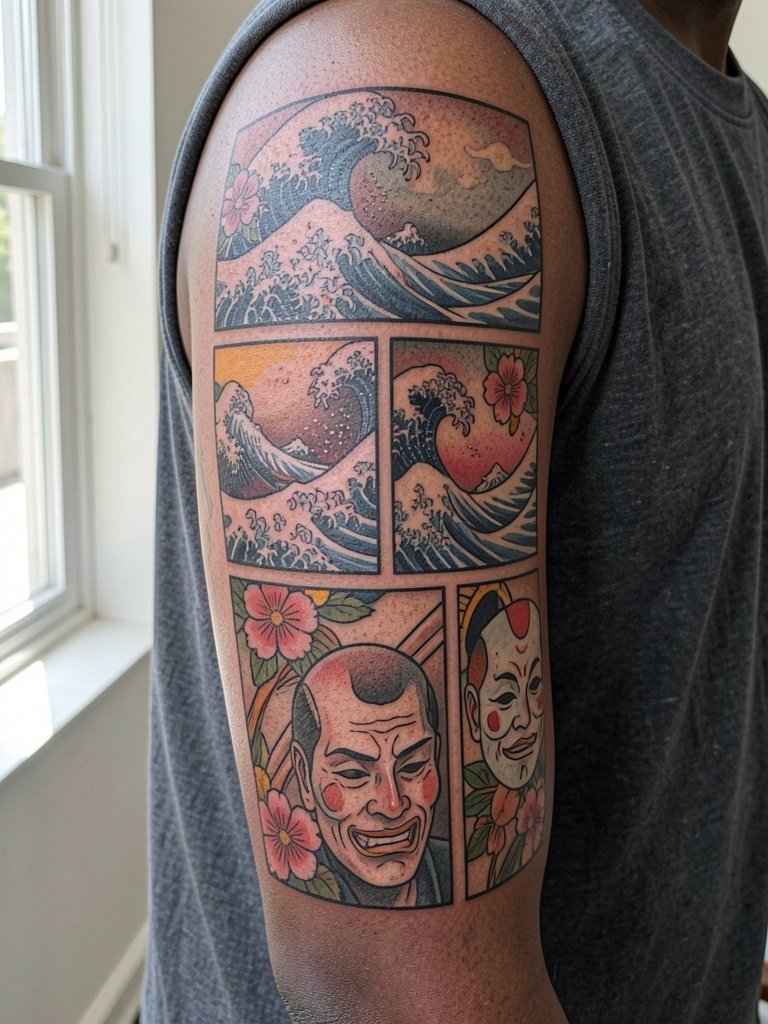
Using flash-style panels helps shops build cohesive sleeves quickly. The design risk is inconsistent line weight between panels if multiple artists work on it. If you plan shop collaboration, bring a unifying palette note and ask the lead artist to oversee outlines so the sleeve reads as one piece. For touch-up rhythm expect small color boosts at year two. Session wear advice is simple. Wear a loose tank top so both inner and outer arm are accessible.
10. Minimalist Black Outline Sleeve with Sparse Color
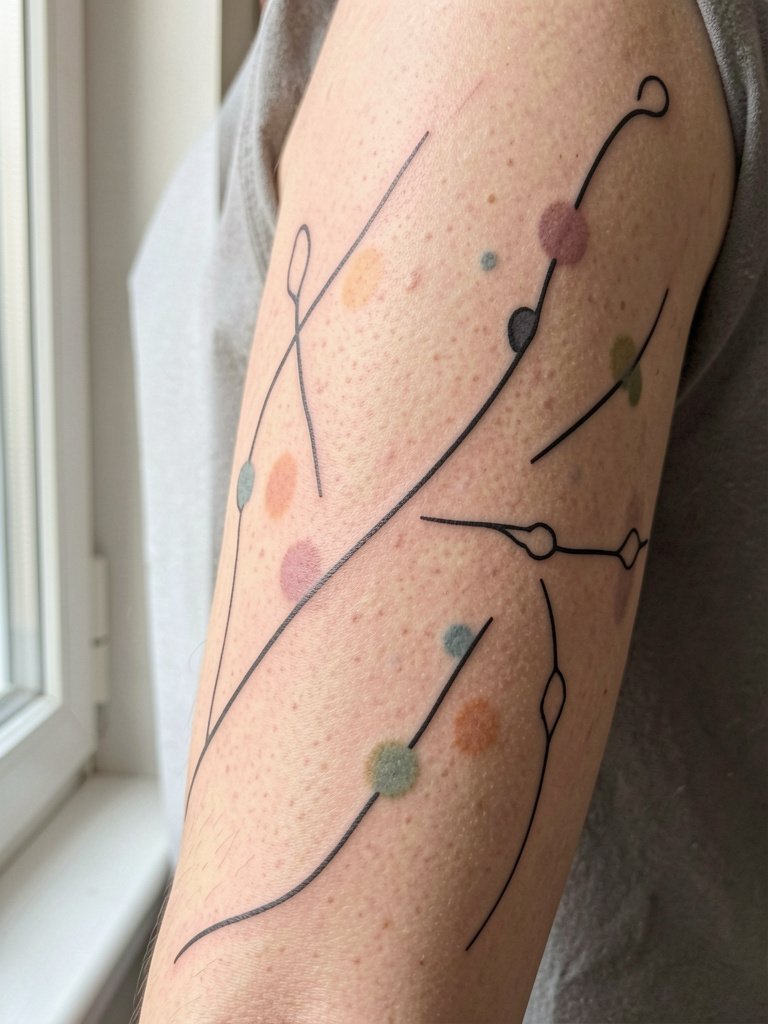
Minimalist sleeves read sleek at first but they demand careful spacing and slightly heavier outlines than pure single-needle flash. One camp of artists says single-needle sleeves are a long-term risk on high-motion skin and will blur. Another camp argues that with measured spacing and occasional bolder anchor lines minimal sleeves can hold. Ask for anchor lines around the elbow and wrist. For style pair with lightweight long-sleeve shirts with cuff roll so the sparse design punctuates your outfit.
11. Sleeve Combining Calligraphy and Wave Motifs
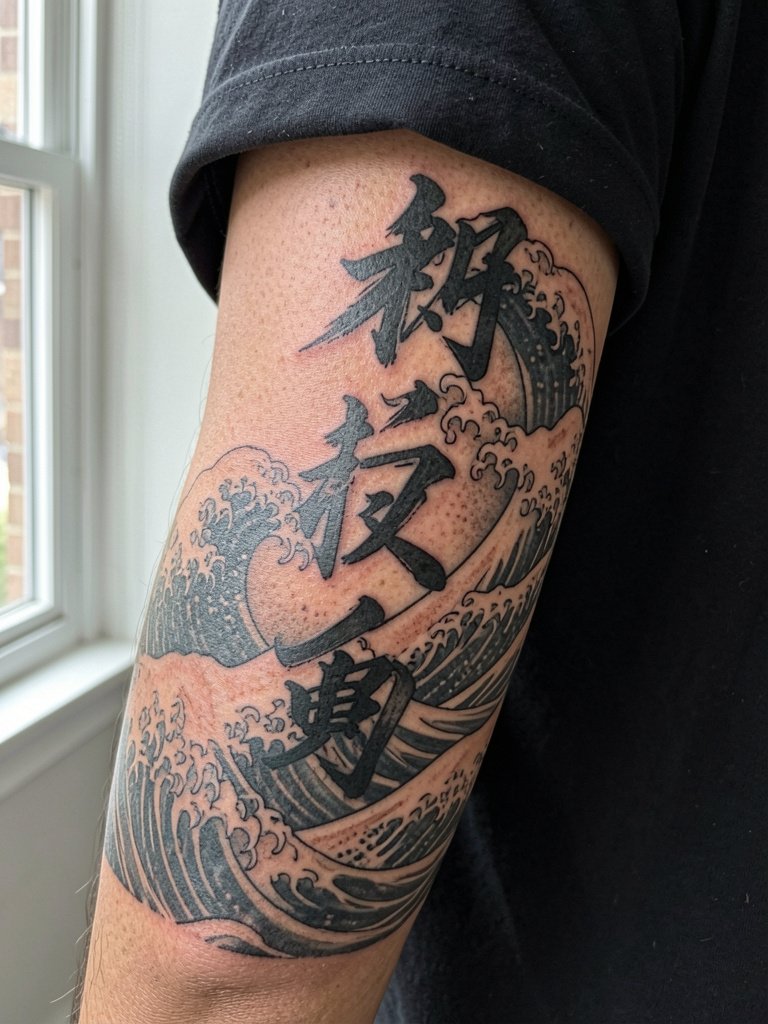
Calligraphic strokes act as great rhythm makers in a sleeve. The usual mistake is requesting tiny text in multiple places that later becomes illegible. Choose one primary phrase or single character in a larger scale and let waves occupy the negative space. Confirm the exact characters and font treatment with the artist and make sure the calligraphy works at both three and five inches. For appointments wear a button-down shirt with sleeve you can roll so the artist can see how the characters sit on relaxed muscle.
12. Sleeve Focused on Birds and Sky Panels
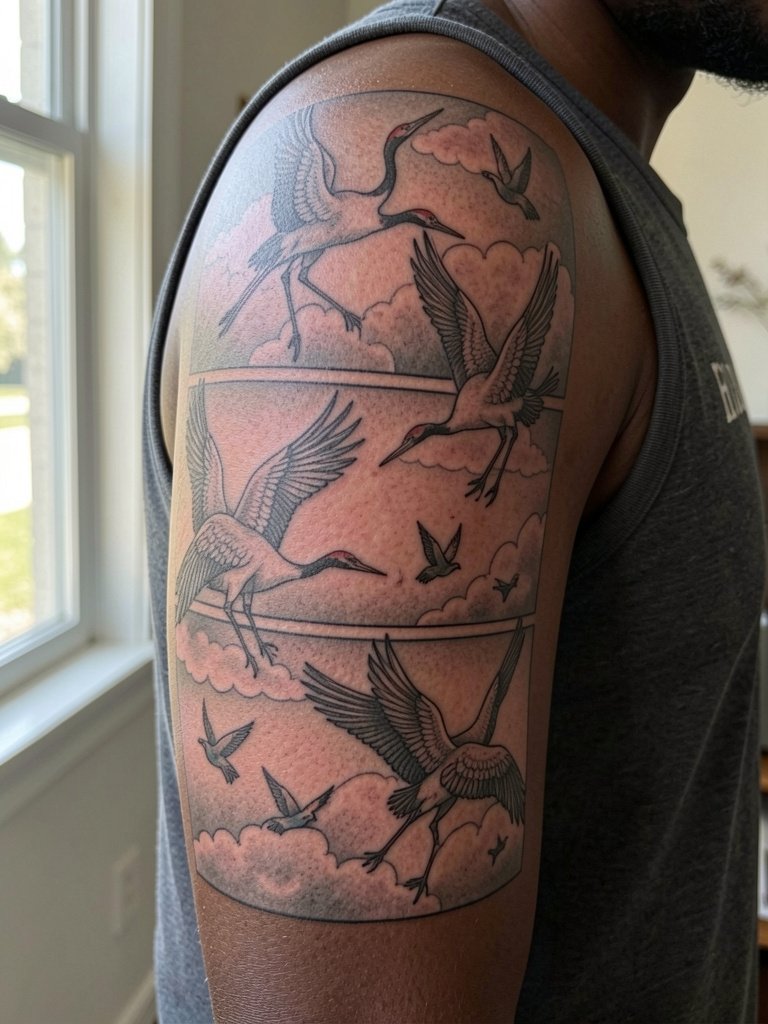
Bird panels create vertical motion on the arm and they age well if the wings are kept open and not over-detailed. A mistake is compressing multiple birds into a tight column near the elbow where motion blurs wing tips. Ask for staggered spacing and larger wing spans on scrolling panels. Session time usually spans two long sessions for saturation and shading. To display the upper shoulder birds choose tank tops with racerback cut that frame the shoulder.
13. Sleeve with Samurai Sword and Floral Backdrop
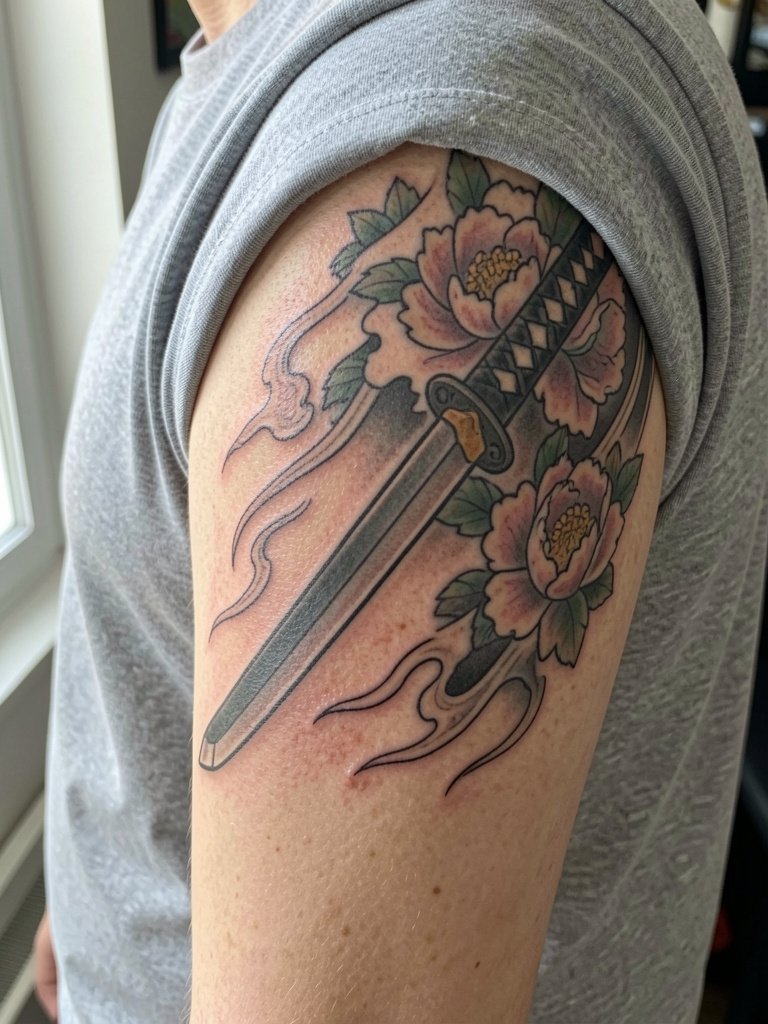
A singular sword motif gives a visual spine to a sleeve. The risk is placing the blade where arm bends distort the straight line. Confirm the blade path with the artist while the arm is at rest to ensure the line reads when relaxed. Expect sharper pain around the inner arm and near the elbow bone. Wear a loose crew tee to the session so the artist can access the outer arm without tugging.
14. Half-Sleeve Sternum-to-Shoulder Panel
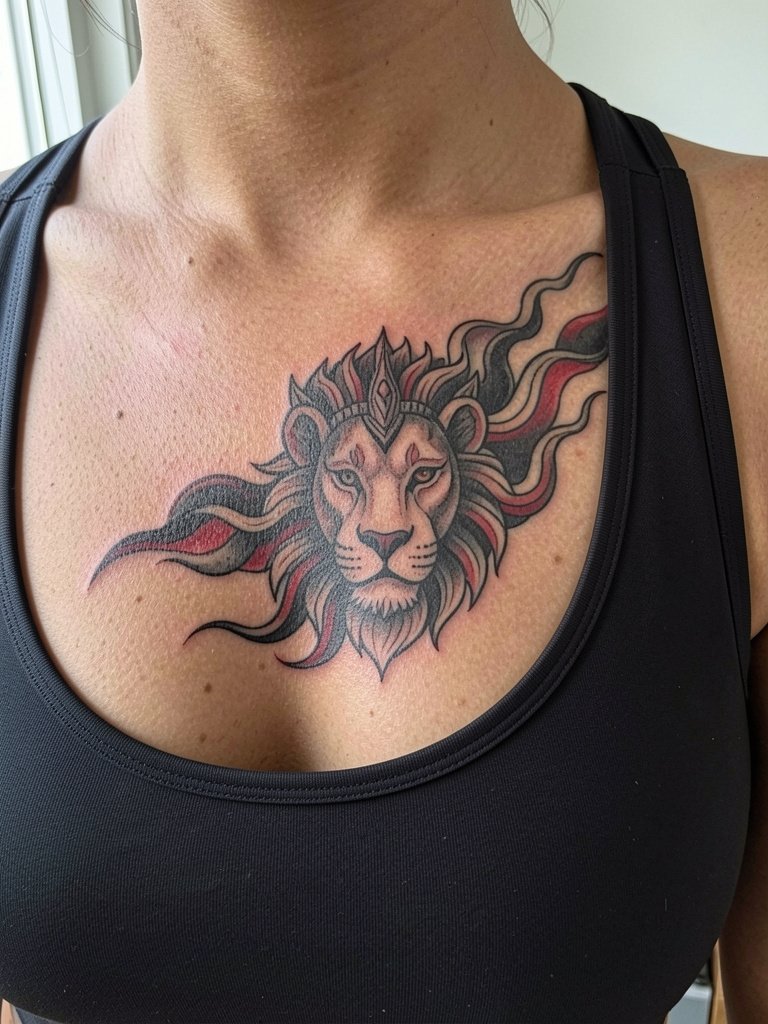
Sternum pieces are sensitive and require an artist skilled with chest anatomy. Pain is higher and sessions are usually broken into shorter passes. For cultural respect note that guardian lion imagery has deep roots in specific regional motifs, so discuss symbolism and source inspiration with the artist. Wear a fitted sports bra so the artist can work without exposing more than necessary. Plan for a touch-up at year one to address early settling along the sternum crease.
15. Sleeve Centered on Geometric Sun and Moon
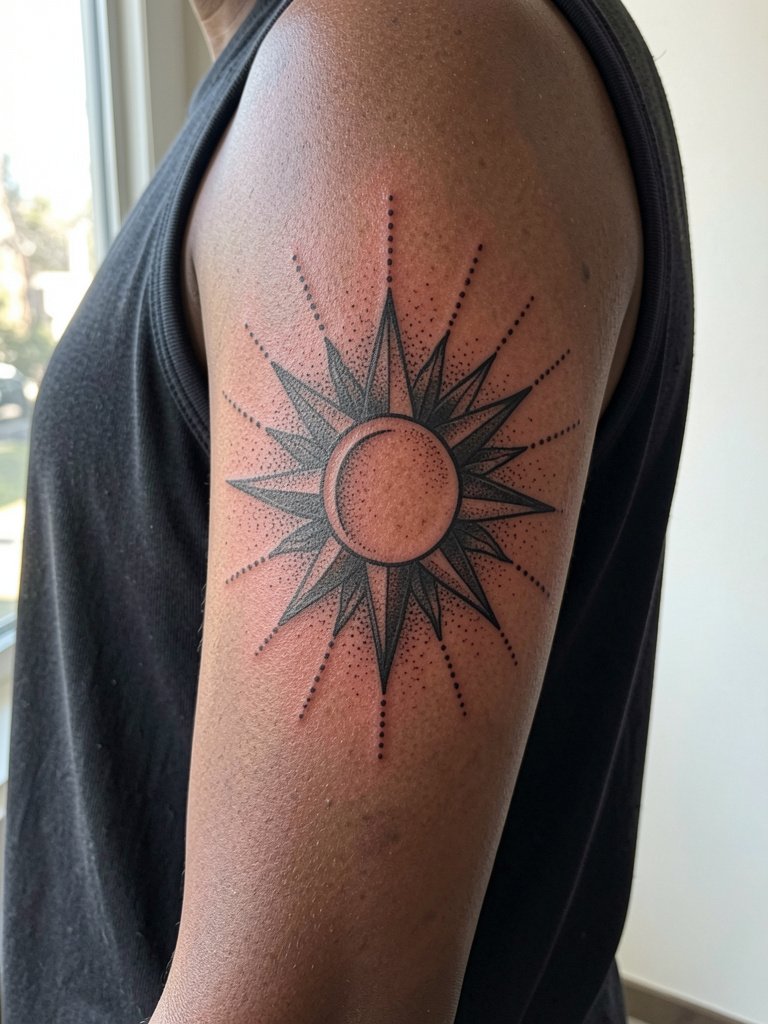
Geometric mandalas need clean spacing to avoid lines merging over time. The common error is overcomplicating the mandala with too many concentric rings that blur into one tone. Request slightly wider ring spacing and bold anchor points so the pattern breathes at multiple distances. Stipple shading holds well for up to five years if density is managed. For outfits that highlight the geometry try a sleeveless high-neck top that frames the upper arm.
16. Sleeve That Blends Blackwork and Flesh Tones
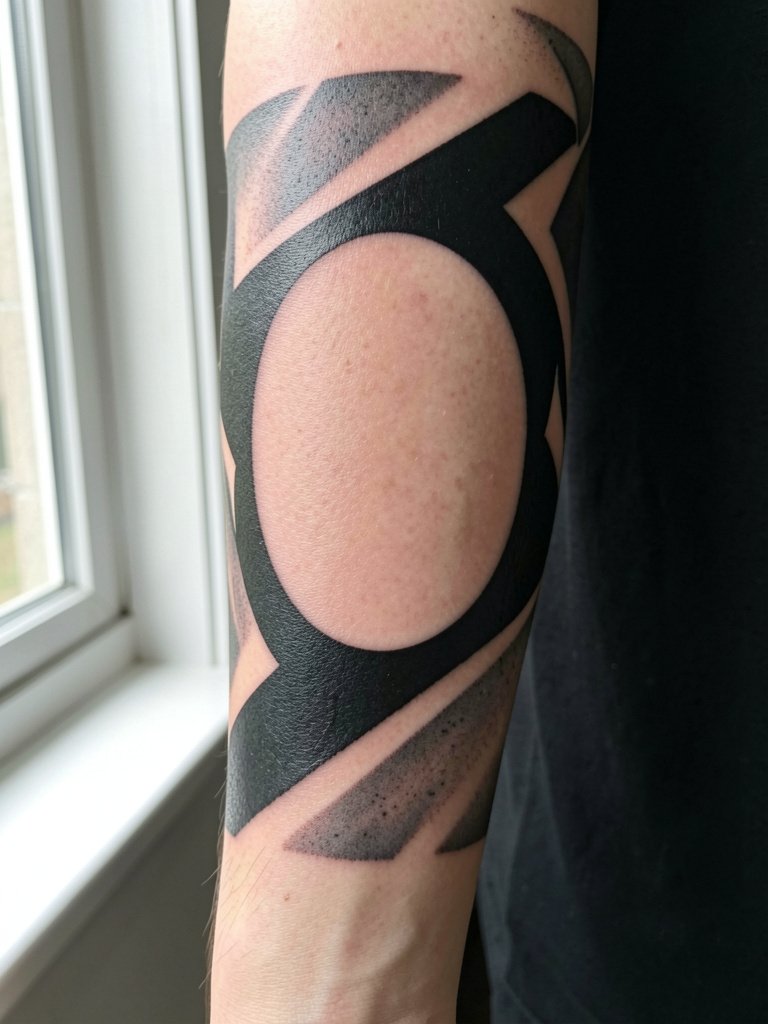
Mixing heavy black blocks with bare skin reads modern and holds up because the dark fields stay dominant. The mistake is scattering tiny black dots and expecting the negative space to remain obvious. Ask the artist to plan at least two large negative-space anchors so skin tone reads as part of the composition. Plan for longer sessions to build saturation without overworking the skin. Pair this with a short-sleeve mock neck shirt to show contrast on the arm.
17. Sleeve of Traditional Creatures and Cloud Bands
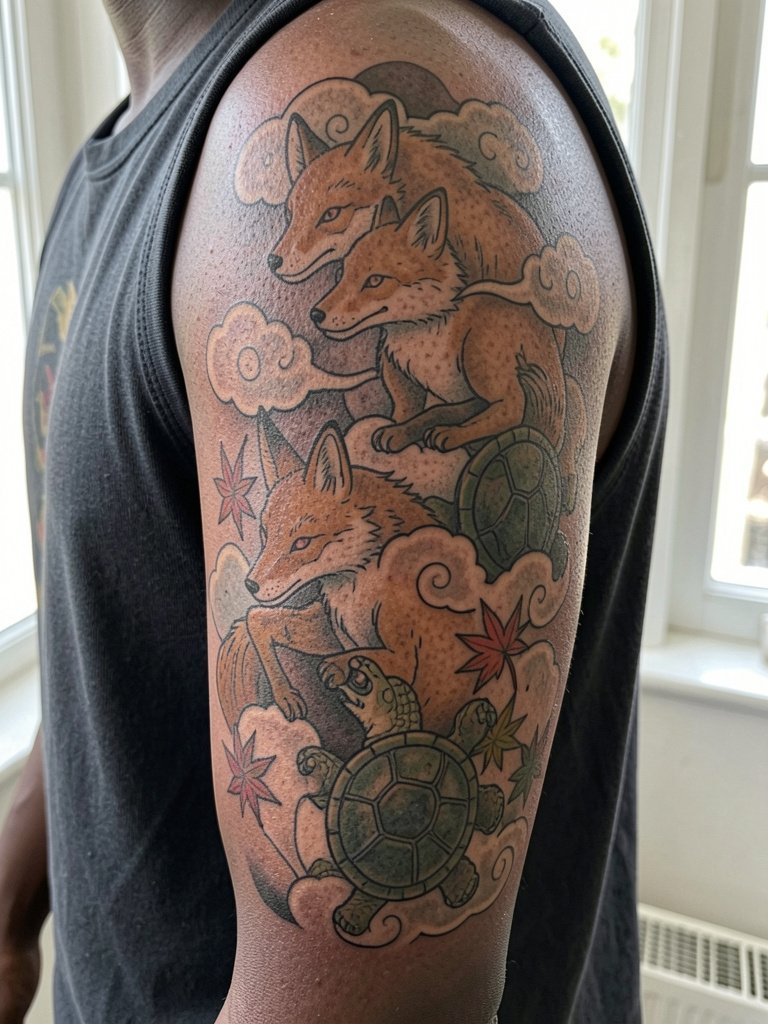
When you pull several creature motifs into one sleeve, consistency of linework is vital. The common error is mixing line weights so some creatures overpower others. Ask for a line weight guide in the mockup and pick a palette with two dominant tones. For inner bicep pieces note that healing can be slower and more prone to scabbing, so plan for hydration and a lighter touch on the first pass. Show off this kind of sleeve with rolled short-sleeve shirts.
18. Sleeve That Reads Like a Scroll, Vertical Narrative
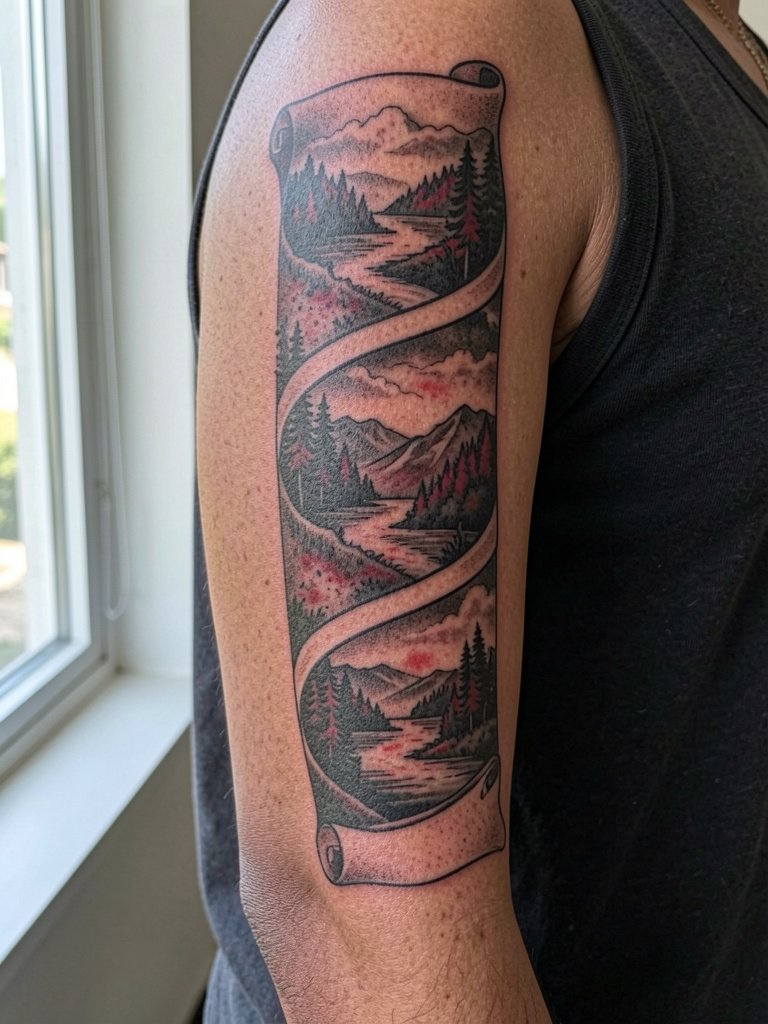
A scroll-style sleeve requires planning so the eye follows the arm in order. The mistake is designing vignettes that compete rather than lead the eye. During the consult map the narrative beats and decide where to pause with negative space. Expect several medium-length sessions to build the story. For a night out wear a fitted short-sleeve top that keeps the vertical flow visible.
19. Sleeve Anchored by a Single Large Back Piece
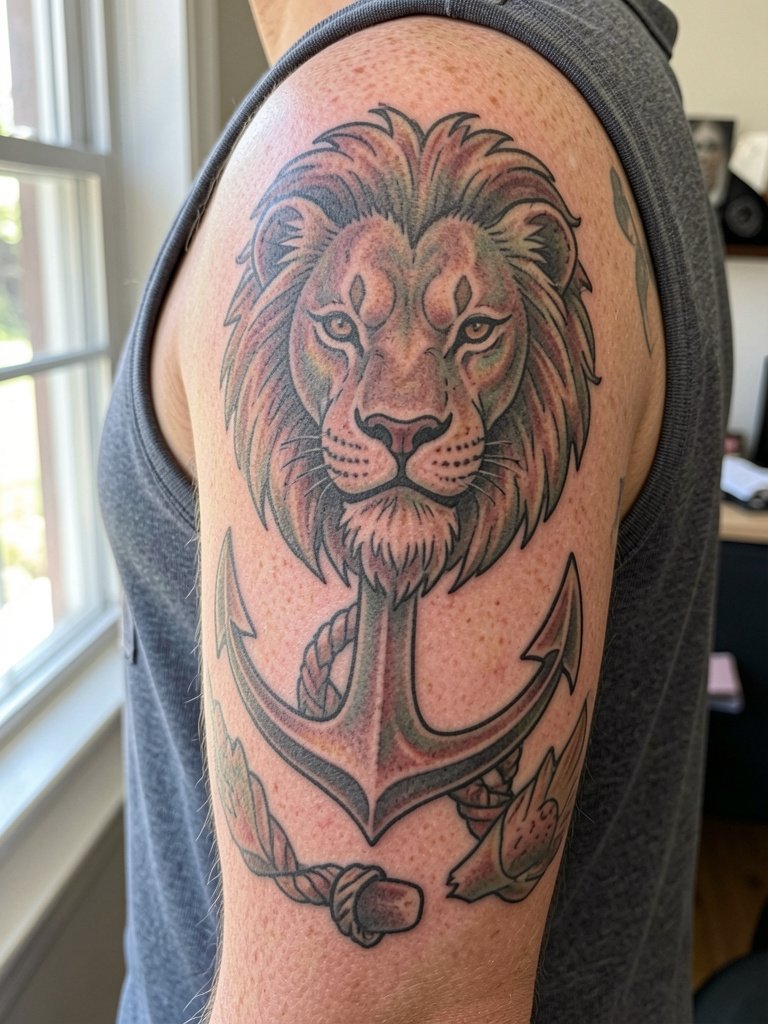
An anchor on the back-of-arm gives the sleeve a focal point when your arm is at rest. The common error is using a too-small anchor that disappears when the arm relaxes. Ask the artist to size the anchor so it reads at arm-rest and to place connecting motifs to balance the front and back. The triceps area is lower on the pain scale than the inner arm. For showing the anchor pick tops with an open shoulder such as a one-shoulder tank.
20. Sleeve That Integrates Existing Scars or Stretch Marks
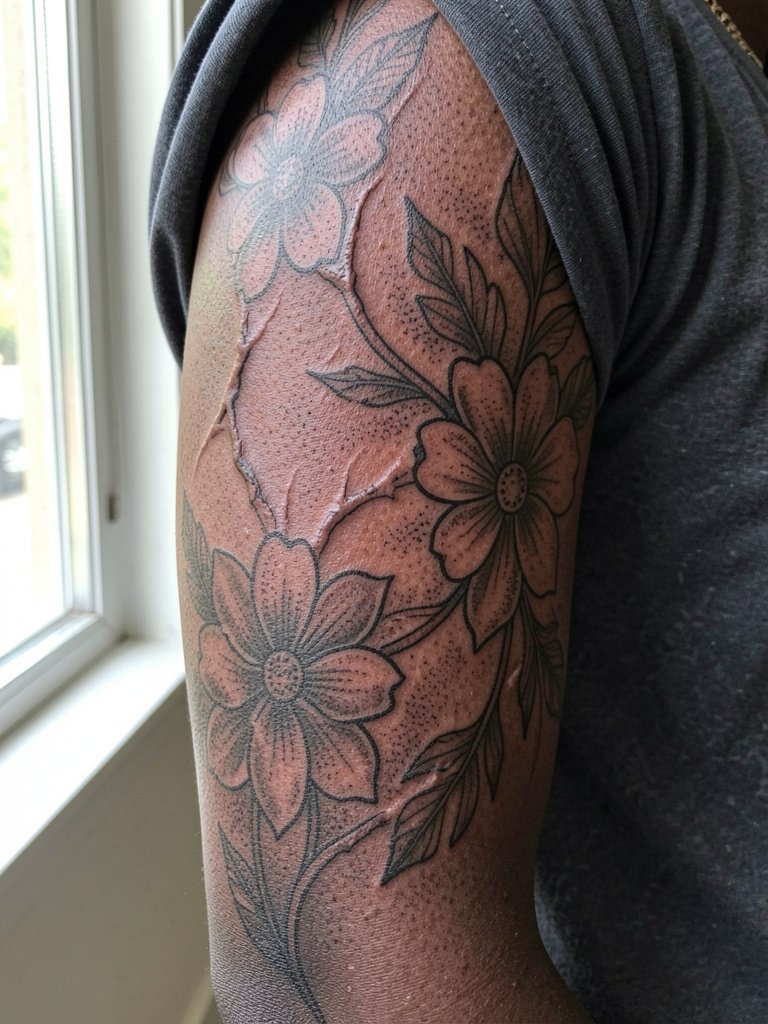
Working around scars or stretch marks is a technical art. A mistake is trying to hide them with dense black without adapting design flow. Request a session where the artist maps the scar orientation and shows how motifs can follow or frame the texture. That planning preserves the design and limits rework. Sessions may need extra passes for saturation near scar tissue. For comfort wear soft cotton such as a relaxed crew tee to avoid friction during healing.
21. Sleeve With Hand and Finger Continuation
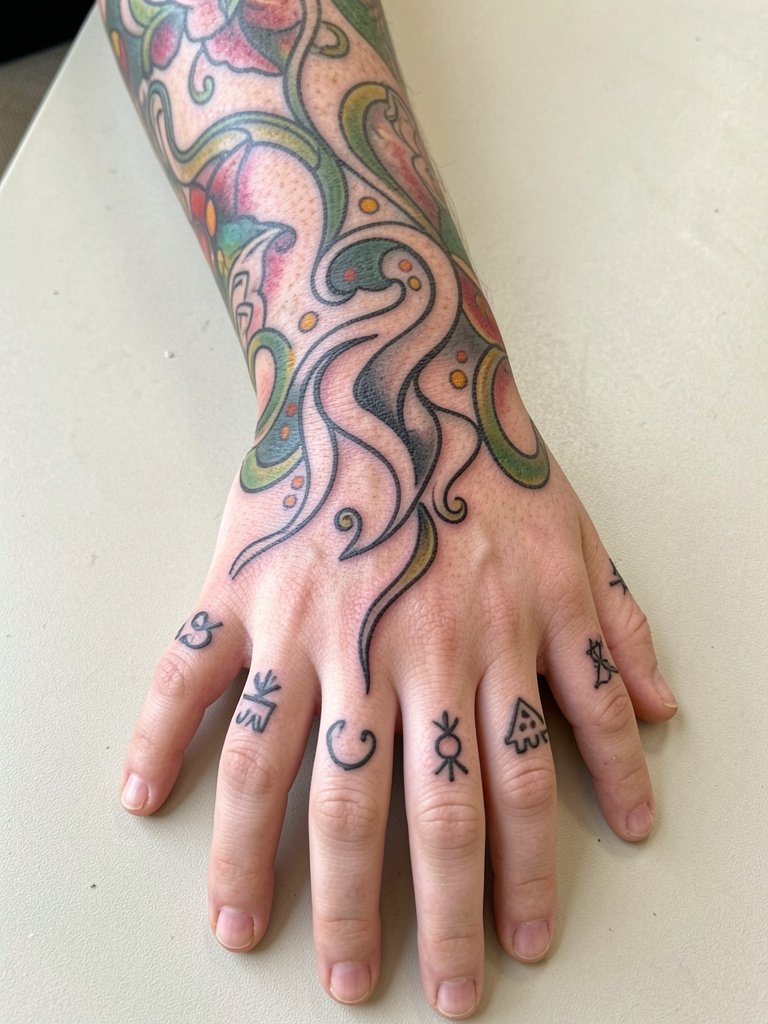
Hand and finger work is high-maintenance and prone to faster fading. One camp of artists warns that finger tattoos can blur and fade rapidly from washing and friction. The other camp says small symbols with bold anchors can last if touched up yearly. Be explicit about expected touch-up rhythm and design scale. Note that hand work often requires a specialist who handles skin at high-motion spots.
Professional considerations apply for hand and finger placements because of visibility and employment constraints.
22. Sleeve that Mirrors Kimono Textile Patterns
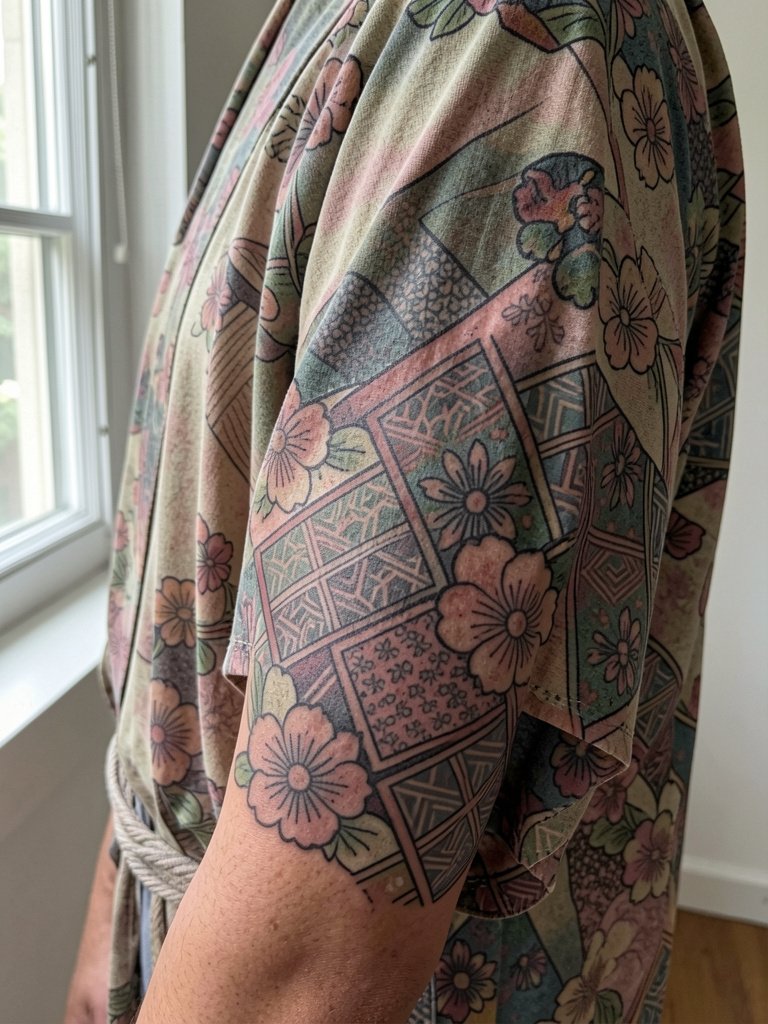
Designs drawn from kimono textiles call for cultural awareness. One camp argues these motifs are part of shared visual language and can be adapted respectfully. The other camp insists that certain patterns belong to specific cultural contexts and should be approached with research and permission. If you take inspiration, be explicit about source and intent, and ask for a design variation that avoids direct replication. For appointments wear a loose kimono-style shirt so the artist can view the arm silhouette in context.
23. Sleeve That Starts Dense and Fades to Skin Near Wrist
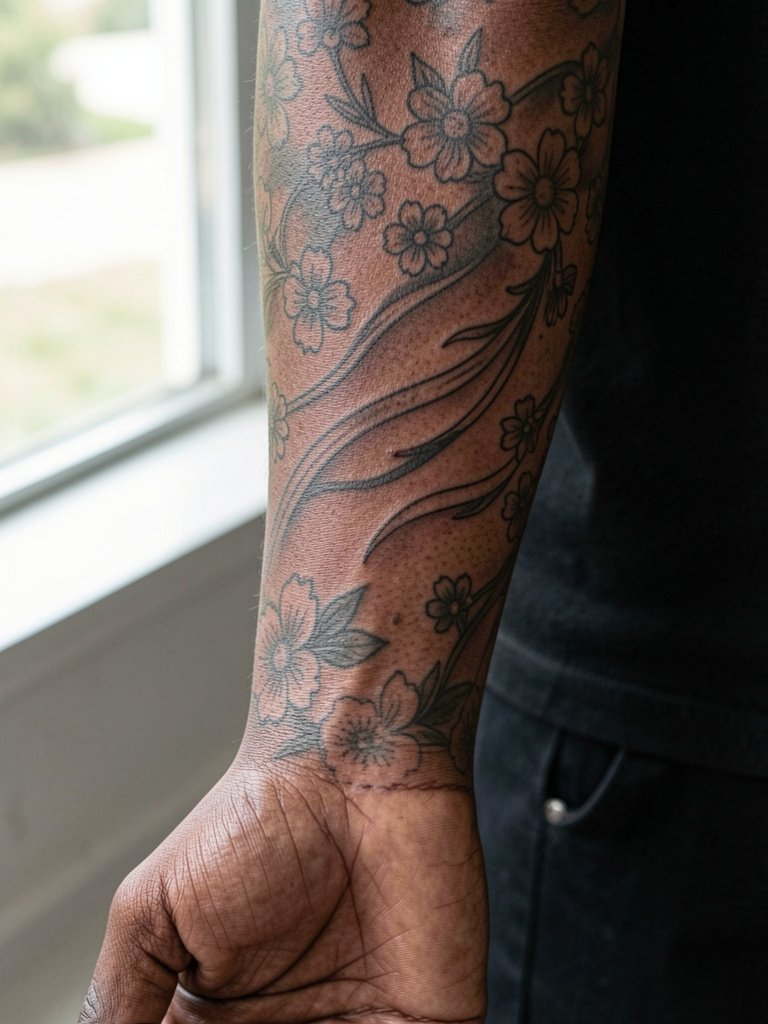
A tapering sleeve keeps the visual weight where the arm is broadest and avoids crowding the wrist where detail can blur. A frequent mistake is forcing the same density along the entire arm. Ask your artist to mock the gradient and show a healed simulation so you can see how the ink will breathe near the wrist. Touch-up is commonly needed at the wrist first. For showing off the taper pick layered bracelets or a short sleeve and try a linen cuff bracelet that does not rub the wrist tattoo.
Frequently Asked Questions
Q: How do I find healed examples and portfolios for Japanese sleeve work without naming specific artists?
A: Search platform tags that combine style and placement plus the word "healed" such as #JapaneseSleeveHealed, use location filters on image apps to narrow to nearby shops, and browse portfolio keywords like "Irezumi sleeve healed" or "Japanese full sleeve healed." Reddit portfolio threads can show multiple skin tones so you can preview how saturation reads on different complexions.
Q: Will fine line elements in a Japanese sleeve hold up on the inner arm?
A: Inner arm skin moves and sees friction, so very thin single-needle filigree will soften faster. One approach is to anchor fine line with slightly thicker guide lines and place the most delicate filigree on the upper inner arm where movement is less. Plan a realistic touch-up at year two to restore crispness.
Q: Is it cultural appropriation to get traditional Japanese motifs as a non-Japanese person?
A: This depends on intent and execution. Many people adapt motifs respectfully by learning the symbolism and crediting the cultural origin in the consult. Others prefer to commission a design that blends motifs rather than copy sacred iconography. A respectful path is to discuss symbolism with the artist and avoid direct replicas of religious or family crests.
Q: How long should I expect a full Japanese sleeve to take across sessions?
A: Most full sleeves require multiple long sessions over several months. Expect anywhere from three to eight sessions depending on saturation and complexity, with additional touch-up sessions later. Breaking sessions into color layering passes helps saturation without overworking the skin.
Q: What should I wear to a long sleeve session that includes shoulder, bicep, and forearm work?
A: Choose layered pieces that can be removed without exposing more skin than necessary, such as a button-down overshirt over a tank top. That lets the artist access the full arm and keeps you comfortable during long sessions.
