
Someone I know spent months saving references before realizing the real problem was picking a design that would age well on their skin. I spent time in five shops across Brooklyn and noticed the same picks kept coming up. Below are twelve sign-specific tattoos with style notes, placement advice, how they heal over time, and what to tell your artist so you get a healed result you actually want.
1. Minimalist Aries Ram Head Outline on Inner Forearm
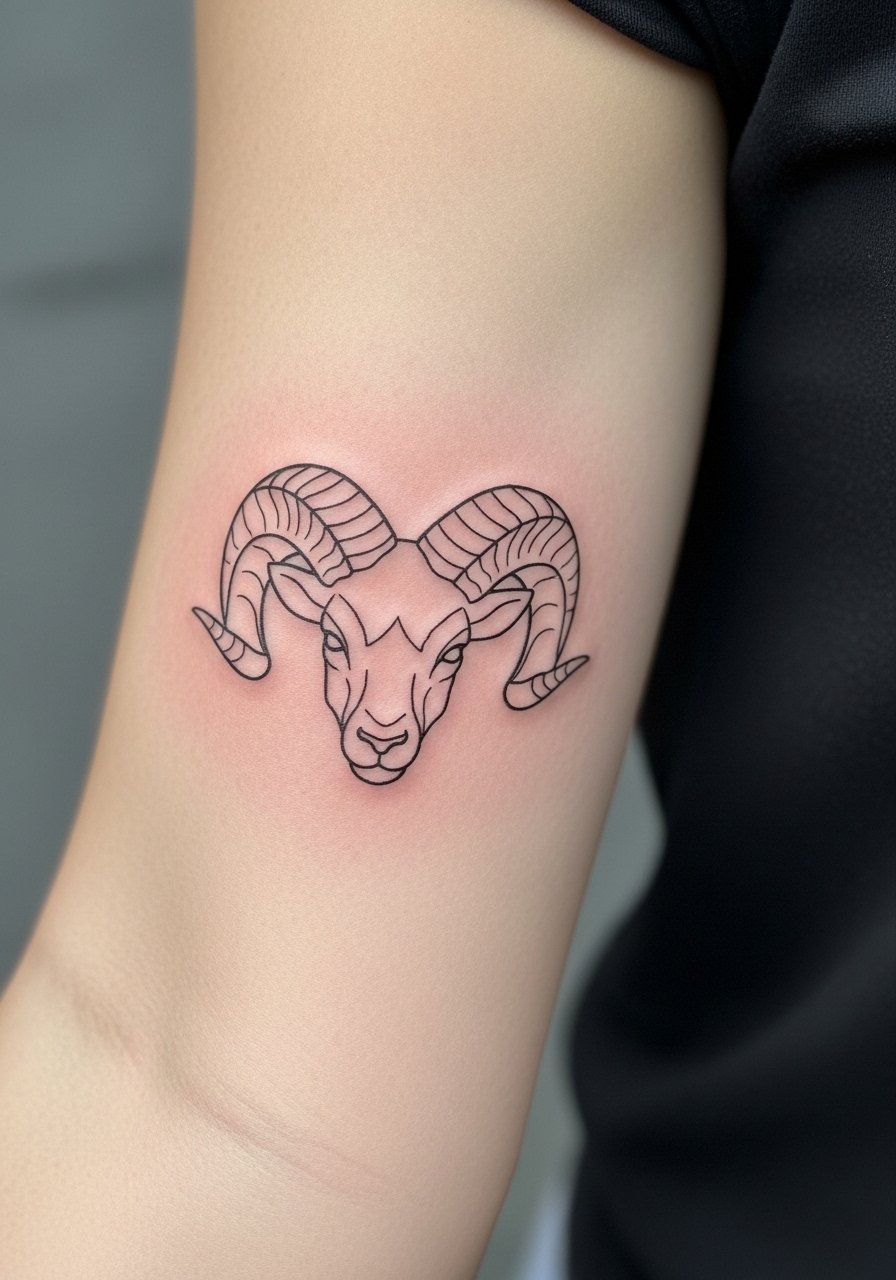
Someone I know first saw this on a forearm and booked a session the next week. For this Aries ram outline, ask your artist for slightly heavier linework than a micro single-needle sketch. That small change helps with longevity on hands and inner forearms because fine single-needle lines can blur or need touch-ups sooner. Expect a one-session piece and mild to moderate pain on the inner forearm. A common mistake is forcing tiny horns and tiny details, which look crisp at first but puddle after two years. If you want more punch, bring a reference of a ram with light stipple shading behind it. Mention blowout risk and ask about spacing so the horns keep shape as the skin settles.
2. Fine Line Flame Motif for Aries on Upper Arm
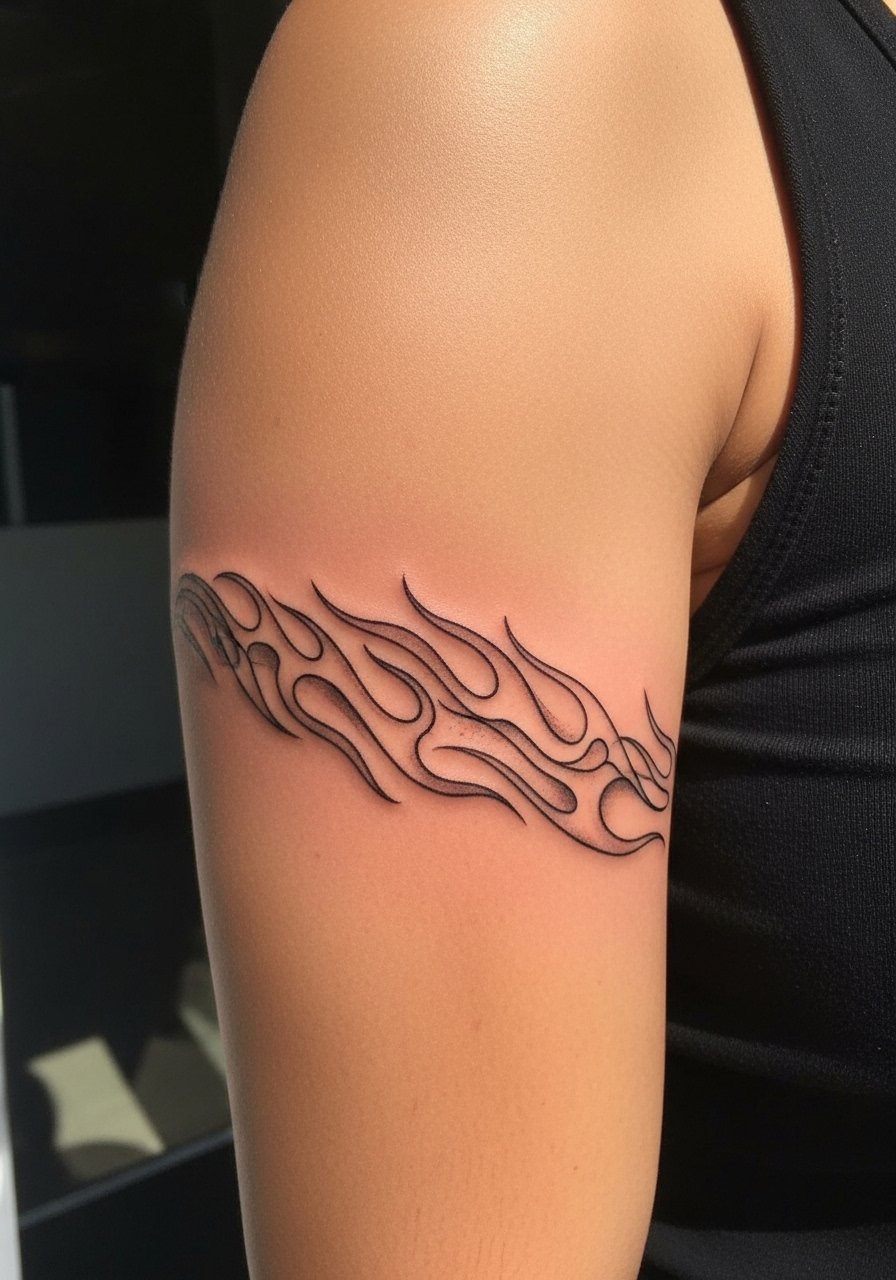
Fair warning, artists split on fine line flames. One camp says subtle flames read elegantly and soften over time. The other camp argues flames on rounded areas can lose definition within a couple of years. When booking, ask which camp your artist belongs to and why. Upper arm placement is forgiving for a small 3-inch motif and tends to hurt less than ribs. Tell the artist you want crisp negative space between flame tongues and slightly deeper initial line placement to reduce early fading. Expect one to two sessions. Plan a touch-up window at 12 to 24 months if you want the lines extremely crisp long term.
3. Traditional Bull Silhouette for Taurus on Calf
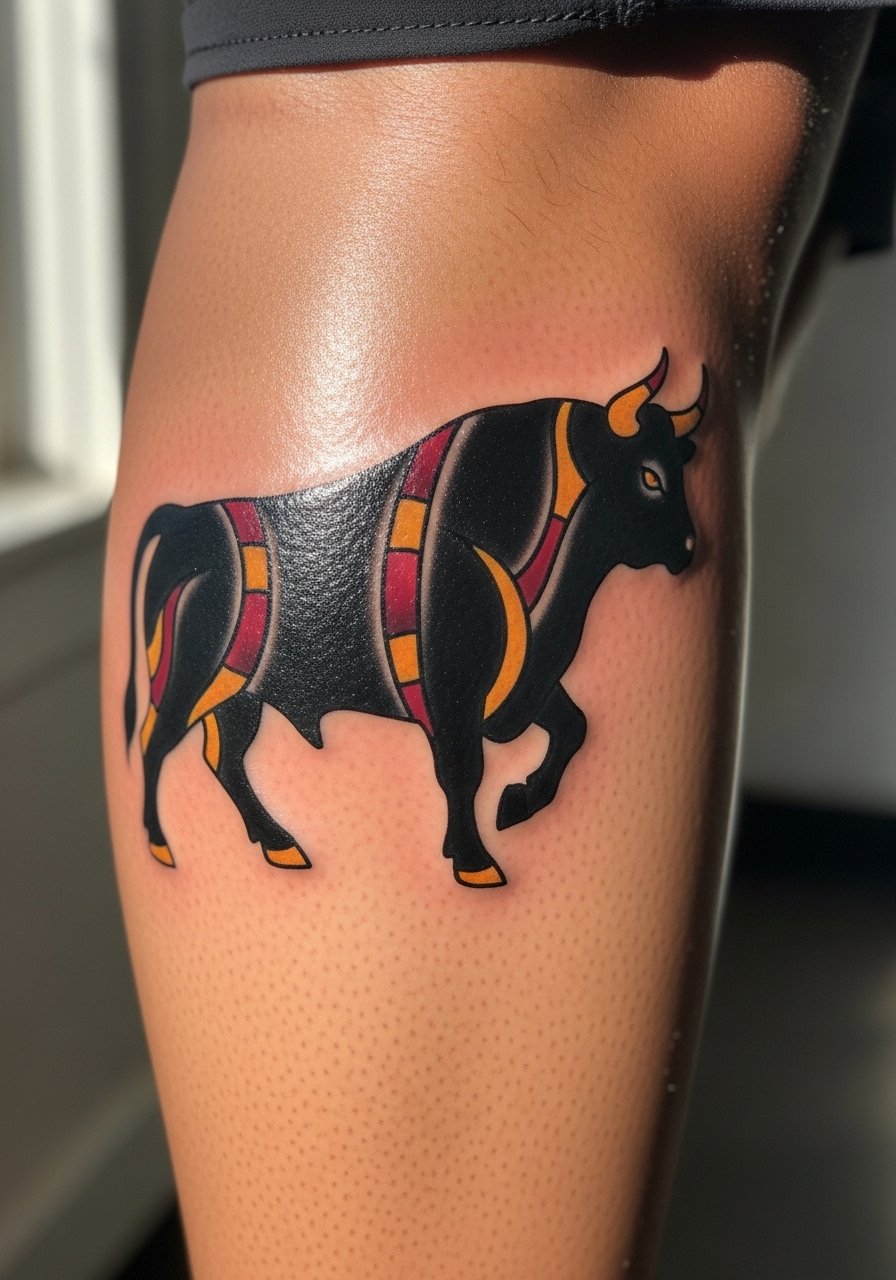
There is a practical reason Taurus folk keep choosing bold bulls. Thick outlines and solid saturation hold up well on moving skin like calves. When you consult, say you want classic American traditional linework with color blocked in, not watercolor washes. The session feels like medium effort for a calf piece and usually needs two sittings if you go color. A rookie mistake is asking for a tiny bull with too many interior details. That detail vanishes with time. If you plan on future leg work, place the silhouette where a future sleeve can flow into it. Expect predictable saturation and fewer touch-ups than a fine line floral.
4. Watercolor Rose for Taurus on Shoulder Blade
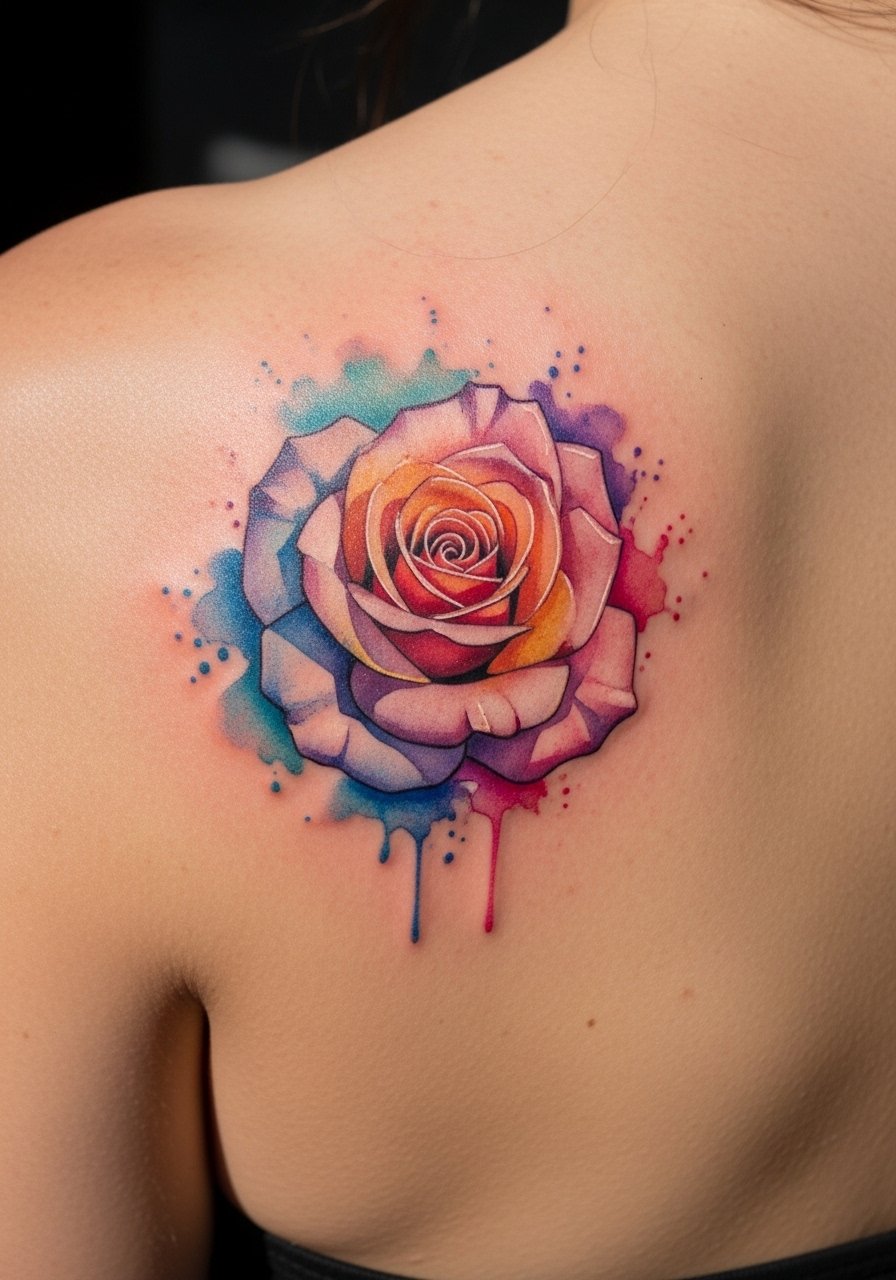
Most watercolor picks from earlier years faded into ghostly washes. This rose version keeps the look but asks for stronger black outlines to anchor pigment. When you sit with the artist, request color patches with layered saturation and soft stipple shading around the edges. Shoulder blades tend to be less sun-exposed, so color longevity improves. The session will be gentle on pain but may take two sittings for saturated color. A common mistake is using only thin color without anchor lines. That choice costs you vibrancy after a year. If you want the watercolor feel without frequent touch-ups, opt for a hybrid: soft color inside a crisp outline.
5. Fine Line Shooting Star Trail for Sagittarius on Collarbone
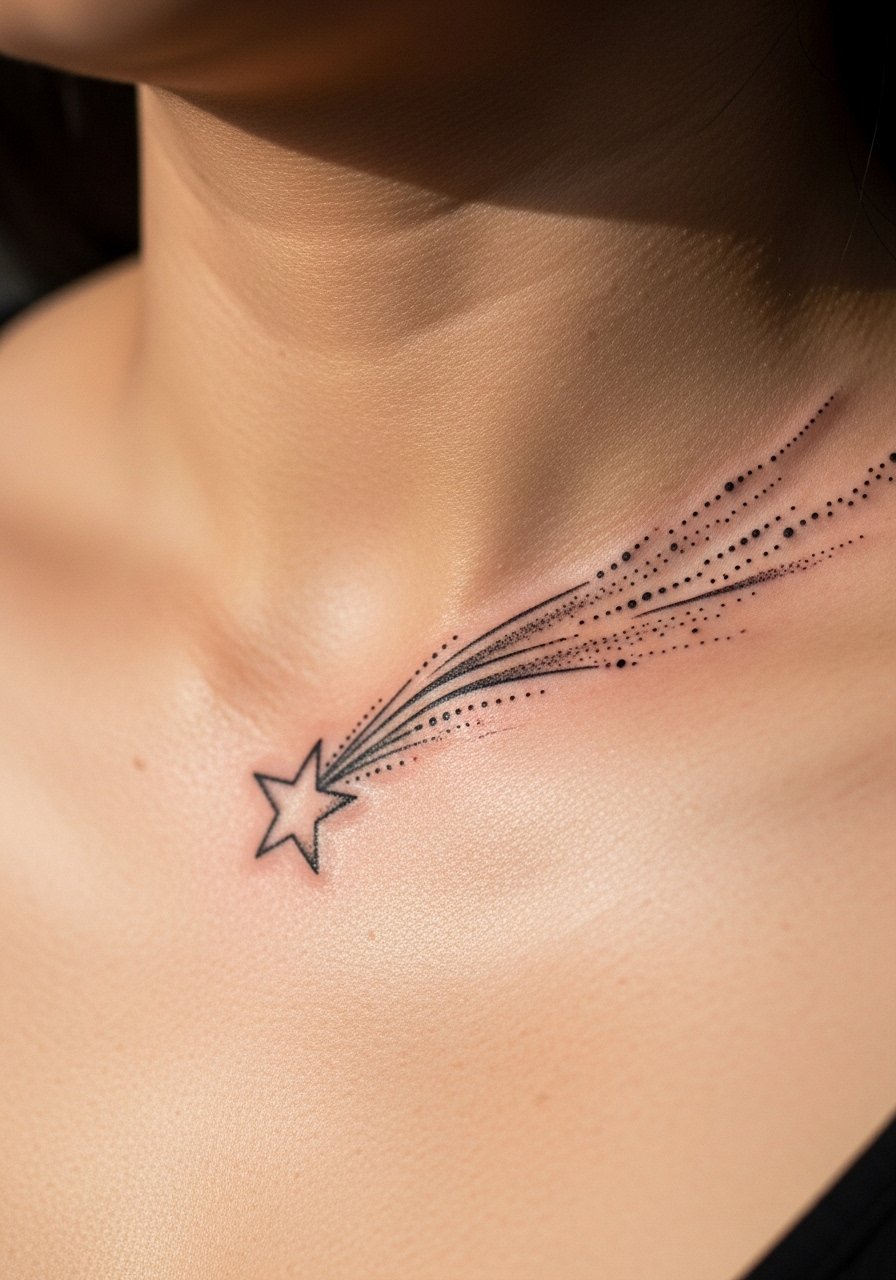
From what I've seen, collarbone placements showcase fine line trails beautifully, but they demand spacing. Tell your artist you want deliberate gaps between the tiny stars and a slightly bolder main star so the focal point does not blur. Pain at the collarbone runs on the sharper side, but sessions are short. People often make the error of compressing the trail into a micro scale. When that happens the tiny elements merge after a year. If you want a travelable look, ask for a faint dotted tail with a single solid star to anchor the piece. Expect a touch-up at year two if you want the trail to stay crisp.
6. Neo-Traditional Galloping Horse for Sagittarius on Thigh
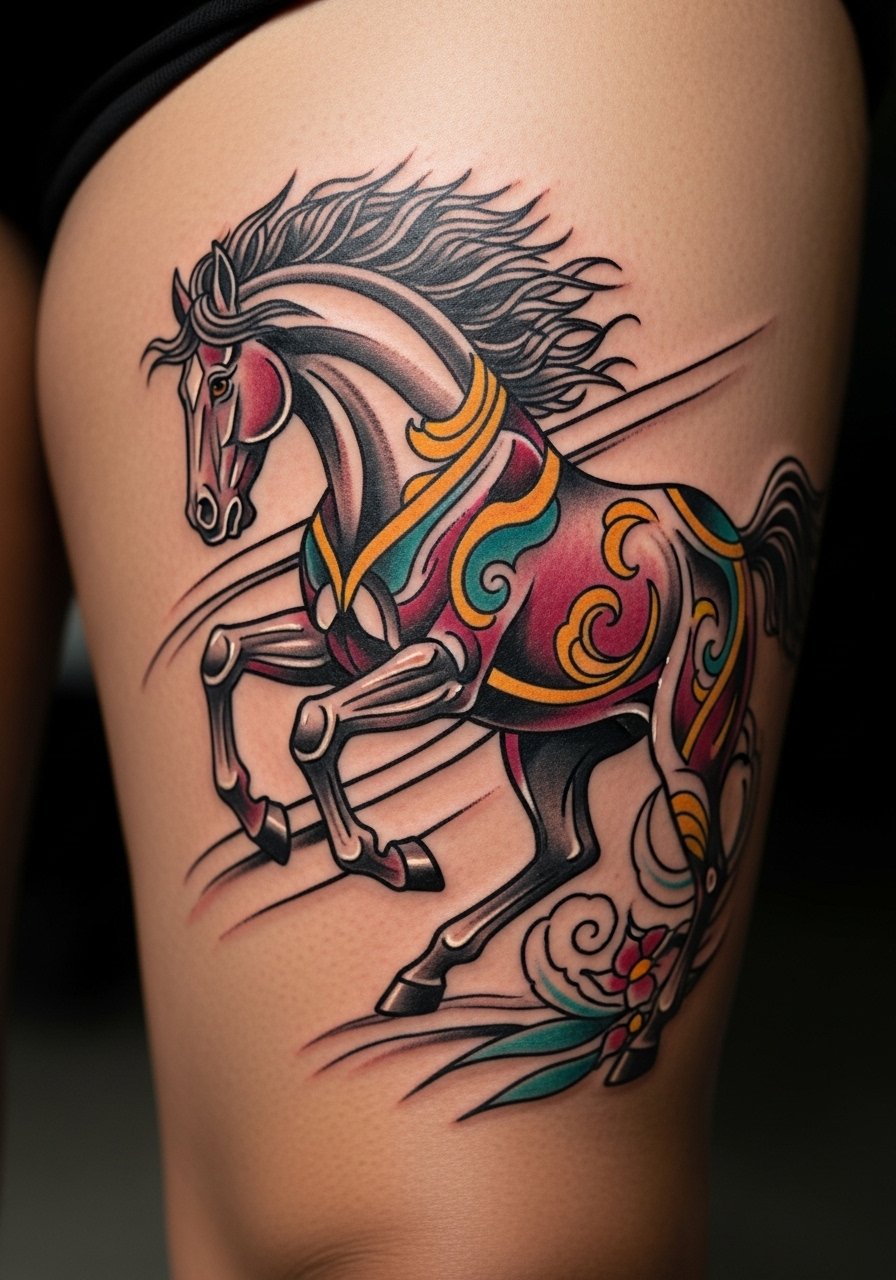
There is solid visual impact in a thigh horse done neo-traditional style. Thigh skin handles saturation well, so color pops and lasts. A typical session is medium to long depending on size, and pain is generally manageable. In the consult say you want dynamic motion in the mane and a mix of whip shading and solid fills for contrast. Avoid cramming tiny ornamentation inside the horse. That detail disappears over time. If you are impulsive about large work, remember sleeves can be scaled in stages. This placement also hides well for professional situations and makes touch-ups easier to schedule.
7. Ornamental Mountain Goat for Capricorn on Forearm
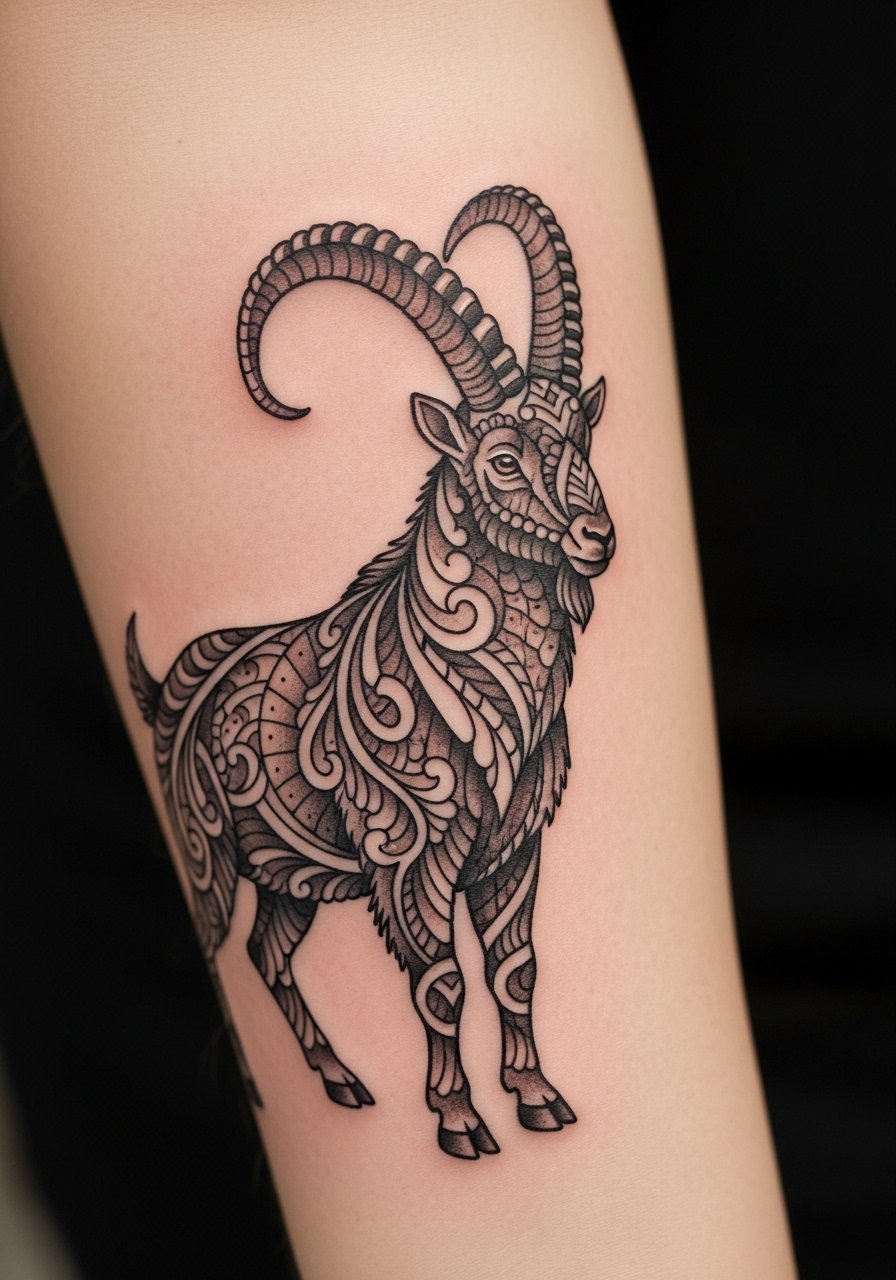
When I watched a consultation for an ornamental goat, the artist recommended thicker decorative lines around the horns so the pattern reads from a distance. Forearm is forgiving for the goat height and allows for detailed ornamentation without risking too much distortion from weight change. Ask for stipple shading to create depth without dense saturation that may age patchy. People sometimes ask for micro filigree too small to hold, which can blur into a muddle. Plan on two sessions for complex ornament. If you later wrap a sleeve around it, coordinate motifs so lines match up and do not clash.
8. Blackwork Snake Coiling for Scorpio on Ribcage
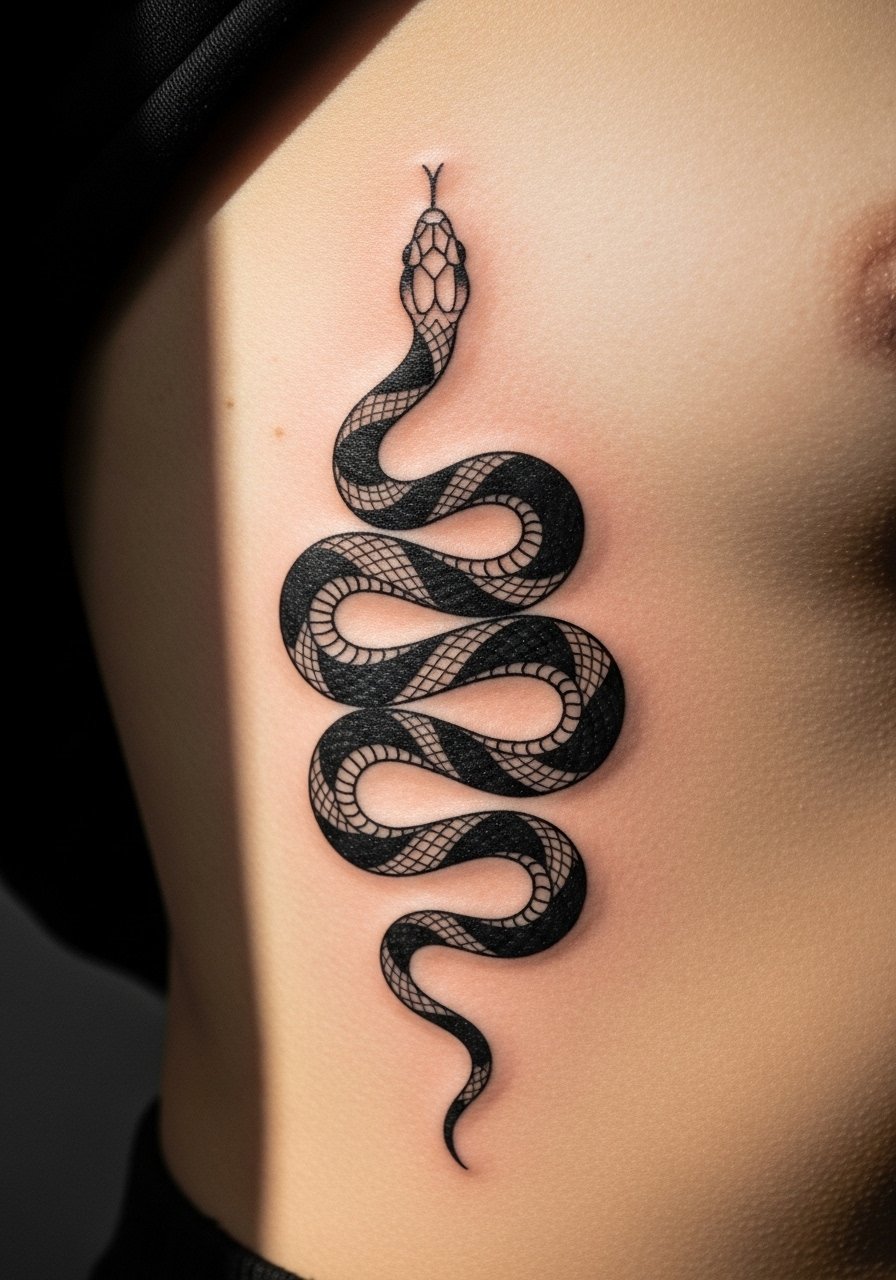
Fair warning about ribs. Pain is higher and healing depends on movement and clothing friction. Blackwork thrives here because heavy saturation resists early fading, but the rib area stretches with breathing and weight changes. Artists disagree on fine line use on ribs. One camp says fine lines blur due to skin stretch. The other camp says with proper needle depth and spacing, fine line can work. For the snake choose bold negative spaces between coils and tell your artist you want solid black fills rather than delicate crosshatching. Expect two to three sessions and a touch-up window at year one if you plan heavy body changes.
9. Minimalist Black Cat Outline for Scorpio on Ankle
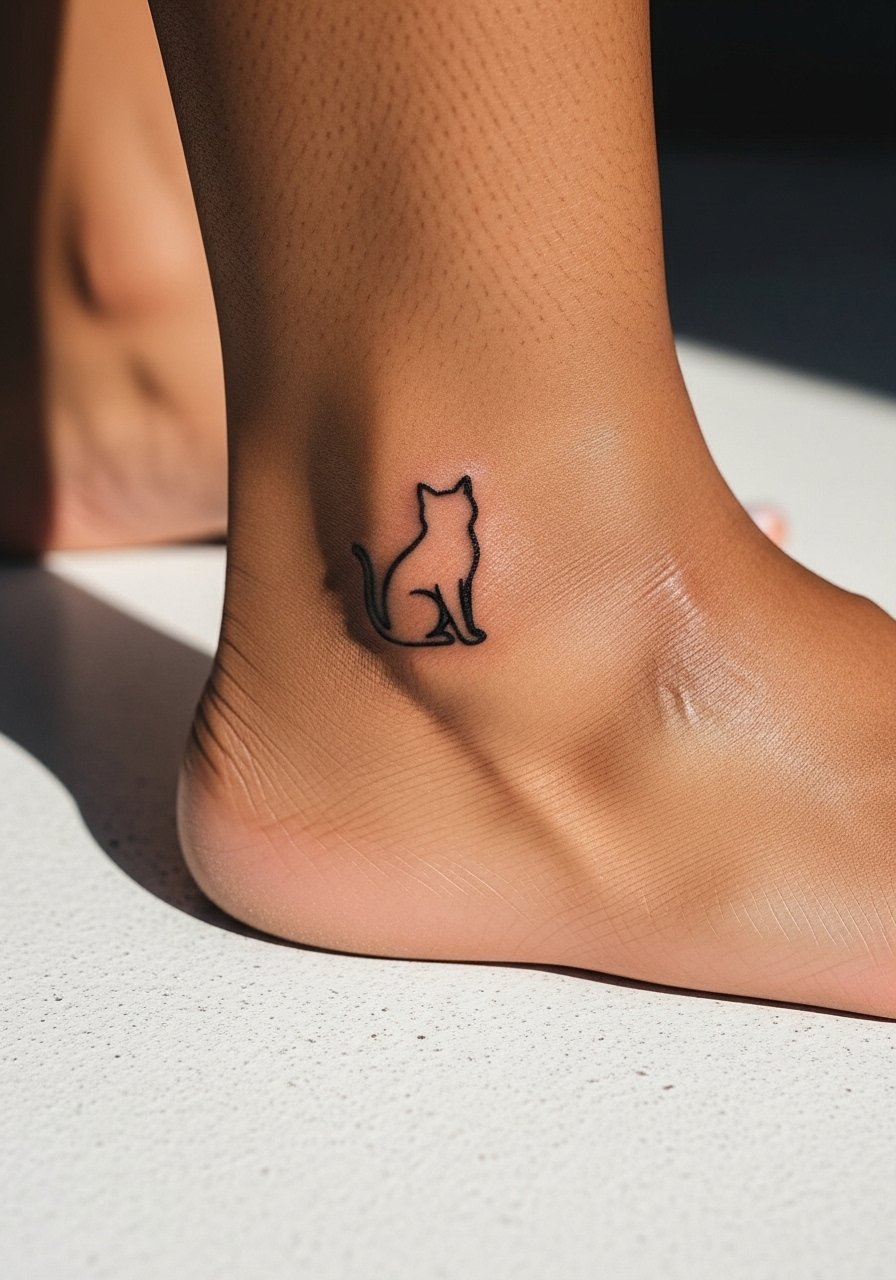
Ankle pieces are small and discreet, and the black cat outline reads clearly if you ask for slightly stronger line weight than a tiny dot. The ankle sees a lot of movement and rubbing from socks, so expect faster fading than forearm work. A common mistake is asking for extremely thin lines around the ankle. They tend to blur in 12 to 18 months. Mention to the artist that you walk a lot and wear boots often so they can advise on placement around tendons. This is a single-session piece with light to moderate pain. Plan a touch-up at year one for maintenance.
10. Fine Line Scales with Feathers for Libra on Inner Wrist
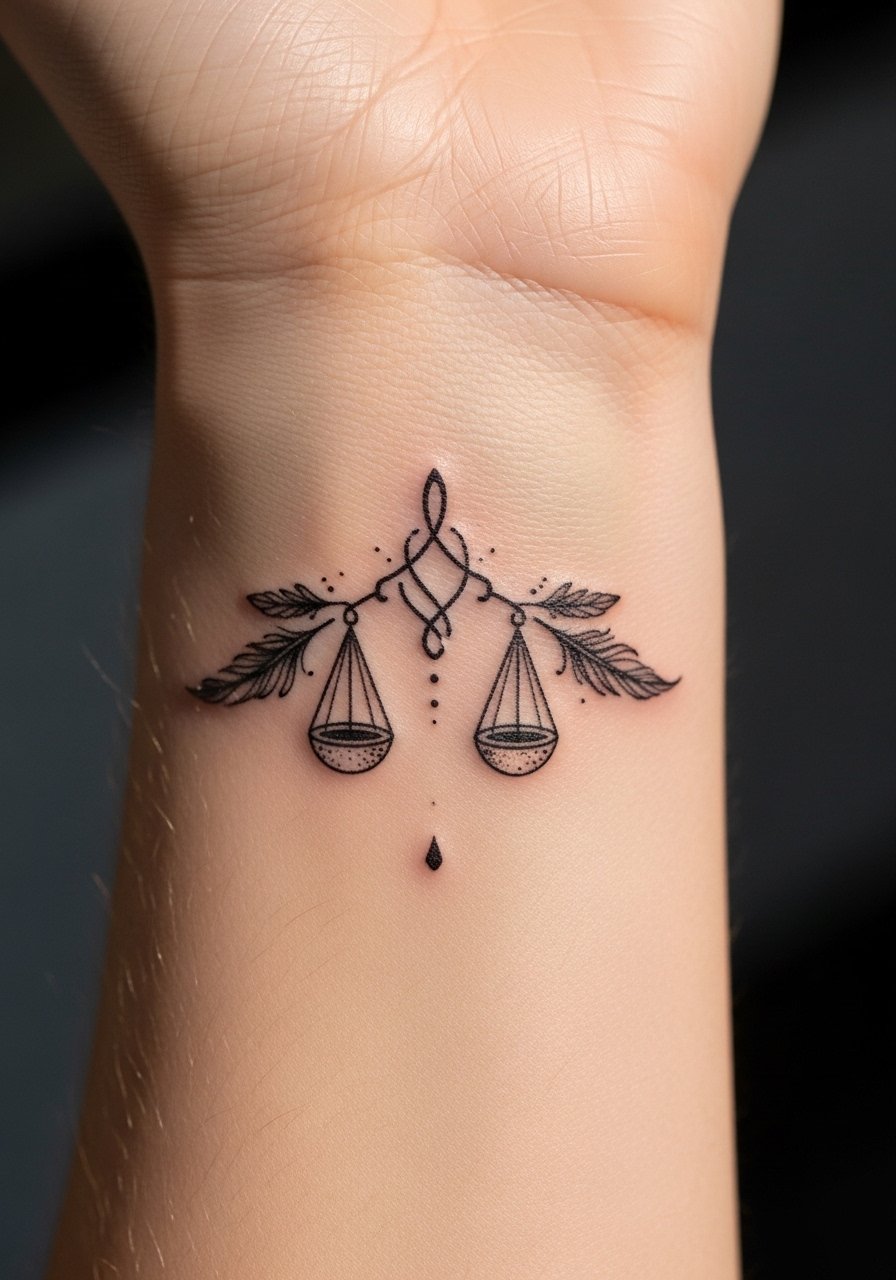
Inner wrist is a popular spot for Libra scales but it ages differently than collarbones. Fine line scales need deliberate air between the pans and feather details to avoid merging. Tell your artist you want the scales to breathe visually and to use a slightly bolder bar connecting them. Wrist tattoos are prone to sun and friction so expect touch-ups earlier. A typical mistake is packing in feather micro detail that disappears. Pain is mild to moderate and the session is short. If you want contrast, ask for small stipple shading behind the scales so the pans stand out on healed skin.
11. Micro-Realism Swan Neck for Libra on Clavicle
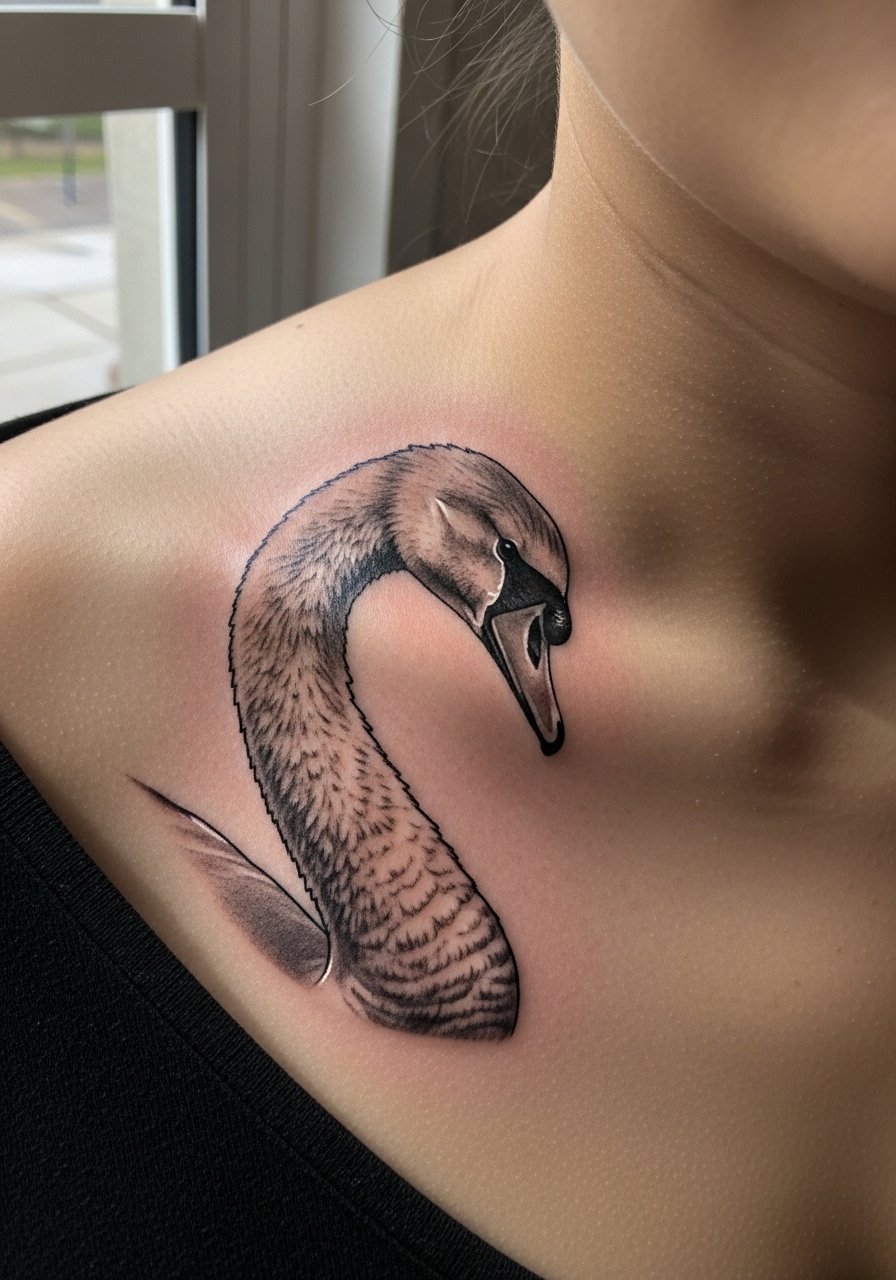
Micro-realism near the clavicle demands exacting linework and grayscale saturation to keep the swan graceful over time. Clavicle placements can feel tender during tattooing, but the visual payoff is high. When you consult, bring photos of real swan necks and ask for gradual shading with dot work in shadow areas. A common error is insisting on hair-thin contouring around the beak. Over time that disappears. Expect one to two sessions and a likely touch-up in 18 months to keep micro contrasts visible. Mention any job concerns early because neck and clavicle visibility varies with clothing.
12. Pisces Dual Fish in Circular Composition on Calf or Shoulder
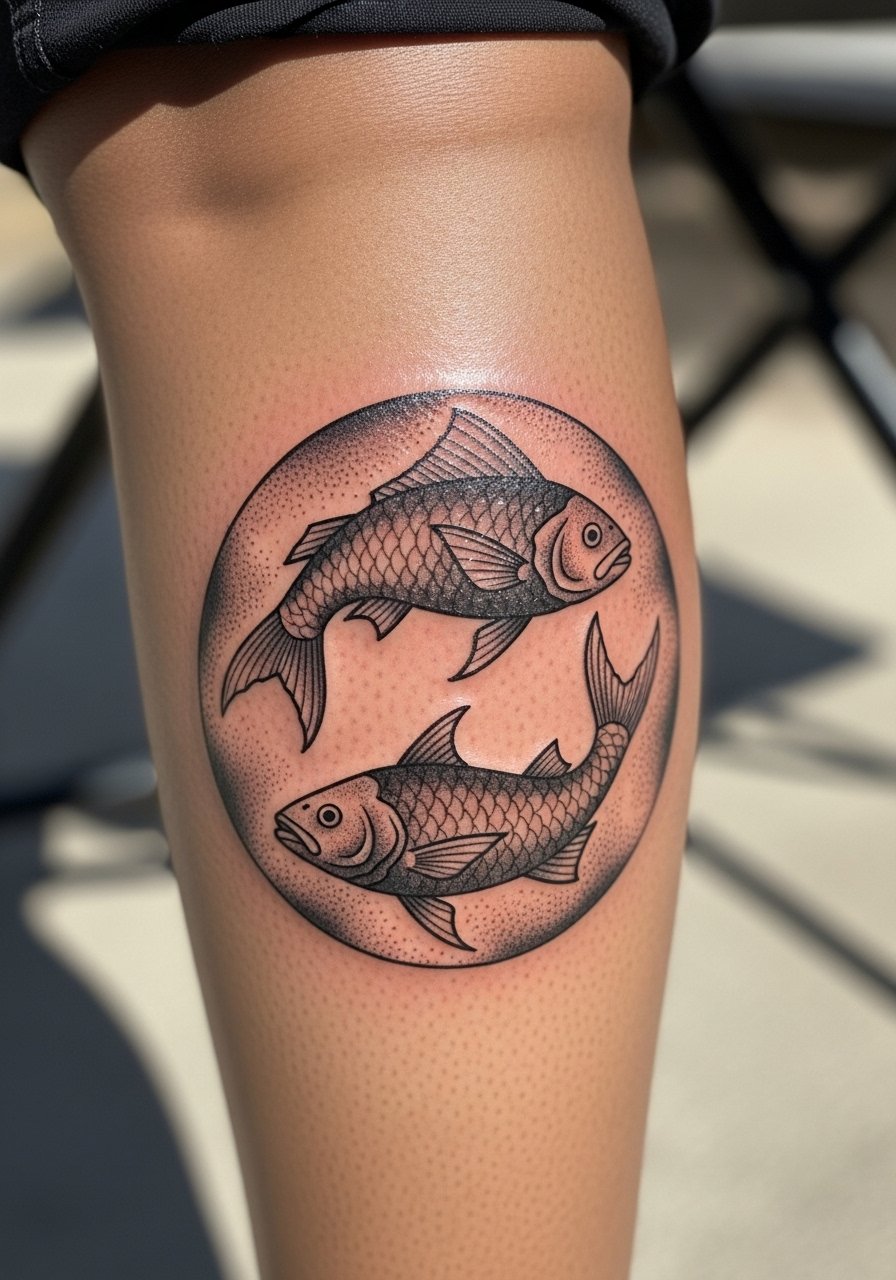
There is a quiet balance to a circular Pisces composition. Calf and shoulder are both good because they give the circle room to breathe and reduce distortion when the body moves. For longevity ask for negative space between the fish and varied stipple shading rather than heavy gray wash. People often request very tight spirals in the tails which can fill in. Session time depends on size but plan for medium effort and moderate pain on the calf. If you want both texture and longevity, ask for slight variation in lineweight between the fish so they read separately even after a few years.
Tattoo Prep and Aftercare Essentials
A lot of healing problems come from the wrong cleanser or too much ointment. I recommend a short prep list and an aftercare stack that keeps skin clean, moist, and protected while avoiding heavy scents or clogged pores. Below are practical items you can find quickly. Use them as a checklist, and follow the specific instructions your artist gives at the end of the session. I have seen people over-apply ointment and trap bacteria, and I have also seen people under-moisturize and end up with scabby loss of saturation. Balance matters.
- Fragrance-free gentle foaming cleanser for fresh ink. Use morning and night to remove stray blood and plasma without stripping the new ink. Good during the first week.
- Lightweight fragrance-free healing balm. Apply a thin layer after cleansing to keep the area from drying out. Less is more with balms.
- Medical-grade second skin bandage, small sheets. Useful for high-friction areas for the first 24 to 48 hours. Replace if saturated or loose.
- Non-abrasive microfiber cloths for gentle drying. Pat dry, do not rub during the first two weeks.
- Broad-spectrum mineral sunscreen SPF 50. Use after the area is fully healed to protect saturation from UV loss.
- Silicone scar sheets for older touch-up areas. Helpful months after healing if you notice texture or raised scarring.
- Gentle antibacterial soap bar with minimal additives. Good for the first three days when combined with the cleanser.
- Aquaphor Healing Ointment. Only include one mainstream product in your kit. Use sparingly during the first 48 hours if recommended by your artist.
Every tattoo is different. Always follow your artist's specific aftercare instructions. Consult a dermatologist if you have skin concerns or unusual healing issues.
Frequently Asked Questions
Q: Will a fine line zodiac symbol blur faster if I put it on my wrist or ribcage?
A: It depends on placement and movement. Wrists see constant sun and friction so fine lines often need earlier touch-ups. Ribs stretch with breathing and weight change which can blur hair-thin lines. Ask your artist about slightly bolder line weight and plan a touch-up window at 12 to 24 months.
Q: Do watercolor-style zodiac pieces require different aftercare than blackwork?
A: The basic healing steps are the same but watercolor and lighter color fills rely on surface saturation. Avoid heavy peeling or harsh exfoliation for at least six weeks. Use a light fragrance-free balm during the early heal and mineral sunscreen once healed to keep colors from washing out.
Q: For Aries sleeves, should I expect more sessions because of stamina or because of design complexity?
A: Expect both. Aries-themed sleeves often involve large blocks of color and bold linework which take time. If you are doing a marathon piece, break it into planned sessions so saturation and healing are consistent. From conversations with artists, planning three to five sessions is common for a full sleeve depending on detail.
Q: How do I find artists who handle darker skin tones well for zodiac glyphs and fine line work?
A: Use style-specific hashtags plus location tags, for example #FineLineZodiac plus your city. Browse portfolios for healed photos on similar skin tones. Platforms like Tattoodo and Reddit boards can help you see healed results. Ask artists for healed photos of similar pieces before booking.
Q: If I want a Capricorn ivy wrap instead of a goat, what should I tell the artist to ensure it ages nicely?
A: Say you want elongated vines with negative space and mixed stipple shading rather than solid thin vines. That lets leaves keep definition as skin shifts. Mention planned placement, like leg wrap or forearm, so the artist can map the design to movement and future work.
