St Patrick’s Day neck tattoos can be small, clean, and surprisingly easy to style. If you want something that nods to Irish spirit without shouting, the neck is a fun spot for micro-ink, fine lines, and tiny symbols that peek out when you want them to. Below are subtle ideas that look cool year-round, plus practical tips on placement, aftercare, and how to test the look at home before you commit.
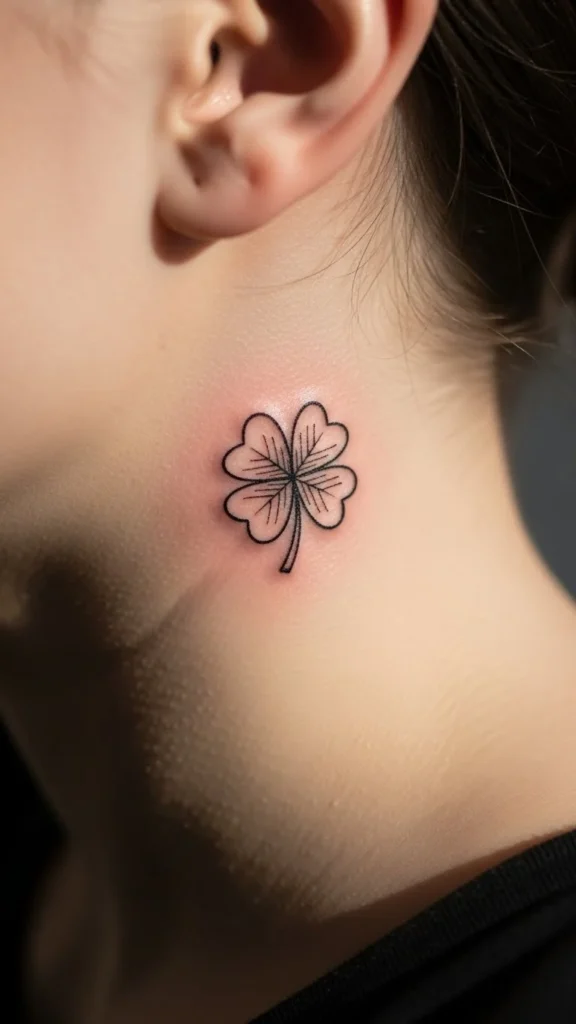
1) Micro Shamrock Behind the Ear Line
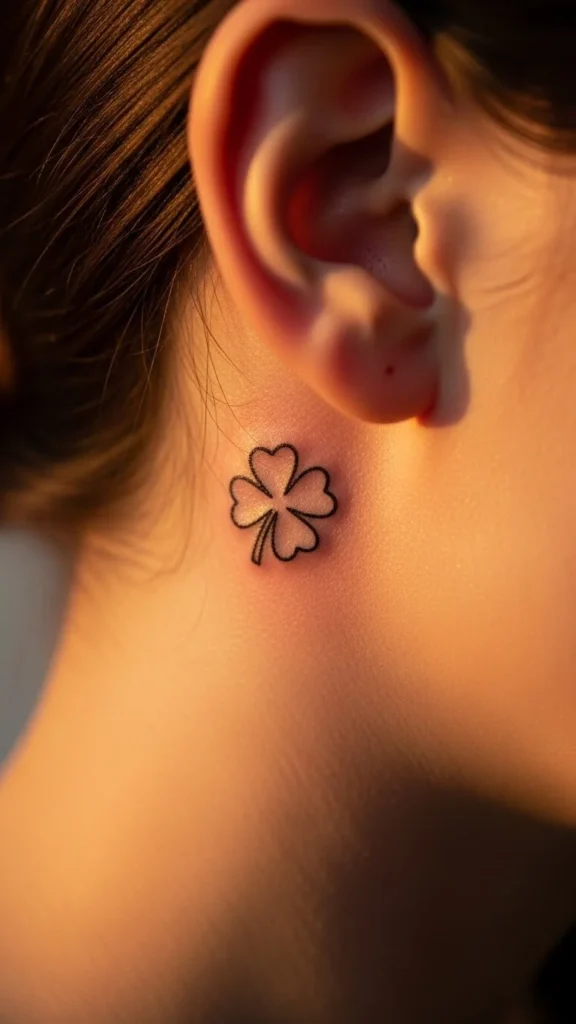
A micro shamrock sits perfectly where the neck meets the ear. It’s easy to hide with hair, and it shows up when you tuck your hair back. Keep it fine-line and simple: outline only, no heavy fill. That’s what makes it feel modern instead of loud.
Before you book, test placement with a temporary tattoo sheet or even a clean green eyeliner. Draw a 1 cm shamrock and live with it for two days. Check it in selfies, side angles, and under indoor lighting. You’ll quickly learn if the spot feels right.
Budget tip: choose a simple outline, because shading takes longer and costs more. Ask the artist for a single-needle look and a slightly thicker stem so it doesn’t fade into a blur over time.
DIY example: print a tiny shamrock stencil, dab it on with cosmetic-grade transfer gel, and wear it for a day. If you keep touching it, that’s a sign the placement might bug you. If you forget it’s there, it’s a green light.
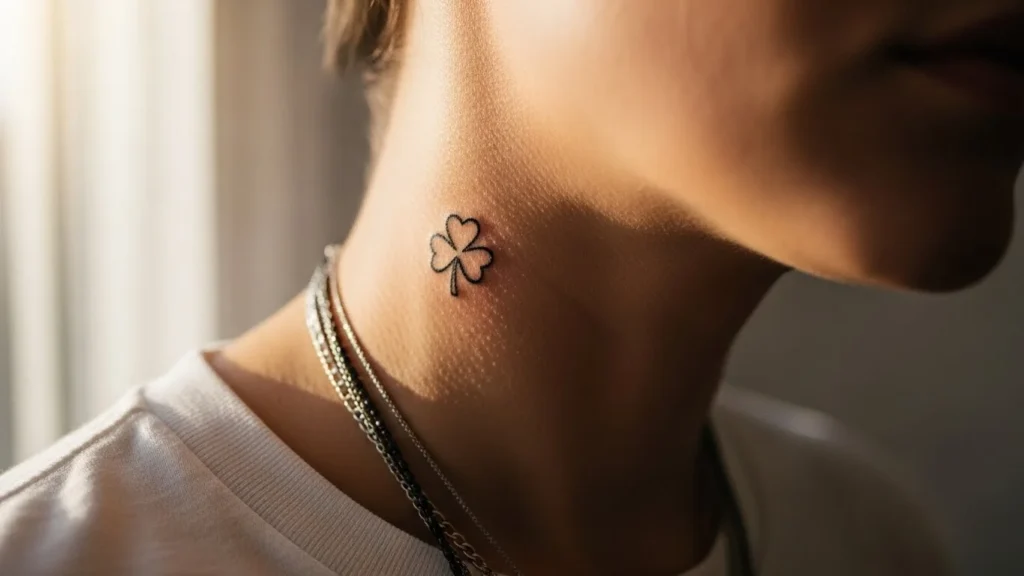
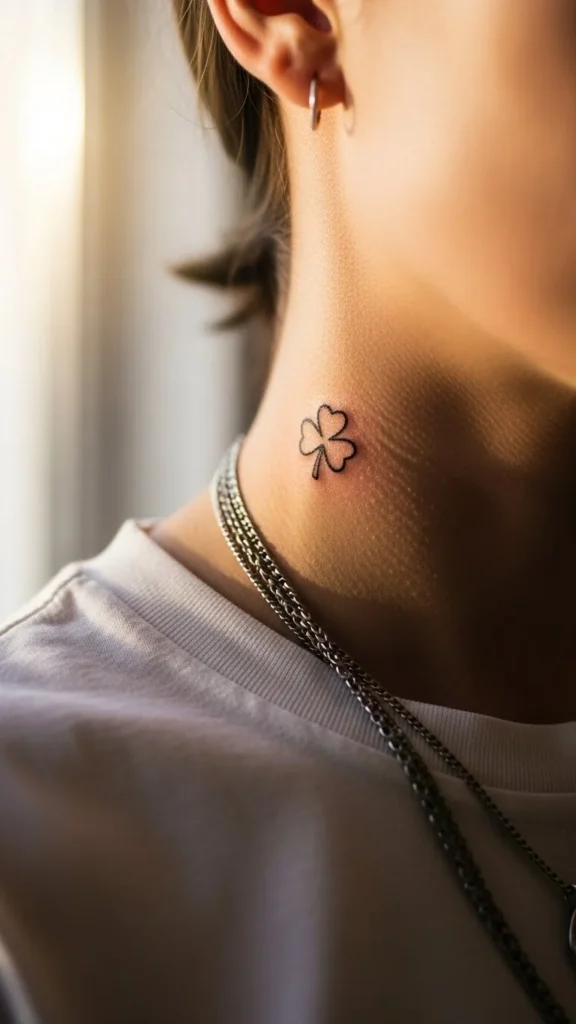
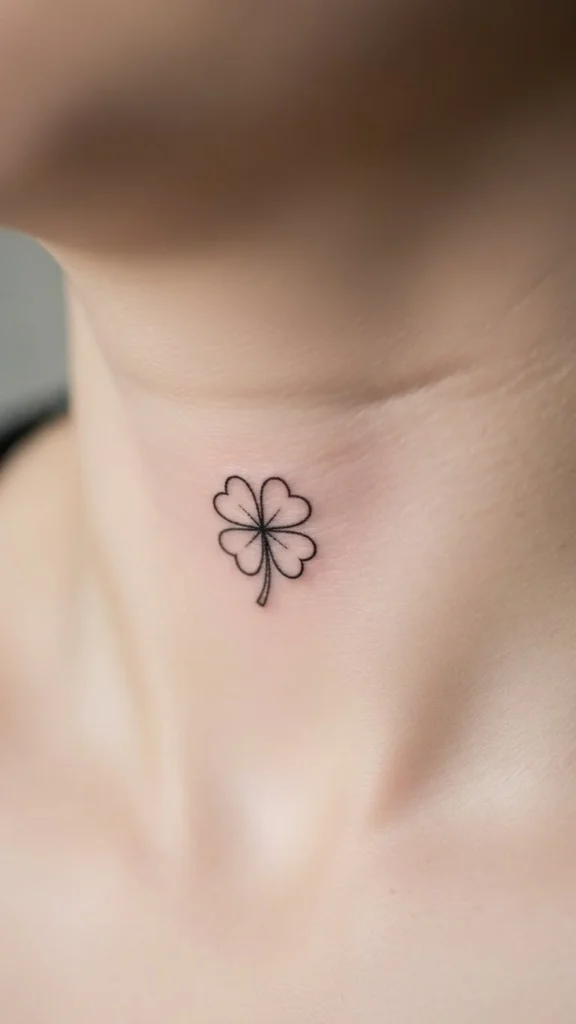
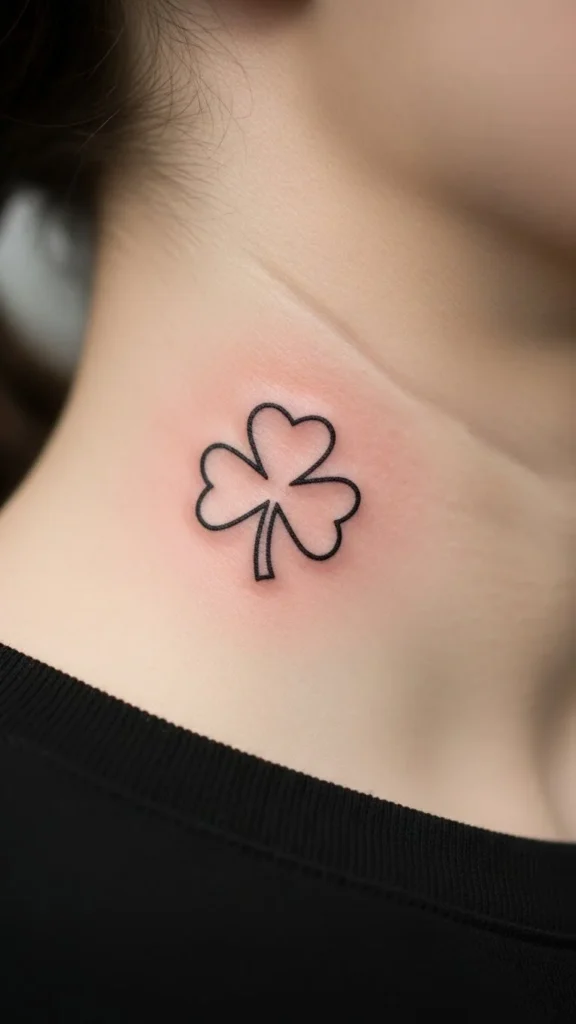
2) Single Clover Leaf on the Side Neck
A single clover leaf keeps the vibe subtle while still reading as St Patrick’s Day. The side neck is a bold placement, but the tiny size makes it feel calm and wearable.
Keep the leaf shape clean and slightly open. Tiny solid fills can heal unevenly on the neck because it moves a lot. If you want color, consider a very soft green wash, but black ink usually ages best.
Budget tip: ask for a “flash-sized” clover at 1–1.5 cm. Most shops price that as a quick piece. You can also pair it with a quick touch-up plan, since neck tattoos can soften faster than forearm ink.
DIY test: use a tiny sticker dot to mark the exact placement, then snap photos from different angles. Move it up and down by a few millimeters. That small shift changes the whole look.
Style tip: this placement pairs well with short chains and open collars. When you wear a crewneck, it becomes your little secret.
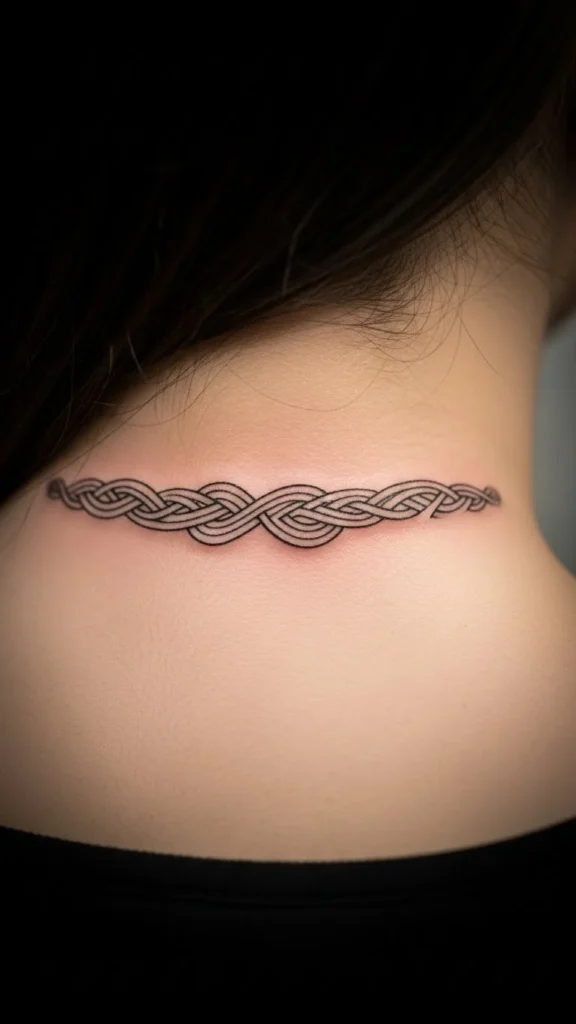
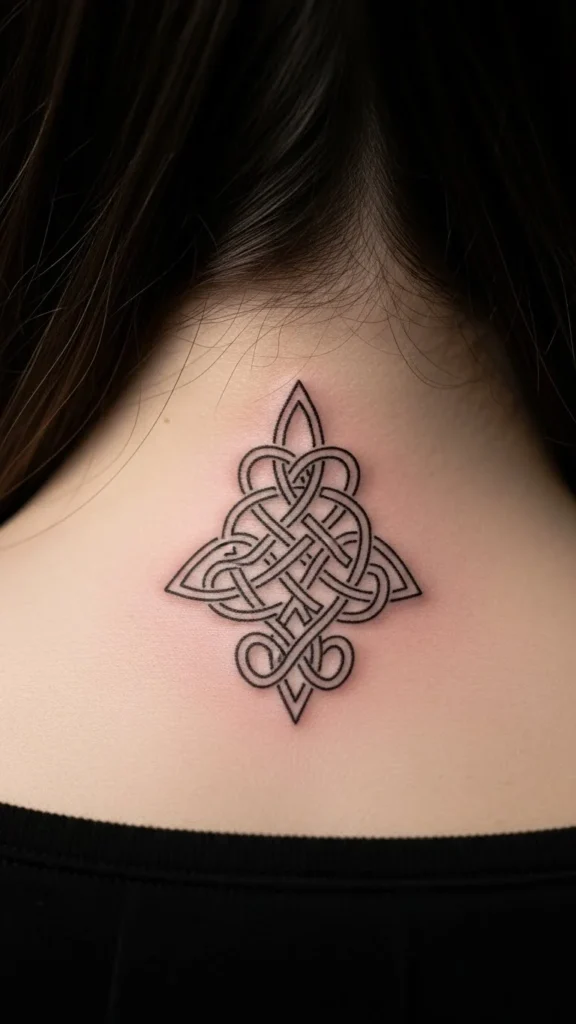
3) Fine-Line Celtic Knot Dotwork Mini

A mini Celtic knot can look super clean when it’s simplified. Think small looped lines with a few dot accents, not a dense woven block. On the back of the neck, it reads like a design detail rather than a statement.
Ask your artist to reduce the knot to 3–4 loops. Too many crossings in a tiny size can merge as it heals. Dotwork is your friend here because it adds texture without heavy shading.
Budget tip: pick a knot that fits inside a coin-sized circle. Time stays low, cost stays friendly. Skip large background shading, and focus on crisp lines.
DIY example: draw a simple looped “infinity-knot” shape with a fine eyeliner pen. Add three dots beside it. Wear it for a day, then see if the look still feels cool with your usual outfits.
Aftercare reminder: the back of the neck rubs on collars. Wear soft, loose tops for a few days so the lines heal cleanly.
4) Tiny Harp Silhouette Near the Hairline
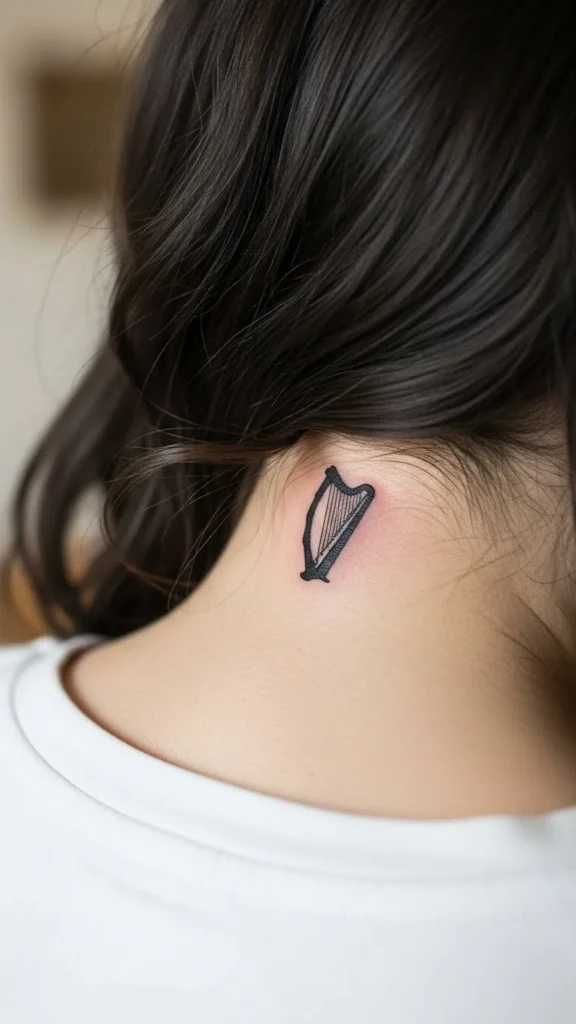
The Irish harp is classic, but the trick is keeping it small and simple. A tiny silhouette near the nape looks like a little charm. It’s easy to cover with hair and easy to show off with a ponytail.
Choose a harp shape with thicker outer lines and fewer internal strings. Internal strings are the first detail to blur if they’re too thin. A smart artist will suggest 3–5 strings max for micro size.
Budget tip: silhouette designs are quick. You pay less than a detailed harp with lots of inner lines.
DIY test: cut a harp shape from paper, tape it where you want it, and take a mirror photo. Try it with hair up and hair down. If it feels too “busy,” go even simpler.
Style idea: this looks great with short haircuts because it adds a little edge without taking over the neck area.
5) Minimal Lucky Horseshoe Outline

A tiny horseshoe says “luck” without being locked to one holiday. Keep it as an open outline with small nail dots if you want extra detail.
Placement near the collar line is practical. It peeks out with open collars but hides with a higher neckline. That makes it easy to control when it’s visible.
Budget tip: this is a quick outline piece. Ask for a slightly thicker line weight so it stays readable.
DIY example: draw a small U-shape with a fine marker on a temporary tattoo paper. Add two dots on each side. Wear it for one evening and see if you like how it looks in photos.
Comfort note: the lower side neck moves with shoulder motion. Keep the tattoo small to reduce healing irritation from clothing rub.
6) Shamrock Stem Curve Following Neck Tendon
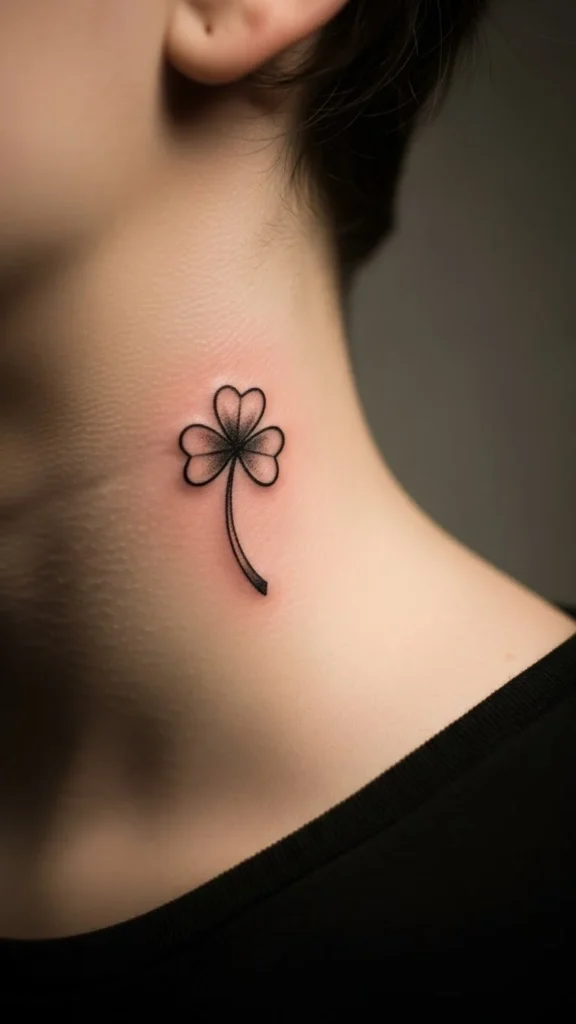
This idea looks cool because it uses the body’s natural lines. A small shamrock with a gently curved stem can follow the neck tendon, so it feels like it belongs there.
Keep the shamrock tiny and let the stem do the “flow.” That’s how it stays subtle. The stem should be thin but not hair-thin.
Budget tip: fewer petals, less time. Ask for a clean outline and skip shading.
DIY test: use a thin makeup brush and draw a curved line first. If you like the curve, add the shamrock at the top. If the curve feels awkward, you just saved yourself from a regret.
Style tip: this placement looks great with layered necklaces because the lines echo each other.
7) Mini Celtic Spiral at the Nape
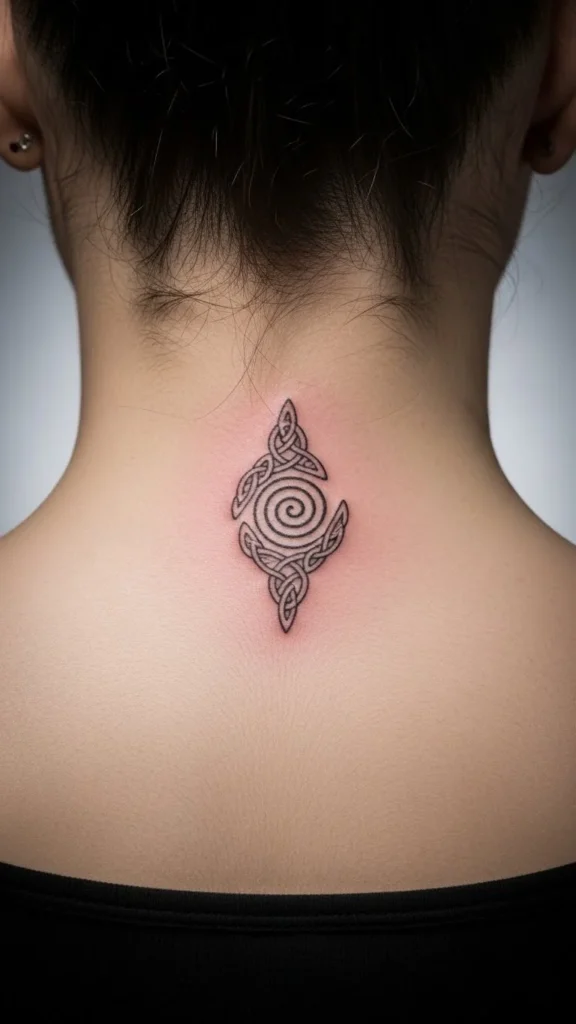
A Celtic spiral is simple, meaningful, and tiny-friendly. At the nape, it’s easy to hide, and it looks clean with short hair or an updo.
Ask for a spiral with breathing room between the lines. Tight coils can blur. A slightly larger spiral (still small) often ages better than a tiny cramped one.
Budget tip: spirals are fast. They’re usually a lower-cost option compared to knots.
DIY example: draw a spiral on the back of your neck using a cosmetic pencil and a hand mirror. If you can’t draw it neatly, that’s a sign you want a pro who does crisp curves.
Aftercare tip: avoid heavy hair products near the tattoo while it heals. Keep it clean and dry, especially at the hairline.
8) Tiny Four-Leaf Clover “Peek” Under the Jaw
Under the jaw is a sneaky spot. It’s visible when you turn your head, but it’s not front-and-center. A four-leaf clover here feels playful and low-key.
Keep the clover super small and clean. A simple outline reads better than tiny filled leaves in a high-movement area.
Budget tip: ask for a quick micro piece with one line weight. No shading = less time.
DIY test: place a tiny sticker under your jaw, then check it in a mirror while talking and smiling. If it distracts you, move it slightly lower toward the neck curve.
Styling idea: this placement looks cool with hoop earrings because it creates a little triangle of visual interest.
9) Minimal “Rainbow Arc” Line (No Pot, No Extras)

A single arc line can hint at a rainbow without turning into a full scene. It’s subtle and abstract, so it doesn’t feel costume-like.
Keep it as one clean arc, like a small curved stroke. You can add two tiny dots under it if you want balance, but don’t overdo it.
Budget tip: one line is fast. This can be one of the lowest-cost neck tattoo options.
DIY example: draw a small arc with eyeliner. If it feels too plain, you can add a second arc. If it starts looking busy, go back to one line.
Placement tip: put it slightly behind the side neck, not right on the front. That keeps it chill and easier to hide.
10) Tiny “Celtic Wave” Line Along the Nape
A simple wave line nods to Irish coastal vibes. On the nape, it looks like a small design accent.
Ask for a wave with 2–3 gentle curves. Too many wiggles can look cramped in a tiny size. Keep it thin but readable.
Budget tip: line-only tattoos are quick. If you’re cost-conscious, this is a smart pick.
DIY test: use a thin brush to paint a wavy line with body-safe makeup. See how it looks when your hair is up, then down.
Wearability: wave lines don’t scream “holiday.” That makes it easy to love year-round.
11) Small Celtic Cross Outline (Clean, Not Heavy)
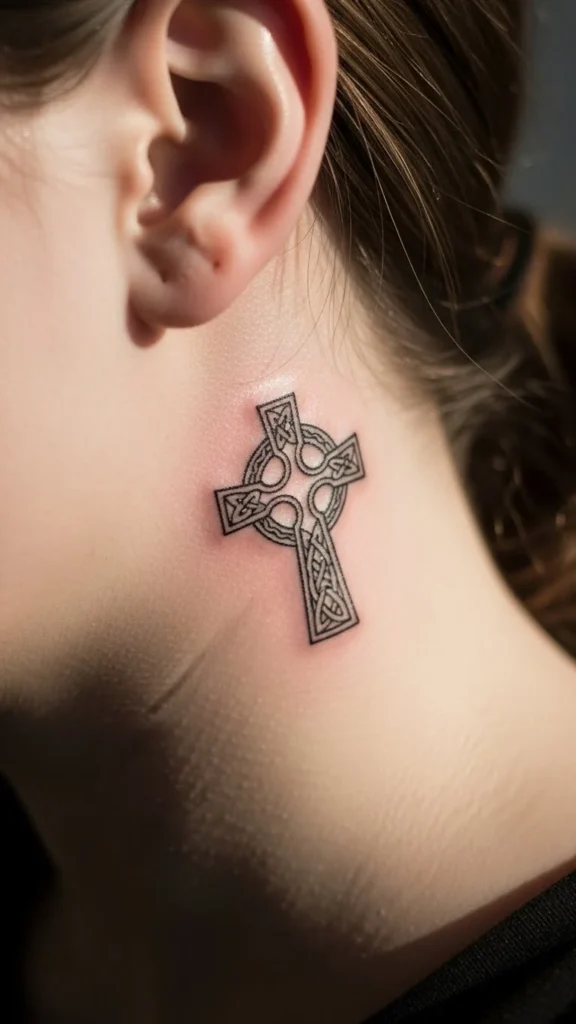
If you like traditional Irish symbols, a small Celtic cross outline can work as subtle neck ink when it’s kept light. Avoid thick fills and heavy shading.
Choose an outline with a simple ring and minimal interior detail. Micro detail is the first thing to blur, especially on the neck.
Budget tip: keep it coin-sized and outline-only. That limits time in the chair.
DIY example: wear a tiny cross temporary tattoo for a weekend. Try it with different outfits. If you feel self-conscious, shift the placement closer to the hairline.
Personal touch: you can add one small dot at each end of the cross arms for a softer look.
12) Tiny “Claddagh Heart” Icon
The Claddagh theme (heart, crown, hands) can get detailed fast, so simplify it. A tiny heart with a minimal crown suggestion keeps the message without turning into a crowded symbol.
Ask the artist to reduce the hands into two curved lines or skip them entirely. In micro size, hands often turn into blobs.
Budget tip: less detail saves money and heals cleaner.
DIY test: sketch a tiny heart with a crown above it. If it looks messy at small size, go even simpler. You can still carry the meaning.
Placement tip: near the hairline makes it easy to show or hide. It’s also a good spot if you want something personal but not always visible.
13) Mini “Lucky Dot Cluster” (Abstract Charm)
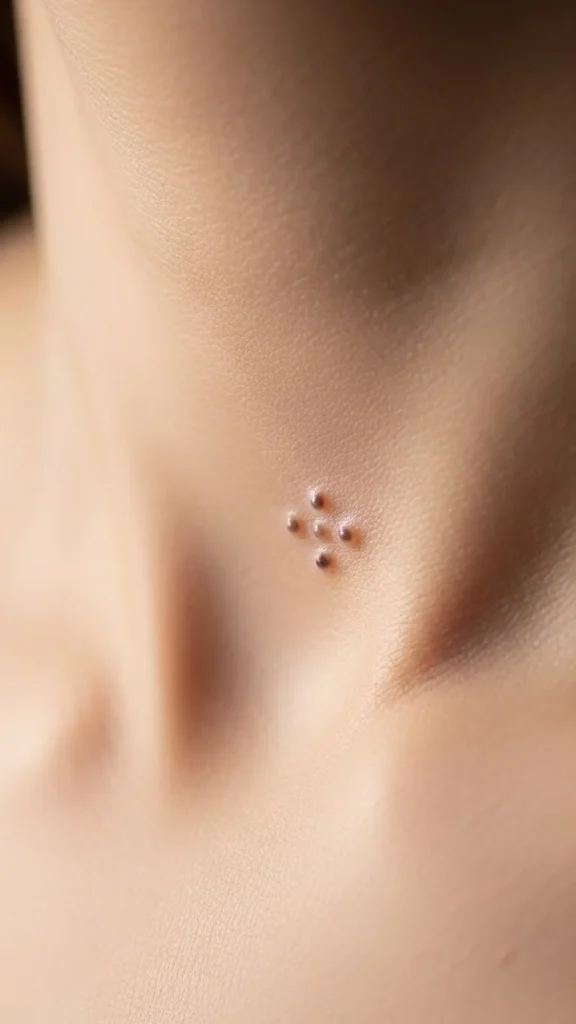
If you want ultra-subtle, go abstract. A dot cluster arranged like a clover shape looks like a design detail, and only people close up will catch the theme.
Choose 5–7 dots, spaced evenly. Too close and they can merge. Too far and it looks random.
Budget tip: dotwork is quick, especially at this scale. It can be one of the least expensive ideas here.
DIY example: use a toothpick dipped in eyeliner to dot the pattern on your neck. Take a selfie. If it reads as “cute detail,” you nailed it.
Aftercare: dot tattoos can look faint during healing. Don’t panic. Let it settle, then decide if you want a touch-up.
14) Tiny “Shamrock Outline in a Circle”
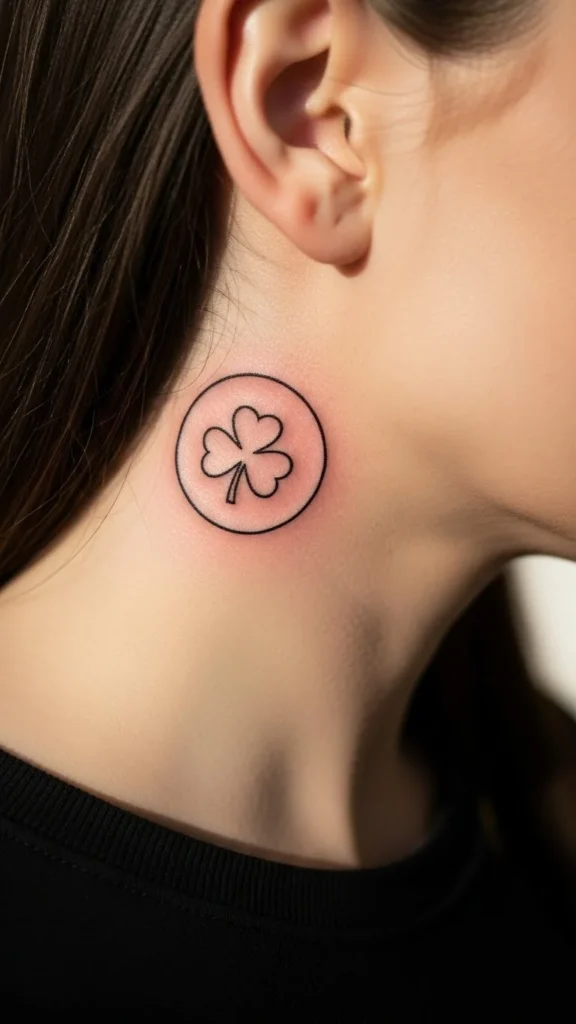
A circle frame makes a shamrock look like a clean emblem. It feels like jewelry, not a big statement.
Keep the circle line slightly thicker than the shamrock outline, so the design stays readable. Ask for a simple shamrock with open space between petals.
Budget tip: framing shapes are quick. Keep it small and skip shading.
DIY test: draw a tiny circle first, then add the shamrock. If the shamrock feels cramped, increase the circle size by a few millimeters.
Placement idea: this looks great tucked behind the ear or slightly back on the side neck.
15) Minimal “Irish Flag” Color Dots (Abstract, Tiny)
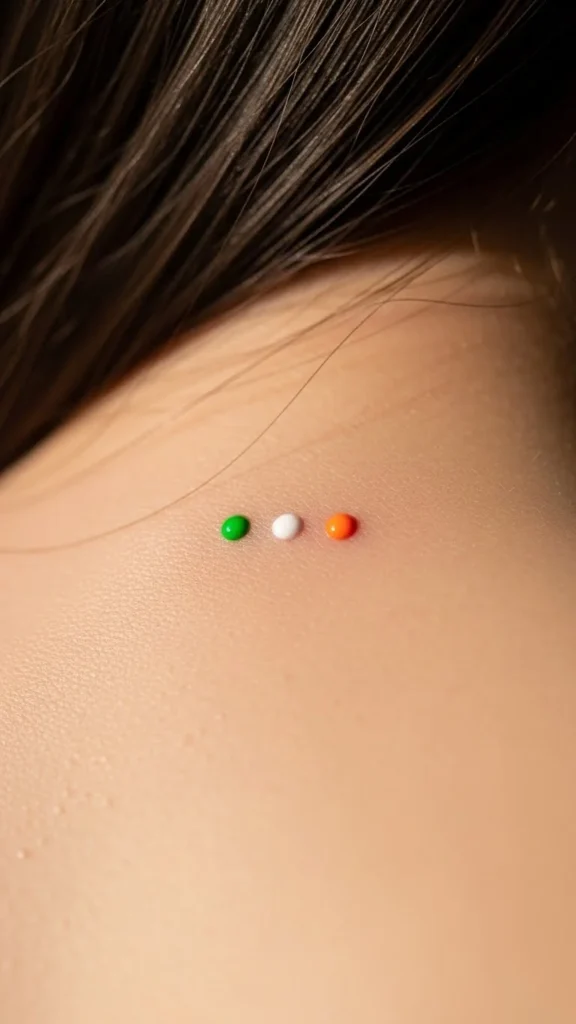
This is a clever one: three tiny dots in green, white, and orange. It’s subtle, modern, and you can keep it extremely small.
Ask your artist about color longevity. Tiny color dots can fade quicker, so placing them near the hairline (less sun) helps.
Budget tip: three dots take minutes. You’re paying for setup more than time, so bundle it with another small piece if you want better value.
DIY example: place three tiny makeup dots and live with them for a day. If you love it, it’s an easy commit.
Style tip: works well with minimalist jewelry and looks clean in photos.
16) Tiny “Knot Heart” (Two Loops Only)
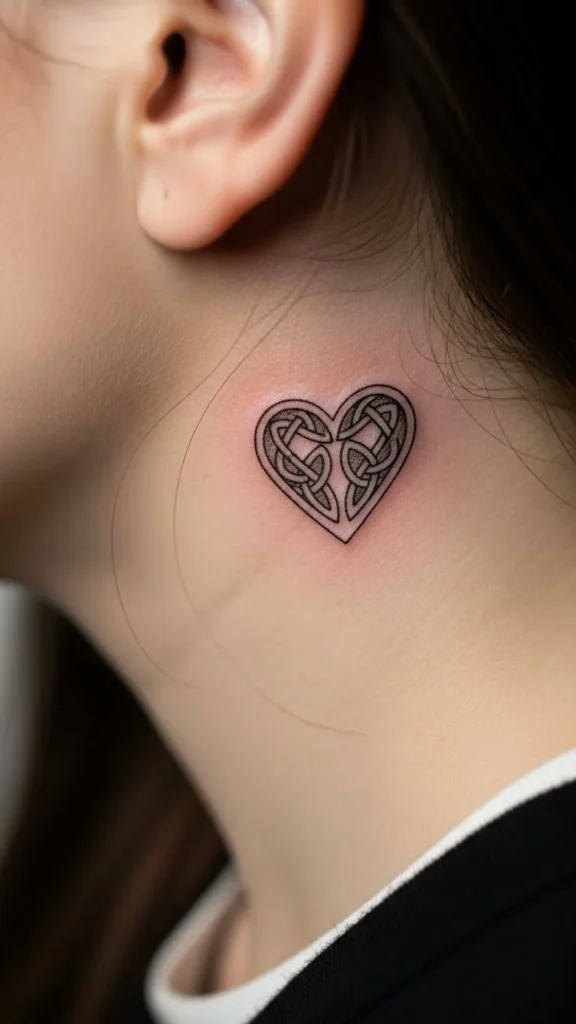
A knot heart can get crowded, so keep it to two loops that form a heart shape. That keeps it readable and cute.
Ask for slightly rounded corners and a consistent line weight. Uneven thickness stands out more in tiny tattoos.
Budget tip: choose line-only. Skip dot shading.
DIY test: draw a small heart using two looping lines instead of a classic heart outline. If it still reads clearly, it’s a good candidate.
Placement: behind the ear is ideal because it’s discreet and flattering.
17) Tiny “Gold Coin” Outline (Just a Circle + Shine Dot)
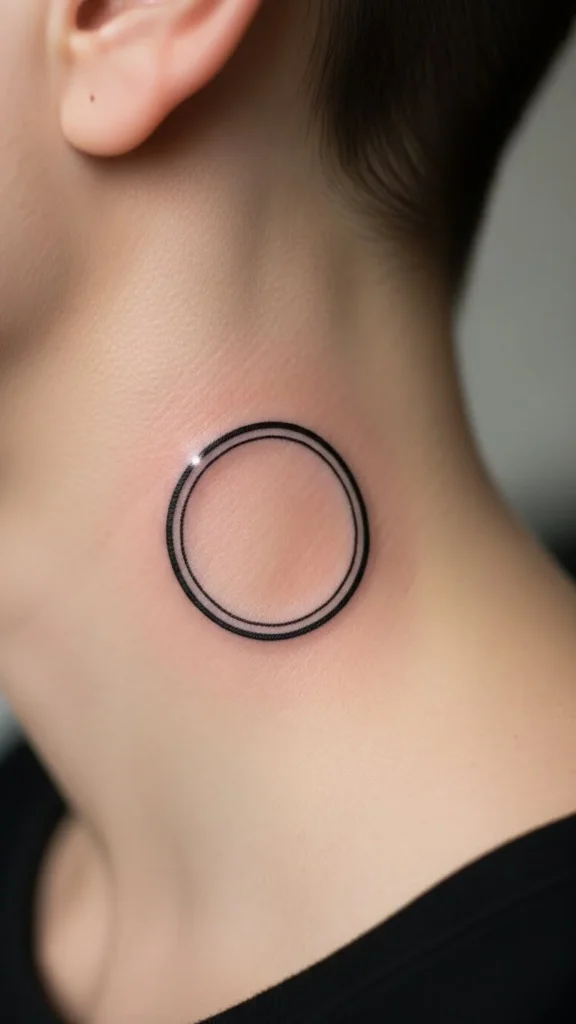
A coin theme can nod to luck without going cartoonish. Keep it as a small circle with one tiny dot or short line to suggest shine.
Budget tip: super quick. This is another lower-cost option.
DIY example: draw a circle and add one small dot at the top edge. If it looks too plain, add a second tiny dot. Stop there.
Placement tip: set it low near the collar line so it feels like a hidden charm.
18) Tiny “Leaf Sprig” (Shamrock-Inspired Without Being Literal)
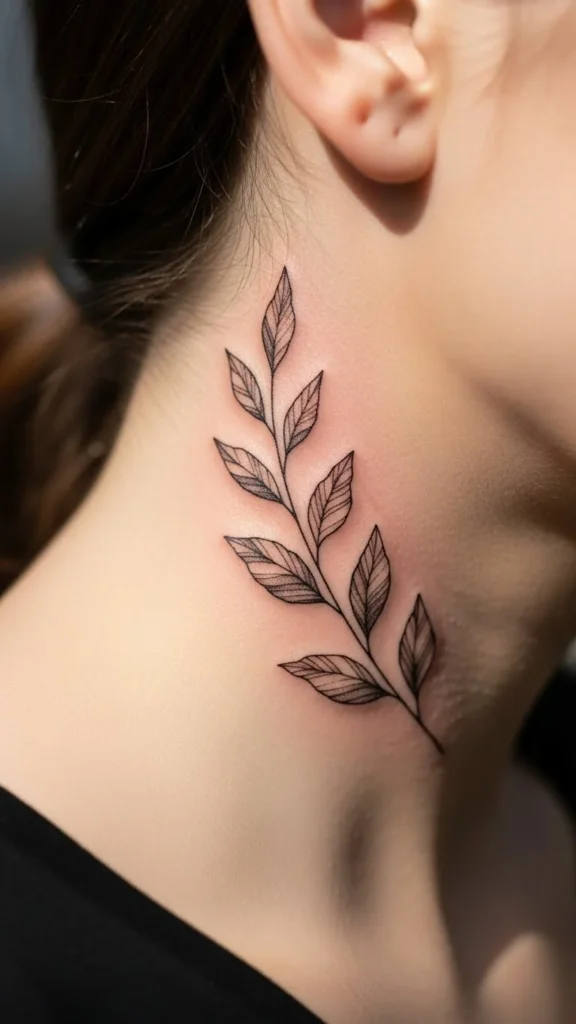
A small leaf sprig gives Irish green vibes without using a shamrock. It’s subtle and pretty, and it fits the neck well.
Keep it to 3–5 leaves with space between them. Too many leaves in micro size can blur into a dark patch.
Budget tip: ask for a simple botanical outline. No heavy shading.
DIY test: draw a small stem with three leaves using eyeliner. If it feels balanced, it will likely tattoo well.
Wearability: this looks good with almost any outfit because it reads as a general botanical tattoo.
19) Tiny “Lucky Star” With One Dot Accent

A tiny star plus a dot feels like a luck symbol without being tied to one date. It’s clean, simple, and easy to scale down.
Ask for a slightly thicker outline or a solid star that’s not too tiny. Super tiny solid shapes can heal unevenly if they’re smaller than the artist recommends.
Budget tip: small icon tattoos are quick. This is friendly on the wallet.
DIY example: place a tiny star sticker, add one dot next to it with makeup, and see how it feels for a day.
Placement: behind the ear or near the nape keeps it subtle.
20) Tiny “Green Thread” Illusion Line (One Stroke Wrap)
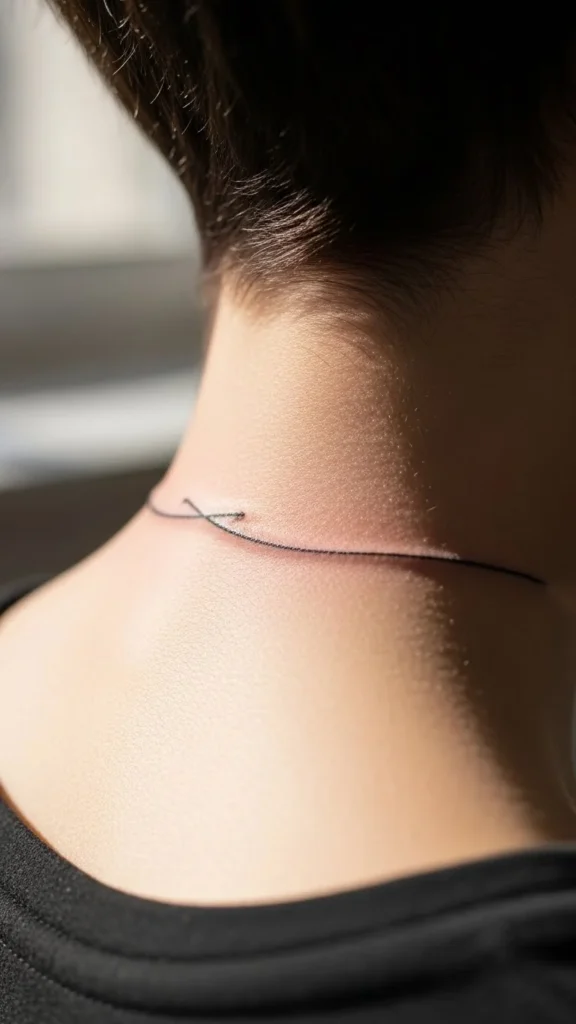
This is for people who want something that feels like a design detail more than a symbol. A single curved line placed to “wrap” slightly can hint at a neck band without becoming a full band.
Ask the artist to map the line to your neck shape. A good curve makes it look intentional.
Budget tip: one stroke is quick. If you want extra, add a second shorter stroke, but keep it minimal.
DIY test: draw one curved line, then take photos. If it looks awkward, try shifting it a bit back toward the hairline.
Style tip: looks great with high-neck tops because it peeks out like a tiny design.
21) Small “Shamrock Negative Space” (Outline + Cutout)
Negative space means you use outline and leave the inside open. That helps the tattoo stay readable over time, especially at small sizes.
Ask for a crisp outline and slightly thicker stem. Keep the petals open and simple.
Budget tip: outline only keeps cost down and healing easier.
DIY example: draw a shamrock outline and intentionally leave the inside blank. If you like how light it looks, this style is a good fit.
Placement: just behind the ear makes it discreet and stylish.
22) Tiny “Celtic Initial-Like Monogram” (Abstract Knot Mark)
If you want something unique, pick an abstract knot mark that feels like a personal symbol. It can hint at Irish design without copying a common icon.
Work with your artist to create a simple mark with 2–3 crossings max. The goal is clarity at micro size.
Budget tip: keep it small and line-only. Custom drawing can cost extra, so ask for a quick “simple mark” design rather than a full custom piece.
DIY test: sketch a simple knot-like shape and show it to your artist as inspiration. They can refine it into something tattoo-friendly.
Wearability: because it’s abstract, it won’t feel seasonal. It just looks cool.
Conclusion
Subtle St Patrick’s Day neck tattoos work best when you keep the lines clean, the size small, and the placement intentional. Try a quick DIY placement test first, pick a design that stays readable at micro scale, and choose a spot you can show or hide easily. Save your favorite idea, bring a few reference photos to your artist, and keep it simple so it heals sharp and stays stylish long after March.