I spent months pinning shoulder tattoos I loved, then realized the real test was how they healed and aged on skin that rubs against shirts and sunscreens. These 25 shoulder ideas balance composition and longevity so your ink still reads clean after months of sun and sleeves.
Quick context: I focus on shoulder-friendly styles—fine line, traditional, blackwork, watercolor and illustrative wraps. These placements work across the shoulder cap, deltoid and shoulder blade. Trends in 2025 favor fragrance-free aftercare, thin-layer moisturizing, and second-skin bandages for cleaner healing.
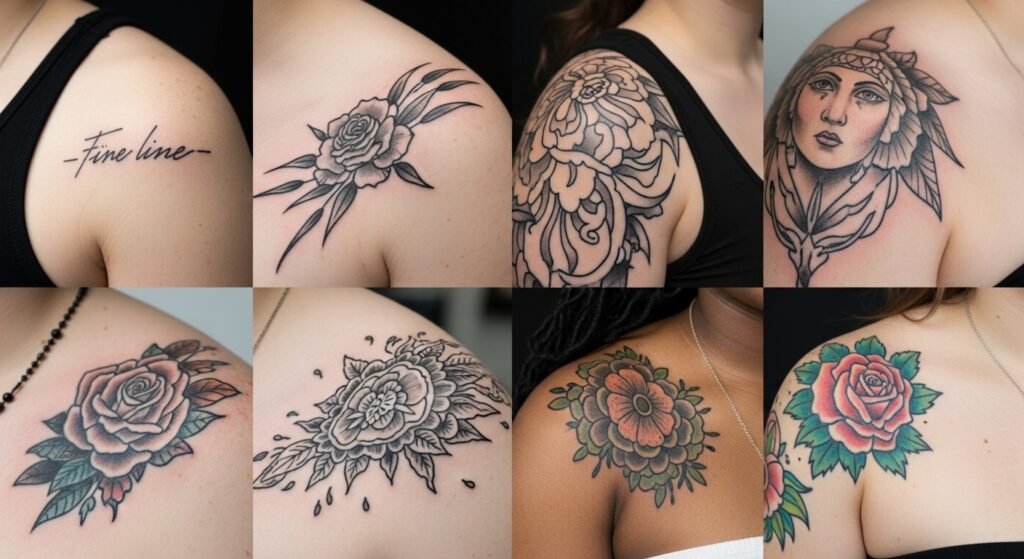
Fine Line Floral Cap On Outer Shoulder
Style/Technique: Fine Line / Minimalist
Pain Level: Low-Medium (3/10)
Session Time: 1–2 hours
Best For: First tattoo, subtle cover-up

I chose this after seeing subtle shoulder florals hold up best under sleeves. It reads soft and personal. On the shoulder cap the pain is mild; expect surface healing in 2–3 weeks. Ask for slightly bolder outer lines so delicate work doesn’t blur. Avoid thin dots that can fade into a gray smudge over years.
Bold Mandala Blackwork On Upper Shoulder
Style/Technique: Blackwork / Dotwork
Pain Level: Medium (4/10)
Session Time: 2–4 hours
Best For: Statement piece, expandable

Mandala blackwork balances the round shoulder cap naturally. Dotwork gives meditative depth but needs patience—multiple sessions create crisp stippling. Keep sun exposure low and moisturize daily with a fragrance-free moisturizer. Artists who specialize in ornamental geometry are best; ask to see healed dotwork photos on similar skin tones.
Minimal Script On Inner Shoulder Blade
Style/Technique: Fine Line / Script
Pain Level: Low (2/10)
Session Time: 30–60 minutes
Best For: Personal text, easy to hide
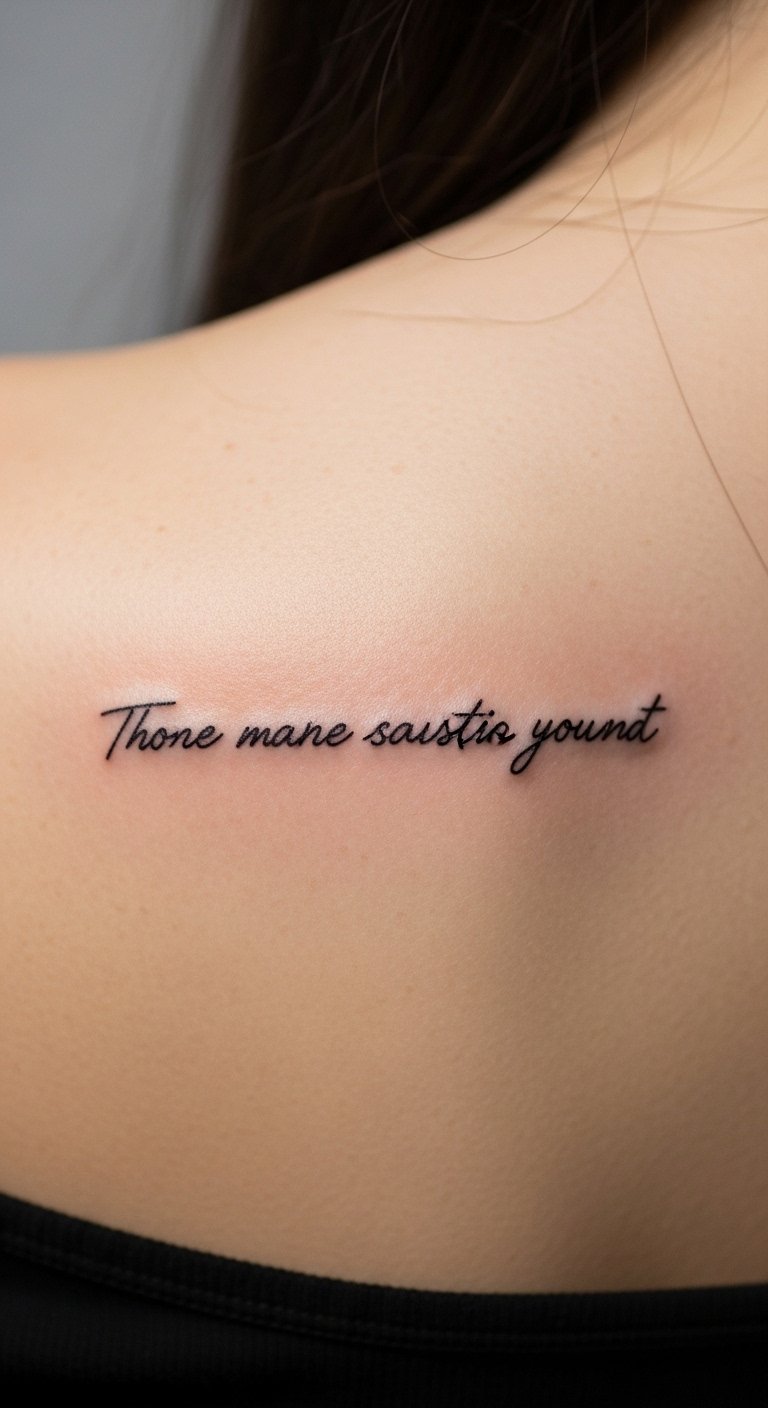
A short quote on the shoulder blade sits where clothing can hide it. Fine-line script is low pain but needs an expert hand—ask for slightly thicker strokes so letters stay legible as they settle. Wash with gentle cleanser and apply thin-layer moisturizing 2–3x daily to reduce scabbing and keep lines crisp.
Traditional Rose Shoulder Cap
Style/Technique: Traditional / American
Pain Level: Low-Medium (3/10)
Session Time: 2–3 hours
Best For: Timeless look, color longevity
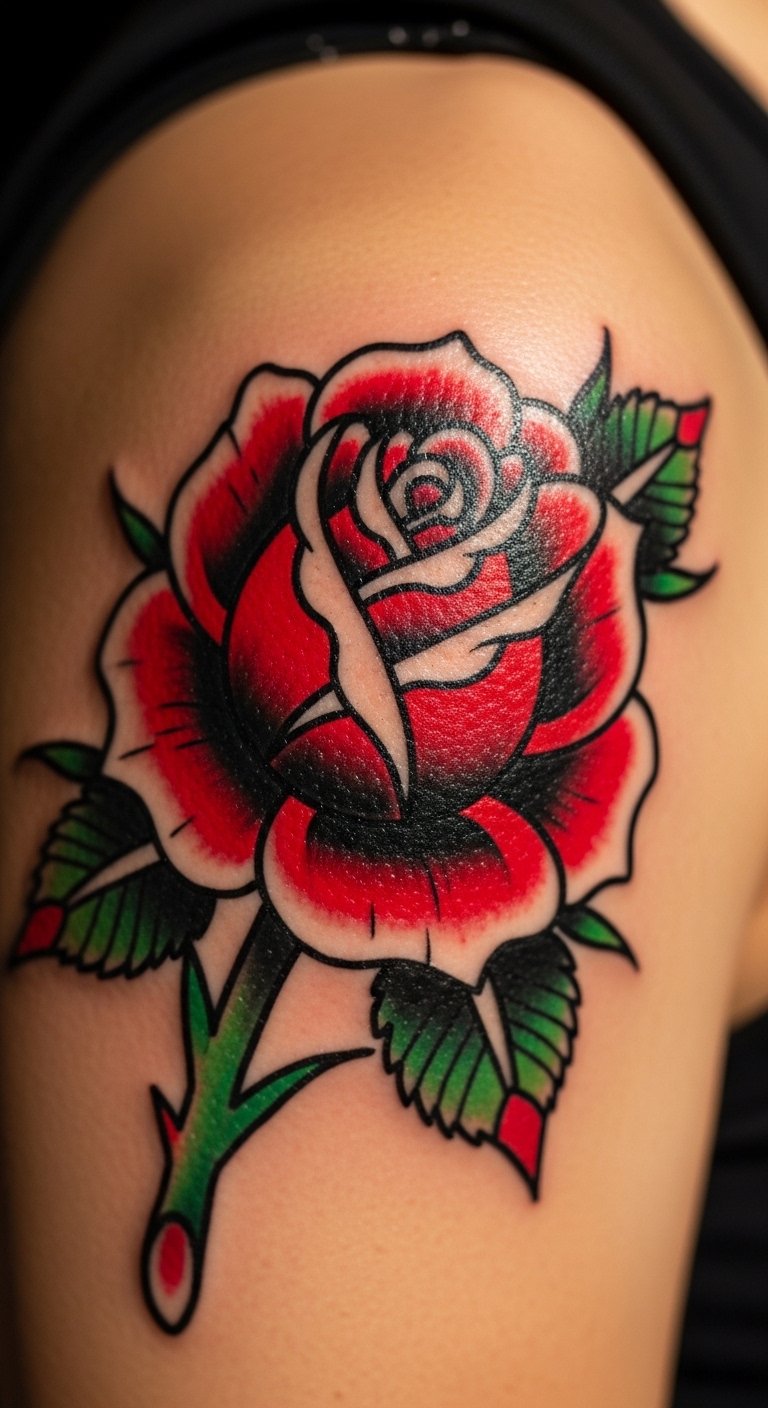
Bold outlines and saturated color make traditional roses resilient. On the shoulder the style ages well because strong lines resist blowout. Expect medium pain, moderate scabbing—don’t pick. Use fragrance-free lotion after the initial ointment period to keep color vibrant. Ask your artist about color saturation for long-term hold.
Geometric Triangle Patch On Front Shoulder
Style/Technique: Geometric / Blackwork
Pain Level: Low (2–3/10)
Session Time: 1–2 hours
Best For: Modern minimal statement

A compact triangle or geometric patch anchors the shoulder visually. Clean linework and negative space make this low-maintenance. Fine-line geometry can soften with time, so request slightly heavier line weight up front. Keep it out of direct sun and follow tattoo aftercare tips like thin-layer moisturizing and gentle cleanser use.
Watercolor Bird On Deltoid
Style/Technique: Watercolor / Illustrative
Pain Level: Medium (4/10)
Session Time: 1–3 hours
Best For: Artistic color washes, soft edges

Watercolor looks amazing fresh but can fade faster. On the deltoid the soft color blends with muscle contours. Expect medium pain; plan touch-ups in a year or two. Use fragrance-free sunscreen long-term to prevent color shift. Ask artists for healed examples—watercolor healing differs a lot by artist technique.
Micro-Realism Portrait On Shoulder Cap
Style/Technique: Micro-Realism / Photo-real
Pain Level: High (6–8/10)
Session Time: Multiple sessions
Best For: Memorials, face-accurate portraits
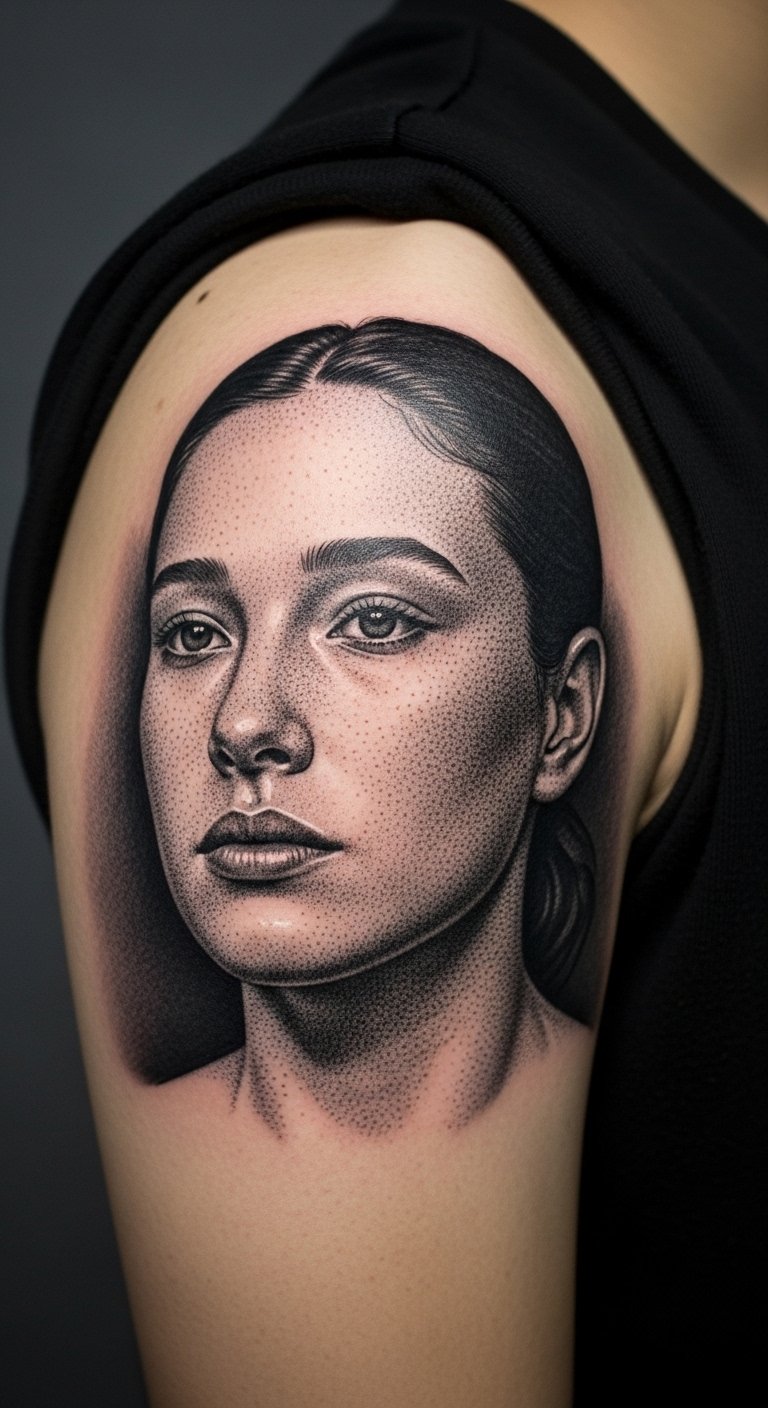
Portrait realism on the shoulder cap looks intimate but demands an experienced realism artist. Sessions are long and the area can be painful near bone. Healing requires diligent tattoo aftercare tips—gentle cleanser, thin moisturizer, and sun protection. Expect multiple sessions and follow-up touch to maintain contrast over time.
Neo-Traditional Anchor On Rear Shoulder
Style/Technique: Neo-Traditional / Bold Color
Pain Level: Medium (4/10)
Session Time: 1–3 hours
Best For: Nautical, symbolic pieces

Neo-traditional brings illustrative shading with modern palettes. On the rear shoulder it sits flat and wears well. Colors hold better here than on hands or feet but still benefit from sunscreen. Avoid tiny fine details that blend out—ask for strong shading blocks to retain definition as it ages.
Dotwork Mandala Wrap Toward Sleeve
Style/Technique: Dotwork / Stippling
Pain Level: Medium (4/10)
Session Time: Multiple sessions
Best For: Sleeve starter, textured look

Dotwork reads beautifully on curved shoulder planes. It expands well into sleeves. Healing can feel flaky—moisturize thinly to avoid cracking. Dotwork requires steady hands; look for artists who show healed stippling on similar skin. Avoid heavy friction from straps during healing.
Fine Line Animal Silhouette On Collar Edge
Style/Technique: Fine Line / Silhouette
Pain Level: Low (2–3/10)
Session Time: 30–90 minutes
Best For: Subtle, everyday wear

A small animal silhouette at the collar edge is delicate and discreet. Pain is minimal. Fine-line silhouettes look great healed if the artist slightly boldens key contours so the shape stays readable. Air-dry after washing and use fragrance-free moisturizer to prevent scabbing and maintain edge clarity.
Tribal-Inspired Shoulder Panel
Style/Technique: Tribal / Blackwork
Pain Level: Medium (4–5/10)
Session Time: 2–4 hours
Best For: Bold cultural motifs, full shoulder coverage

Tribal patterns suit the shoulder’s natural curves and make a strong statement. Solid blackwork ages well but needs an expert to keep edges clean. Avoid tight clothing during healing to prevent smudging. Artists seasoned in traditional tribal work can advise on culturally appropriate designs.
Illustrative Landscape Wrap On Upper Arm/Shoulder
Style/Technique: Illustrative / Scenic
Pain Level: Medium (4/10)
Session Time: Multiple sessions
Best For: Narrative scenes, wrap pieces
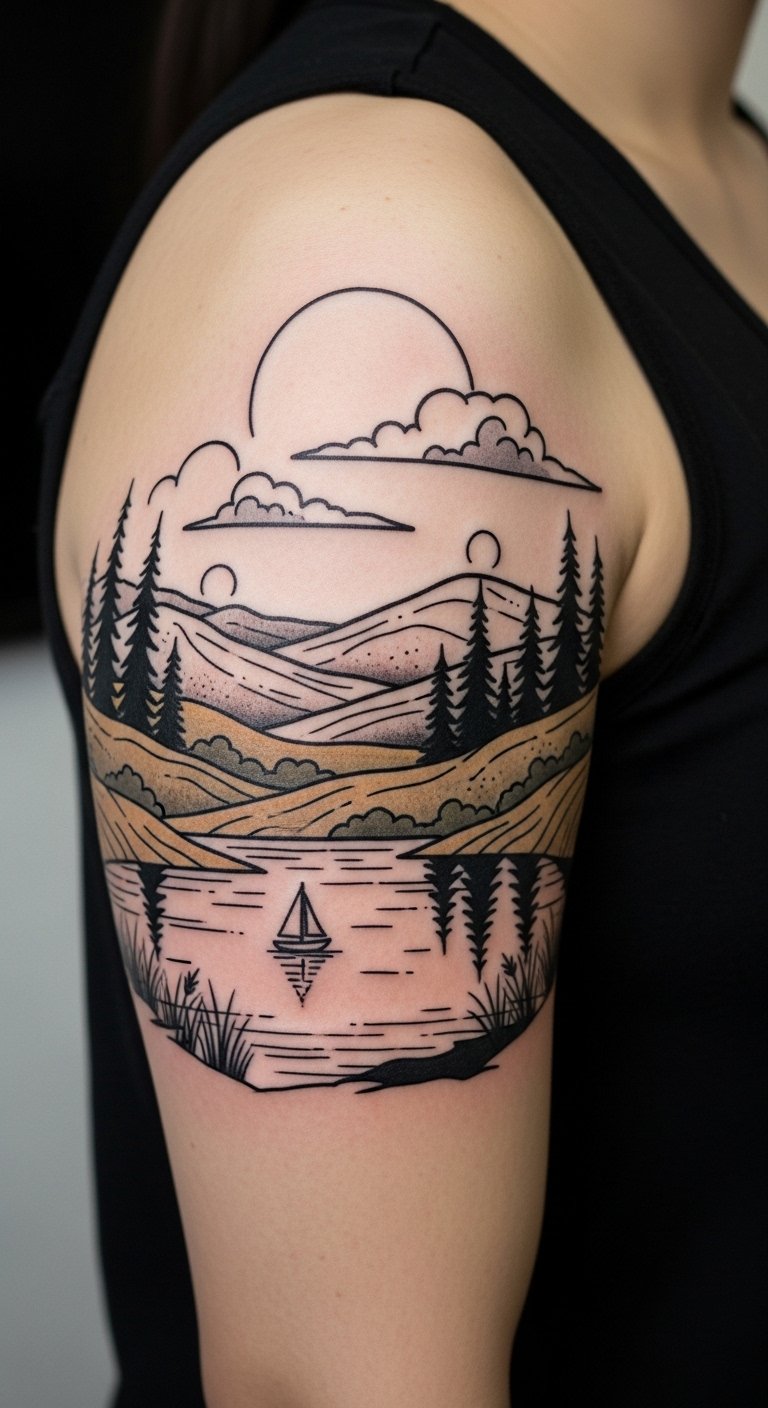
Landscape wraps let the shoulder become a mini-canvas. This placement handles longer scenes without distortion. Healing needs gentle soap and thin-layer moisturize—avoid soaking while scabs form. Ask your artist to show healed panoramic pieces so you know how small details hold up over time.
Compass Rose On Shoulder Blade
Style/Technique: Neo-Traditional / Linework
Pain Level: Low-Medium (3/10)
Session Time: 1–2 hours
Best For: Travel-themed, directional symbolism
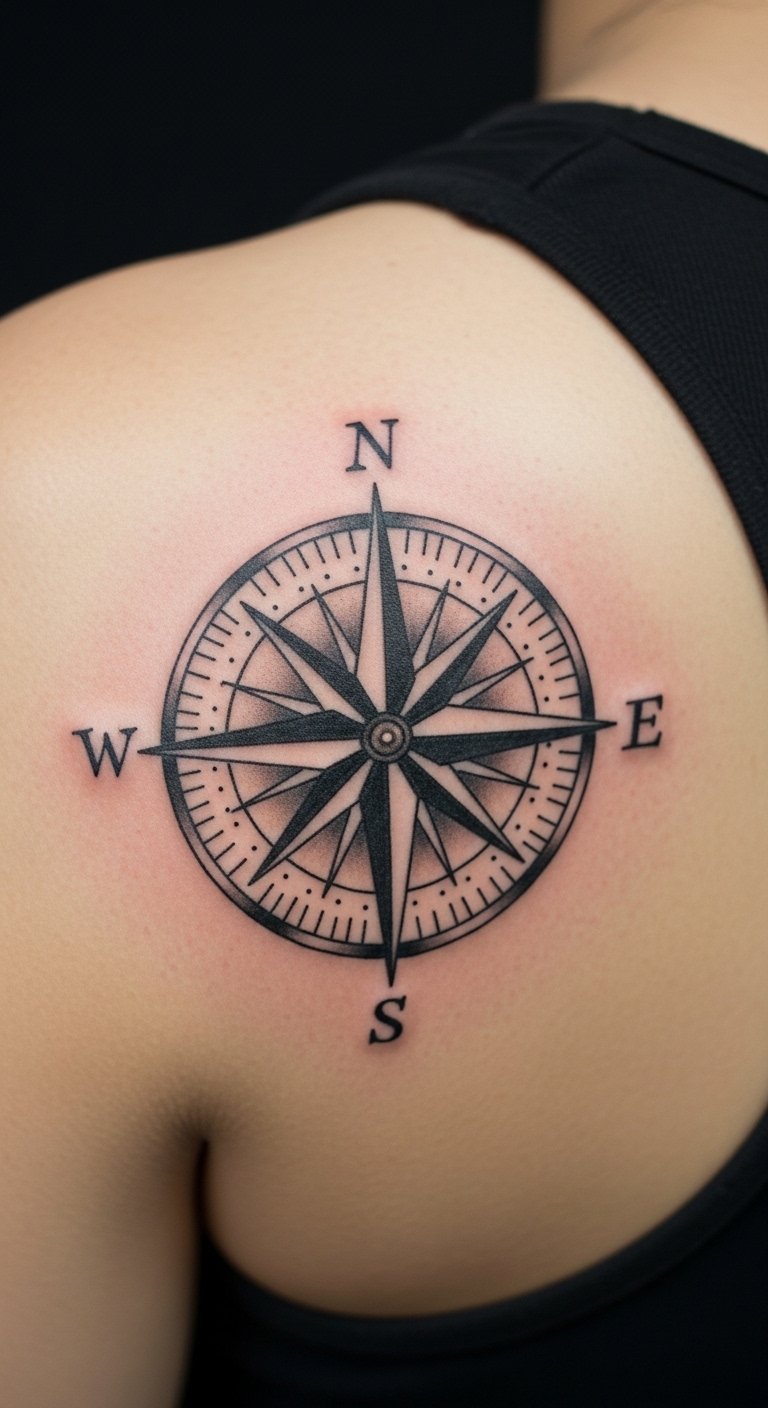
A compass on the shoulder blade centers naturally with the scapula. It’s low-pain and easy to conceal. Request slightly bolder cardinal points to prevent blurring. Keep it out of heavy sun while healing; a fragrance-free moisturizer helps the tattoo healing process.
Single Stem Poppy Along Deltoid
Style/Technique: Illustrative / Minimal Color
Pain Level: Low (2–3/10)
Session Time: 1 hour
Best For: Feminine, minimal color accents

A single poppy uses negative space and small color pops to stay readable. Minimal color fares better long-term when the artist packs pigment well. Aftercare: thin-layer moisturizing and sun protection once healed. Ask for healed photos on similar tones to see color longevity.
Broken Line Abstract Patch On Front Shoulder
Style/Technique: Abstract / Fine Line
Pain Level: Low (2–3/10)
Session Time: 1–2 hours
Best For: Modern, graphic look
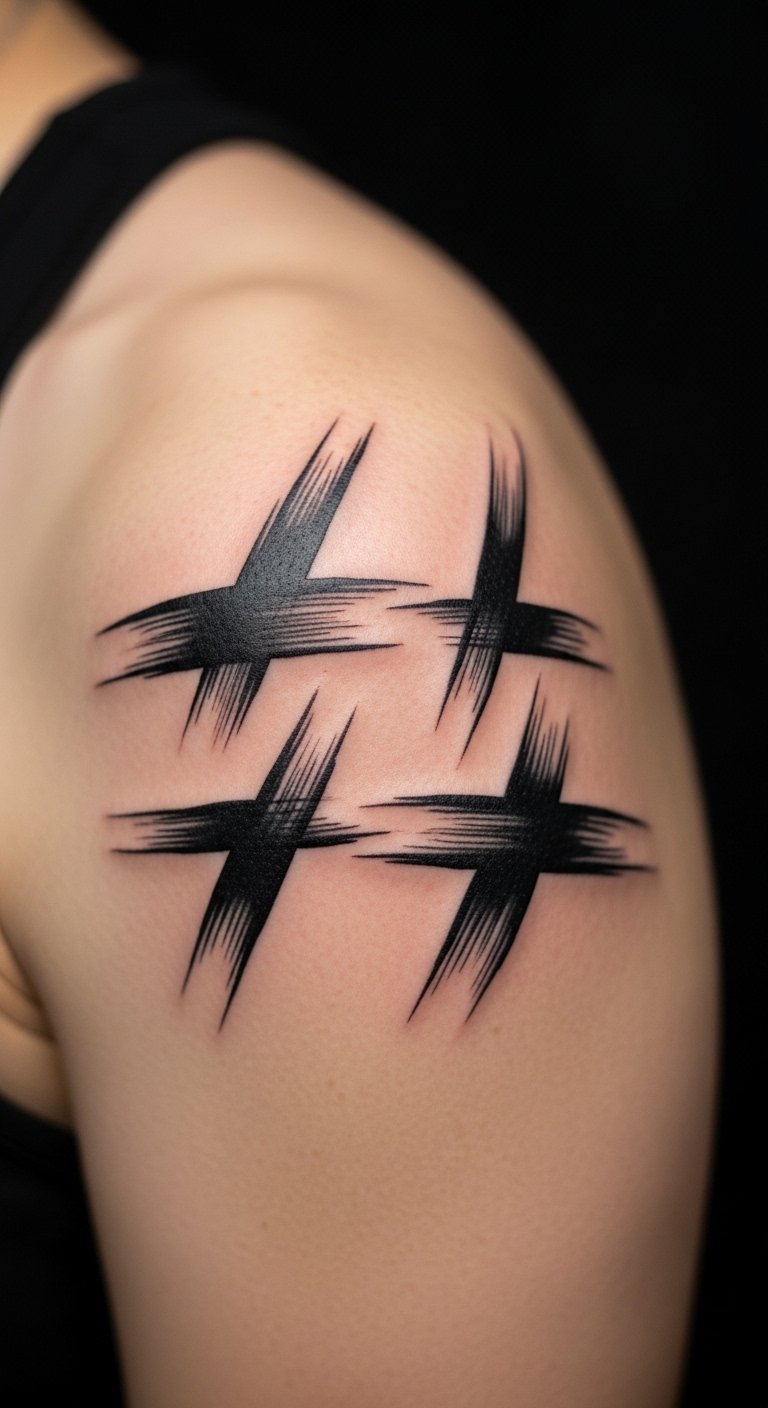
Abstract broken lines play with the shoulder’s shape and stay low-maintenance. Fine lines may soften, so request a slightly heavier initial line. This design is great if you want a modern look that’s easy to hide. Keep to a simple aftercare routine—gentle cleanser and fragrance-free moisturizer.
Floral Half-Sleeve Start On Shoulder-To-Arm
Style/Technique: Illustrative / Floral Sleeve
Pain Level: Medium (4/10)
Session Time: Multiple sessions
Best For: Sleeve builders, cohesive wraps
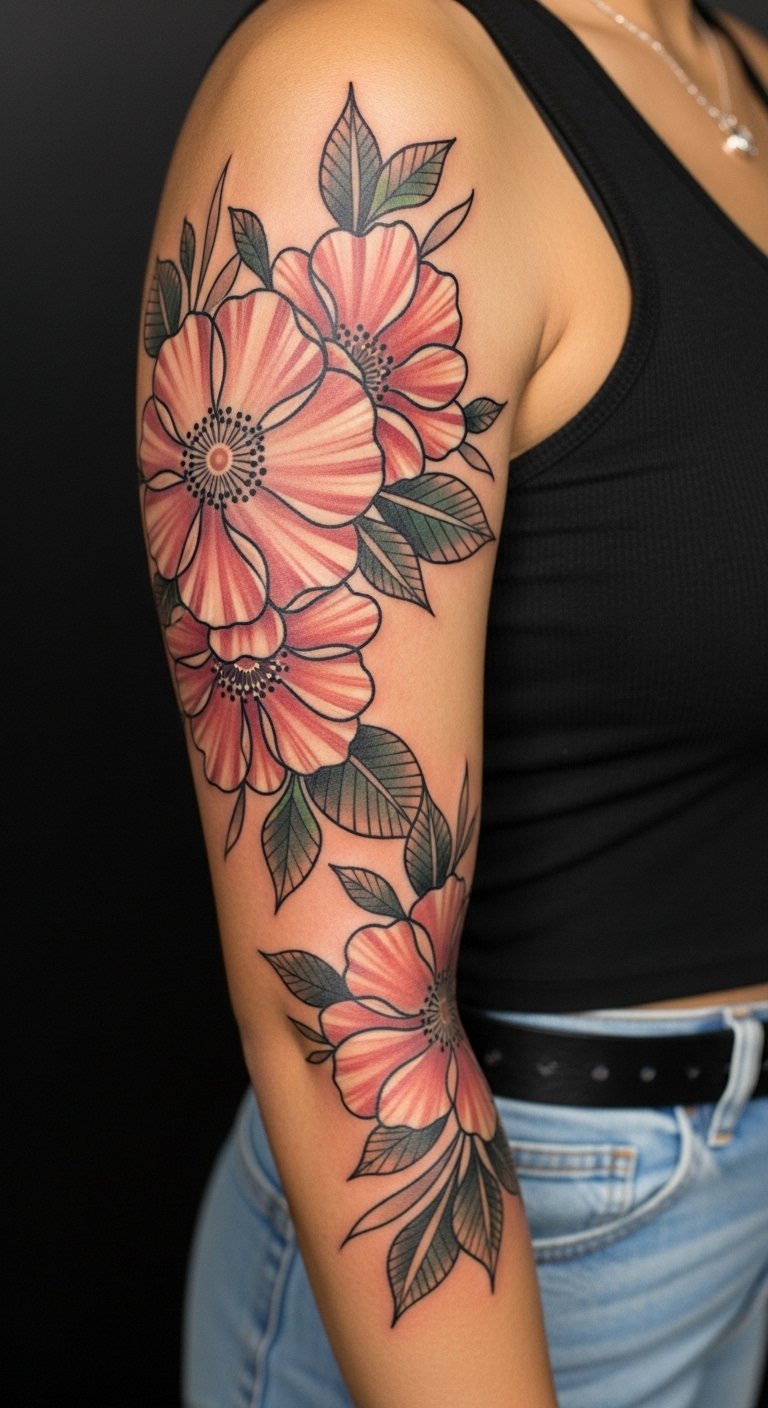
Starting a sleeve at the shoulder lets you plan expansions later. Florals are forgiving and age well when shaded properly. Expect multiple sessions and steady moisturizing through the tattoo healing process. Artists who map flows to muscle movement make sleeves that hold their shape.
Kintsugi-Inspired Gold Line On Shoulder Cap
Style/Technique: Minimalist / Fine Line with Metallic Accent
Pain Level: Low (2/10)
Session Time: 1–2 hours
Best For: Symbolic, subtle shine
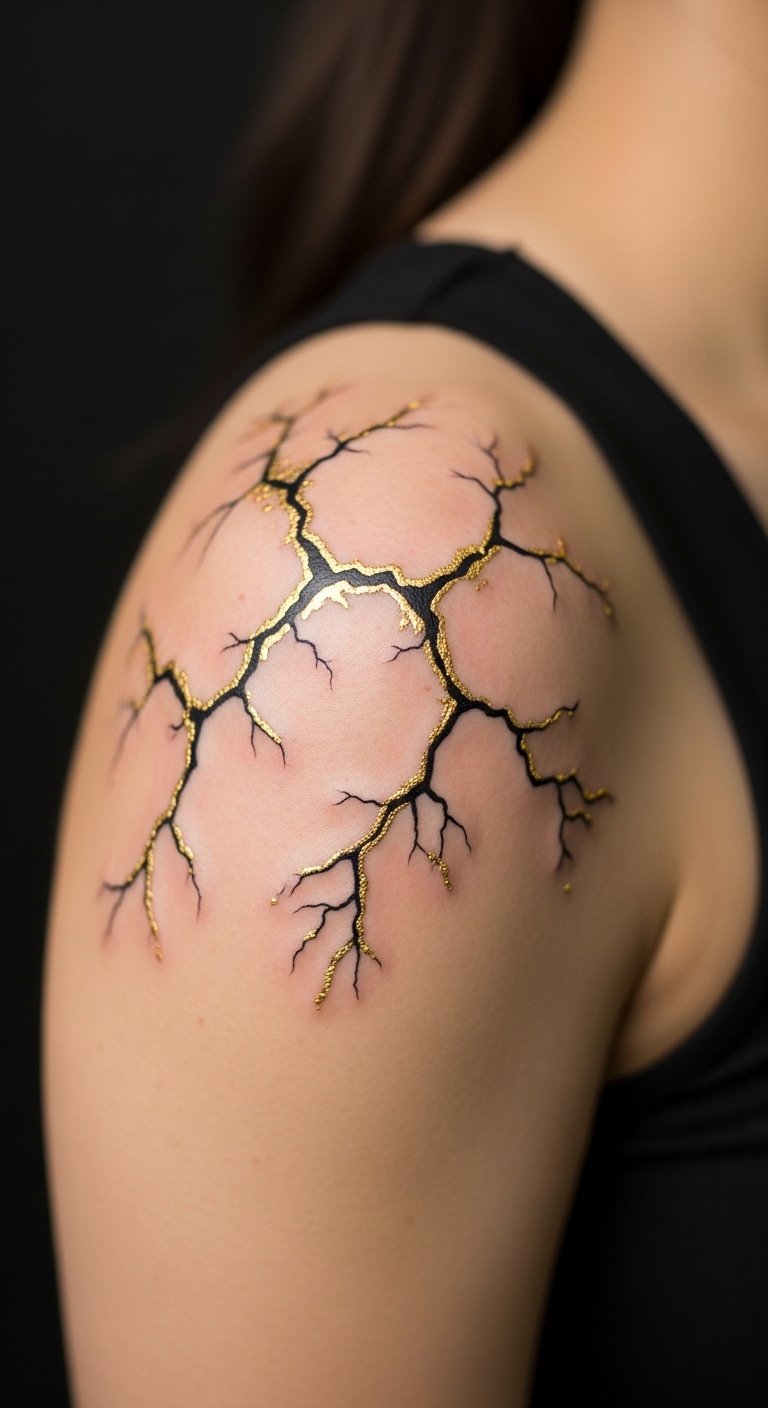
Metallic and gold inks can be delicate—ask for healed examples. The kintsugi look reads well on the shoulder cap as a small, symbolic piece. Aftercare must prevent early fading; use fragrance-free moisturizer and sunscreen once healed. Expect possible touch-ups to keep metallic brightness.
Swallow Pair On Both Shoulders (Symmetry)
Style/Technique: Traditional / Minimal Color
Pain Level: Low (3/10)
Session Time: 1–2 hours each
Best For: Symmetrical pieces, couples or twin designs
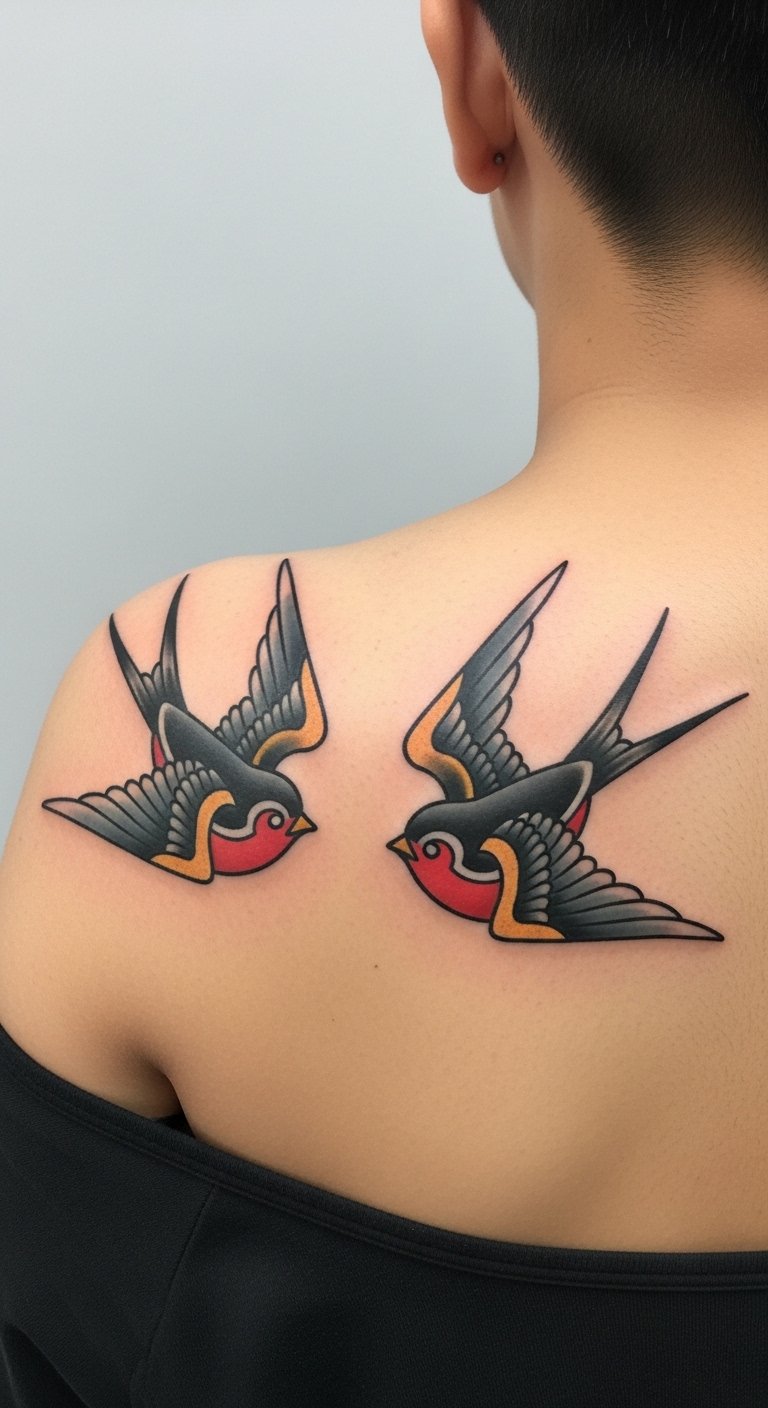
Matching swallows on both shoulders give a balanced look and age consistently if done the same session. Symmetry matters—ask your artist to stencil and mirror placement precisely. Keep both coordinated during healing with identical aftercare to ensure matched fading.
Sculptural Linework On Shoulder Ridge
Style/Technique: Fine Line / Contour
Pain Level: Low-Medium (3–4/10)
Session Time: 1–2 hours
Best For: Architectural, modern line art

Contour linework follows bone and muscle for a sculptural effect. Lines should be bold enough to resist blurring. Pain is moderate along the ridge. Keep friction low during healing and use a fragrance-free moisturizer for tattoo scab care.
Botanical Sleeve Accent On Posterior Shoulder
Style/Technique: Illustrative / Botanical
Pain Level: Medium (4/10)
Session Time: Multiple sessions
Best For: Lush, wrap accents toward back

Posterior shoulder placement is ideal for larger botanical elements that extend toward the back. Colors and shading should be packed for longevity. Follow tattoo aftercare day by day—clean gently and switch to lotion after the initial ointment phase for breathable healing.
Crescent Moon Cluster On Upper Shoulder
Style/Technique: Minimal / Fine Line & Dotwork
Pain Level: Low (2/10)
Session Time: 30–90 minutes
Best For: Celestial, minimal placements
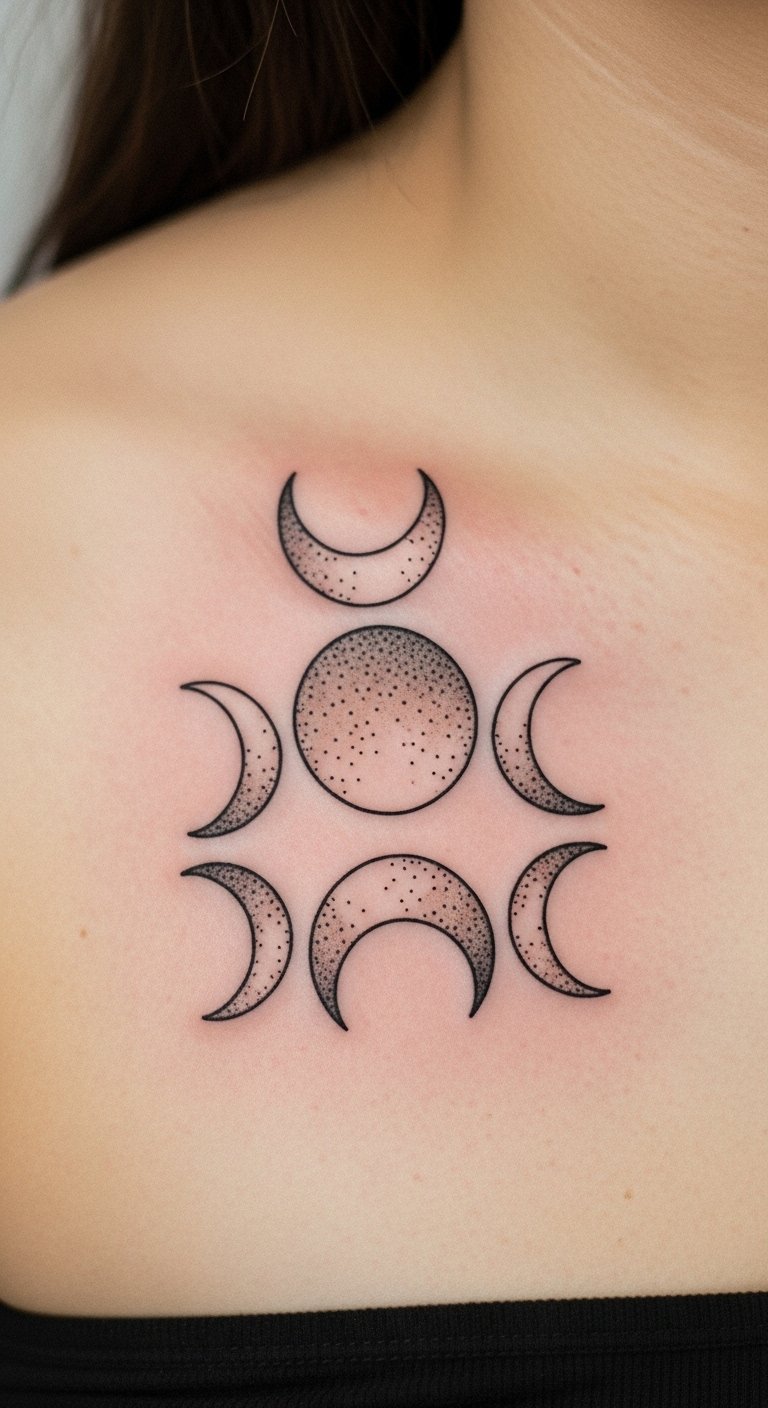
Small celestial clusters work well with shoulder curves. Dotwork moons need careful artist selection to prevent patchy healing—ask to see healed dotwork. Keep the area clean, thinly moisturized, and protected from the sun to preserve subtle detail.
Wave Band Around Deltoid
Style/Technique: Illustrative / Linework & Shading
Pain Level: Medium (4/10)
Session Time: 1–2 hours
Best For: Movement-based designs, wrap looks

A wave band mimics natural arm movement and looks balanced on the shoulder. It can bridge into sleeves later. Expect moderate pain and follow tattoo scab care steps—pat dry, no picking. Ask for shading that won’t diffuse too thin as it ages.
Botanical Negative Space On Shoulder Cap
Style/Technique: Blackwork / Negative Space
Pain Level: Low-Medium (3/10)
Session Time: 1–2 hours
Best For: High-contrast, modern silhouettes
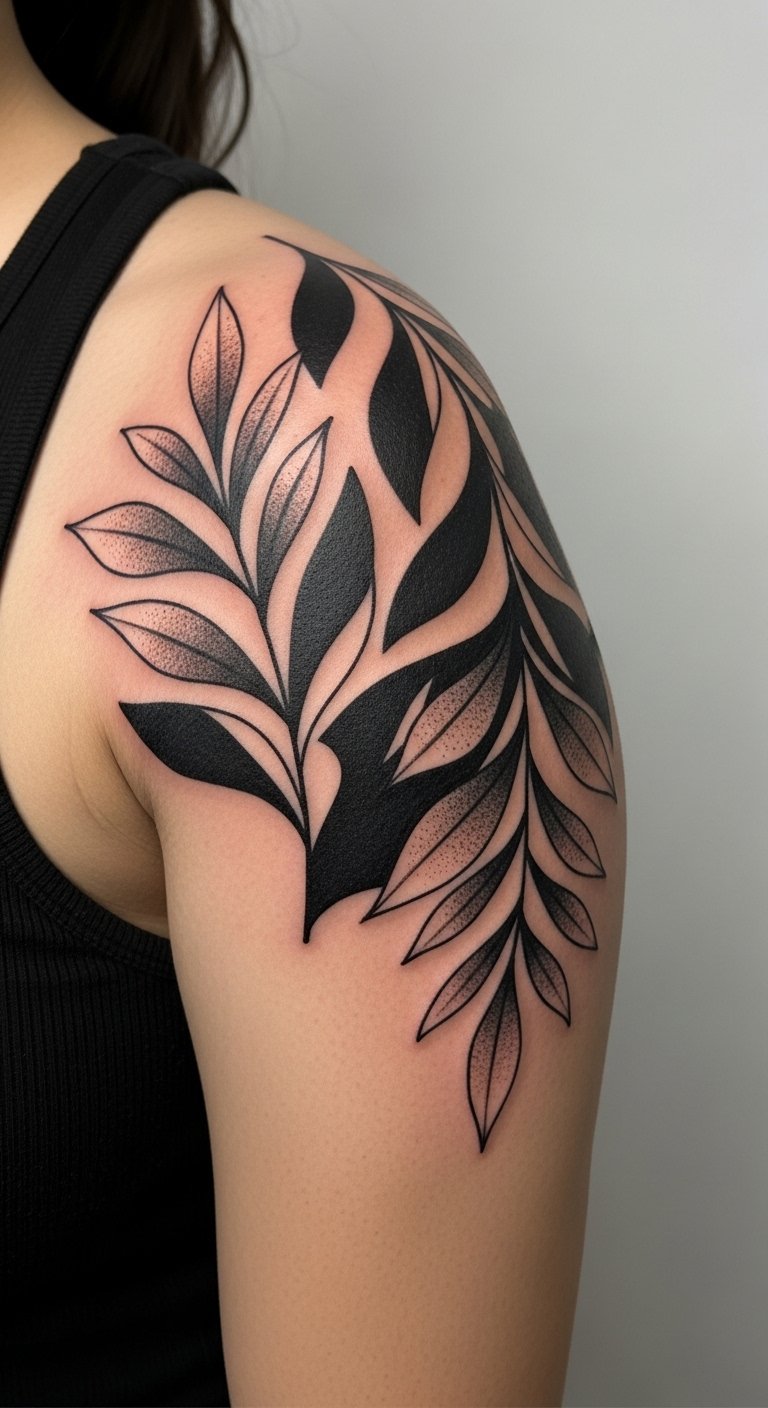
Negative-space botanical pieces read graphic and maintain contrast over time if black fills are solid. They tolerate sun better than light pastels. During healing avoid tight straps over the area and follow tattoo aftercare tips like thin-layer moisturizing.
Maze Geometry Across Shoulder Blade
Style/Technique: Geometric / Blackwork
Pain Level: Medium (4/10)
Session Time: 1–3 hours
Best For: Symmetry lovers, striking patterns

Geometric maze designs need precise stencils and an artist who works cleanly. The shoulder blade gives a flat canvas for symmetry. Keep friction low during healing and use a fragrance-free cleanser. Ask to see healed geometry examples so you know line weight longevity.
Small Shield Emblem On Front Shoulder
Style/Technique: Neo-Traditional / Emblem
Pain Level: Low (2–3/10)
Session Time: 45–90 minutes
Best For: Symbolic, heraldic motifs
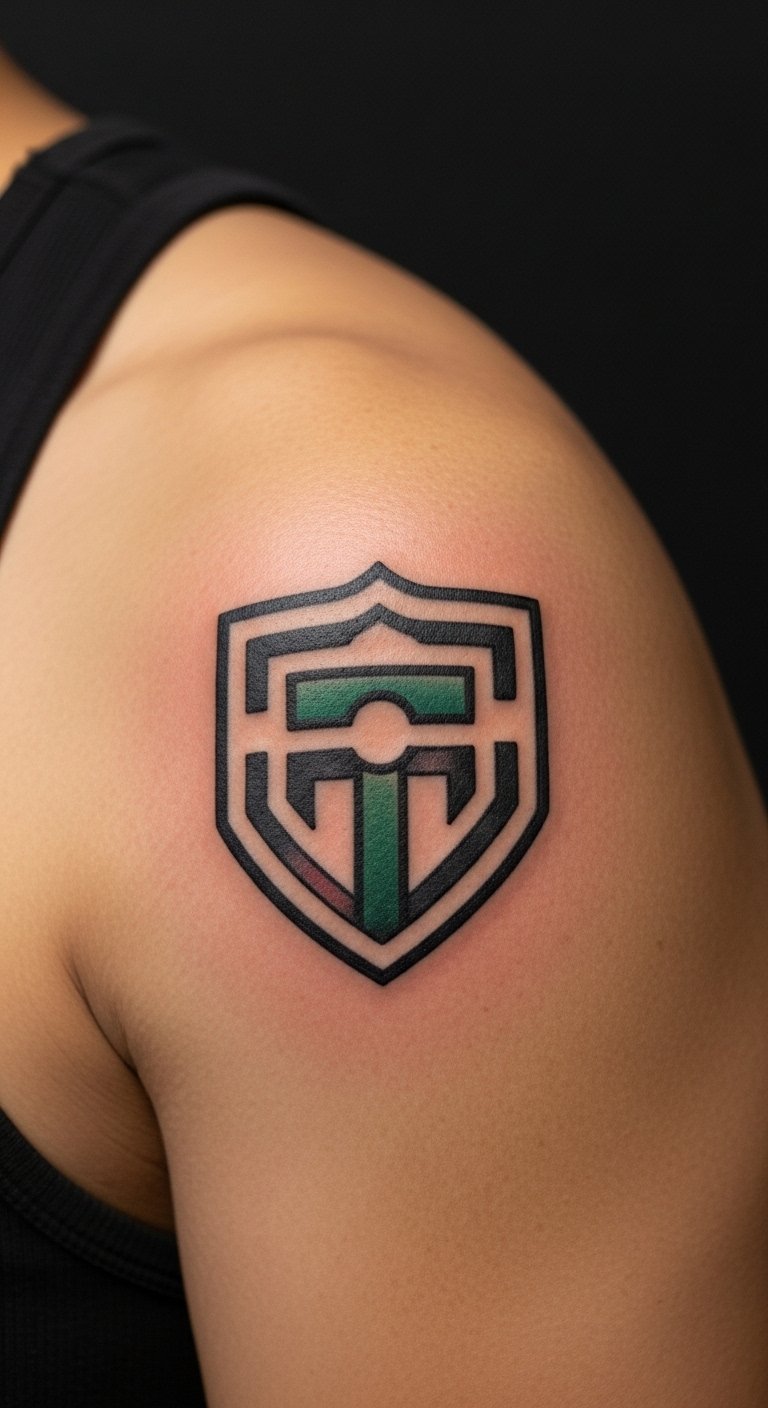
A compact emblem sits nicely on the front shoulder and reads as a badge. Strong outlines preserve shape over time. Follow a day-by-day tattoo aftercare routine and switch to a fragrance-free moisturizer after the first few days for breathable healing.
Floral Crescent On Shoulder To Chest
Style/Technique: Illustrative / Flowing Floral
Pain Level: Medium (4/10)
Session Time: 1–3 hours
Best For: Feminine flow, chest linkage
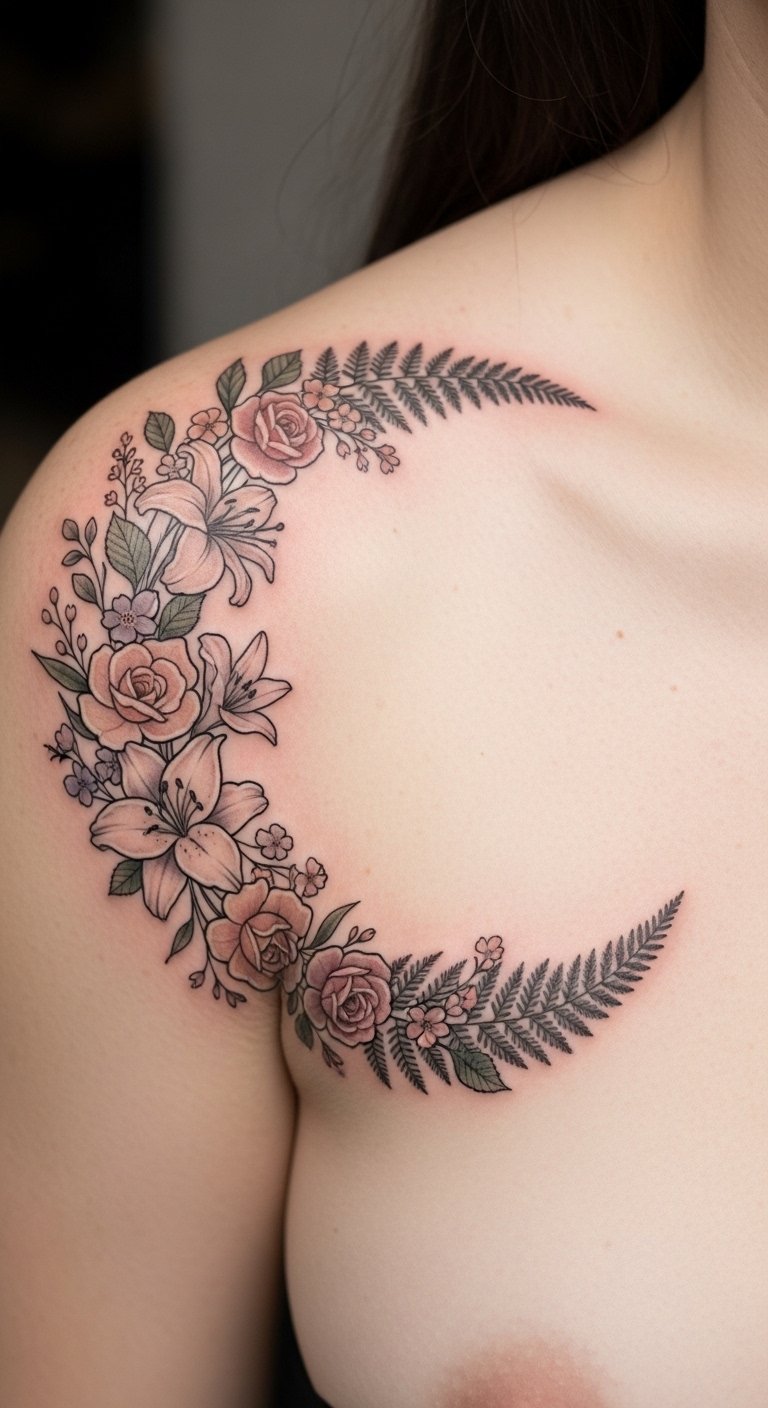
A floral crescent that crosses shoulder to chest follows anatomy for a flattering sweep. Chest movement can affect healing—avoid heavy exercise the first week and moisture-manage scabs. Artists who plan flow to musculature make these age gracefully.
Tattoo Prep and Aftercare Essentials
I include items I actually use and recommend based on healing results. These cover initial ointment, second-skin options, gentle cleansers, lotion transitions, and long-term sunscreen.
Aftercare Essentials:
- Aquaphor Healing Ointment, 14oz tube — Use first 1–3 days for barrier protection
- Saniderm Transparent Adhesive Bandage, 6-inch roll — Second skin for 3–4 day coverage (reapply after cleaning if artist approves)
- Dr. Bronner's Unscented Castile Soap, 8oz — Gentle cleanser for tattoo healing process
- CeraVe Fragrance-Free Moisturizing Lotion, 12oz — Switch to lotion after day 5–7 for breathable moisture
- Mad Rabbit Tattoo Balm, 2 oz — Good multi-use balm for healed skin maintenance
Before Your Appointment:
- Tattoo Numbing Cream With 5% Lidocaine — Ask your artist before using
- Tattoo Stencil Transfer Paper, 3-pack — For custom home prep if needed
Long-Term Maintenance:
- SPF 50 Sunscreen Stick for Tattoos — Daily protection to prevent fading
- Hustle Butter Deluxe Aftercare, 2.25 oz — Vegan aftercare option for healed skin
- Hydrocolloid Bandages, Large — Spot protection for small scabs or touch-ups
Optional Comfort & Tools:
- Tattoo Numbing Spray — For touch-ups or sensitive areas
- SPF 50+ Mineral Sunscreen (face/body) — Broader application option
Notes from experience: re-applying Saniderm after a careful clean can help infection prevention for larger shoulder pieces. Switch from ointment to a fragrance-free moisturizer after week one. A balm stick (like Mad Rabbit’s) is handy and more hygienic than jars. Standing in the shower to remove your initial bandage helps loosen adhesive without scraping.
Frequently Asked Questions
Q: How bad does a shoulder tattoo hurt?
A: Shoulders are generally among the more tolerable spots—think 3–4/10 on average. Closer to bone (shoulder ridge) can be higher. Use a numbing cream if your artist approves: Tattoo Numbing Cream With 5% Lidocaine.
Q: How long to keep a tattoo covered?
A: Follow your artist, but typical guidance is 2–4 hours for a standard bandage or up to 3–4 days with Saniderm for larger shoulder pieces. Reapply second-skin only after a full clean if you plan to extend coverage.
Q: What if my tattoo scabs?
A: Expect light scabbing around day 3–7. Do not pick; pat dry after washing and apply a thin layer of fragrance-free moisturizer 2–4x daily. For spot scabs, hydrocolloid bandages help heal faster.
Q: How do I keep my shoulder tattoo from fading?
A: Sunscreen is essential—UV rays are the main fading culprit. Use an SPF 50+ stick daily and moisturize with a fragrance-free moisturizer for skin health.
Q: Can I work out after getting a shoulder tattoo?
A: Wait 48–72 hours minimum. If your workout causes heavy sweating or straps rub the area, wait a week or more. Sweat can irritate fresh ink and risk infection.
Q: Do tattoos look different on various skin tones?
A: Yes. Black and gray show well across tones. Bright colors may read differently—discuss color saturation and healed photos with artists experienced tattooing your skin tone.
Conclusion
Do research, sit with your idea, and book a consult. A good artist will show healed examples and advise placement tweaks. Keep to simple tattoo aftercare tips—gentle cleanser, thin-layer moisturizing, and daily SPF like the SPF 50 Sunscreen Stick. What shoulder style are you leaning toward?