
I spent months scrolling micro tattoo feeds before I realized the trick: tiny pieces need big planning. Micro tattoos look delicate, but they age differently than larger work. These 29 micro ideas focus on styles that hold up healed and the placements that make sense long-term.
This list leans into fine line, micro-realism, minimalist, and tiny traditional styles. These ideas work great on wrists, fingers, behind the ear, ankles, and ribs. From what I've seen, artists in 2026 favor crisp line weight and smart placement for long-term clarity.
1. Fine Line Botanical Sprig on Inner Wrist
Style/Technique: Fine Line / Minimalist
Pain Level: Low (2-3/10)
Session Time: 30–60 min
Best For: First small tattoo, easily hidden
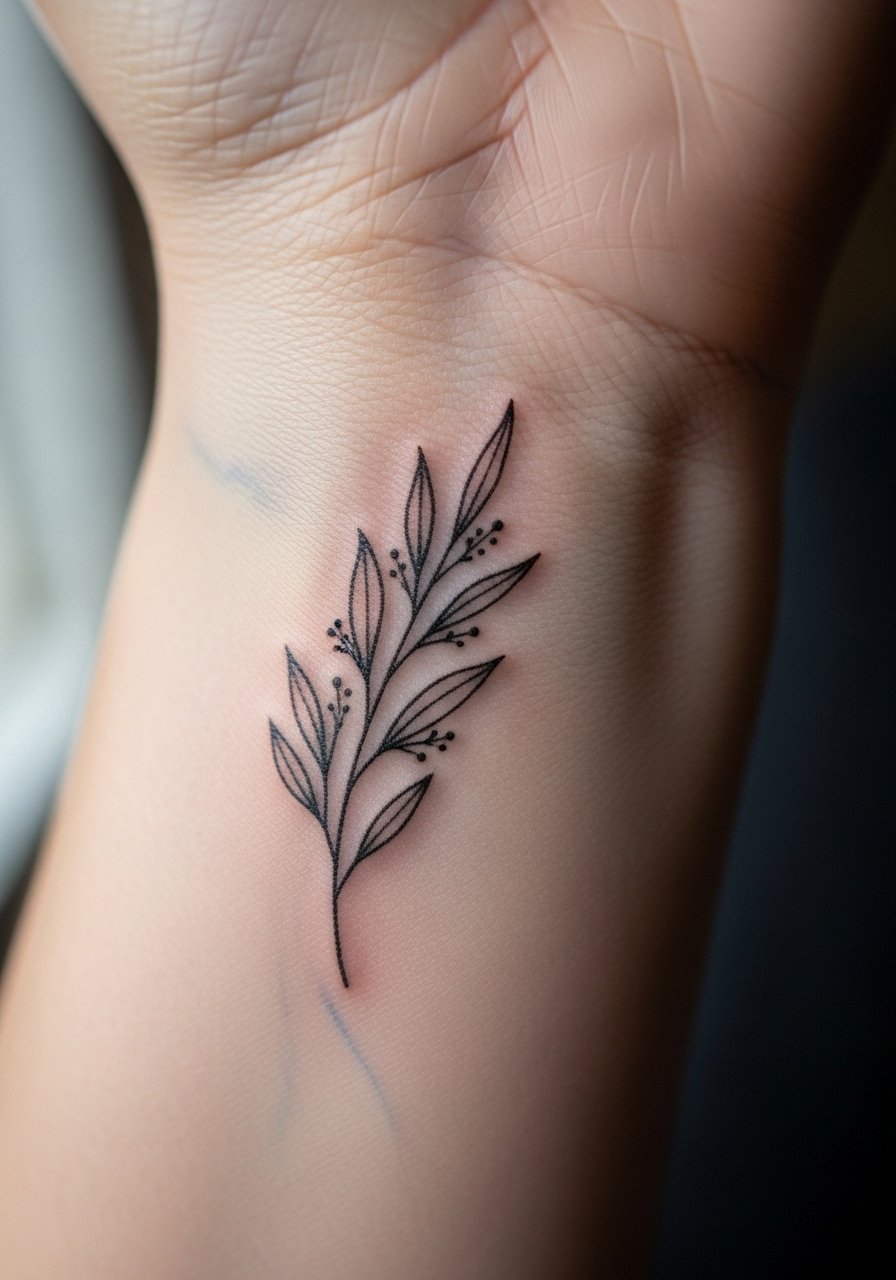
I like this for its meaningful look and easy concealment. Expect light soreness and quick surface healing in 1–2 weeks. Fine lines blur if artist uses too light needles—ask for slightly bolder line weight. Keep sunscreen on it long-term.
2. Micro-Realism Pet Portrait Behind Ear
Style/Technique: Micro-Realism
Pain Level: Low-Medium (3-4/10)
Session Time: 1–2 hours
Best For: Personal, tiny keepsake

These tiny portraits are surprisingly sweet. Healed detail depends on needle control—pick an artist who posts healed photos. Healing is quick but shading can soften; expect possible touch-up later. Avoid overly complex backgrounds.
3. Minimalist Single-Line Face On Finger
Style/Technique: Single-Line / Minimalist
Pain Level: Medium (4-5/10)
Session Time: 30–45 min
Best For: Subtle wrist or finger statement
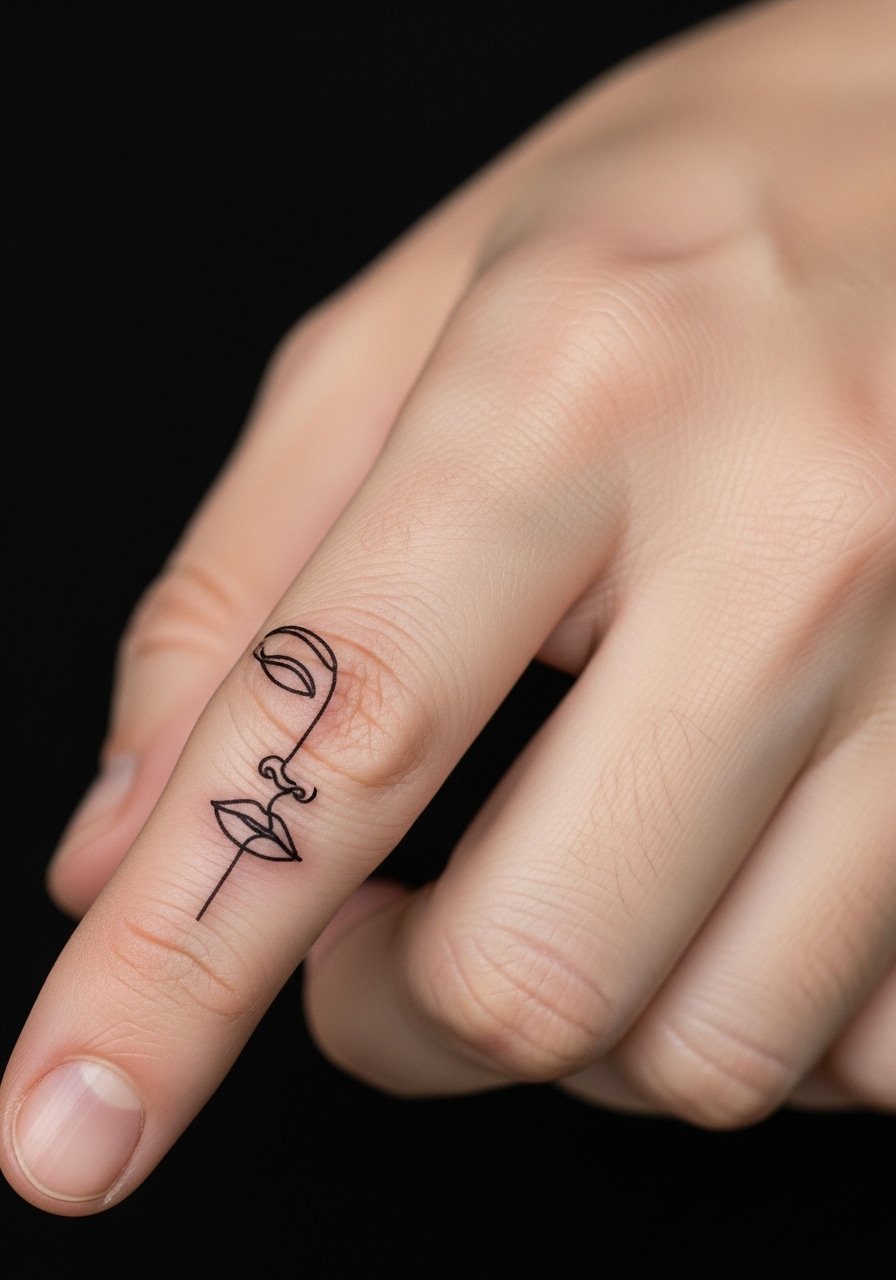
Fingers are notorious for fading and blurring. I only recommend single, confident lines—no tiny filler. Plan for faster touch-ups. Keep hands dry while healing; avoid heavy rubbing.
4. Tiny Traditional Rose On Upper Arm
Style/Technique: Traditional / Neo-Traditional
Pain Level: Low (2-3/10)
Session Time: 45–90 min
Best For: Timeless small piece
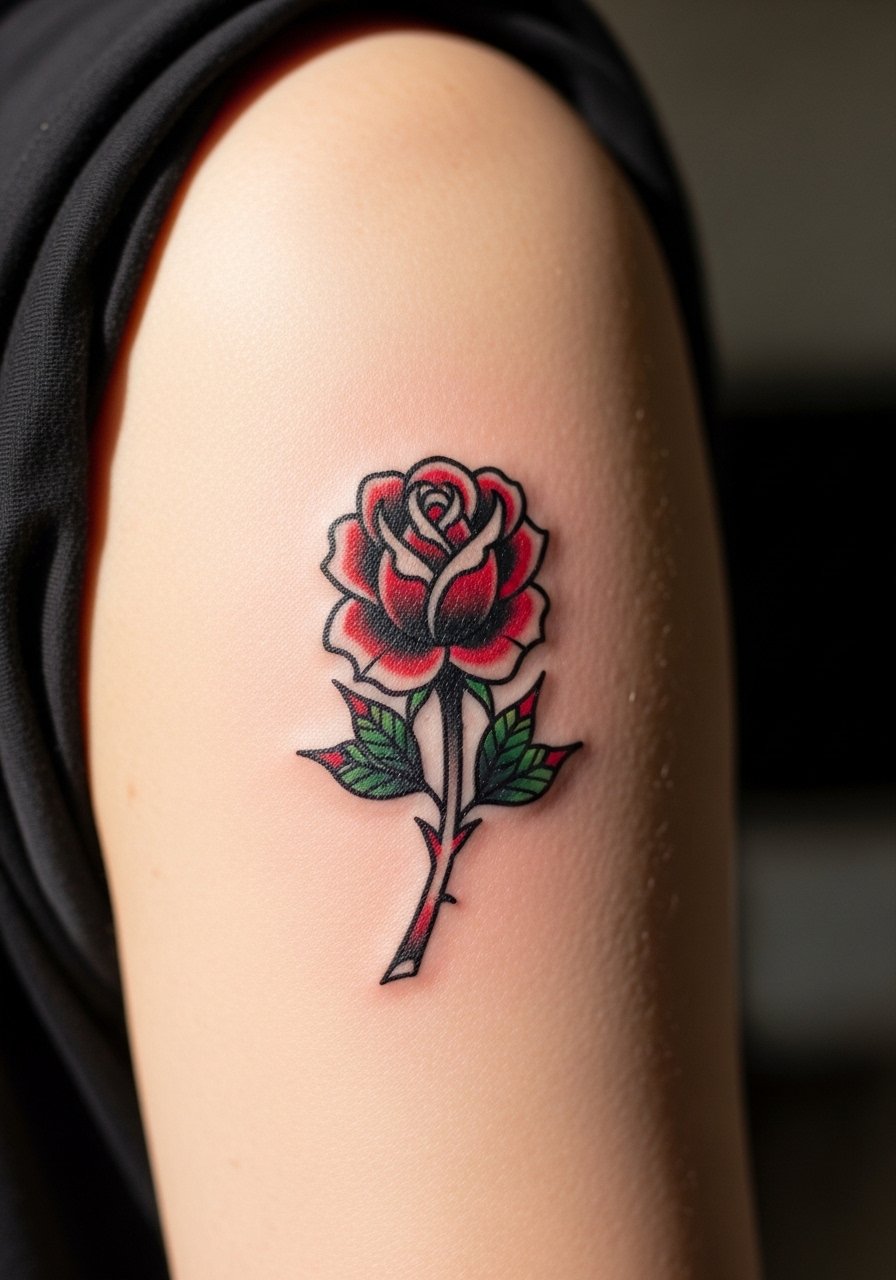
Bold outlines help longevity here. Traditional color holds fairly well; black outlines anchor the design. Avoid overly detailed petals at micro scale—the lines can merge as it settles.
5. Micro Constellation On Ankle
Style/Technique: Minimalist / Dotwork
Pain Level: Medium (4/10)
Session Time: 30–60 min
Best For: Discreet, meaningful placement
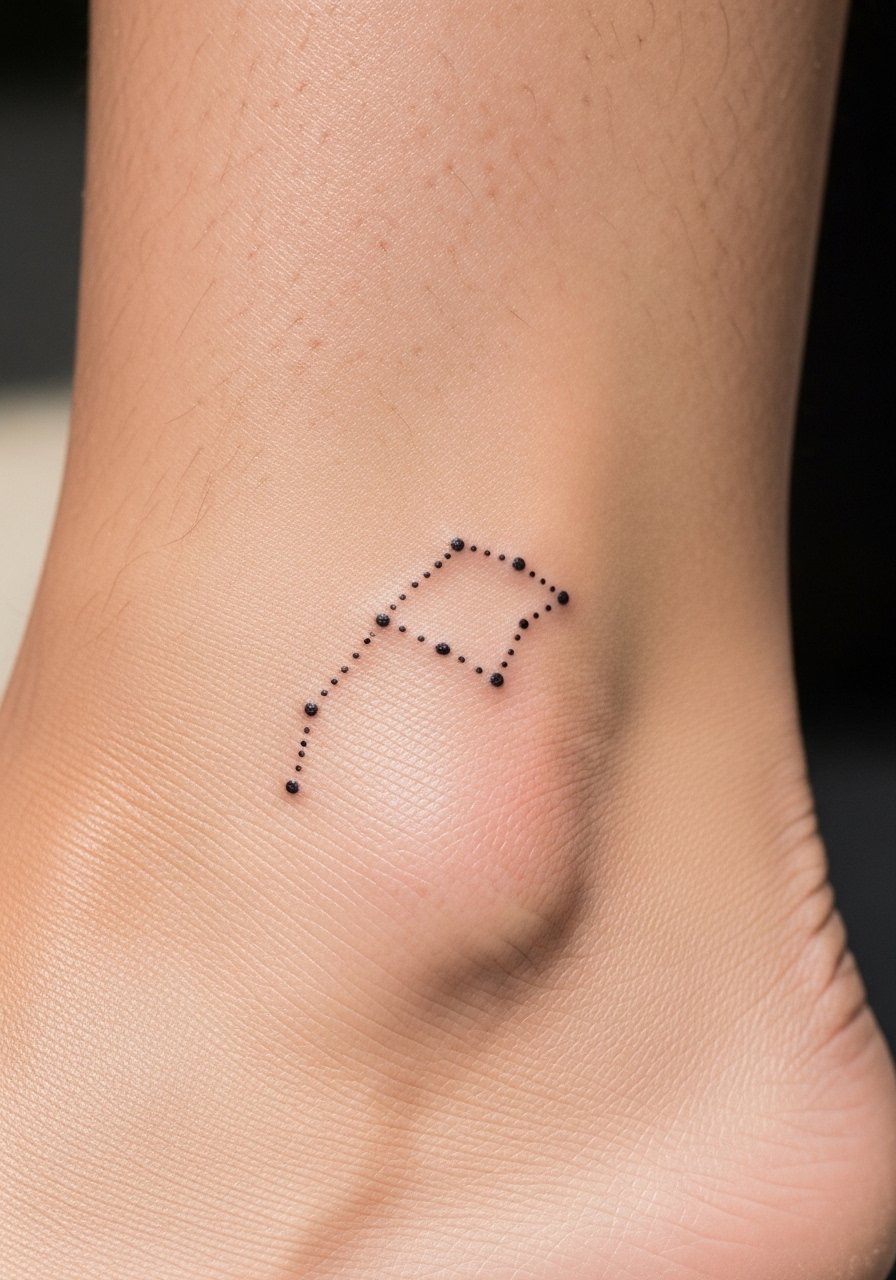
I love constellations for meaning and low visual weight. Dotwork ages nicely if dots are slightly larger than you'd expect. Ankles move and rub—expect longer surface healing and avoid tight shoes while it heals.
6. Negative-Space Geometric On Back Of Neck
Style/Technique: Blackwork / Geometric
Pain Level: Low-Medium (3-4/10)
Session Time: 45–90 min
Best For: Edgy, easy-to-cover placement
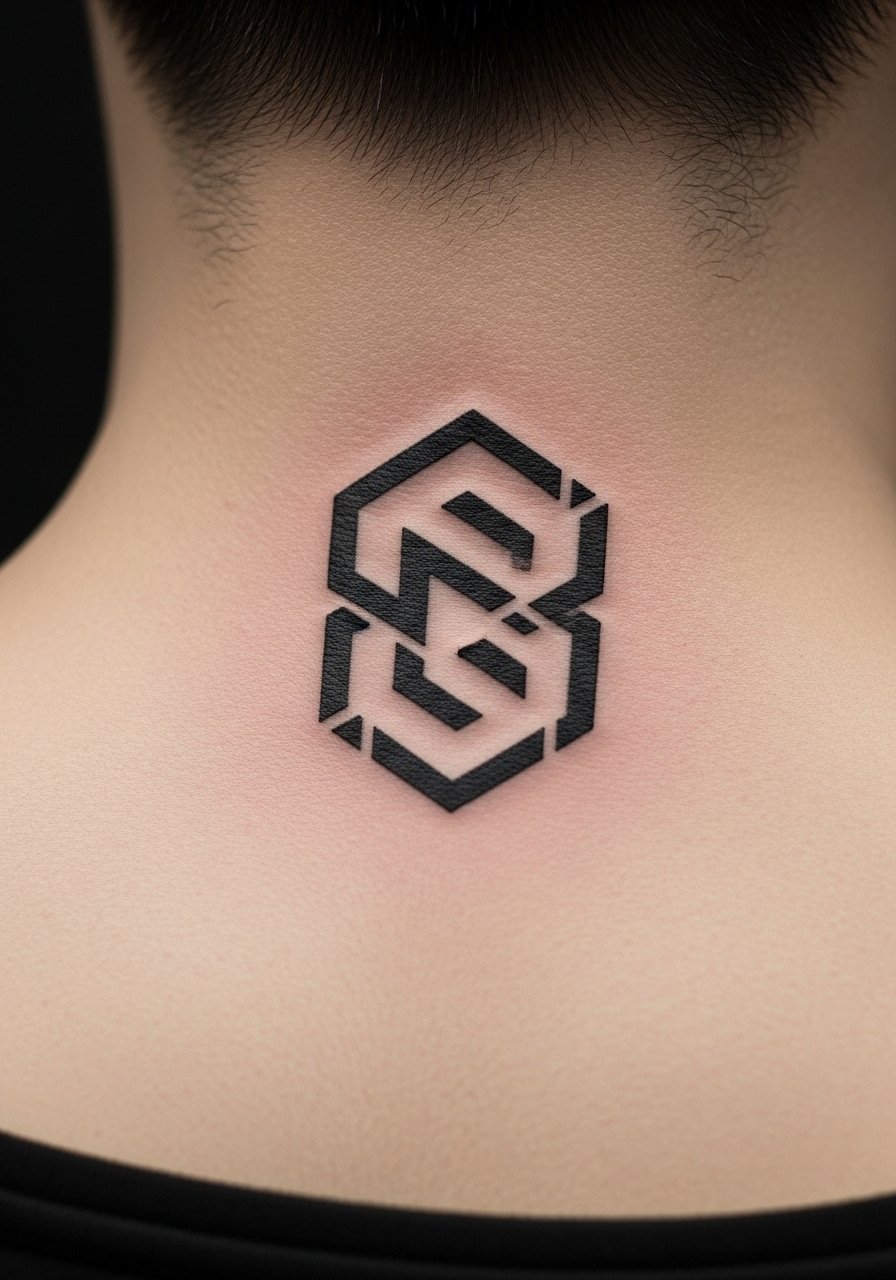
Negative-space designs rely on solid blacks. Healed contrast is key—ask for saturated black. Avoid tiny thin gaps that can close up over time.
7. Micro Script Word On Ribcage
Style/Technique: Fine Line / Script
Pain Level: High (6-7/10)
Session Time: 30–60 min
Best For: Private, meaningful text
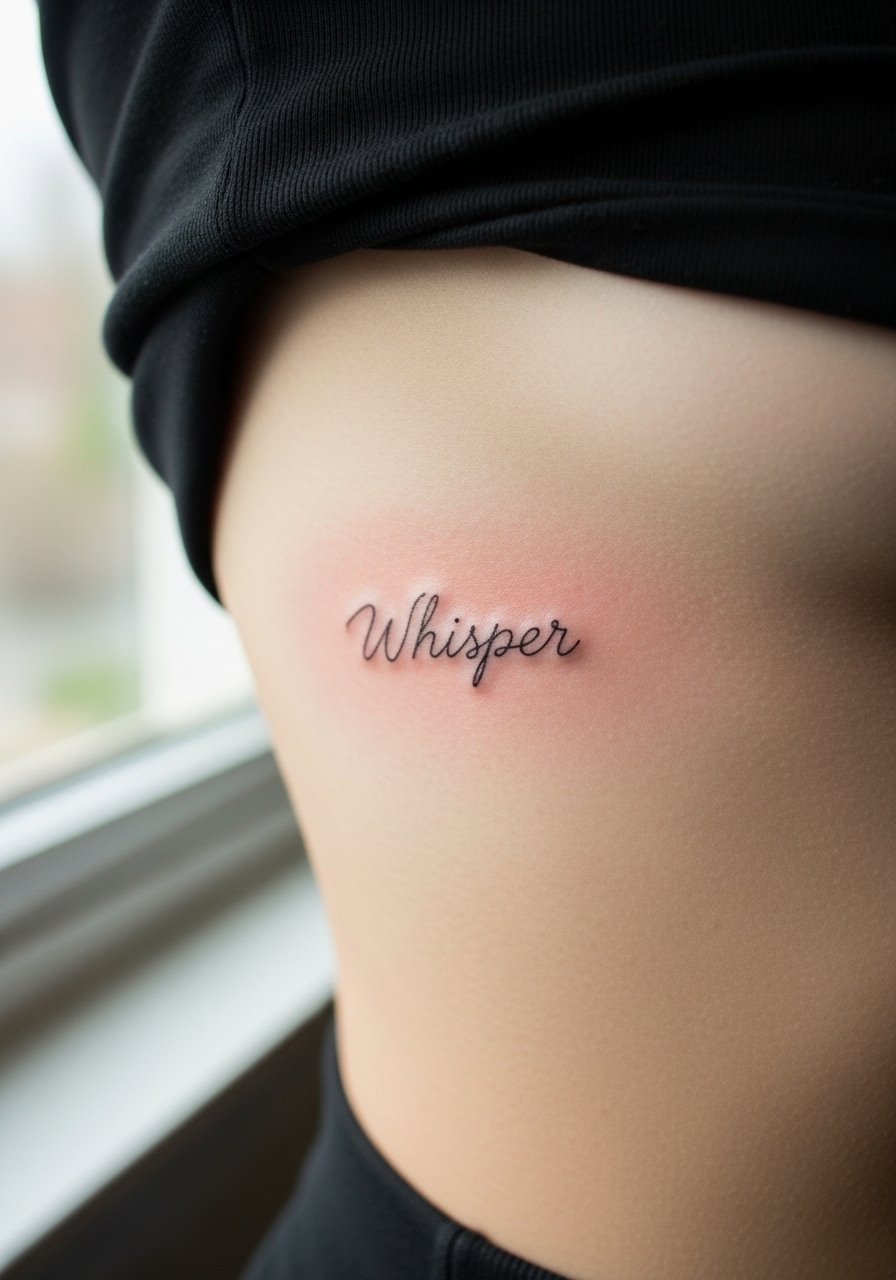
Ribs hurt more than you expect. Fine script can blur, so use slightly thicker strokes or spaced letters. Expect peeling and stretching during healing; follow aftercare closely.
8. Tiny Anchor On Side Of Finger
Style/Technique: Minimalist / Traditional
Pain Level: Medium (4-5/10)
Session Time: 20–40 min
Best For: Subtle daily visible mark
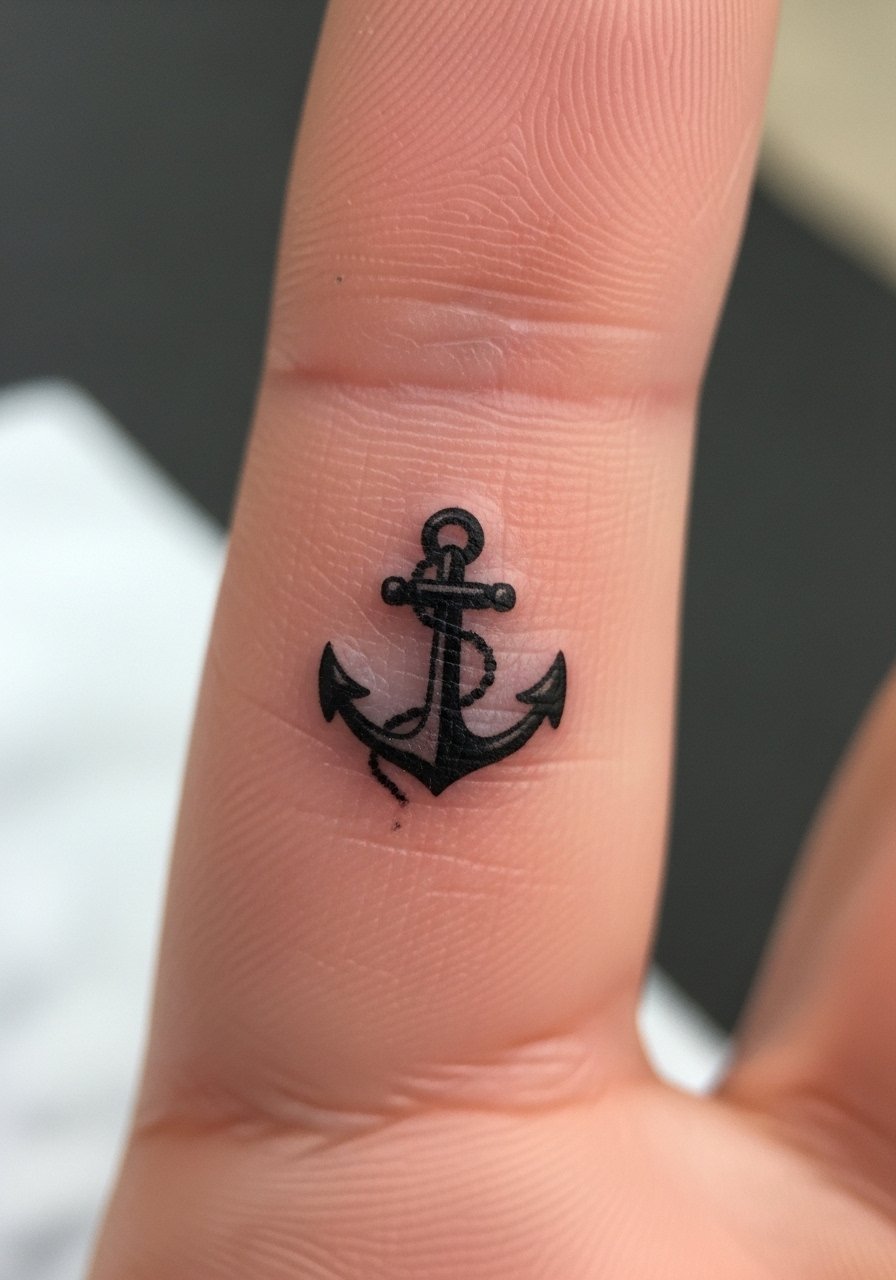
Side-of-finger work fades fastest. Keep designs simple and bold. I tell people this is essentially a semi-permanent choice—plan for touch-ups if you want it sharp long-term.
9. Micro-Realism Flower On Collarbone
Style/Technique: Micro-Realism / Fine Line
Pain Level: Medium (4-5/10)
Session Time: 1–2 hours
Best For: Feminine, visible piece
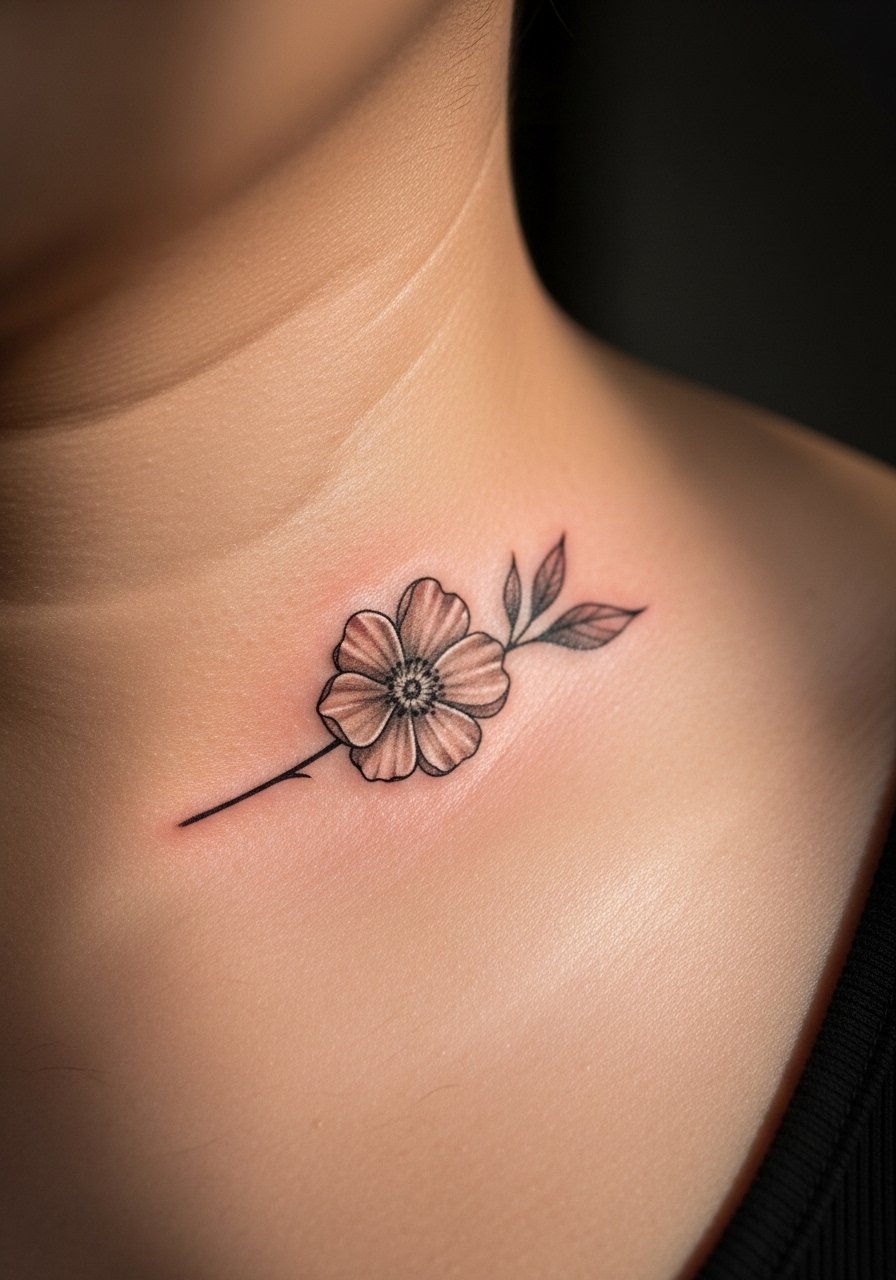
Collarbones heal well visually but feel sensitive while tattooing. Micro shading needs an experienced hand; ask to see healed examples. Moisturize consistently as it heals.
10. Tiny Blackwork Crescent On Behind Ear
Style/Technique: Blackwork / Minimalist
Pain Level: Low (2-3/10)
Session Time: 20–40 min
Best For: Hidden yet stylish
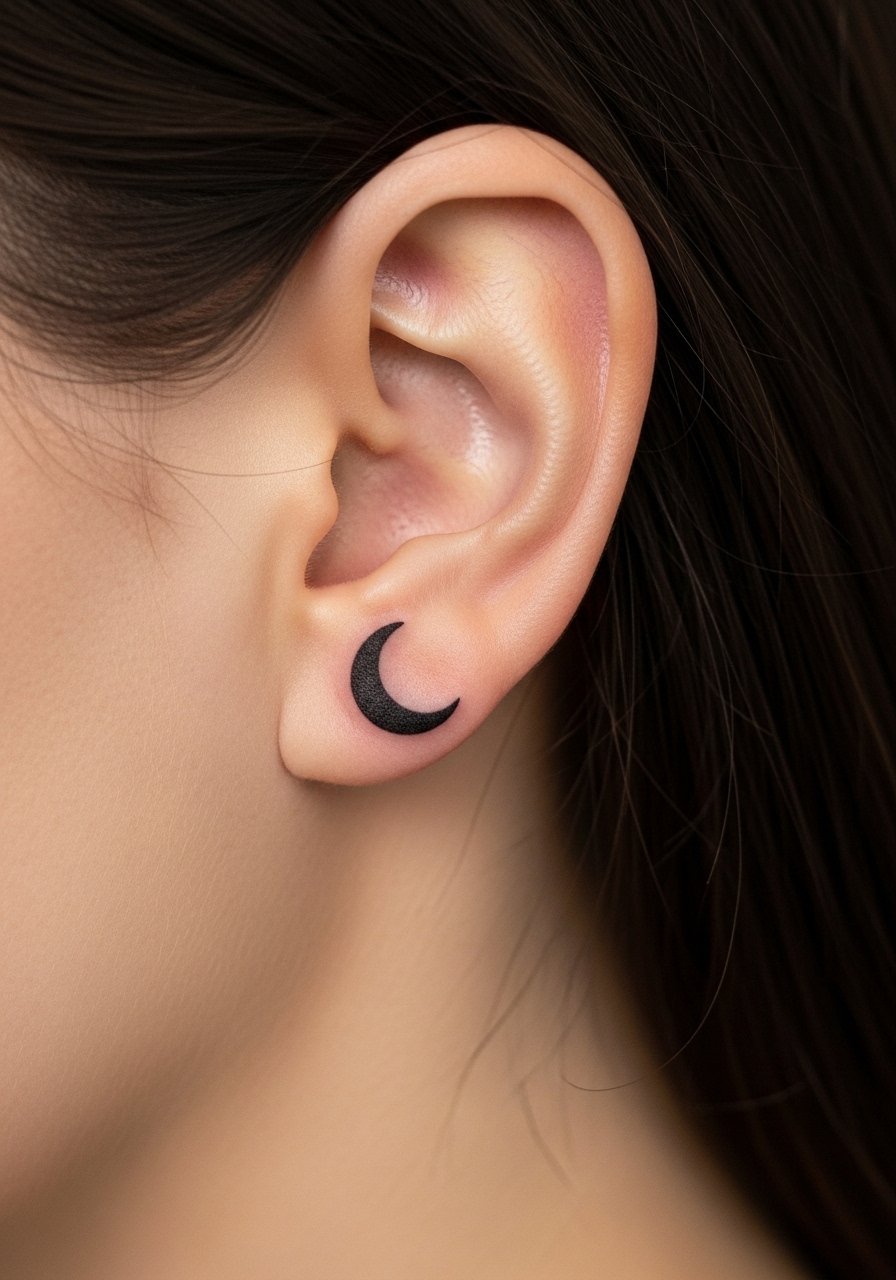
A solid tiny black crescent holds up nicely. Behind-ear movement is limited, so aging is gentle. Watch for scabbing under hair; keep area clean.
11. Micro Botanical Leaf On Ankle Bone
Style/Technique: Fine Line / Illustrative
Pain Level: Medium (4/10)
Session Time: 30–45 min
Best For: Delicate ankle detail
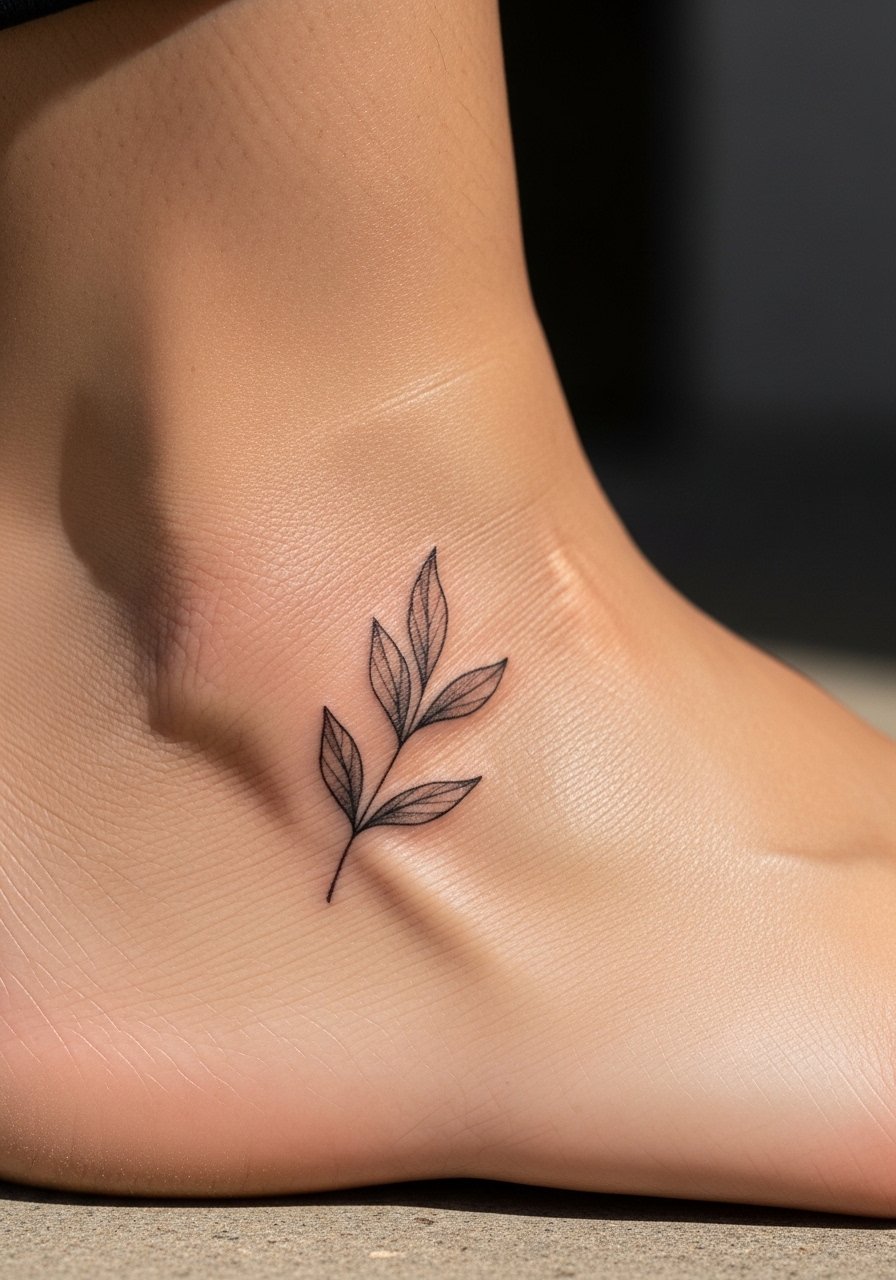
Ankle bone tattoos can be tender. Keep design airy and avoid ultra-thin veins. Shoes can rub—skip tight footwear during initial healing.
12. Tiny Coordinates On Inner Arm
Style/Technique: Minimalist / Script
Pain Level: Low (2-3/10)
Session Time: 20–40 min
Best For: Meaningful, private placement
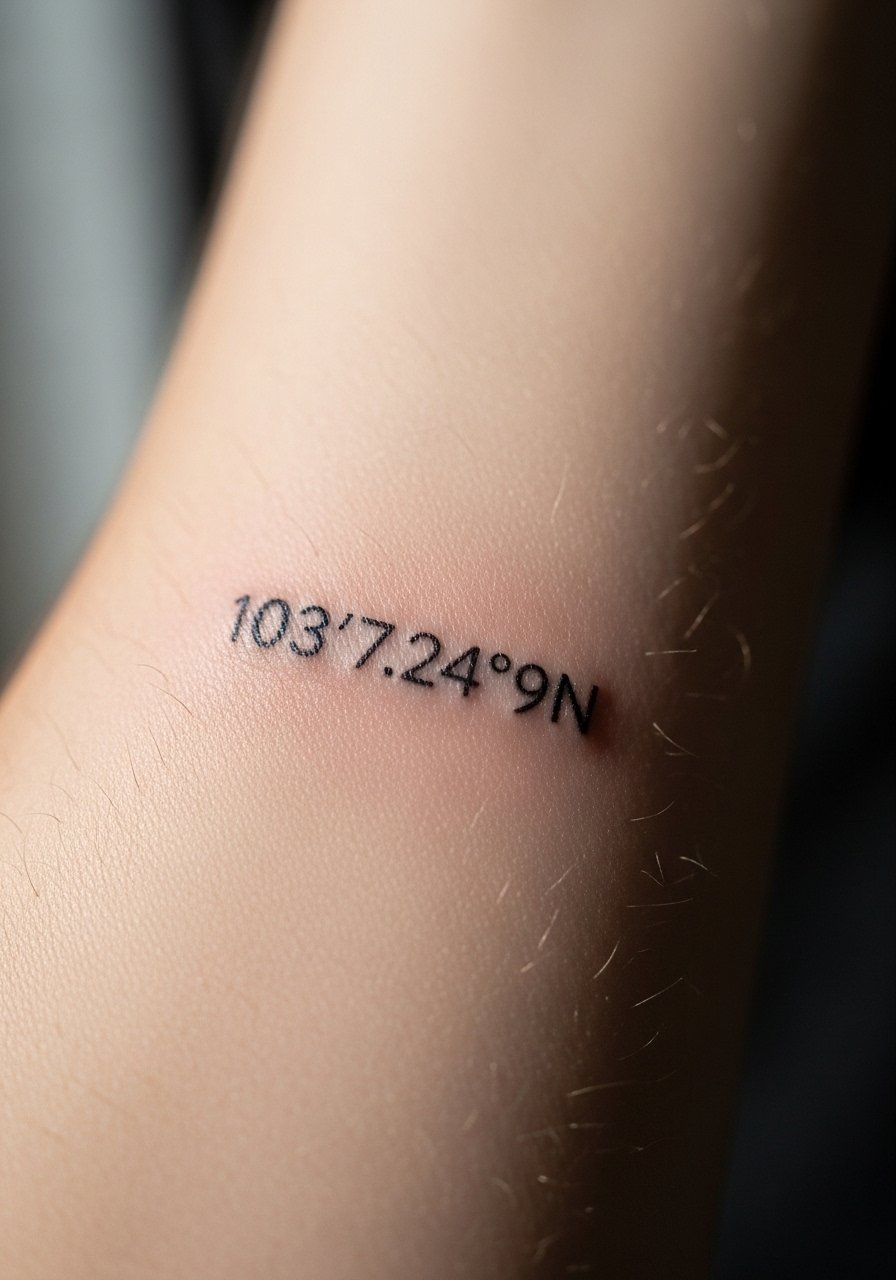
Coordinates are timeless and discreet. Use clear, spaced numerals. Inner arm holds ink well—this ages predictably if you avoid friction while healing.
13. Micro Linework Mountain On Ankle
Style/Technique: Minimalist / Fine Line
Pain Level: Medium (4/10)
Session Time: 20–45 min
Best For: Adventurous, subtle symbol
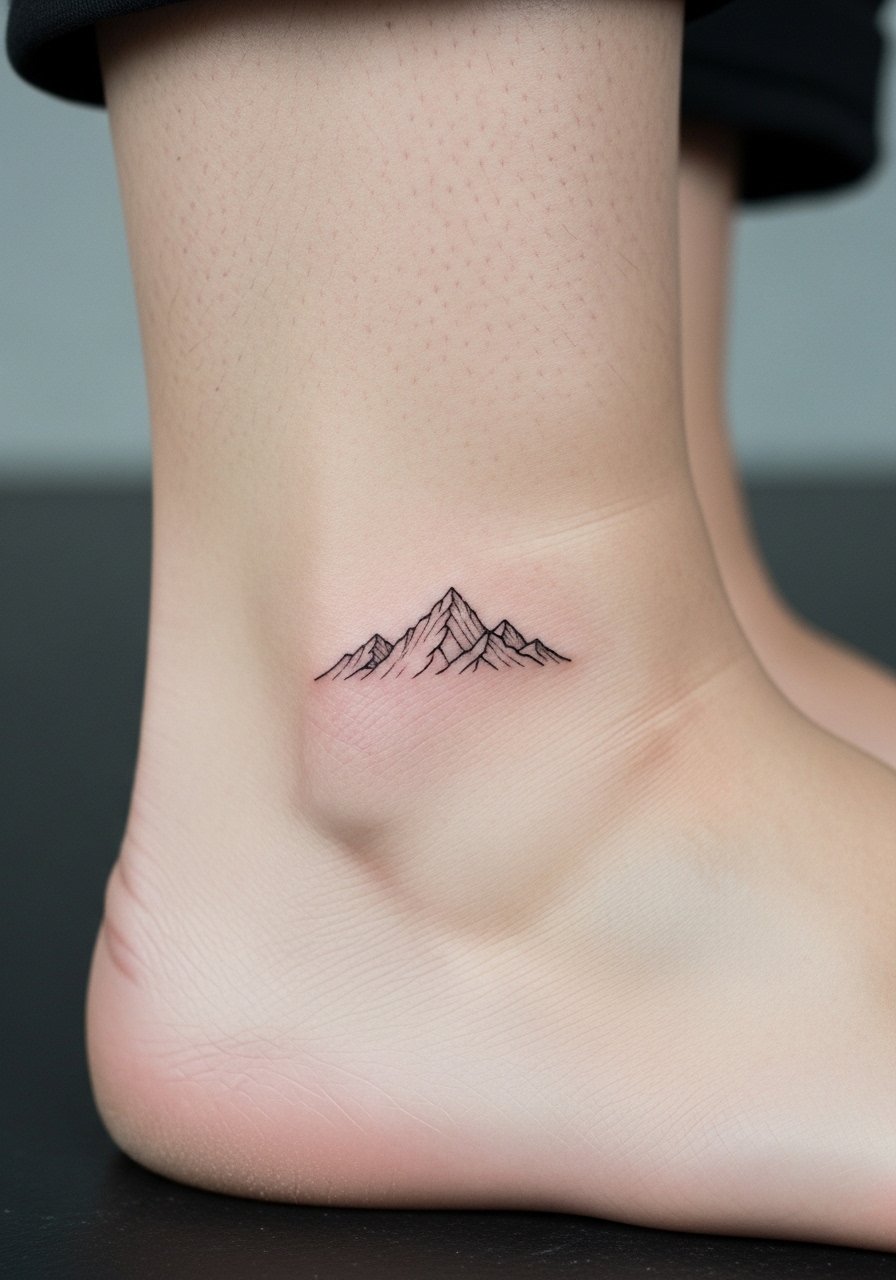
Tiny mountain lines are graphic and meaningful. Keep peaks simple. Thin peaks may blur; ask artist for slightly stronger lines.
14. Single Dot Minimalist On Finger Pad
Style/Technique: Minimalist / Micro
Pain Level: Medium (5/10)
Session Time: 10–20 min
Best For: Test piece, tiny accent
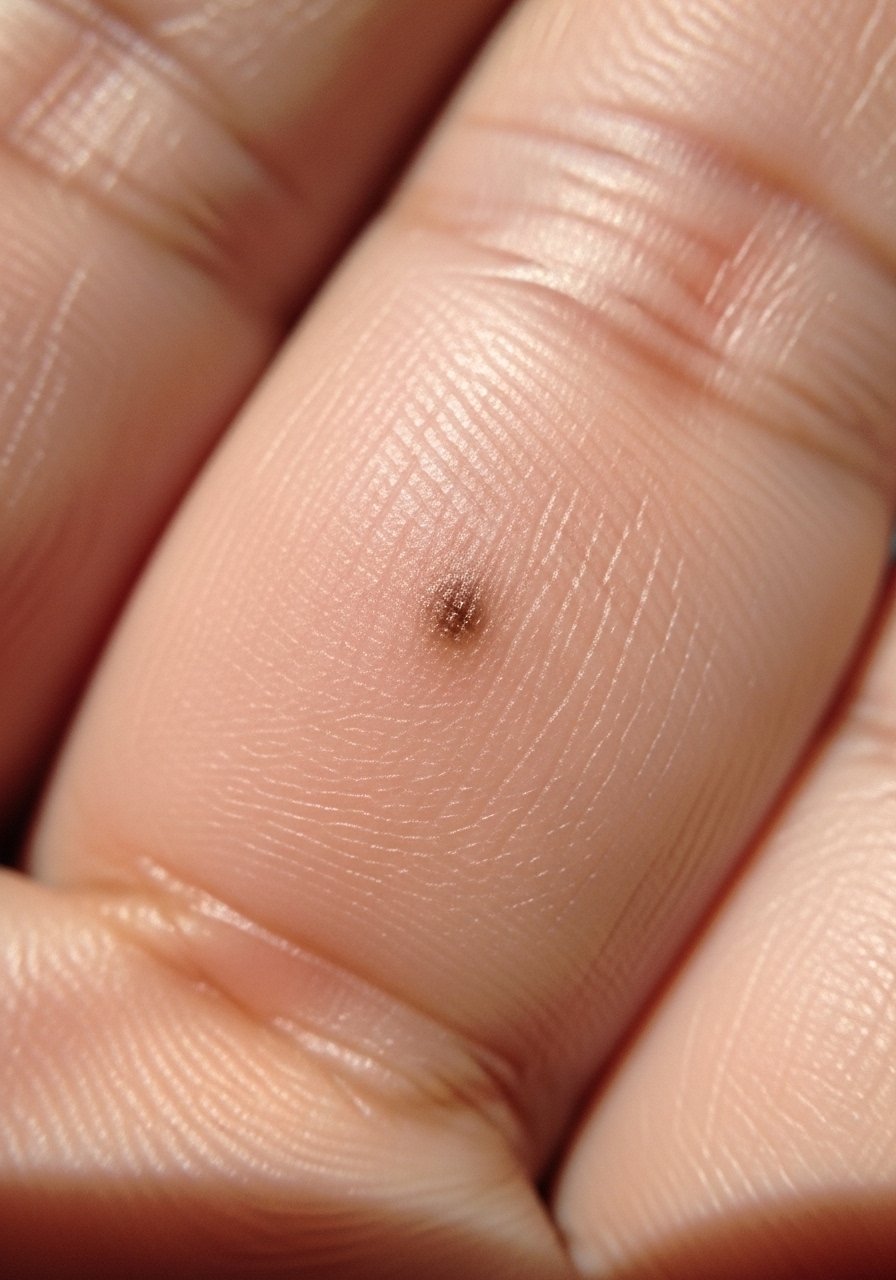
Dots often spread more than expected. I recommend making the dot slightly larger than you think. Fingers need ongoing touch-ups.
15. Tiny Wave Line Behind Ear Lobe
Style/Technique: Minimalist / Single-Line
Pain Level: Low (2-3/10)
Session Time: 15–30 min
Best For: Concealable, stylish accent
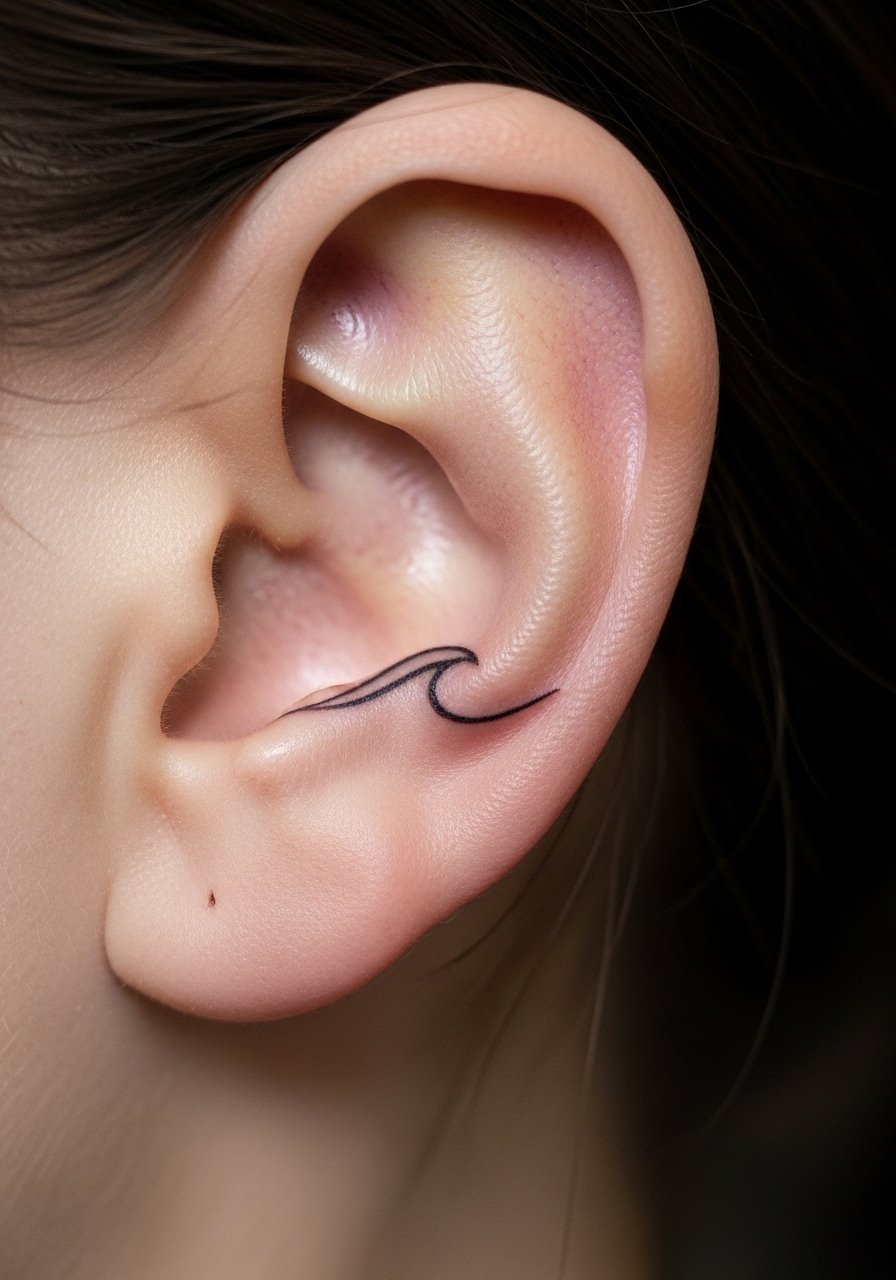
Subtle curves show personality. Behind-ear placement stays protected, so it ages well. Avoid hair products while healing.
16. Micro Floral Cluster On Thigh
Style/Technique: Fine Line / Illustrative
Pain Level: Low-Medium (3-4/10)
Session Time: 45–90 min
Best For: Private, statement piece
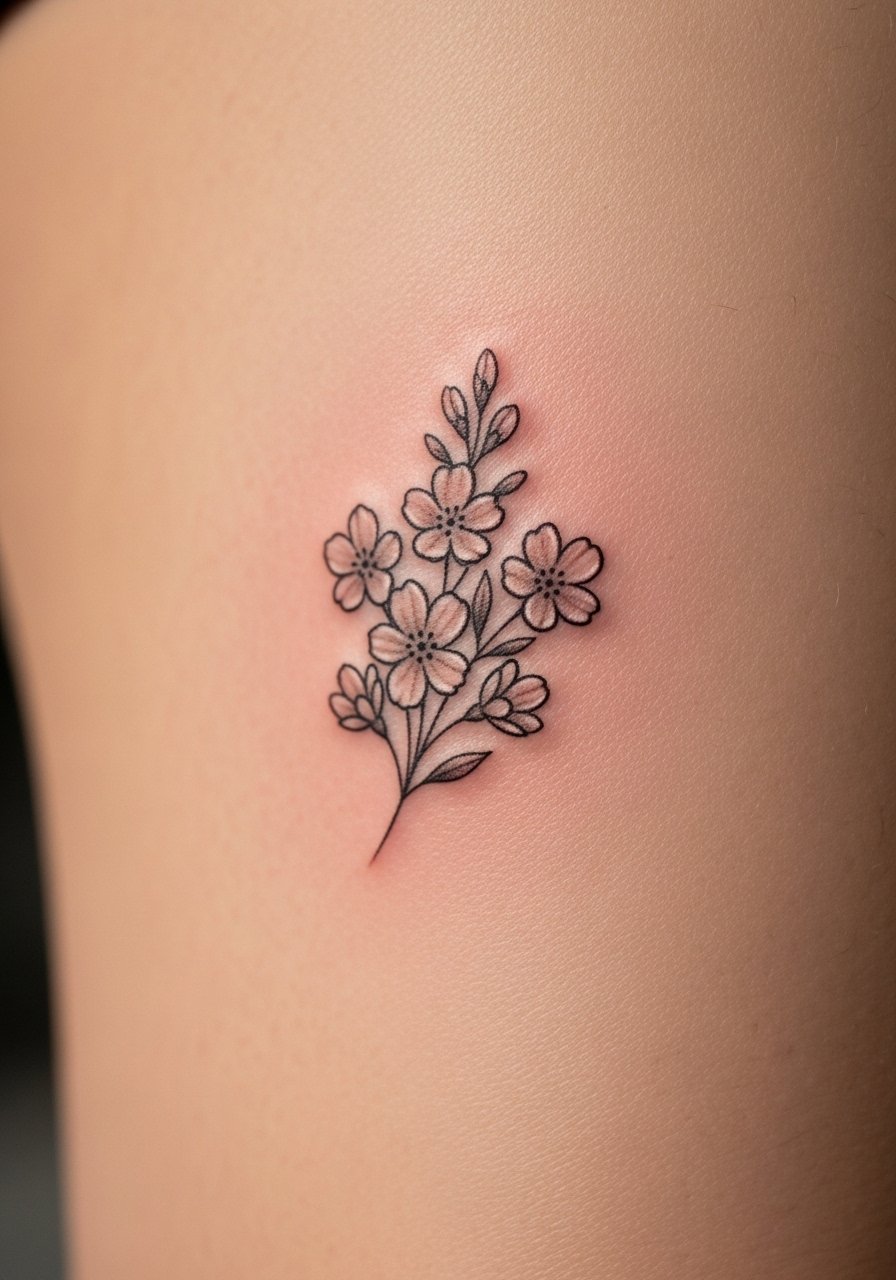
Thigh skin tolerates detail well and heals predictably. Tiny clustered elements need spacing—too tight and they merge. Spread elements slightly.
17. Micro Starrow (Star + Arrow) On Wrist
Style/Technique: Minimalist / Symbolic
Pain Level: Low (2-3/10)
Session Time: 20–30 min
Best For: Everyday visible symbol
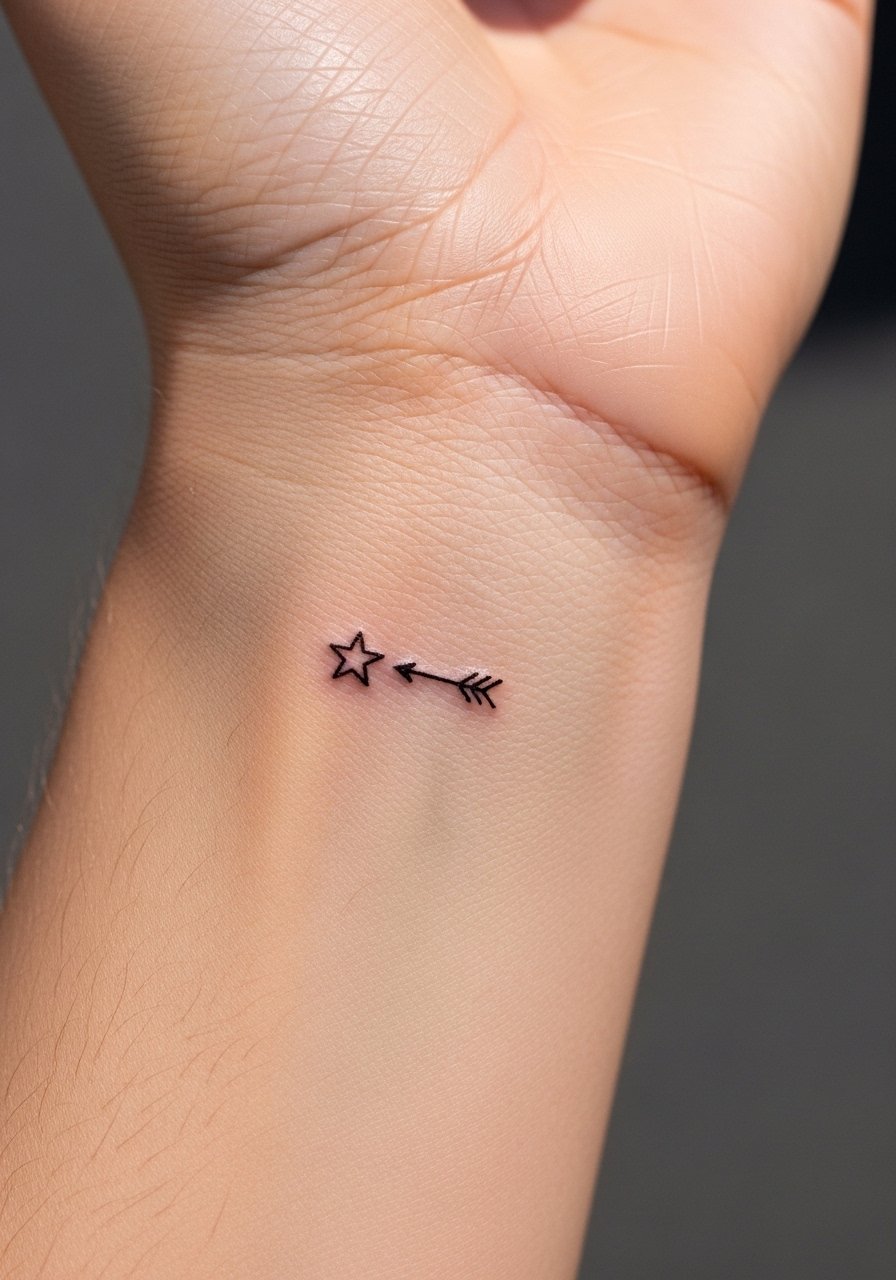
Symbols are classic. Keep lines bold enough for longevity. Wrist sees friction—moisturize and protect from sun.
18. Tiny Snake On Behind Knee
Style/Technique: Fine Line / Blackwork
Pain Level: High (6/7/10)
Session Time: 30–60 min
Best For: Hidden, personal piece
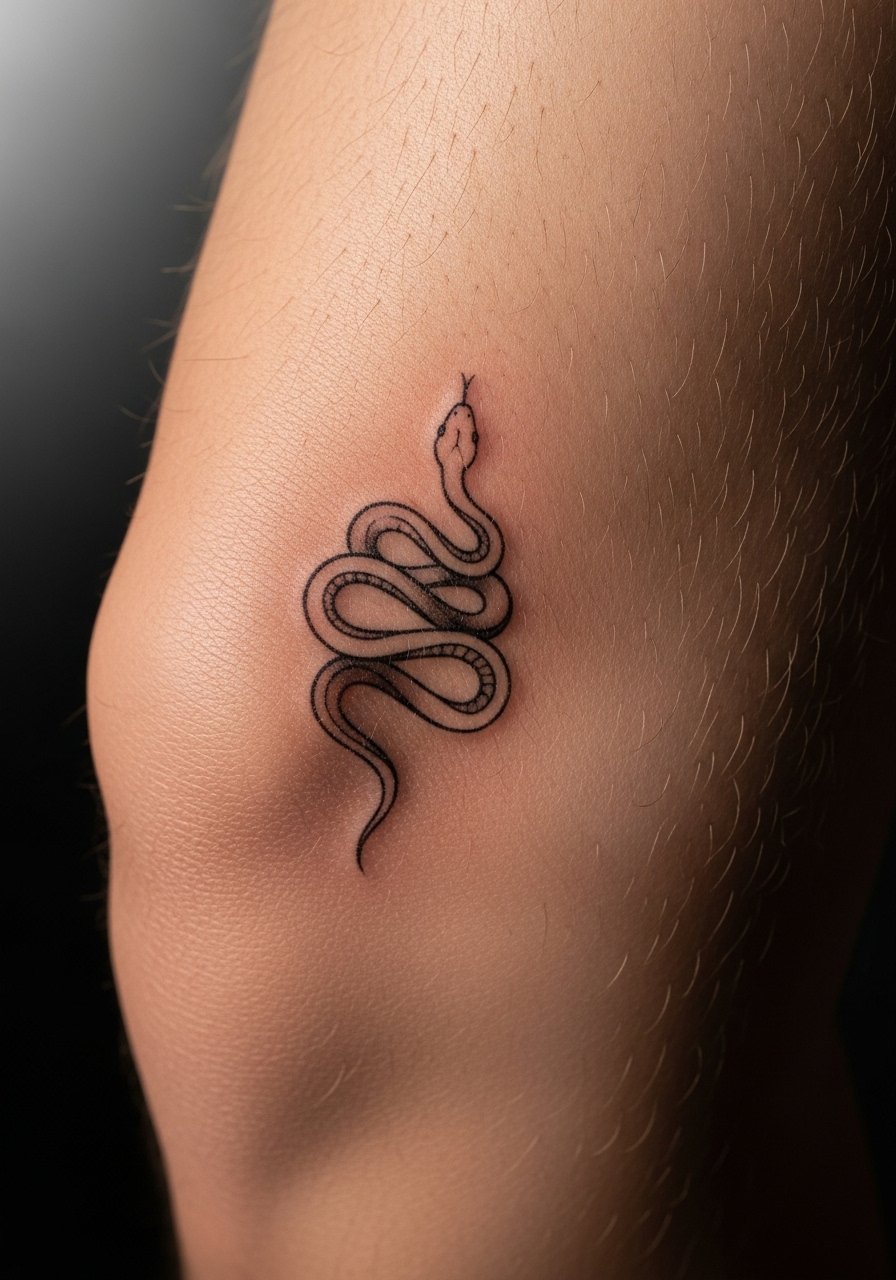
Behind-knee placement is painful and moves a lot. Choose a simple silhouette over micro detail to avoid distortion while healing.
19. Micro Morse Code Band Around Finger
Style/Technique: Minimalist / Dot-Line
Pain Level: Medium (4-5/10)
Session Time: 20–40 min
Best For: Secret message, ring substitute
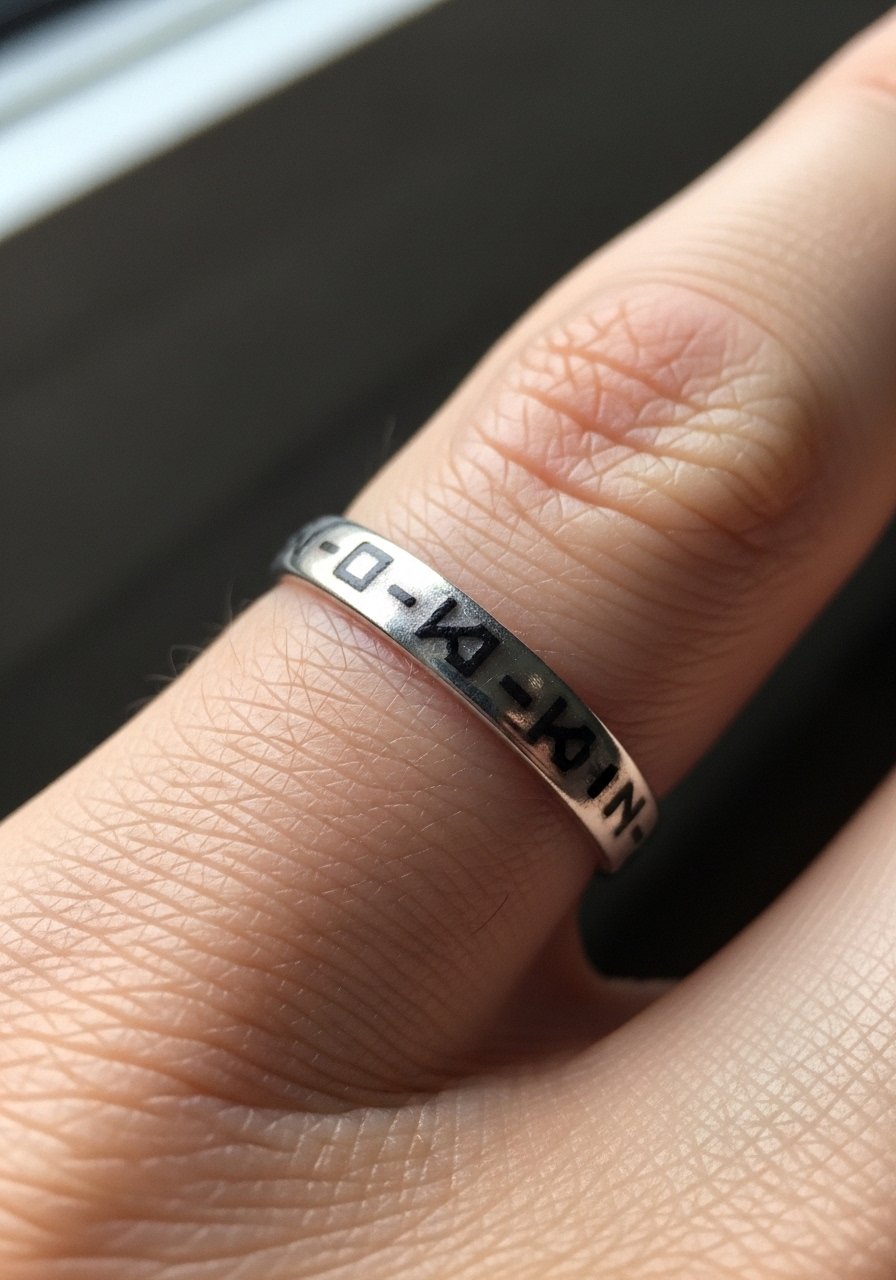
Morse code looks clever and discreet. Ensure spacing is large enough to stay legible. Finger work will need upkeep.
20. Tiny Paper Plane On Upper Arm
Style/Technique: Minimalist / Linework
Pain Level: Low (2-3/10)
Session Time: 15–30 min
Best For: Playful, low-visibility spot
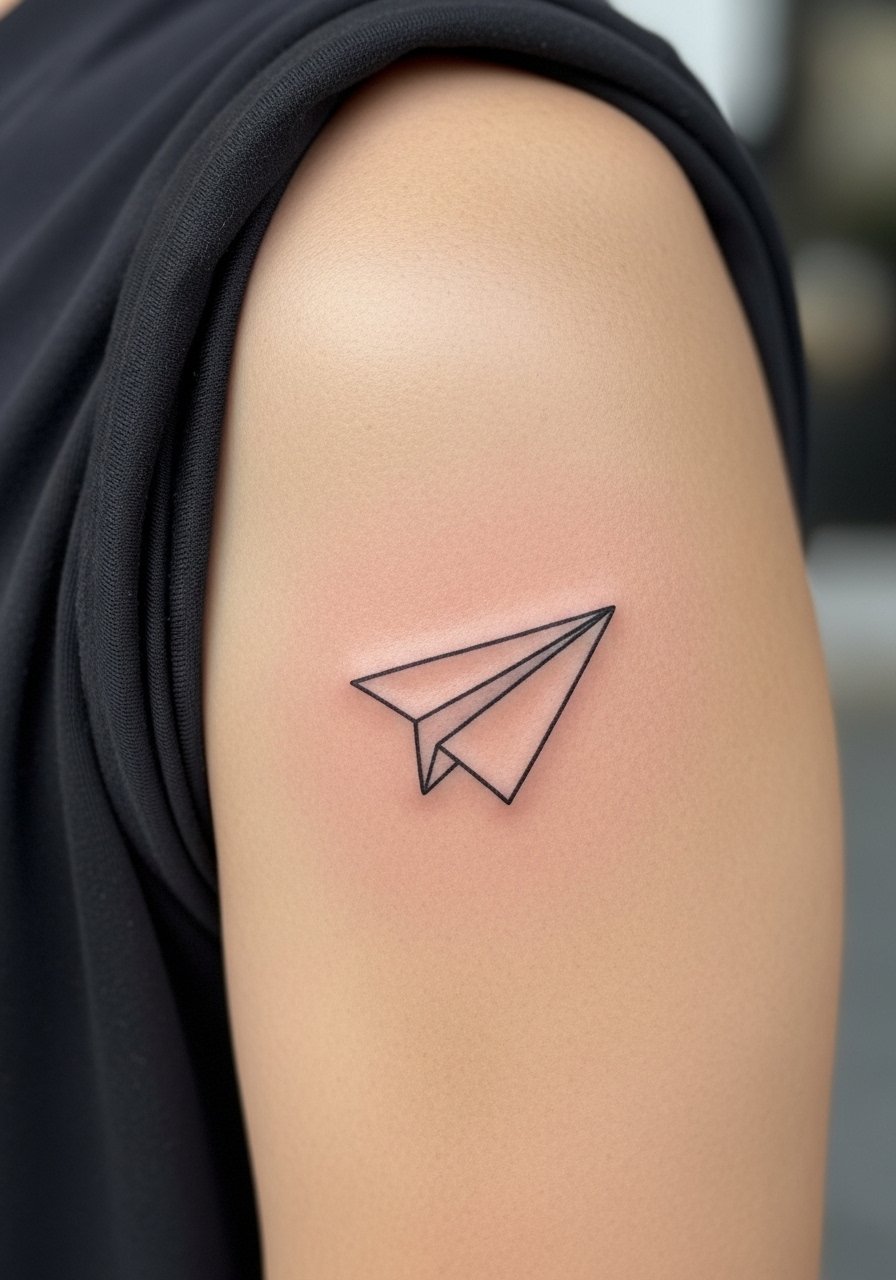
Outer arm is forgiving and ages well. Tiny icons like this hold shape if lines are clean and slightly bolder.
21. Micro Compass On Ribcage
Style/Technique: Fine Line / Micro-Realism
Pain Level: High (6-7/10)
Session Time: 45–90 min
Best For: Personal navigation symbol
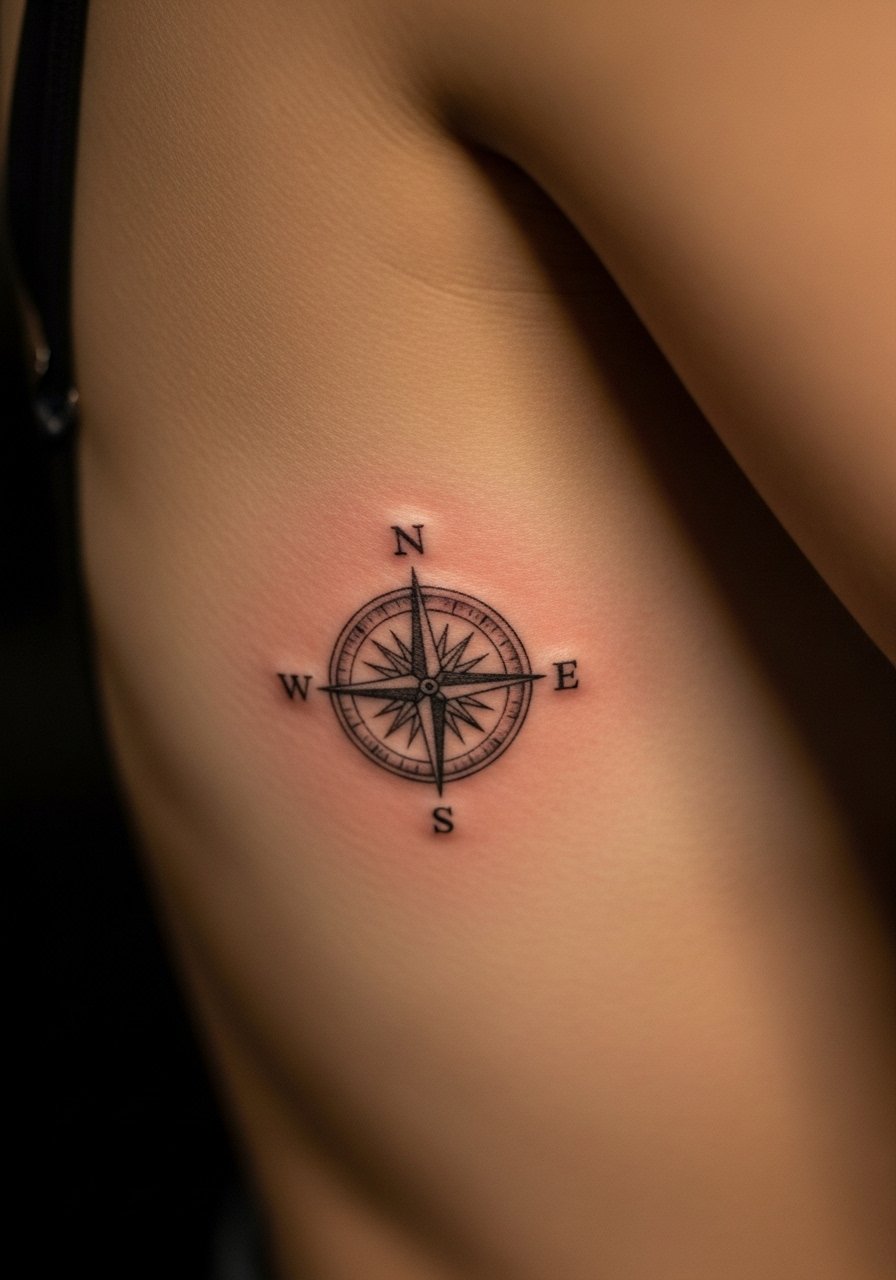
Rib tattoos hurt but look intimate. Keep detail moderate—tiny directional points can merge. Expect slower healing due to movement.
22. Tiny Barcode On Side Of Palm
Style/Technique: Blackwork / Minimalist
Pain Level: High (7/10)
Session Time: 30–60 min
Best For: Statement, very edgy spot
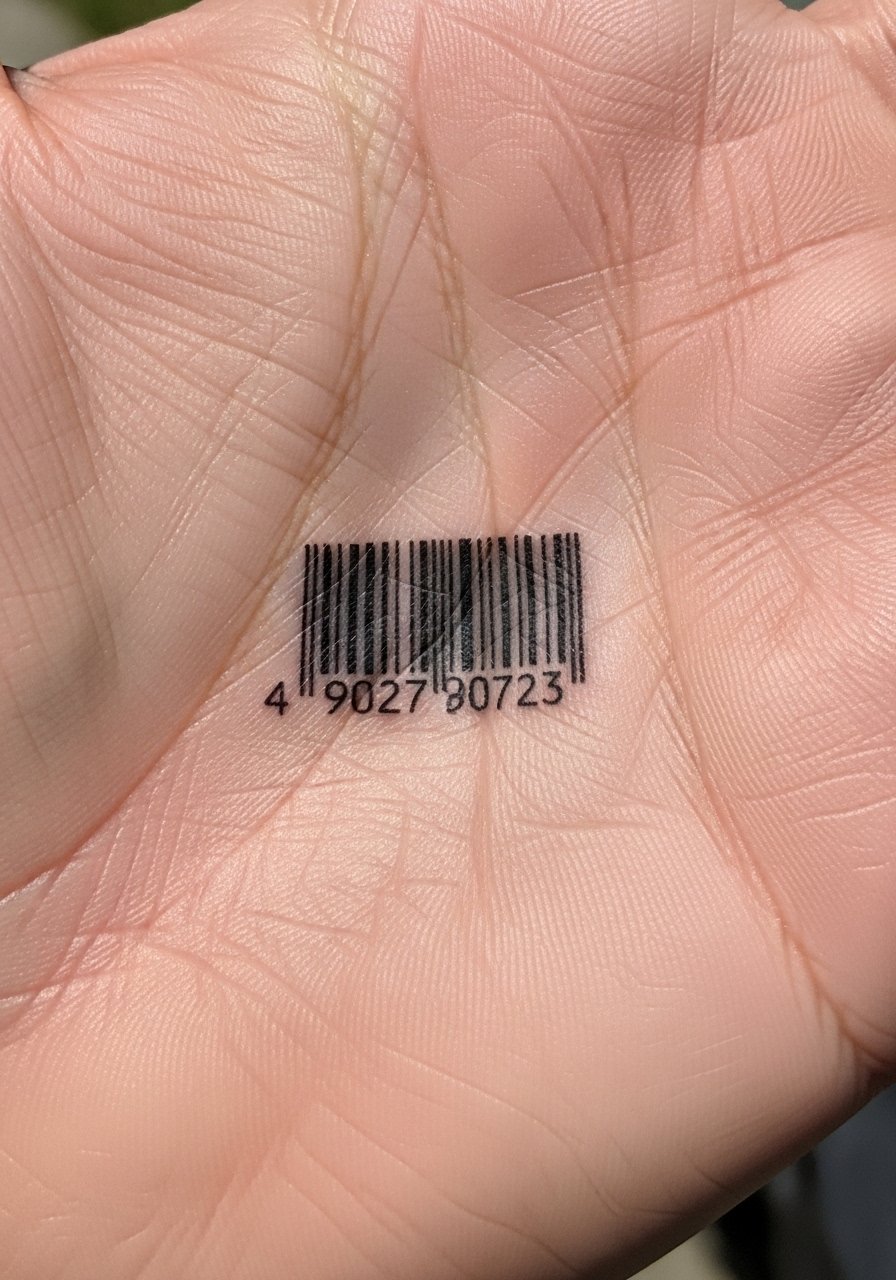
Palm tattoos often fade fast—I've seen heavy loss here. Only get palm work if you accept quicker fade and likely touch-ups.
23. Micro Heart Beat Line On Chest
Style/Technique: Fine Line / Minimalist
Pain Level: Medium (4-5/10)
Session Time: 20–40 min
Best For: Sentimental chest piece
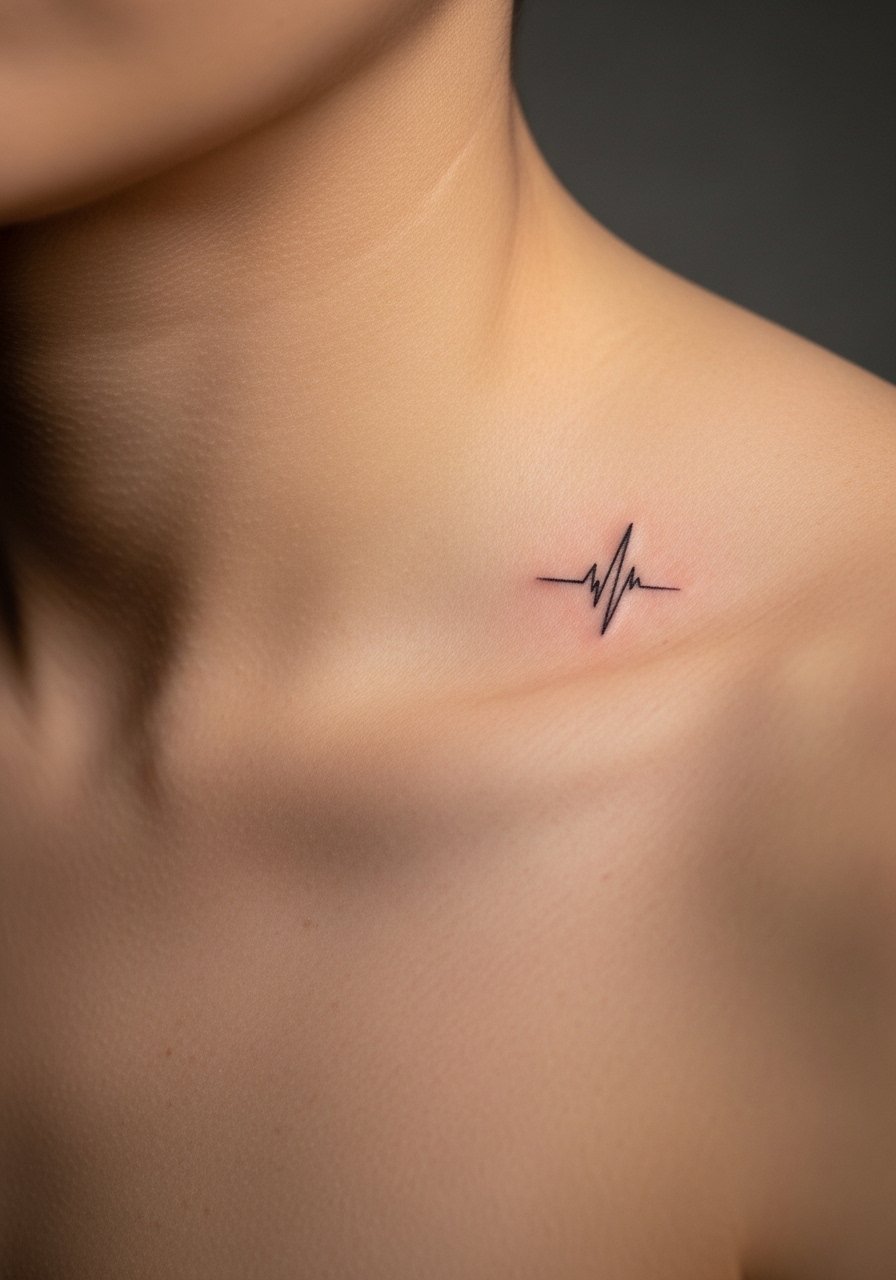
Chest area is stable but moves with breathing. Keep lines slightly thicker than imagined. Heals well but avoid chest strain while fresh.
24. Tiny Paw Print On Foot
Style/Technique: Micro-Realism / Minimalist
Pain Level: Medium (4/10)
Session Time: 20–40 min
Best For: Pet memorial, hidden piece
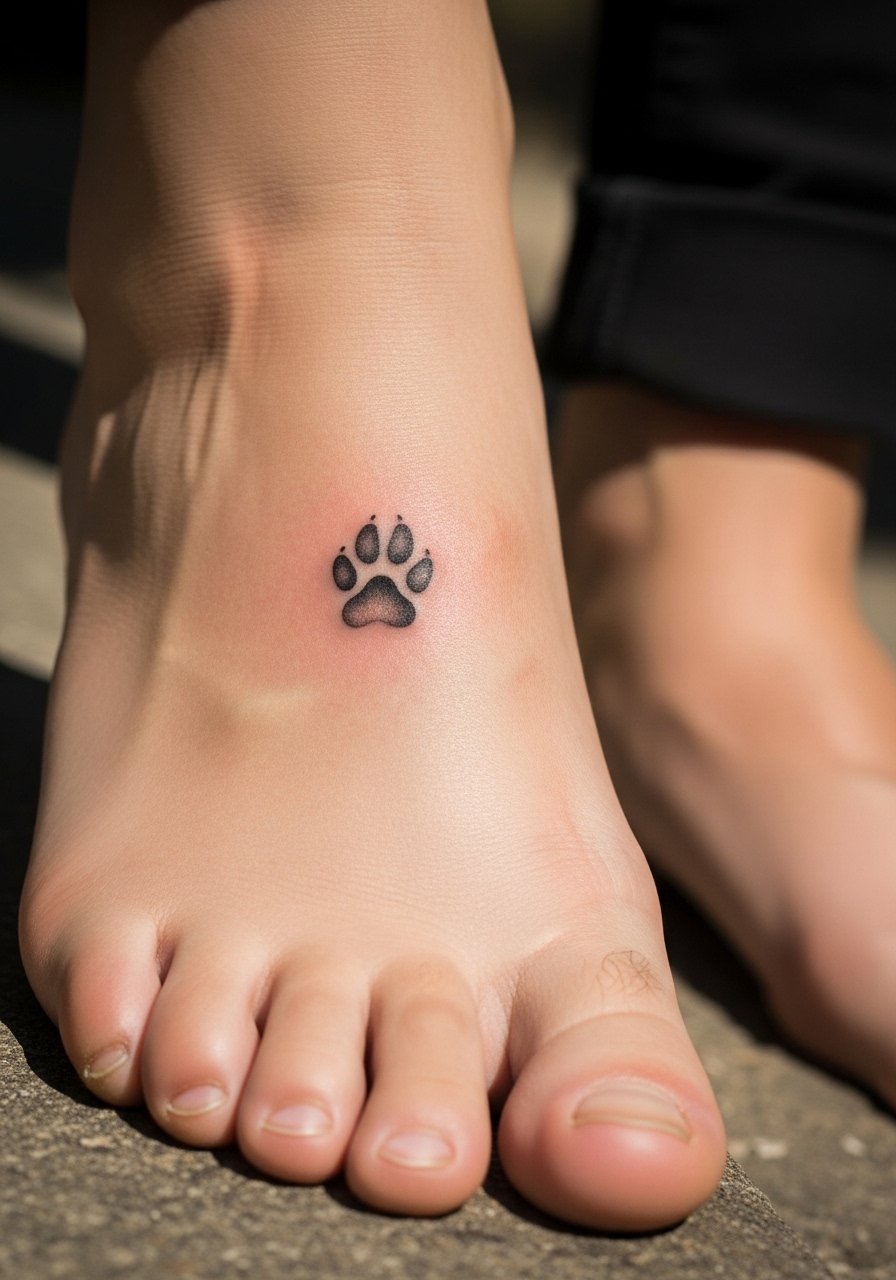
Top-of-foot tattoos experience rubbing from shoes—skip tight footwear during healing. Keep it simple for longevity.
25. Micro Crescent & Star On Ankle
Style/Technique: Minimalist / Fine Line
Pain Level: Medium (4/10)
Session Time: 20–30 min
Best For: Subtle celestial symbol

Celestial micro pieces age well if lines are solid. Ankle movement is moderate; avoid friction while healing.
26. Tiny Script Initials On Upper Rib
Style/Technique: Fine Line / Script
Pain Level: High (6/10)
Session Time: 20–40 min
Best For: Discrete, personal text
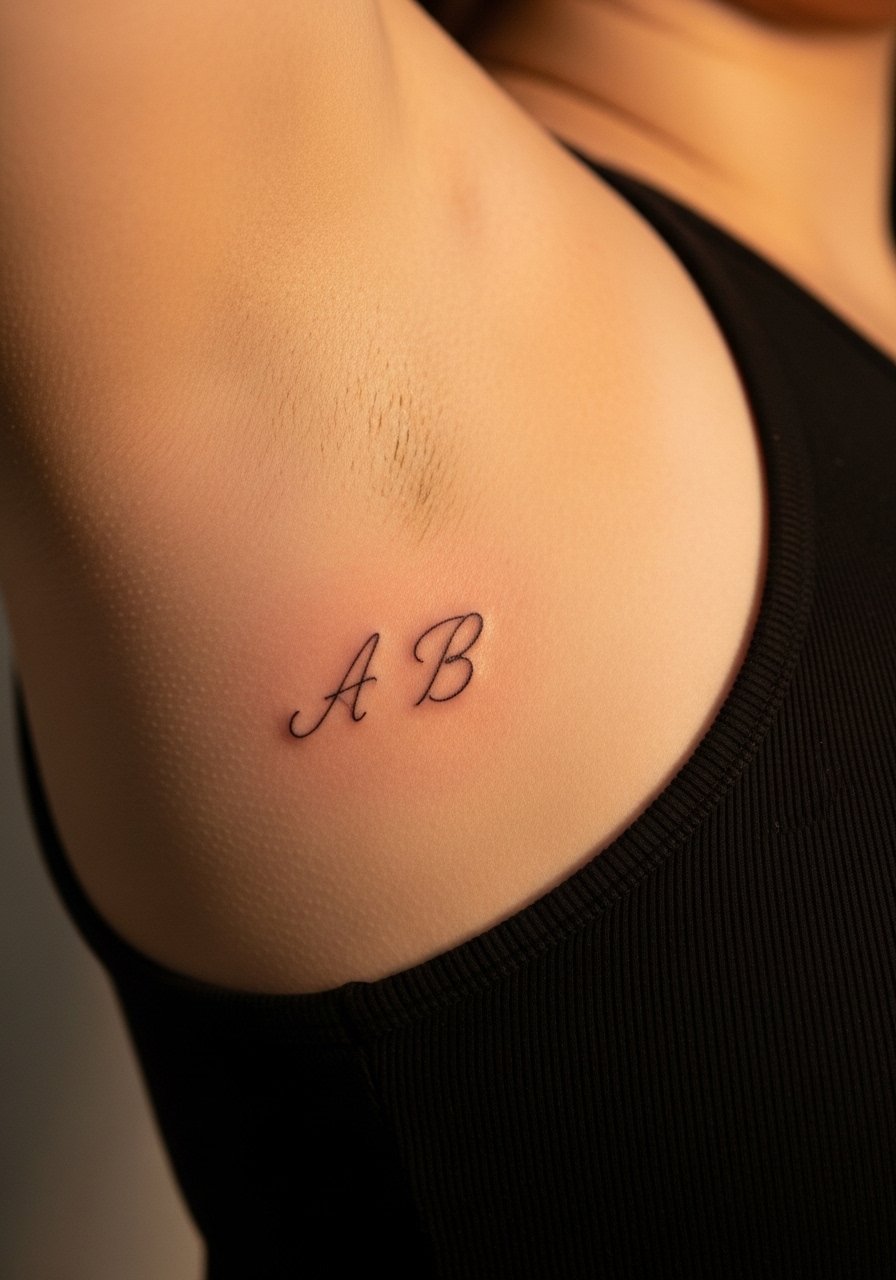
Initials are very personal. For ribs, favor slightly bolder script to prevent merging. Expect tenderness during healing.
27. Micro Floral Wreath On Thigh
Style/Technique: Fine Line / Illustrative
Pain Level: Low (3-4/10)
Session Time: 45–60 min
Best For: Feminine, hidden art
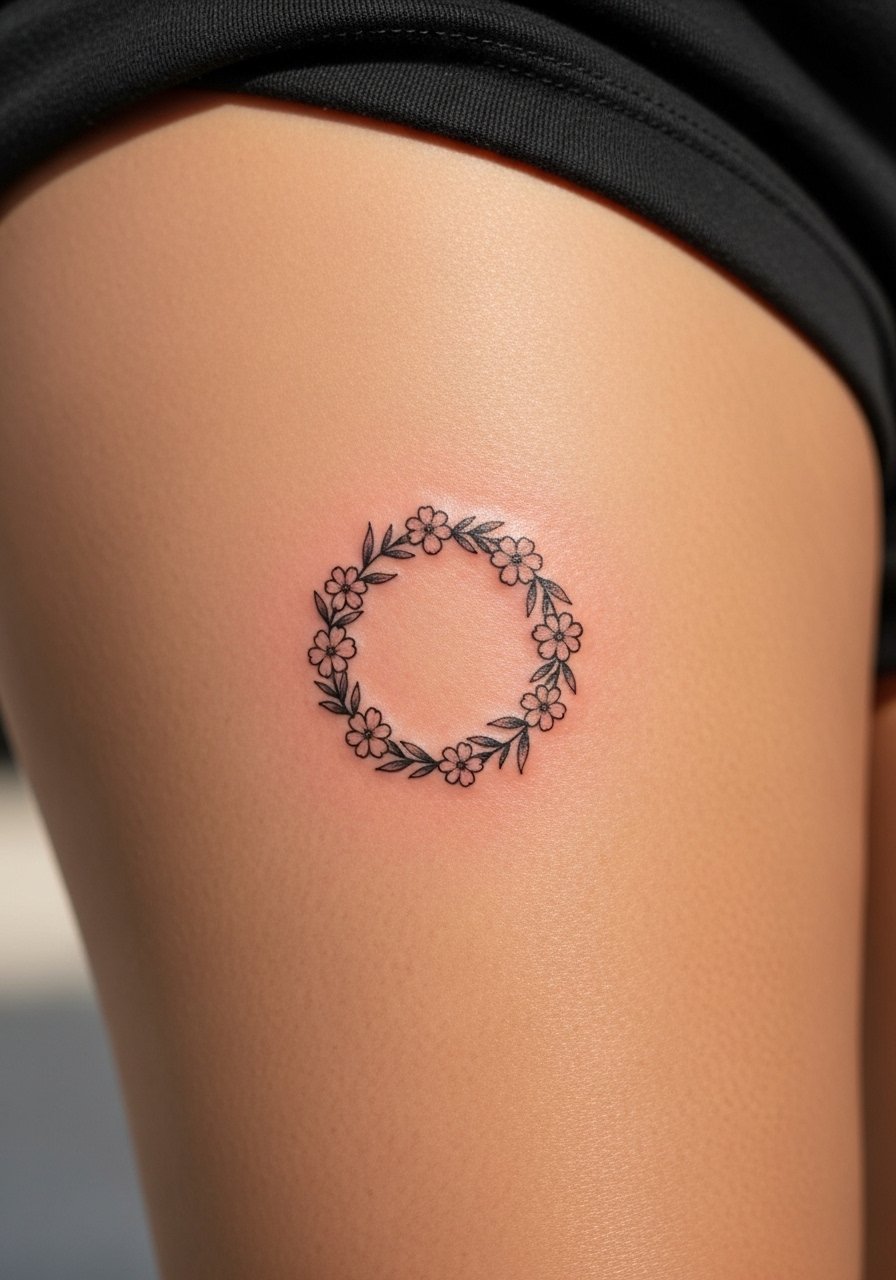
Thigh skin handles small detail well. Wreaths need spacing between elements to preserve shape as it heals.
28. Miniature Arrow On Forearm
Style/Technique: Minimalist / Linework
Pain Level: Low (2-3/10)
Session Time: 15–30 min
Best For: Everyday visible token
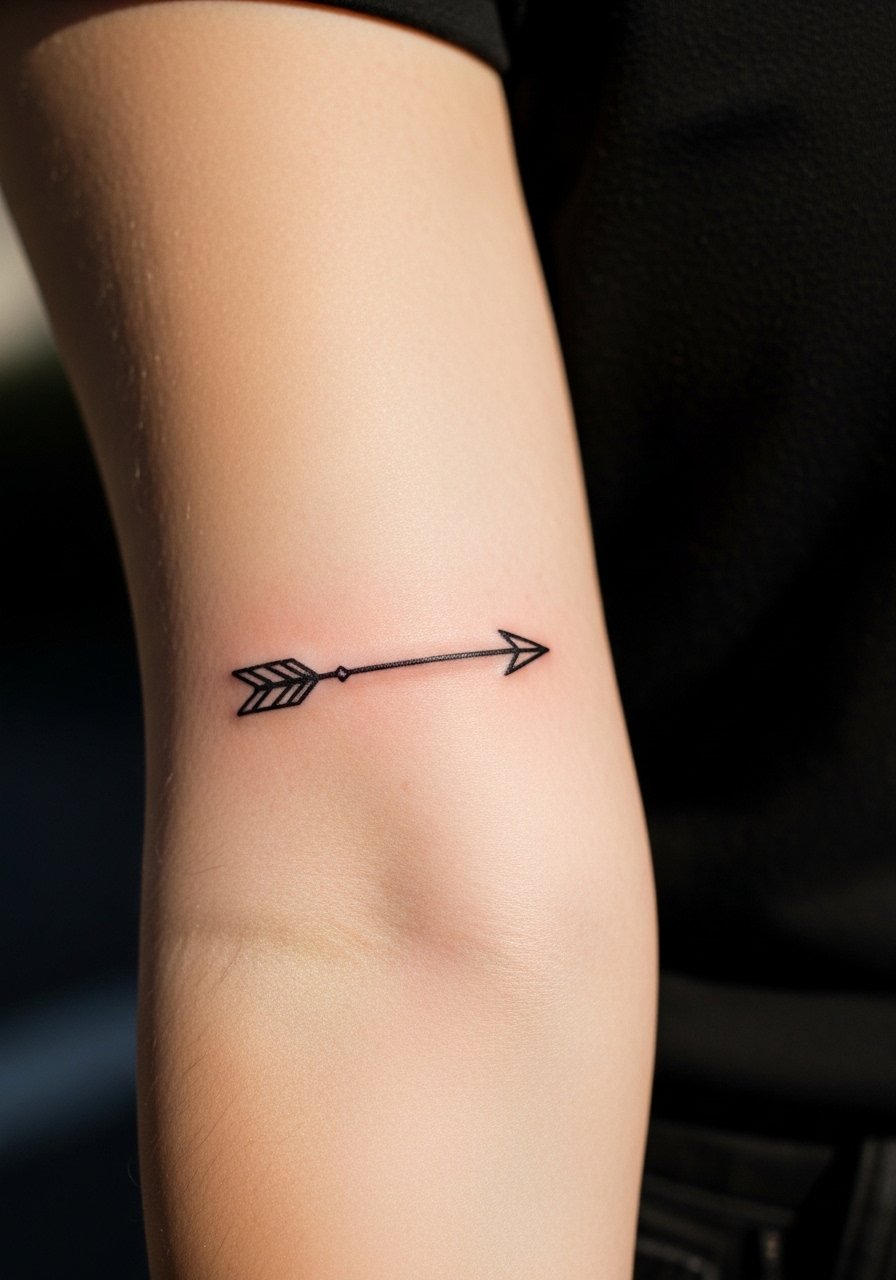
Forearms are forgiving. Arrows read cleanly when the shaft is solid. Avoid ultra-thin shafts that can spread.
29. Tiny Negative-Space Leaf On Behind Ear
Style/Technique: Blackwork / Negative Space
Pain Level: Low (2-3/10)
Session Time: 20–40 min
Best For: Subtle, protected placement
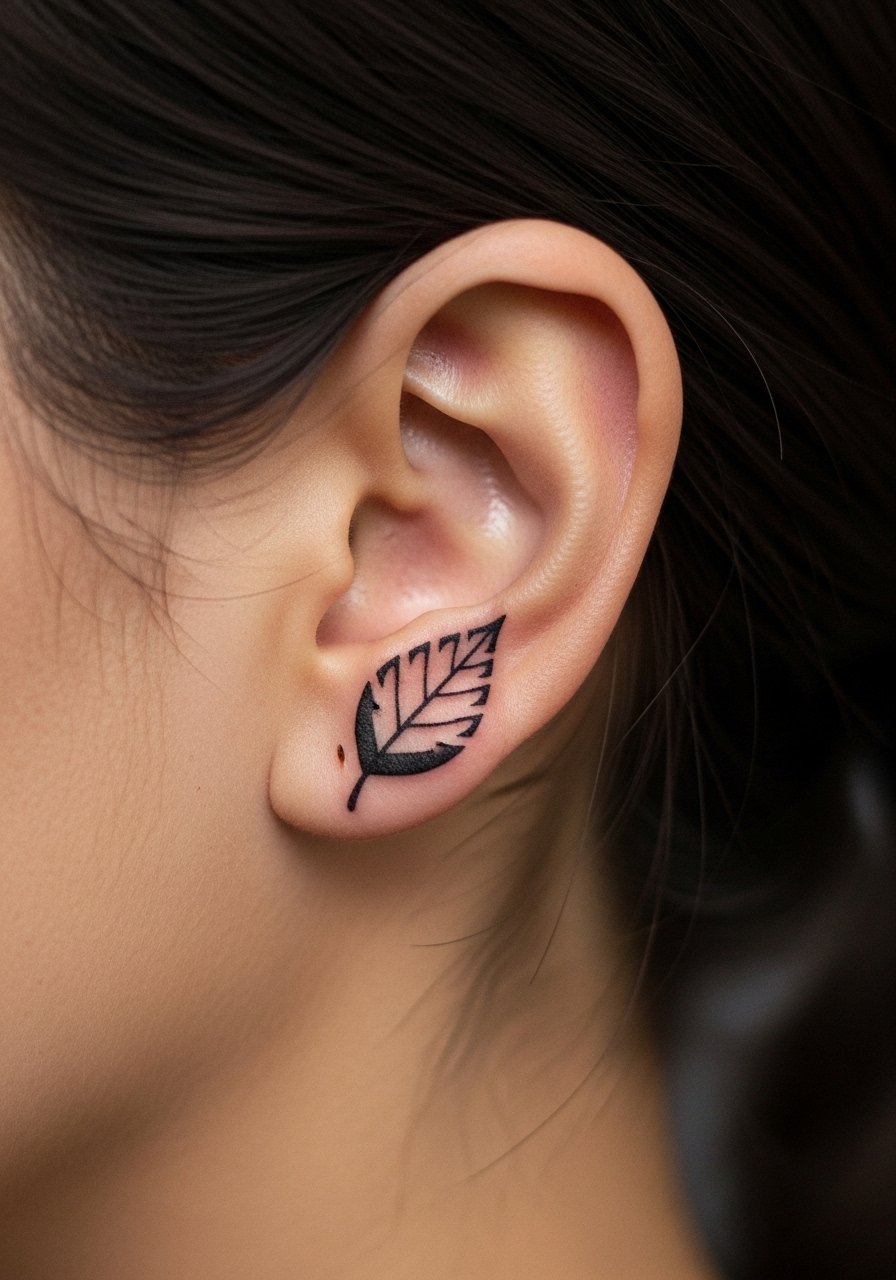
Negative-space here looks modern and holds up because the area is sheltered. Ask artist for saturated black fill and defined edges.
Tattoo Prep and Aftercare Essentials
Aftercare Essentials:
- Aquaphor Healing Ointment, 14oz tube — First 3–5 days
- Saniderm Transparent Adhesive Bandage, 6-inch roll — Second-skin option
- CeraVe Fragrance-Free Moisturizing Lotion, 16oz — Days 4–14
- Dr. Bronner's Unscented Castile Soap, 8oz — Gentle cleaning
Before Your Appointment:
- Tattoo Numbing Cream 5% Lidocaine — Use only if artist approves
- Tattoo Stencil Transfer Paper, 8.5×11 pack — For testing placement at home
Long-Term Maintenance:
- SPF 50 Sunscreen Stick, 0.5oz — Daily protection
- Mad Rabbit Tattoo Balm, 2oz — Ongoing vibrancy
- Hustle Butter Deluxe, 8oz — Vegan aftercare option
Optional Comfort Items:
- Tattoo Numbing Spray — For sensitive touch-ups
- Hydrocolloid Bandages (Large), 10 pack — For small scabs and hotspots
Every artist I’ve talked to favors Saniderm or Aquaphor for the initial days and a fragrance-free lotion afterward. I recommend testing products on a small patch of skin if you have sensitive skin.
Frequently Asked Questions
Q: How bad does a micro tattoo actually hurt?
A: Pain depends on placement. Forearm/upper arm = 2–4/10. Ribs, behind knee, ankle = 6–7/10. Micro pieces are short sessions but can feel intense on thin-skin spots. Consider numbing cream if your artist approves.
Q: Will tiny lines blur over time?
A: Yes. From what I’ve seen, ultra-fine hairlines can soften. Ask for slightly heavier lines and check healed photos from your artist. Expect touch-ups for fingers and palms.
Q: How long to heal and what to expect?
A: Surface healing: 1–3 weeks. Full settle: up to 3 months. First week is critical—clean with mild soap, use Aquaphor or Saniderm, then fragrance-free lotion like CeraVe.
Q: Can I get a micro tattoo if I’m worried about regret?
A: Sit with your idea for months. Pick private placements (upper thigh, ribcage) if visibility worries you. Micro tattoos can be lasered, but removal is a longer process.
Q: How do I prevent fading?
A: Sunscreen daily is crucial. I use an SPF 50 stick on healed tattoos. Keep skin moisturized and avoid long UV exposure—I've noticed sun is the fastest ink killer.
Q: Are micro tattoos safe on darker skin tones?
A: Yes, but color choices matter. Black and rich grays show best. Bright pastels can appear muted—ask artists who routinely tattoo your skin tone to show healed examples.
Q: Do tiny tattoos require different aftercare?
A: The routine is the same but be gentler. Small pieces can scab quickly; resist picking. Use a thin layer of Aquaphor the first days and switch to a fragrance-free lotion.
Q: What’s a common mistake people make with micro tattoos?
A: Choosing overly intricate detail at a tiny scale. From my experience, simpler shapes and slightly bolder lines age far better than hyper-detailed micro designs.
