Planning your first tattoo should feel exciting—not overwhelming. With so many opinions, design choices, pain charts, and aftercare rules floating around, it’s easy to feel stuck before you even book the appointment. The good news? When you break the process into simple, beginner-friendly steps, getting your first tattoo becomes smooth, confident, and totally stress-free.
Let’s walk through the entire journey—design, pain planning, choosing an artist, the session itself, and aftercare—so you know exactly what to expect.
Step 1: Choose a Meaningful, Timeless Design
The biggest stress trigger for beginners is: What if I regret it later?
That’s why timelessness matters.
Instead of chasing viral trends, think long-term. Simple motifs like fine-line symbols, geometric shapes, stars, hearts, or small meaningful quotes tend to age beautifully. What matters most is the “why” behind your idea—your story.
Try these clarity prompts:
- What message do I want to carry for years?
- Does the design still feel meaningful after a week?
- Will I like this in different phases of life?
Do a tape test:
Print the design, tape it on your skin, and live with it for a full week. Check how it feels in the mirror, with outfits, and during daily routines.

Step 2: Study Artist Portfolios Like a Pro
A good tattoo experience starts with the right artist. And the #1 tip professionals swear by?
Always look at healed photos.
Fresh tattoos look sharp because of swelling and shine. Healed tattoos show the artist’s true skill—line quality, shading control, and long-term clarity.
Portfolio checklist for beginners:
- Look for healed photos, not just fresh ones
- Match the artist’s style to your design (fine-line, geometric, traditional, realism, etc.)
- Check if their small tattoos look clean and not blown out
- Make sure line symmetry is consistent
- Read reviews focusing on hygiene and communication
If you want a fine-line tattoo, choose an artist who specializes in fine-line. Style matching is a top reason beginners end up satisfied.
Step 3: Pick a Beginner-Friendly Placement
Placement affects pain, visibility, aging, and even regret risk.
Here’s what most first-timers choose:
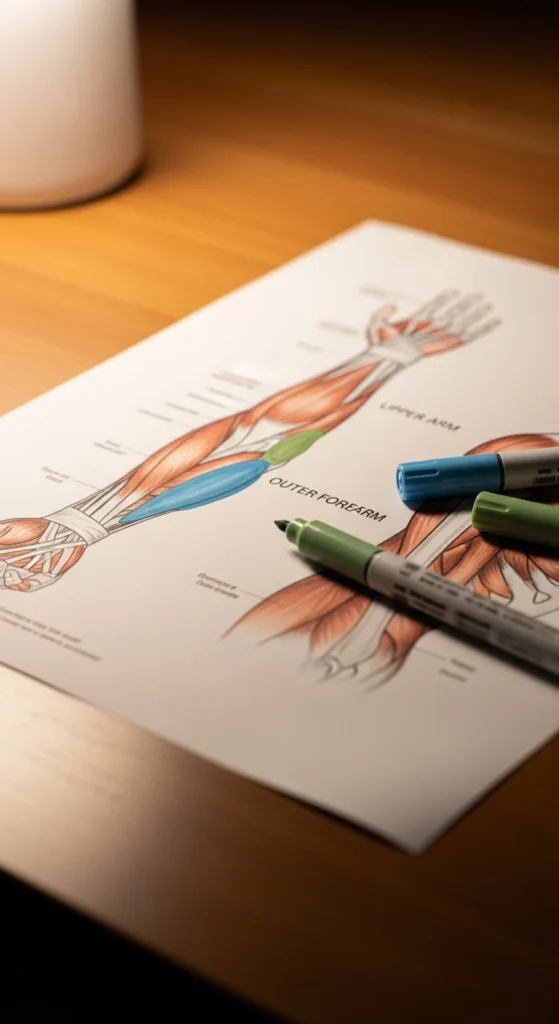
Lowest-Pain Beginner Spots (Approx. 2–4/10)
- Outer forearm
- Outer upper arm
- Front thigh
- Calf
These areas have more muscle and fewer nerve clusters, which means a smoother first experience.
Spots to Avoid for First Tattoos
- Ribs
- Feet
- Hands
- Inner bicep
These rank higher on the pain scale and are trickier for beginners.
Visibility tip:
If you want a private tattoo, consider thigh or upper arm.
If you want something you can proudly show, the outer forearm is the go-to.
Step 4: Book a Consultation (Your Stress-Relief Moment)
A consultation removes 90% of first-timer nerves. It’s where you share your idea, placement, size, and any concerns. The artist will help you refine everything.
What to discuss during your consultation:
- Size range (beginners usually pick 3–10 cm)
- Placement options based on pain tolerance
- Design tweaks for clarity and aging
- Skin sensitivity or healing concerns
- Budget (usually $150–$400 including tip)
Before the needle touches your skin, you’ll also approve the stencil. If something feels off—say so. Artists expect it.
“Can we make the lines thinner?”
“Can we shift this 1 cm to the left?”
“Can we rotate it slightly?”
Micro-adjustments matter.
Step 5: Prep Properly the Day Before
Good preparation makes the session calmer and reduces discomfort. Follow these essentials:
- Eat balanced meals the night before and morning of
- Stay hydrated
- Get good sleep
- Moisturize the area leading up to the appointment
- Avoid anything that could thin the blood
- Wear comfortable clothes that expose the tattoo area

Breathing also helps. Slow, steady inhales and exhales help calm the nervous system and control the “scratchy” sensation during the tattoo.
Step 6: During the Session — Stay Relaxed, Communicate, and Breathe
Most beginners describe the pain as annoying more than unbearable. It feels like:
- A scratchy vibration
- A warm pressure
- A repeated cat scratch sensation
Tips to stay relaxed:
- Focus on slow breathing
- Ask for short breaks if needed
- Keep your body still but not tense
- Avoid overthinking the timeline—small tattoos usually take 15–45 minutes
Your artist will guide everything. You just breathe and stay steady.
Step 7: Follow Smart Aftercare (The Secret to Beautiful Healing)
The tattoo doesn’t end when you leave the shop—aftercare is where most mistakes happen.
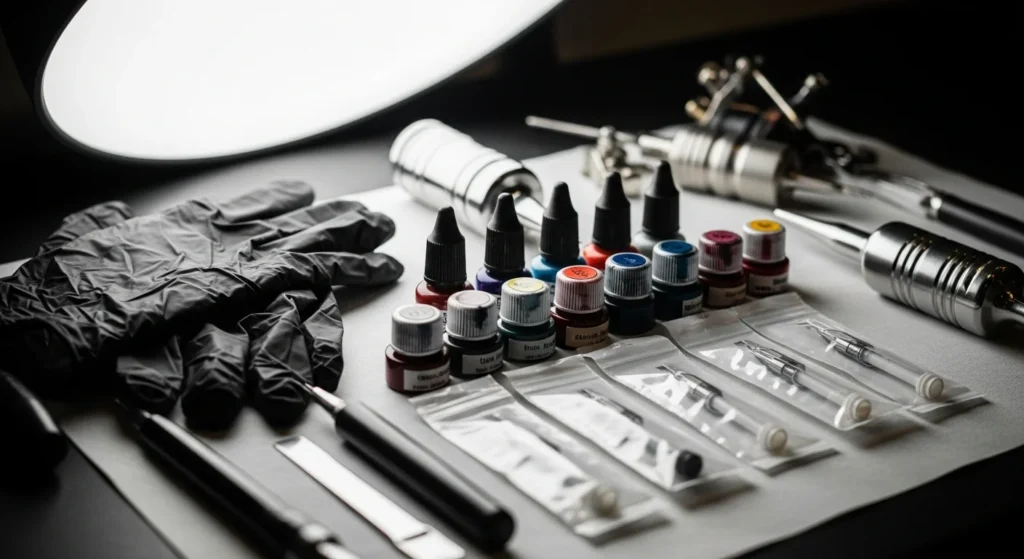
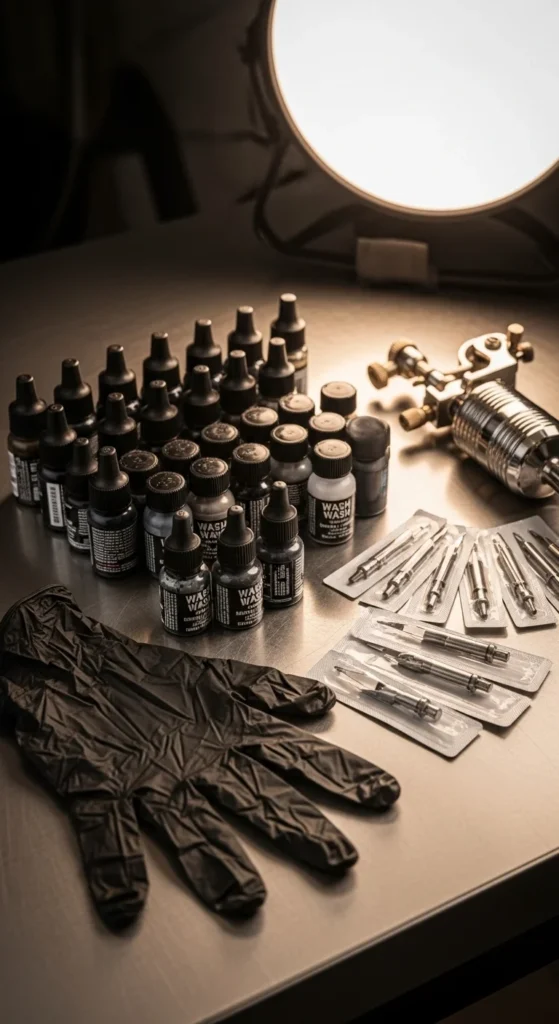
Basic aftercare essentials:
- Wash gently 2–3 times daily
- Apply a thin layer of fragrance-free moisturizer
- Avoid soaking (showers only)
- Keep it out of sun exposure
- Do not scratch or pick flakes
- Use long-term SPF once healed
Healing takes 2–3 weeks on the surface and 4–6 weeks fully.

For long-term vibrancy, moisturize consistently and use sunscreen regularly.
Final Takeaway
Your first tattoo doesn’t have to be stressful. With the right design, the right artist, beginner-friendly placement, smart preparation, and solid aftercare, you’ll walk away with a piece of art you love—without doubt or regret.
If this guide helped, save it for later so you can follow each step stress-free!