
I spent months chasing glow-in-the-dark tattoo posts before I realized the trick wasn’t just neon ink. It’s about hidden effects—UV-reactive accents, negative-space glow, and designs that reveal a second image under blacklight. I tested a few and talked to artists. These 26 ideas mix subtle daytime style with satisfying after-dark surprises.
This list focuses on glow-ready pieces: fine line, neo-traditional, blackwork, and minimal glow accents. These work on forearm, upper arm, ribs, thigh, and behind-ear placements. From what I’ve seen in 2026, UV highlights and hidden effects are the trends that age best when done by skilled artists.
1. Fine Line Botanical Inner Forearm
Style/Technique: Fine Line / Illustrative
Pain Level: Medium (3-4/10)
Session Time: 1-3 hours
Best For: Meaningful, visible piece
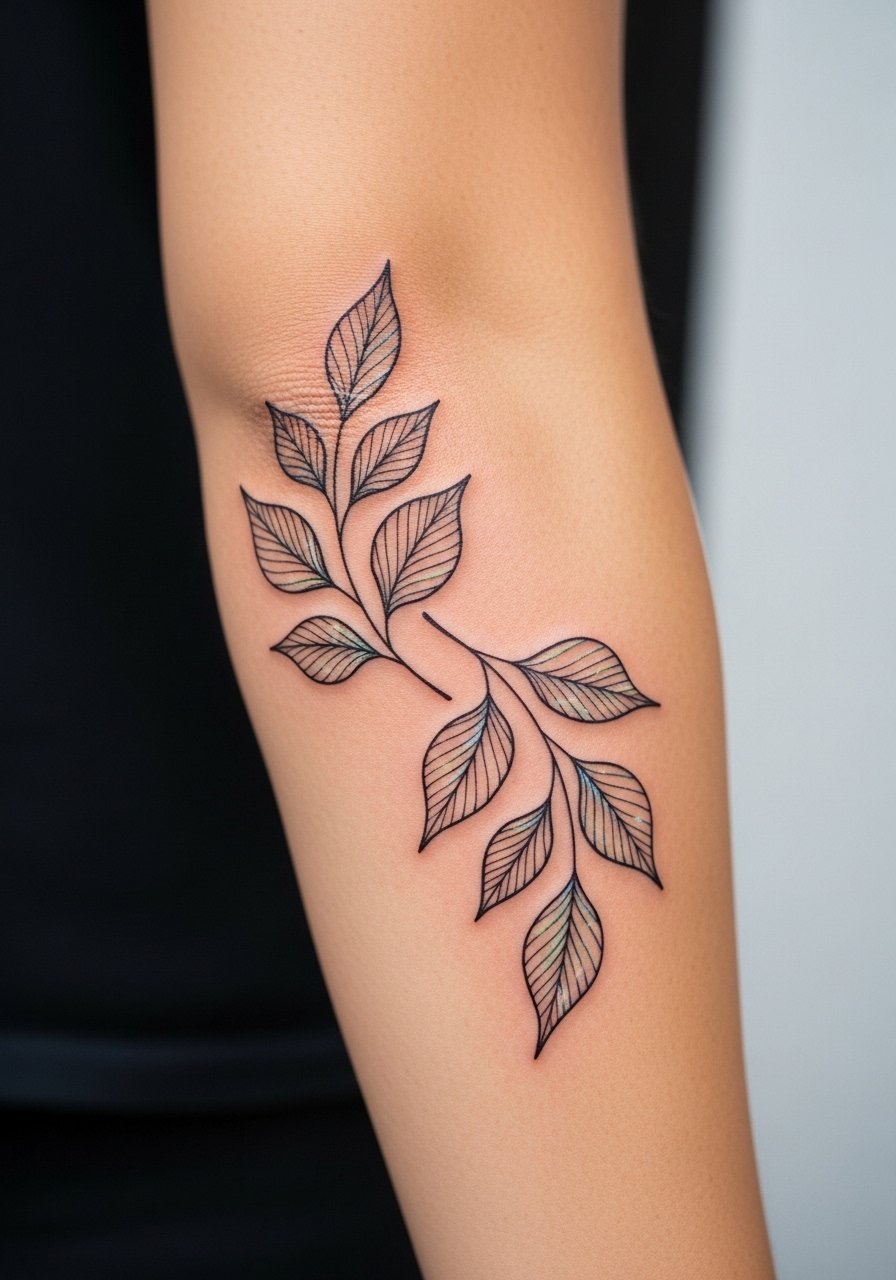
I like this for people who want subtlety by day and magic by night. A fine-line vine looks timeless in daylight. Add UV-reactive veins or pollen dots for hidden glow. Expect moderate pain on the inner forearm. Healing is straightforward—keep it moisturized. Watch for line blowout if the artist uses too many tiny parallel lines; ask them to space lines and use a steady hand.
2. Micro-Realism Pet Portrait on Thigh
Style/Technique: Micro-Realism / Portrait
Pain Level: Low-Medium (2-4/10)
Session Time: 2-4 hours
Best For: Statement with personal meaning
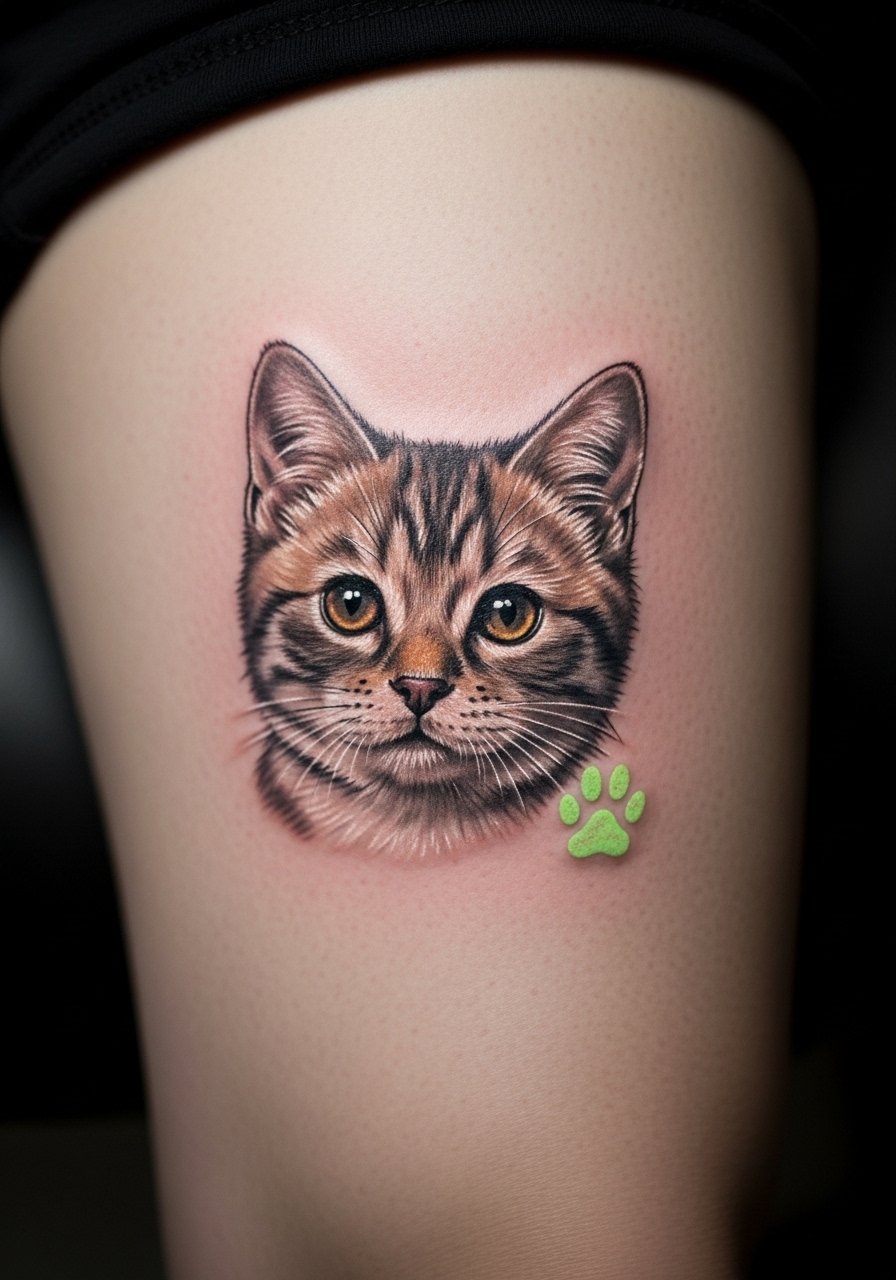
Realistic portraits hold emotional weight. I’ve seen artists add a tiny UV pawprint or name hidden in fur for a second effect. Thigh is forgiving for pain and heals well. Micro-detail needs an experienced hand; blurred detail is the common mistake. Ask to see healed examples of portraits on similar skin tones.
3. Minimalist Mountain Range on Ankle With Hidden Stars
Style/Technique: Minimalist / Linework
Pain Level: Medium-High (4-6/10)
Session Time: 1-2 hours
Best For: Discreet, meaningful
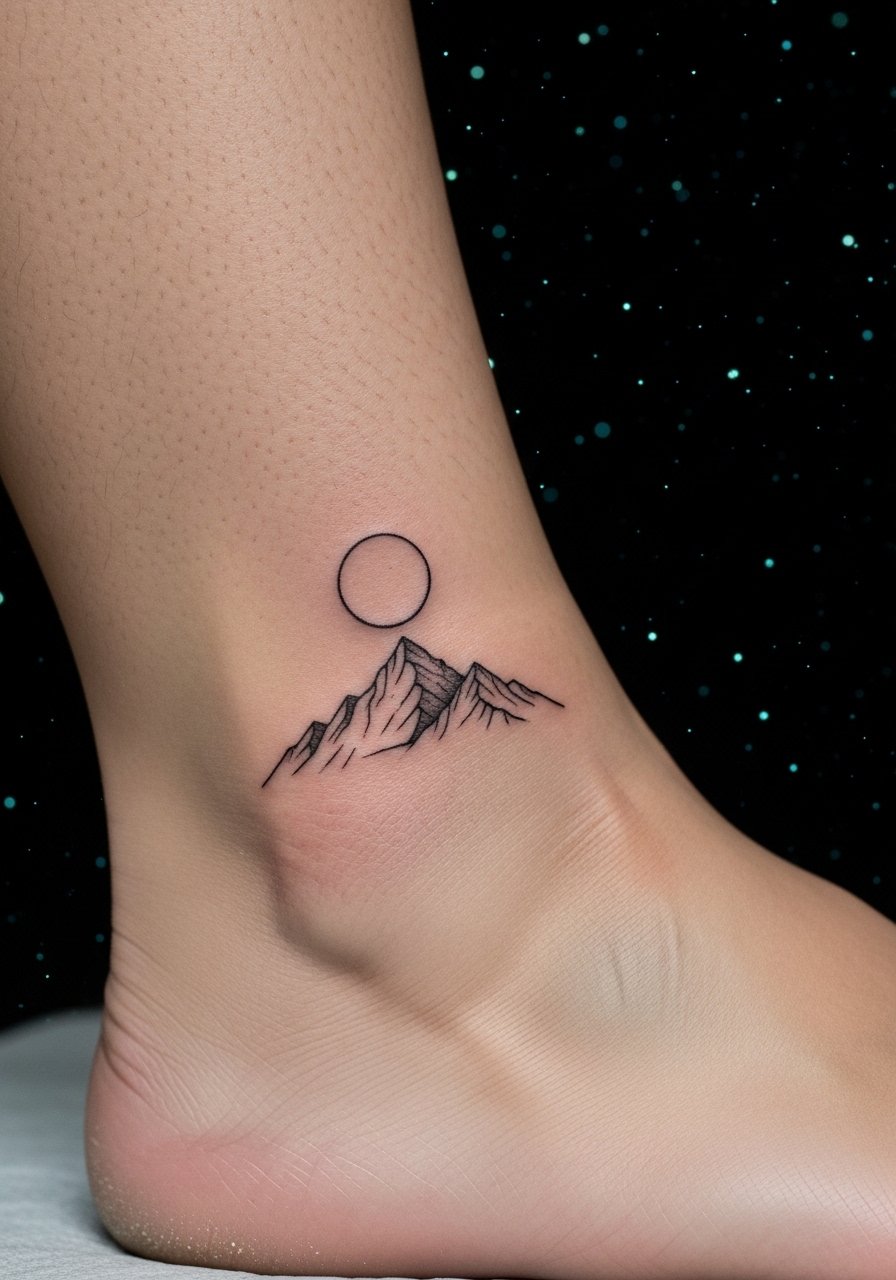
A thin mountain silhouette looks clean in daylight. UV-dot stars above the peaks reveal a night scene under blacklight. Ankles sting more than forearms, so expect a sharper sensation. Keep movement minimal during healing or lines can break. Minimalist work ages fine if lines aren’t overcrowded.
4. Blackwork Geometric Spine Stripe With Glow Lines
Style/Technique: Blackwork / Geometric
Pain Level: High (6-8/10)
Session Time: Multiple sessions
Best For: Bold statement, modern aesthetic
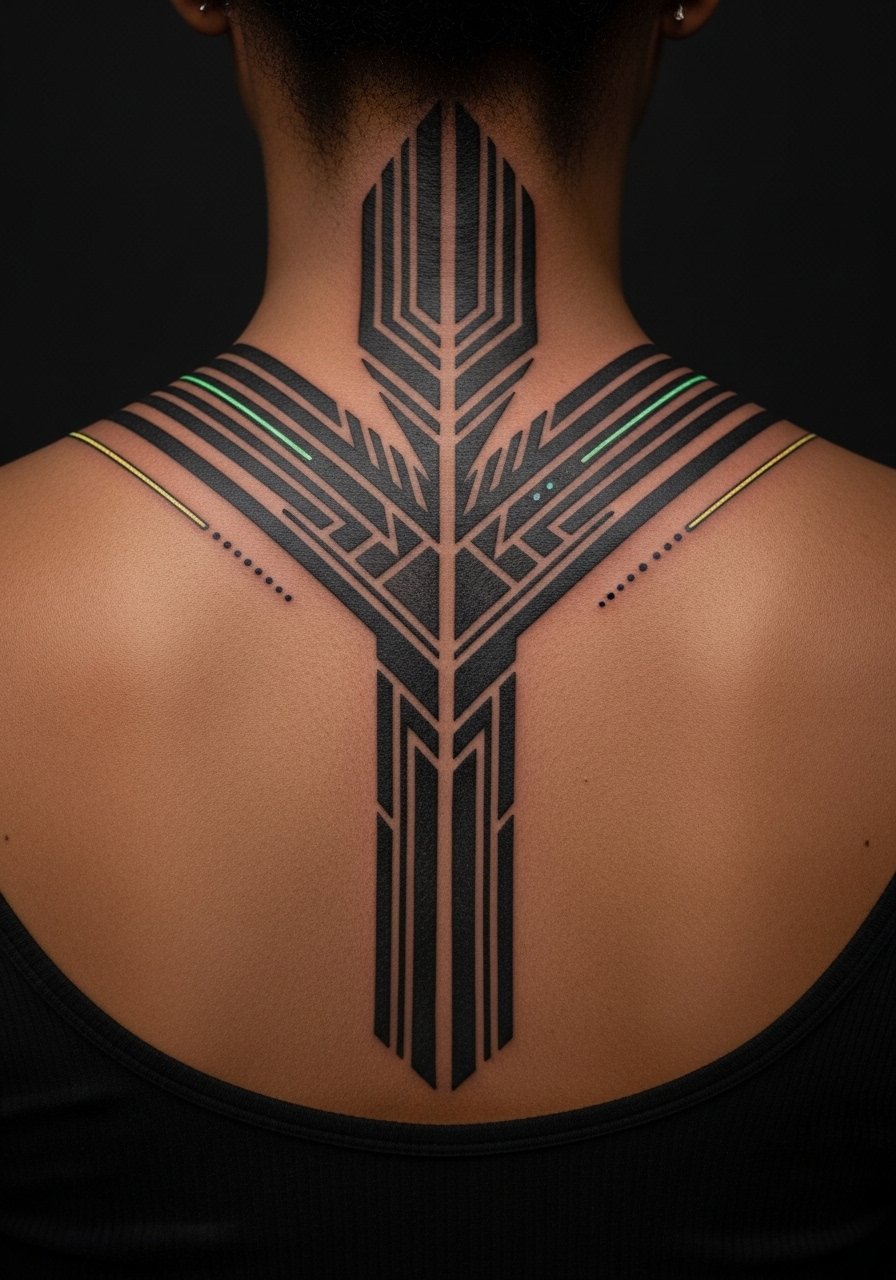
Large black geometric pieces read strong by day. Tiny UV lines woven into negative space create a second pattern under blacklight. Spine work is intense—plan for breaks. Black ink holds up best; UV ink sits on top and may need touch-ups. Avoid overly thin black fills that can patch in healing.
5. Neo-Traditional Moth on Chest With UV Patterning
Style/Technique: Neo-Traditional / Color
Pain Level: High (5-7/10)
Session Time: 3-6 hours
Best For: Chest visibility, bold design
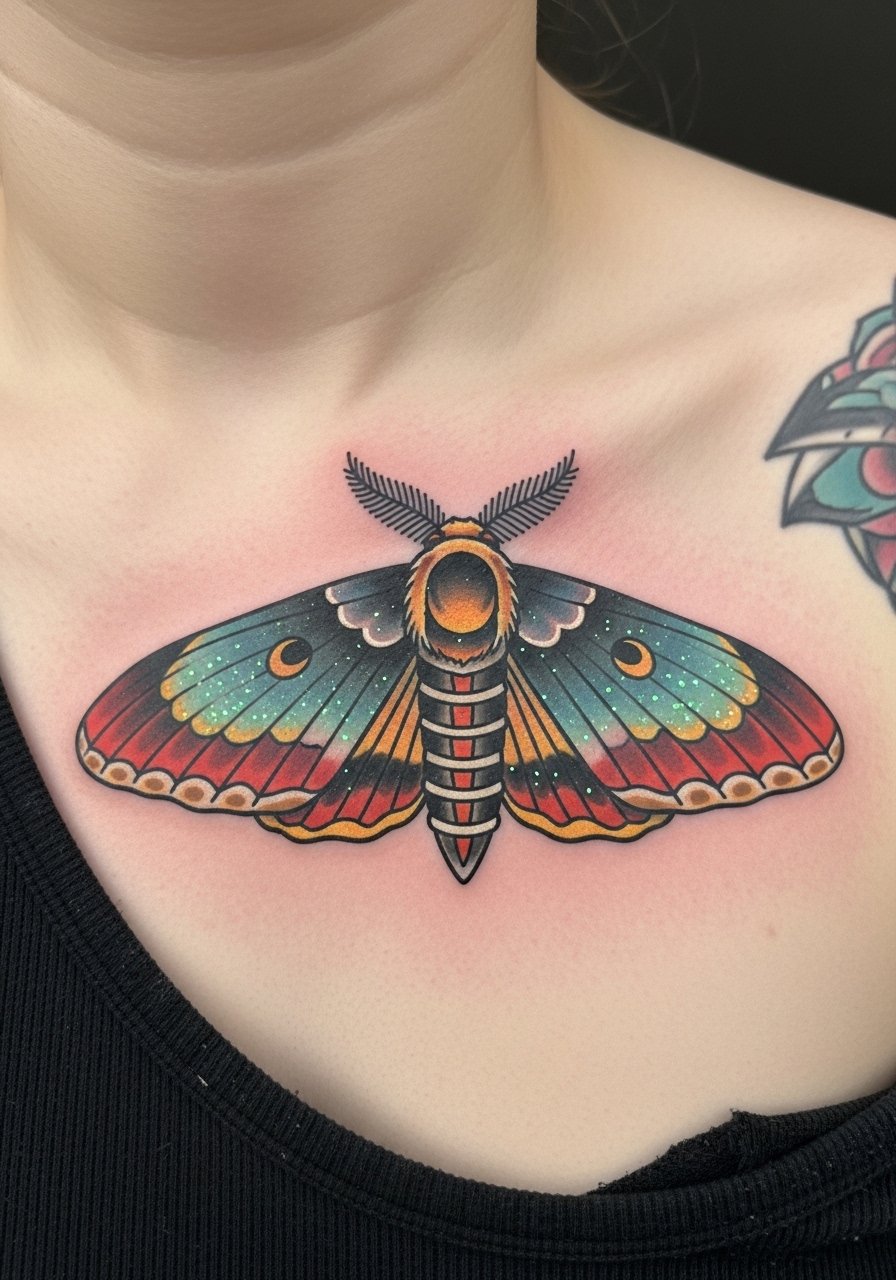
A moth with bold shading reads classic. UV speckle on the wing eyes gives a hidden nocturnal effect. Chest tattoos can be sore, especially near the sternum. Color fades faster than black, so expect touch-ups for the UV flourishes. Ask your artist about layering UV over healed color rather than fresh to reduce migration.
6. Watercolor Jellyfish on Ribcage With Glowing Tentacles
Style/Technique: Watercolor / Fluid
Pain Level: High (6-8/10)
Session Time: Multiple sessions
Best For: Flowing placement, artistic look
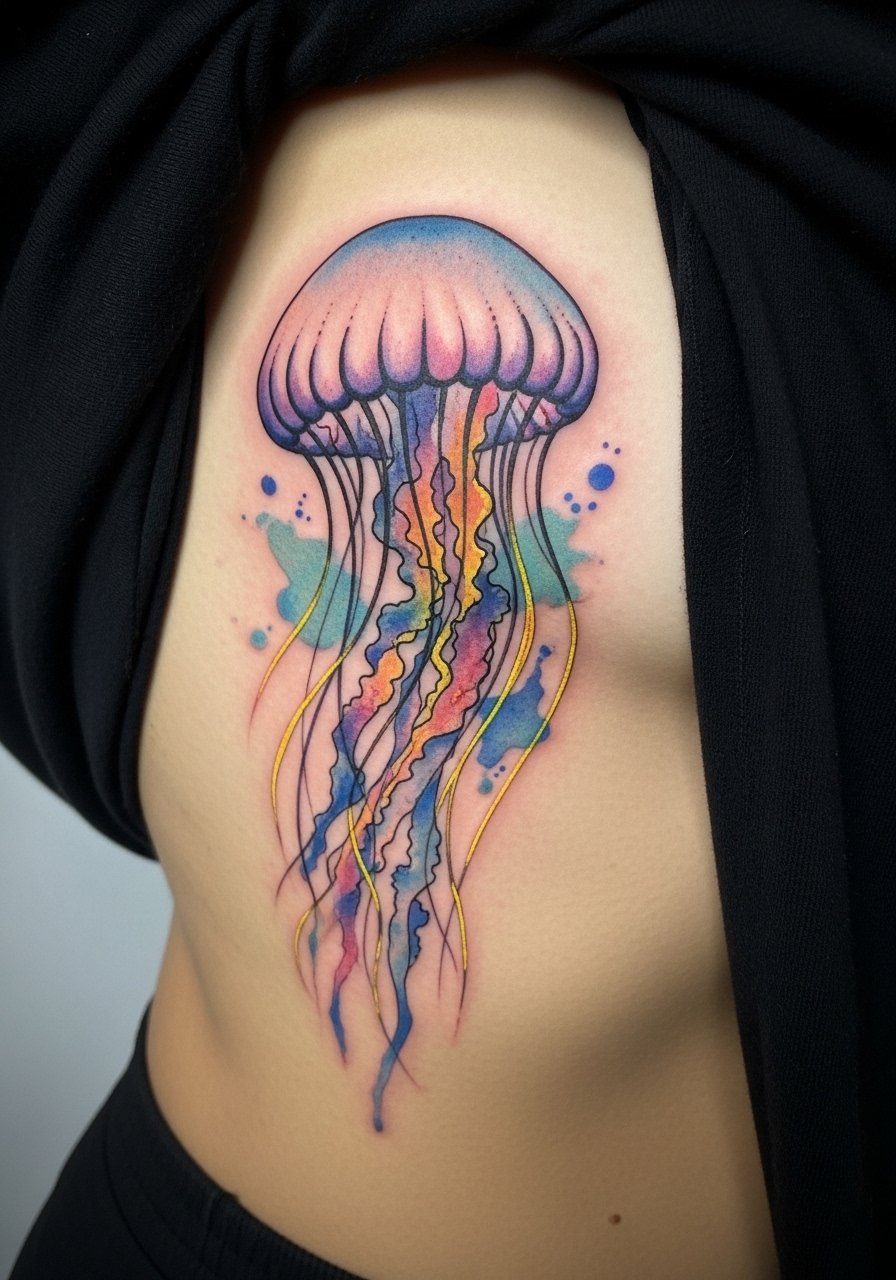
Ribcage is sensitive but perfect for flowing watercolor. UV lines along tentacles create an ethereal glow underwater effect. Healing on ribs needs careful sleeping position. Watercolor fades subtly; artists may recommend occasional refreshes for vibrancy. Avoid too little contrast—watercolor needs dark anchors to stay legible healed.
7. Small Behind-Ear Constellation With UV Dots
Style/Technique: Minimalist / Dotwork
Pain Level: Low (2-3/10)
Session Time: Under 1 hour
Best For: Hidden, easy to conceal

This is low-commitment and low-pain. By day it's a delicate constellation. Under UV it pops with hidden star dots. Behind-ear tattoos can blur if lines are too close—keep dots crisp and spaced. Healing is quick; be careful with hair and product contact.
8. Ultraviolet Script On Inner Wrist
Style/Technique: Script / Fine Line
Pain Level: Medium (3-5/10)
Session Time: Under 1-2 hours
Best For: Meaningful, visible daily reminder
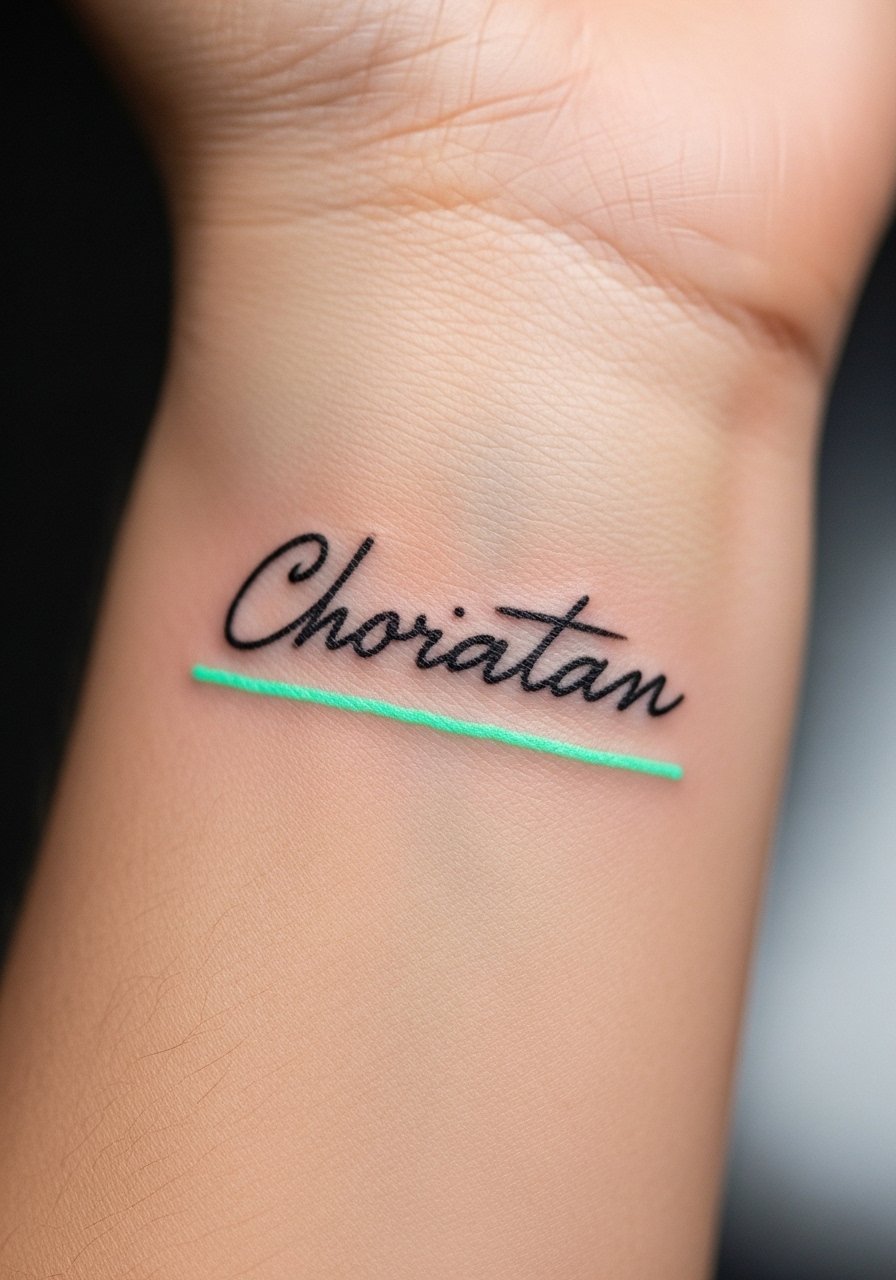
A short word in black looks classic. Adding a UV underline or shadow gives a secret message after-dark. The wrist is often sensitive and moves a lot during healing; avoid tight wristbands while it’s fresh. Fine script needs an artist who steadies their hand—otherwise letters can mush together.
9. Circuit Board Blackwork on Forearm With UV Pathway
Style/Technique: Blackwork / Tech-Inspired
Pain Level: Medium (3-5/10)
Session Time: 2-4 hours
Best For: Modern, tech aesthetic
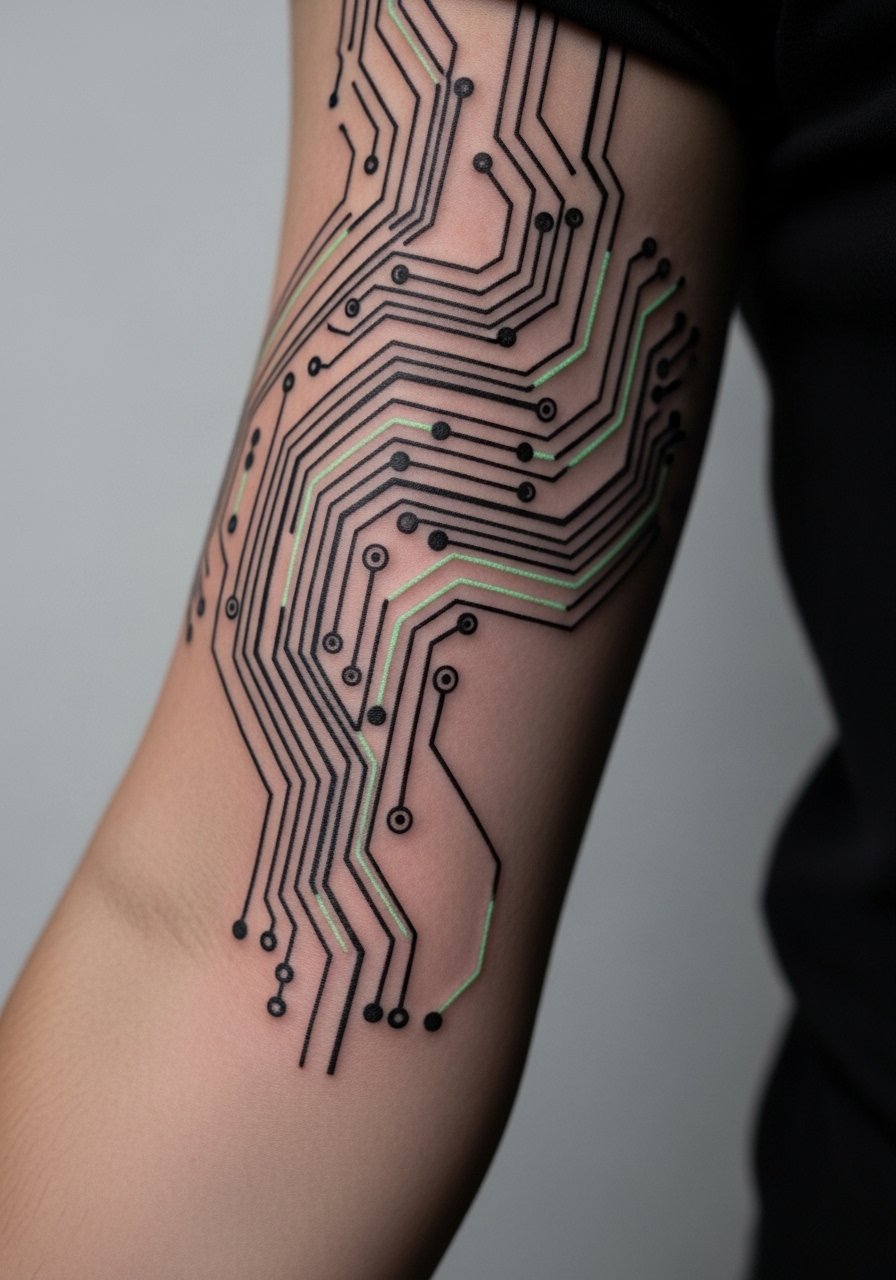
I love this for a futuristic vibe. Black fills give structure; UV-lined pathways animate under blacklight. Forearm heals well but avoid tight sleeves early on. Make sure the artist plans negative space intentionally—overfilled black can kill the glow effect.
10. Hidden Portrait Silhouette On Upper Arm With UV Halo
Style/Technique: Silhouette / Minimal Realism
Pain Level: Low-Medium (2-4/10)
Session Time: 1-3 hours
Best For: Personal, subtle reveal
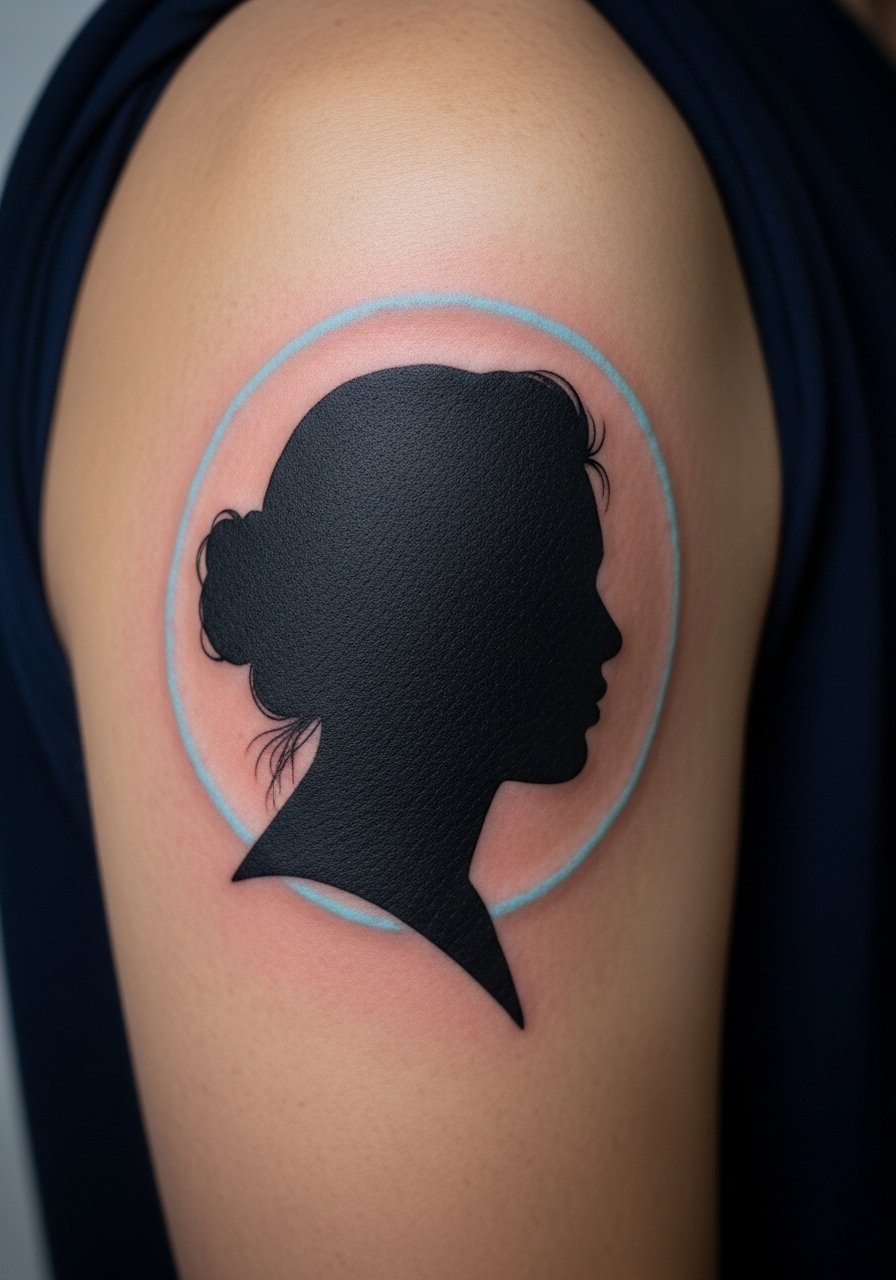
A silhouette looks classy in daylight. A UV halo gives it a ghostly reveal at night. Upper arm is one of the least painful spots. Keep line edges clean; rough edges age poorly. Tell the artist you want the UV as an accent, not as the main visual.
11. Botanical Wrist Cuff With UV Pollen
Style/Technique: Botanical / Fine Line
Pain Level: Medium (3-4/10)
Session Time: 1-2 hours
Best For: Feminine, repeatable design
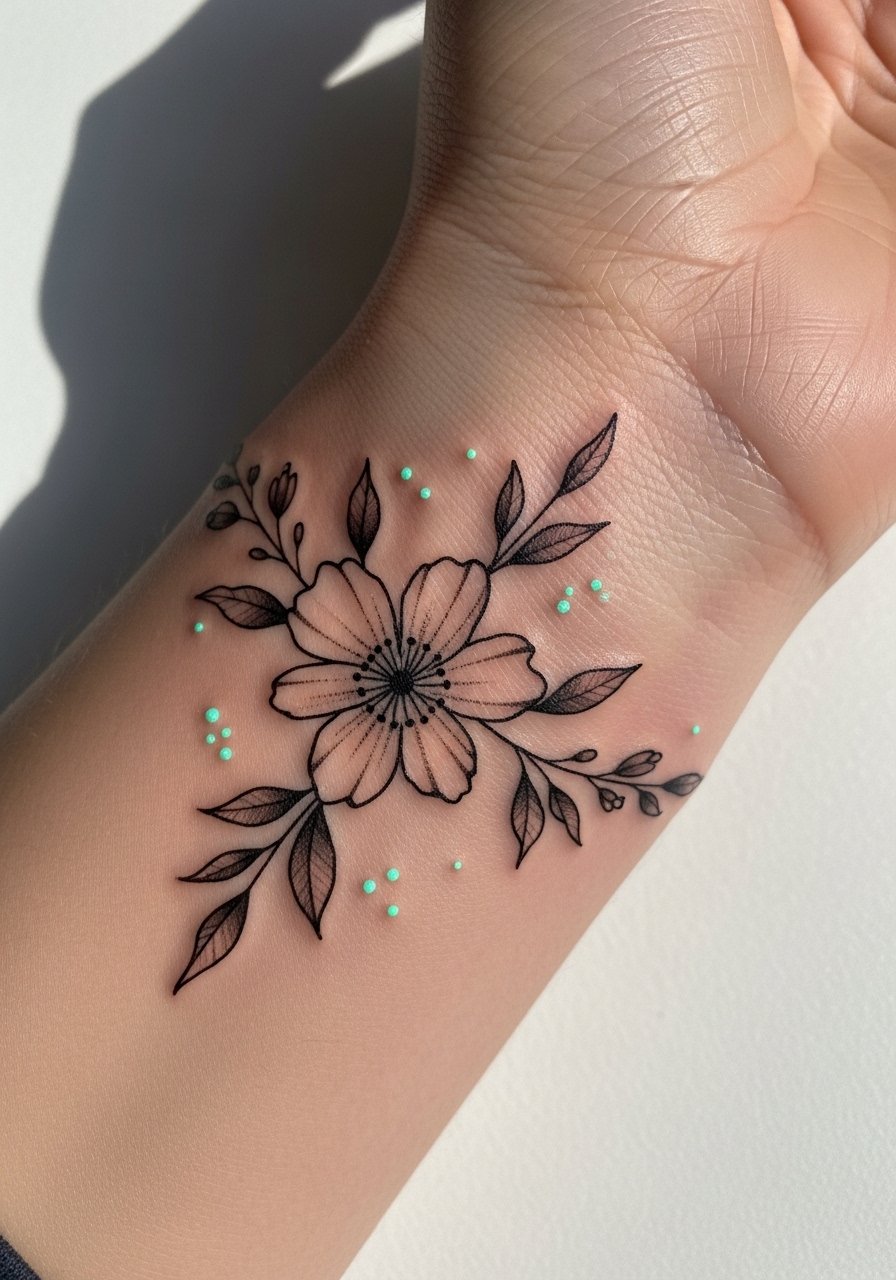
A cuff reads like jewelry. UV pollen around blooms becomes a hidden surprise. Wrist movement can blur fine detail if healing is neglected. Keep moisturized and avoid submerging in chlorinated water early on.
12. Optical Illusion Cube On Hand With UV Edges
Style/Technique: Geometric / Optical
Pain Level: High (5-7/10)
Session Time: 1-3 hours
Best For: Visible, interactive design
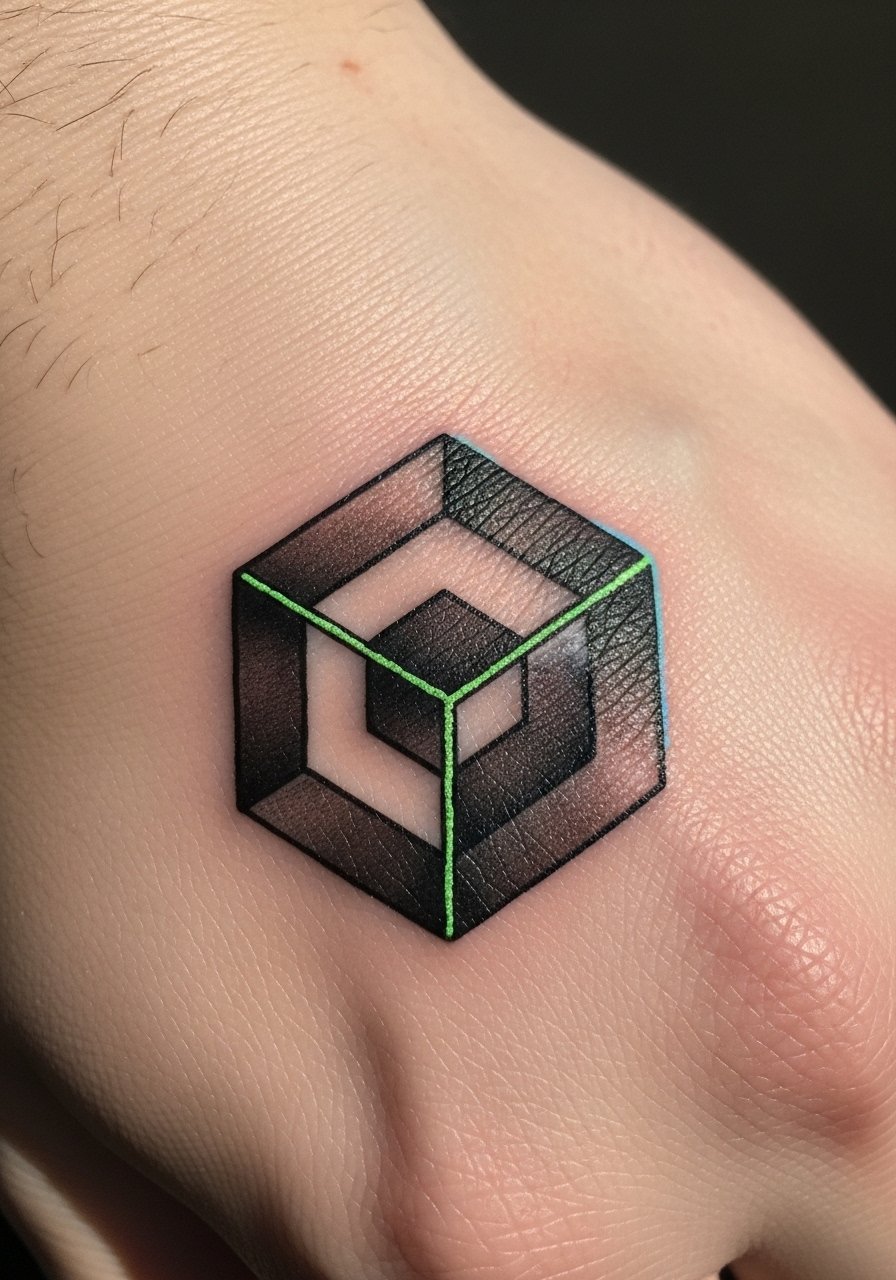
Hands are high-visibility and high-wear. An illusion cube that glows on select edges looks clever both ways. Expect more fading on hands; touch-ups may be needed. Avoid tiny thin details—hand skin moves a lot.
13. Floral Rib Panel With UV Lace Overlay
Style/Technique: Neo-Traditional / Floral
Pain Level: High (6-8/10)
Session Time: Multiple sessions
Best For: Feminine statement, torso placement
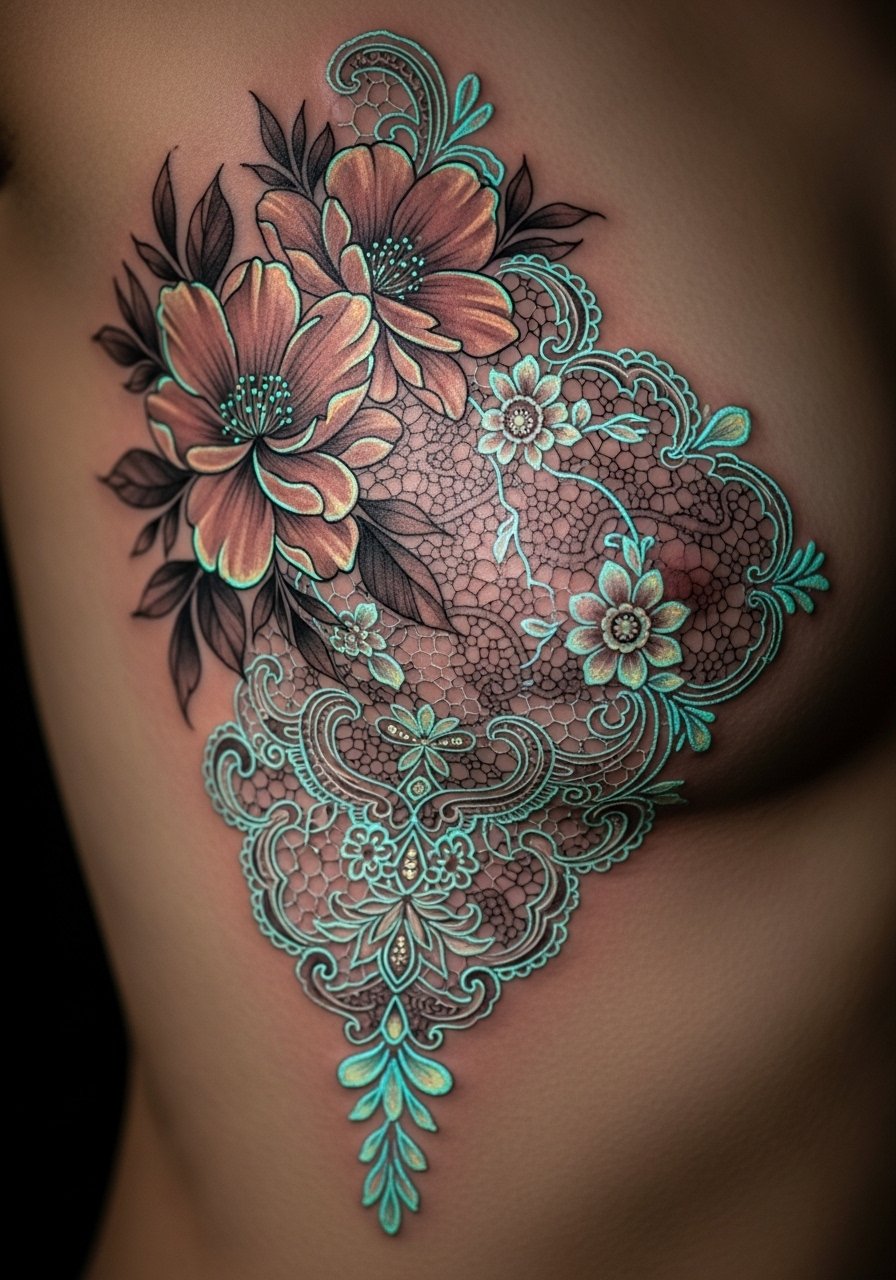
Rib panels can be deeply personal. UV lace detail looks delicate under blacklight. Pain is higher on ribs, so plan breaks. Ask your artist to place UV accents on raised petals where they’ll catch light best after healing.
14. Tribal Sun On Shoulder Blade With UV Rays
Style/Technique: Blackwork / Tribal-Inspired
Pain Level: Medium (3-5/10)
Session Time: 1-2 hours
Best For: Bold silhouette, back placement
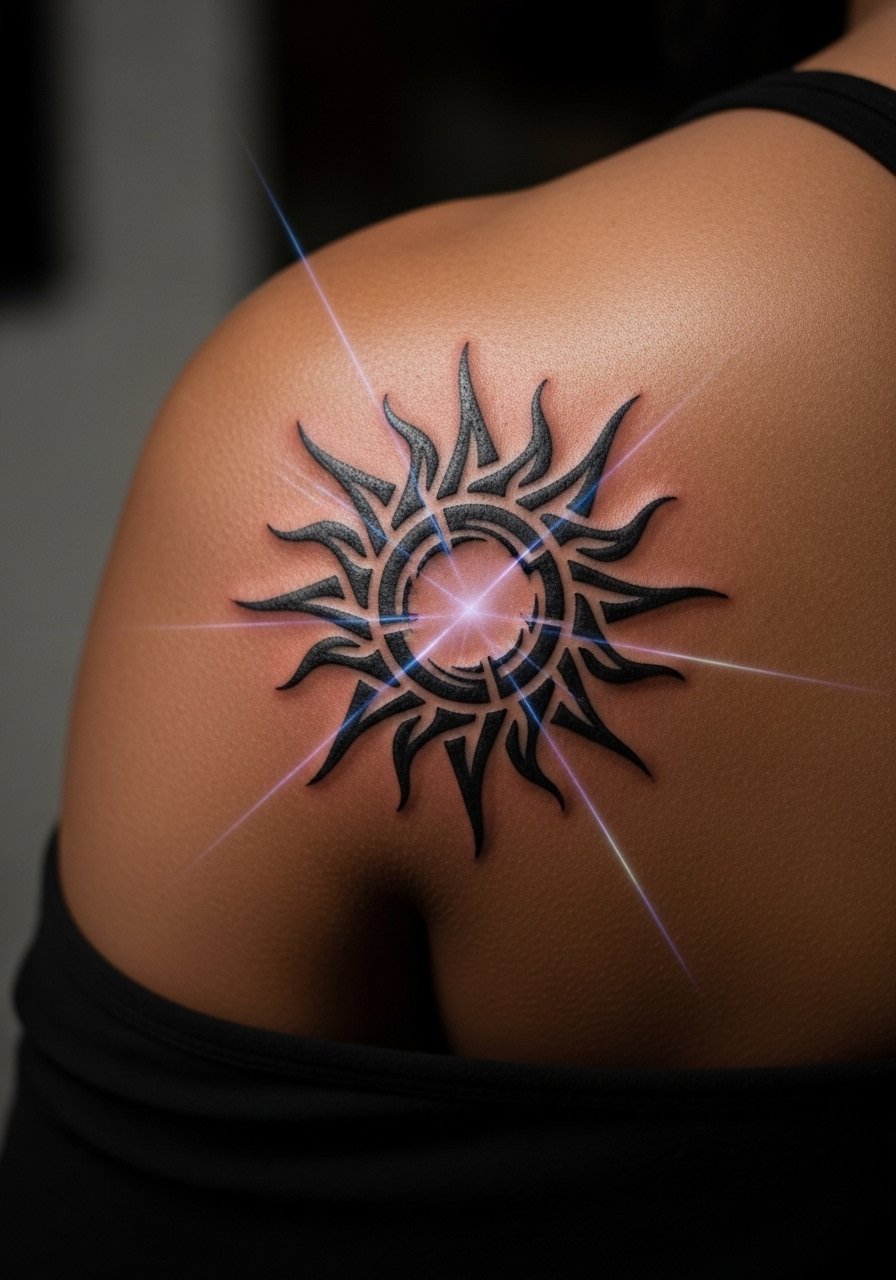
A bold tribal sun reads strongly by day. UV rays add a hidden glow that’s subtle unless you’re under a blacklight. Shoulder blade heals nicely but watch sleeping positions during the first week. Heavy black holds long; UV lines may soften.
15. Anchor Traditional Small Calf Tattoo With UV Rope
Style/Technique: Traditional / American Traditional
Pain Level: Low-Medium (3-4/10)
Session Time: 1-2 hours
Best For: Nautical, classic design
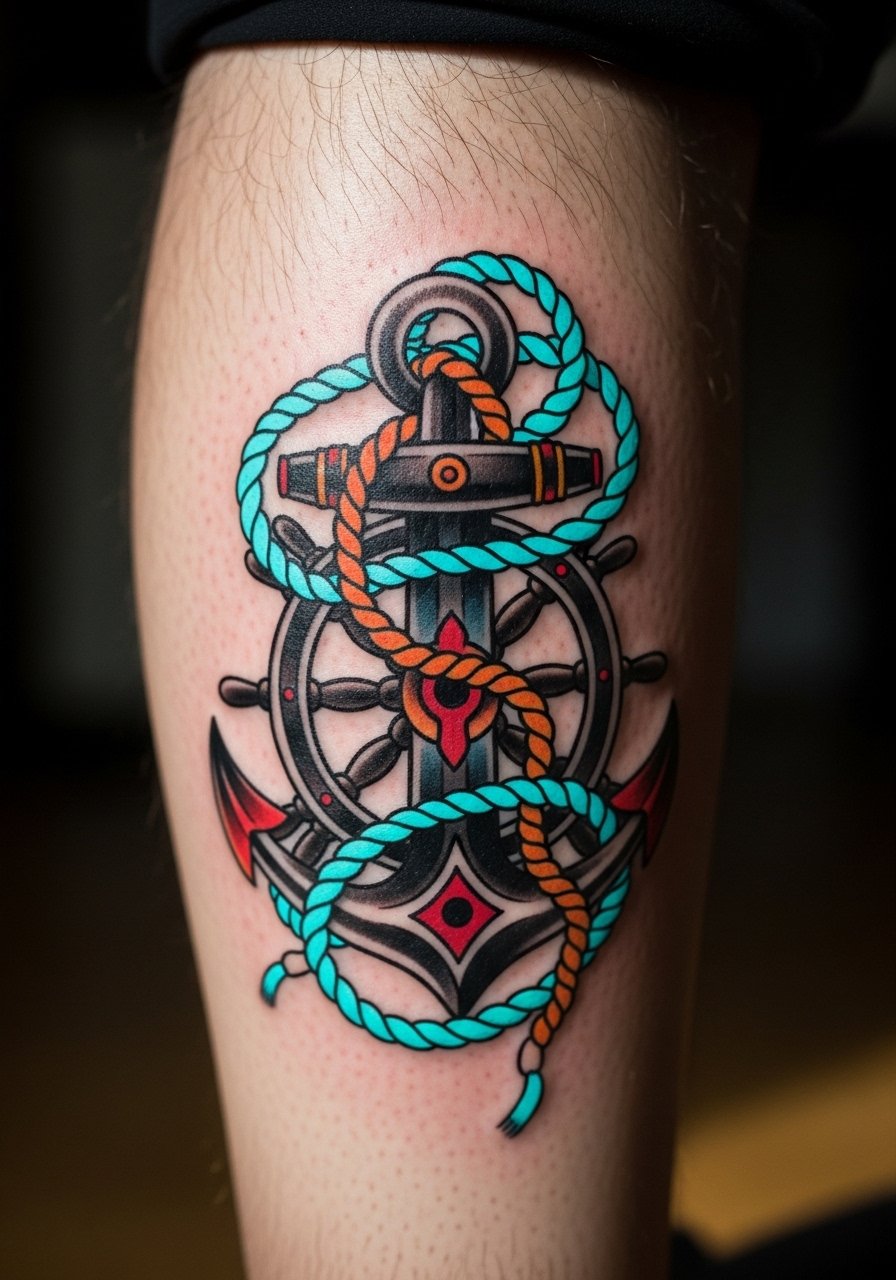
The classic anchor ages well. A UV rope wrapped around it reveals a hidden motif. Calf is less painful and great for showing off on warmer days. Keep bright colors topped up when needed; black anchor lines give longevity.
16. Minimal Line Portrait Behind Ear With UV Outline
Style/Technique: Line Portrait / Minimalist
Pain Level: Low (2-3/10)
Session Time: Under 1 hour
Best For: Tiny, intimate piece
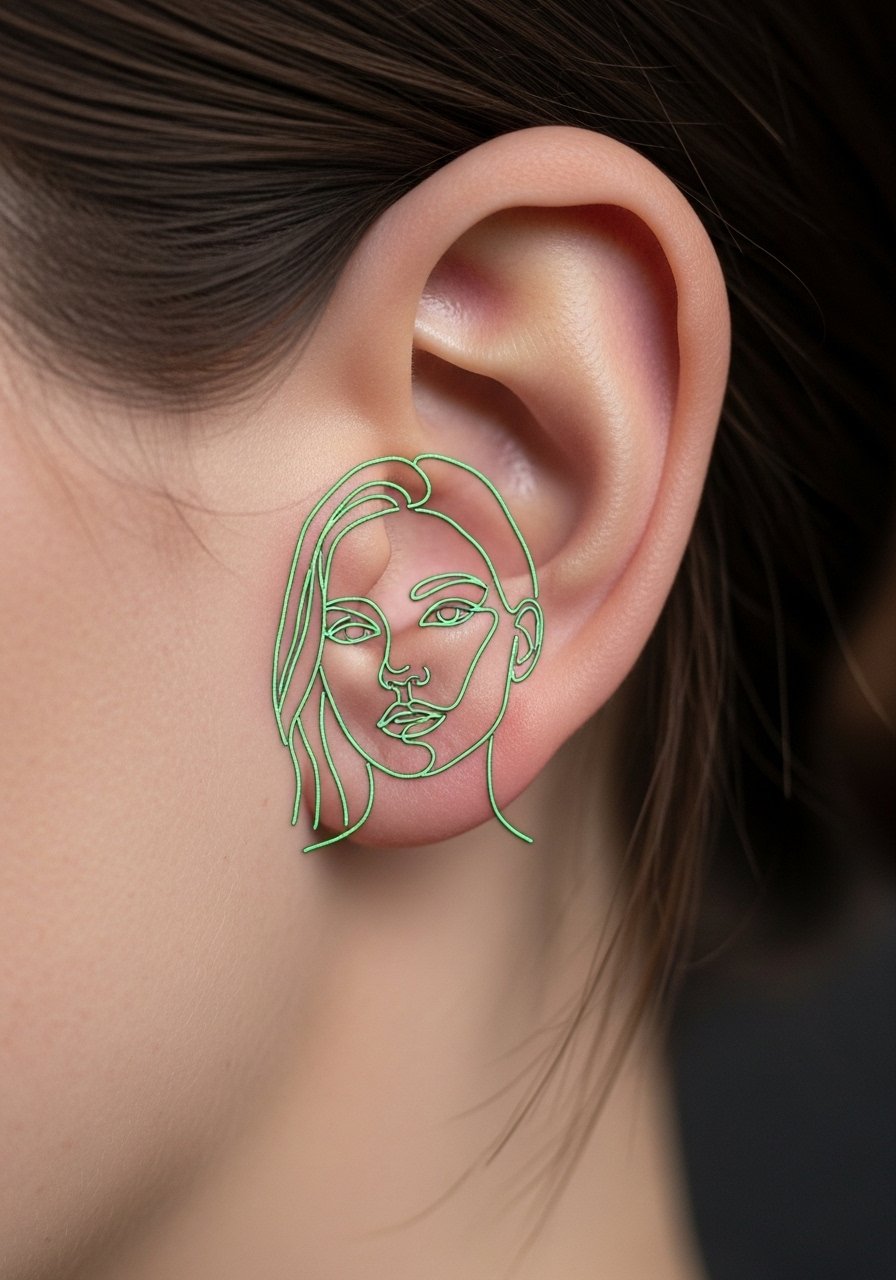
Small line portraits are intimate. Add a UV outline to reveal a second frame. Behind-ear skin is thin; lines can blur if overworked. Keep it tiny and intentional.
17. Botanical Thigh Panel With UV Nectar Drops
Style/Technique: Illustrative / Botanical
Pain Level: Low-Medium (3-5/10)
Session Time: 2-4 hours
Best For: Large, private canvas
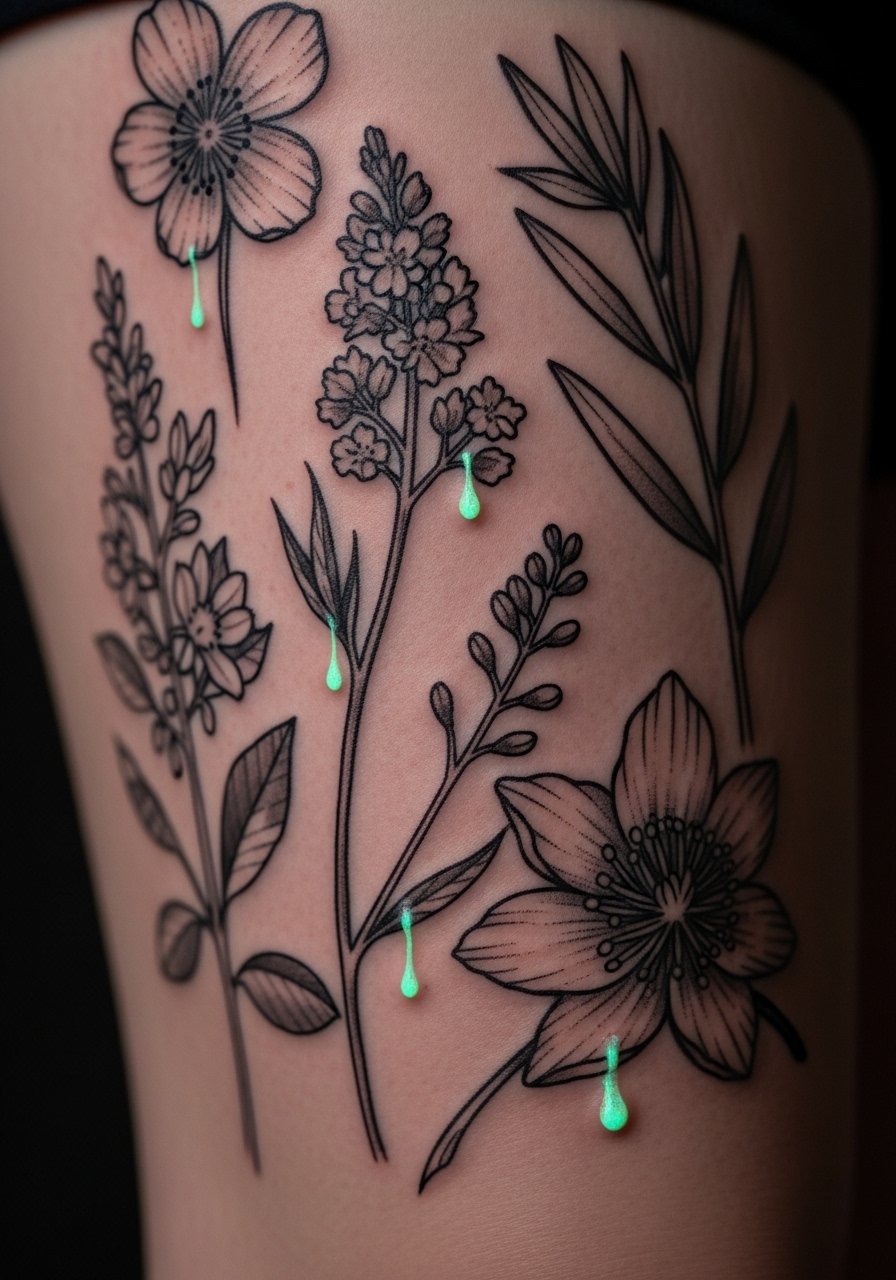
Thighs provide space for lush compositions. UV nectar drops give a hidden detail that only shows in certain settings. Thighs heal predictably; avoid tight clothing during early days to prevent rubbing.
18. Celestial Half-Sleeve With UV Nebula Highlights
Style/Technique: Color / Celestial
Pain Level: Medium-High (4-6/10)
Session Time: Multiple sessions
Best For: Dramatic arm piece
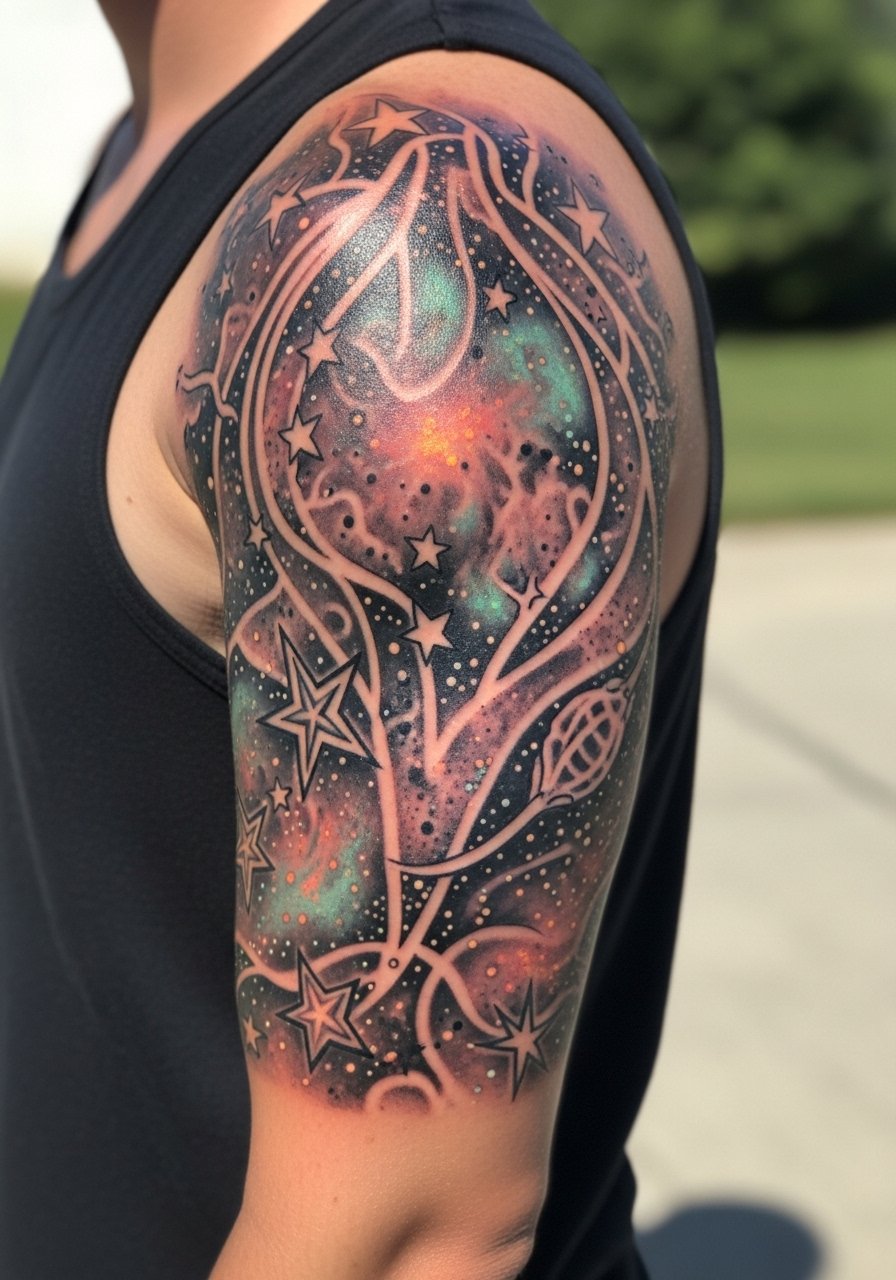
A half-sleeve gives room for cosmic scenes. UV nebula highlights make the piece shift between day and night. Expect multiple sessions. Color saturation matters—ask the artist how they layer UV to avoid muddying colors.
19. Morse Code Wrist Band With UV Message
Style/Technique: Minimalist / Dot-Line
Pain Level: Medium (3-4/10)
Session Time: Under 1 hour
Best For: Secret message, discreet
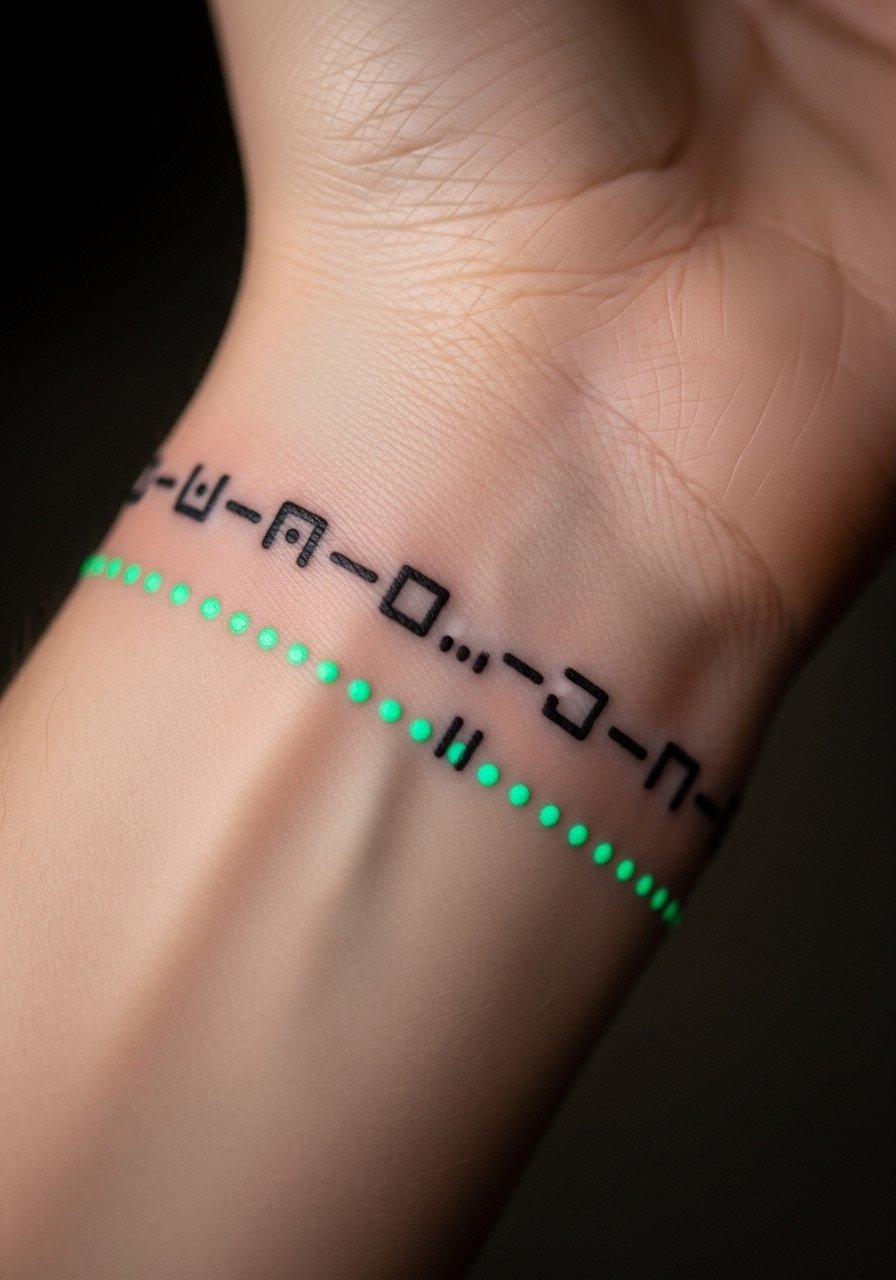
Morse code bands are clever. UV ink can carry the hidden phrase while black ink reads as a pattern. Ensure spacing is deliberate so the code stays readable over time. Wrist motion can affect healing; be cautious.
20. Stained Glass Sternum With UV Lead Lines
Style/Technique: Color / Decorative
Pain Level: High (6-8/10)
Session Time: Multiple sessions
Best For: Centerpiece, decorative torso piece
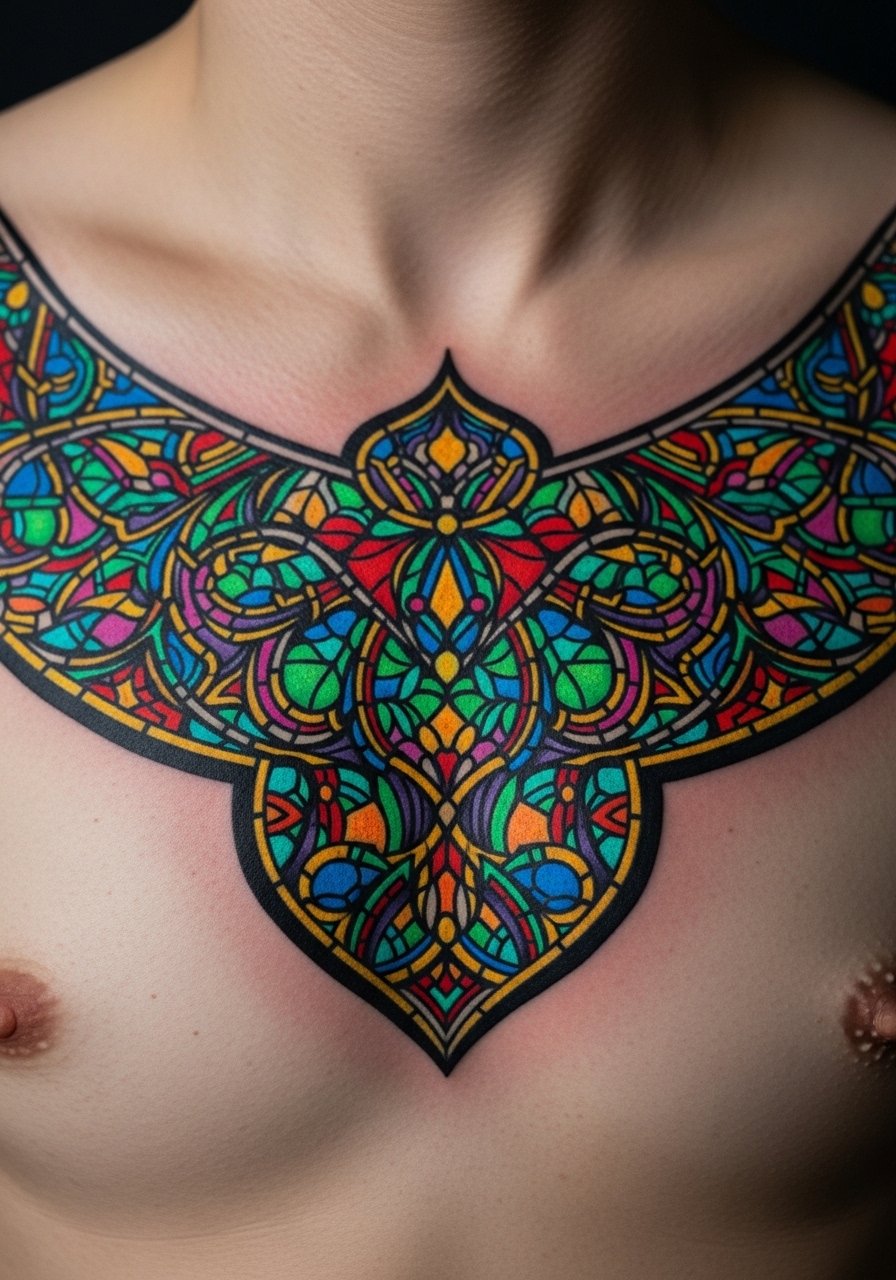
Sternum placement is bold. A stained-glass look with UV lead lines becomes luminous after dark. Pain is significant near the sternum. Color needs saturation and good contrast to read healed.
21. Linework Finger Symbols With UV Fill
Style/Technique: Minimalist / Micro
Pain Level: High (5-7/10)
Session Time: Under 1 hour each
Best For: Tiny, symbolic pieces
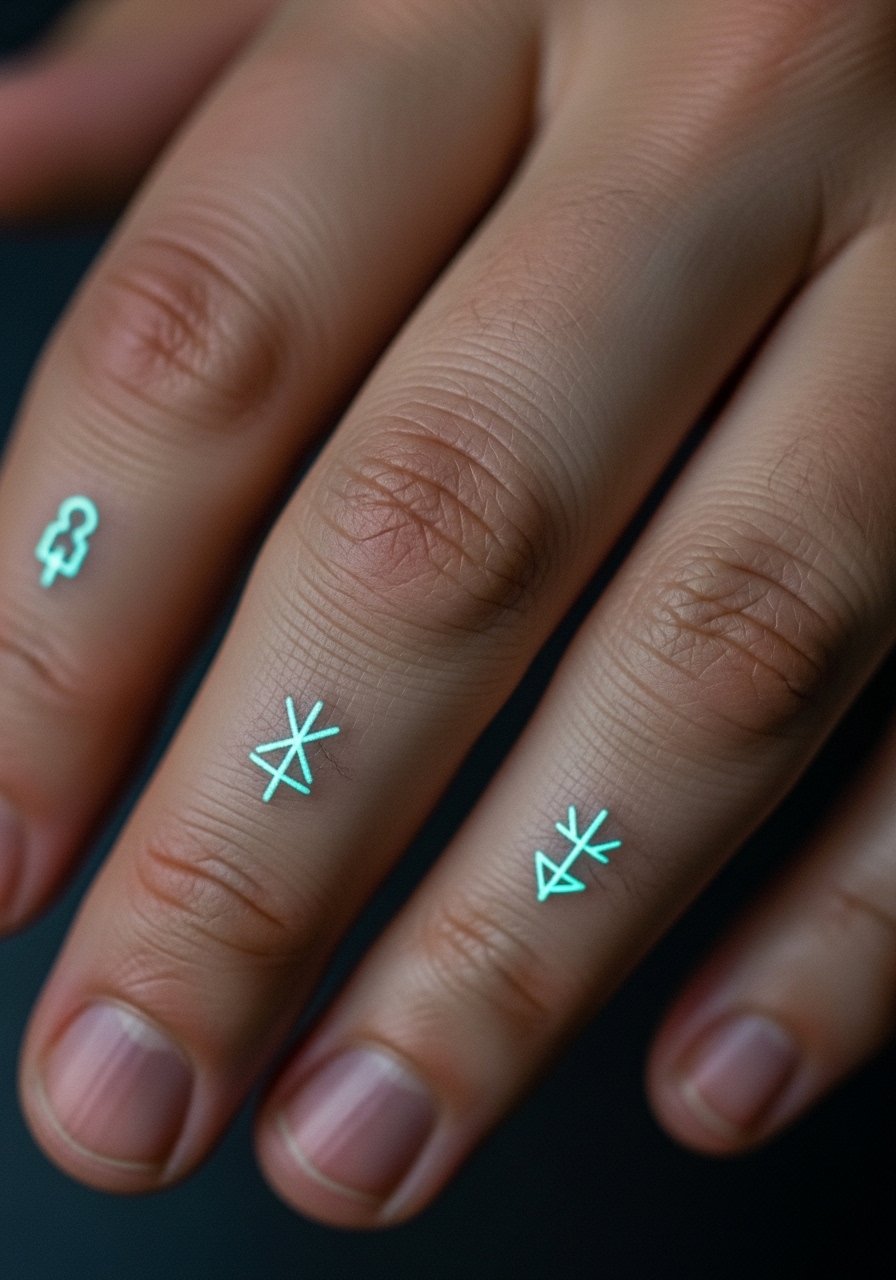
Fingers are notorious for fading. UV fills can recapture a hidden element but expect more maintenance. Keep designs simple and bold; thin lines disappear. Ask about aftercare specifics for fingers.
22. Negative Space Lion On Shoulder With UV Mane
Style/Technique: Blackwork / Negative Space
Pain Level: Medium (3-5/10)
Session Time: 1-3 hours
Best For: Bold silhouette, animal motif
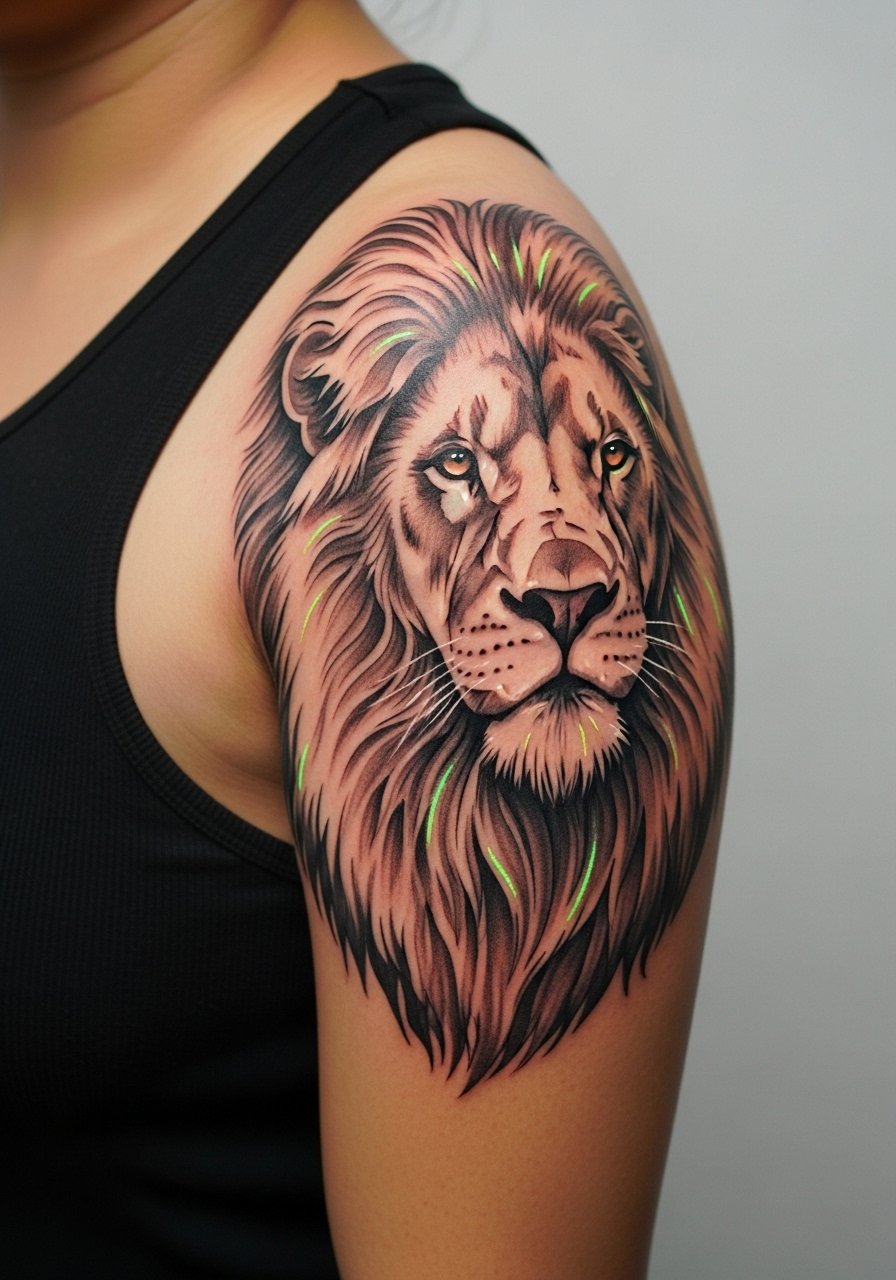
Negative-space animals look graphic. UV mane highlights add drama without changing daytime silhouette. Shoulder placement balances visibility and pain. Ensure large negative areas are intentional to avoid patchy heals.
23. Glow-Hidden Barcode On Rib With UV Scan Lines
Style/Technique: Minimalist / Conceptual
Pain Level: High (6-8/10)
Session Time: 1-2 hours
Best For: Concept pieces, hidden messages
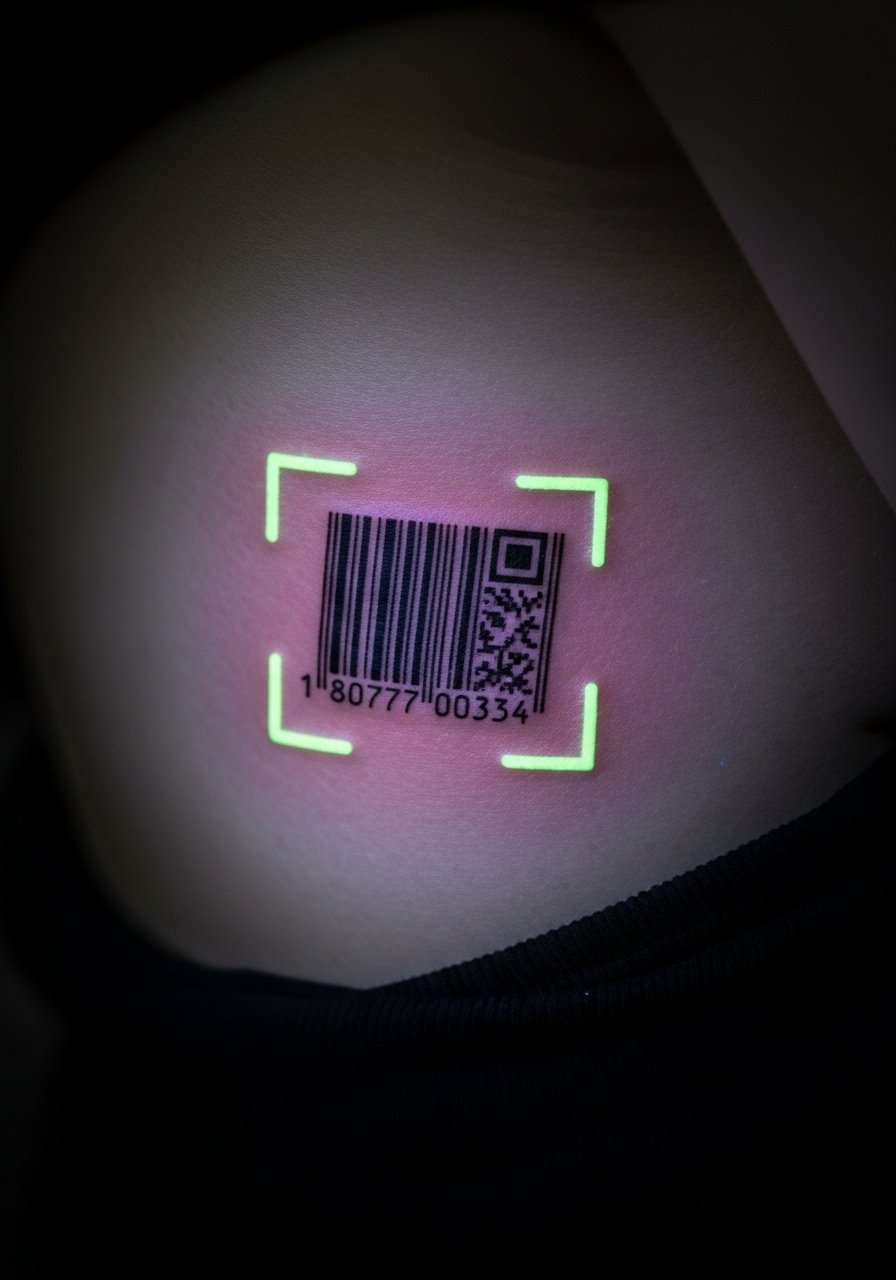
Concept tattoos like hidden barcodes read plain by day and reveal a pattern under UV. Ribs are painful; plan accordingly. Keep lines crisp—blurry bars ruin the motif.
24. Phosphor Feather On Collarbone With UV Quill
Style/Technique: Fine Line / Feather
Pain Level: Medium (3-5/10)
Session Time: 1-2 hours
Best For: Elegant, visible placement
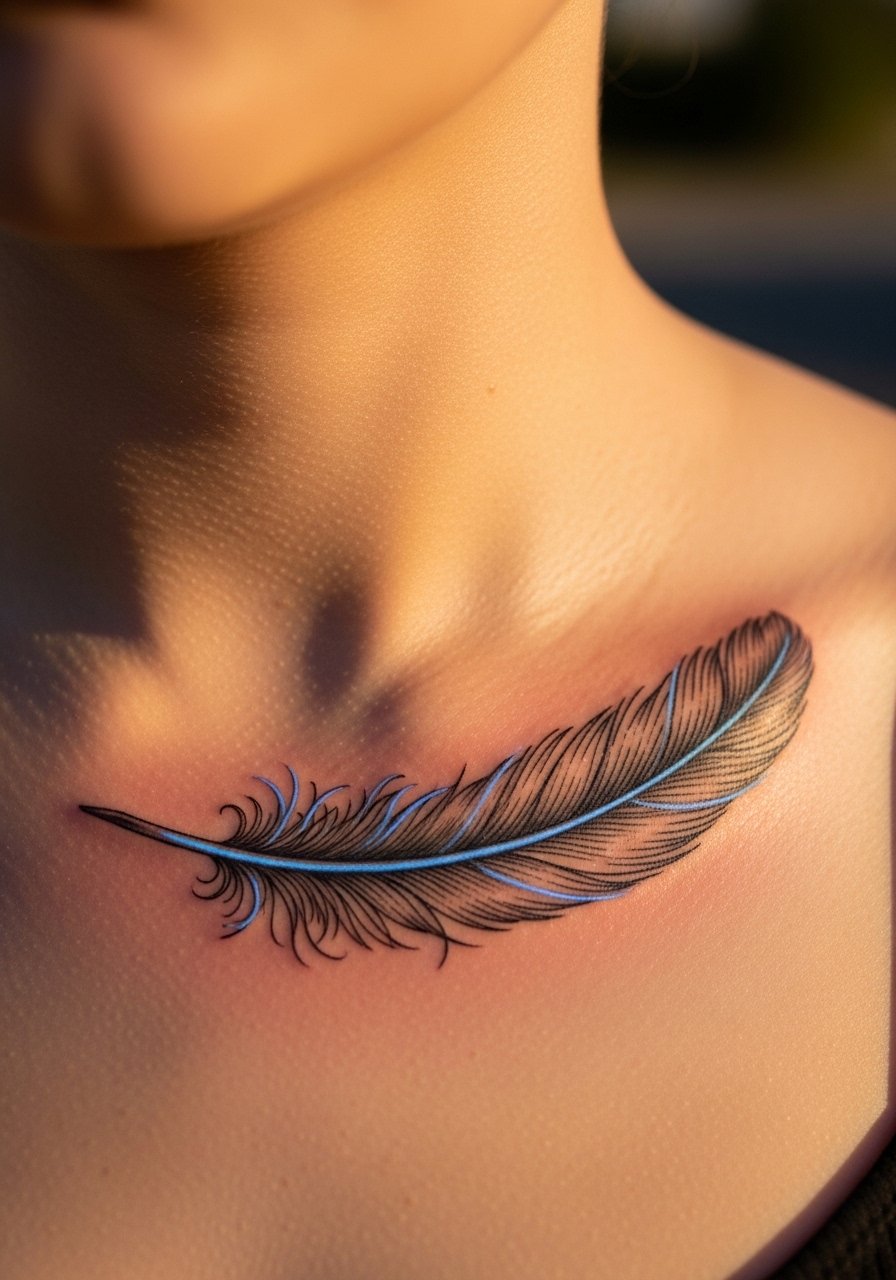
Collarbones are flattering for feathers. A UV quill adds a secret shimmer. Bones make this area sensitive. Ask the artist to keep lines slightly bolder to prevent early blurring.
25. Halo Dotwork Around Elbow With Hidden UV Ring
Style/Technique: Dotwork / Geometric
Pain Level: High (6-7/10)
Session Time: 1-2 hours
Best For: Unique elbow accent
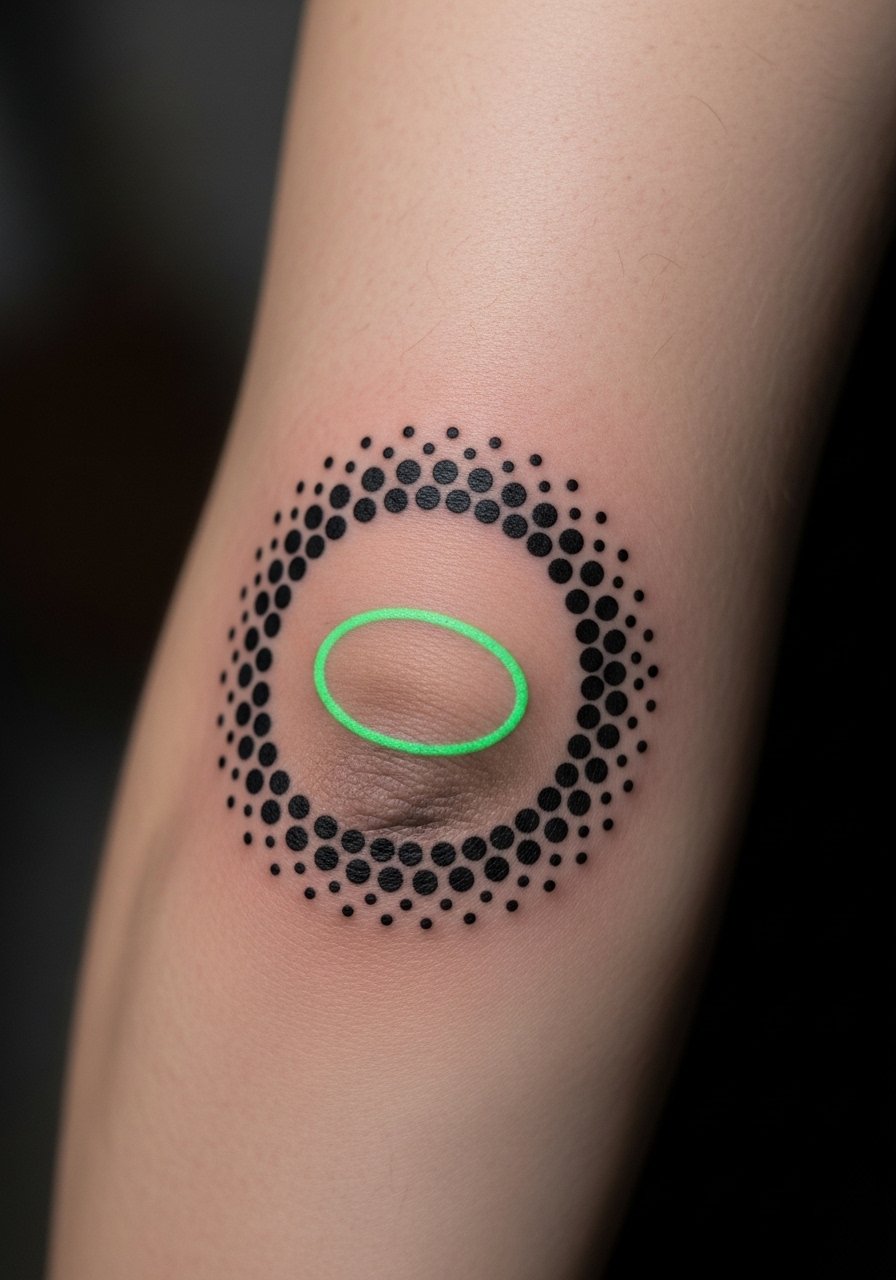
Elbows are tricky; skin stretches and scabs differently. Dotwork halo looks striking by day. UV ring adds a surprise. Expect slower healing and possible touch-ups.
26. Surreal Eye On Chest With UV Iris Detail
Style/Technique: Surreal / Micro-Realism
Pain Level: Medium-High (4-7/10)
Session Time: 2-4 hours
Best For: Statement, symbolic art
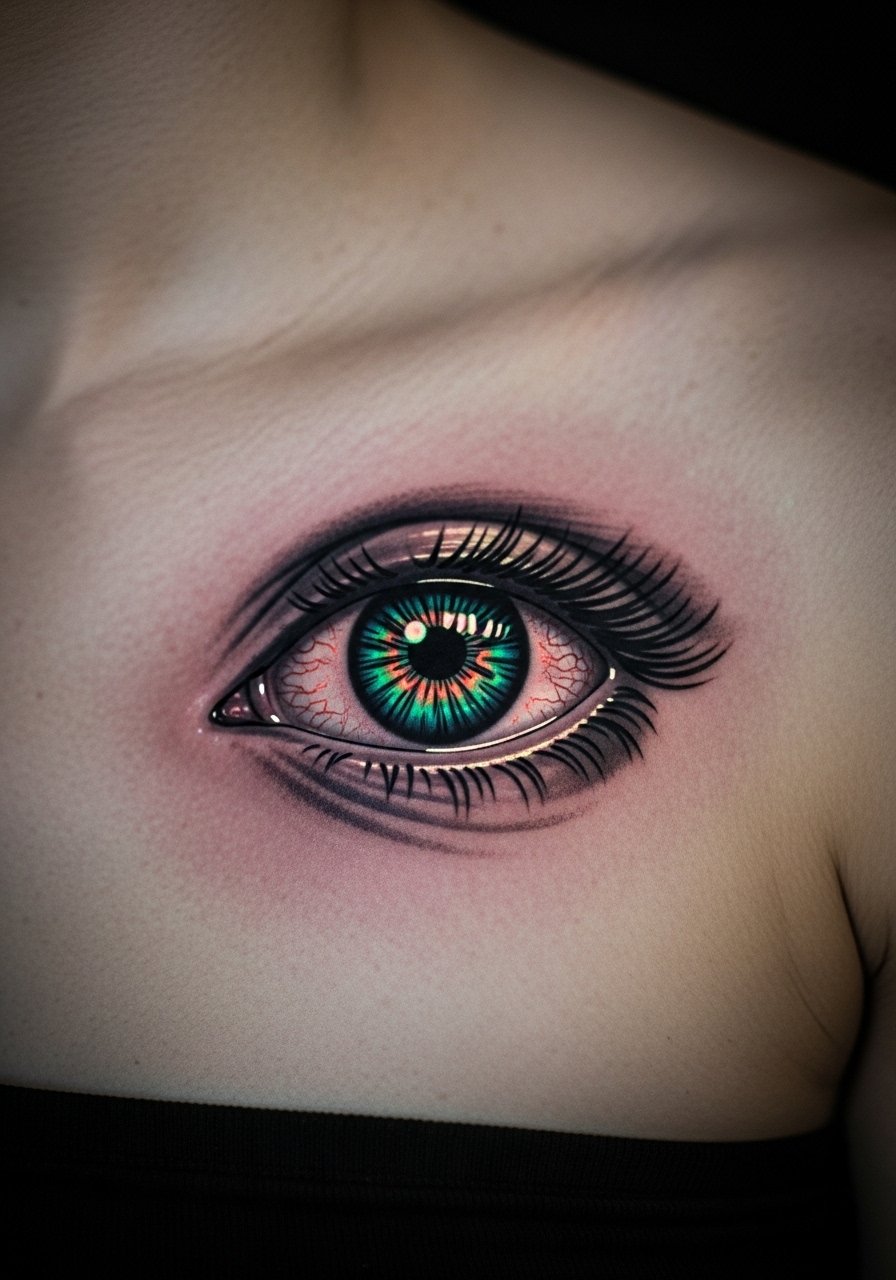
An eye can read symbolic and watchful. UV iris specks give it a second life under light. Chest skin varies; expect tender spots. Ask to see healed eyes on similar skin to confirm contrast.
Tattoo Prep and Aftercare Essentials
Aftercare Essentials:
- Aquaphor Healing Ointment, 14oz tube — Recommended for first 3–5 days by many artists I follow
- Saniderm Transparent Adhesive Bandage, 6-inch roll — Great for second-skin protection on large pieces
- CeraVe Fragrance-Free Moisturizing Lotion — Daily moisturizer for days 4–14
- Dr. Bronner's Unscented Castile Soap, 8oz — Gentle clean during initial wash
Before Your Appointment:
- Numbing Cream With 5% Lidocaine — Use only if your artist approves
- Tattoo Stencil Transfer Paper — Handy if you plan custom mockups at home
Long-Term Maintenance:
- SPF 50+ Sunscreen Stick For Tattoos — Non-negotiable for preventing fade
- Mad Rabbit Tattoo Balm — Keeps healed color vibrant; artists I trust recommend it
- Hustle Butter Deluxe — Vegan aftercare alternative some artists use
Optional Comfort Items:
- Tattoo Numbing Spray — For touch-ups or sensitive zones
- Hydrocolloid Bandages (Large) — Useful for small hotspots instead of changing dressings constantly
Most artists I know favor Aquaphor or Saniderm for first-stage care, then fragrance-free lotion for weeks two through four. I’ve seen overuse of scented lotions cause irritation—stick to simple, recommended products.
Frequently Asked Questions
Q: How bad does a tattoo actually hurt?
A: Pain depends on placement and your tolerance. Outer arm/forearm = 2–4/10 for most people. Ribcage/elbow/ankle = 6–8/10. It’s more of a sharp scratching or burning. For very sensitive spots, ask about a numbing cream with 5% lidocaine—it helps but usually doesn’t remove sensation completely.
Q: Will UV ink ruin my tattoo or skin?
A: From what I’ve gathered, good artists use approved UV inks sparingly as accents. UV tends to sit differently and may need touch-ups sooner. Choose an artist experienced with UV work and look at healed examples on real skin.
Q: How do I keep glow accents visible long-term?
A: UV ink can fade faster than black. Daily sunscreen with an SPF 50+ stick and moisturizing with a fragrance-free lotion helps skin stay healthy and colors last. Expect to refresh UV accents down the road.
Q: Can I get a blacklight effect without UV ink?
A: Yes. Strategic negative space and pale pastel colors can look like a hidden effect under certain lighting. But true glowing under blacklight usually needs UV-reactive ink.
Q: How long should I wait before working out?
A: I tell friends to wait at least 48–72 hours for light activity, longer if the tattoo is in a flex area. Sweat on fresh ink can cause scabbing and ink loss. Use clean bandaging like Saniderm if you need extra protection during early days.
Q: What’s the biggest mistake people make with glow tattoos?
A: Choosing an artist who hasn’t shown healed UV work. I’ve seen people regret thin UV lines that disperse during healing. Always ask to see healed examples and plan UV as an accent, not the whole piece.
Q: How long to fully heal?
A: Surface healing takes about 2–3 weeks. Full skin remodeling can take 2–3 months. The first week is critical—keep it clean with gentle soap and use Aquaphor or Saniderm protection as recommended.
Q: Do glow tattoos look different on darker skin tones?
A: Yes. Black and deep tones show consistently across skin tones. UV effects can be subtler on deeper skin; I recommend artists experienced with similar skin to show healed examples and adjust placement and contrast accordingly.
