
I spent months narrowing down the Bible verse I wanted inked—not because I couldn’t pick a verse, but because I wasn’t sure which style would still read well after years of life. These 23 Bible verse tattoos are ones I’ve seen work in real life: styles artists recommend now, placements that heal predictably, and the small design choices that keep script legible over time.
This list focuses on script-forward styles—fine line, traditional script, and illustrative verse combos. Most ideas work well on forearm, wrist, ribcage, or chest. From what I’ve seen in 2026 trends, minimalist scripture and verse+symbol combos (cross, dove) age best when done by artists strong in lettering.
1. Bold Script Philippians 4:13 on Outer Forearm
Style/Technique: Bold Script / Traditional
Pain Level: Low-Medium (3/10)
Session Time: 1 session, 1-2 hours
Best For: Daily reminder, visibility
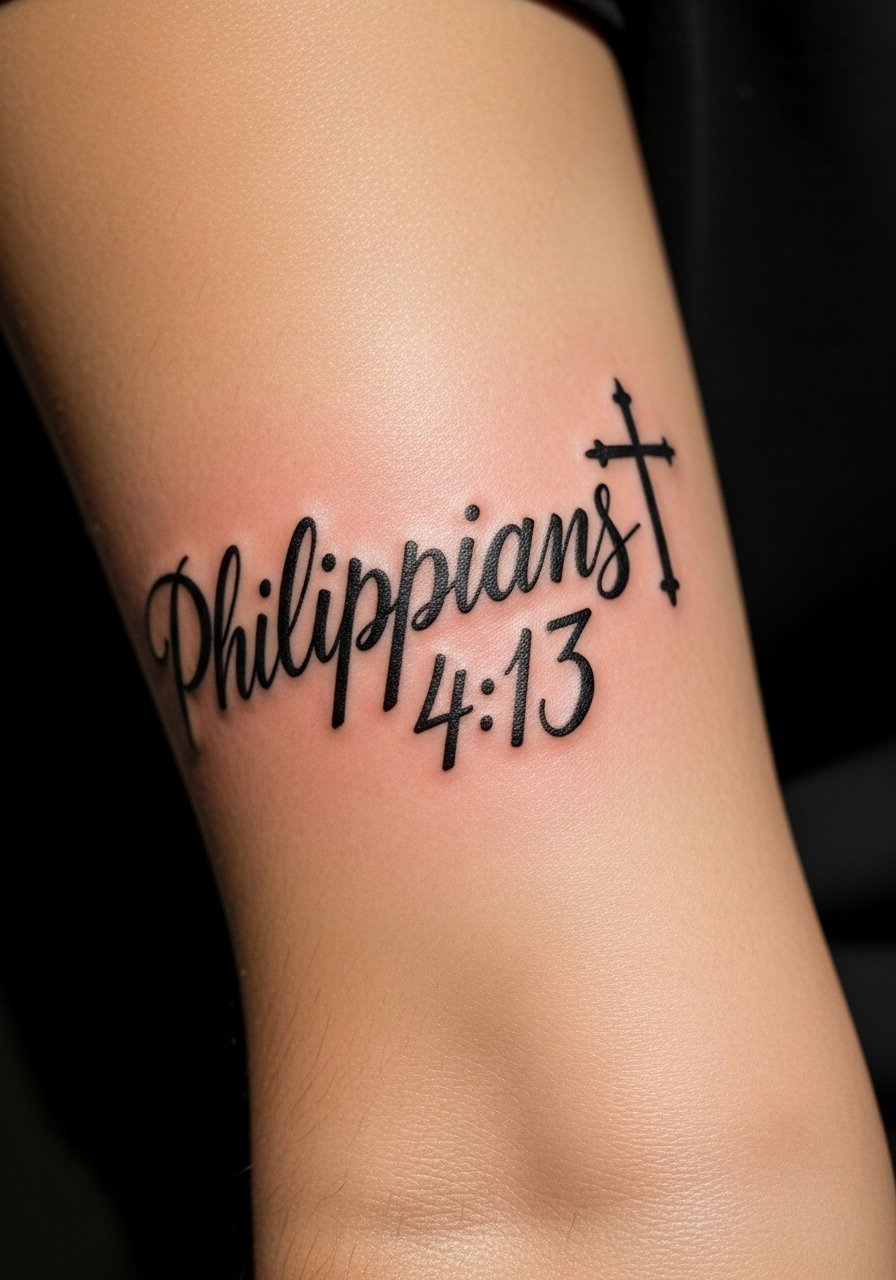
Philippians 4:13 is a go-to for strength. I like it in bold script with a tiny cross because the thicker lettering holds up as skin settles. Forearm placement makes it easy to read and motivates during workouts or tough days. Expect moderate pain and surface healing in 2–3 weeks. Common mistake: choosing a hairline script—ask for slightly heavier strokes so the verse stays readable over time.
2. Minimalist Jeremiah 29:11 on Inner Wrist
Style/Technique: Fine Line / Minimalist
Pain Level: Medium (4/10)
Session Time: Single short session, under 1 hour
Best For: First Bible verse tattoo, subtle faith
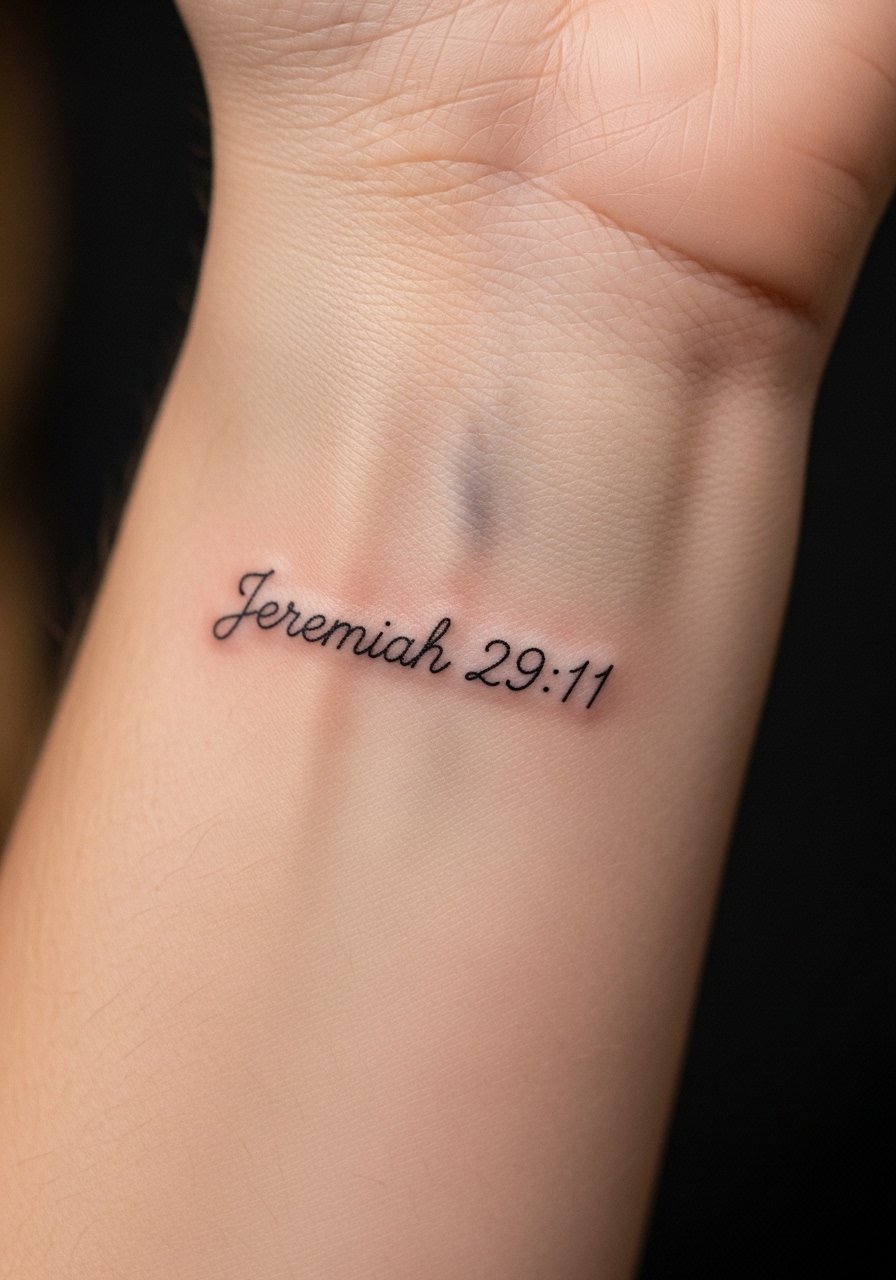
Jeremiah 29:11 works beautifully as a tiny wrist script. I’ve seen minimalist linework age nicely when the artist is a lettering specialist. The wrist can be a bit tender, and the skin flexes—so choose fine cursive but with steady line weight. Aftercare matters: keep it moisturized and out of constant friction. Avoid fading by asking for clear spacing between letters.
3. Proverbs 3:5-6 with Arrow Compass on Inner Forearm
Style/Technique: Illustrative Script / Fine Line + Symbol
Pain Level: Low-Medium (3/10)
Session Time: 1–2 hours
Best For: Guidance-themed, visible statement
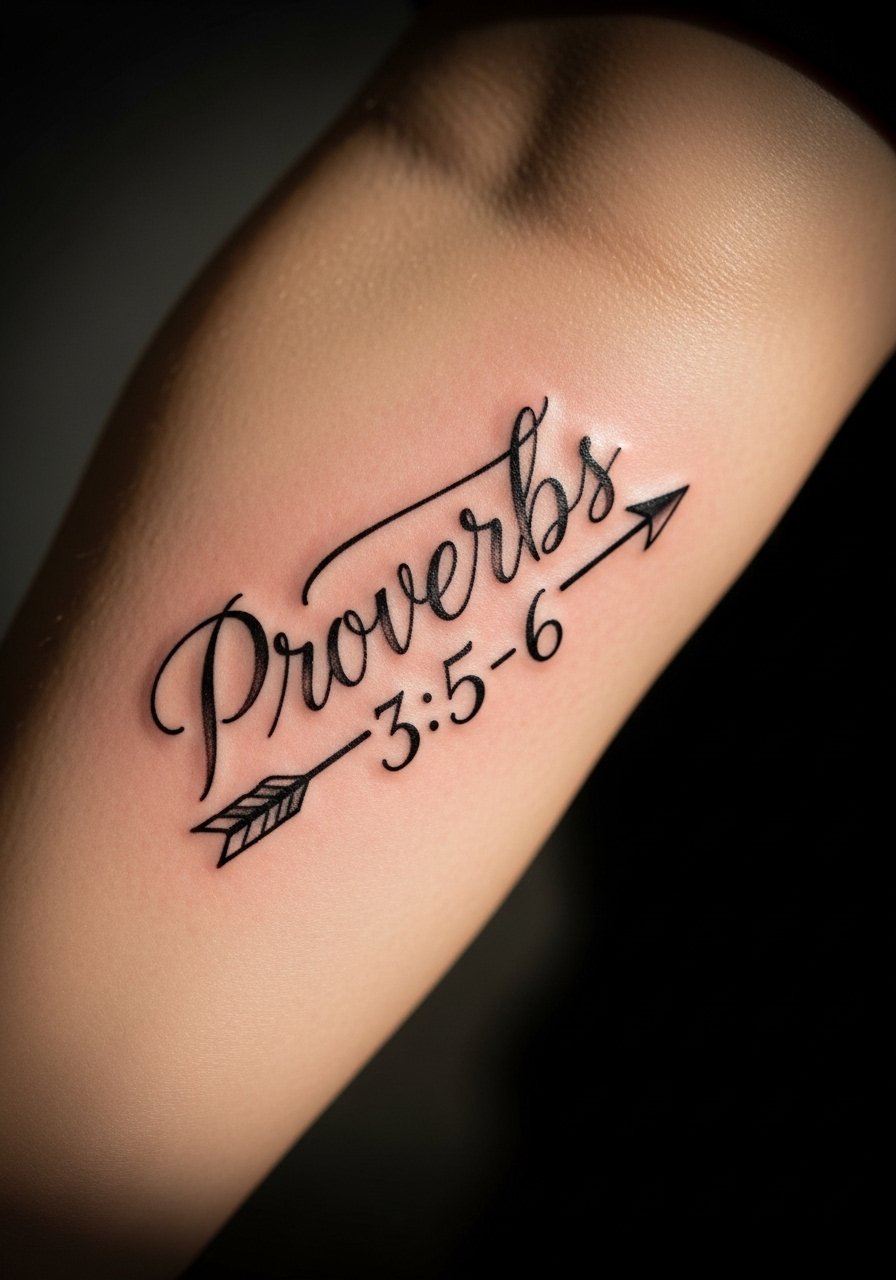
Pairing Proverbs 3:5-6 with a compass or arrow makes the verse feel directional—perfect if you’re navigating life changes. Inner forearm is low-pain and showcases fine linework well. I recommend an artist skilled in lettering plus light illustrative shading so the symbol doesn’t overpower the words. Watch for crowding: keep the compass small so the script remains the focus.
4. Isaiah 41:10 “Fear Not” Delicate Script on Ribcage
Style/Technique: Fine Line / Minimalist Script
Pain Level: High (7-8/10)
Session Time: Single medium session, 1–2 hours
Best For: Personal reminder, easy to hide
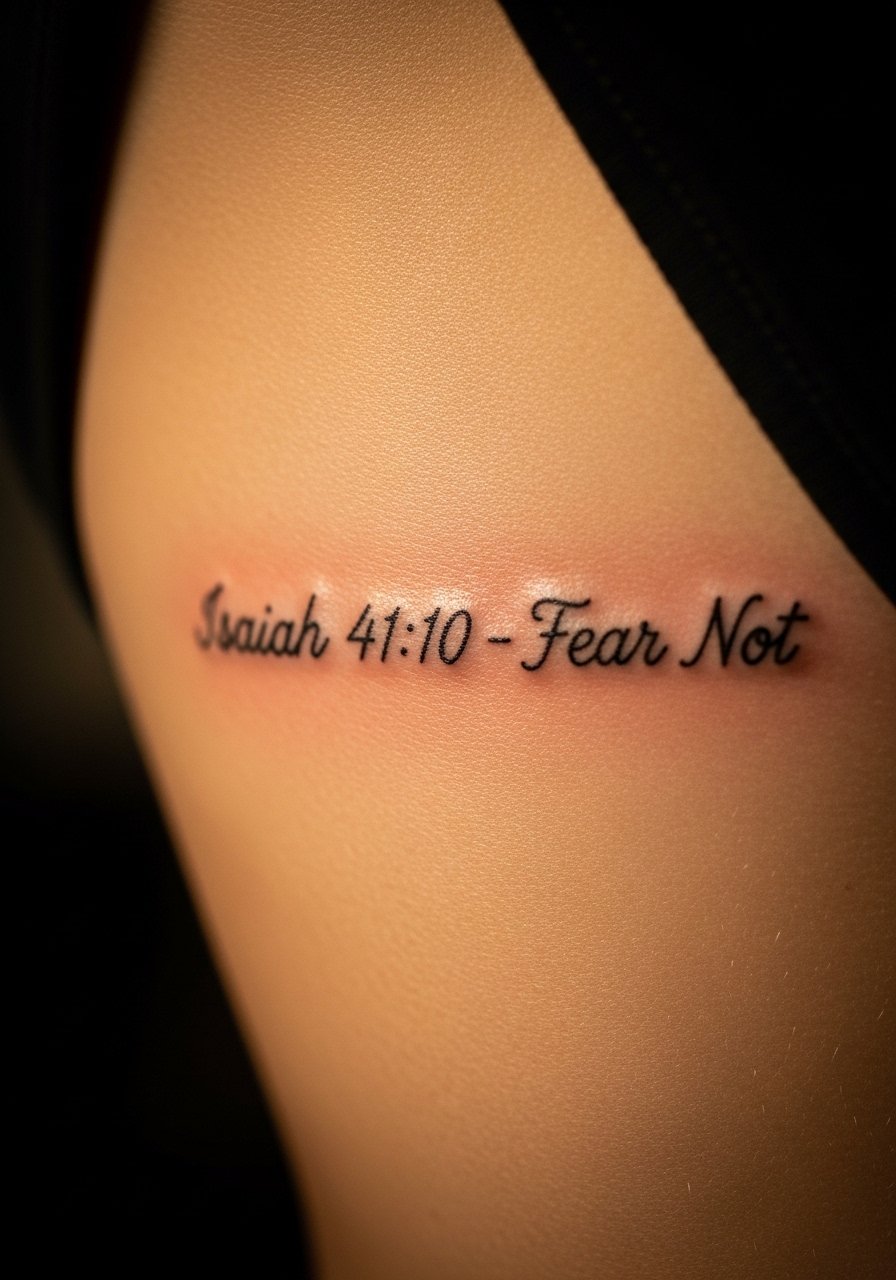
“Fear not” on the ribcage is intimate and powerful. I’ll warn you—the ribcage stings more than the forearm, but the placement feels private and meaningful. Fine line script here looks elegant but needs expert execution to avoid blurring. I’ve seen artists suggest slightly bolder strokes than you’d expect so tiny letters don’t fade into a gray smudge over years.
5. Psalm 23:4 Valley With Staff Neo-Traditional on Shoulder Blade
Style/Technique: Neo-Traditional / Symbolic Script
Pain Level: Low-Medium (3-4/10)
Session Time: 2 sessions if illustrated, 1–3 hours each
Best For: Memorial or resilience piece
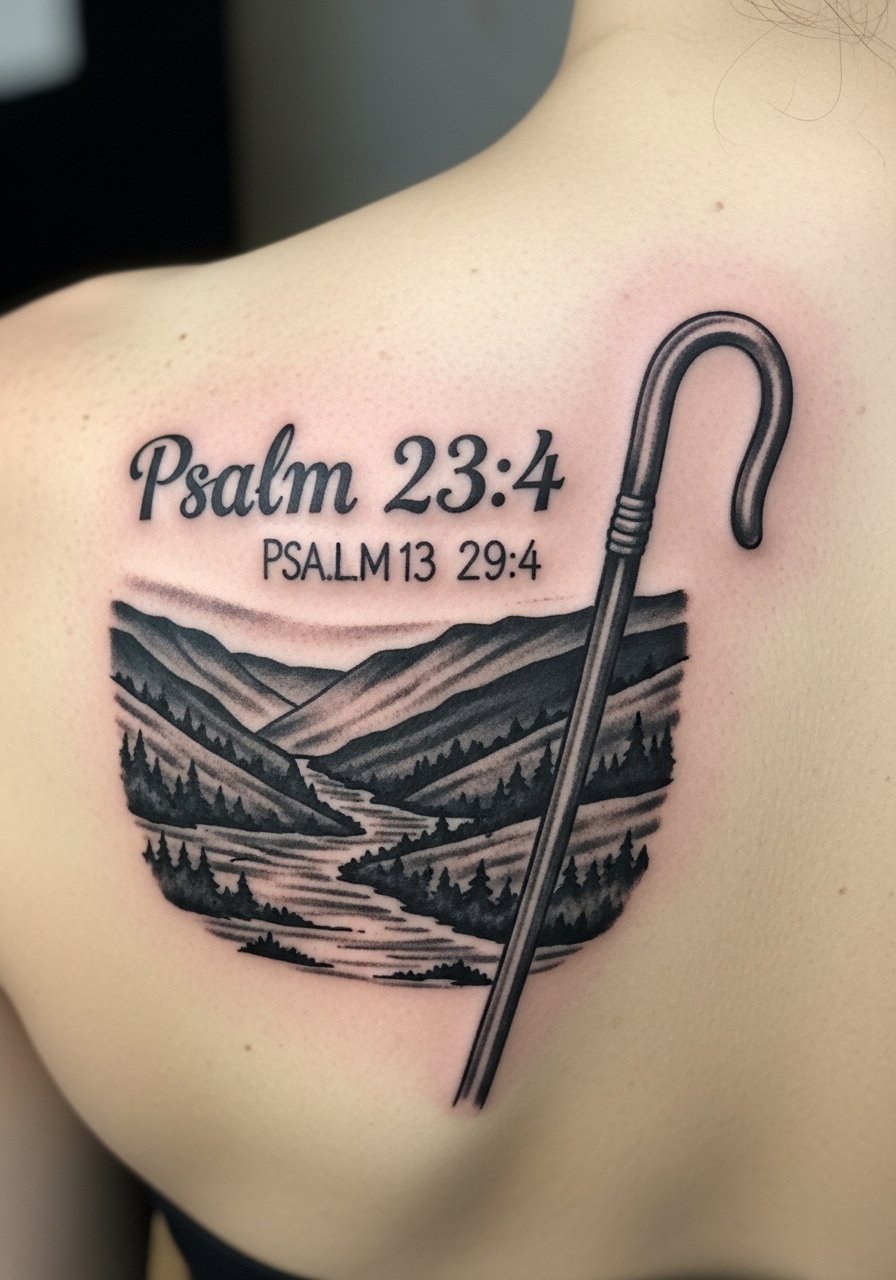
I love Psalm 23:4 paired with a valley and staff—it's a meaningful memorial or resilience tattoo. Shoulder blade allows for a medium-sized neo-traditional scene without constant friction. Expect low-to-moderate pain and predictable healing. Artists who do solid black & gray work will make the script readable long term. Don’t cram too much illustration around the verse; give the words breathing room.
6. Joshua 24:15 Watercolor Family Verse on Upper Arm
Style/Technique: Watercolor + Script
Pain Level: Low-Medium (3-4/10)
Session Time: 2 sessions if color-heavy
Best For: Family devotion, decorative arm piece
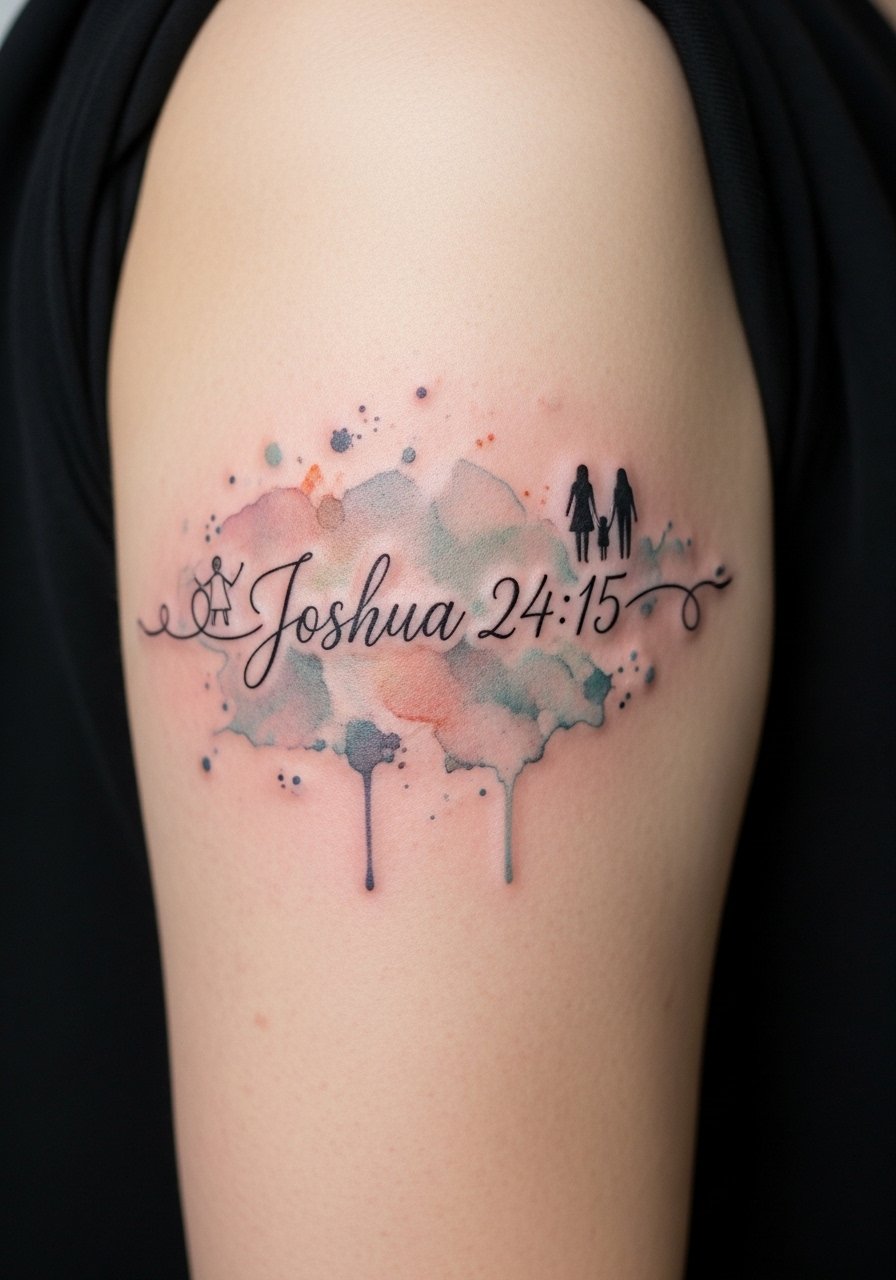
Joshua 24:15 makes a heartfelt family declaration, and watercolor behind script gives it softness. I’ve noticed watercolor looks lovely fresh but can lose vibrancy—so artists often recommend strong black script with subtle color accents. Upper arm placement is forgiving for healing. If you want long-lasting color, request denser pigments and follow sun-protection routines religiously.
7. John 3:16 With Dove on Calf or Upper Back
Style/Technique: Realistic Symbol + Soft Script
Pain Level: Low (2-3/10)
Session Time: 1–2 hours
Best For: Faith symbol with gentle presence
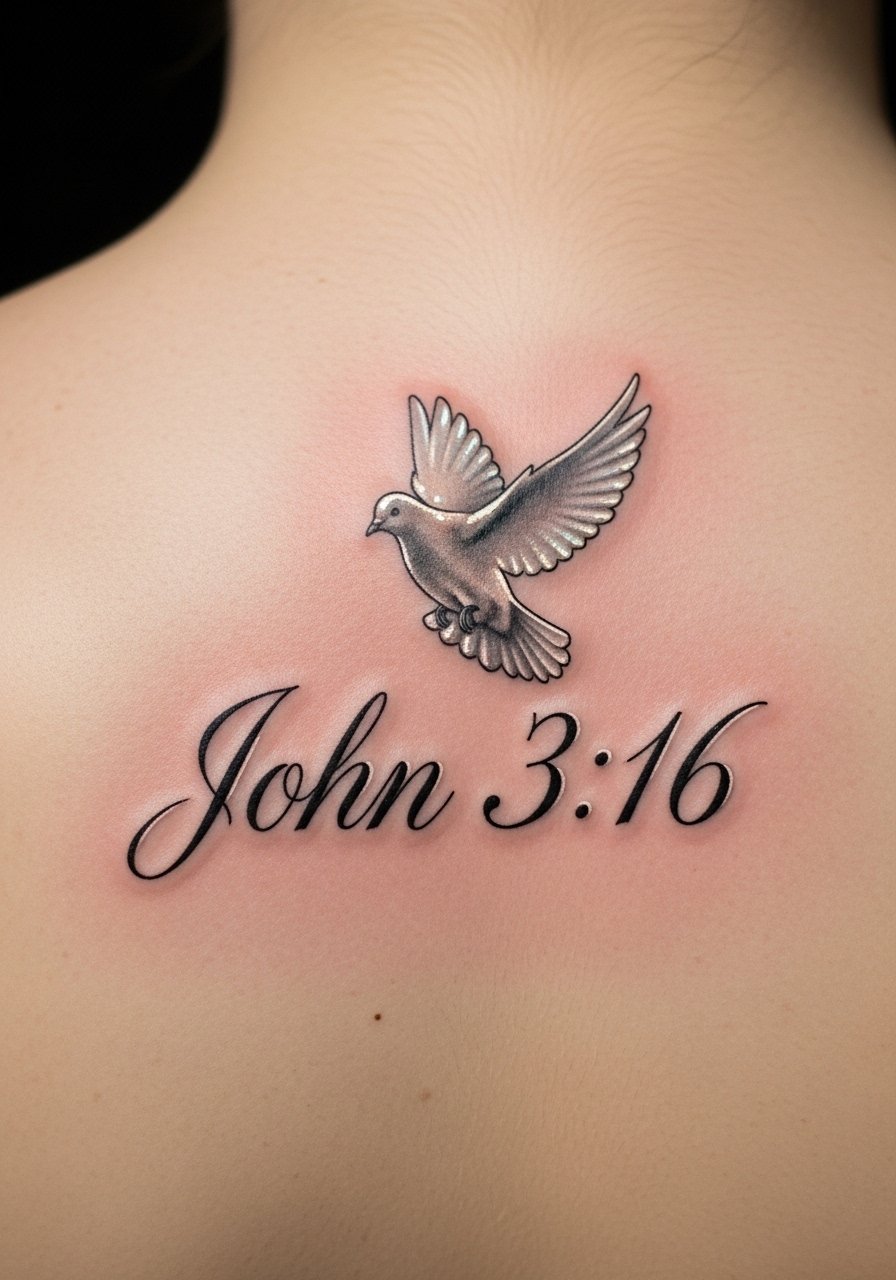
John 3:16 paired with a dove reads as love and peace. Calf or upper back offers space for a slightly larger dove without being obvious all day. In my experience, combining script with a symbol keeps the verse visually interesting and balances the composition. Ask your artist for soft shading around the dove so the script remains crisp.
8. Proverbs 31:25 Feminine Script on Collarbone
Style/Technique: Elegant Script / Fine Line
Pain Level: Medium (4-5/10)
Session Time: Under 1 hour
Best For: Empowerment, feminine placement

Proverbs 31:25 reads as a quiet power when placed on the collarbone. The bone area tugs more, so expect a bit of discomfort. I recommend a flowing, slightly bold cursive so letters don’t blur together. Collarbone tattoos are visible and photograph well; wear sunscreen to keep the thin skin from discoloring over time.
9. Psalm 91:4 Wings Refuge Design on Upper Arm
Style/Technique: Illustrative / Script + Feathers
Pain Level: Low (2-3/10)
Session Time: 1–2 sessions
Best For: Protective symbolism, medium statement
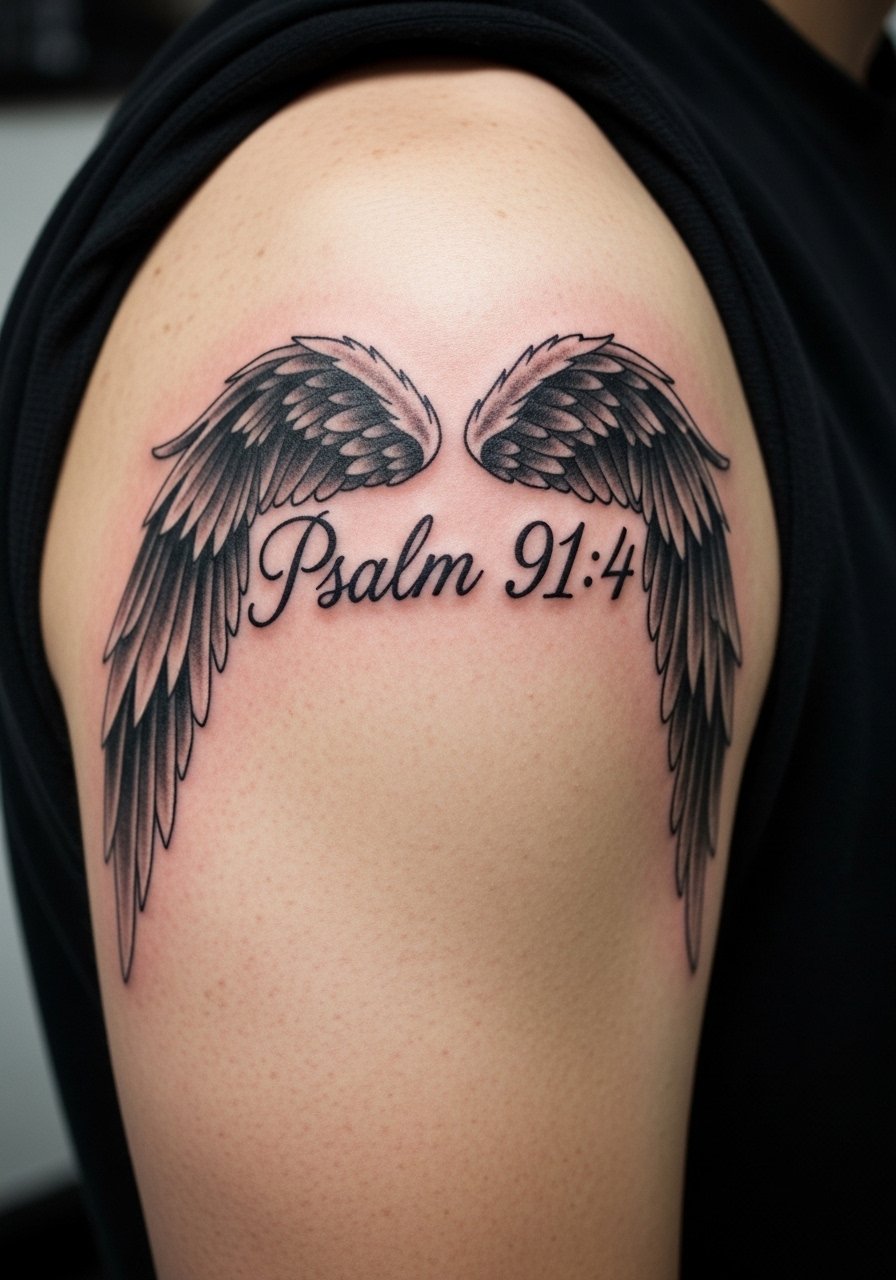
Psalm 91:4 with wings gives literal refuge imagery. Upper arm placement lets the wings spread without distortion. From what I’ve seen, feathers and script age well if the linework is solid and not too fussy. Avoid tiny feather detail next to small letters—symbols need to complement, not compete, with the verse text.
10. Isaiah 40:31 Eagle Wings With Short Script on Bicep
Style/Technique: Bold Linework / Symbolic Script
Pain Level: Low (3/10)
Session Time: 1 session, 1–2 hours
Best For: Athletes, outdoor lovers
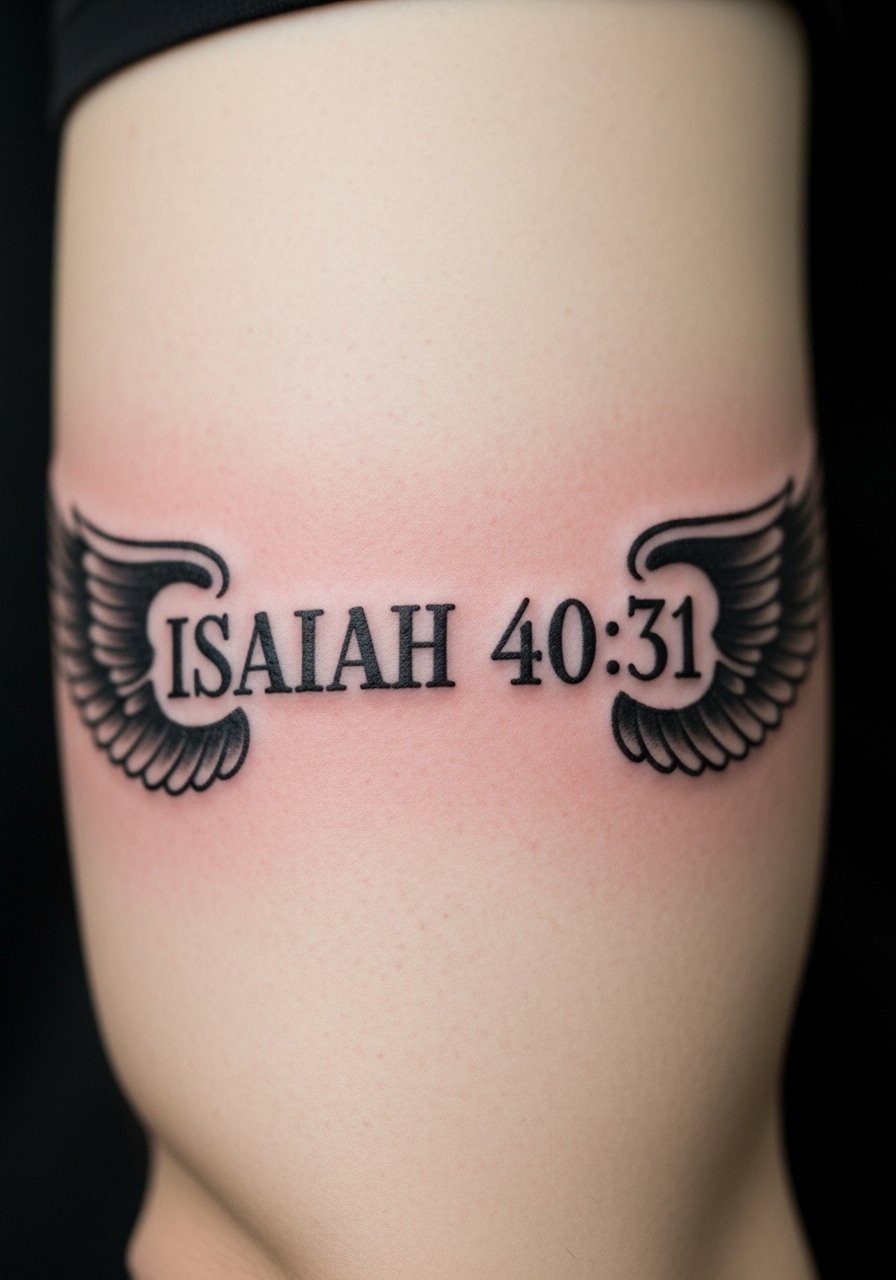
Isaiah 40:31 pairs perfectly with eagle wings on the bicep—very athletic and aspirational. Bicep skin is friendly to bold lines, which helps the text hold up. I’d ask for slightly thicker letters so the verse reads as the wings age. Expect minimal pain and solid longevity if you protect it from sun exposure.
11. John 1:16 “Grace Upon Grace” Wrist Script
Style/Technique: Minimalist Cursive / Fine Line
Pain Level: Medium (4/10)
Session Time: Under 1 hour
Best For: Daily reminder, small Bible verse tattoos
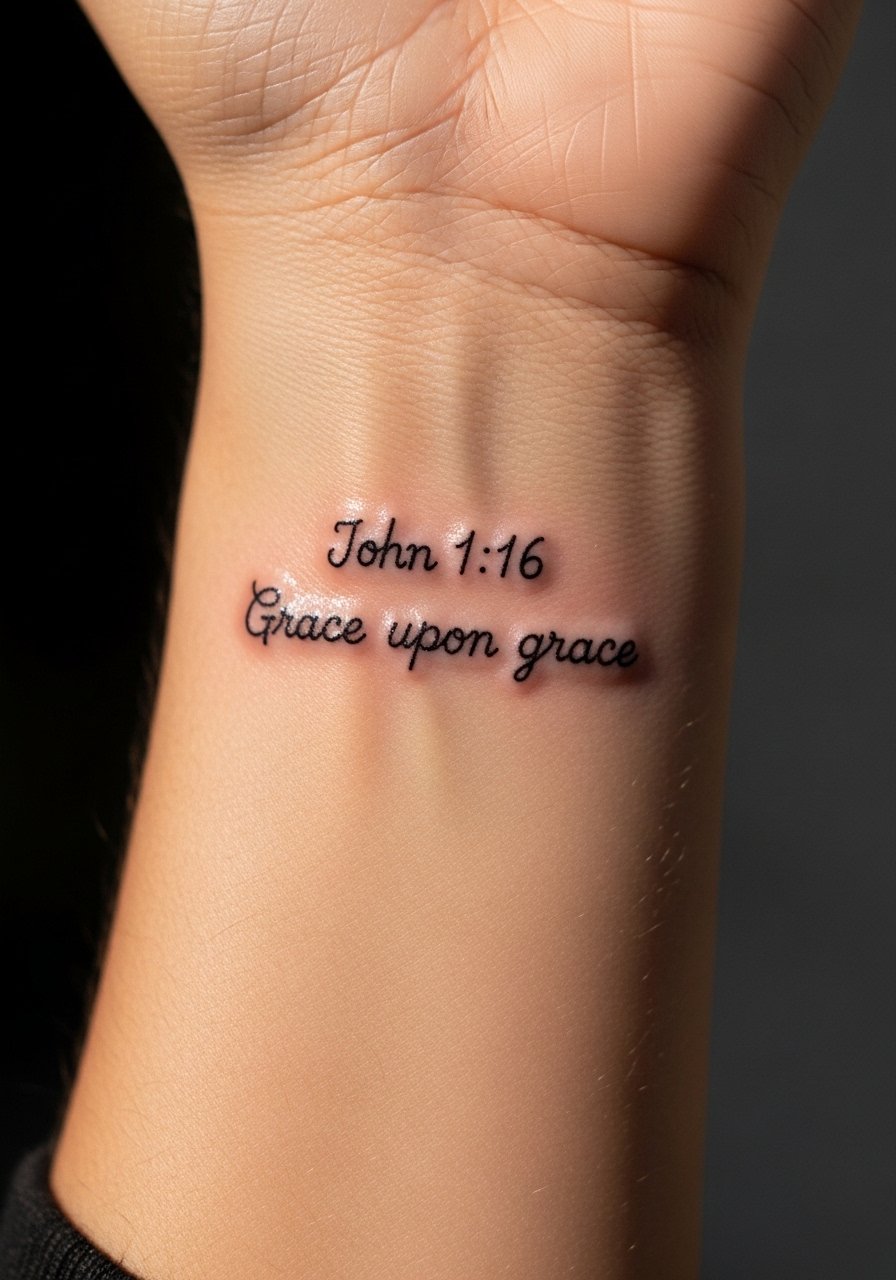
A tiny "grace upon grace" on the wrist is a subtle daily prompt. I’ve noticed tiny wrist scripts can blur if lines are too thin—so choose a steady fine line artist who knows lettering. Wrist skin moves a lot; keep expectations realistic and plan for a touch-up if it softens. Moisturize and avoid constant friction to preserve clarity.
12. Philippians 4:13 With Floral Accent on Ribcage
Style/Technique: Fine Line + Floral Illustration
Pain Level: High (7/10)
Session Time: 1–2 sessions
Best For: Feminine strength piece, decorative
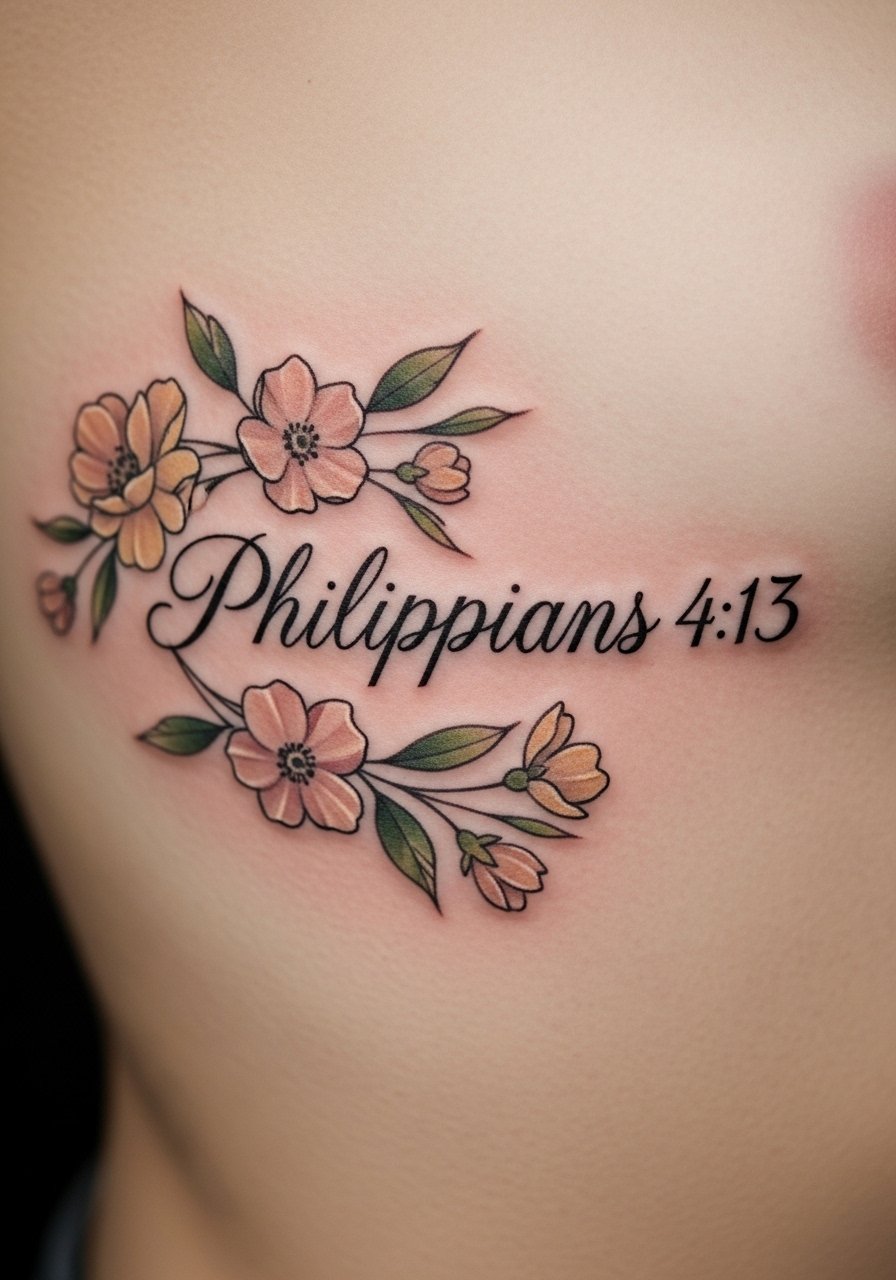
Combining Philippians 4:13 with flowers softens the verse while keeping the message of strength. Ribcage placement hurts more, but results are beautiful. I’ll tell you what artists often say: pair sturdy script with thin floral stems rather than tiny script inside petals. Colors fade faster in this spot—black script plus subtle color accents is the practical compromise.
13. Proverbs 3:5 “Trust in the Lord” Cross on Sternum/Chest
Style/Technique: Traditional Script + Cross
Pain Level: Medium-High (6/10)
Session Time: 1–2 hours
Best For: Heartfelt, central placement
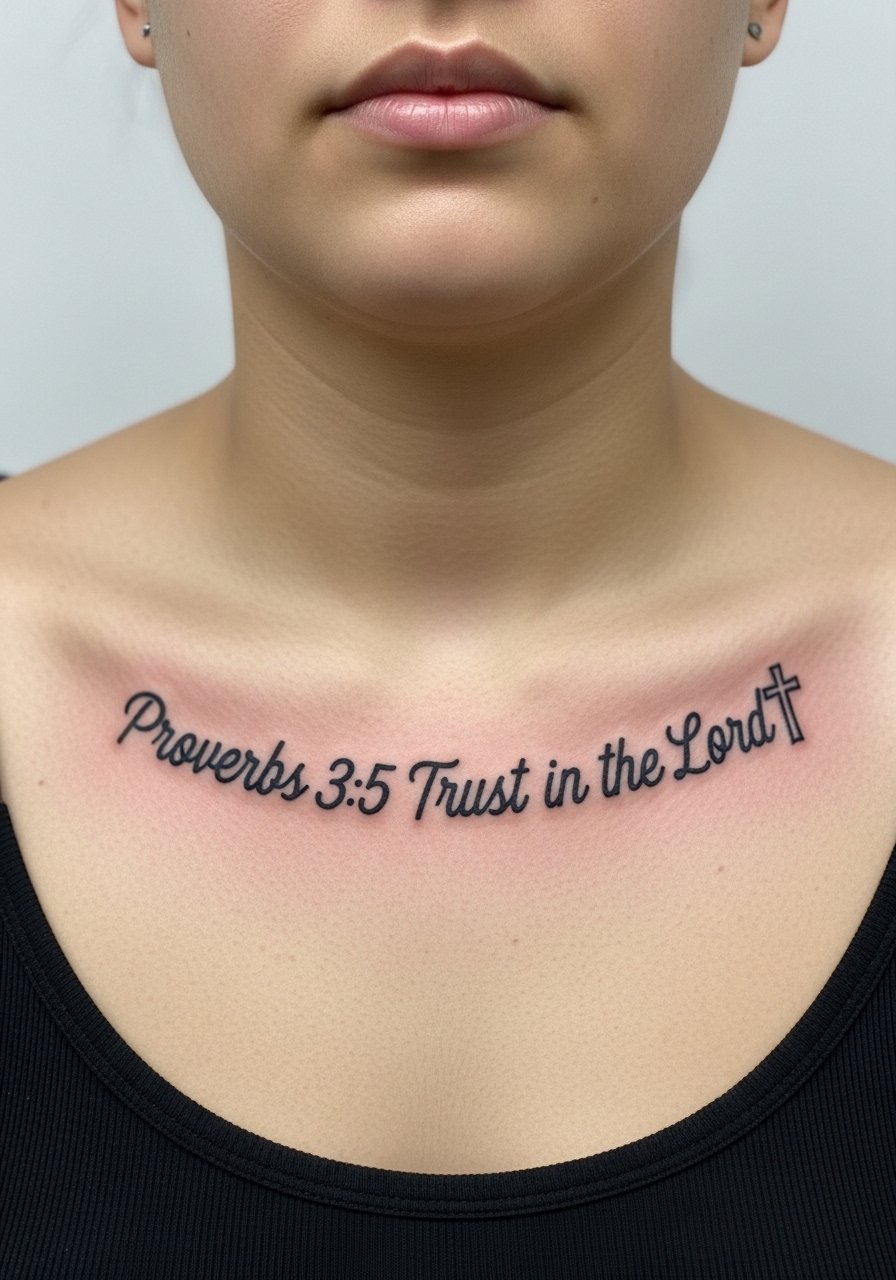
A chest placement centers a trust-themed verse nicely. Sternum and upper chest feel more tender than the outer arm, but the visual impact is strong. Traditional script with a bold cross ensures the words remain legible as skin shifts. Ask the artist about spacing and kerning so the line doesn't compress along the sternum crease.
14. Micro-Fine Line Verse on Side of Finger
Style/Technique: Micro Script / Fine Line
Pain Level: Medium-High (5-7/10)
Session Time: Short session, under 1 hour
Best For: Small Bible verse tattoos, discrete faith
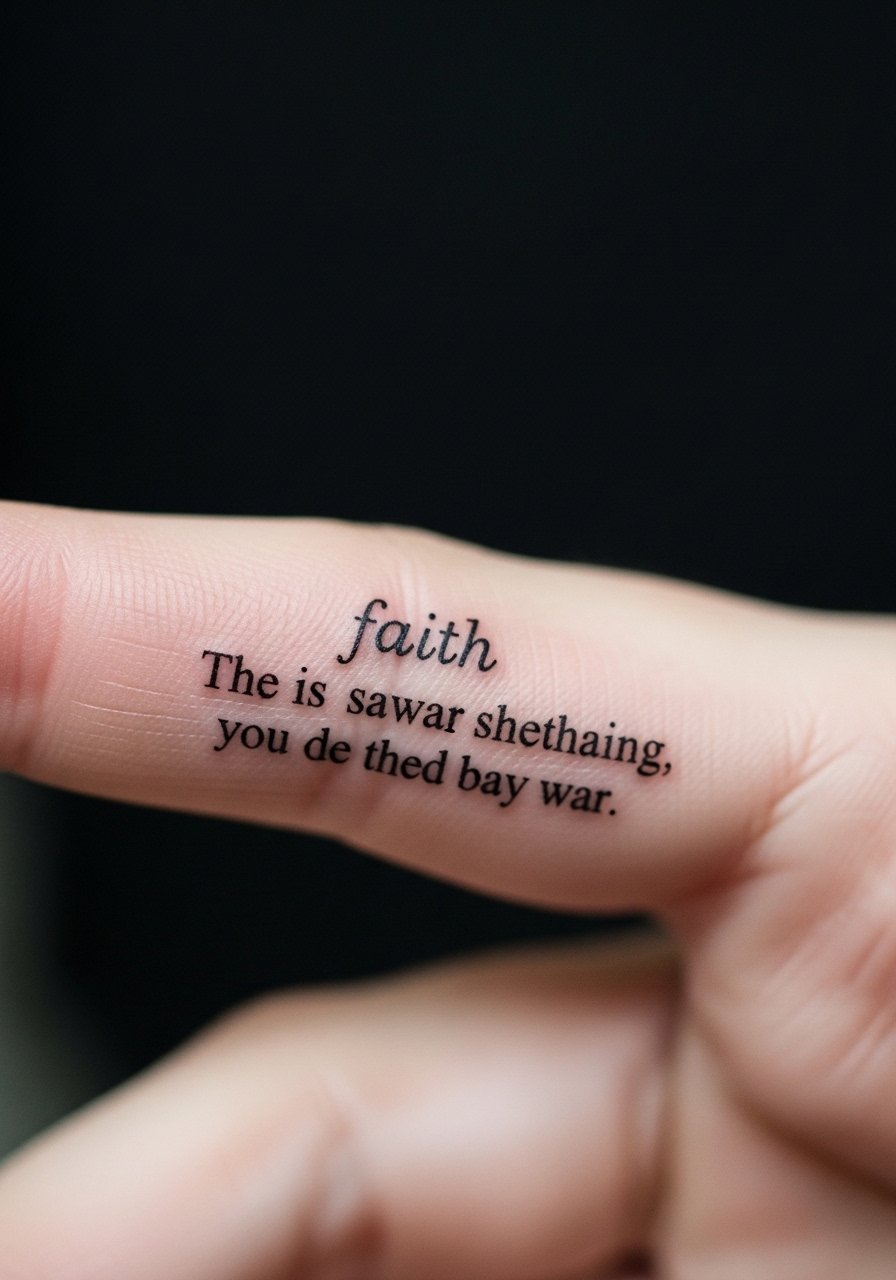
Finger tattoos are intimate but notoriously touchy when it comes to longevity. I’ve seen micro-script on fingers fade faster due to constant washing and friction. If you choose this, expect touch-ups; pick a short verse or single word and a lettering artist experienced with small Bible verse tattoos. Consider placement on the side of the finger rather than pad for better staying power.
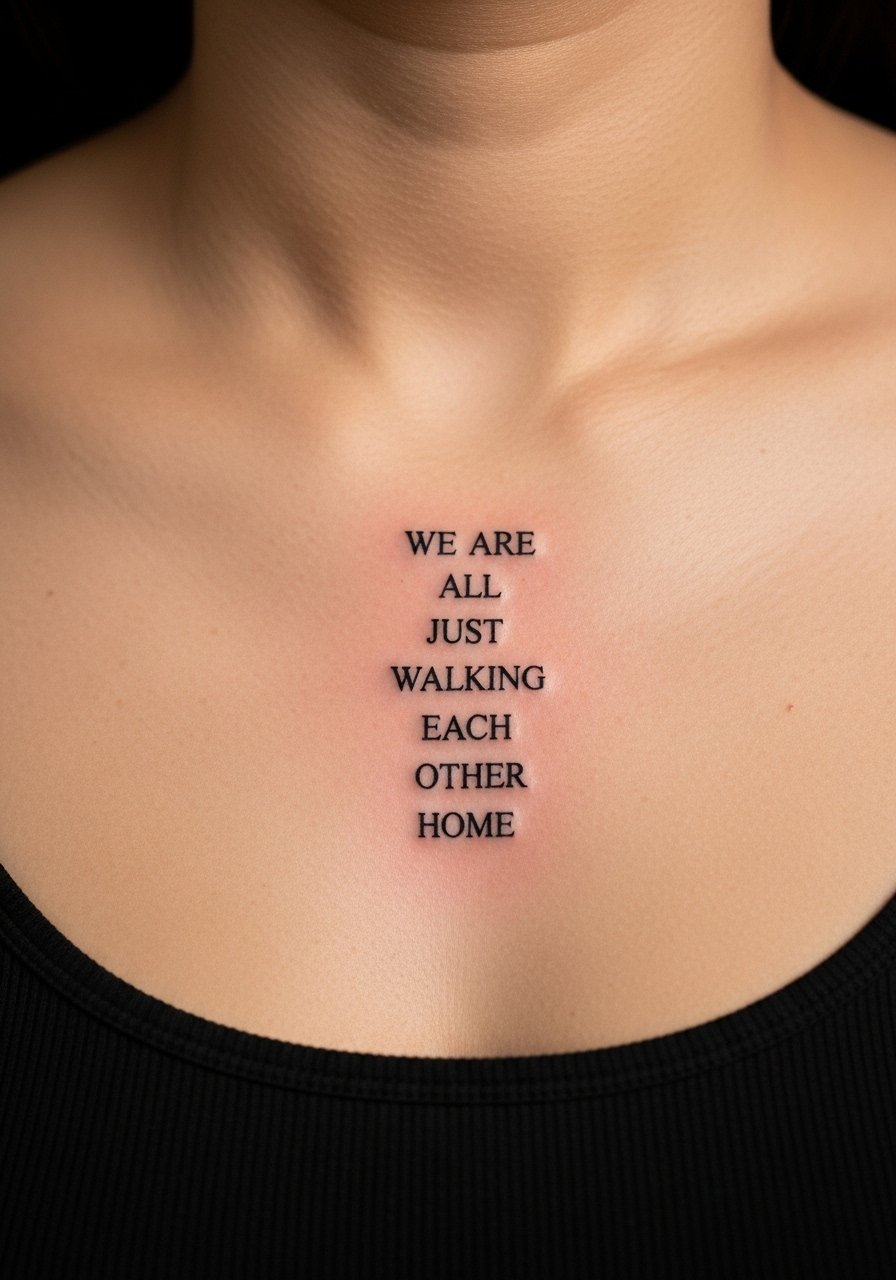
15. Tiny Verse Behind Ear in Cursive
Style/Technique: Minimalist Script / Micro
Pain Level: Low-Medium (3-4/10)
Session Time: Under 1 hour
Best For: Hidden reminder, subtle faith
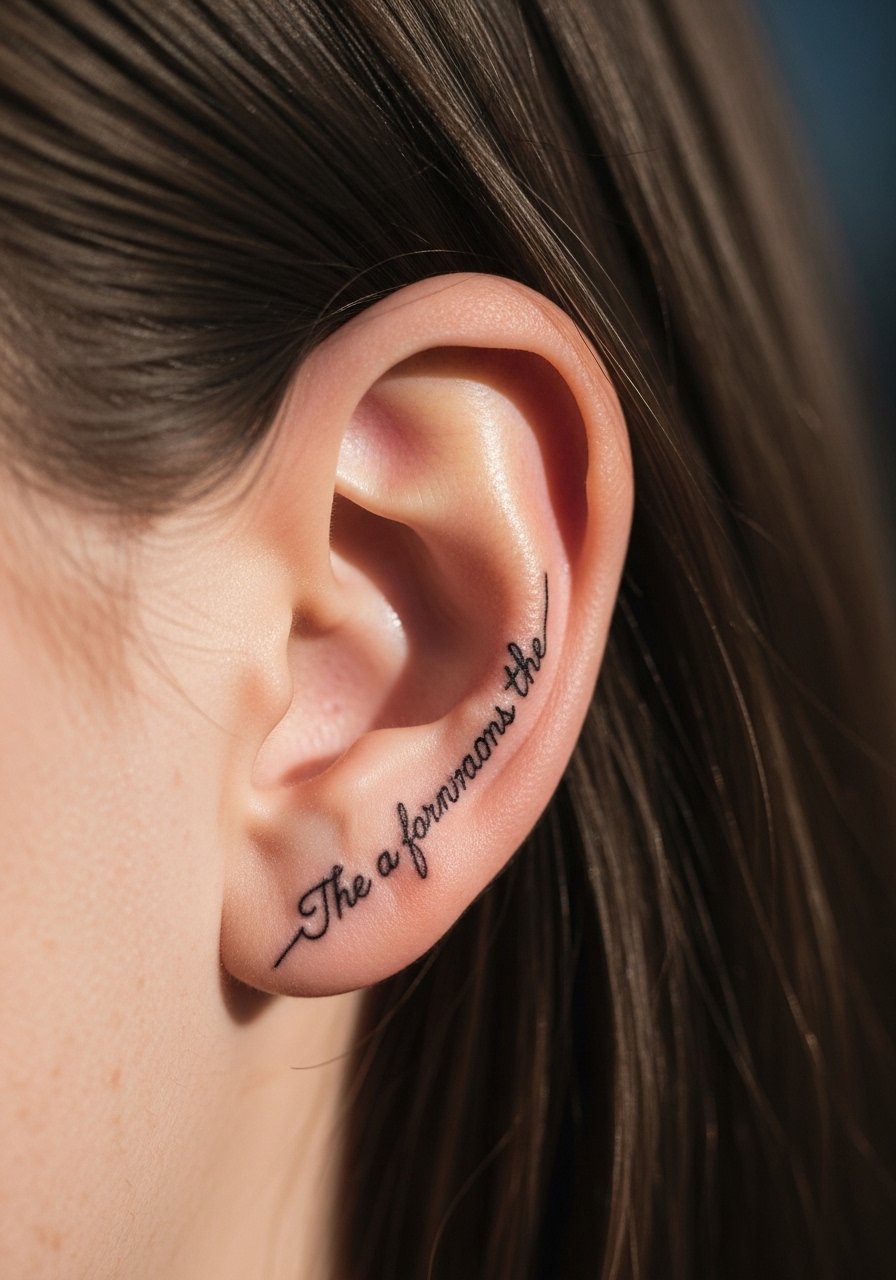
Behind-the-ear verses are discreet and tenderly personal. I’ve seen them work best as one-line phrases or short scripture citations. The area heals quickly but can be sensitive; go to an artist comfortable with micro lettering. Avoid putting long passages here—short is better for readability and aging.
16. Handpoke Script Verse on Inner Forearm
Style/Technique: Handpoke / Organic Script
Pain Level: Low-Medium (3-4/10)
Session Time: Multiple short sittings
Best For: Personal, artisanal feel
Handpoke script has an organic, personal feel—like handwriting on skin. I’ve come across a few heal beautifully, especially when the artist knows how to space letters to accommodate slight line variation. Handpoke lines can be more porous; pick an artist experienced in the technique and be ready for touch-ups if lines soften.
17. Psalm 119:105 Lamp or Lantern With Short Verse on Ankle
Style/Technique: Illustrative + Script / Fine Line
Pain Level: Medium (4-5/10)
Session Time: 1 session, 1–2 hours
Best For: Guidance imagery, low-visibility placement
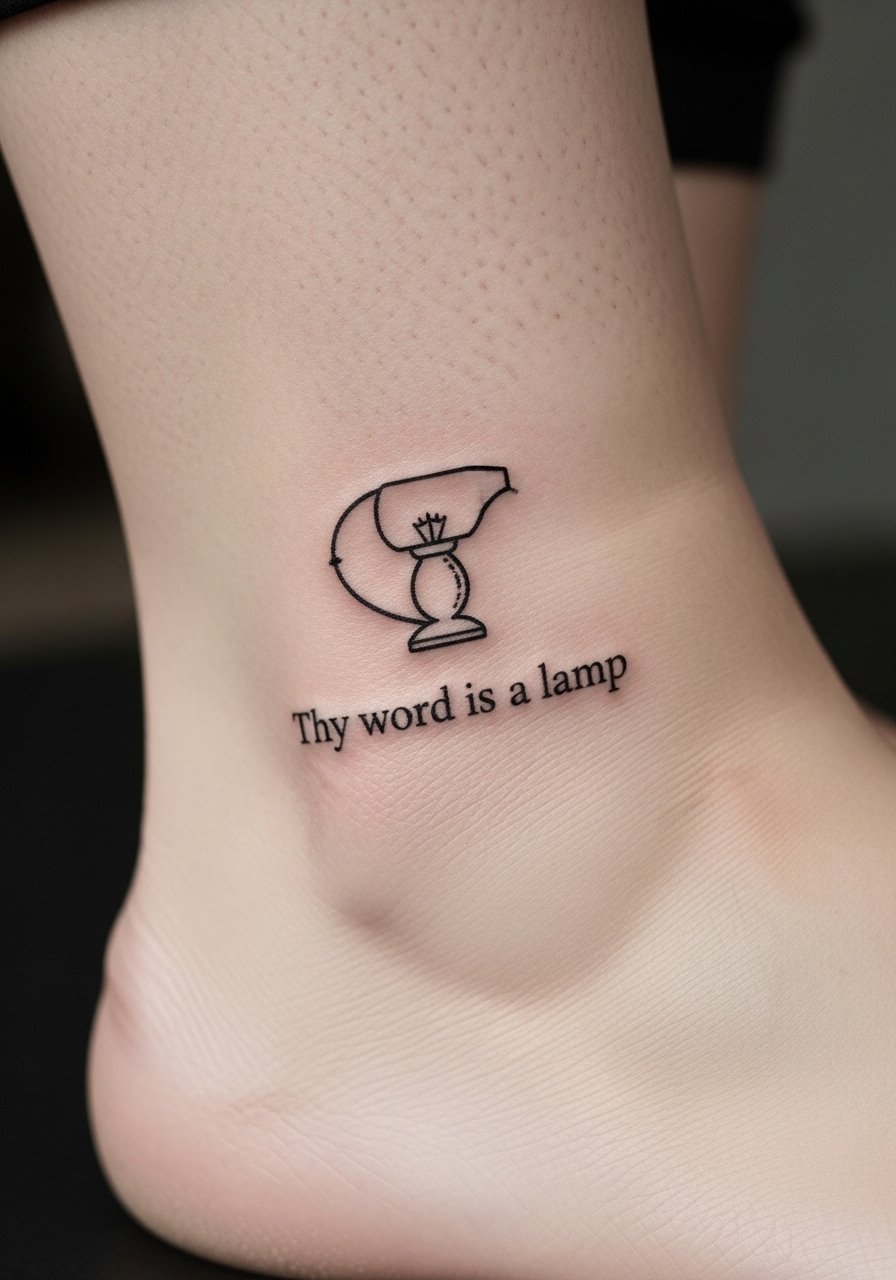
Psalm 119:105 paired with a little lamp is a neat symbolic take on guidance. The ankle is a moveable spot and can be a bit painful. I like this placement for short verse snippets. Keep the lamp small and the script slightly bolder than micro so it remains legible as skin creases.
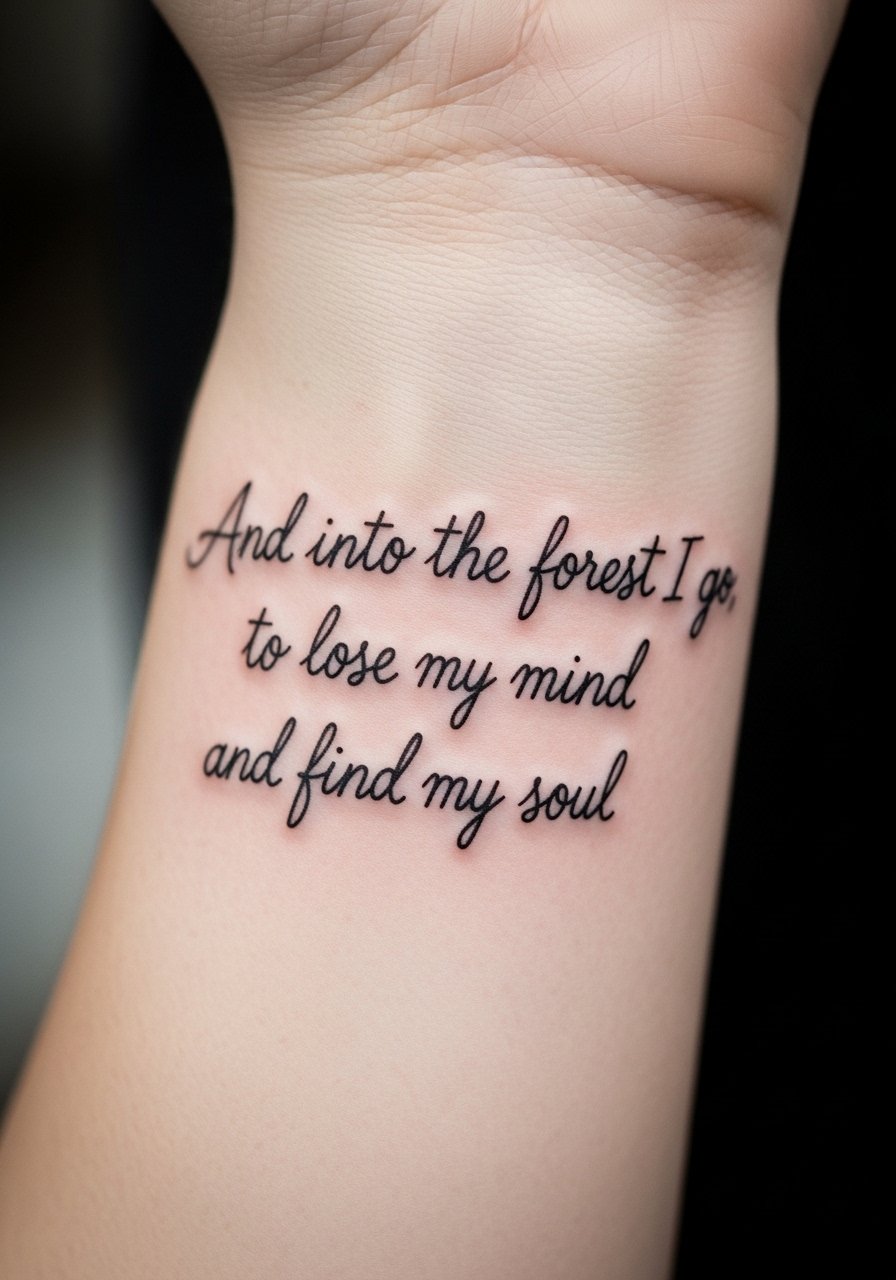
18. Long Script Along Ribcage in Flowing Cursive
Style/Technique: Flowing Cursive / Fine Line
Pain Level: High (7-8/10)
Session Time: Multiple short sessions
Best For: Full-length favorite verses, intimate display
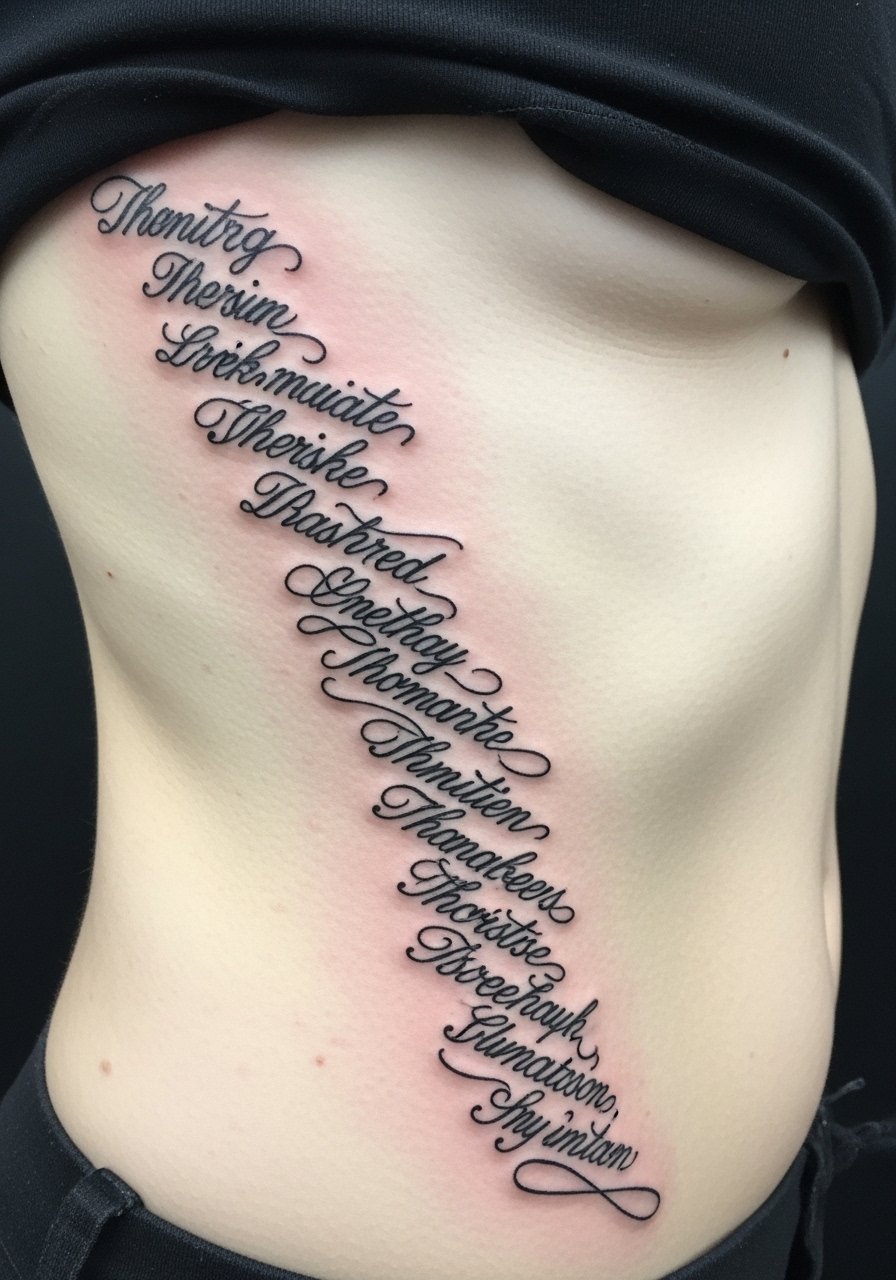
Long, poetic verses along the ribcage look beautiful but demand commitment. I’ve seen them age well if the script isn’t too tiny and if letters have consistent spacing. Prepare for strong discomfort and plan sessions around your tolerance. Avoid overly ornate flourishes that smudge into each other over time.
19. Scripture Bicep Band—Short Verse Wrap
Style/Technique: Script Band / Bold Line
Pain Level: Low (3/10)
Session Time: 1–2 hours
Best For: Statement piece, easy to conceal
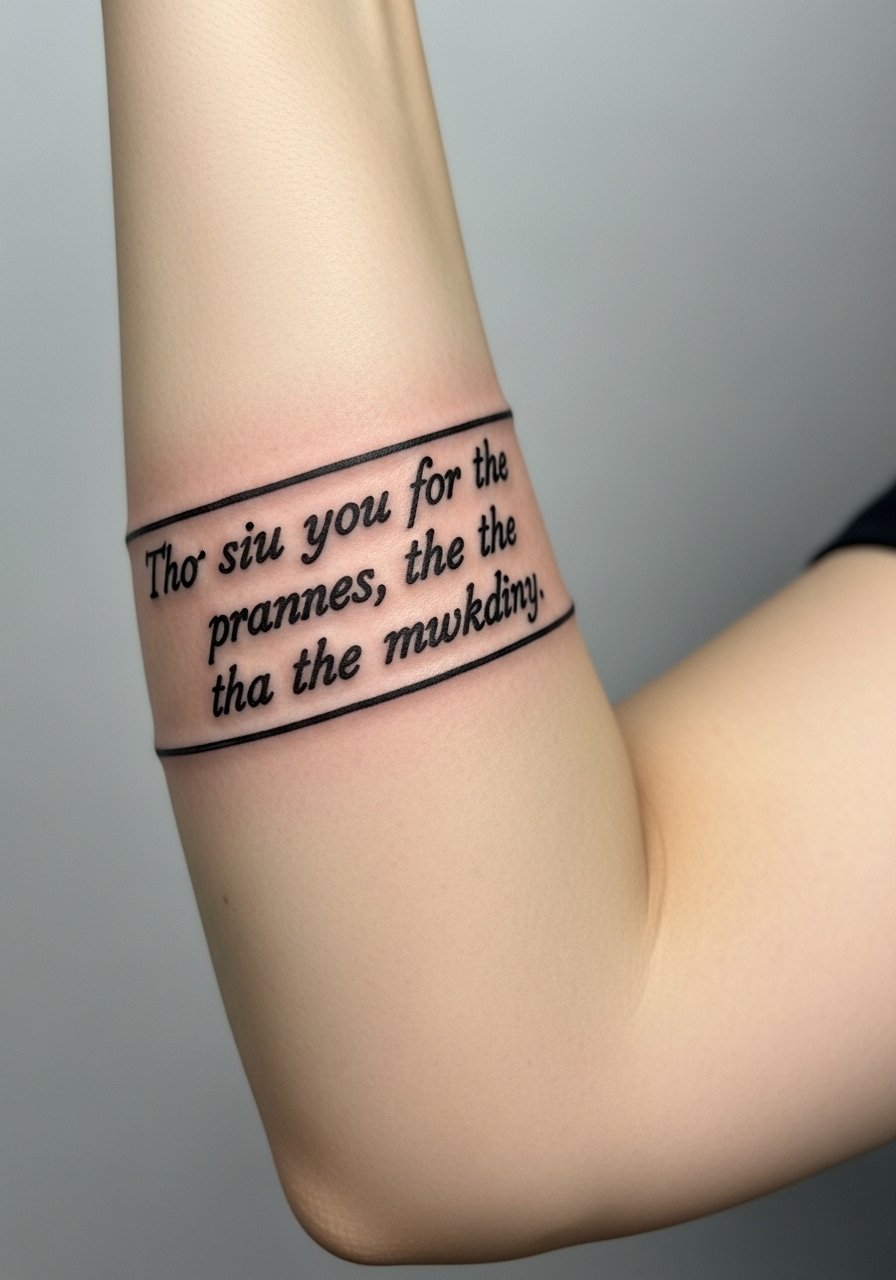
A verse as a bicep band is a modern and bold choice. The curve of the bicep flatters a short line of scripture and holds up well because the skin there is stable. I recommend slightly thicker lettering to prevent any blurring along the wrap. This is great if you want visibility that can be hidden under sleeves.
20. Verse With Cross and Watercolor Halo on Upper Back
Style/Technique: Watercolor Accent + Script
Pain Level: Low-Medium (3-4/10)
Session Time: 1–2 sessions
Best For: Decorative spiritual piece
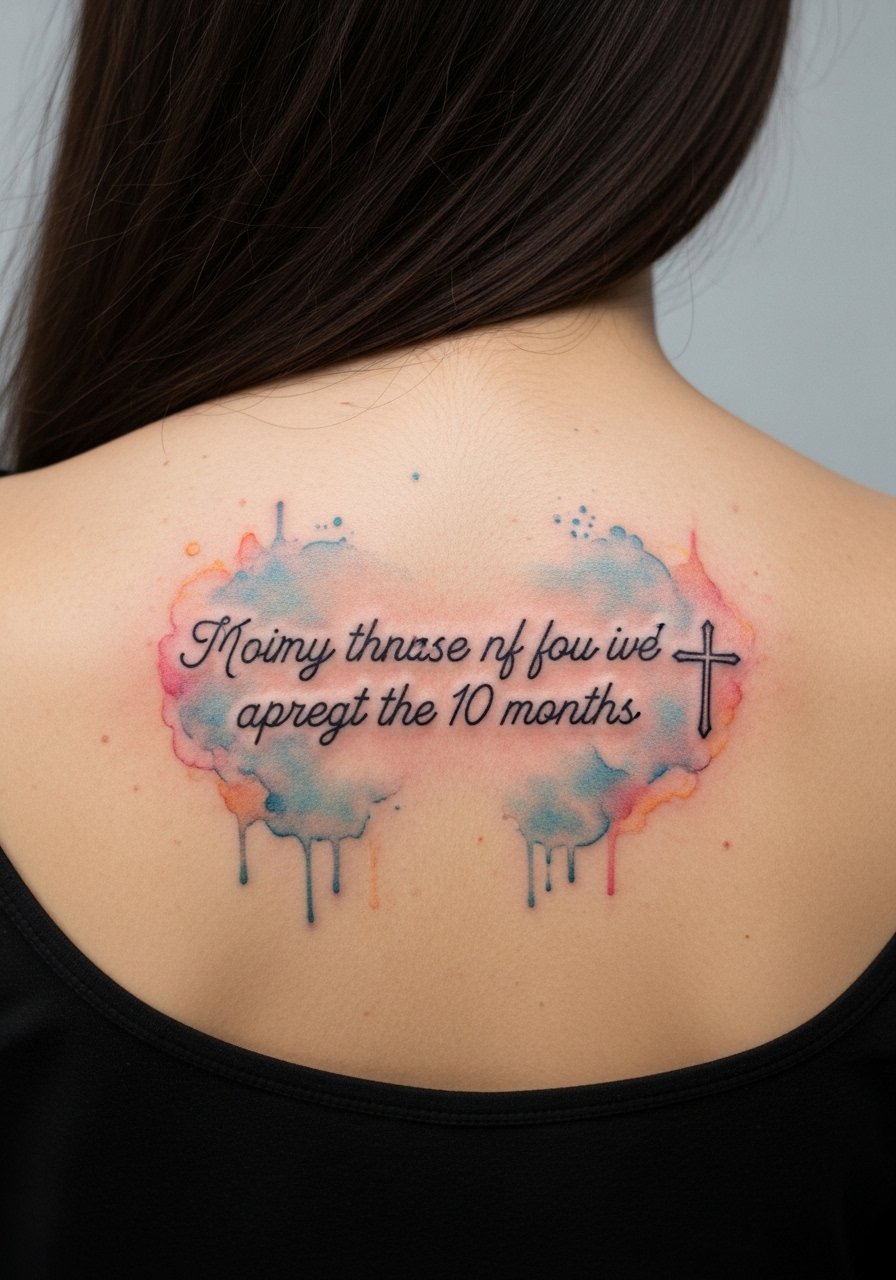
Centering a short verse with a cross and a watercolor halo on the upper back makes for a gentle statement. I’ve noticed watercolor can soften over time, so pair it with strong black script. Upper back heals well and is low-pain relative to ribs. Ask for color touch-up tips and prioritize sun protection to keep the halo from fading.
21. Minimal Verse Sternum Underboob in Clean Script
Style/Technique: Clean Script / Minimalist
Pain Level: High (6-8/10)
Session Time: Single focused session
Best For: Personal, sensual placement
Sternum placements are bold and intimate. I’ve seen short verses here look striking but feel more painful during the session. Choose simple, clean script—ornamentation can blur in this flexing area. Expect longer healing due to clothing friction; a soft bra and gentle cleansers help the process.
22. Memorial Verse With Date and Shepherd Staff on Upper Arm
Style/Technique: Script + Symbolic Icon / Neo-Traditional
Pain Level: Low (2-3/10)
Session Time: 1–2 hours
Best For: Tribute, remembrance
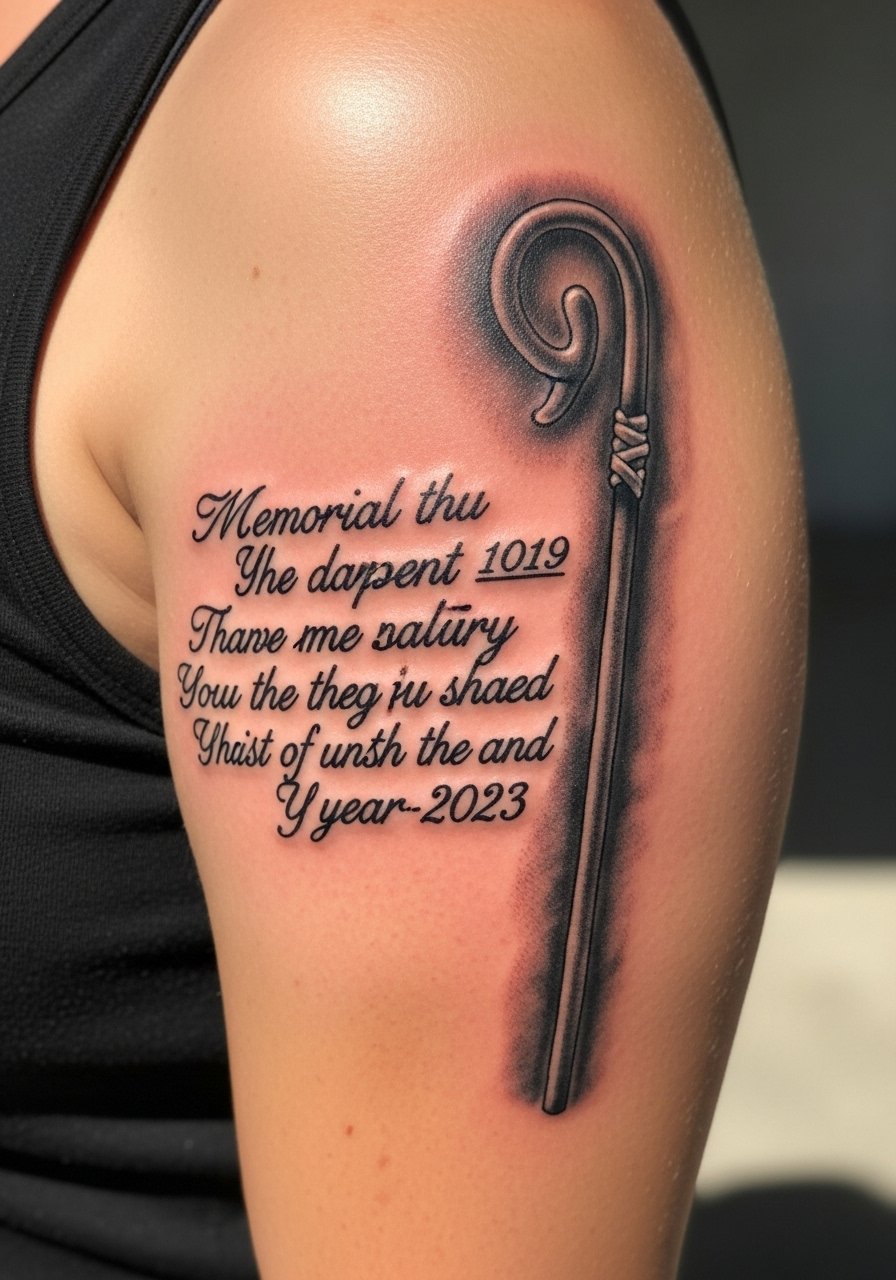
Memorial verses with a shepherd staff give structure to grief and remembrance. Upper arm placement keeps it private but viewable when you want. I’ve found that pairing a short line with a small icon makes the meaning clear without overcrowding. Keep the date in a smaller but legible script; spacing is everything to avoid a cramped look.
23. Matching Couple Verse on Inner Forearm or Ankle
Style/Technique: Coordinated Script / Fine Line
Pain Level: Low (2-4/10)
Session Time: Short sessions, under 1 hour each
Best For: Shared devotion, matching tattoos
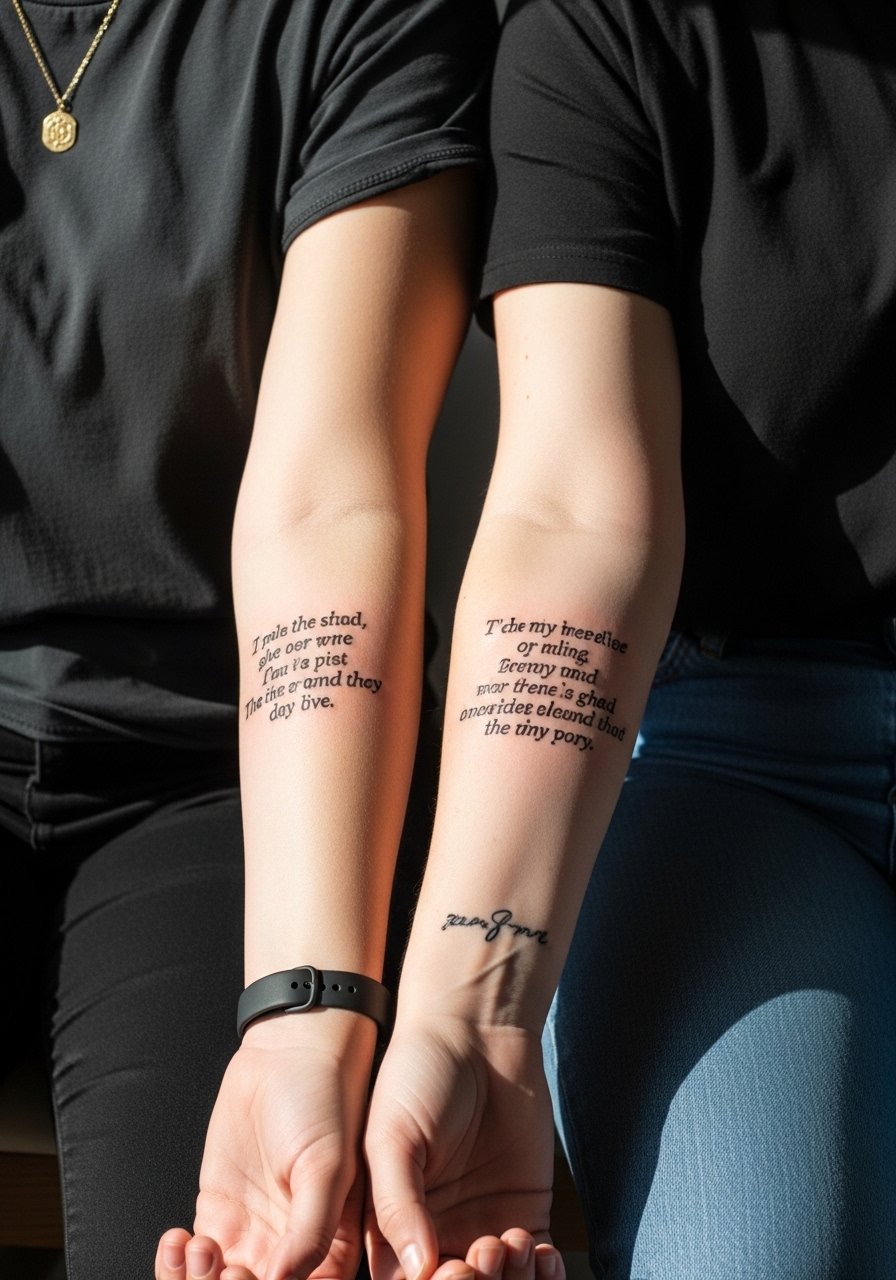
Matching verses for partners or family members are timeless. I’ve seen matching inner forearm or ankle placements read as both personal and public. Keep the script consistent—same artist, same hand lettering style—so the pieces age together. If you plan to match later, coordinate ink tone and line weight to avoid mismatch over time.
Tattoo Prep and Aftercare Essentials
Aftercare Essentials:
- Aquaphor Healing Ointment, 14oz Tube — Recommended first-aid ointment for the first 3–5 days
- Saniderm Transparent Adhesive Bandage, 6-inch Roll — Second-skin option many artists use
- CeraVe Fragrance-Free Moisturizing Lotion, 12oz — Daily moisturizer for weeks 2–6
Cleaning & Gentle Soap:
- Dr. Bronner's Unscented Castile Soap, 32oz — Gentle, fragrance-free cleanser for tattoo washing
Before Your Appointment:
- Numbing Cream With 5% Lidocaine, Topical — Ask your artist if it's okay to use before a session
- Tattoo Stencil Transfer Paper, 10 Sheets — Handy if you're refining placement at home
Long-Term Maintenance:
- SPF 50 Sunscreen Stick for Tattoos — Daily sun protection prevents fading
- Mad Rabbit Tattoo Balm, 2oz — For keeping healed ink vibrant
- Hustle Butter Deluxe, 4oz — Vegan aftercare option many artists recommend
Optional Comfort Items:
- Hydrocolloid Bandages (Large) — For spot coverage during peeling
Frequently Asked Questions
Q: How bad does a tattoo actually hurt?
A: Pain depends on placement and your tolerance. Outer forearm or upper arm feels like a 2–4/10 for most people; ribcage and sternum are closer to 7–8/10. I’ve found it's more of a sustained scratching than a sharp zap. For sensitive spots, consider numbing cream but ask your artist first.
Q: What if I regret the verse later?
A: Sit with the verse for months and write it down in different fonts. If you're unsure, choose a hidden placement like the upper thigh or start with a small wrist piece. Laser removal exists, but it’s a long process—so I always advise choosing something personally resonant.
Q: How do I keep my Bible verse tattoo from fading?
A: From what I’ve seen, sunscreen is non-negotiable. Use an SPF 50+ stick like the one above every day on exposed tattoos. Keep skin moisturized with a fragrance-free lotion and avoid friction while healing.
Q: Can I exercise after getting a tattoo?
A: Wait at least 48–72 hours before light activity and longer for heavy sweating if the tattoo is fresh. Sweat can irritate a new tattoo and introduce bacteria. For the first week, focus on gentle movement and clean after sweating.
Q: Should I get a small Bible verse tattoo first to test pain?
A: Only if you genuinely want a small verse. Pain varies by placement more than by size. A tiny wrist line might be more painful than a larger outer arm piece. If nervous, pick a low-pain area first like the outer bicep.
Q: How long does a tattoo take to heal fully?
A: Surface healing is usually 2–3 weeks; full skin regeneration can take 2–3 months. The first week is critical—clean gently with a mild soap and use Aquaphor or your artist’s recommended ointment. Expect scabbing and peeling around days 3–7—don’t pick.
Q: Do tattoos look different on different skin tones?
A: Yes. Black and gray scripts show strongly across tones. Bright pastels may read muted on deeper skin. I always suggest viewing healed work by artists on a range of skin tones and asking to see portfolio examples that match you.
Q: What’s the biggest aftercare mistake people make?
A: Not protecting the tattoo from the sun and skipping moisturizer. I’ve seen great line work lose clarity because of sun exposure. Use an SPF stick and a fragrance-free lotion until the skin stabilizes.
