
I spent months bookmarking lyric tattoos and asking artists what actually holds up over time. The trick wasn't just the words — it was the style, placement, and how the linework ages. These 24 ideas pair emotional lyrics with styles and placements that tell a story, so your ink reads both now and years from now.
This list leans into script, micro-detail, and creative placements that work for phrases and single lines. These ideas fit visible spots (forearm, collarbone) and private ones (ribcage, thigh). From what I've seen in 2026, pairing clear lettering with a visual anchor helps lyrics age better and keeps them meaningful.
1. Fine Line Script Along Inner Forearm
Style/Technique: Fine Line / Single-Line Script
Pain Level: Low-Medium (3/10)
Session Time: 1-2 hours
Best For: First visible lyric, easy to show or hide
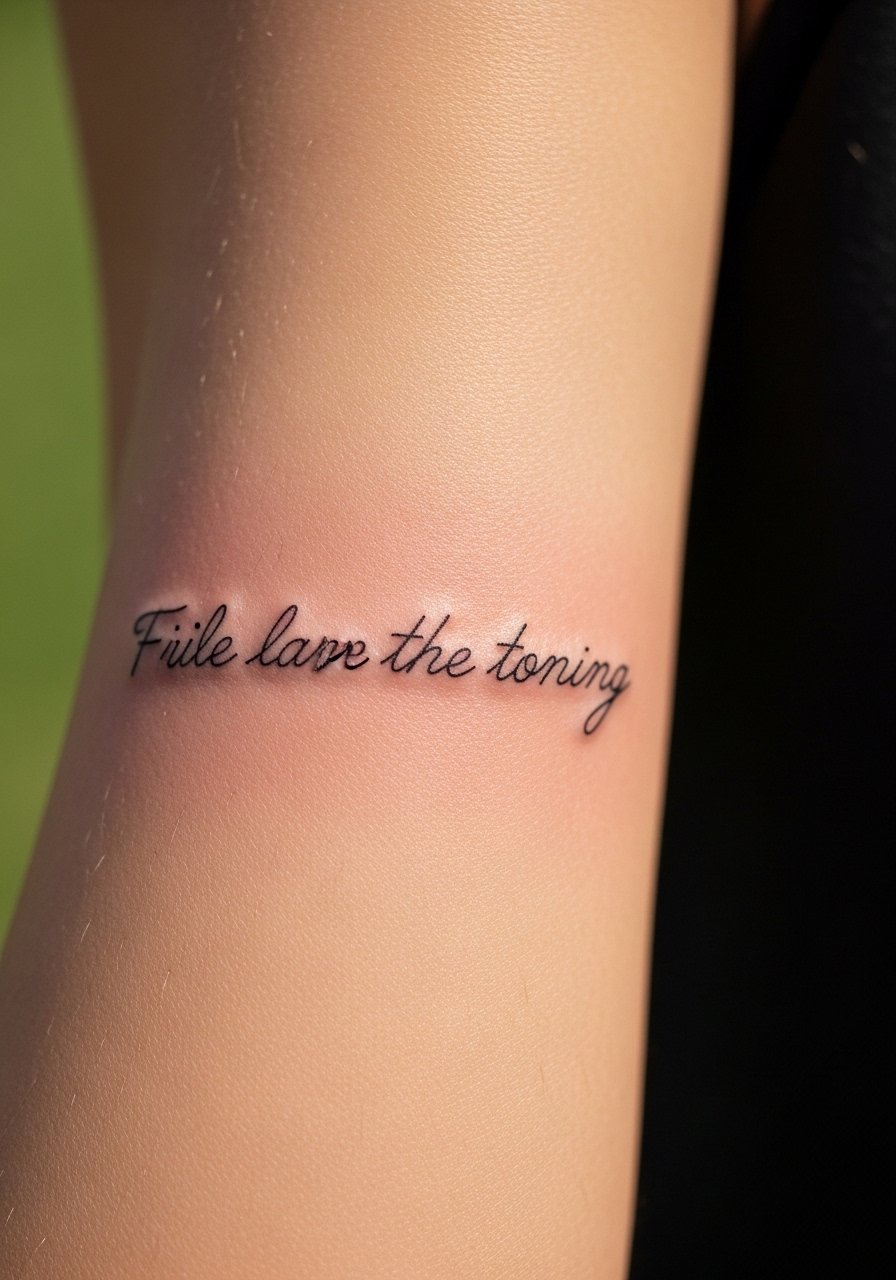
I chose fine-line script for short lyrics because it reads intimate and personal. On the inner forearm the piece is visible but easy to cover. Expect mild discomfort; the area is forgiving. Heals in 2-3 weeks on the surface, though lines settle over months. From what I've noticed, overly tiny lettering blurs—ask for slightly thicker hairlines than you think you need. Tell your artist you want longevity; experienced script artists will suggest spacing and weight that stay readable healed. Keep it moisturized and use SPF once healed.
2. Typewriter Font on Upper Ribcage
Style/Technique: Typewriter / Monospaced
Pain Level: High (7-8/10)
Session Time: 1-3 hours
Best For: Hidden lyric with high emotional weight
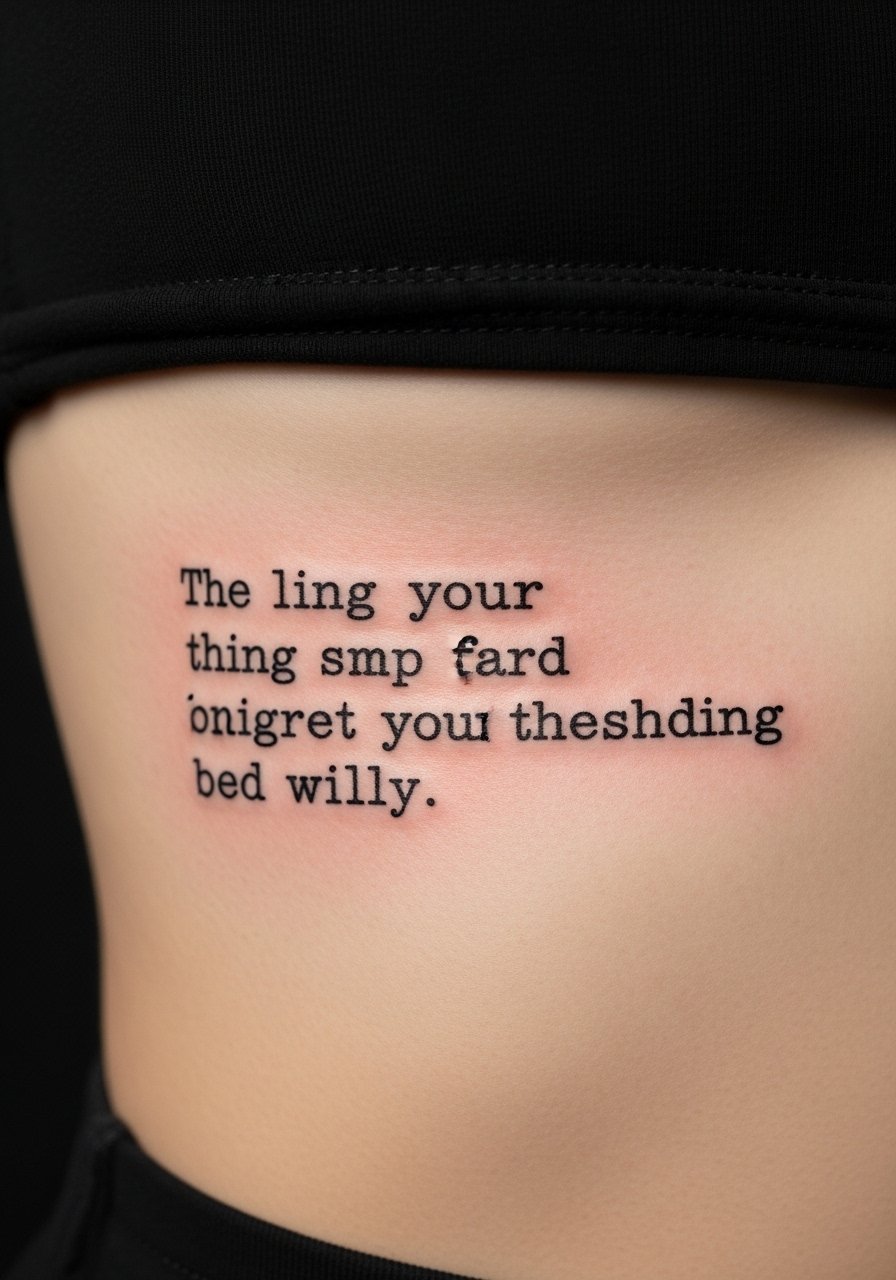
Typewriter font gives lyrics a documentary feel—like a line pulled from a journal. The ribcage is emotional but painful; expect sharp, deep sensations during the session. Healing can be slower because the area moves with breathing. I tell people to plan longer rest and avoid tight clothing. Artists who tattoo ribs often recommend slightly larger type and generous spacing so characters don't merge as the skin ages. A common mistake is choosing very small type—keep letters bold enough to hold up.
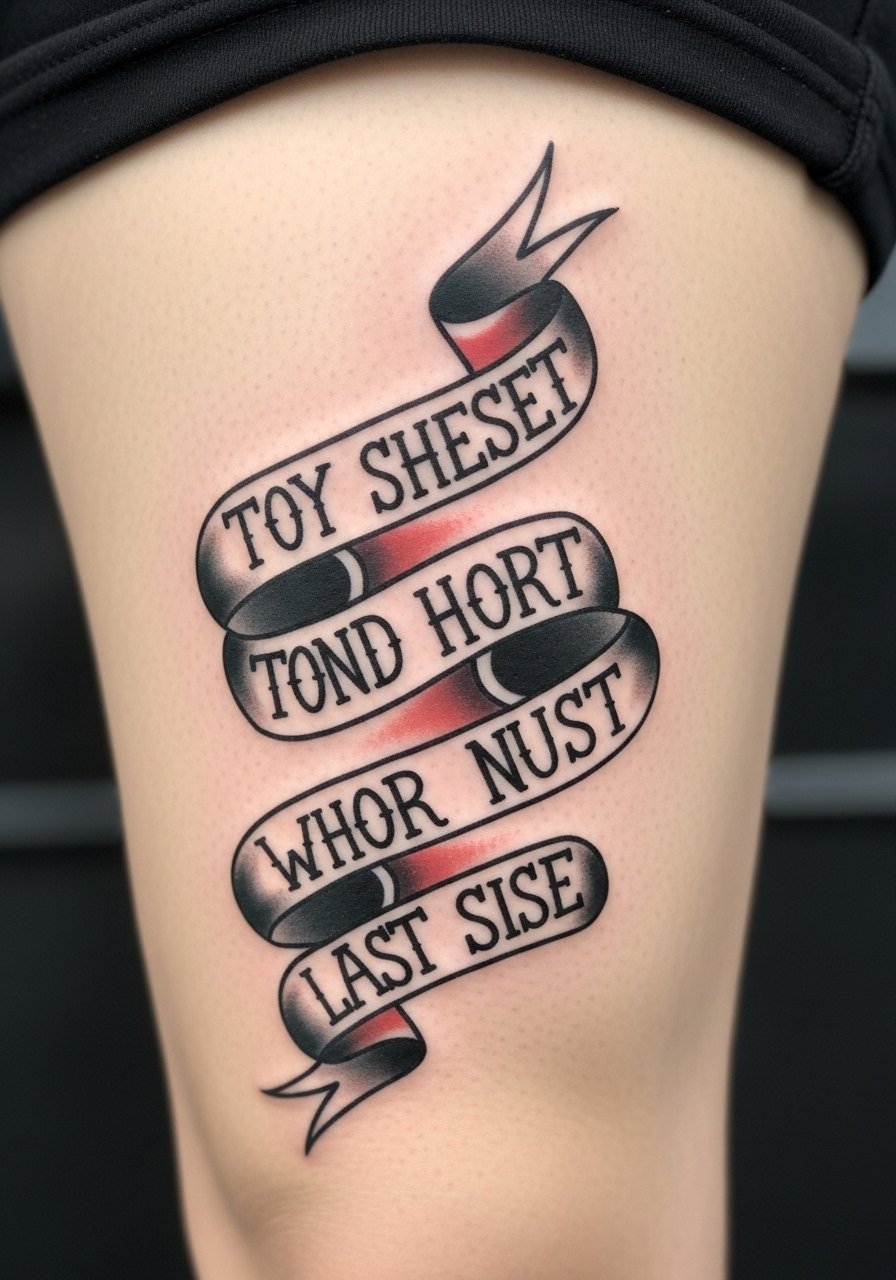
3. Micro-Realism Portrait with Lyric Banner on Thigh
Style/Technique: Micro-Realism + Banner / Thigh Placement
Pain Level: Medium (4/10)
Session Time: Multiple sessions
Best For: Statement lyric tied to a face or memory
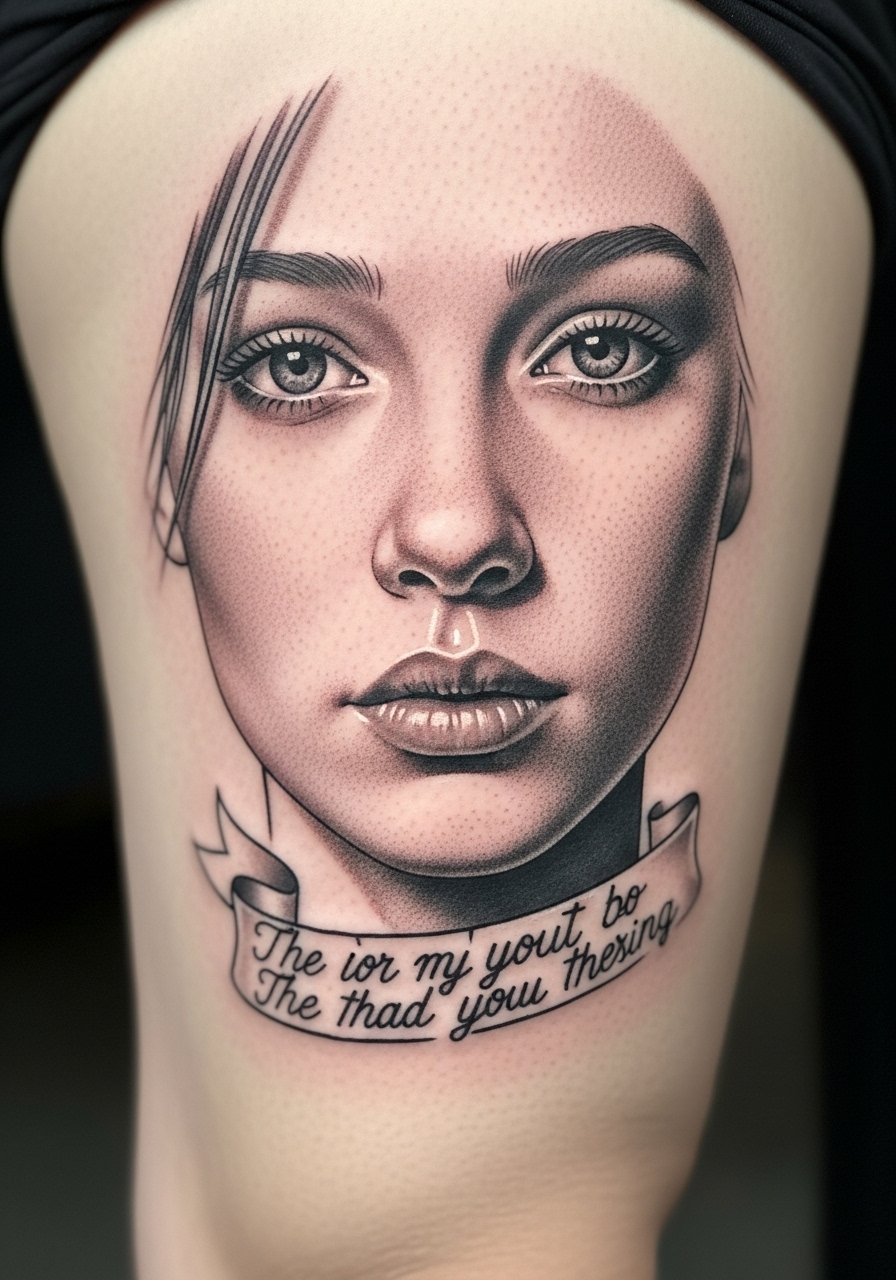
Pairing a small portrait with a lyric banner turns words into a story anchor. The thigh handles longer sessions with moderate pain. Micro-realism needs an artist skilled in portraiture and soft shading so the portrait stays recognizable as it ages. For the lyric banner, pick a simple, legible font and ask the artist about kerning. Healed, the contrast between portrait greys and black script reads like a keepsake. Avoid tiny script in the banner—choose clarity over frills.
4. Soundwave Lyric Fragment on Collarbone
Style/Technique: Minimalist Soundwave / Collarbone
Pain Level: Medium (4-5/10)
Session Time: 1-2 hours
Best For: Modern take on a sung line, symbolic placement
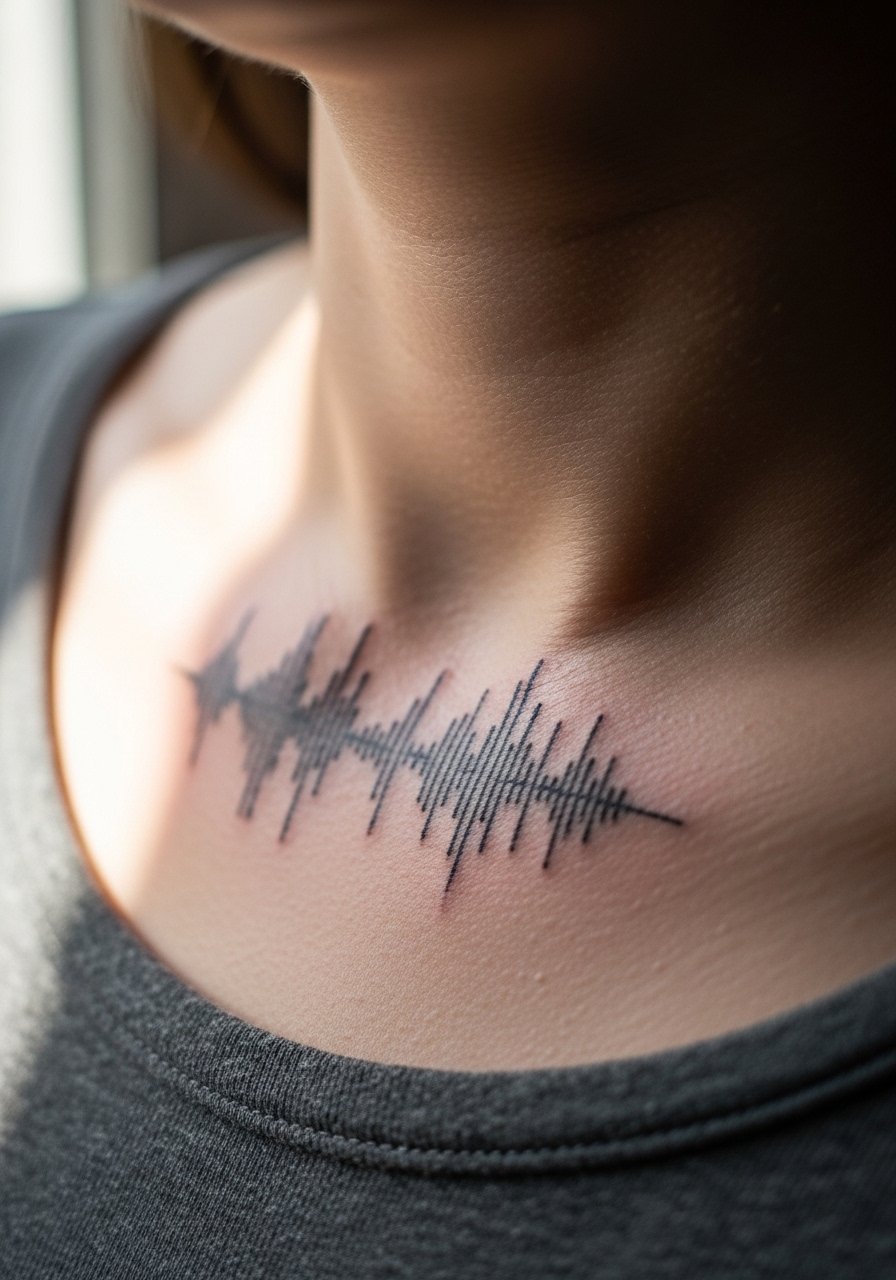
Turning a lyric into a soundwave is a creative way to encode a line visually. Along the collarbone it catches eyes and sits close to the throat—emotional and tasteful. Pain is moderate because the bone is close to skin. Soundwaves age well if done with bold enough bars; thin bars can blur. Bring a high-quality waveform file or ask your artist to extract the cleanest wave. Healed, it reads like a secret message. Keep SPF on this area when exposed.
5. Handwritten Lyrics From a Loved One on Inner Wrist
Style/Technique: Handwritten Replication / Inner Wrist
Pain Level: Medium (4/10)
Session Time: 1 hour
Best For: Highly personal lyric or note
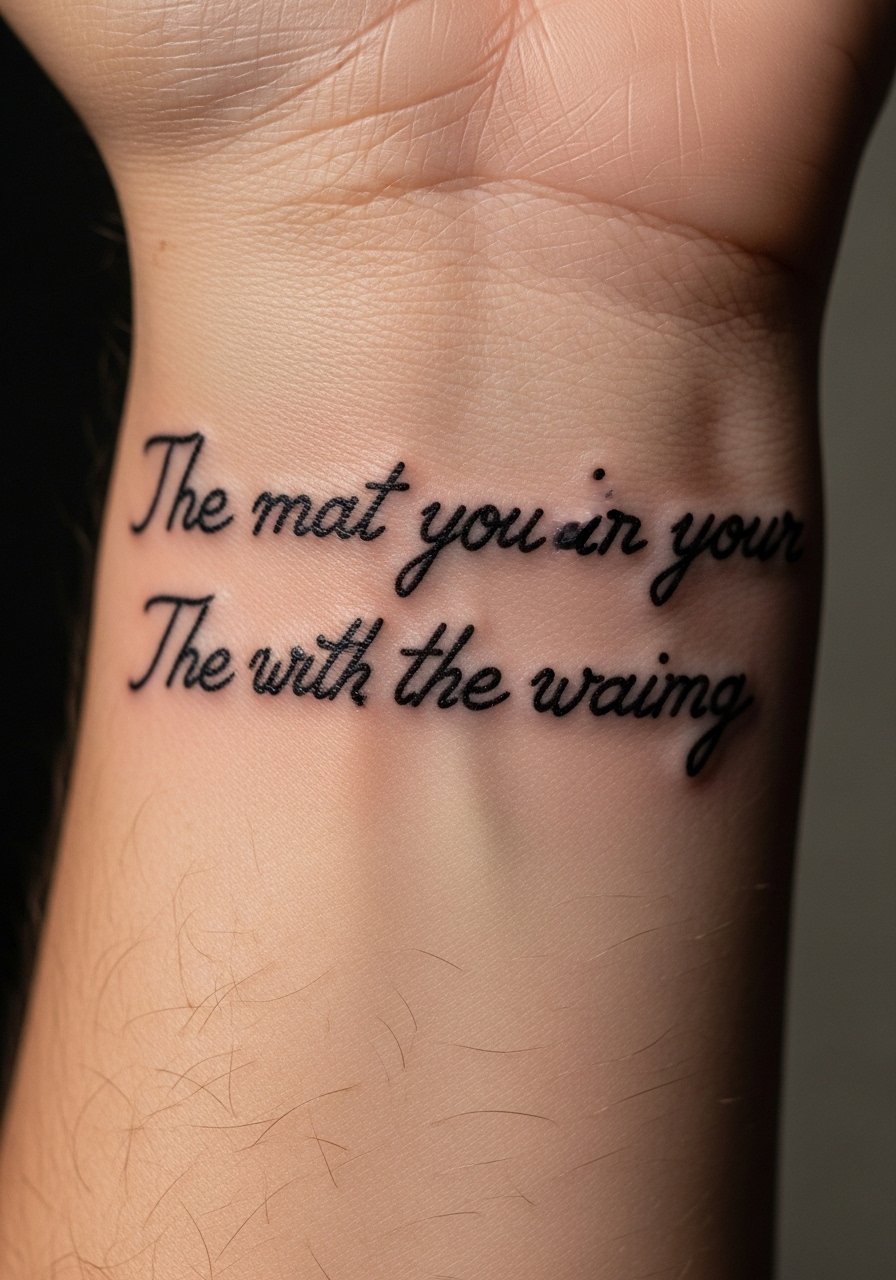
I love handwritten lyric tattoos because they carry a direct emotional trace. The wrist is visible and can fade from sun and friction, so go for slightly bolder strokes than the original handwriting. Pain is moderate; the skin is thin. Heals quickly on the surface but needs careful moisturizing to avoid scabbing that can break letters. Ask your artist to keep the script balanced and to show healed examples of handwriting replication on similar skin tones.
6. Watercolor Lyric Accent on Shoulder Blade
Style/Technique: Watercolor Accent + Script / Shoulder Blade
Pain Level: Low-Medium (3/10)
Session Time: 1-3 hours
Best For: Poetic line with soft visual backing
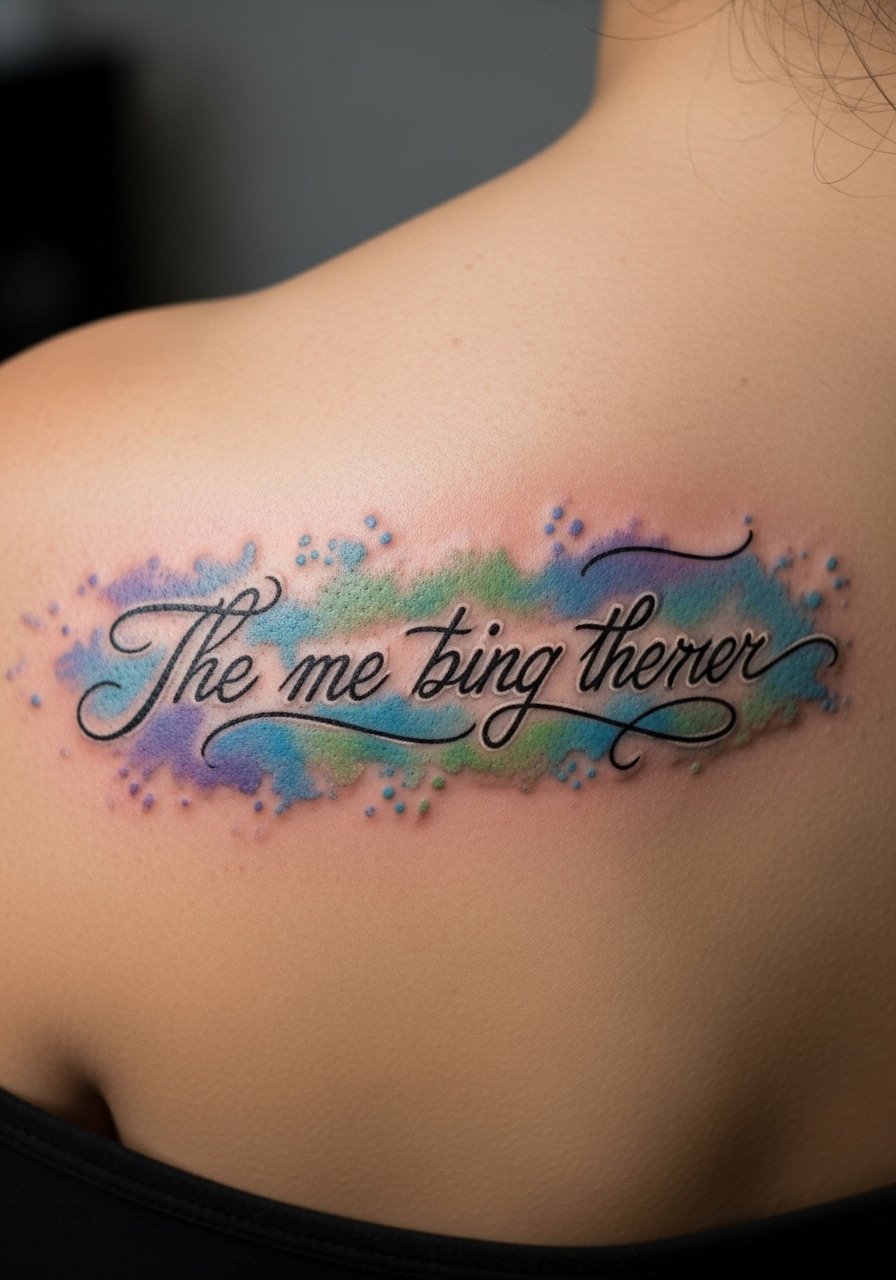
A lyric with a watercolor wash feels dreamy without overpowering the words. Shoulder blade placement is low-pain and easy to hide. Color fades faster than black, so choose muted pigments and ask about saturation. From what I've observed, watercolor looks best when used as a backdrop rather than as the main line work. Make sure the script is solid black or dark gray so the wording remains legible as pigments settle.
7. Bold Traditional Script on Upper Arm
Style/Technique: Traditional Script / Outer Upper Arm
Pain Level: Low (2-3/10)
Session Time: 1-2 hours
Best For: Timeless lyric, shows well healed
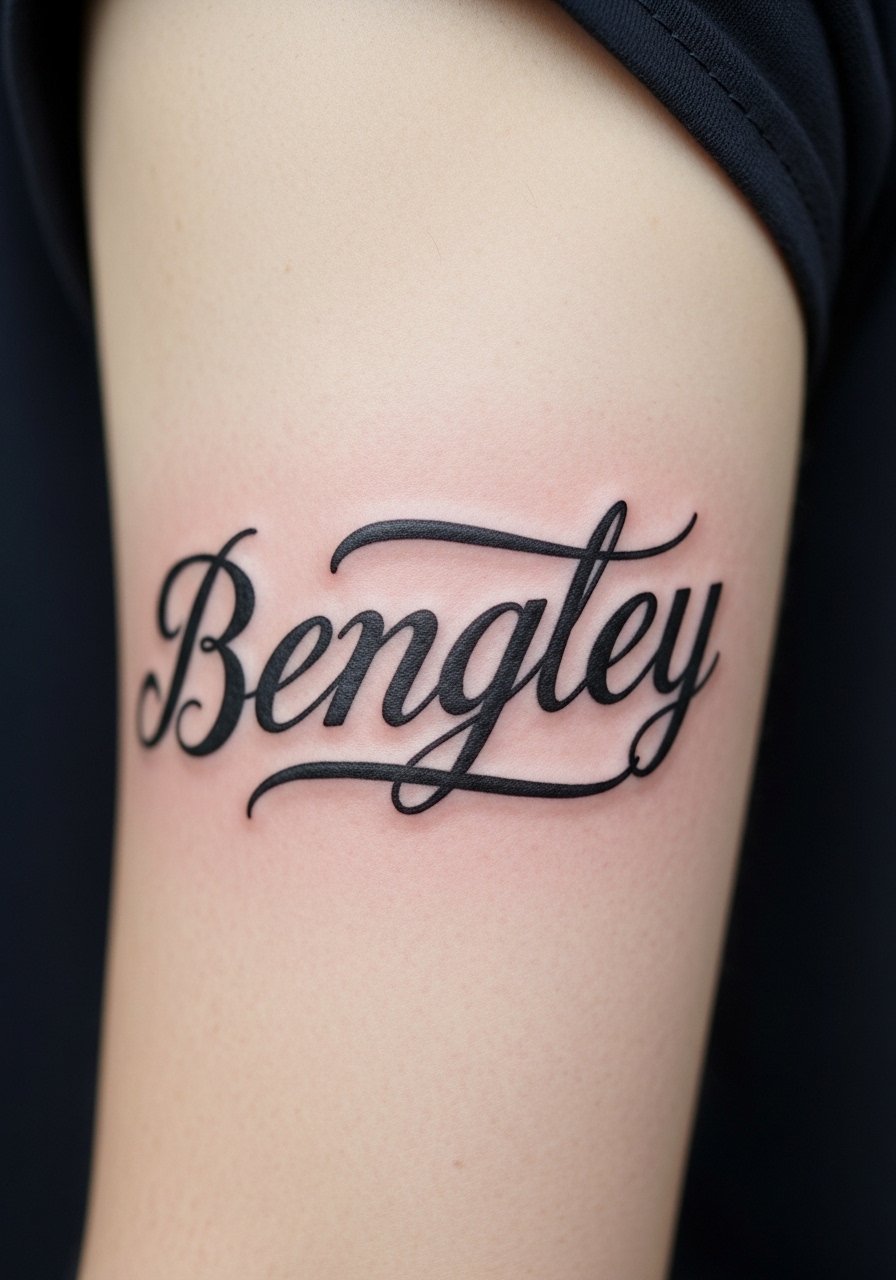
Traditional script survives decades. On the outer upper arm it sees little sun if you cover it sometimes, which helps longevity. Pain is low. This style uses sturdy strokes and spacing that resist blur. I recommend artists who specialize in classic American lettering for this. Avoid thin flourishes; they tend to break down. Healed, the text stays bold and readable.
8. Minimalist Single-Word on Side of Finger
Style/Technique: Minimalist / Finger Side
Pain Level: High (7/10)
Session Time: Under 1 hour
Best For: Tiny lyrical anchors or single-word reminders
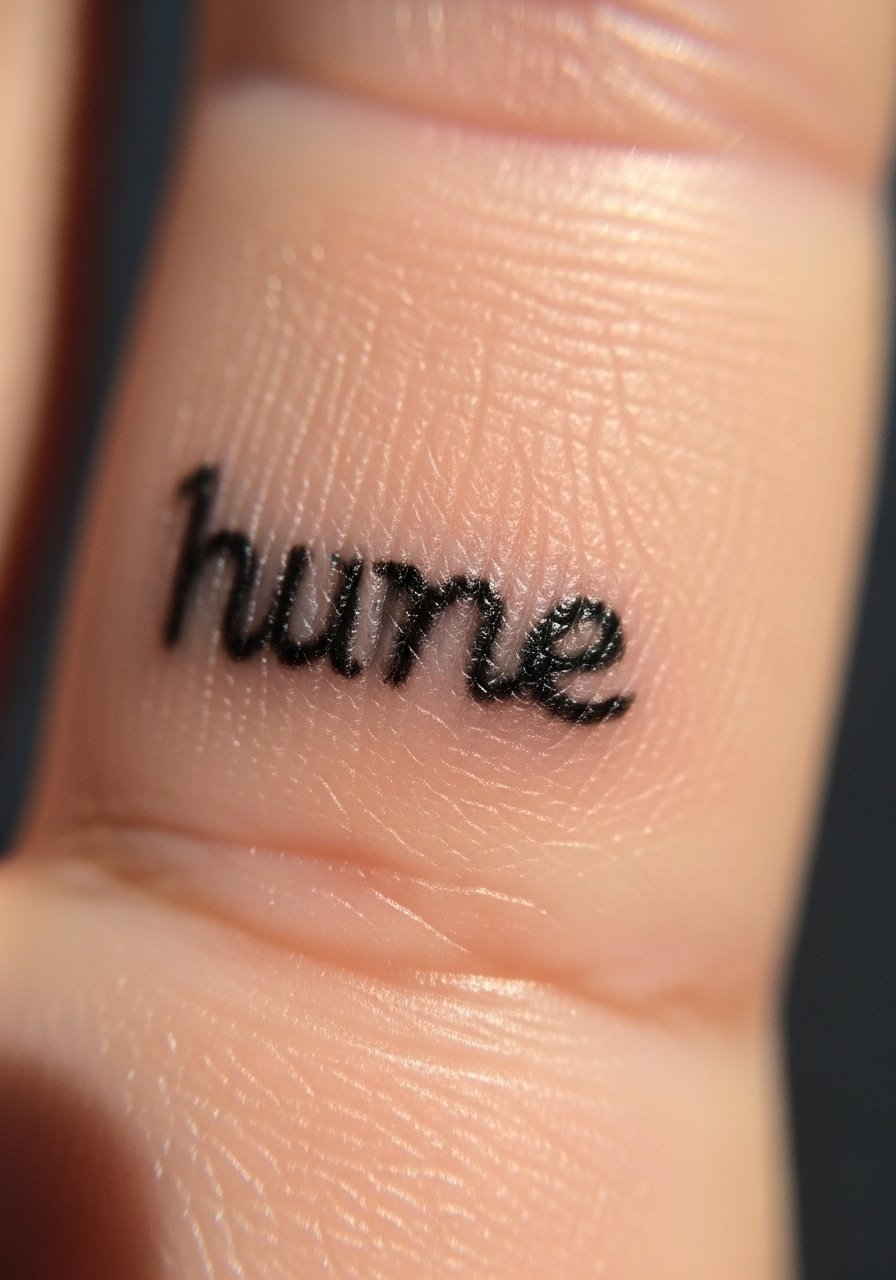
Finger tattoos are intimate but notorious for fading and blurring because of constant use. A single word can be powerful, but expect touch-ups. Pain is high due to thin skin and bone proximity. I usually tell friends to choose bold, blocky letters if they want durability, or accept periodic refreshers. Keep it moisturized and avoid harsh chemicals on the hands while healing.
9. Neo-Traditional Lyric Banner Wrapped on Thigh
Style/Technique: Neo-Traditional + Banner / Thigh Wrap
Pain Level: Medium (4/10)
Session Time: 2-4 hours
Best For: Bold lyric with illustrative elements
A banner works well to place a short lyric within an illustrative piece—floral, animal, or object. The thigh tolerates longer sessions comfortably. Neo-traditional line weight helps the letters persist; bold outlines protect the script as skin ages. Artists who do neo work will advise on banner curvature so words read naturally when you move. Avoid overly ornate scripts—clear letters beat fancy flourishes here.
10. Sheet Music Staff Along Forearm
Style/Technique: Micro-Notation / Forearm
Pain Level: Low-Medium (3/10)
Session Time: 1-3 hours
Best For: Musicians or anyone tying lyrics to melody
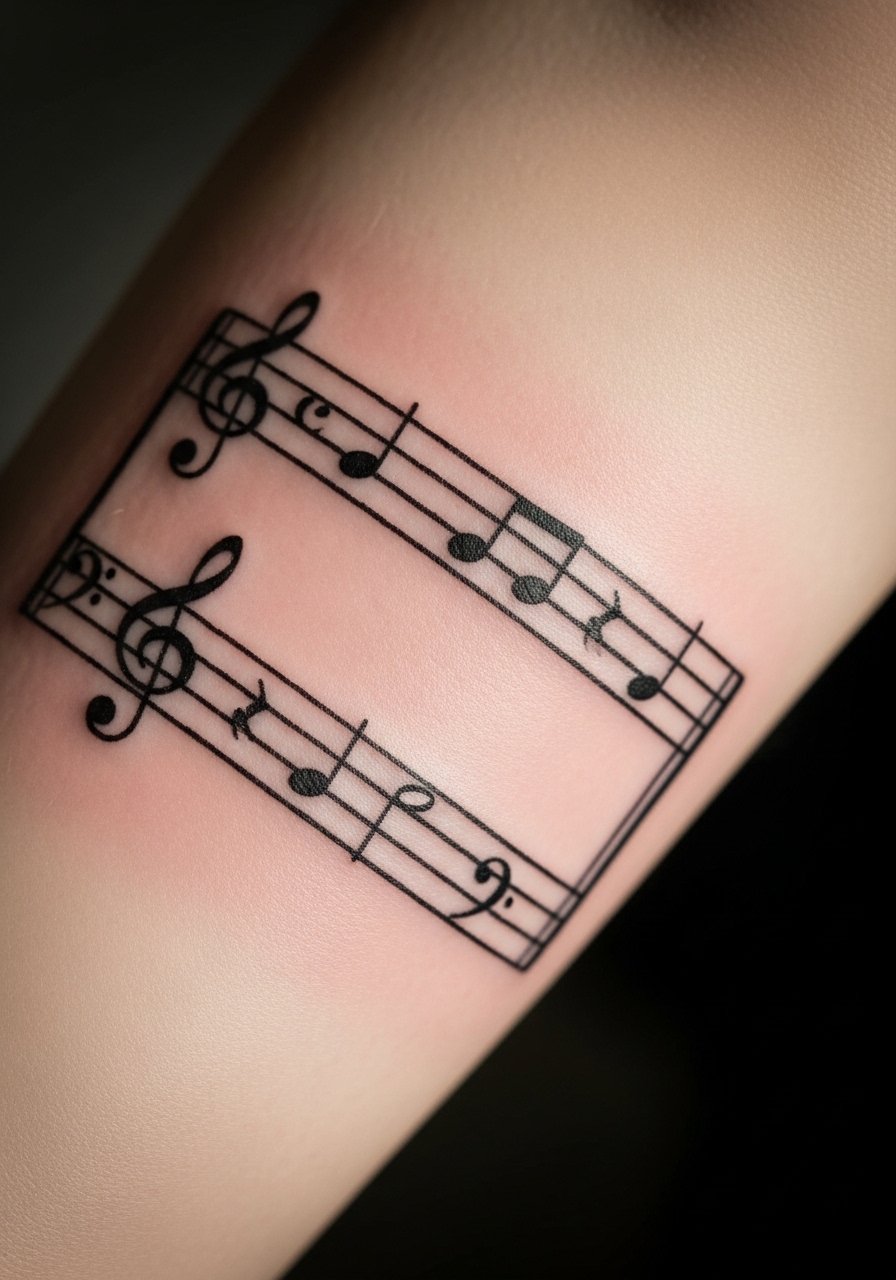
If a lyric lives in a specific melody, consider a small staff snippet instead of written words. The forearm displays music clearly and is low-pain. Precision matters—ask your artist to stencil from a high-res image so note spacing stays accurate. Healed, staff lines can blur if too thin; thicker lines preserve clarity. This is a stylish, subtle way to wear a lyric without spelling it out.
11. Back-of-Neck Script With Tiny Accent
Style/Technique: Delicate Script + Tiny Symbol / Nape
Pain Level: Medium (4/10)
Session Time: 1 hour
Best For: Hidden lyric that peeks out
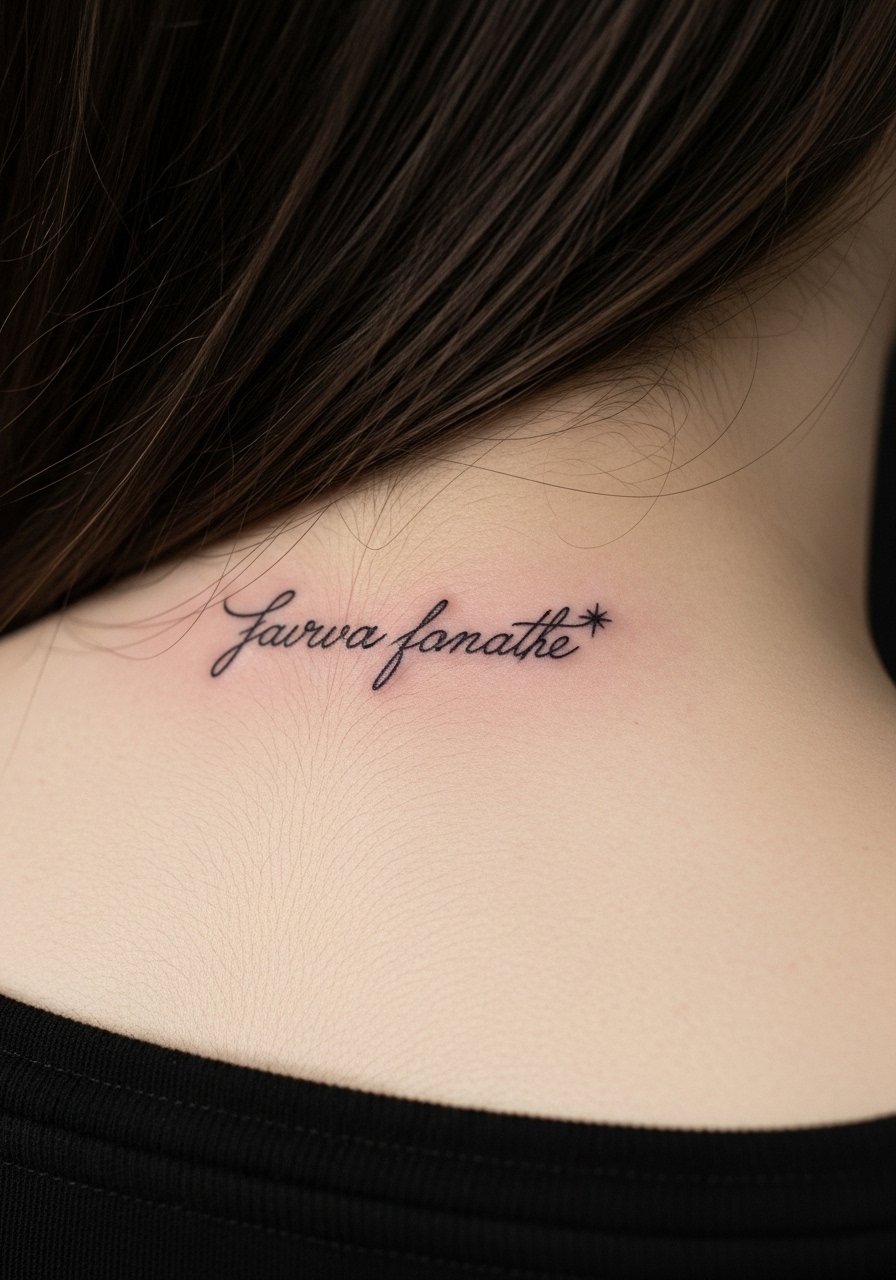
A short lyric at the nape feels personal and private. Hair covers it easily, so it’s great if you want discretion. Pain is moderate; the area is sensitive but quick. I recommend slightly heavier strokes than your initial preference to prevent future blur. Tiny accents (star, heart) help anchor the line visually. Make sure your artist shows healed nape examples—healing dynamics differ from flat skin areas.
12. Ambigram Lyric on Inner Biceps
Style/Technique: Ambigram / Inner Bicep
Pain Level: Medium (4-5/10)
Session Time: 1-3 hours
Best For: Dual-meaning lyrics that read differently upside down
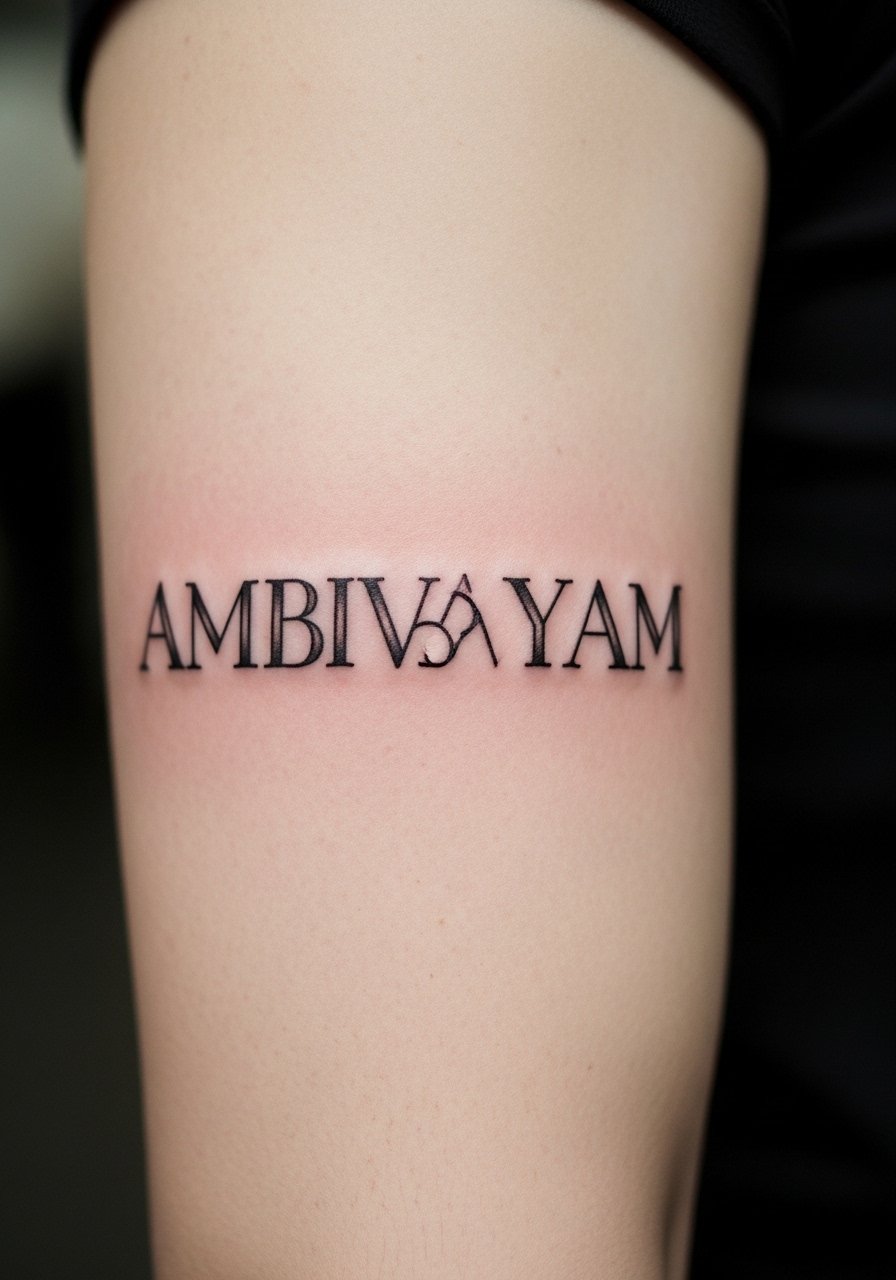
Ambigrams are clever when lyrics carry multiple meanings. Inner bicep offers privacy and moderate pain. Ambigram readability depends on expert lettering—this is not a beginner-friendly choice. I advise sketching multiple proofs and testing rotation to ensure both reads are legible when healed. Keep line weights balanced so one view doesn't overpower the other as lines settle.
13. Gothic Script Across Sternum
Style/Technique: Gothic/Blackletter / Sternum
Pain Level: High (8/10)
Session Time: 2-4 hours
Best For: Dramatic lyrical statements
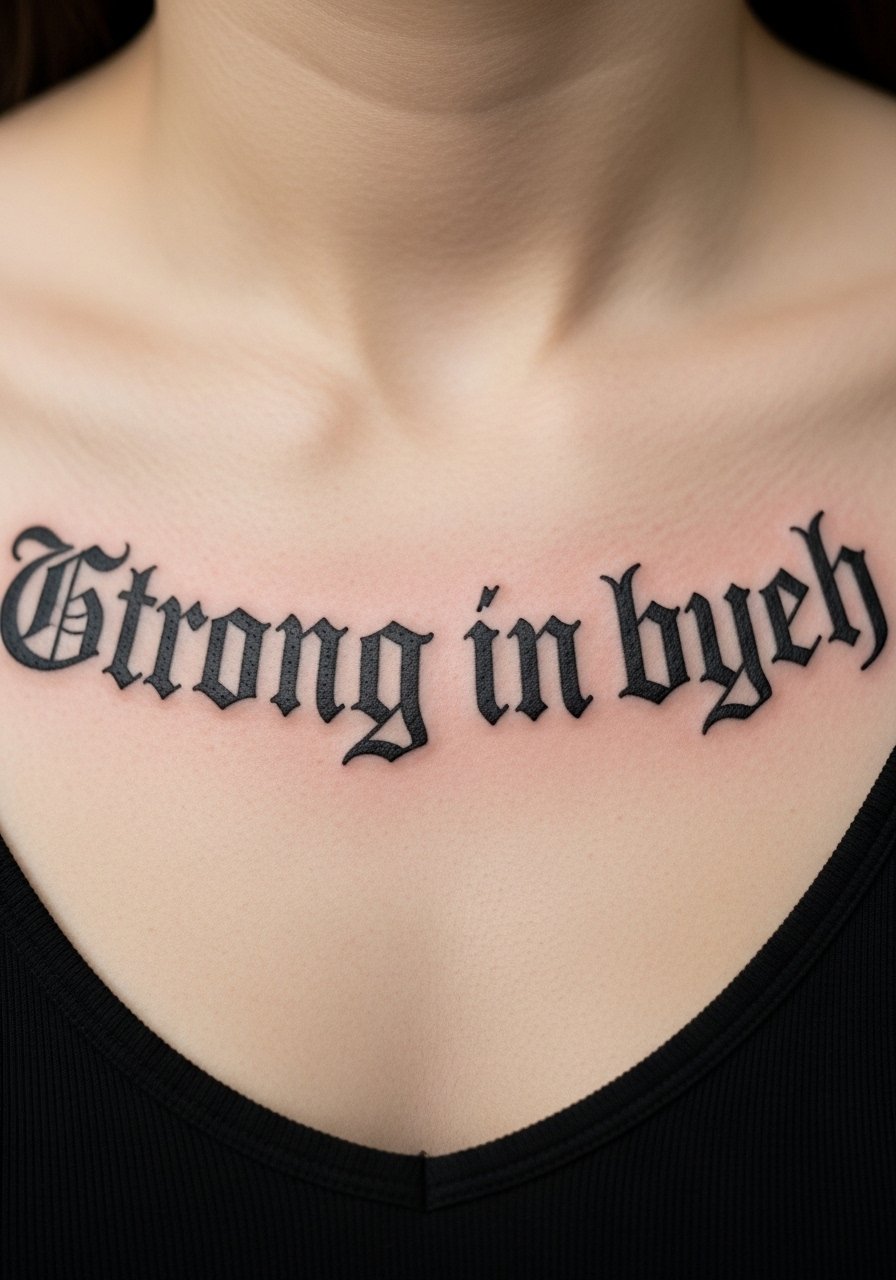
Gothic script looks powerful on the sternum and reads like a declaration. The area is painful and needs careful aftercare because movement and clothing can irritate. Gothic letters can be dense; choose spacing that prevents letters from merging as skin shifts. Artists experienced in lettering can adapt the script to chest contours. Expect longer surface healing and follow strict moisture and sun protection routines.
14. Minimalist Morse Code on Forearm
Style/Technique: Minimalist / Morse Code Dots & Dashes
Pain Level: Low (2-3/10)
Session Time: Under 1 hour
Best For: Hidden messages or single-word lyrics
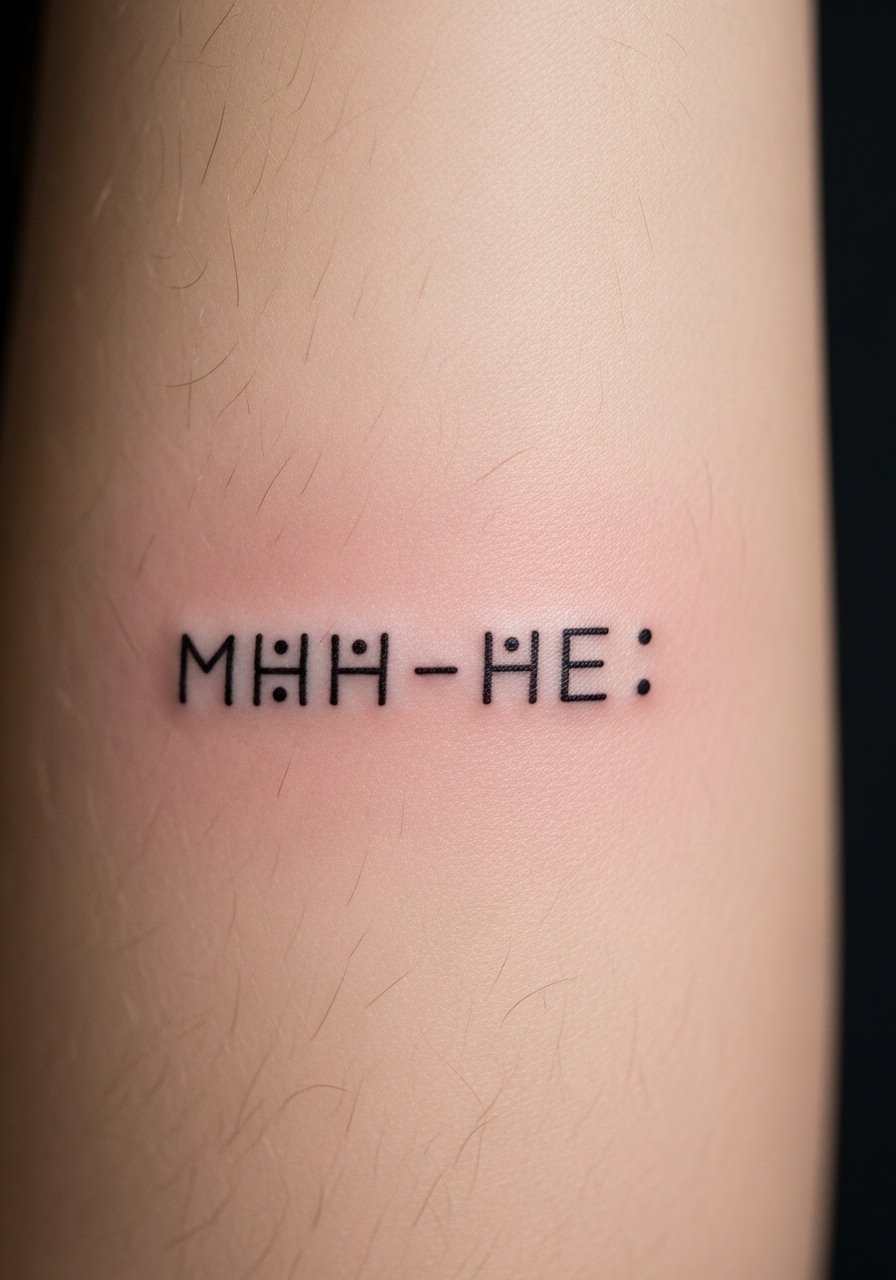
Morse code turns a lyric into a private message that only certain people decode. The forearm heals well and is low-pain. Dots must be spaced properly—too close and they read as lines later. Ask your artist to space the code with a slight extra gap to account for spread. It's a clever way to keep words intimate without visible script.
15. Watercolor Bird With Lyric Tail on Shoulder
Style/Technique: Watercolor Illustration + Script Tail / Shoulder
Pain Level: Low-Medium (3/10)
Session Time: 2-3 hours
Best For: Poetic lines about freedom or flight
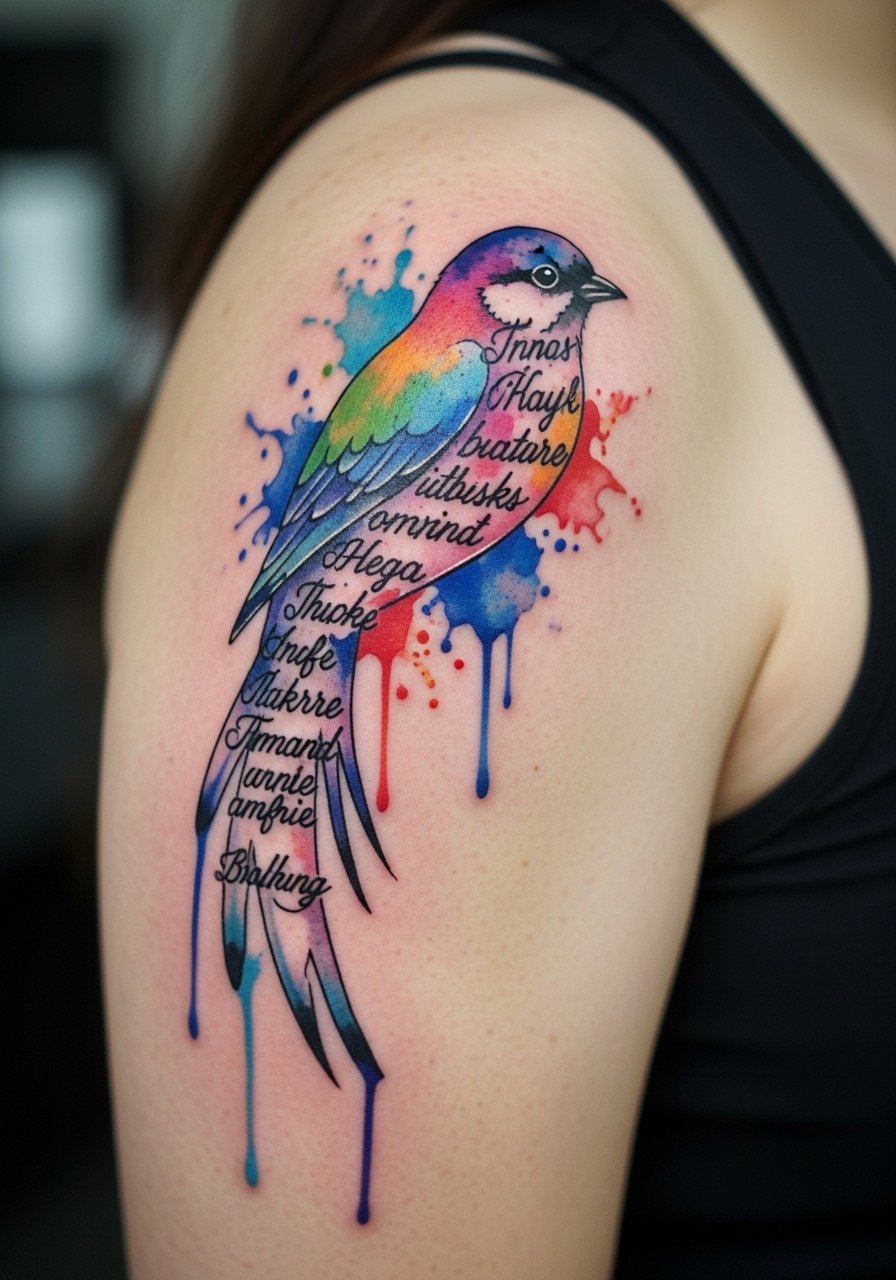
I like pairing a lyric with an illustrative element that embodies the message. The shoulder gives space for movement and low pain. Watercolor offers soft emotion but rely on dark script for text clarity. Discuss pigment choices with your artist; some colors fade faster. Healed, the bird provides visual interest while the lyric remains the emotional anchor.
16. Micro-Realism Eye With Lyric Under Eyebrow
Style/Technique: Micro-Realism + Small Script / Under Brow Bone
Pain Level: High (7-8/10)
Session Time: 1-2 hours
Best For: Intense personal lines about seeing, truth, or memory
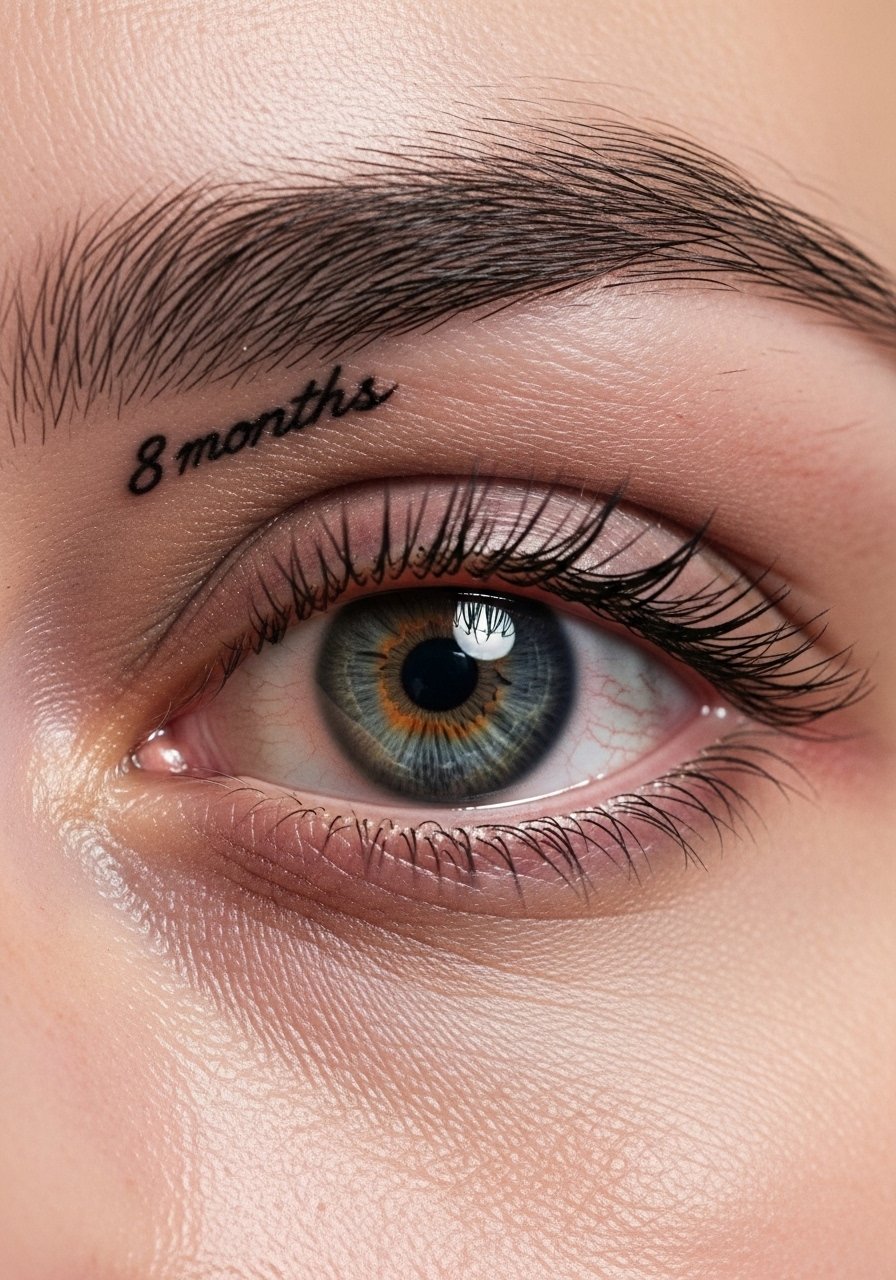
A tiny realistic eye paired with a short lyric reads like a personal vow. Placement near the brow is sensitive and can be painful. Micro-realism needs a steady hand—ask to see healed close-ups of similar pieces. Small words here must be bold enough to survive movement and facial expressions. Expect focused aftercare to avoid stretching during the early healing days.
17. Script Wrapped Around Wrist Cuff
Style/Technique: Continuous Script Cuff / Wrist Band
Pain Level: Medium (4/10)
Session Time: 1-3 hours
Best For: Repeating lyric or chorus line
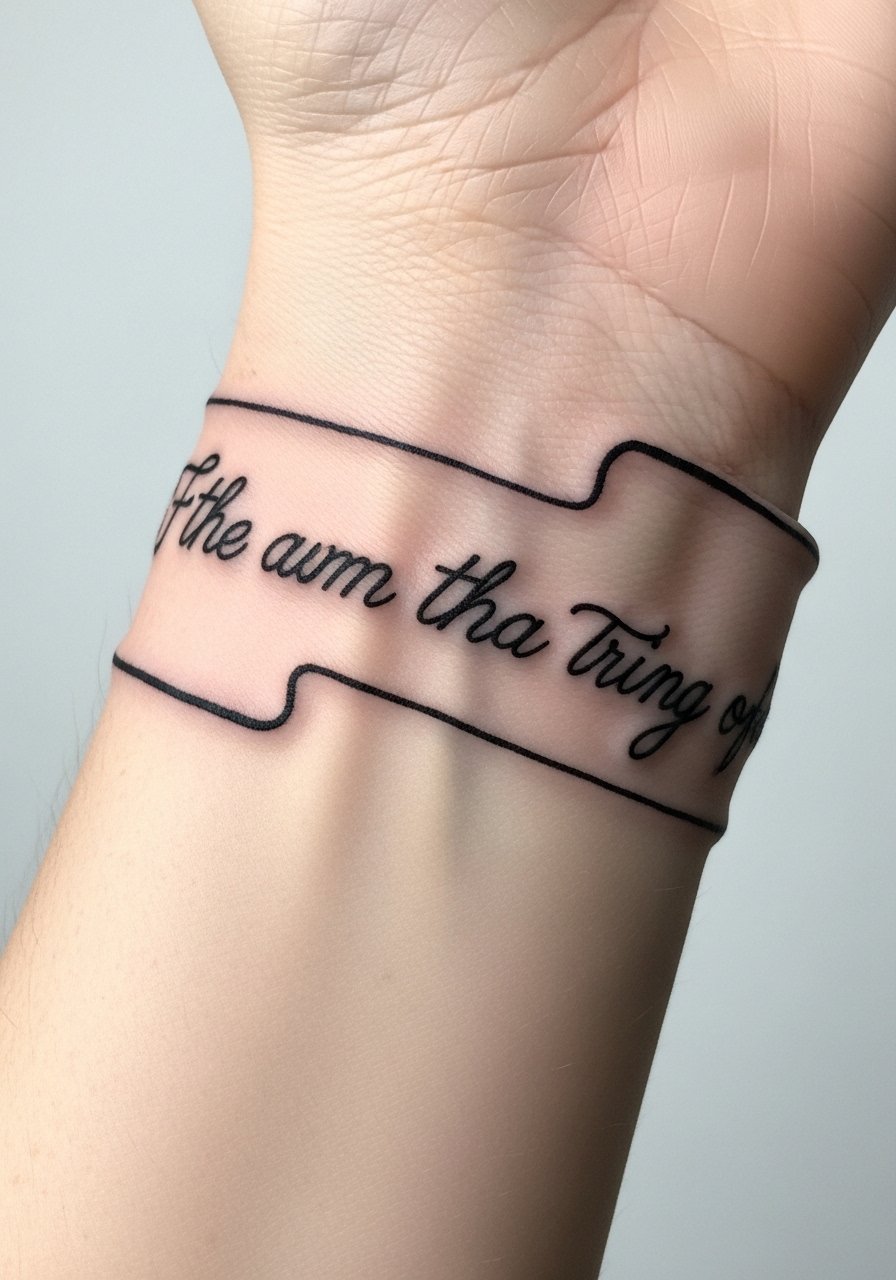
A script cuff feels like a wearable line of a song. The wrist is exposed to sun and friction, so choose a thicker script for durability. Pain is moderate. Healed cuffs can age unevenly if not placed in a straight, tension-free area. I often tell clients to move their wrist while checking the stencil so the artist matches natural creases.
18. Barcode Lyric Encoding on Ankle
Style/Technique: Minimalist Barcode / Ankle
Pain Level: Medium (4/10)
Session Time: 1 hour
Best For: Concealed lyric that reads as design
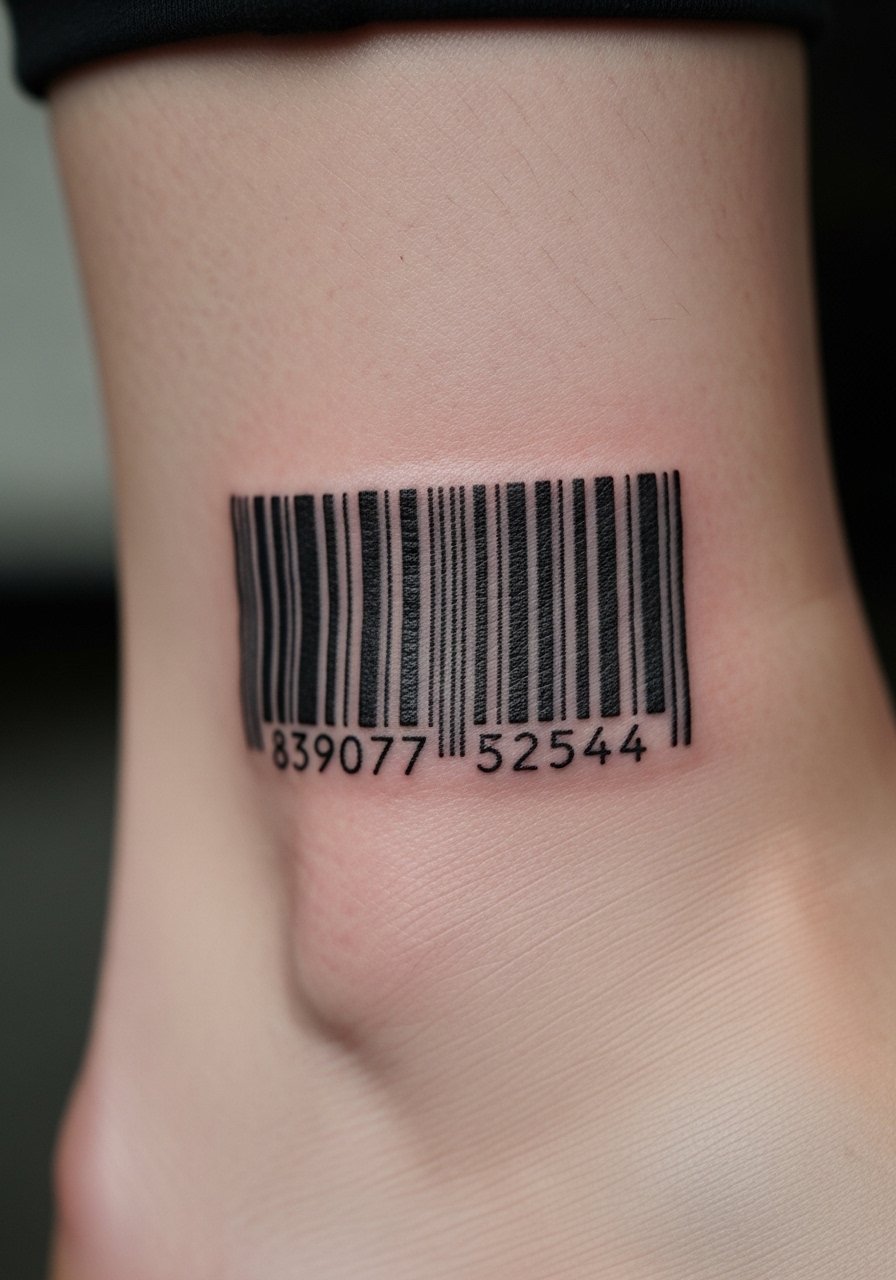
Encoding a lyric into a barcode is modern and discreet. Ankle placement can be finicky—watch for movement and shoe rubbing. Pain is moderate. Lines must be precise; ask your artist for a crisp stencil and slightly thicker bars to prevent future blurring. Healed, it reads as a graphic element unless decoded.
19. Curved Collarbone Script With Small Icon
Style/Technique: Elegant Script + Icon / Collarbone Curve
Pain Level: Medium (4/10)
Session Time: 1-2 hours
Best For: Romantic lines that follow bone structure
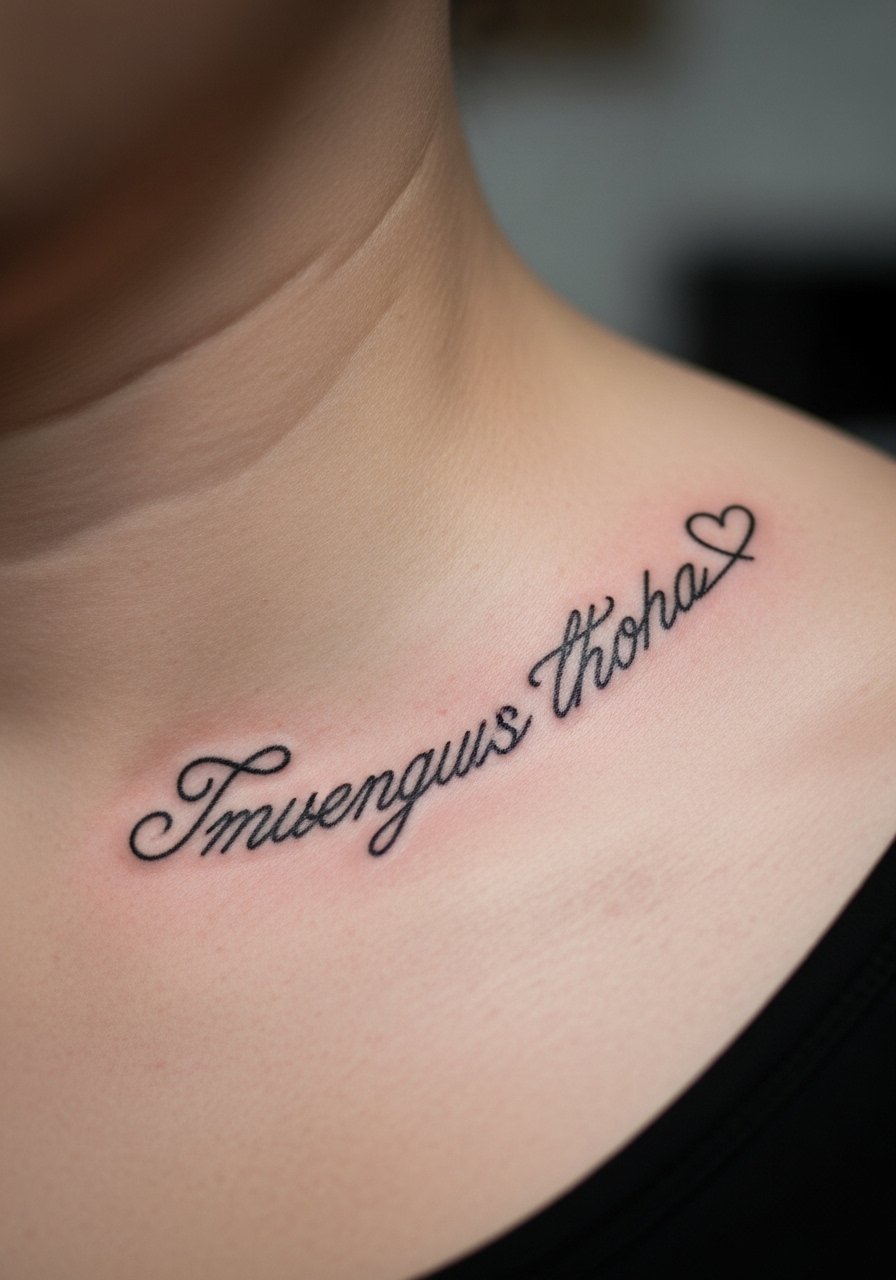
Curving lyrics along the collarbone uses the bone as a natural guide. The area is visible and slightly sensitive. Keep script medium weight; too thin and it disappears, too heavy and it looks blocky. A small icon anchors the line visually. From what I've seen, collarbone script ages well if kept out of constant sun exposure.
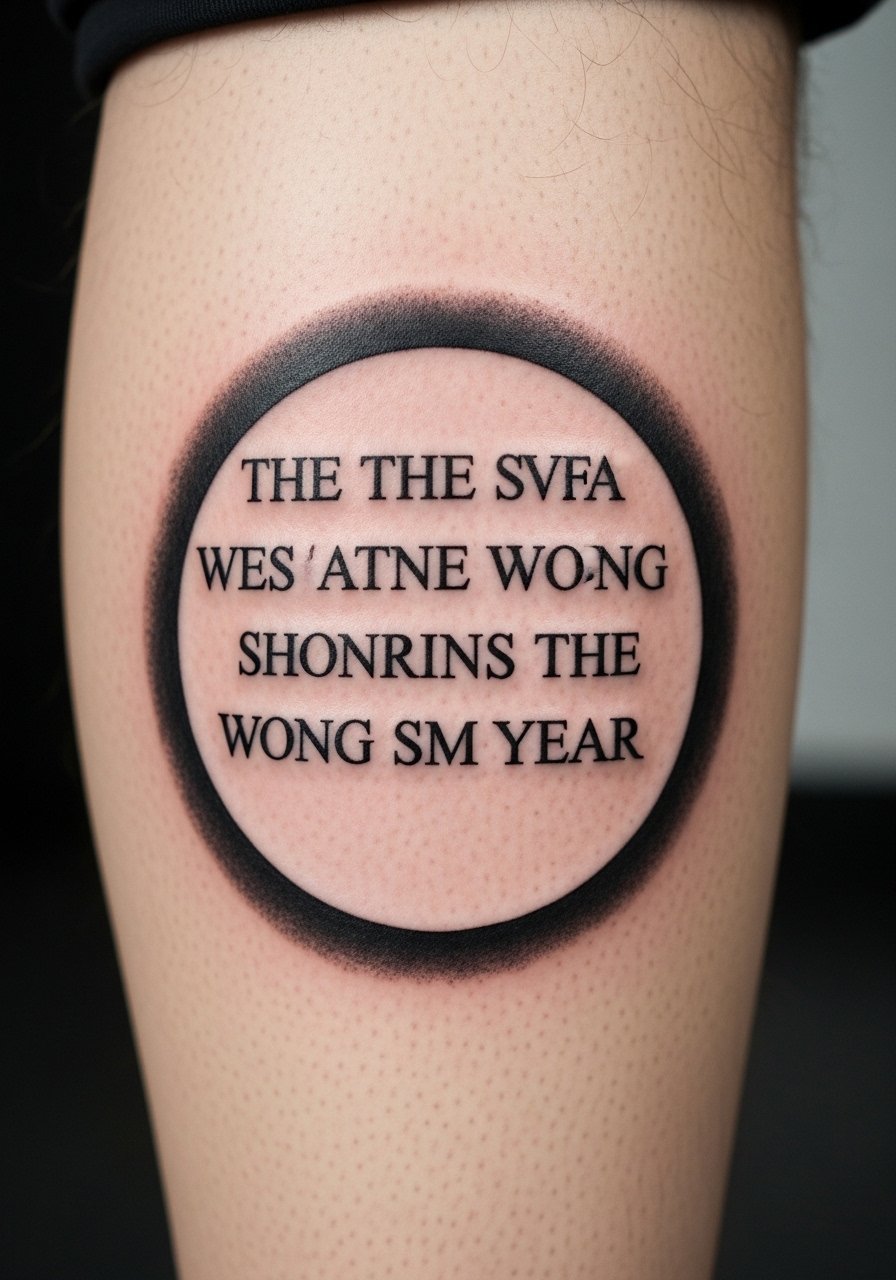
20. Circular Lyric Around Navel
Style/Technique: Circular Script / Around Navel
Pain Level: Medium (5/10)
Session Time: 1-2 hours
Best For: Poetic lines that encircle the body
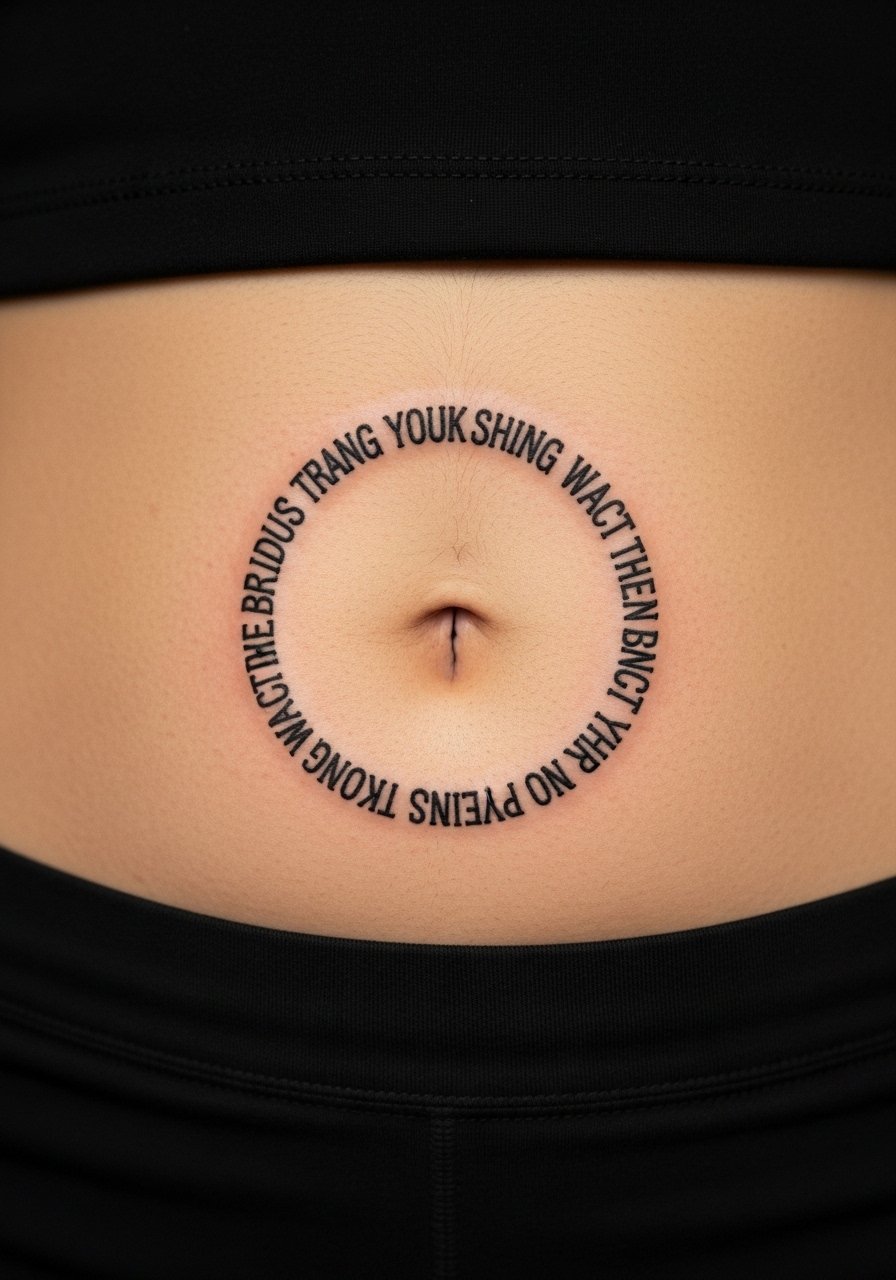
A circular layout makes a lyric feel like a mantra. The belly area stretches with weight changes and pregnancy, so discuss long-term considerations. Pain is moderate. Artists will recommend flexible spacing to preserve readability as skin shifts. Healed, it’s subtle under clothing and special when revealed.
21. Thin Blackwork Bars With Script Inlay on Rib
Style/Technique: Blackwork Bars + Script Inlay / Side Rib
Pain Level: High (7-8/10)
Session Time: Multiple sessions
Best For: Bold visual lyric integration
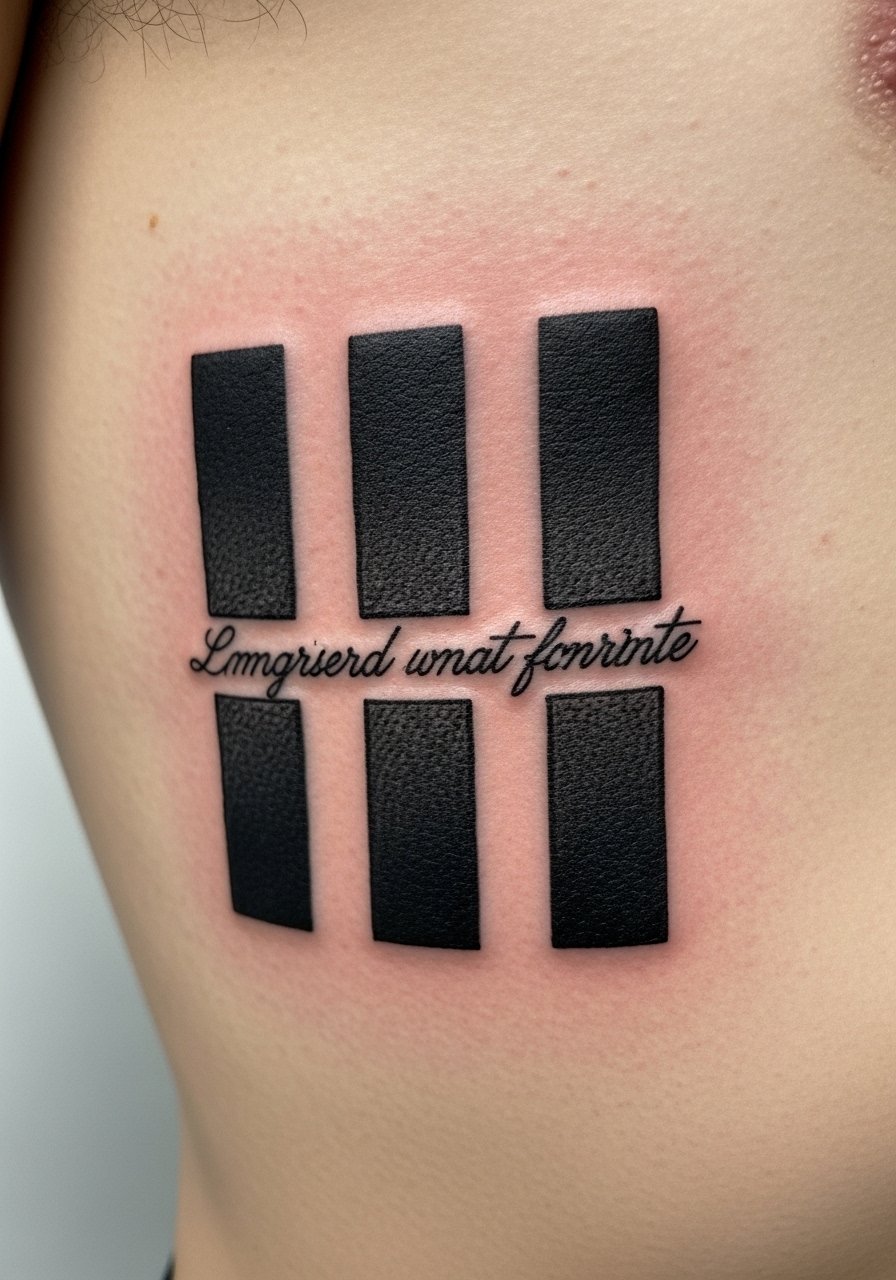
Combining blackwork and script creates contrast that keeps words readable. The rib is painful and requires careful session planning. Solid black ages well; script between fills should be compact but legible. I recommend artists who do both lettering and heavy blackwork to ensure clean edges and even healed texture.
22. Tiny Sheet Music Note Behind Ear
Style/Technique: Micro-Note / Behind Ear
Pain Level: Medium (4/10)
Session Time: Under 1 hour
Best For: Discreet music-related lyric markers

A single note behind the ear is a whisper of a lyric. Behind-ear tattoos are small and can fade from shampoo and sun. Pain is moderate but quick. Keep the note bold and simple. This placement is perfect if you want a lyrical hint without full wording.
23. Stitched Script Along Scapula
Style/Technique: Stitch-Style Script / Scapula
Pain Level: Low-Medium (3/10)
Session Time: 1-2 hours
Best For: Lyrics that feel like a sewn-in memory
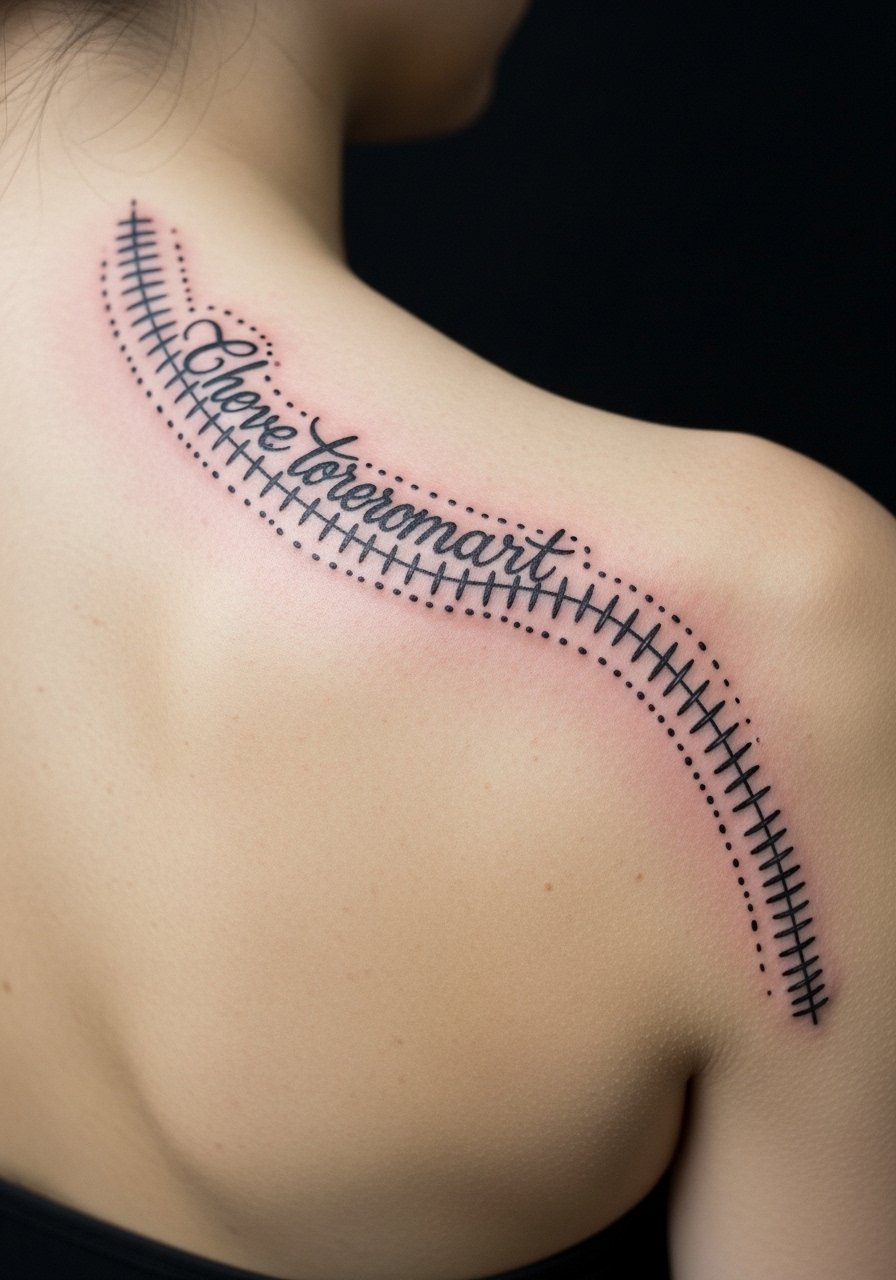
A stitched aesthetic turns a lyric into a tactile memory. The scapula heals well and handles longer lines with low to moderate pain. The dotted technique needs consistent spacing to read as script rather than pattern. Artists who do illustrative work often pull this off nicely. Healed, it reads as texture and text in harmony.
24. Lyric Fragment in Negative Space on Calf
Style/Technique: Negative Space Lettering / Calf
Pain Level: Low-Medium (3/10)
Session Time: 1-3 hours
Best For: Bold visual lines that invert color
Negative space lettering creates a strong graphic by inking around the words instead of the letters themselves. Calf placement is forgiving and low-pain. The technique needs a confident hand and good solid fills to keep the letters crisp as skin settles. Talk to your artist about maintenance—touch-ups for fills may be needed, while the negative letters often remain distinct.
Tattoo Prep and Aftercare Essentials
Aftercare Essentials:
- Aquaphor Healing Ointment, 14oz tube — Use first 3-5 days for heavy moisture
- Saniderm Transparent Adhesive Bandage, 6-inch roll — Second-skin healing for the first 24-72 hours
- CeraVe Fragrance-Free Moisturizing Lotion, 12oz — Daily moisturizer after the initial ointment phase
- Dr. Bronner's Unscented Castile Soap, 16oz — Gentle clean for the first week
Before Your Appointment:
- Tattoo Numbing Cream with 5% Lidocaine, 30g — Apply 30-45 minutes prior only if your artist approves
- Thermal Transfer Stencil Paper, Tattoo Stencil Transfer Paper — Useful if prepping custom handwritings at home
Long-Term Maintenance:
- SPF 50 Sunscreen Stick for Tattoos — Daily sun protection to prevent fading
- Mad Rabbit Tattoo Balm, 2oz — Healed-skin maintenance to keep colors vibrant
- Hustle Butter Deluxe, 2oz — Vegan aftercare option many artists recommend
Optional Comfort Items:
- Hydrocolloid Bandages (Large) — For spot protection and blistering prevention
- Tattoo Aftercare Kit (Assorted) — Good starter bundle if you're new to healing routines
Frequently Asked Questions
Q: How bad does a tattoo actually hurt?
A: Pain depends on placement and your tolerance. Outer arm and thigh are low (2-4/10). Ribcage, sternum, and fingers can be high (7-8/10). It's often more of a sharp scratching or burning rather than unbearable. For sensitive areas, consider asking about a numbing cream with 5% lidocaine—many artists will advise if it's appropriate.
Q: What if I regret my lyric choice later?
A: Sit with a line for months before committing. If you want visibility flexibility, choose placements that are easy to cover (upper thigh, upper arm). Laser removal exists but is a long process. I’ve seen people repurpose lyrics into larger covers by adding imagery—think banners, florals, or blackwork.
Q: How do I keep my lyric tattoo from fading?
A: Sunscreen is non-negotiable. From what I’ve seen, daily UV protection is the biggest longevity step—use an SPF 50 stick on exposed ink. Keep skin moisturized with a fragrance-free lotion like CeraVe. Black ink holds longest; tiny, faint fonts fade fastest.
Q: When can I work out after getting a lyric tattoo?
A: Wait 48-72 hours minimum. If the tattoo’s in a flex area (elbow, knee, ribs), give it a week before intense activity. Sweat and movement can disrupt scabs and ink. Keep the area clean with gentle soap like Dr. Bronner's Unscented Castile.
Q: Should I test with a small tattoo first to gauge pain?
A: Only if you genuinely want the small piece. Pain varies more by placement than size. A tiny wrist tattoo may hurt more than a larger outer arm piece. If anxiety is the issue, choose a less sensitive area for your first piece.
Q: How long does a lyric tattoo take to heal?
A: Surface healing in 2-3 weeks. Full healing up to 2-3 months. The first week is critical—keep it clean, lightly moisturized, and avoid picking. Many artists recommend Saniderm for early protection or Aquaphor for the first days.
Q: Do lyrics look different on different skin tones?
A: Yes. High-contrast black and gray show well across tones. Bright colors may read differently on deeper skin. White ink often disappears on darker tones. I always tell people to look at healed examples from artists who regularly tattoo their skin tone.
Q: Can delicate script look good long-term?
A: It can, if letterforms are given breathing room and slightly bolder hairlines. From what I’ve learned, tiny ornate scripts are the first to blur. Ask for spacing adjustments and healed photos from your artist so you know how their lettering ages.
