
I spent months pinning pixel tattoos before I finally got one. The problem I kept running into was that a design can look perfect on-screen but age poorly on skin. These pixel pieces are about nostalgia—their charm comes from crisp blocks of ink—so I focused on designs that heal well, sit nicely on the body, and keep that retro feel for years.
This list focuses on pixel/8-bit styles with placements that work for small, medium, and statement pieces. These ideas suit first-timers and collectors. From what I’ve seen, bold squares and simple color palettes age best for pixel work.
1. Pixel Heart on Inner Wrist
Style/Technique: Pixel / Minimalist
Pain Level: Low (2-3/10)
Session Time: 30–60 minutes
Best For: First tattoo, visible daily reminder
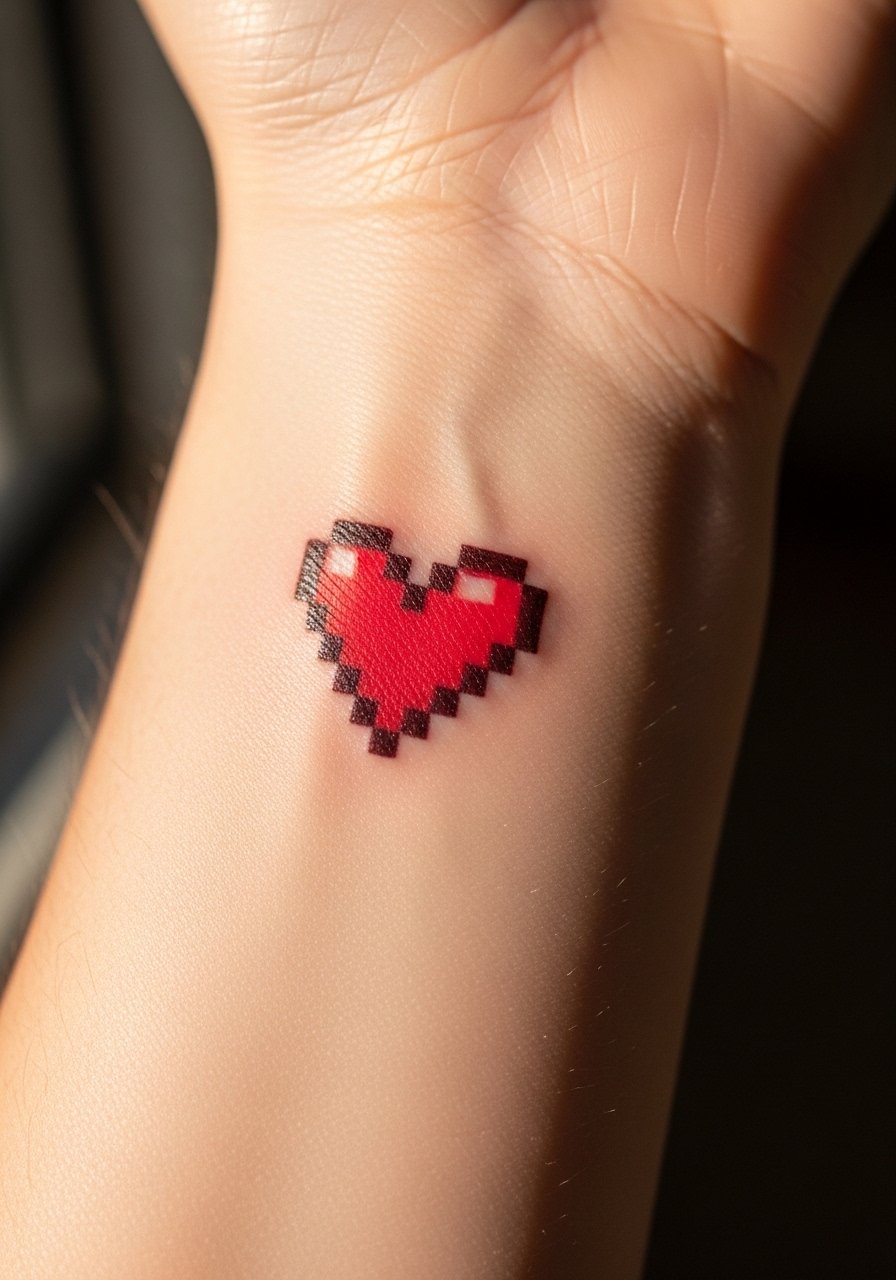
I chose this design as my first pixel tattoo because it's readable from day one and holds up as it heals. Pixel hearts keep their meaning without complex shading. Expect slight softening of corner pixels over a year—ask your artist about slightly thicker outlines to retain crispness. Avoid tiny one-pixel single-color fills that can blur into each other.
2. Space Invader on Upper Arm
Style/Technique: Pixel / Neo-Traditional Blend
Pain Level: Low-Medium (3/10)
Session Time: 1–2 hours
Best For: Nostalgic gamers, easy to hide with sleeves
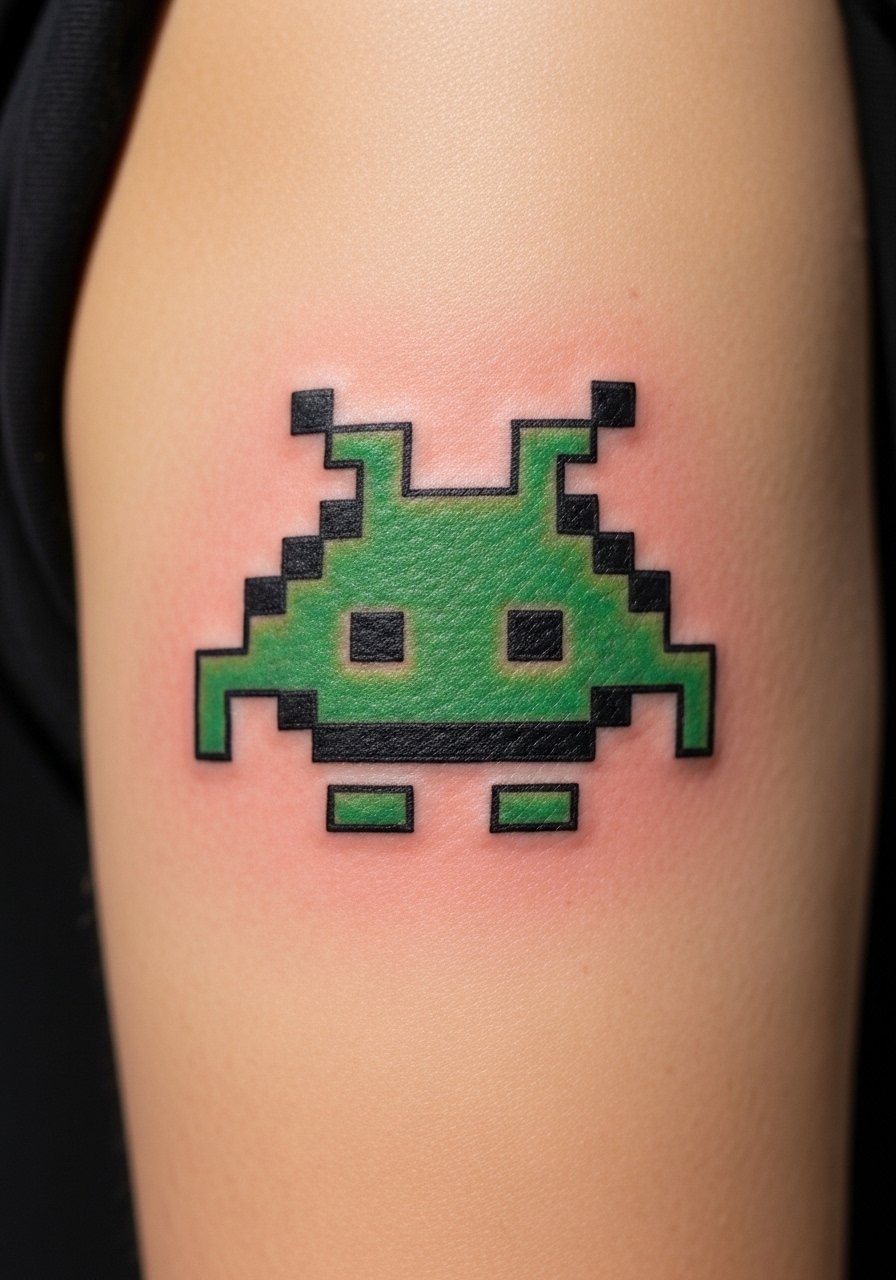
Space Invaders are classic and read well from a distance. On the upper arm the pixel edges stay sharp longer than on joints. I’ve seen artists add slight drop shadows in micro-dot work to give depth without losing the 8-bit feel. Common mistake: overcomplicating the sprite—keep shapes simple.
3. 8-Bit Mushroom on Calf
Style/Technique: Pixel / Color Block
Pain Level: Medium (3-4/10)
Session Time: 1–2 hours
Best For: Statement that’s easy to cover

Calves tolerate saturation well, so bright reds and whites can stay vivid. I’ve noticed reds fade faster, so ask for slightly denser layering. For pixel pieces, flat blocks of color age cleaner than gradients. Avoid tiny white highlights that disappear on darker skin tones.
4. Pixel Controller Behind Ear
Style/Technique: Pixel / Micro
Pain Level: Medium-High (5/10)
Session Time: 30–60 minutes
Best For: Subtle geek-chic, discreet placement
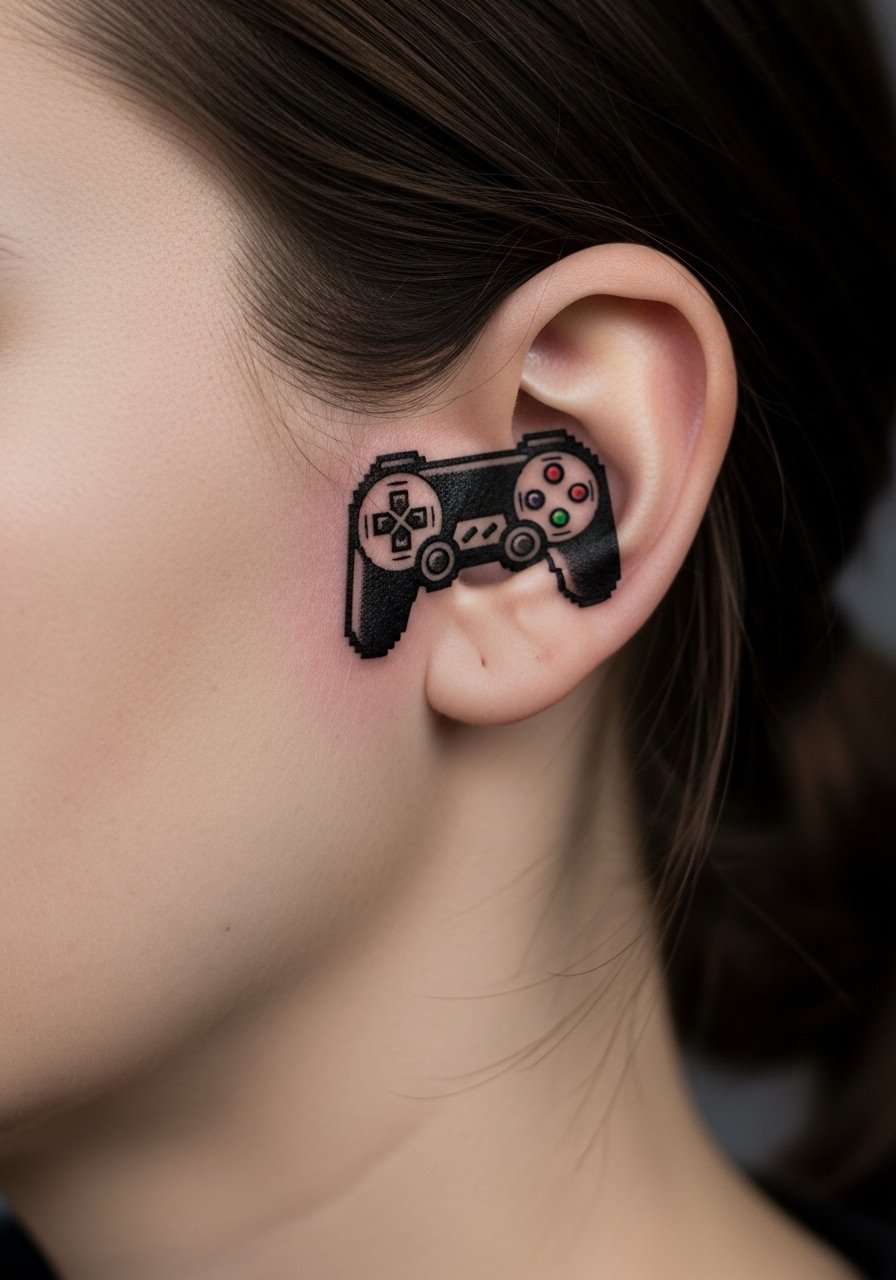
Behind the ear is punchy and can be tender. I’d call the pain a sharp scratching for a short time. Micro-pixel work here needs an experienced artist—lines must be bold enough to avoid blurring. Don’t pick a design with more than 6×6 pixels; detail gets lost.
5. Pixel Pet Portrait on Upper Thigh
Style/Technique: Pixel / Micro-Realism Blend
Pain Level: Low-Medium (3/10)
Session Time: 1–3 hours
Best For: Personal, easy to hide
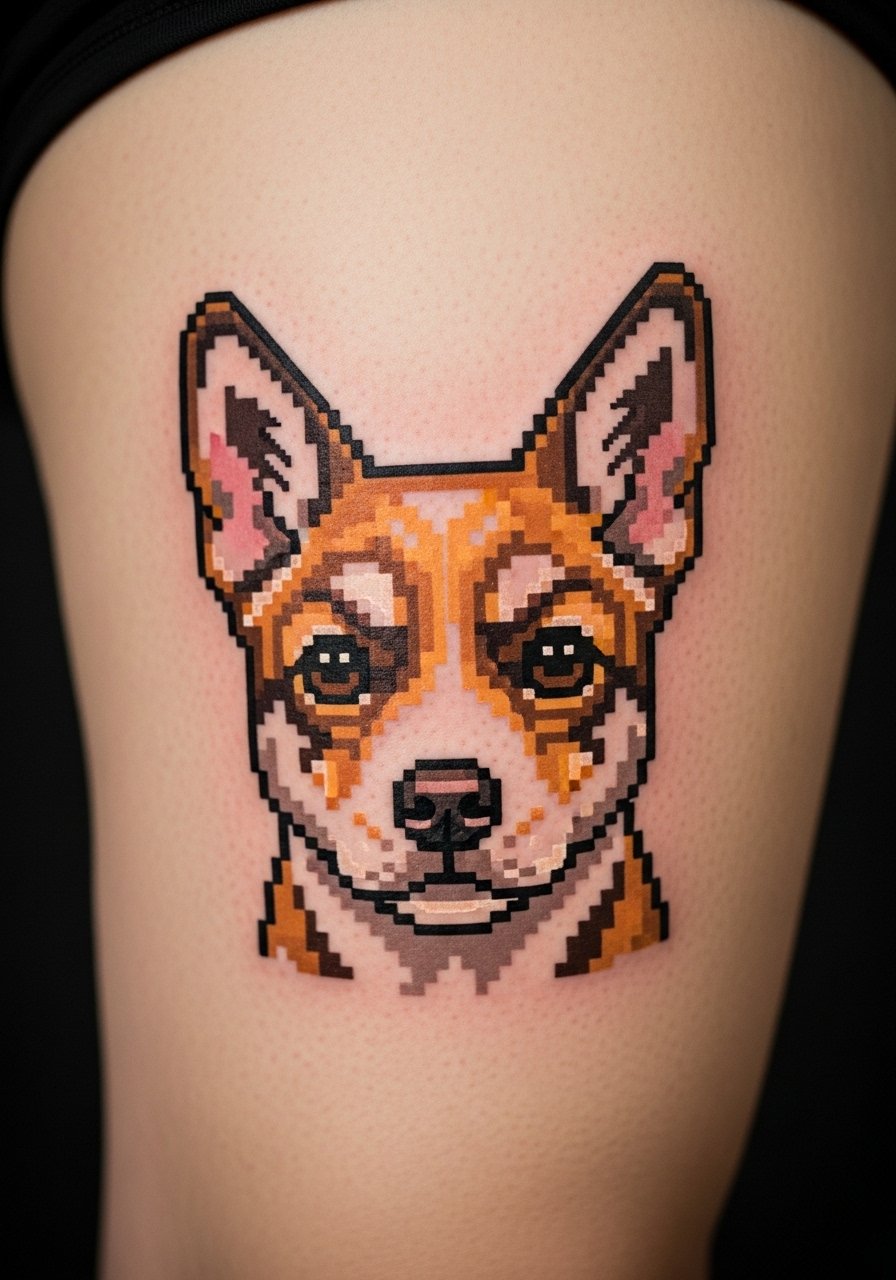
I turned a photo into a pixel grid for my cat tattoo—it's adorable and holds meaning without photorealism. Thigh flesh heals reliably, so color saturation remains strong. Ask your artist to simplify features into clear blocks; too much tiny detail ruins the silhouette as it ages.
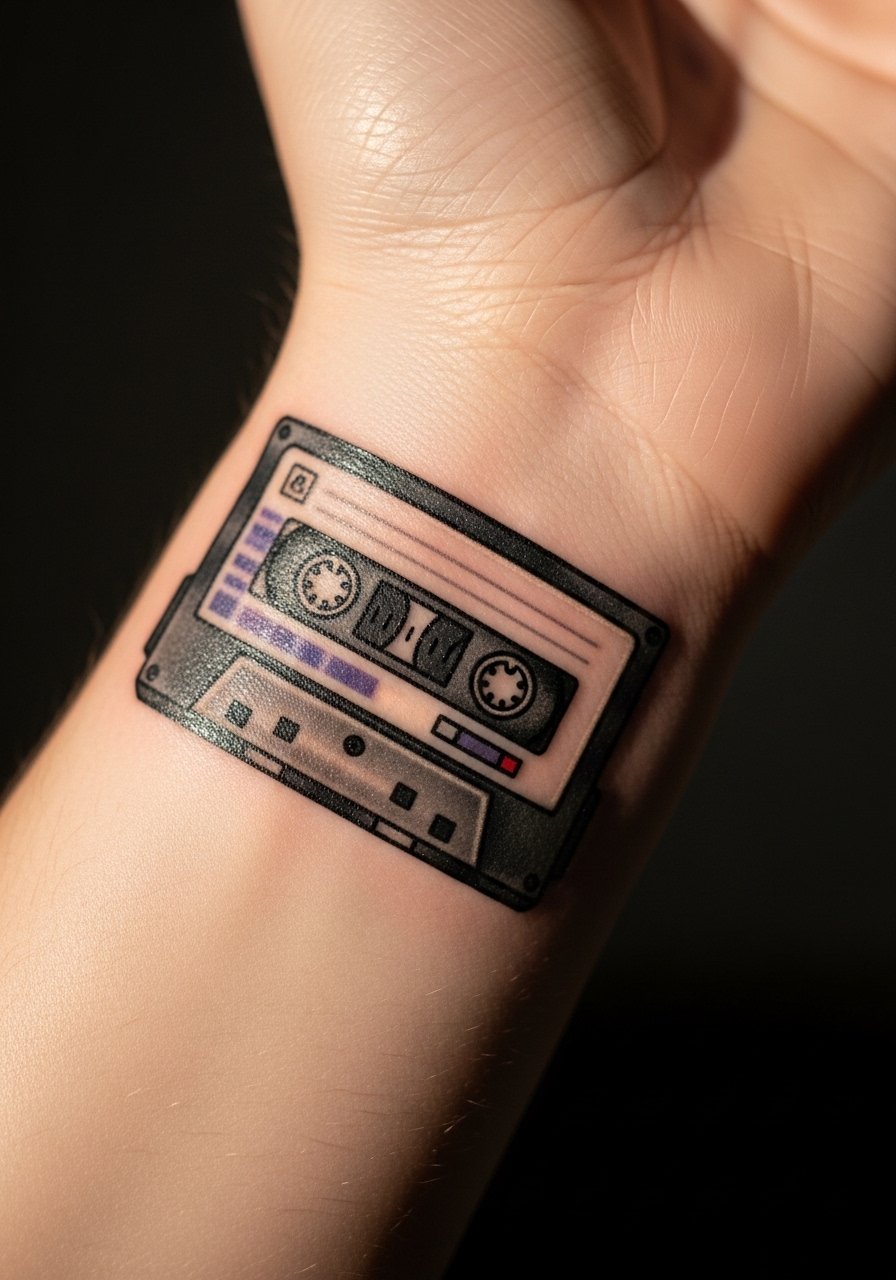
6. Pixel Cassette Tape on Inner Forearm
Style/Technique: Pixel / Retro Color
Pain Level: Medium (4/10)
Session Time: 1–2 hours
Best For: Music lovers, visible storytelling
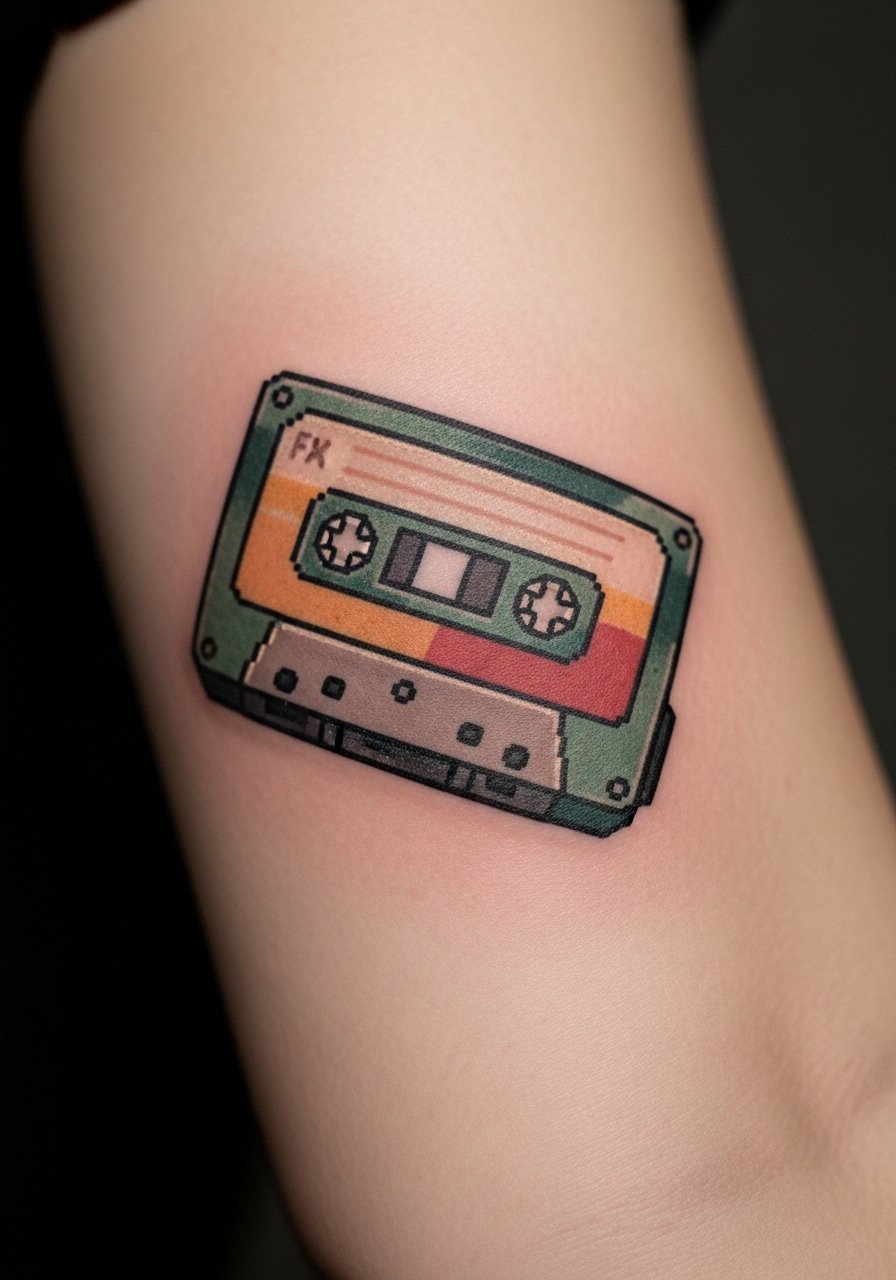
Inner forearm is forgiving and shows off horizontal pixel designs well. I like muted palettes here—less risk of neon fading quickly. Healing is straightforward but avoid heavy sun exposure while colors settle. Common mistake: using too many tiny color changes—stick to 3–4 tones.
7. Pixel Ghost on Ankle
Style/Technique: Pixel / Minimal
Pain Level: High (6-7/10)
Session Time: 30–60 minutes
Best For: Small visible charm, easy to hide with socks
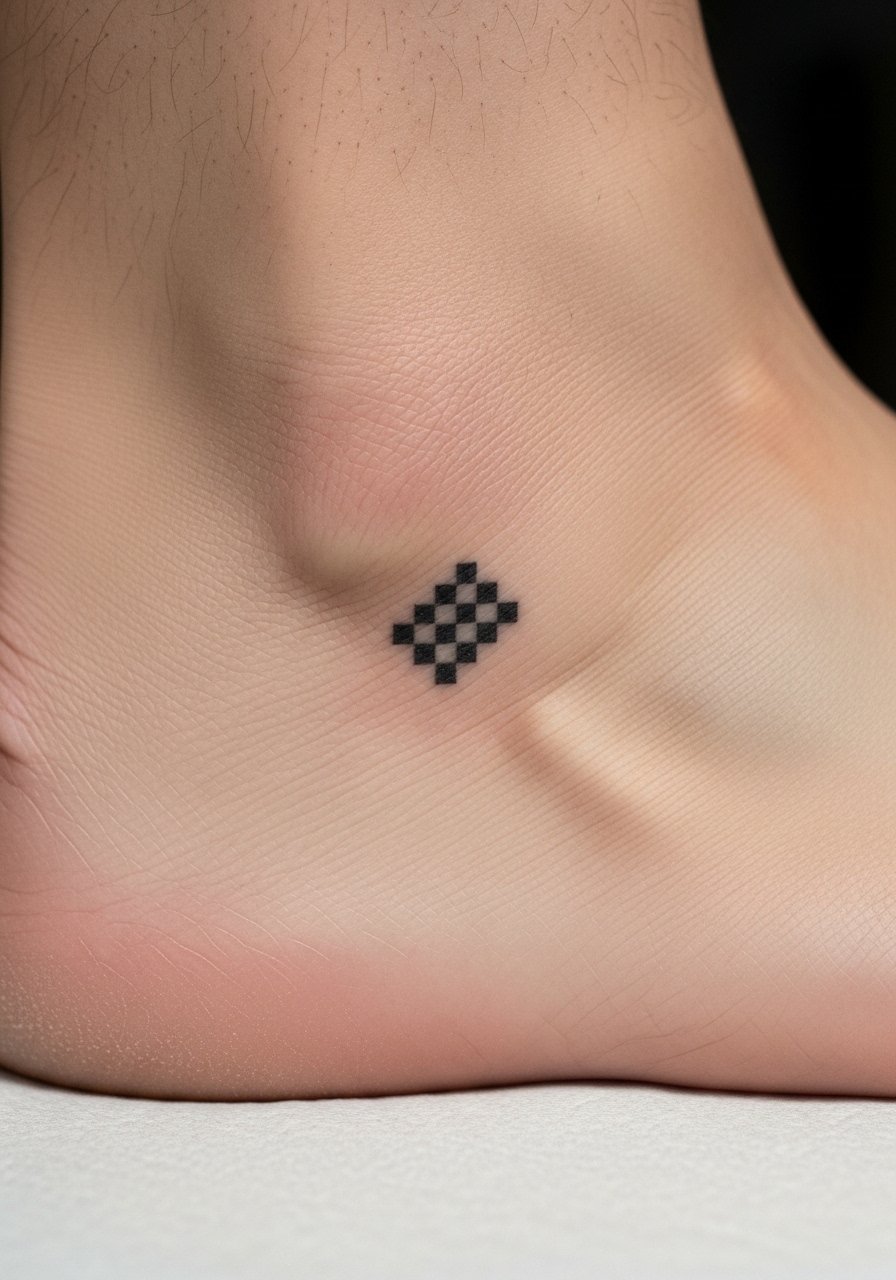
Ankle tattoos hurt more than they look because of proximity to bone. Pixel ghosts work because they’re simple blocks; they stay readable after healing. I advise asking for thicker outer pixels to reduce edge blurring. Keep it small but not microscopic.
8. Pixel City Skyline on Collarbone
Style/Technique: Pixel / Linear
Pain Level: High (6/10)
Session Time: 1–2 hours
Best For: Subtle statement, visible with neckline
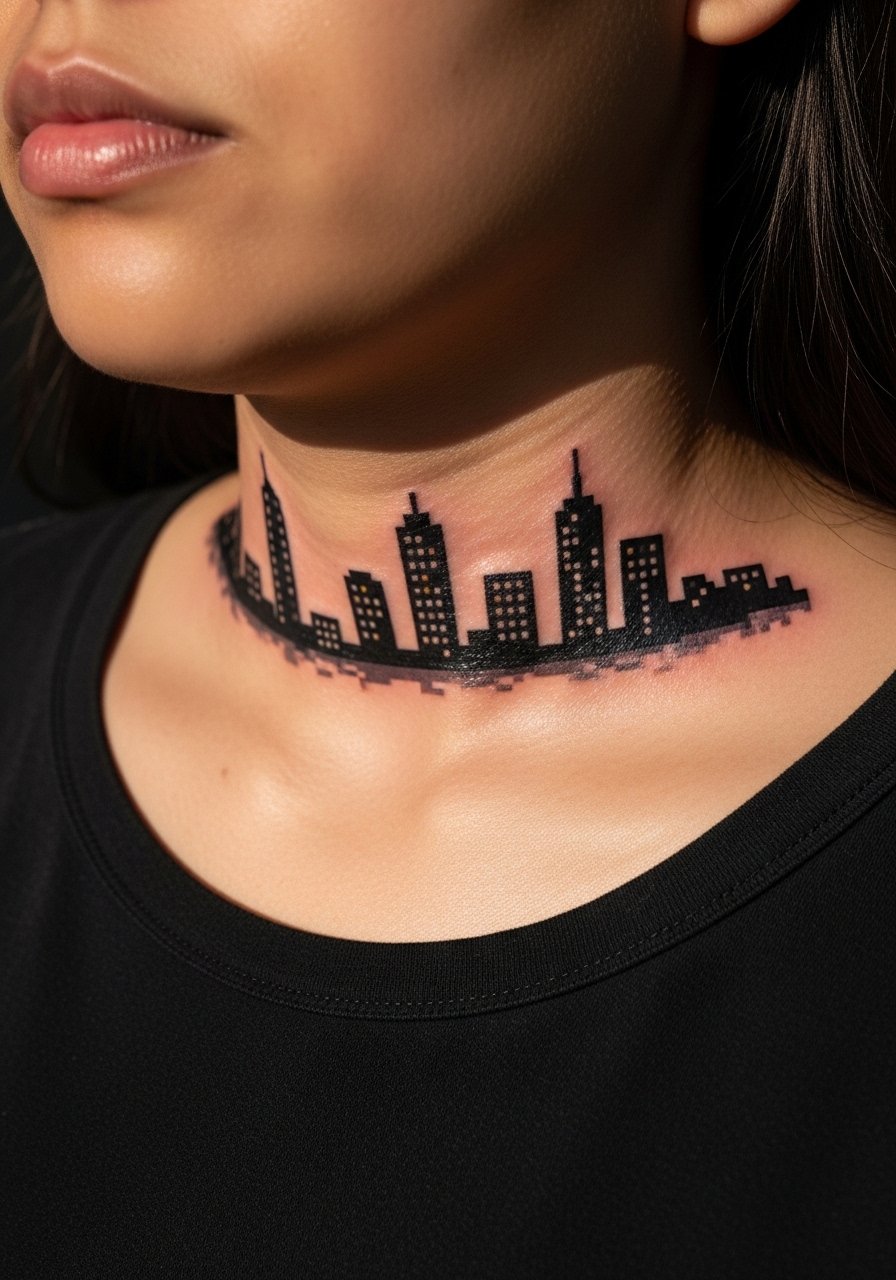
Collarbones are tender but look great with horizontal pixel compositions. Expect more discomfort but the result reads cleanly. Avoid overly tall pixels that wrap over bone—these blur faster. Ask for slightly larger pixel blocks than you think you need.
9. Pixel Sword on Ribcage
Style/Technique: Pixel / Bold Outline
Pain Level: High (7-8/10)
Session Time: 2–4 hours
Best For: Statement piece, private display
Ribs hurt but offer a broad canvas for vertical pixel designs. For rib pieces, plan for multiple short sessions. I’ve seen pixel swords age well if outlines are a touch thicker. Don’t compress too many pixels into a narrow strip—clarity matters.
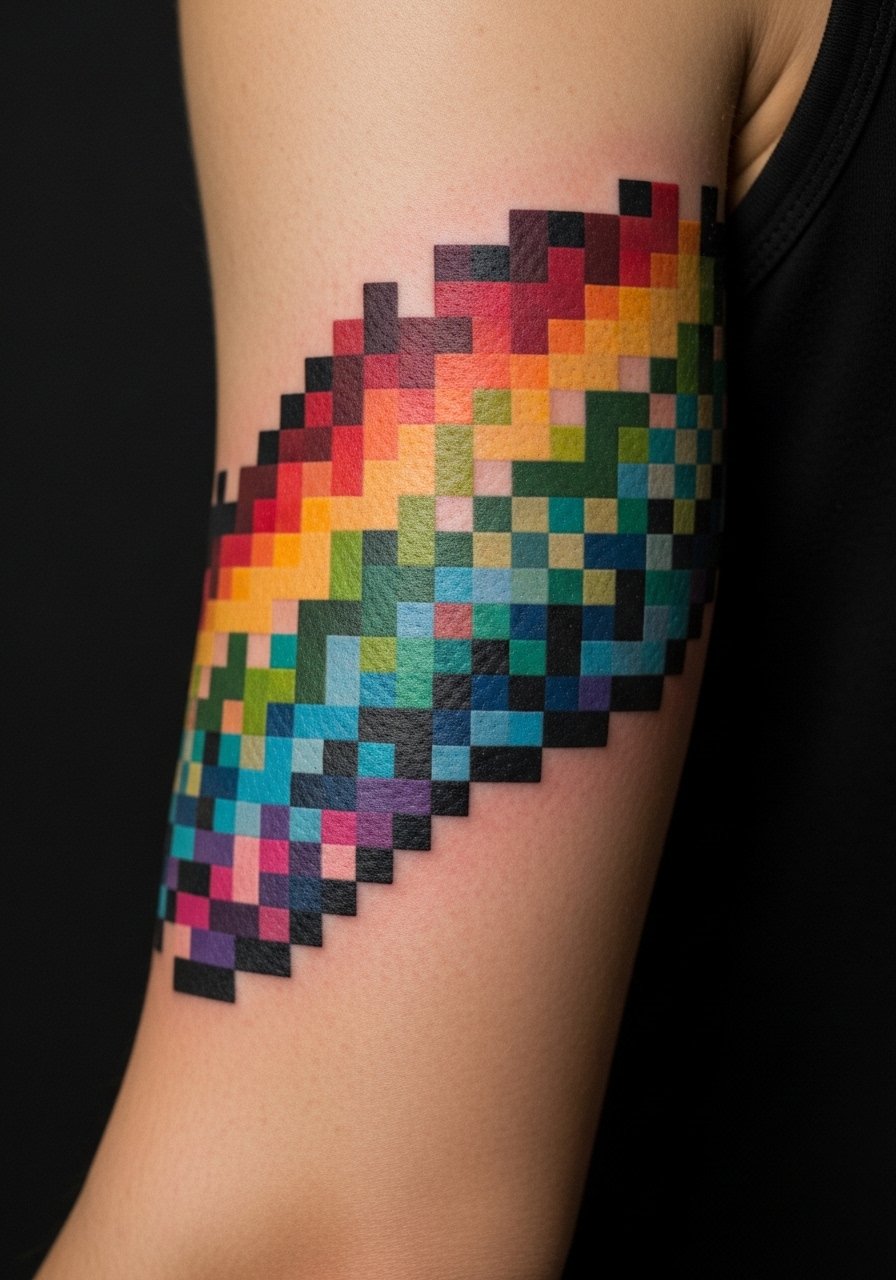
10. Pixel Rainbow on Shoulder Blade
Style/Technique: Pixel / Color Block
Pain Level: Medium (4/10)
Session Time: 1–2 hours
Best For: Playful color, well-covered by clothing if needed
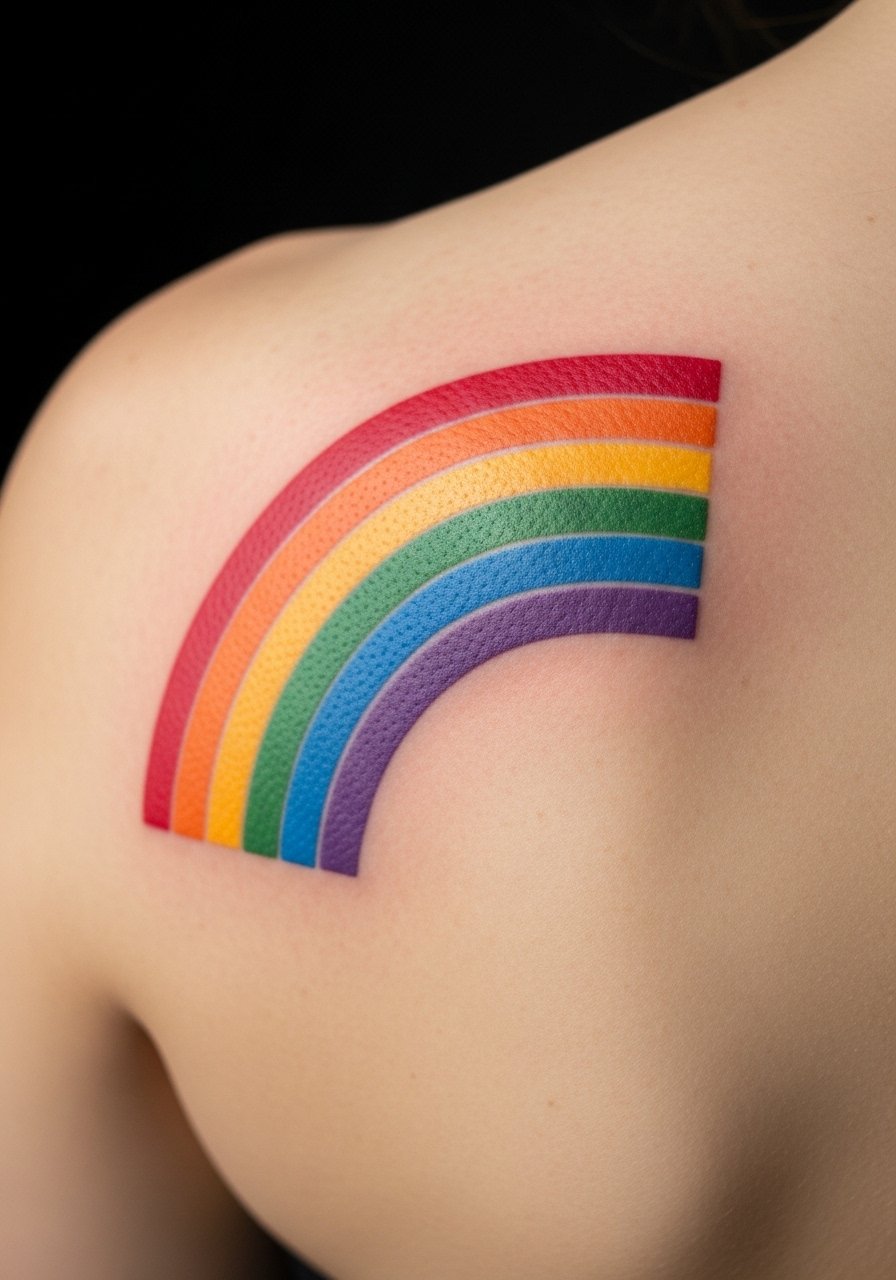
Shoulder blades hold color nicely and are less prone to constant friction. Rainbows look clean in block form; brighter colors may settle a bit. I recommend asking for a slightly higher saturation so colors don’t appear dull during healing.
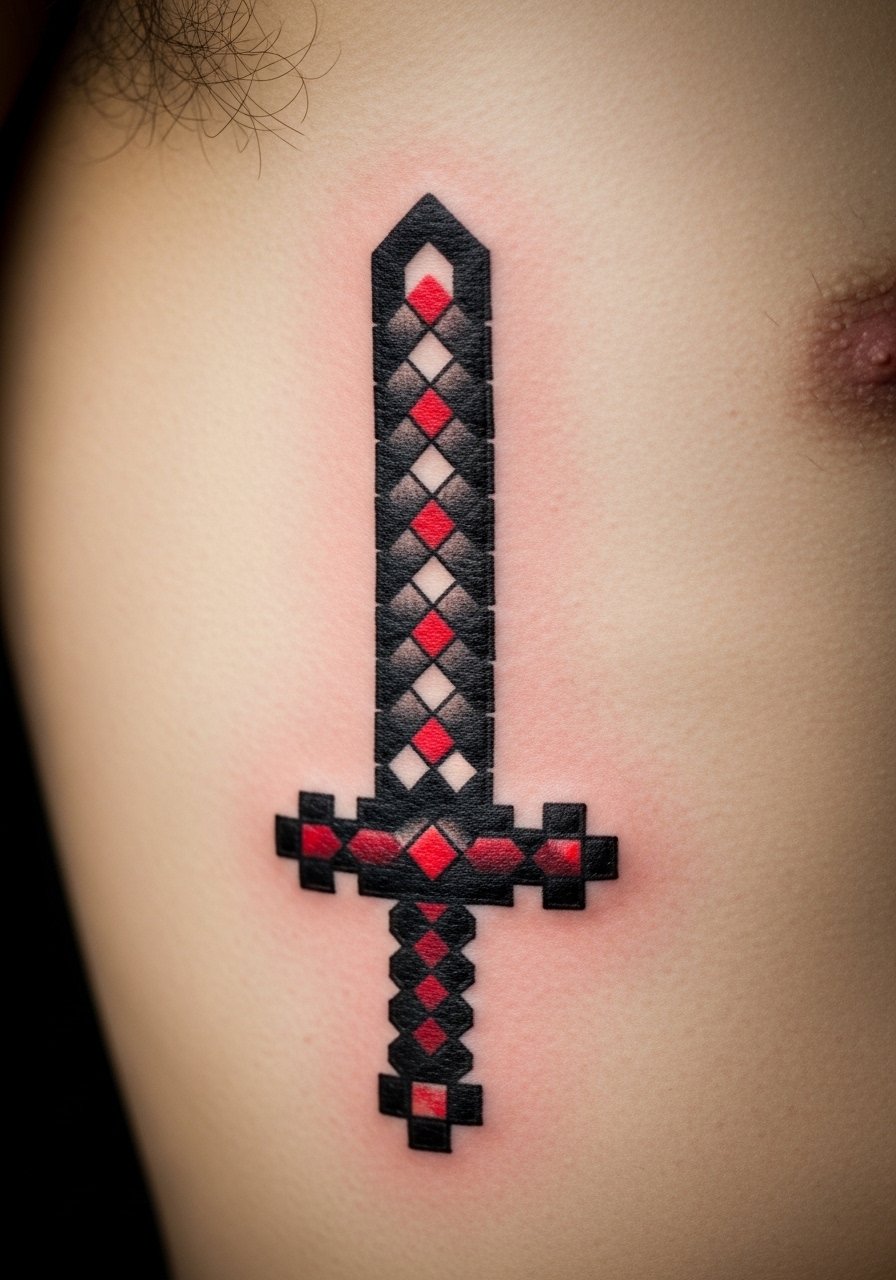
11. Pixel Dagger on Inner Bicep
Style/Technique: Pixel / Blackwork Accents
Pain Level: Medium (4/10)
Session Time: 1–2 hours
Best For: Edgy vibe, sits well with other ink
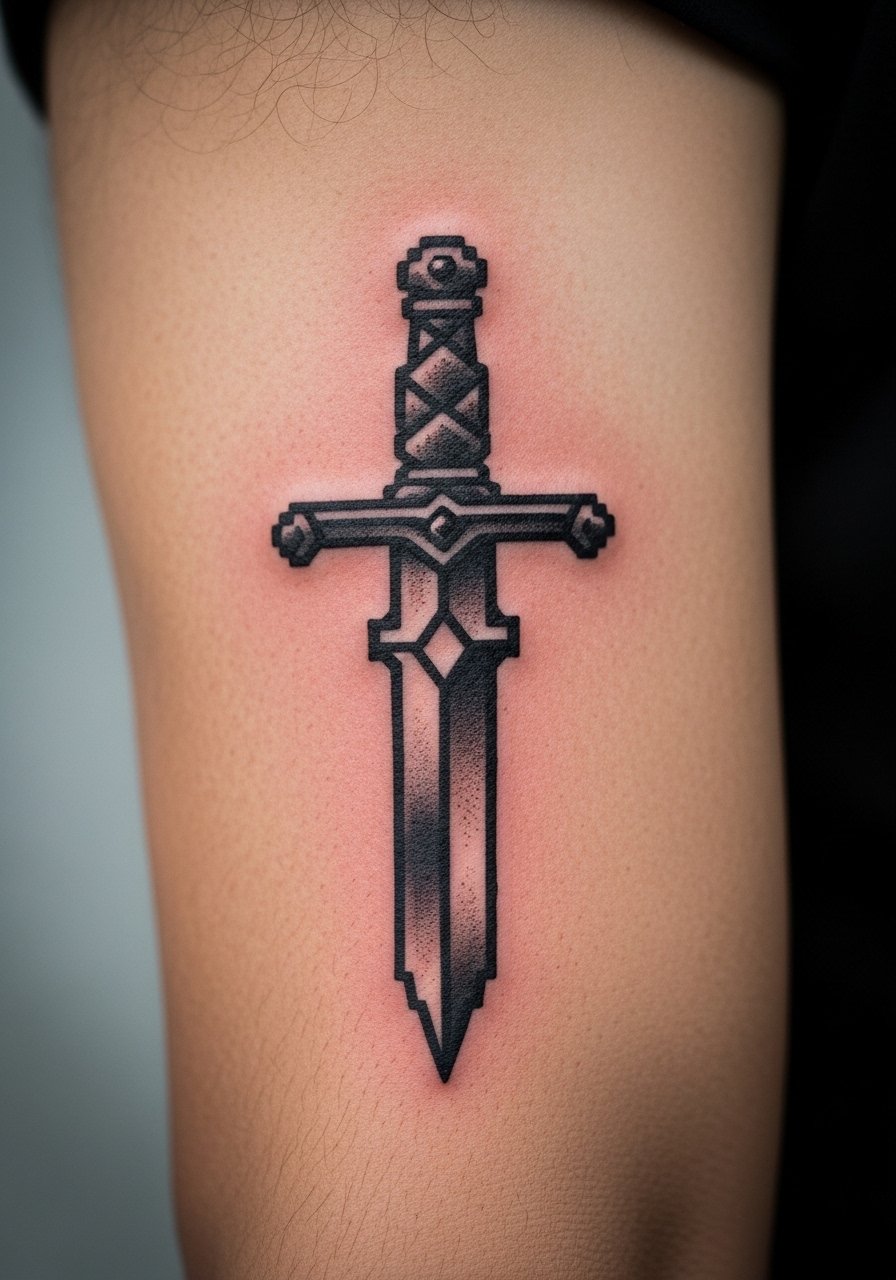
The inner bicep is sensitive but displays vertical designs well. Pixel daggers read as crisp icons when outlines are consistent. Avoid overly thin pixels near the edges to prevent feathering. Ask your artist about healed examples.
12. Pixel Moon on Nape
Style/Technique: Pixel / Minimal
Pain Level: Medium (4/10)
Session Time: 30–60 minutes
Best For: Hidden or revealable placement
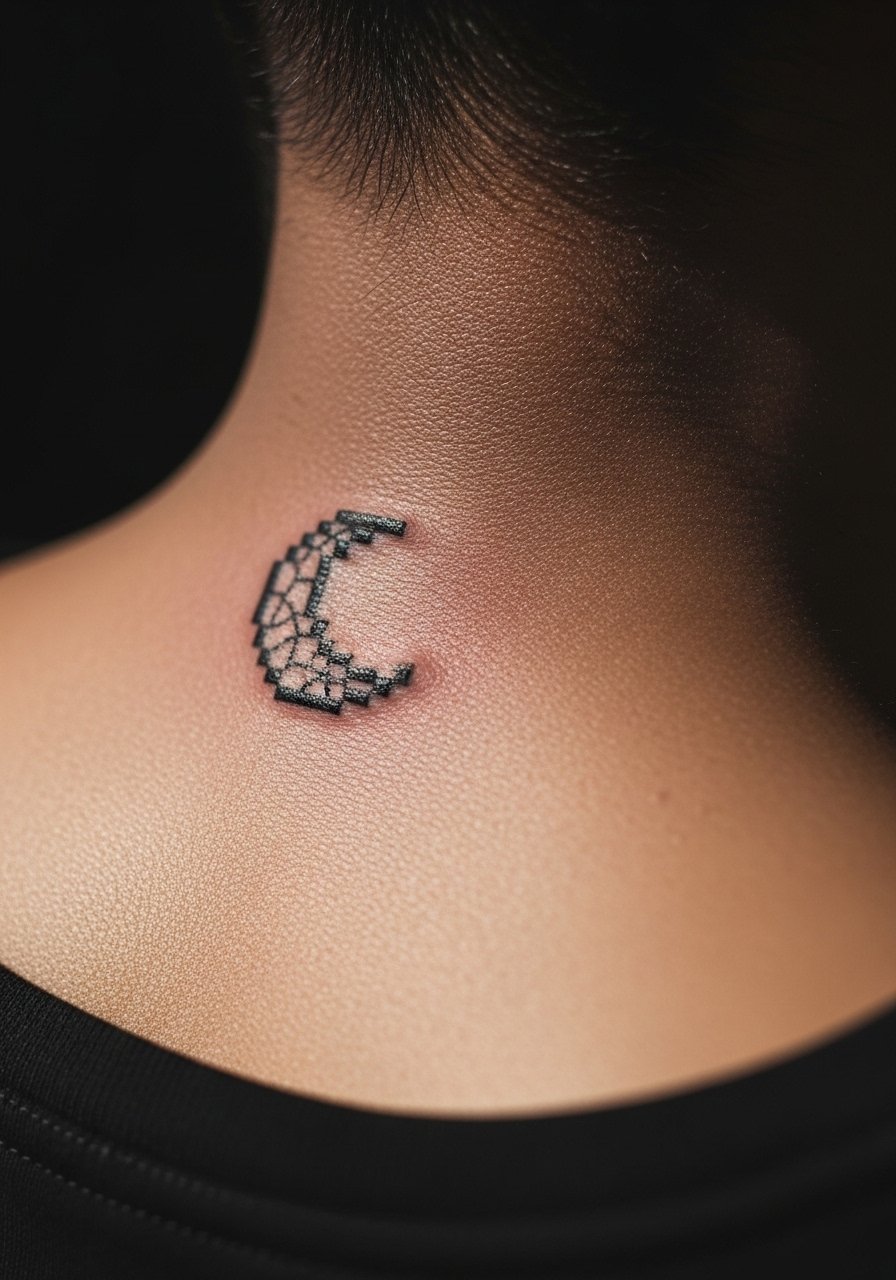
Nape tattoos are a great balance of visibility and privacy. Pixel moons look charming and age predictably. Hair and clothing rubbing can irritate during healing—keep the area clean and moisturized. White highlights rarely show on deep tones so plan colors accordingly.
13. Pixel Soundwave on Inner Arm
Style/Technique: Pixel / Graphic
Pain Level: Low-Medium (3/10)
Session Time: 1–2 hours
Best For: Subtle personal meaning, music lovers
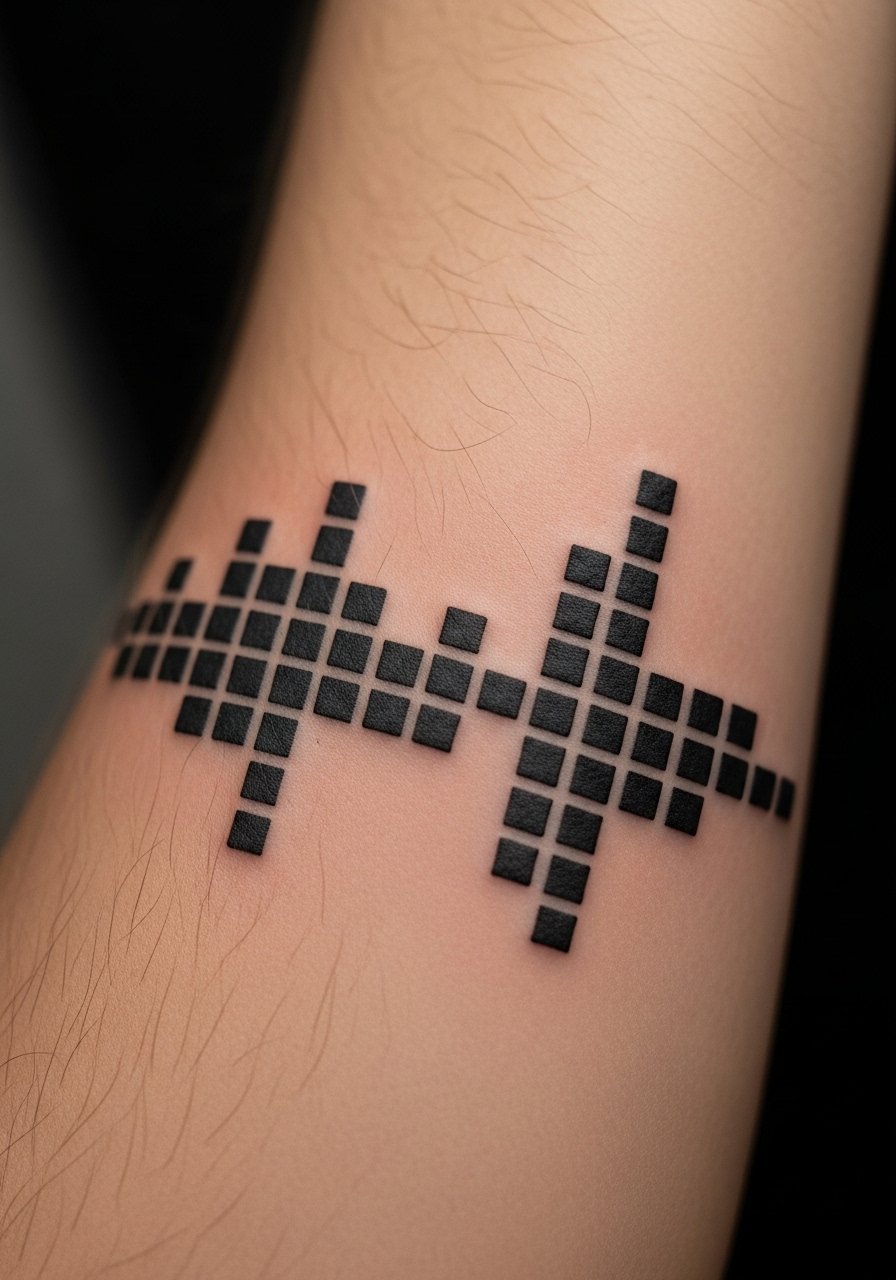
I turned a favorite song snippet into a pixel soundwave and it reads like a secret code. Inner arm placement keeps lines straight and crisp. Avoid super-fine pixels—wider blocks maintain shape over time. Ask for reference healed work of linear pixel pieces.
14. Pixel Cassette Band Around Wrist
Style/Technique: Pixel / Band
Pain Level: Medium (4/10)
Session Time: 1–2 hours
Best For: Wrap-around statement, visible daily
Wrist bands can blur with motion; keep pixel blocks slightly larger to avoid soft edges. I like cassette bands for nostalgia and they photograph well. Expect extra care during the first week because wrists move a lot.
15. Pixel Potion Bottle on Hand
Style/Technique: Pixel / Small Color
Pain Level: High (7/10)
Session Time: 30–90 minutes
Best For: Visible charm, statement on hand
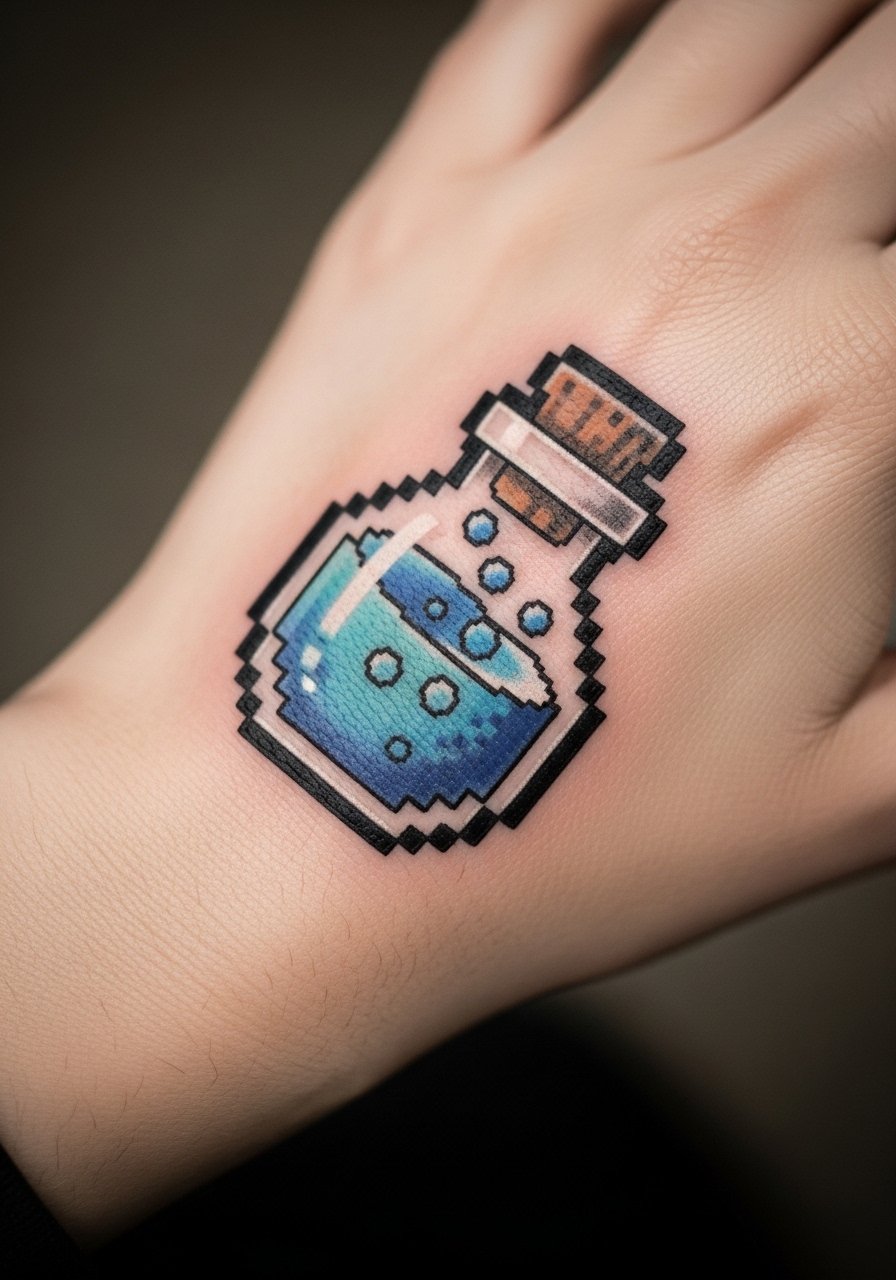
Hands age differently; pigments on hands blur faster. I recommend bold black pixel borders and limited color fills. Expect more touch-ups over years. Don’t plan a hand pixel unless you accept eventual softening.
16. Pixel Rose on Thigh
Style/Technique: Pixel / Neo-Traditional Pixel
Pain Level: Low (3/10)
Session Time: 1–3 hours
Best For: Floral lovers, coverable statement
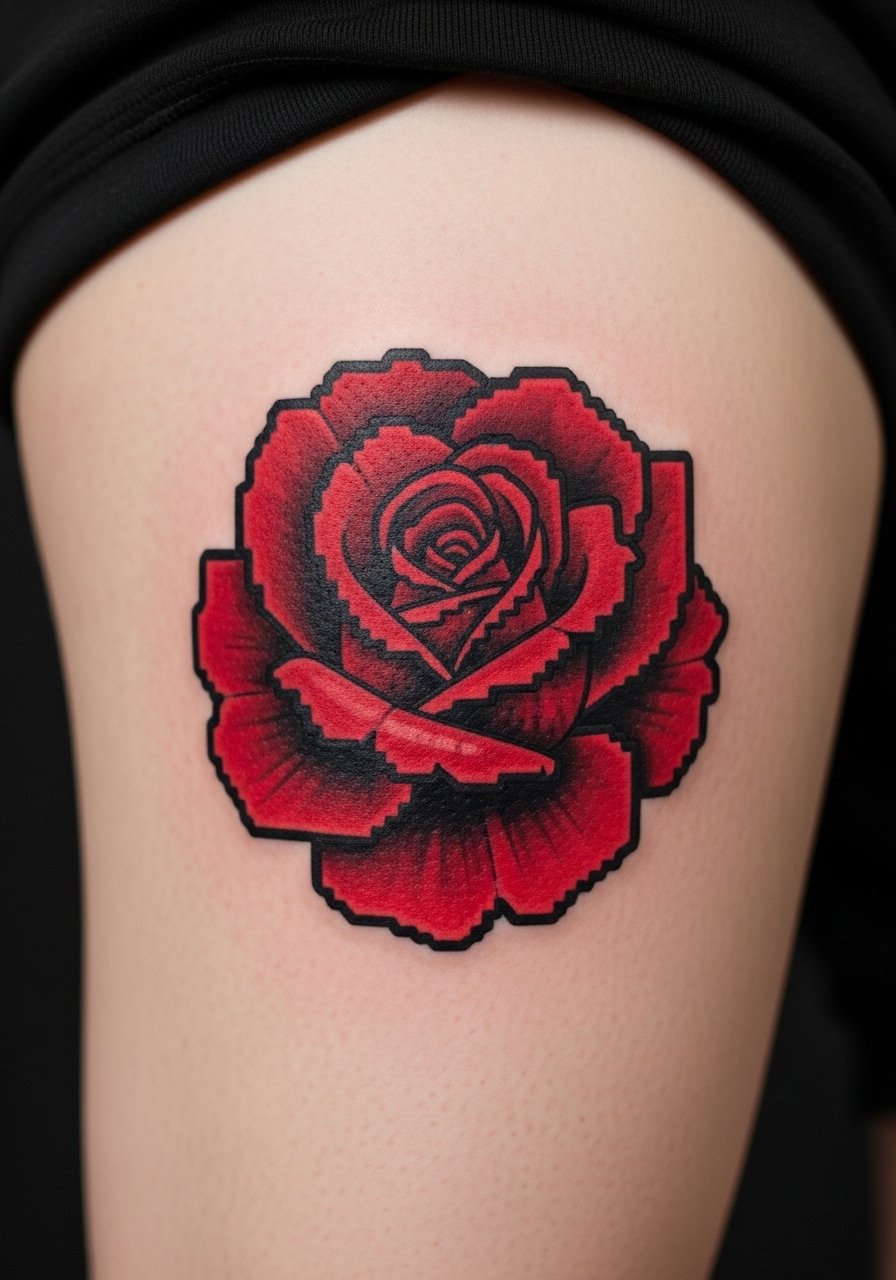
Thighs are forgiving for color retention, making them perfect for pixel florals. Pixel roses keep the motif recognizable without busy detail. I’ve seen these age beautifully when outlines are slightly reinforced.
17. Pixel Compass on Sternum
Style/Technique: Pixel / Geometric
Pain Level: High (7-8/10)
Session Time: 1–2 hours
Best For: Centerpiece, meaningful anchor
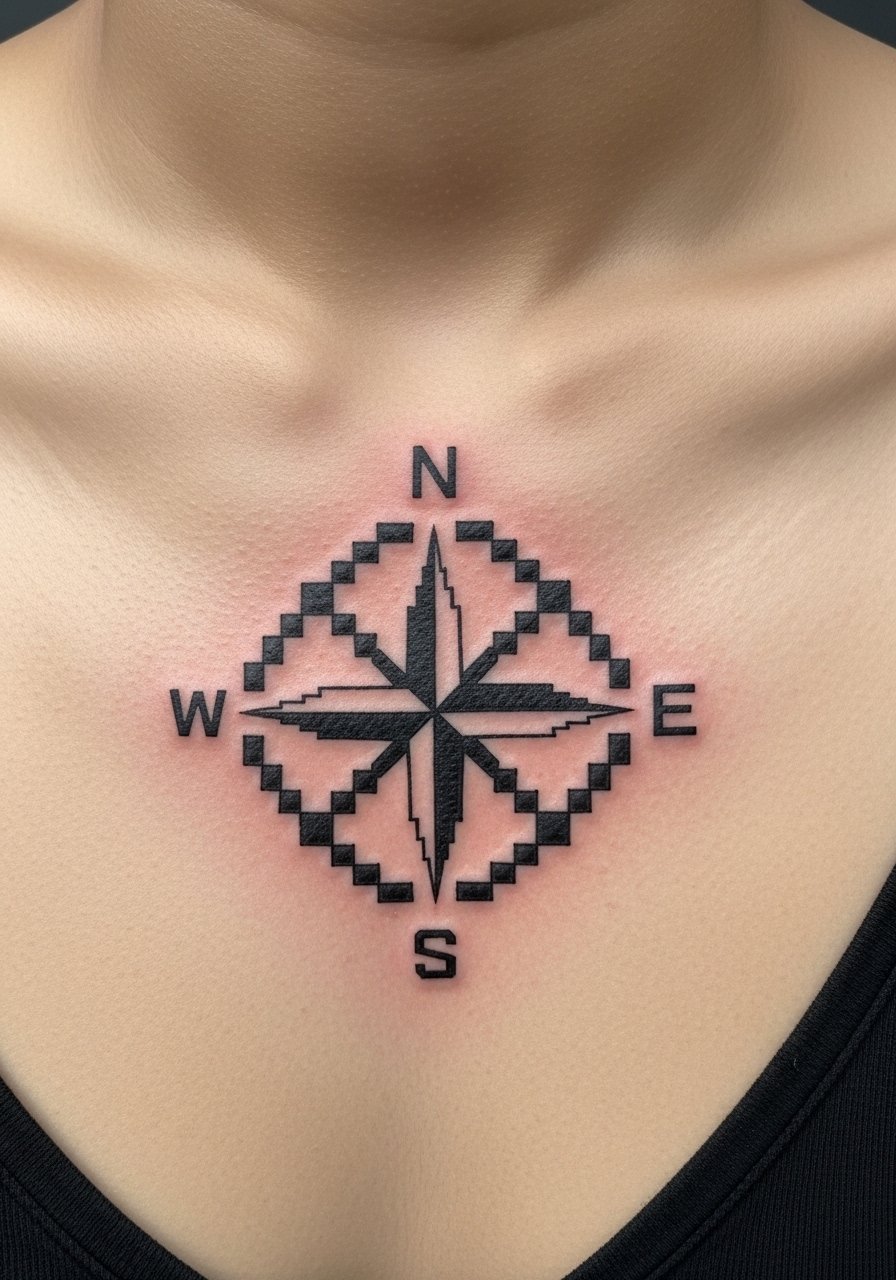
Sternum placement can be intense pain-wise but yields a striking central piece. Symmetry is crucial—have your stencil aligned. Keep pixel blocks bold; very fine pixels risk uneven healing on the sternum.
18. Pixel TV on Upper Back
Style/Technique: Pixel / Retro Icon
Pain Level: Medium (4/10)
Session Time: 1–2 hours
Best For: Nostalgia, larger canvas
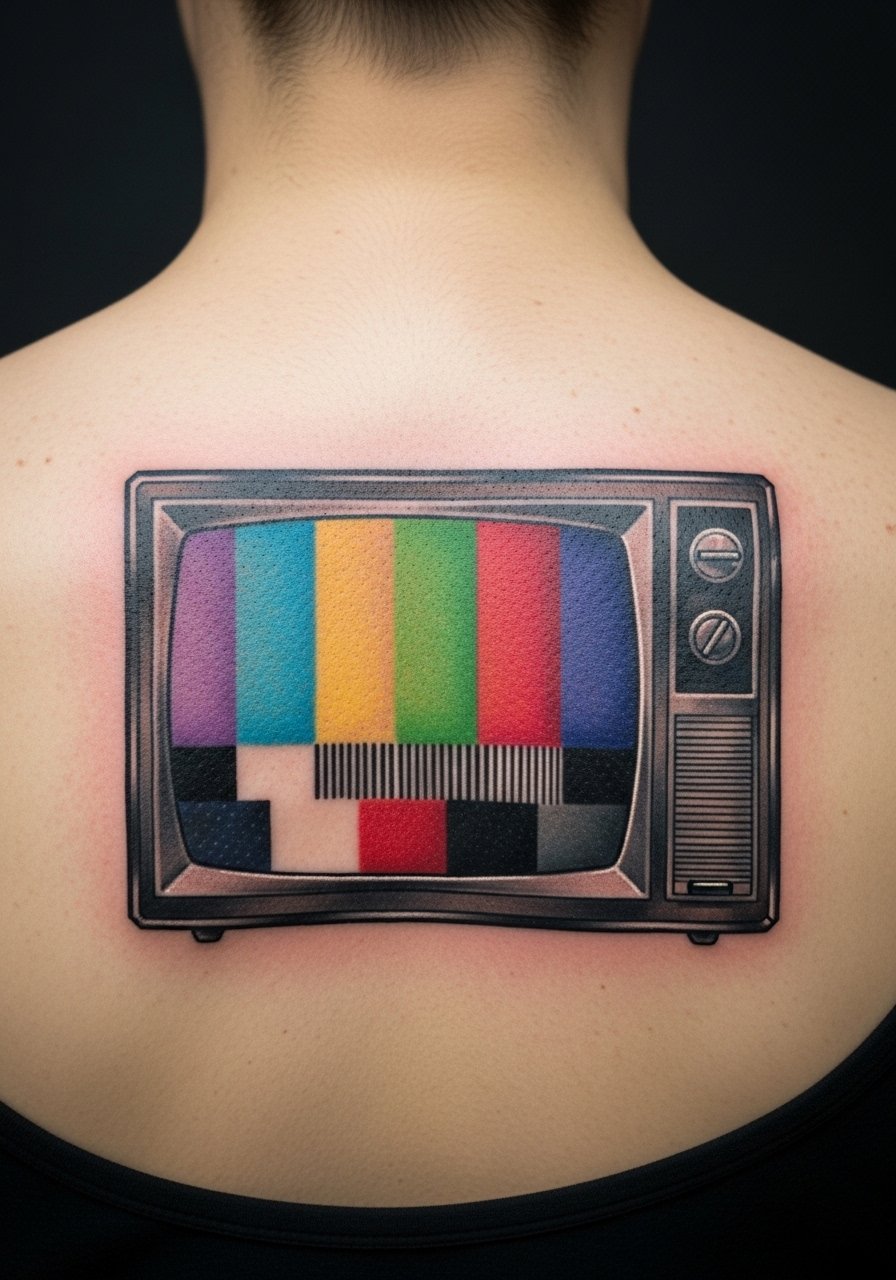
Upper backs are roomy and heal with less friction. Pixel TVs can incorporate multiple colors but limit palettes to 4–5 for longevity. I like slightly larger pixels here to read from a distance.
19. Pixel Key on Finger Side
Style/Technique: Pixel / Micro
Pain Level: High (7-8/10)
Session Time: 20–40 minutes
Best For: Tiny symbol, secret meaning

Finger tattoos fade faster due to constant use. Pixel keys can work but expect quicker softening and occasional touch-ups. Use bold pixels and avoid placing on joints where possible.
20. Pixel Wave on Lower Rib
Style/Technique: Pixel / Minimal Graphic
Pain Level: High (7/10)
Session Time: 1–2 hours
Best For: Hidden geometric flow
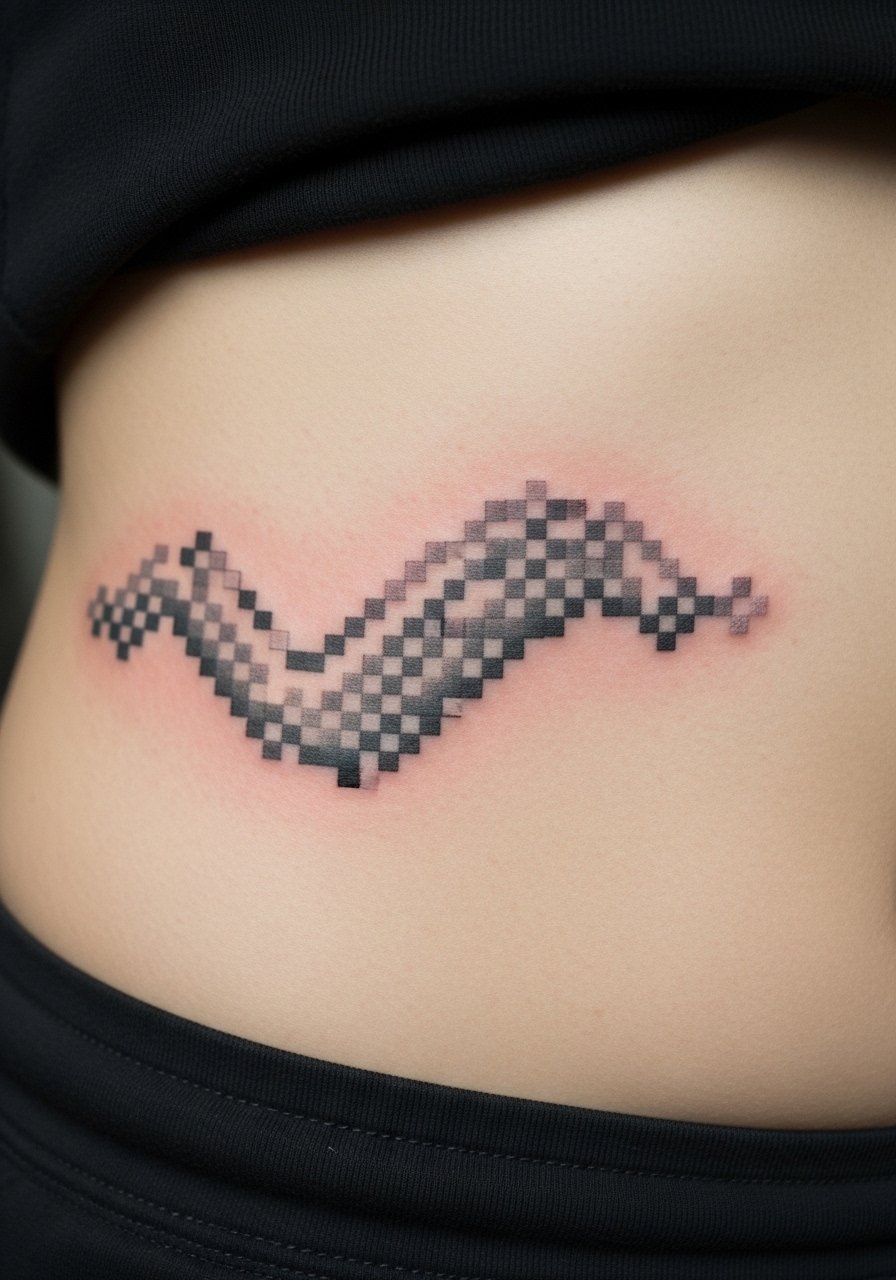
Rib placement is painful but the visual payoff is strong. Keep the wave simple—too many tiny pixels will blur. Give yourself longer healing time before heavy exercise.
21. Pixel Mosaic Sleeve (Partial) on Outer Arm
Style/Technique: Pixel / Mosaic Sleeve
Pain Level: Medium-High (5-7/10)
Session Time: Multiple sessions
Best For: Collector piece, bold retro statement
A mosaic sleeve uses many pixel motifs to form a cohesive look. It’s a long commitment but visually striking. Plan spacing between blocks to prevent colors from running together as skin ages. Start with a test patch to see how tiny pixels hold.
22. QR-Style Pixel Grid Hidden Message on Rib
Style/Technique: Pixel / Conceptual
Pain Level: High (7-8/10)
Session Time: 1–2 hours
Best For: Personal code, unique conversation starter
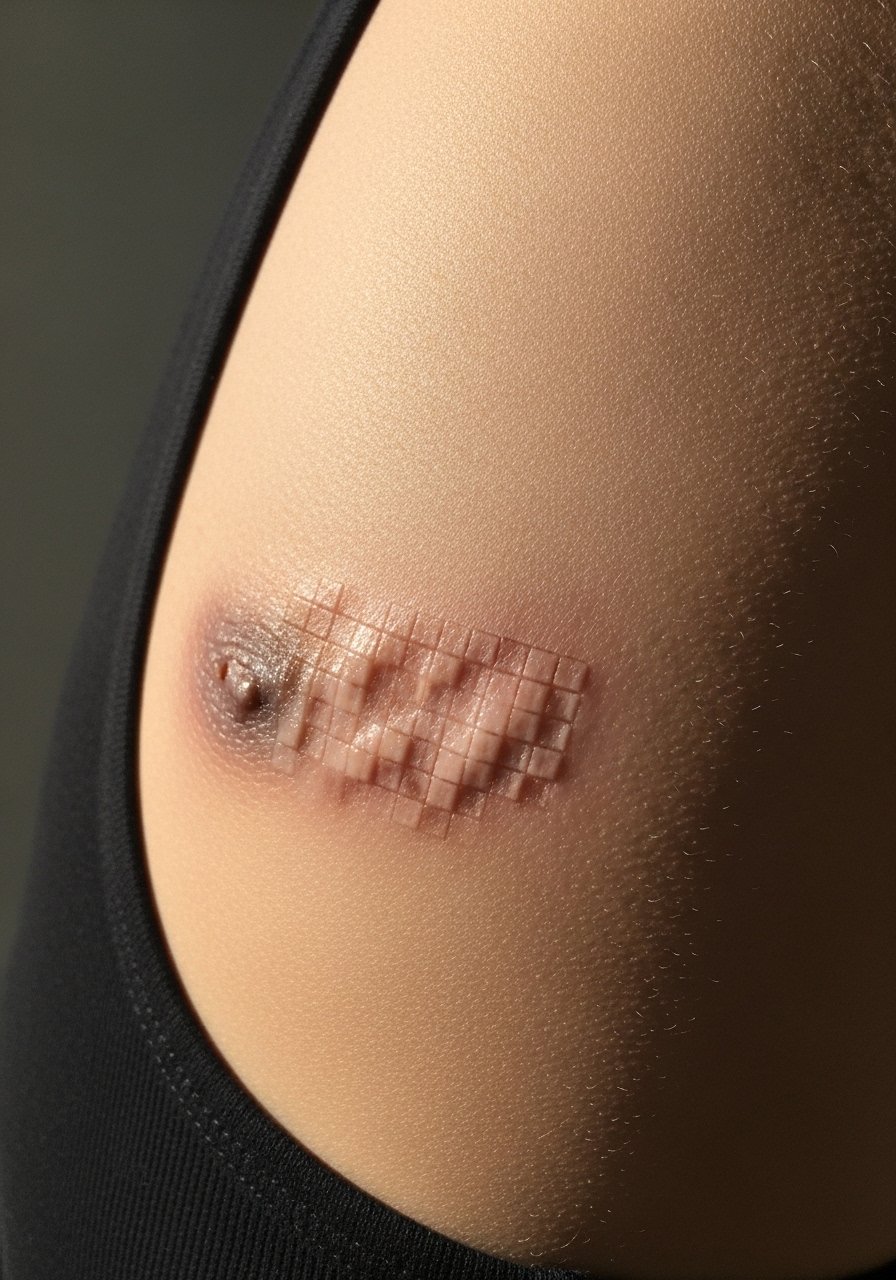
This is a fresh angle I keep seeing: a pixel grid that encodes a phrase or initials. It reads like abstract art until close inspection. Ensure your artist tests how the message reads healed—tiny blocks that touch can ruin the pattern. Avoid making it scannable as a functioning QR code; wear and skin shifts will break it.
Tattoo Prep and Aftercare Essentials
Aftercare Essentials:
- Aquaphor Healing Ointment, 14oz tube — Industry standard for first 3–5 days
- Saniderm Transparent Adhesive Bandage, 6-inch roll — Second-skin healing method
- CeraVe Fragrance-Free Moisturizing Lotion, 12oz — Daily moisturizer for days 4–14
- Dr. Bronner's Unscented Castile Soap, 32oz — Gentle cleaning during first weeks
Before Your Appointment:
- Tattoo Numbing Cream 5% Lidocaine (30g) — Use only if your artist approves
- Tattoo Stencil Transfer Paper, Pack — For mockups and custom grids
Long-Term Maintenance:
- SPF 50 Sunscreen Stick For Tattoos — Daily sun protection preserves pixels
- Mad Rabbit Tattoo Balm, 1oz — For keeping healed ink vibrant
- Hustle Butter Deluxe, 4oz — Vegan alternative for moisturising
Optional Comfort & Repair:
- Hydrocolloid Bandages Large (12-pack) — For small spot protection after scabs
- Tattoo Numbing Spray — For touch-ups or sensitive spots
Frequently Asked Questions
Q: How bad does a pixel tattoo hurt?
A: Pain varies by placement. Forearm/upper arm = 3/10. Ribs/ankles = 7–8/10. Pixel work often uses solid fills and bold outlines, so expect steady buzzing rather than sharp stabs. For sensitive spots ask about numbing cream but always check with your artist first.
Q: Will tiny pixels blur over time?
A: Yes—tiny single-pixel lines are the most likely to blur. From what I’ve seen, slightly enlarging pixel blocks and using bold outlines helps retention. Artists experienced in micro-pixel work can show healed pictures to set expectations.
Q: What should I avoid during healing?
A: Don’t soak the tattoo, avoid heavy sweating for 48–72 hours, and skip tight clothing that rubs the area. Clean gently with a mild soap like Dr. Bronner's Unscented Castile Soap and use Aquaphor or a recommended balm.
Q: How do I keep colors from fading?
A: Sunscreen is essential. From what I’ve gathered, UV is the main culprit. Use an SPF 50 sunscreen stick daily on exposed ink and keep skin moisturized with a fragrance-free lotion.
Q: Can I get a pixel tattoo if I have darker skin?
A: Yes. Black and bold color palettes tend to read best. I’ve noticed that some light colors like white or pale yellow can be muted on deeper tones—ask to see healed work on similar skin tones.
Q: Should I start with a small pixel tattoo first?
A: Only if you actually want it. A small test piece can help you check pain tolerance and how pixels hold on your skin, but don’t get something you’ll regret. If you’re nervous, pick a less painful area like the outer upper arm.
Q: How long until a pixel tattoo looks “final”?
A: Surface healing: 2–3 weeks. Full settling: 2–3 months. Colors or block edges may look dull while skin regenerates. If you’re unsure about saturation, ask your artist to show healed photos of similar pixel work.
Q: What’s a common mistake people make with pixel tattoos?
A: Trying to cram too much detail into a tiny grid. From my experience, simpler designs with larger pixel blocks read longer and require fewer touch-ups. If you want detail, plan for a bigger piece.
