
Someone I know spent months chasing a sleeve that read like three different portfolios. The problem was not finding cool motifs. It was lining up styles, talking budgets, and understanding which tiny patches will still look crisp after two years. Below are 25 compact patchwork ideas for men, each with when to choose it, what to say at consult, how it heals, and common pitfalls to avoid.
1. Fine Line Arrow on Inner Forearm

Someone I know first noticed this style on a friend and liked how discreet it sits under a sleeve. Pain is low on the inner forearm and a single session of 30 to 60 minutes usually does it. Tell your artist you want firm needle depth and a little extra spacing between parallel lines so the arrow still reads at distance. The main mistake is asking for ultra-fine lines too close together, which blur on year two. Expect touch-up talk at year three for maintenance. Works great as a filler between larger trad pieces or tucked beside geometric bands.
2. Tiny Traditional Skull Fragment on Upper Arm
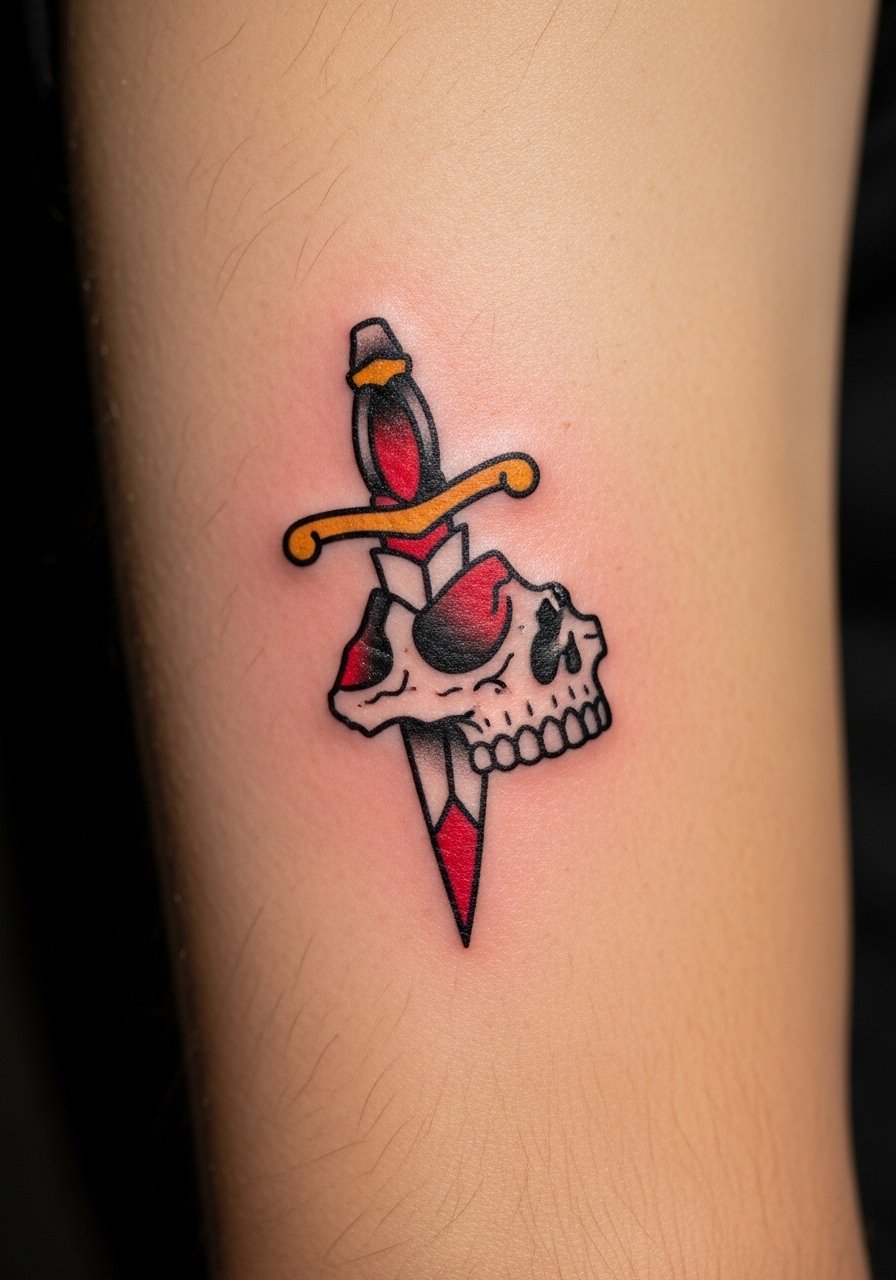
Visual impact is immediate with thick outlines and saturated fills. Pain is moderate on the upper arm and a compact session of 45 to 90 minutes is common. Ask your artist for thick outlines for distance readability and a limited palette so it reads against other patches. A common aging issue is too much color blending into neighboring pieces. Avoid asking for tiny shaded details inside the skull because stipple shading reads better in larger patches. This piece pairs well with neo-traditional gears or roses and usually needs a touch-up around year four if you spend a lot of time in the sun.
3. Dark Realism Wolf Head on Outer Bicep

Fair warning: outer bicep sessions can be long and drag on if you go photoreal. Expect 2 to 3 sessions at about two hours each. Tell the artist you want heavy contrast and controlled saturation so the facial details do not wash out on darker skin tones. The common misstep is pushing too much micro-detail into a small patch. In my experience, realism fillers age best when scaled up slightly and placed where the skin does not stretch dramatically. Plan for a touch-up within two to four years for saturation recovery.
4. Geometric Mandala on Inner Forearm

When you want a clean, meditative filler, mandalas work well on the inner forearm. Session time is usually 60 to 90 minutes depending on complexity. The biggest mistake is going too small for the level of detail. Lines need breathing room to avoid a muddled look at year two. Fine line fans argue this holds up if executed with exact depth. Others warn that dense dot work blurs unless spacing is generous. Ask for moderate line weight and spot testing for spacing if you have darker skin or tighten tissue on the arm.
5. Micro-Realism Machinery Band on Forearm

There is a gritty appeal to machine parts across a forearm band but expect a multi-hour session and careful staging so it reads as a band rather than a patch. Tell your artist you want clear negative space to separate gears from neighboring tatts. A common error is compressing too many tiny parts into one short band. At six months the edges look crisp, at two years the fine shadowwork softens. Plan touch-ups at year three depending on how often you sweat during training or work manual jobs.
6. Minimalist Anchor Cluster at Wrist
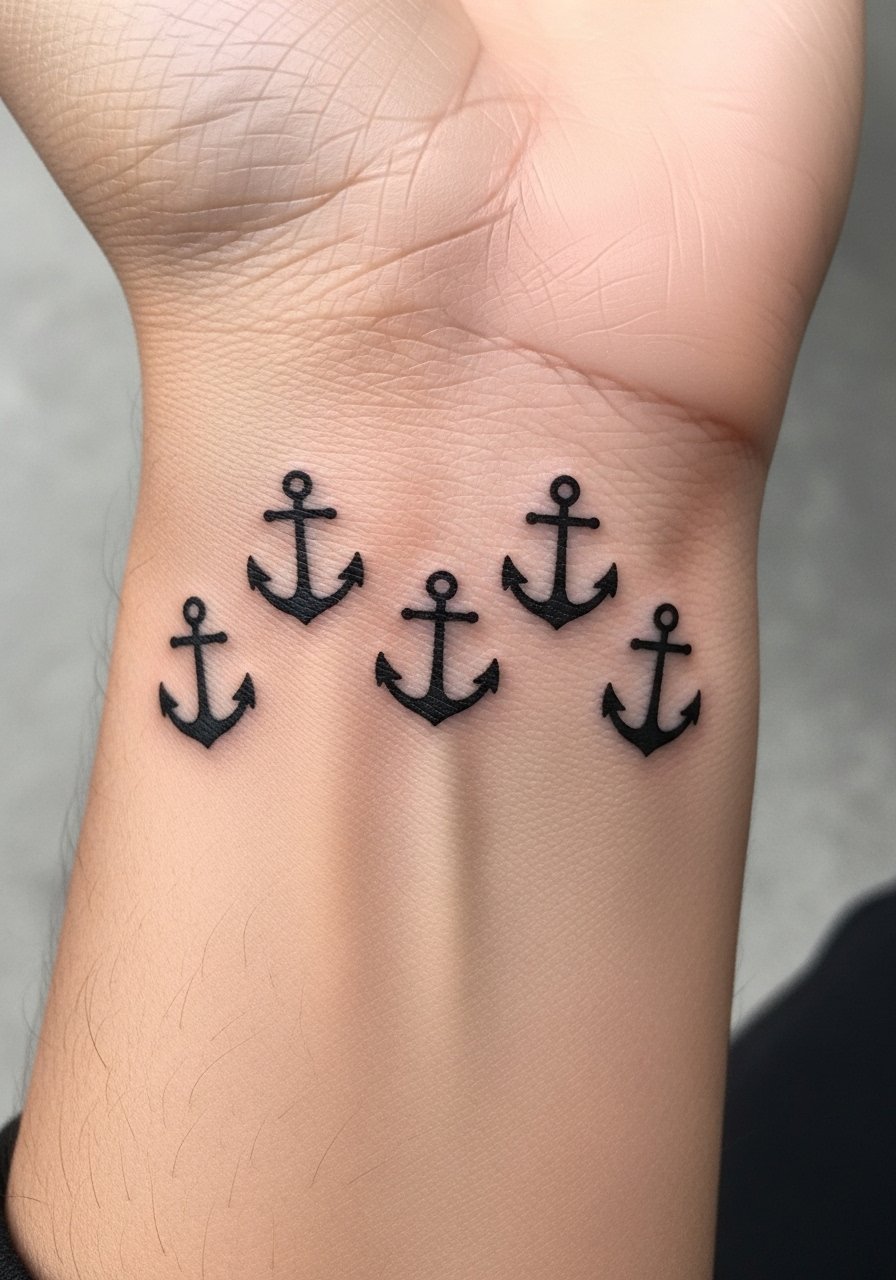
This is a low-commitment starter for a patchwork plan. Wrist pain is mild to moderate and sessions are quick, often under 45 minutes. Ask for thicker outlines because thin anchors on wrists can fade fast. People who go with thin single-needle anchors often come back frustrated at six months. This cluster expands easily into bands or tiny nautical fillers down the line. If you work with heavy tools, be aware of abrasion risks and expect touch-ups every 12 to 24 months.
7. Swallow Flock Thigh Panel

Thigh placements hide well for healing and suit larger traditional motifs. Sessions are medium length and generally comfortable. During consult, show reference photos that illustrate spacing between birds so each reads independently when you walk. A typical mistake is crowding the flock into too tight an area, which looks muddled once seated. Thigh pieces handle weight fluctuations moderately well but expect some distortion if you do heavy leg bodybuilding. These pieces age nicely if kept out of prolonged sun exposure.
8. Japanese Dragon Fragment Across Shoulder

There's a flow quality to shoulder fragments that tie into chest panels. Expect moderate pain and sessions of 90 to 180 minutes. When you sit down with the artist, ask for directional scales and a red-black palette so the dragon integrates with other eastern motifs. A common mistake is mixing full Irezumi panels with tiny trad flash without matching outline weight. If cultural imagery matters to you, acknowledge origins and ask for respectful variations rather than direct replicas. Touch-ups are typically needed at three to five years for color reset.
9. Sacred Geometry Wolf Head on Calf

Calf space allows for precision and visibility during activity. For runners, airflow and placement matter so stitches do not sit on high-friction zones. Sessions often last 60 to 120 minutes. Tell the artist you want slightly thicker linework to handle motion and fabric rub. A mistake is packing too many intersecting lines into tight geometry, which can blur with muscle gain. Expect touch-ups in two to three years if you wear high socks during training.
10. Pin-Up and Rose Chest Panel

Chest panels can be sensitive and take 90 to 150 minutes per session. If you want vintage vibe, bring pin-up references that show specific hand positions and shading. A common error is asking for tiny facial details that do not translate on chest curvature. For men who plan significant chest gains or hair changes, consider placement slightly off-center for longevity. Expect periodic touch-ups around year three for color brightness.
11. Bold Outline Dagger and Rose on Bicep

This classic is a sharp filler between larger elements and usually done in a single session under 90 minutes. Ask for thicker outlines so the dagger still reads if neighboring pieces appear. A mistake is requesting ultra-fine inner shading with no outline support. Biceps respond well to touch-ups and wear nicely as long as lines are not too fine. Pain is moderate and healing over the curve of the muscle looks best when you keep movement light for a week.
12. Ornamental Tribal Skull for Neck Filler

Neck pieces demand consideration because they are visible and may affect work prospects. Pain on the neck is high and sessions are brief due to sensitivity. Ask for compact bold shapes and avoid tiny filigree that can bleed. A common blunder is underestimating visibility in professional settings. If you choose this, book with an artist experienced in tight placements and expect a touch-up at 12 to 24 months.
13. Knuckle Patch Icons

Knuckle work ages distinctly and often requires annual touch-ups. Sessions are quick but painful. The reality is knuckles fade faster due to constant washing and friction. Ask for bold, simplified glyphs rather than thin script. If you want letters, specify the exact text to avoid generator gibberish. Plan for maintenance every 12 to 18 months and keep career considerations in mind.
14. Geometric Over Faded Traditional Layer

Layering geometric blackwork over faded traditional can refresh older ink without full cover-up. Session time depends on how much old pigment you want to mask. Tell your artist you want the geometry to sit slightly off the old outlines so both read. The common mistake is trying to force geometry directly on top of thick old black, which looks muddy. This approach is a cost-effective refresh and shows well at six months if spacing is respected.
15. Calf Patchwork for Runners

Calves are under-covered in guides but work great for athletes because they offer airflow and low abrasion zones. Sessions are comfortable to moderate and often under 90 minutes per patch. Tell your artist you run frequently and want designs that avoid compression lines from shorts. A mistake is placing long vertical details where shorts cut across. For runners, choose compact motifs with robust outlines to resist blur as muscles change.
16. Micro-Realism Pet Portrait as Filler

Memorial pieces spike after holidays and this type of filler adds narrative to a sleeve. Expect one long session or two short ones depending on scale. Ask your artist for contrast map references so you both agree on shadow placement. Small portraits often look muddy if pushed too tiny, so scale up slightly from your first instinct. Plan a touch-up at two years to keep subtle shading alive.
17. Stipple-Shaded Compass on Upper Arm
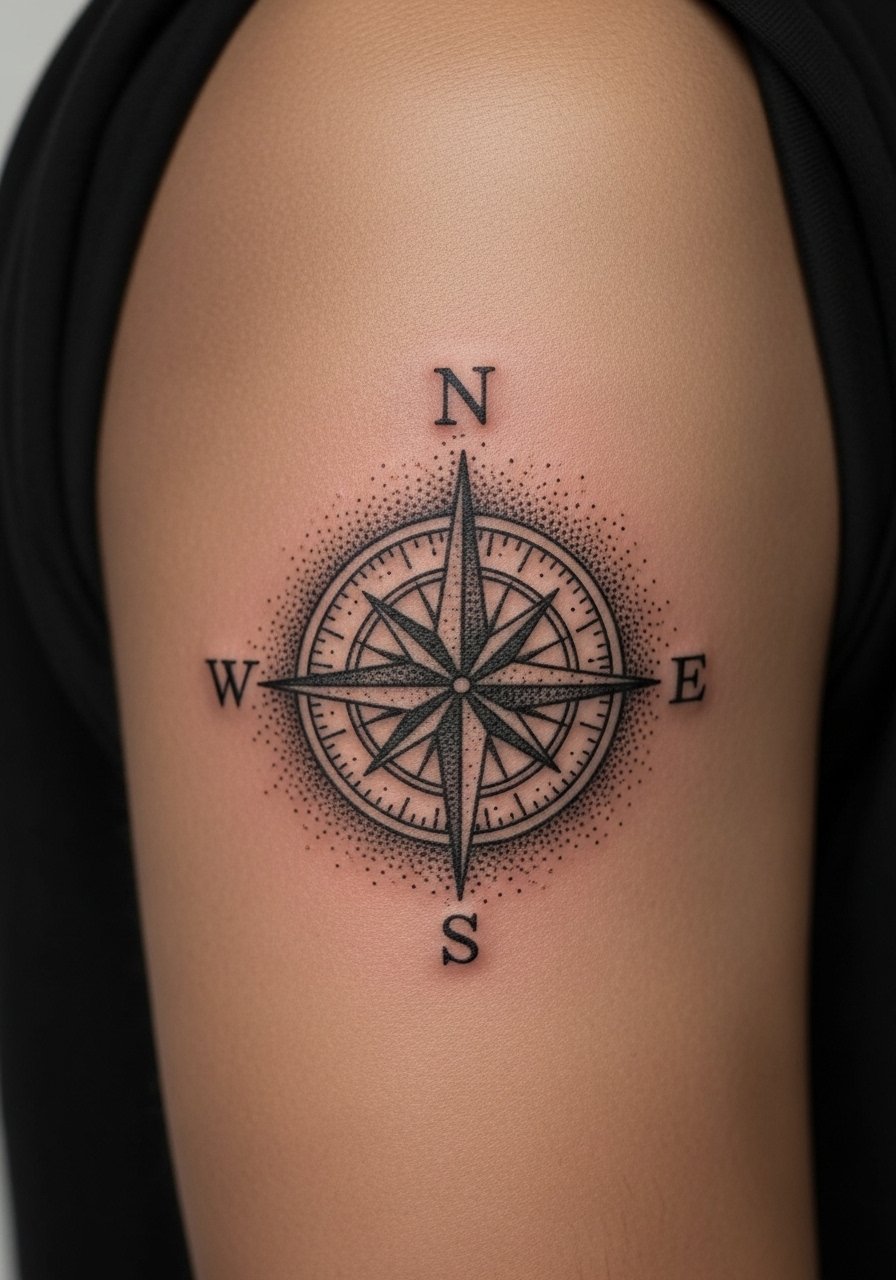
Stipple shading adds a textured feel and reads differently by skin tone. Sessions are moderate in length. Tell the artist you want dot spacing described in mm so you get consistent density. A common error is packing dots too densely in a small field. Stipple holds well if spacing allows skin to breathe. This motif integrates smoothly as a travel-themed filler.
18. Tiny Marine Flash on Collarbone

Collarbones are sensitive and sessions are shorter due to pain. Ask for compact linework and minimal shading because the bone area does not hold soft gradients well. The mistake is asking for too much color saturation near a high-motion seam. Consider placement slightly below the bone for less agony and better healing. Touch-ups are common at two to three years for color boost.
19. Layered Pin-Up Fragment on Rib Edge

Rib sessions are notoriously painful and often split into short sittings. Artists divide work into 30 to 60 minute blocks. The controversy around fine line on ribs appears here. One camp warns that stretching and breathing blur ultra-fine lines fast. The other camp says skilled depth and spacing can make fine line survive on ribs. Ask your artist which approach they favor and plan for additional sessions if you want hairline detail.
20. Shield Emblem on Chest Pocket Area

Chest pocket patches sit nicely next to larger chest panels and provide symmetry. Sessions are moderate and pain is tolerable for most. Tell your artist you want clear negative space around the shield so it does not compete with neighbor pieces. A frequent mistake is shrinking the shield too small. Expect touch-ups in three to five years for line refresh if you often sunbathe.
21. Minimalist Mountain Range on Inner Wrist
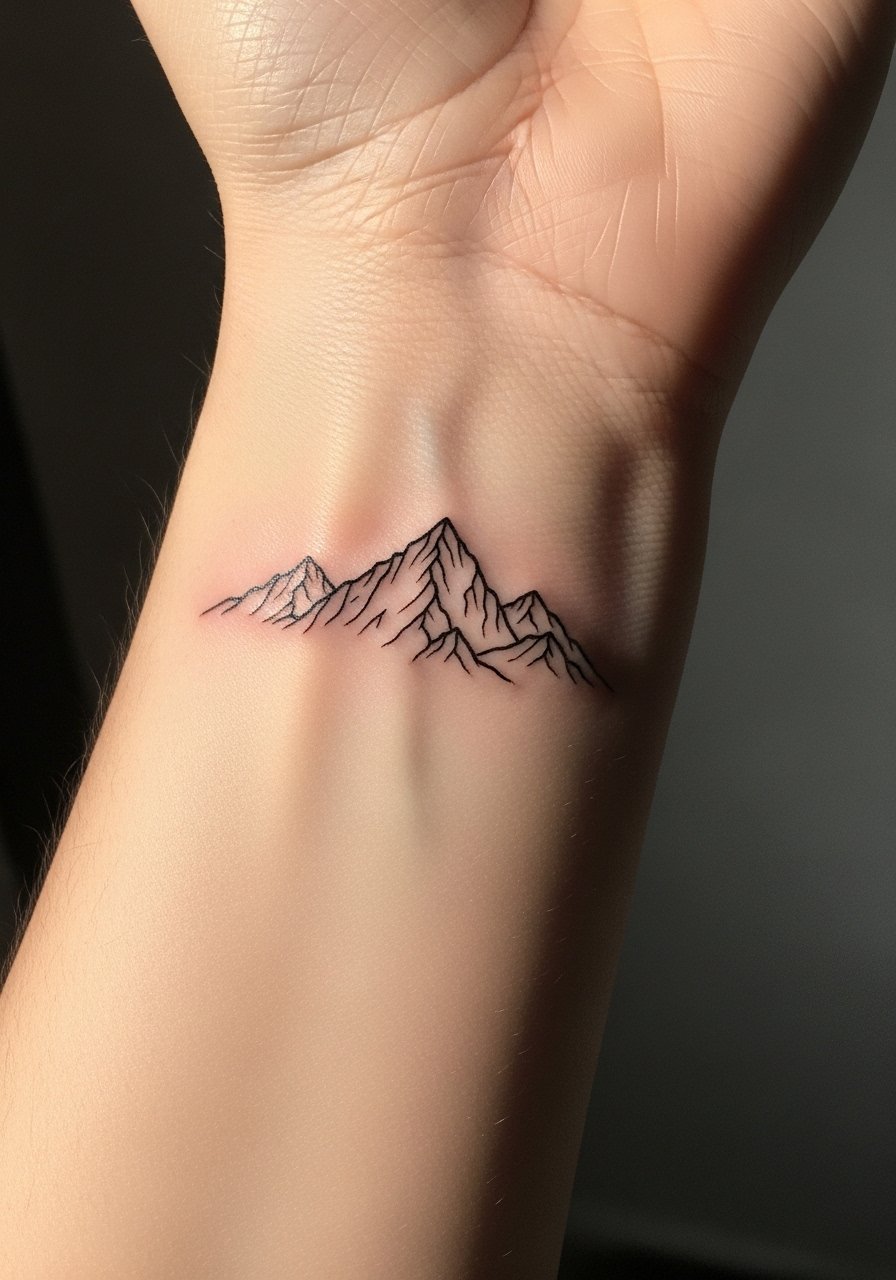
This is cautious first-patch territory but wrist placements fade faster than forearms. Sessions are short and pain is mild to moderate. Ask for a slightly thicker primary silhouette line so the range stays readable at six months. People who pick single-needle thin lines here often return for boldening within a year. For longevity, keep the mountains simple and avoid dense fills.
22. Mechanical Gear Micro-Filler Between Elbow and Forearm

Elbow-adjacent pieces need design breathing room because the skin flexes. Expect a 45 to 90 minute session. Tell your artist to avoid large solid black fills directly over the crease. A mistake is putting too many layers in a high-movement spot which leads to early touch-ups. This filler ties sleeves together if you place it near seams and keep contrast clear.
23. Scripted Coordinate Patch on Inner Arm

When visible text is included specify the exact text to avoid errors. Coordinates and dates make personal anchors. Inner arm sessions are comfortable and quick. Ask for a slightly bolder font than you think you need so legibility survives over time. A common error is choosing cursive too fine for areas that see friction from clothing. Touch-ups every few years keep numbers legible.
24. Ornamental Mandala Knob Behind Ear

Behind-ear placements are tiny and healing can be tricky due to hair and sweat. Sessions are short but sensitive. Tell your artist how you sleep and they may shift placement slightly to avoid pillows. The mistake is cramming too much filigree into a small patch. Expect annual touch-up discussions and be ready to keep hair away during initial healing.
25. Mixed-Style Flash Square for Patchwork Kits

One under-covered tactic is building a "filler kit" with standardized outlines so multiple artists can add pieces that match. If you plan to hop guest spots, ask artists to follow the kit's outline weight and color palette. The biggest mistake is not specifying the kit's line weight and leaving it open. A well-documented kit keeps sleeves from looking disjointed even after three or more artists work on them.
Tattoo Prep and Aftercare Essentials
Lightweight fragrance-free balm for daily healing and non-greasy wear. Use this after the initial peel phase to keep skin supple without clogging pores.
Tattoo Goo thin formula balm, recommended for humid climates. Good if you sweat or live where humidity is high. Apply sparingly during active months.
SorbaGel breathable adhesive sheets, single-use alternatives to full occlusive wraps. Use for bandaging multi-session sleeves where moisture control matters.
Ink Fixx quick-dry spray for active men who need low-residue aftercare. Helpful when you cannot keep thick balms on during manual work.
Hustle Butter Deluxe tub for blackwork healing, non-greasy feel mentioned in forums. Use during the later moisturization phase for saturated blackwork.
Medical-grade second skin roll, breathable occlusive bandage for early-stage protection. Useful for the first 24 to 72 hours on larger patchwork sessions.
Fragrance-free foaming cleanser for gentle daily washes. Use twice daily during the initial healing window to remove debris.
Broad-spectrum mineral SPF 50 sunscreen for long-term preservation of color and saturation. Apply on healed ink any time you will be in the sun to slow fading.
Lightweight post-heal moisturizing lotion for maintenance months after healing. Keeps skin hydrated and helps saturation hold longer.
Every tattoo is different. Always follow your artist's specific aftercare instructions. Consult a dermatologist if you have skin concerns or unusual healing issues.
Frequently Asked Questions
Q: Will fine line patches blur into each other if I assemble a full sleeve over time?
A: It depends on line weight and spacing. Fine line can work in a patchwork sleeve if you standardize outline thickness across artists and give each piece enough negative space. If different artists use very different needle depths, lines may blur into each other by year two or three. One practical step is to create a simple filler kit with your primary line weight and show that at every consult.
Q: How should I plan sessions if I want geometric layers over faded traditional work?
A: Staging matters. Allow full healing and a color assessment at eight to twelve weeks before layering. Geometric overlays often need slightly thicker lines than original trad outlines so the geometry reads. Tell the artist up front you want the new work to sit partially over older pigment and ask for mockups to check balance.
Q: Is Saniderm a good choice for multi-session patchwork sleeves or should I heal dry?
A: Artists split into two camps. One camp prefers occlusive dressings like Saniderm for multi-session sleeves because it keeps the skin moist and reduces scabbing. The other camp prefers dry healing so clients can monitor scab formation and avoid maceration. My view is to follow the artist's comfort level and the shop's protocol. If you try Saniderm, remove it as recommended and watch for any over-moistening.
Q: How often do knuckle and hand patchwork pieces need touch-ups compared with forearm fillers?
A: Hands and knuckles face more abrasion and washing, so expect touch-ups every 12 to 18 months. Forearm fillers typically stretch longer between touch-ups, often two to four years depending on sun exposure and work. Plan maintenance into your budget if you choose distal placements.
Q: For men with darker skin tones, are there style choices that hold up better in photos and real life?
A: Yes. From what I have seen, thicker outlines and higher contrast blackwork photograph and age more predictably on darker skin tones. Fine dot work and faint grays sometimes lose contrast. If you have darker skin, ask for bolder primary outlines and deliberate negative space so the piece reads both up close and at a distance.
Q: Can I use quick-dry sprays like Ink Fixx during long workdays when balms are impractical?
A: Quick-dry sprays are useful for active men who need low-residue options. Use them once the initial scabbing phase is over and follow with a light moisturizer in the evening. Avoid sprays in the first 48 hours unless your artist approves.
Q: What should I bring to consultations if I plan to build a patchwork sleeve across multiple guest artists?
A: Bring a visual filler kit that specifies your preferred outline weight, a short palette guide, and a few example photos that show spacing. Use discovery pathways like city-specific TikTok searches and portfolio filters on apps to find guest spots that match your kit. Saying "I want consistent line weight and these three colors" is far more effective than just showing a collage.
