
Trying a tattoo idea should feel exciting — not stressful. The good news? You can preview almost any design, placement, or size using low-commitment tools before you ever touch real ink. That means zero regret, more confidence, and a design that actually feels right on your body.
Whether you’re torn between styles, testing placement, or deciding if you even want a tattoo at all, here’s a practical, beginner-friendly guide to “try before you ink.”
Why Testing a Tattoo Matters
Most tattoo regret comes from one thing: lack of testing. Size looks wrong. Placement feels off. The design doesn’t match your real-life vibe. But with today’s tools — temporary inks, AR apps, AI previews, stencils — you can get a near-perfect sense of the final result.
Testing helps you:
- See the real-world scale
- Understand how it fits your body’s curves
- Check how it looks with your clothes
- Live with it for a week
- Avoid that “I acted too fast” regret
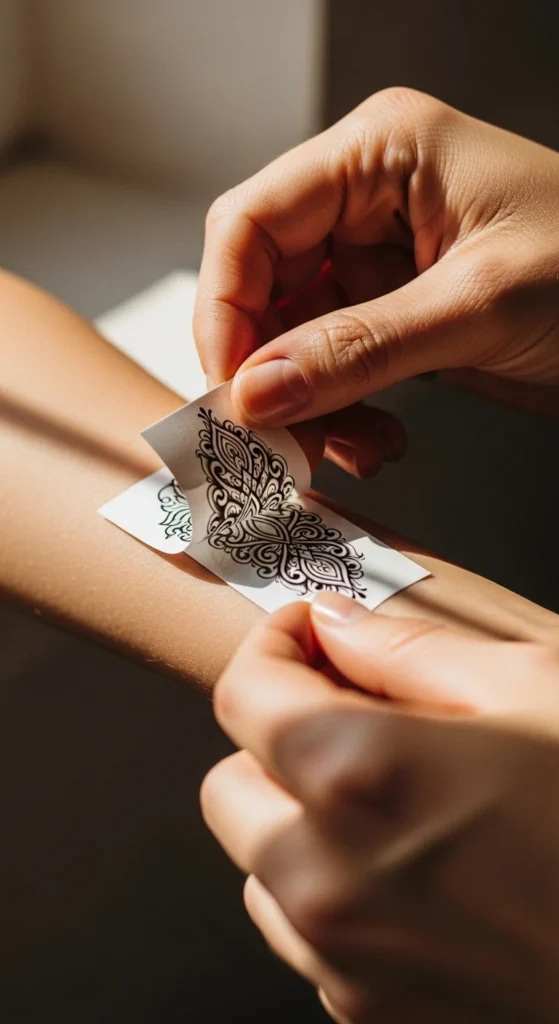
1. Start With Temporary Tattoos (Best for Real-Life Feel)
Custom temporary tattoos are the easiest, most realistic way to preview a design. Brands like Momentary Ink and DIY tools like Gecko Paper make it simple.
Temporary tattoos let you:
- Test placement for 1–2 weeks
- Check how the design survives sweating and showers
- See if you get bored of it
- Experiment with color or black ink
Budget-friendly tip:
Print your own temporary tattoo sheets at home using skin-safe paper. It costs only a few dollars per design.
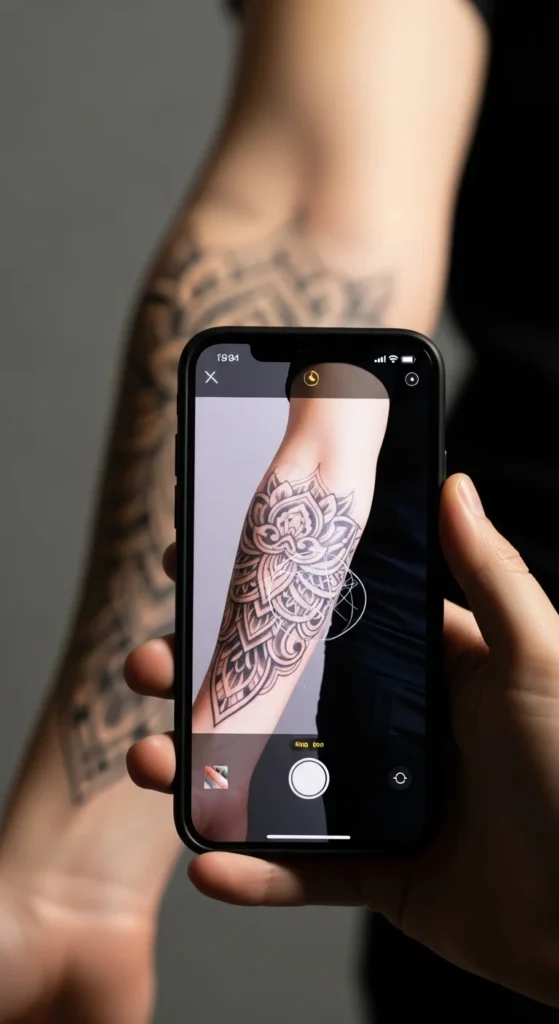
2. Use AR Tattoo Apps for Instant Previews
Augmented-reality tools like InkHunter let you scan your body with your phone camera and overlay your tattoo in real time.
AR tools help you:
- Try multiple designs in seconds
- Test placements like ribs, spine, collarbone
- See how tattoos warp around curves
- Snap photos to compare later
This is perfect if you’re deciding between:
- Fine-line vs. bold blackwork
- Small vs. large pieces
- Different body zones
- Right vs. left placement
Pro tip:
Move your arm in natural light to see how shadows affect the design.
3. Try Stencils for Accurate Artist-Level Previews
Stencils give the most realistic outline preview because they match the exact line work a tattoo artist would transfer to your skin.
Tools like Dzine make it simple to generate printable stencils.
Use stencils to:
- Check scale with perfect accuracy
- Test multi-part designs
- Compare straight vs. curved placement
- Align symmetrical tattoos
Flip the stencil horizontally if needed — it gives a true “mirror-correct” preview on skin.

4. Explore AI Generators for Style Variations
If you’re not 100% sold on your design, AI tattoo generators like Tatspark or AI Ease help you experiment with:
- Minimal vs. bold blackwork
- Line-art vs. realism
- Floral vs. geometric styles
- Color vs. black-only
- Curved vs. straight versions
This is especially helpful if you only have a concept, not a finished design.
Try generating:
- 3 style versions
- 3 size variations
- 3 placement shapes (vertical, horizontal, diagonal)
Then test the winner using temps or stencils.
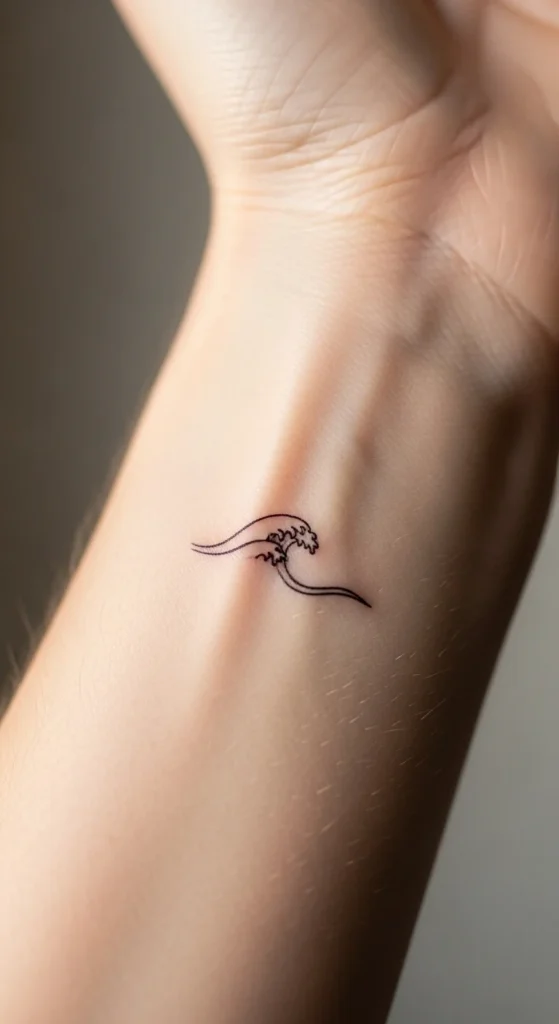
5. Print-and-Mirror Test for Size & Scale
Old school, but still one of the most accurate. Just print the tattoo at the actual size, cut it out, tape it to your skin, and check it in natural light.
This lets you see:
- Does it feel too big up close?
- Too small from a distance?
- Does it align with your body shape?
- Does it work with your clothing style?
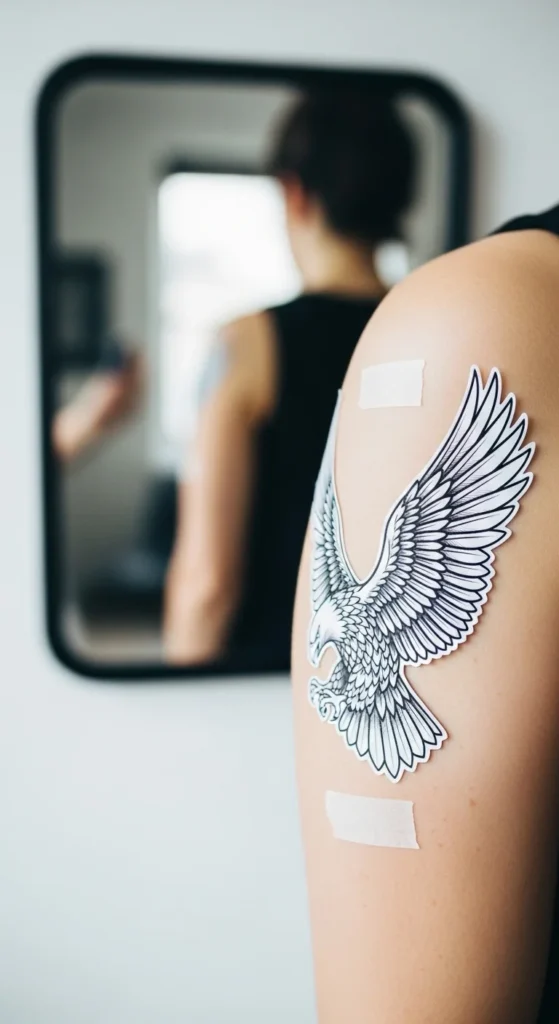
Mirror test rule:
If the size feels “perfect” in the mirror, it’s probably too small in real life. Go 10–15% bigger.
6. Test Color and Skin Tone Compatibility
Ink looks different on different skin tones. If you plan a color tattoo:
- Test with colored temporary tattoos
- Airbrush makeup can simulate shading
- Use henna to preview warm-toned inks
Check your tattoo in:
- Daylight
- Indoor bulb light
- Soft morning light
- Bathroom mirror lighting
This shows how it will appear in your actual daily environments.
7. Live With Your Tattoo for a Week
Temporary tattoos and henna can last 7–14 days. This “wear test” is the best way to know if the tattoo still feels right when the novelty wears off.
During the week, ask yourself:
- Does the placement annoy me?
- Does it clash with my outfits?
- Do I notice it too much — or forget it exists?
- Does it still feel “me” after 7 days?
This step alone saves thousands of people from regret.
8. Get Feedback From Your Tattoo Artist
Artists catch issues you might miss:
- Incorrect sizing
- Poor placement for movement
- Lines that will blur over time
- Colors that may not heal well
- Shapes that warp around muscles
Send them:
- Your AR photos
- Your temporary tattoo pics
- Your stencil placements
- Your size variations
They’ll help refine the design into something that lasts.
Final Takeaway
Testing a tattoo isn’t just smart — it’s empowering. It helps you fall in love with your design before it becomes permanent. Whether you use AR tools, temp tattoos, stencils, or AI previews, the goal is simple:
Try it. Wear it. Live with it. Then commit with confidence.
Save this article so you can use it every time you’re planning a new tattoo idea!
