
You don’t need to be a professional artist to design a tattoo you’ll love—you just need a smart process. The goal isn’t “perfect drawing.” It’s creating a design that fits your body, holds up over time, and feels like you. Grab a notebook (or your phone), take a deep breath, and let’s build your tattoo idea step by step.
Step 1: Start With Meaning (But Keep It Simple)
Before you draw anything, get clear on what you want your tattoo to say.
Ask yourself:
- What’s the theme? (growth, protection, freedom, family, new chapter)
- Is it symbolic or literal?
- Do you want it personal, aesthetic, or both?
Now choose one clear idea as your anchor. If you try to include everything, the design gets cluttered fast.
Quick prompt to try:
- “I want a tattoo that represents ___, using ___ as the main symbol.”
Examples:
- “Growth” → fern, sprout, mountain trail
- “Strength” → lion, dagger, oak tree, waves
- “Peace” → moon, koi fish, lavender, clouds
Step 2: Pick a Style That Matches Your Vibe
Tattoo styles change how a design feels, even if the subject is the same. Choose 1–2 styles to guide all your decisions.
Popular options:
- Fine line: clean, delicate, minimal shading
- Blackwork: bold black shapes and contrast
- Traditional: strong outlines, classic motifs
- Illustrative: like a book drawing, detailed but soft
- Minimal: tiny symbols, lots of negative space
- Floral/ornamental: decorative shapes and flow
Tip: Save 10–15 tattoo photos you love and look for patterns.
Do you keep saving bold outlines? Soft shading? Tiny linework? That’s your style.

Step 3: Choose Placement First (Yes, Before Final Drawing)
Placement is a design tool. It affects size, shape, and how the tattoo “moves” with your body.
Think about:
- Visibility: do you want it easy to show or more private?
- Pain tolerance: ribs, hands, and feet are tougher spots for many people
- Shape of the area: long areas (forearm, shin) suit vertical designs; rounded areas (shoulder) suit circular designs
- Future tattoos: leave room if you might build a sleeve later
Pro tip: Take a photo of the spot you’re considering. You’ll use it later to test your sketch.
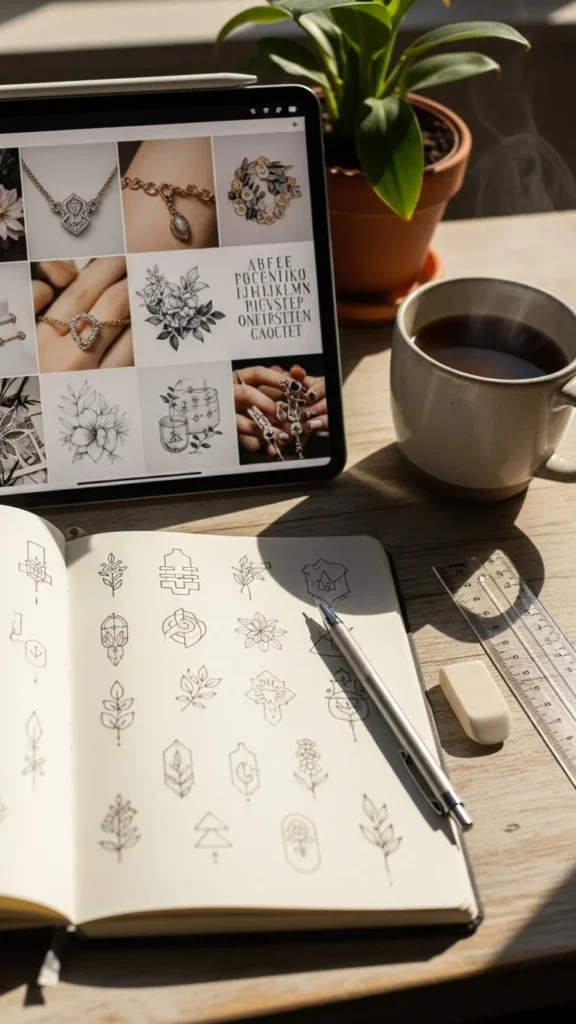
Step 4: Collect References Like a Designer
References keep your tattoo from looking “off,” especially for animals, flowers, faces, or hands.
Gather:
- 3–5 photos of the subject (example: roses from different angles)
- 2–3 tattoo references in your chosen style
- Optional: textures/patterns (lace, waves, geometric shapes)
Important rule: Don’t copy one tattoo exactly. Mix references to create something original.
Make it easy:
- Create one folder on your phone called “Tattoo Design”
- Screenshot what you love and write a quick note: “line style,” “placement,” “shading,” “shape”
Step 5: Sketch Ugly First (It’s Supposed to Be Messy)
This is the fun part—and it should be low pressure.
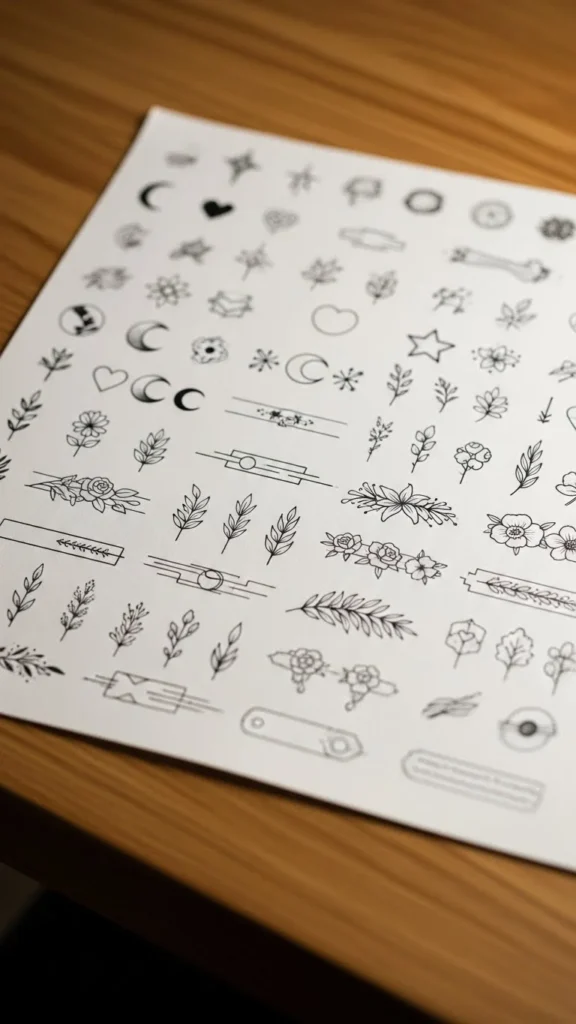
Start with quick thumbnails:
- Draw 6–10 tiny sketches (2–3 inches tall)
- Spend 1–3 minutes each
- Focus on shape, not details
Try these variations:
- Same symbol, different angles
- Add/remove a frame (circle, oval, diamond)
- Try a simpler version and a more detailed version
- Switch between thin lines vs bold outline
If you feel stuck, use these prompts:
- “What’s the simplest version of this tattoo?”
- “What’s one detail that makes it mine?”
Step 6: Build the Final Design With These 4 Checks
Once you’ve got a favorite sketch, redraw it larger and refine it. Then run it through these checks:
1) Readability Check
Will it still look clear from a few feet away?
- If not, simplify details and strengthen the main shape.
2) Longevity Check
Tiny details can blur over time if they’re too close together.
- Leave breathing room between lines.
- Avoid “hair-thin” micro details unless you’re going larger.
3) Flow Check
Does the design match the direction of your body?
- Add gentle curves, stems, or composition that follows the limb.
- Avoid stiff, boxy shapes unless that’s the style.
4) Balance Check
Is one side heavier than the other?
- Adjust size, spacing, or shading so it feels even.
Helpful tools (optional):
- Trace paper (for clean redraws)
- A basic drawing app (to flip/resize)
- A printer (to test placement)
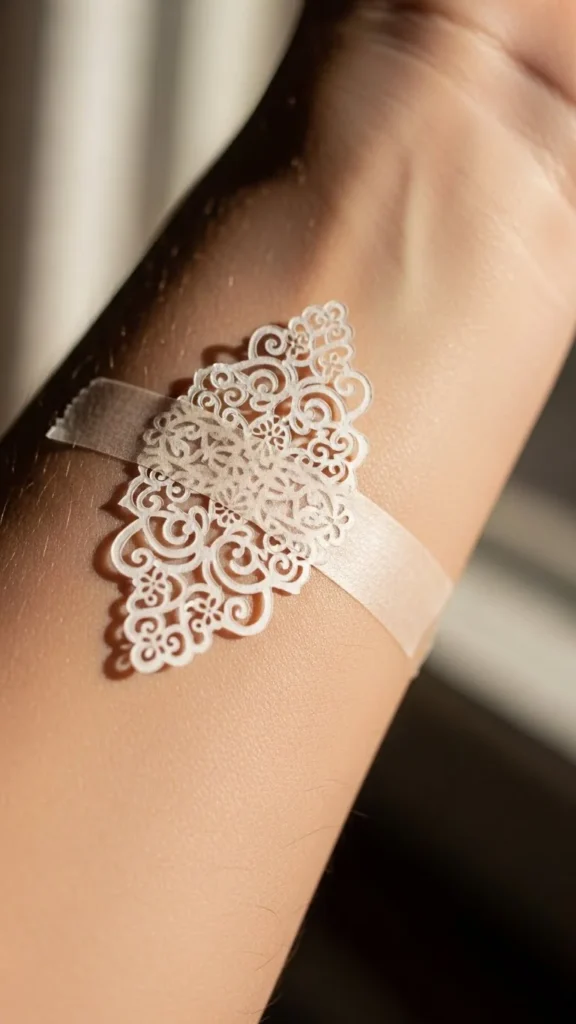
Step 7: Test It on Your Body Before Committing
Here’s a simple at-home “mockup” method:
- Take your cleaned-up design
- Print it or redraw it neatly
- Cut it out and tape it to your skin
- Look in the mirror, move your arm/leg, take photos
Try it for a full day if possible. You’ll notice quickly if:
- It feels too big or too small
- The placement is slightly off
- The shape needs to curve more
Step 8: Bring Your Design to a Tattoo Artist (The Right Way)
Even if you design it yourself, a tattoo artist will adjust it for:
- Skin behavior (how ink spreads)
- Needle limitations
- Line weight, spacing, and durability
What to bring:
- Your final sketch (clean photo or scan)
- Reference images (style + subject)
- Placement photo (your body area)
- Notes on what must stay the same vs what can change
Best mindset:
“I designed the concept—please help make it tattoo-ready.”
Final Takeaway
Designing your own tattoo is a creative project and a little bit of strategy. Keep it simple, pick a style, test placement early, and refine with longevity in mind. Then let a skilled artist do the final polish so it looks amazing for years.
