
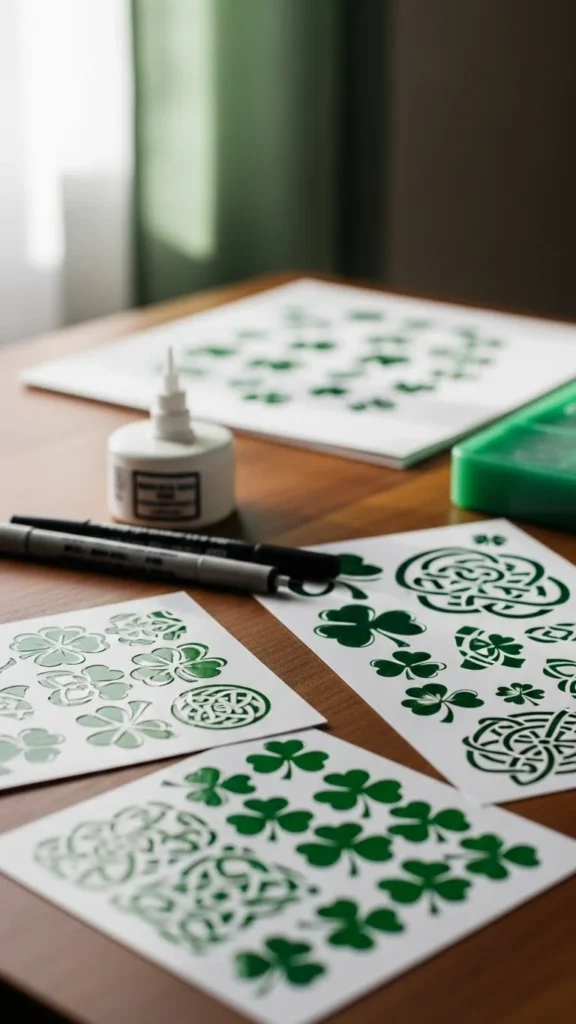
St Patrick’s Day tattoo stencils are a fun way to plan a festive design before you commit to ink. If you’re saving ideas for March, practicing on fake skin, or just building a reference folder for your artist, stencils help you see what actually fits your placement. Below are stencil concepts that work for tiny tattoos, bold outlines, and clean linework you can trace at home with simple supplies. Pick a style, match it to your body area, and keep it easy to test, tweak, and repeat.
1) Minimal Three-Leaf Clover Outline
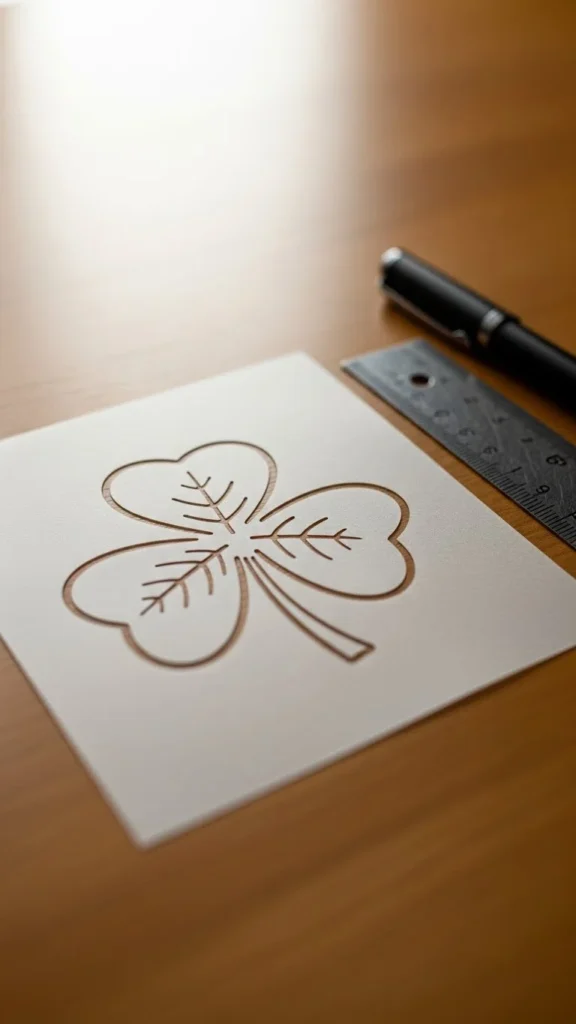
A minimal clover outline is the easiest stencil to place, resize, and repeat. It works on wrists, ankles, behind the ear, or along a finger. Keep the lines slightly thicker than you think you want so the stencil transfers clearly. If you’re practicing at home, trace the shape using a coin or bottle cap for smooth curves. Then connect the leaves with a short stem that leans slightly, so it looks natural on skin.
For a budget-friendly setup, print a clover outline from your own sketch, tape it to a window, and trace it onto stencil paper. If you don’t have stencil paper, practice on plain paper first and cut it out to test placement. Use a small piece of tape to “try on” the cutout before making the final stencil.
A simple outline also lets you add details later. You can turn it into a filled clover, add a tiny heart cutout, or surround it with dots. If you’re unsure, start with small and clean, then scale up once you like the look.
2) Four-Leaf Clover With Bold Negative Space
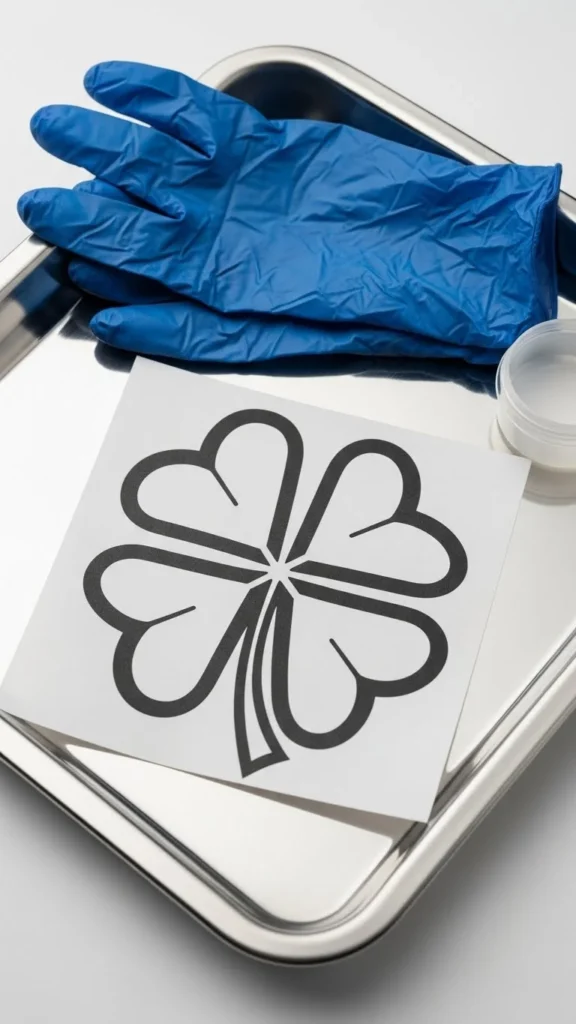
A four-leaf clover stencil looks best when the shape reads clearly from a distance. The trick is bold negative space. Leave small gaps where the leaves meet, so the clover doesn’t turn into a blob after healing. For stencil making, draw four rounded leaves like petals, then carve a tiny diamond gap in the center.
This idea is great for forearms, calves, and shoulder placements where you want quick impact. If you like a modern look, keep the stem short and centered. If you like a classic look, let the stem curve gently. Either way, test the stencil at two sizes: “tiny charm” and “statement.” You’ll be surprised how often the slightly bigger version looks cleaner.
DIY tip: use a cheap circle template from a stationery shop to make perfectly even leaves. Trace, connect, then thicken the outline with a marker. When transferring, press evenly and avoid sliding, because thick designs can smear. A bold clover stencil is also a solid base for adding shading later if you ever want to upgrade the tattoo.
3) Shamrock With Small Dotwork Halo
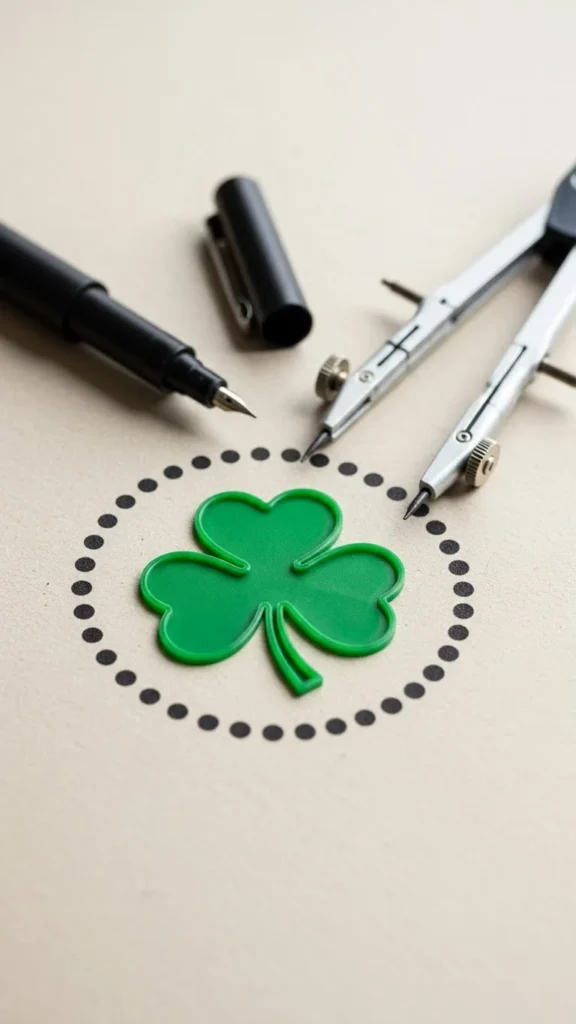
If you like subtle extras without crowding the design, add a dotwork halo around a shamrock. The shamrock stays simple, while the dots give it a finished look. Keep the halo loose, not perfectly circular, so it feels handmade. A small wrist or inner arm placement looks especially clean with this style.
To make the stencil, draw a standard shamrock outline first. Then use a pencil to mark dot spacing. A quick hack is using a coin as a guide: trace a faint circle around the shamrock, then place dots along it. Make every other dot slightly larger for visual rhythm. If you’re short on tools, a bobby pin tip dipped lightly in ink can stamp dots on paper for practice.
Budget-friendly: you can test the halo effect with a marker on your skin (no needles) by dotting around a transferred shamrock. Stand back, take a photo, and see if the spacing feels balanced. Dots should not touch the shamrock outline. Leave breathing room so the design reads as two parts: the central clover and the airy ring.
4) Clover With Tiny Heart Leaf Detail
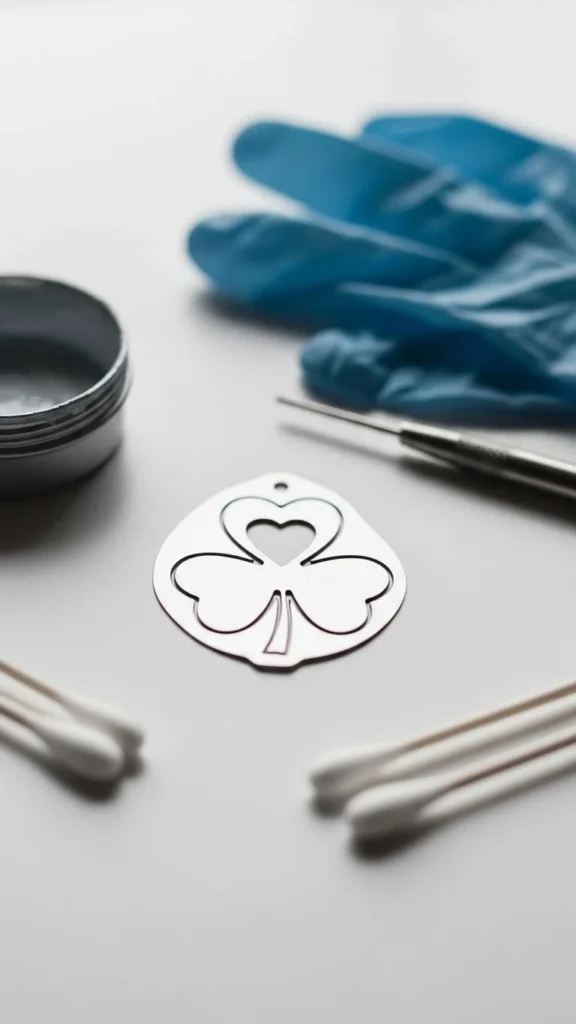
This stencil idea adds personality without extra complexity: a clover where one leaf has a heart-shaped detail inside. It’s cute, quick, and easy to customize. You can make the heart tiny for a hidden touch or larger for a clear feature. It works well for couples, best friends, or anyone who wants a sweet twist that still feels St Patrick’s Day-ready.
Start with a three-leaf or four-leaf clover outline. Then draw a heart inside one leaf, keeping it centered and leaving enough margin so it won’t blur. For stencil clarity, avoid super-thin heart lines. Make the heart shape slightly chunky, like a cookie cutter.
DIY placement trick: rotate the clover so the heart leaf points toward the center of your body. On the wrist, it can face inward. On the ankle, it can face forward. That tiny direction choice makes the tattoo feel intentional.
If you’re practicing on a budget, draw the heart leaf on paper and photocopy it at different sizes. Pick the version where the heart still reads clearly. This design is also easy to touch up later with shading inside the heart if you want more contrast.
5) Lucky Horseshoe With Clover Accent
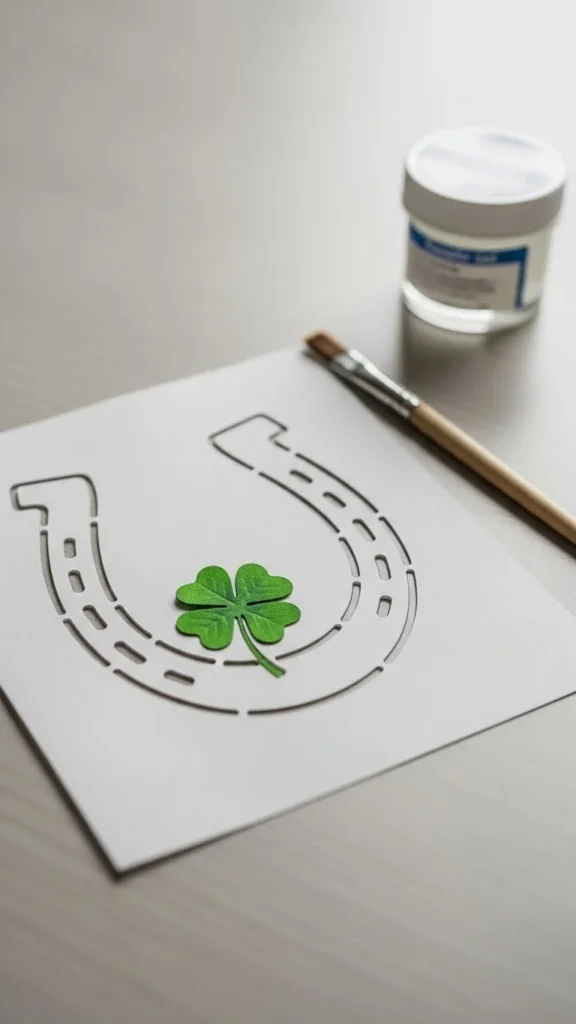
A horseshoe stencil screams good luck, and it pairs perfectly with a small clover accent. Keep the horseshoe shape simple: a U-shape with even thickness, plus a few nail holes. The clover can sit near one side, like a charm. This works nicely on the upper arm, calf, or outer forearm.
For a clean stencil transfer, draw the horseshoe with a round object as a guide, then thicken the sides evenly. Add 6–8 small circles for nail holes, but don’t overdo it. Too many tiny holes can look busy at small sizes. If you want a bolder look, skip holes and use a solid outline.
Budget-friendly DIY example: cut a horseshoe shape out of cardboard to test placement and curve. Body contours can warp the design, so a quick paper test saves time. Also, keep the opening facing up if you like the traditional “holds luck” idea. If you prefer the look of it facing down, that’s fine too—choose what fits your placement best.
6) Celtic Knot Clover Fusion
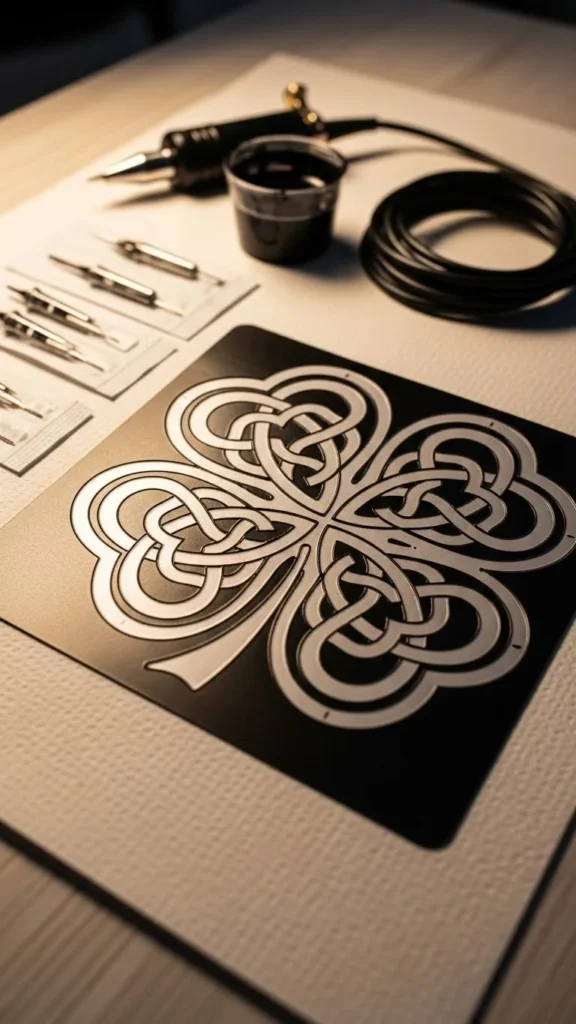
This stencil blends two iconic Irish styles: a clover shape built from Celtic knot loops. Keep it simple so it stays readable. Each leaf can be a looped knot that overlaps once, not a dense weave. The goal is a design you can trace cleanly and still understand at a glance.
Start by drawing a clover silhouette. Then sketch three loop shapes inside it, like ribbons crossing. Mark the over-under points with small breaks in the lines. Those breaks matter for stencil transfer, because they guide the artist (or your practice) on where lines should “pass behind.”
DIY tip: use tracing paper to refine the knot. Draw it once, trace it, and smooth out uneven curves. A cheap way to keep symmetry is folding the paper: draw one leaf knot, fold, and trace to copy.
Placement idea: this looks great on the back of the arm or shoulder blade, where there’s room for the loop spacing. Keep the stencil slightly larger than a simple clover so the knot details don’t compress. If you want it tiny, simplify to one crossover per leaf.
7) Simple Celtic Trinity Knot
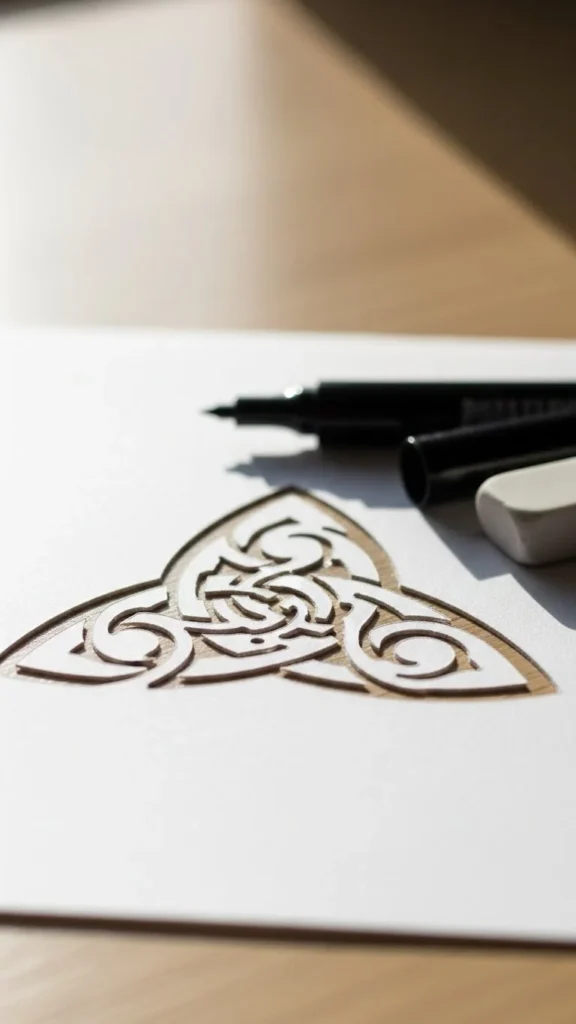
The trinity knot (triquetra) is a classic stencil choice because it’s compact and symbolic. For stencil success, aim for smooth curves and consistent line width. Avoid sharp corners; they’re harder to stencil and can heal unevenly.
To sketch it, draw three rounded loops that meet in the center. Add a small inner border if you want a double-line look, but keep space between the lines. If the inner border is too tight, it can merge visually later.
Budget-friendly practice: draw the knot larger than you want, then photocopy it smaller. Pick the smallest size where the inner gaps still show clearly. Many designs fail because the gaps disappear. On skin, use a light transfer and check the center area. If it looks crowded, go up a size.
This stencil looks great on the wrist, upper chest, behind the ear, or ankle. If you want a St Patrick’s Day twist, add a tiny clover dot above one loop or add a short curved stem under it—small touches that don’t complicate the main knot.
8) Claddagh Outline Stencil

A Claddagh outline stencil—hands holding a heart topped with a crown—has a clear shape that reads well in linework. Keep it minimal so it stays crisp. Focus on the outer silhouette first. Then add simple interior lines for the hands and crown points.
For a budget-friendly DIY, sketch the heart and crown separately, then combine them. Hands can be simplified into curved shapes with a few finger lines. You don’t need realistic hands for this to work. The key is keeping the heart centered and the crown balanced.
This design fits nicely on the forearm, upper arm, or chest. It can also work on the ankle if you simplify. If you want a more modern stencil, remove extra decorative curls and keep the crown as a simple three-point shape. If you want a traditional look, add two small cuff lines at the wrists.
When testing placement, rotate slightly so the heart points with your body line. A small angle often looks better than perfectly straight. Add clear gaps between fingers and heart edges so nothing merges.
9) Harp Silhouette With Clean Cutouts
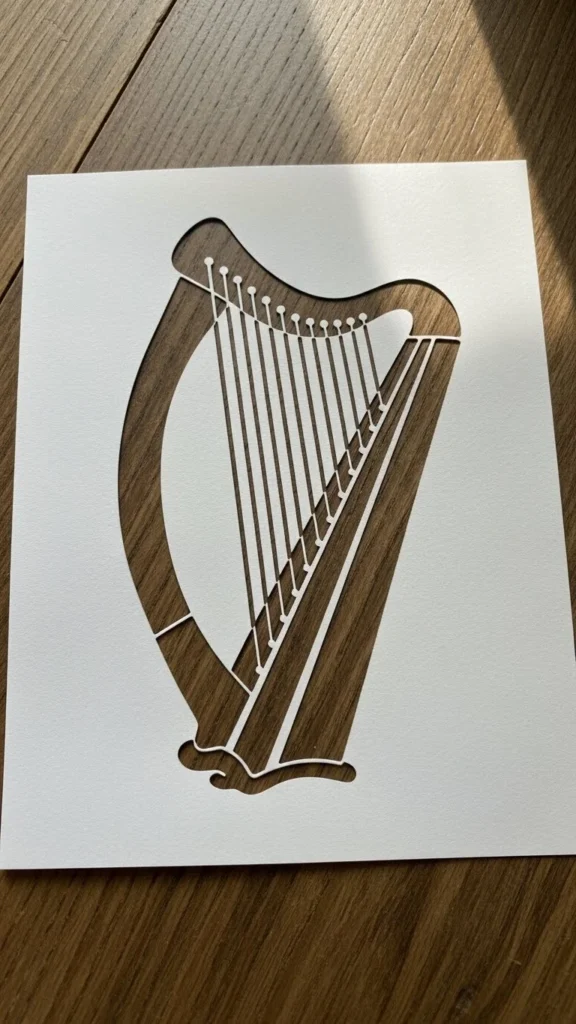
An Irish harp stencil can look amazing if you keep the silhouette clean. The mistake is adding too many strings. For a stencil, focus on the outer harp shape and use a few thicker string lines or cutouts. Think “icon” style, not detailed instrument drawing.
To make it, draw a harp outline like a curved frame with a base. Add 3–5 strings, evenly spaced. If you prefer negative space, cut small gaps inside the harp body so it doesn’t look flat. This works well on the outer forearm, upper arm, or calf.
DIY example: print a simple harp icon and trace it onto stencil paper. Then redraw the strings by hand to match your style. If you’re practicing, test two versions: one with strings and one without. Sometimes the simplest harp is the strongest.
Budget tip: use a cheap plastic ruler to keep the strings straight. On curved body areas, slightly curved strings can look more natural, so don’t panic if they bend. Keep the stencil bold enough to transfer cleanly.
10) Leprechaun Hat Minimal Outline
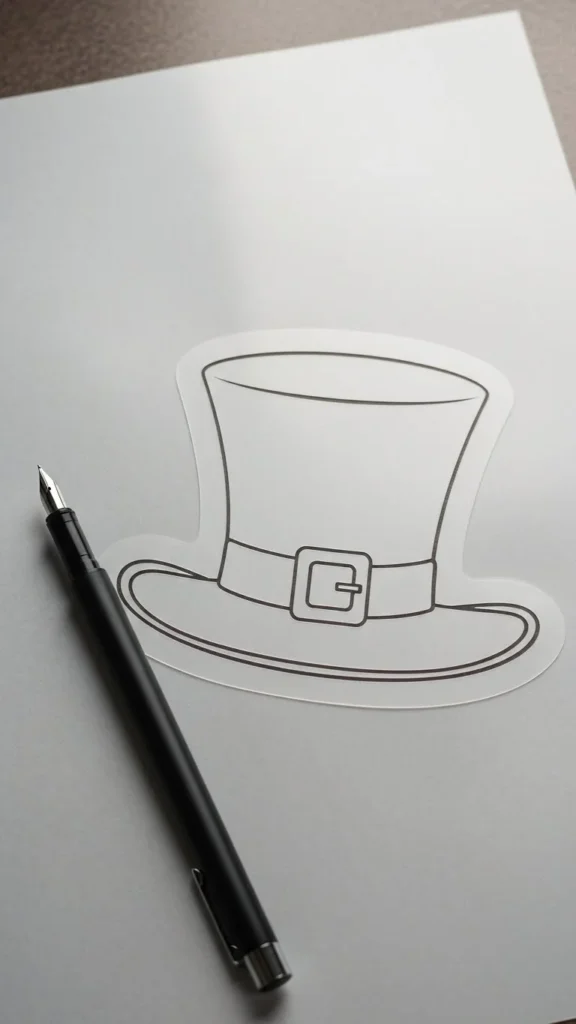
A leprechaun hat stencil can be fun without looking cartoonish. Keep it minimal: a top hat shape with a band and a simple buckle. Use rounded corners and a slightly tilted angle for personality.
For the stencil, draw the hat crown first, then add a brim that flares gently. The buckle can be a simple square with a small inner gap. If you want a cleaner look, skip the buckle and just add a band line.
This is great for small placements like the ankle, wrist, or shoulder. If you want it extra subtle, make it micro and place it behind the ear. For DIY testing, draw the hat on paper and cut it out. Tape it to your skin and check if the tilt looks right. A small tilt can make it look playful; too much tilt can look accidental.
Budget-friendly tip: keep the band line thicker than the rest, so the hat reads clearly. You can also add a tiny clover next to it for a St Patrick’s Day signal without adding clutter.
11) Pot of Gold With Simple Coin Shapes
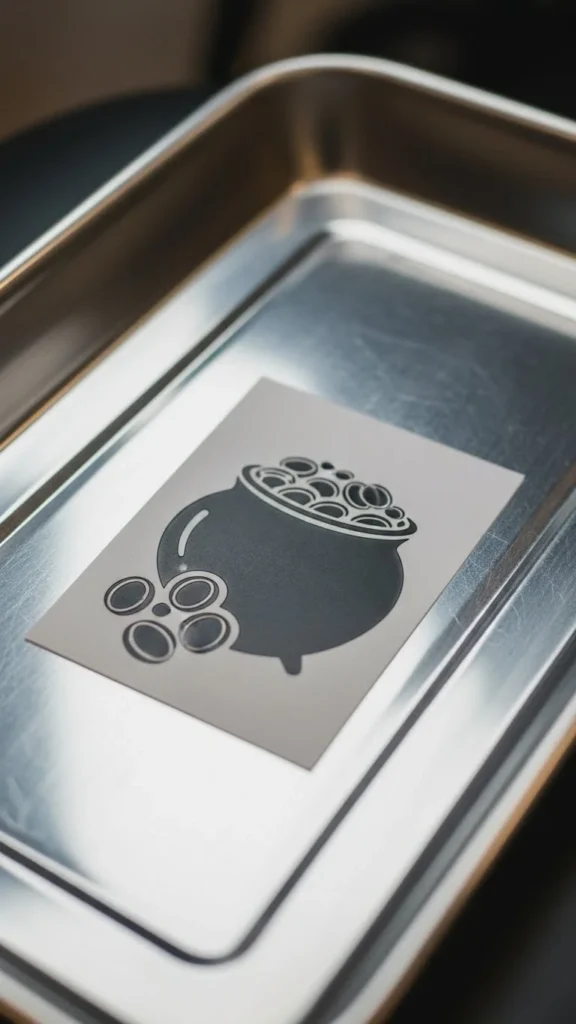
A pot-of-gold stencil works best when it’s simple and chunky. Draw a rounded pot with a thick rim, then add a few coin circles spilling out. Don’t draw dozens of coins. Three to seven coins usually looks cleaner and transfers better.
Start with the pot silhouette. Then add a curved rim line and a small handle on one side. Coins can be simple circles with a tiny inner circle for depth. Keep spacing between coins so they don’t merge.
This design is cute on the forearm, thigh, or calf. It can also work small on the ankle if you reduce details. If you want a more modern look, keep the pot as a solid outline and use coins as negative space cutouts.
DIY budget tip: use a hole punch to make coin circle templates for tracing. Test the stencil with a photo from a few feet away. If the pot reads clearly but coins disappear, increase the coin size or reduce the number.
12) Rainbow Arc With Clover End Caps
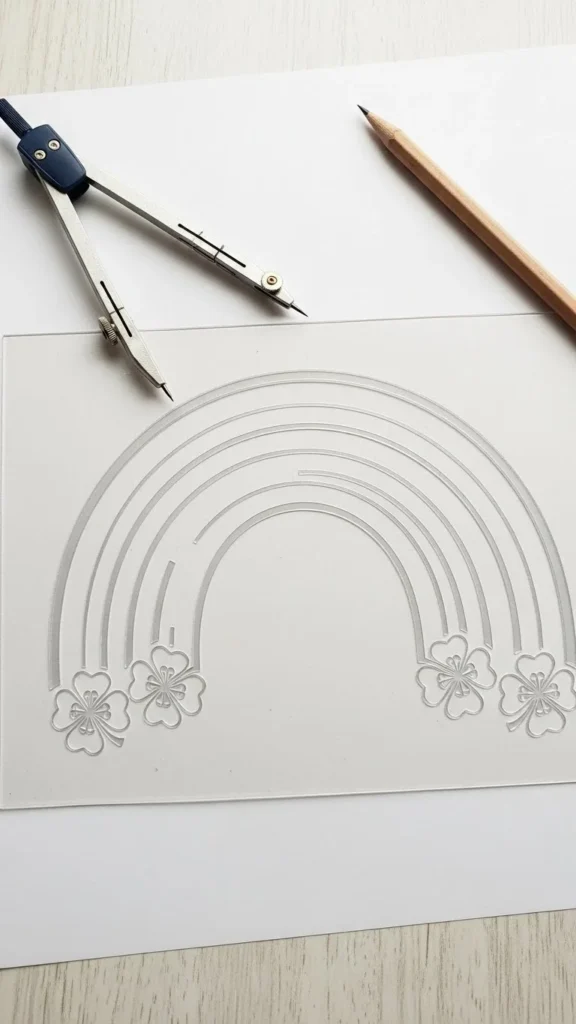
A rainbow arc stencil can look sleek when you focus on clean curves and keep the bands minimal. Instead of seven bands, use three to five. Then add tiny clovers at each end as “end caps.” That detail ties it back to St Patrick’s Day without turning it into a full scene.
To build it, draw a gentle arc using a bowl edge or compass. Then repeat arcs inside it with even spacing. Add a small clover at each end, keeping them symmetrical. If you want it more subtle, use just one clover at one end.
This design fits well on the collarbone, forearm, or outer ankle. Curves follow body lines nicely. DIY tip: print the arc at two widths. Thin bands can vanish. Medium thickness usually transfers best.
Budget-friendly practice: draw the arc on paper, cut along the outer edge, and lay it on your arm to see how it wraps. Adjust the arc height until it looks natural on your body area. Keep the clovers simple outlines so they don’t steal focus.
13) Small Snake Wrapped Around a Clover

A snake wrapped around a clover gives a bold twist while staying stencil-friendly. Keep the snake as a single clean line with a few body curves. Add a small head shape and one eye dot. The clover should stay simple so the composition doesn’t get crowded.
For the stencil, draw the clover first. Then sketch the snake’s path like a loose “S” that circles part of the clover. Leave clear gaps where the snake crosses in front of the clover so the overlap reads correctly.
This works well on the forearm, upper arm, or calf. If you want it tiny, skip scales. If you want more detail, add a few short diagonal marks for texture, but keep them spaced.
Budget tip: practice the snake curve by drawing it quickly five times on paper. Pick the smoothest one and trace it. The best snake stencils often come from a relaxed hand, not a slow, shaky line. Keep the final stencil clean and readable from a distance.
14) Clover Sprig With Simple Leaf Pairing
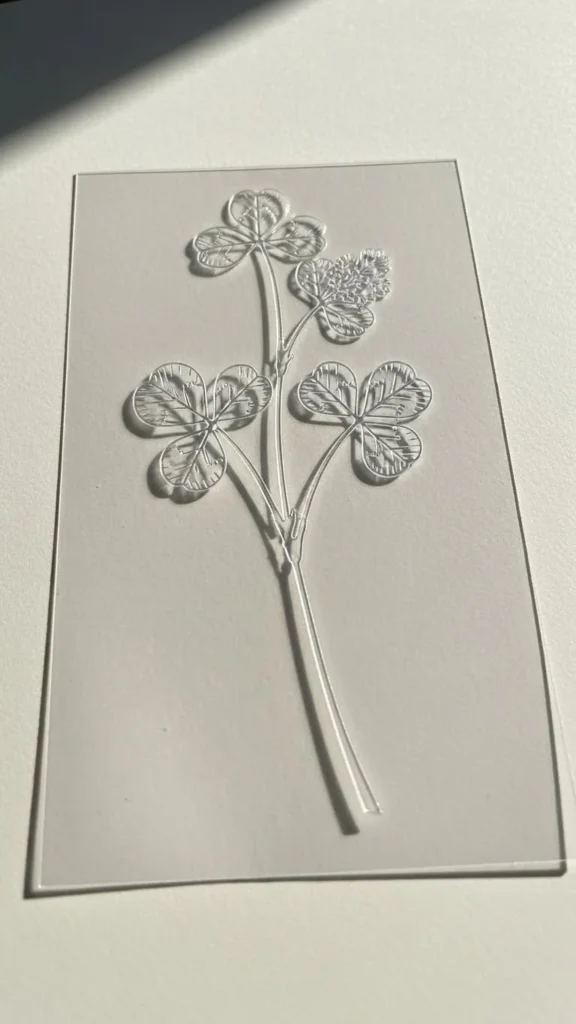
A clover sprig stencil feels delicate and plant-like, perfect for anyone who wants something softer than a single clover icon. Draw a thin stem with a few clover leaves branching off. Keep the leaf clusters small and spaced so the design doesn’t turn into a dark mass.
To make it, sketch a stem that gently curves. Add three-leaf clusters at two or three points. Each cluster can be tiny heart-like shapes. Keep the stem slightly thicker than your first instinct for a clean transfer.
This looks great on the inner arm, side of the rib area, or along the ankle. It also fits nicely behind the ear if simplified. For DIY, use a thin paintbrush to test the flow on your skin with washable ink. The sprig should follow your body line like a vine.
Budget-friendly tip: if your clusters look uneven, that’s okay. Real plants aren’t perfect. Just keep the spacing consistent. Add tiny dots near the stem if you want a little extra without crowding.
15) Celtic Cross With Clover Center
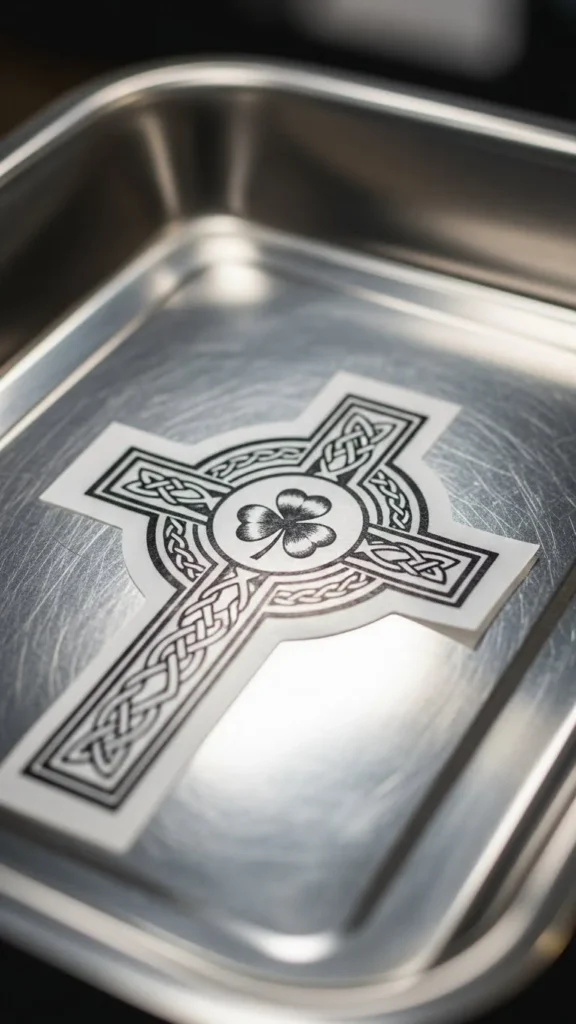
A Celtic cross stencil can look heavy if it’s too detailed, so simplify it. Use a basic cross shape with a circle behind it, then place a small clover at the center. Keep knotwork minimal or skip it entirely if you want a clean outline style.
Start by drawing the cross with even arms. Add a circle behind it, centered. Then draw a small clover inside the circle, leaving space around it. If you want the cross to feel lighter, add small cutouts inside the arms for negative space.
This design fits well on the upper arm, chest, or back. For smaller placements, reduce details and thicken the outline so it transfers well. DIY tip: draw it on graph paper to keep symmetry without fancy tools. A simple ruler and coin can handle the whole stencil.
If you’re working with an artist, bring two versions: one minimal and one with a few knot lines. That makes it easy to choose the right level of detail for your size.
16) Celtic Knot Band Mini-Stencil
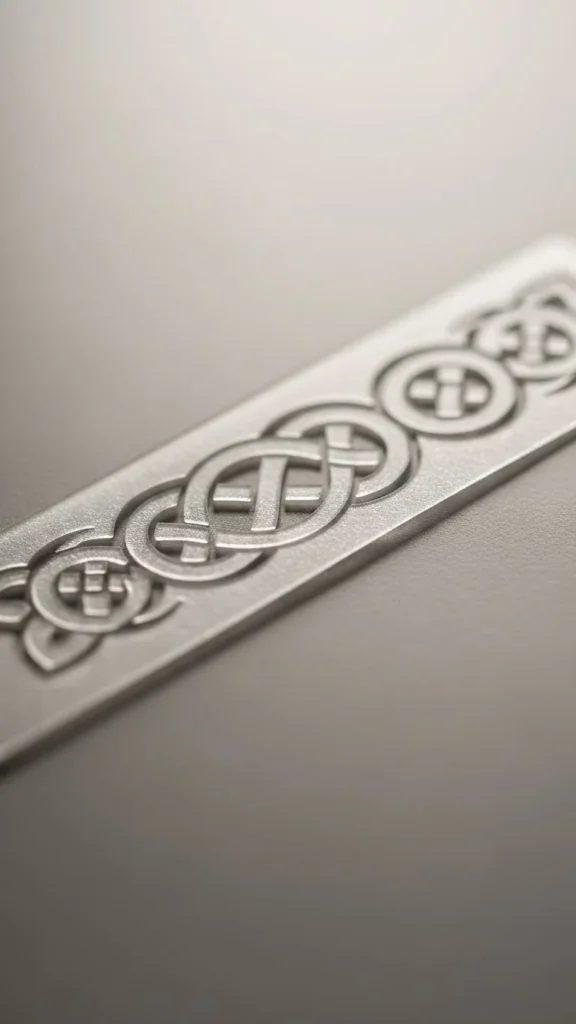
A mini knot band stencil is perfect if you want a bracelet-style tattoo without committing to a full wrap. Make a short strip that can sit on the wrist, ankle, or lower forearm. Keep the knot pattern large enough to read.
To build it, draw two parallel lines, then add a repeating over-under loop pattern. The easiest pattern is alternating loops that cross in the middle. Mark the overlaps with small breaks. Keep spacing even.
Budget-friendly DIY: print a basic knot border, then trace only a 2–3 inch section. Test it where you want it, then decide if you want to extend later. This “starter band” approach keeps the project simple and lets you add more later if you love it.
When transferring, align the strip carefully. Bands can look crooked if they’re even slightly angled. Use small tape marks as guides. Keep the stencil bold and clean so it reads like jewelry.
17) Clover Cluster Trio (Three Small Clovers)
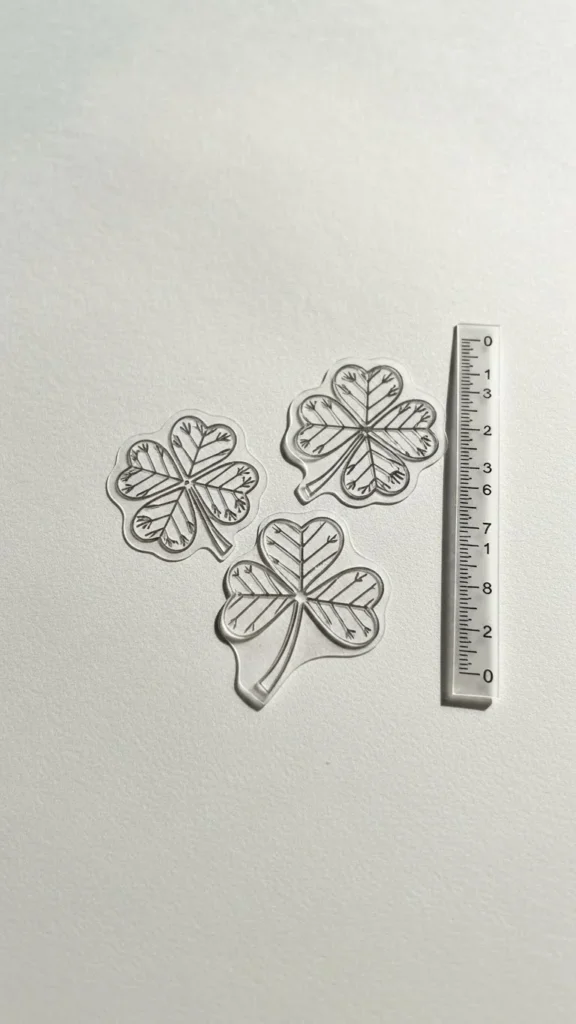
A trio of small clovers gives you a balanced look that feels intentional, like a mini pattern. This is great for the shoulder, outer arm, or ankle. You can keep them the same size or make one slightly larger as the focal point.
For the stencil, draw three clovers with slight rotation differences. Avoid lining them up perfectly. A loose triangle arrangement often looks best. Leave enough space so each clover has its own outline.
DIY tip: sketch one clover you like, then trace it twice. Rotate each copy before placing. That keeps consistency without looking stamped. If you want extra charm, add tiny dots between them like confetti, but keep it minimal.
Budget-friendly placement test: cut out three paper clovers and move them around your skin until it looks right. Take a photo from different angles. The cluster should follow your body curve. Add simple stems if you want a plant vibe, or keep them stemless for a clean symbol set.
18) Clover With Banner Ribbon Outline
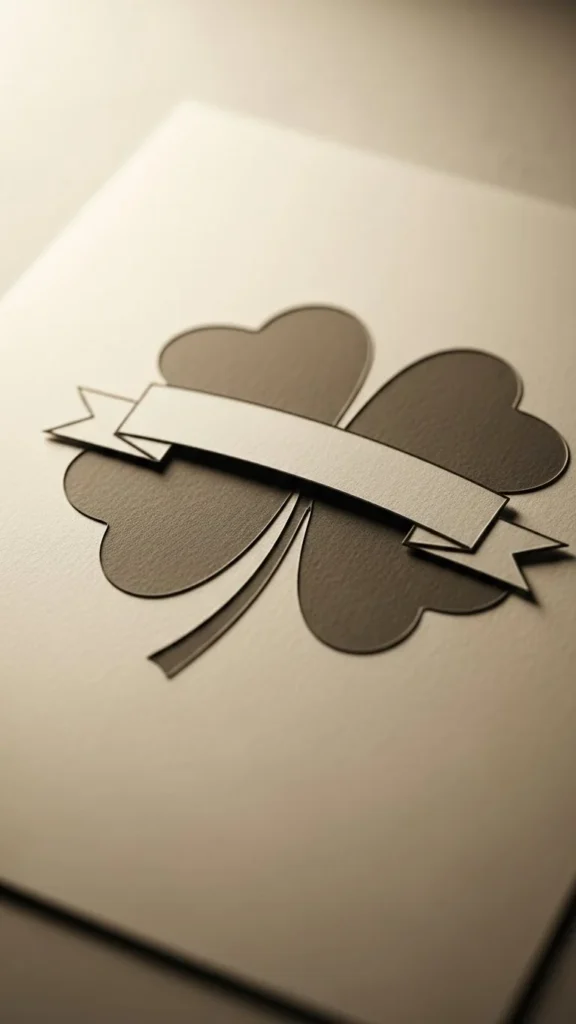
A ribbon banner across a clover looks classic, even without words. Since text is off the table, the ribbon becomes a shape feature. Keep it narrow and simple, with two small tails that fold.
Draw the clover first. Then draw a ribbon strip across the middle. Add small fold lines at the edges and two tails extending out. Use breaks where the ribbon overlaps the clover so the layers read clearly.
This stencil works well on the forearm, upper arm, or calf. It can also be placed on the shoulder for a patch-like look. DIY tip: make the ribbon slightly wider than you think. Thin ribbons can vanish once transferred.
Budget-friendly example: use scrap paper to test ribbon width, then trace onto stencil paper once you like the proportions. You can also add a tiny clover cutout on the ribbon itself to create a second layer detail without adding complexity.
19) Celtic Spiral With Tiny Clover Anchor
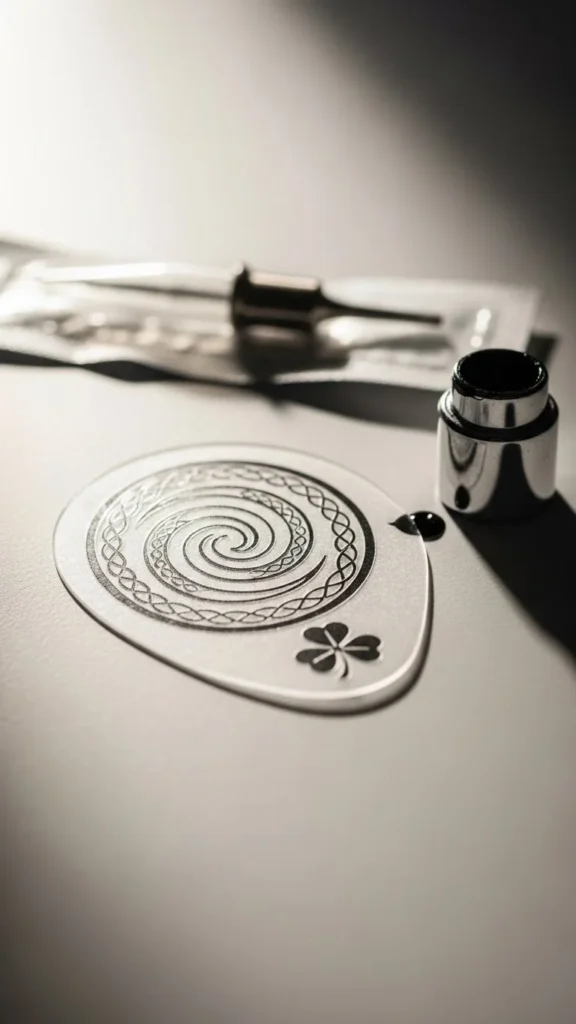
A Celtic spiral stencil looks strong and simple, and it pairs nicely with a tiny clover “anchor” at the base. The spiral can be a single continuous line that curls inward. Keep the spacing between loops consistent so it doesn’t look cramped.
To create it, draw a light guideline spiral first. Then trace it with a thicker, confident line. Add a small clover at the outer start point, like a charm hanging from the spiral’s edge.
This design fits well on the shoulder, upper arm, or thigh. If you want it small, keep the spiral shallow with fewer turns. Too many turns at a small size can blur visually.
Budget tip: practice the spiral using a simple swirl motion on paper. Pick the one with the smoothest curve. The spiral doesn’t need to be perfect; it just needs to look intentional. The clover anchor adds the St Patrick’s Day touch without crowding the spiral.
20) Simple “Lucky Charm” Icon Set (No Words)

If you love variety, make a small icon set stencil: clover, horseshoe, tiny star, and a small heart—no words required. You can place them in a line, a small square, or scattered like mini stickers.
For the stencil, draw each icon with similar line thickness so they feel like a set. Keep each icon simple. For example, the star can be a four-point sparkle shape, not a complex star. Leave even spacing between icons.
This works great on the ankle, forearm, or along the collarbone. It’s also perfect for a “patchwork” tattoo area where you plan to add more later. DIY tip: sketch the icons on paper, then trace them onto stencil paper as a group. That keeps spacing consistent.
Budget-friendly practice: print your icons at two sizes. The best size is the one where each icon still reads clearly from a quick glance. If you like, add tiny dots between icons to fill space without making it busy.
21) Clover With Simple Sparkle Highlights
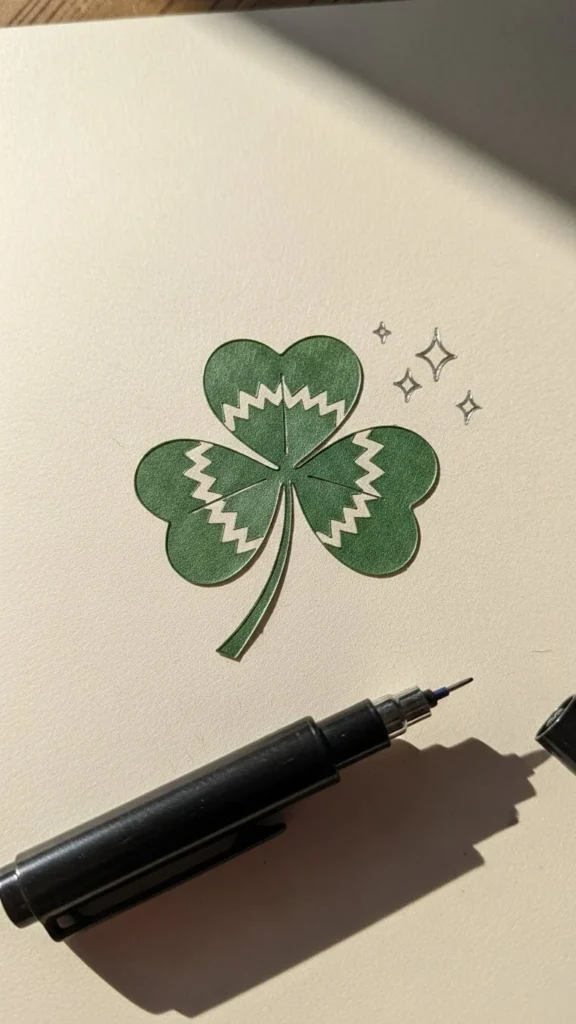
A clover with sparkle highlights feels playful and clean, especially in tiny tattoos. Keep the clover as a simple outline or filled shape. Then add one or two sparkle icons nearby, like little four-point stars.
To draw sparkles, make a small cross with pointed ends, then add two shorter points between. Keep them small and spaced. Don’t add too many. Two sparkles often look better than five.
This design works on wrists, ankles, behind the ear, and even on the hand if you want a tiny accent. DIY tip: place the sparkles on the side where the tattoo naturally catches attention—outer wrist, front of ankle, or near the collarbone.
Budget-friendly example: if you’re unsure where to place sparkles, transfer only the clover first, then draw sparkles lightly with a washable pen around it. Take a photo, pick the best spot, then update the stencil.
Sparkles also help if your clover is very minimal and you want it to feel a bit more “event” themed without adding complex details.
22) Outline of Ireland With Clover Pin

An outline of Ireland with a tiny clover pin is a strong idea for anyone with heritage ties, travel memories, or just a love for Irish symbols. Keep the map outline simple and smooth. Avoid jagged coast detail, because it can look messy in a stencil.
Draw the island shape with simplified curves. Then add a tiny clover where you want the “pin” to be. You can place it near the center for balance, or choose a spot that means something to you. Since we’re not adding text, the clover acts as the marker.
This looks great on the forearm, upper arm, or calf. For smaller placements, keep the outline thicker and the clover slightly bigger than you think. Tiny details can vanish.
Budget tip: print a simple map outline and trace it. Then redraw by hand to smooth it further. A clean silhouette always looks better than a shaky detailed coastline. Add a small dot under the clover if you want a “pin” look without extra lines.
23) Clover Inside a Simple Circle Badge
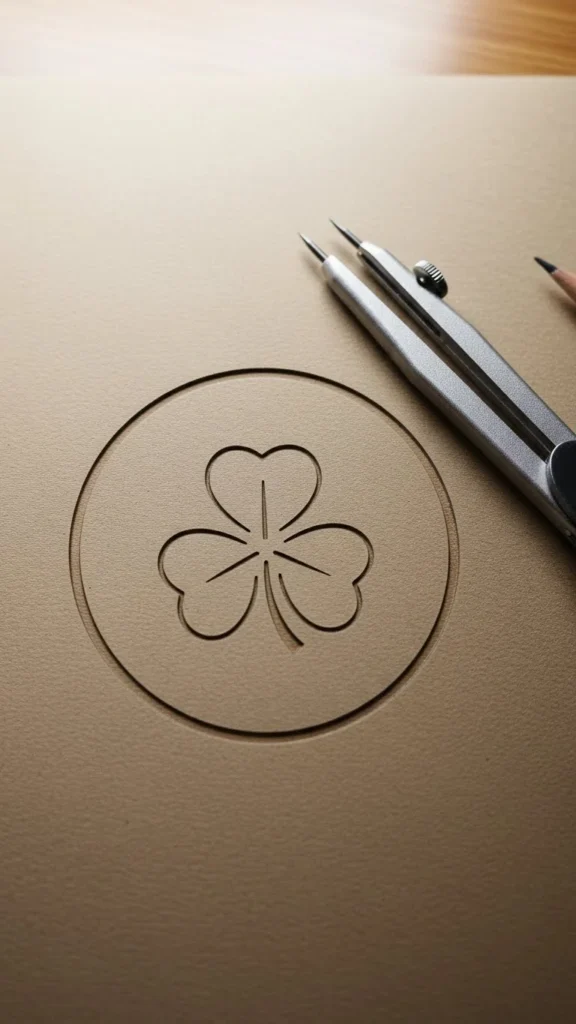
A clover inside a circle badge is neat, modern, and easy to place. The circle gives structure, and the clover stays the focal point. This is perfect for wrists, forearms, and ankles because the badge shape reads quickly.
Use a coin or compass to draw the circle. Then place the clover inside, leaving a clear margin. If the clover touches the circle, it can feel cramped. Keep it centered and slightly smaller.
DIY tip: make two circle thickness options. A thin circle can look delicate, but it might not transfer well. A medium circle outline usually works better for stencils. You can also add a second inner circle for a double-ring badge, but leave enough space between rings.
Budget-friendly placement trick: circles can look warped on curved areas like the wrist. Rotate the badge slightly or move it to a flatter area if you want a perfect circle. If you like the look of a slightly oval badge on the wrist, that can also feel natural.
24) Clover With Broken Line “Sketch” Style
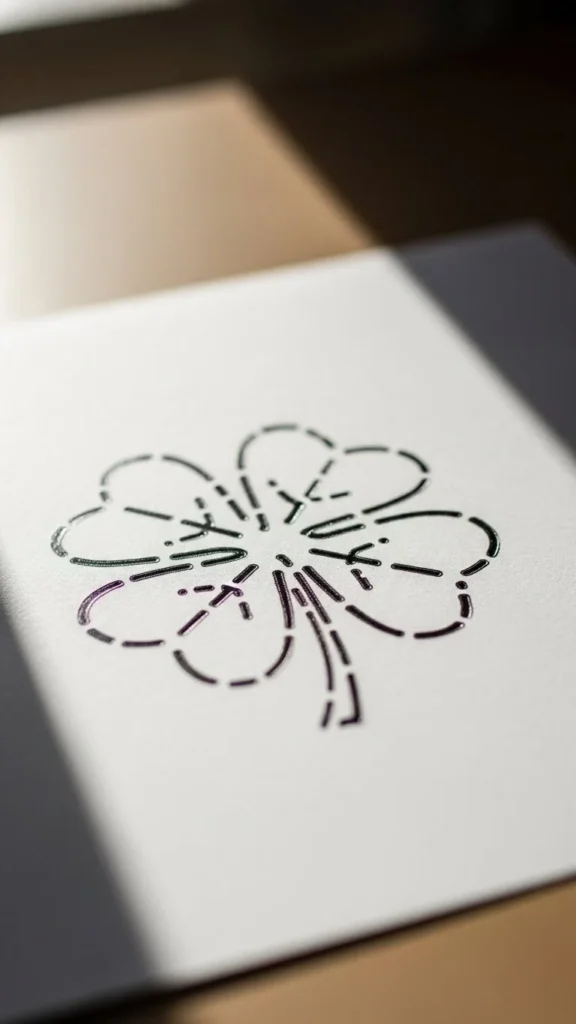
A sketch-style clover stencil uses intentional line breaks to feel casual and artsy. The key is making the breaks look planned. Keep the clover shape clear, then add small gaps in the outline and a couple of short sketch marks near the edges.
To create it, draw a normal clover outline. Then erase small sections evenly—one gap per leaf and one on the stem, for example. Add two or three short lines near one side like quick shading strokes.
This design works well small or medium. It’s great for the inner arm, ankle, or shoulder. DIY tip: don’t overdo the sketch marks. Too many can make the design look messy. Keep it light and controlled.
Budget-friendly practice: do three versions with different gap placements. Transfer them to paper (or test with washable ink on skin) and see which one looks intentional. The best sketch stencils still read clearly as a clover from a quick glance.
25) Clover With Simple Chain Link Border

A chain-link border around a clover gives a tough, graphic look while staying stencil-friendly. Keep the chain links simple: ovals that overlap with small breaks to show the connection.
Start with a clover in the center. Then draw an oval border around it. Along that oval, place chain links evenly. Mark the overlap points with small breaks so the chain reads correctly.
This works best as a medium-size tattoo on the forearm, upper arm, or calf. Small chain links can blur if they’re too tiny, so size matters here. DIY budget tip: draw one chain link you like, then trace it repeatedly around the border using tracing paper. That keeps links consistent.
If you want a simpler version, use just 6–8 chain links instead of a full border. The design still reads, and it’s quicker to stencil. Keep line thickness consistent so it doesn’t look like mixed styles.
26) Simple Clover “Stamp” With Rough Edges
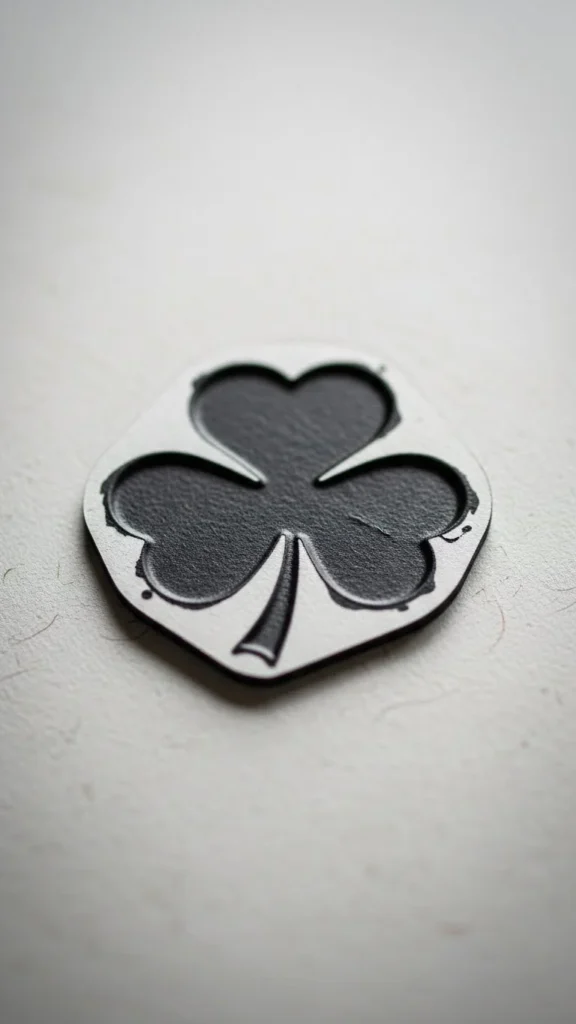
A stamp-style clover looks like it was pressed onto paper, with slightly rough edges and small texture breaks. It’s a cool option if you want something less polished. The trick is keeping the clover shape clear while adding controlled roughness.
Draw a basic clover silhouette. Then add tiny uneven nicks along the edge—just a few, not all around. Add small texture marks inside, like tiny specks or short strokes. Keep the stem simple.
This style works great on the upper arm, thigh, or outer forearm. It can also look good small on the ankle if the roughness is minimal. DIY tip: practice the rough edges with a dry brush effect on paper first, then translate it into a stencil by simplifying the texture. Stencils can’t capture super-fine specks well, so keep textures bold enough to transfer.
Budget-friendly: you can create the stamp effect by dabbing a sponge lightly around the edges of a paper cutout and using that as a reference for where to add roughness.
27) Clover With Geometric Line Frame (Triangle or Diamond)
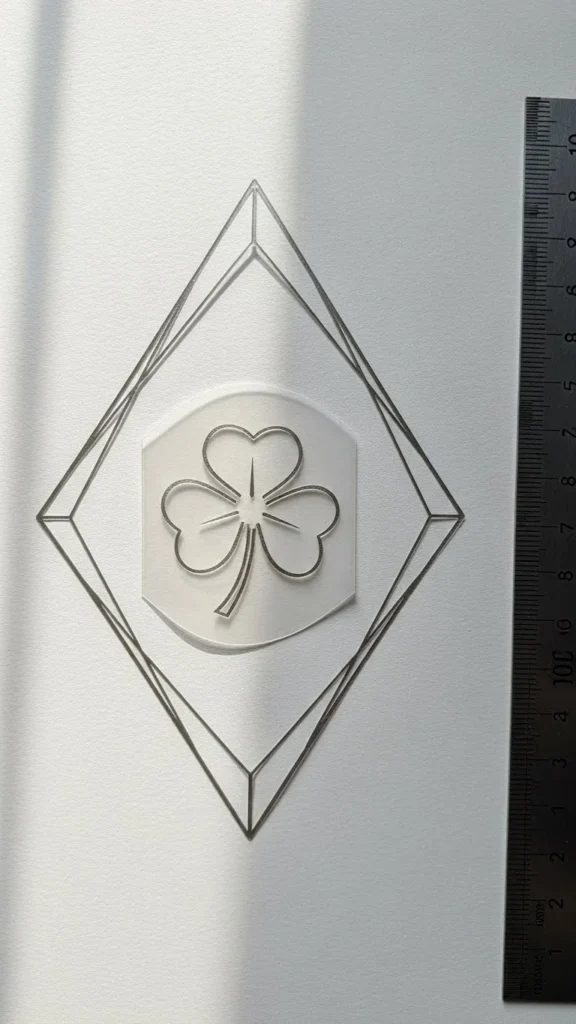
A geometric frame around a clover makes it feel modern and balanced. A triangle or diamond frame is easy to stencil with a ruler and looks great on the forearm or upper arm.
Draw the frame first using straight lines. Then center the clover inside. Keep the clover slightly smaller so it doesn’t touch the frame. If you want extra detail, add a few dots at the corners or a small line break on one side of the frame for a stylized look.
DIY tip: triangles can look sharp on skin, so round the clover leaves slightly to balance it. A diamond frame often fits nicely on the inner forearm because it follows the arm’s shape when rotated.
Budget-friendly example: draw the frame at two thickness levels. Very thin frames can fade visually. Medium thickness reads better. You can also turn the frame into a double-line frame, but only if there’s enough space between lines.
This stencil is also great if you want to match with a friend—same frame, different center symbol.
28) Clover With Simple Laurel Sprigs
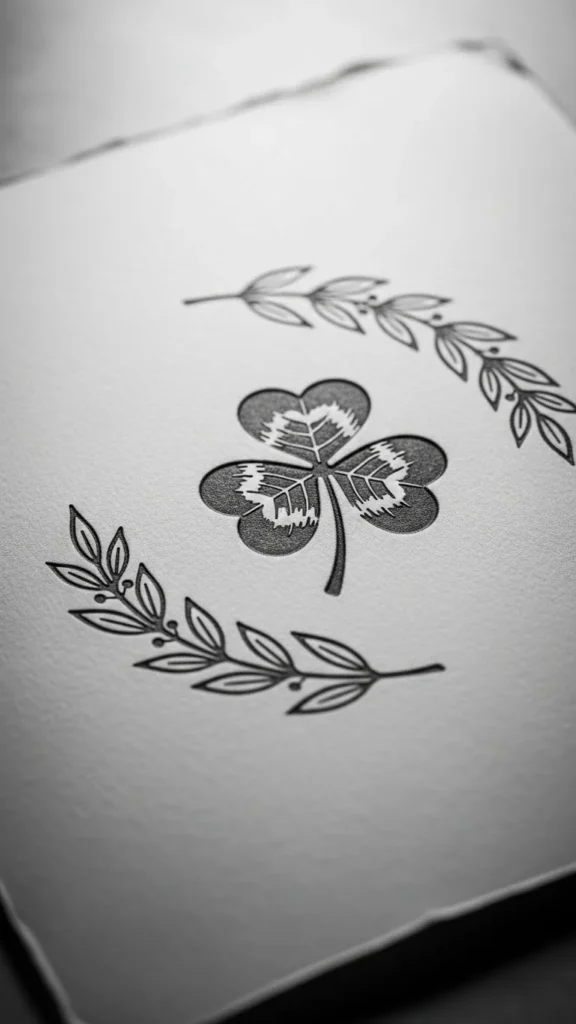
A clover with laurel sprigs feels like a badge or emblem. Keep the laurel leaves simple—small almond shapes on two curved stems that frame the clover without touching it.
Draw the clover first. Then add two curved stems on each side like parentheses. Place 4–7 leaves per side. Make the leaves slightly larger near the middle and smaller near the tips for a natural flow.
This design works well on the upper arm, chest, or calf. It can also look good on the shoulder as a crest. DIY tip: don’t make the leaves too tiny. Tiny leaves can blur. Medium-size leaves with clear spacing transfer better.
Budget-friendly practice: draw one laurel side you like, trace it, flip it, and use it for the other side. That keeps symmetry without perfect freehand drawing. Keep linework clean and consistent so the emblem reads as one unified piece.
29) Clover With Tiny Initial-Like Shapes (No Letters)

If you want a personal touch but can’t use letters, add small abstract “mark” shapes under a clover. Think tiny lines, dots, or a small wave—something that feels like a signature without being text. This keeps the stencil simple and meaningful.
Draw a clover outline. Under it, add a short row of symbols: three dots, a small dash, and a tiny curved line, for example. Keep the marks balanced and centered. Avoid anything that looks like an actual letter. The goal is a personal pattern.
This design works well on the wrist, ankle, or inner arm. DIY tip: base the marks on something real: the number of siblings, a special date converted into dots, or a simple “rhythm” you like. Test the marks at the same thickness as the clover outline so they don’t look like an afterthought.
Budget-friendly example: draw five mark variations on paper, then pick the one that feels most natural. Transfer the clover first, then add the marks in the stencil once you’re happy with spacing.
Conclusion
St Patrick’s Day tattoo stencils make it easy to plan a design that fits your style, your placement, and your comfort level. Start simple, test size and spacing, and choose linework that transfers cleanly. Save your favorites, print a few options, and bring them to your artist—or practice safely on paper and fake skin until the shapes feel right.
